
We Value Your Culinary Privacy
EatMee Recipes uses cookies to provide a personalized browsing experience, analyze recipe popularity, and serve relevant ads. You can review our full disclosure in our Privacy Policy.
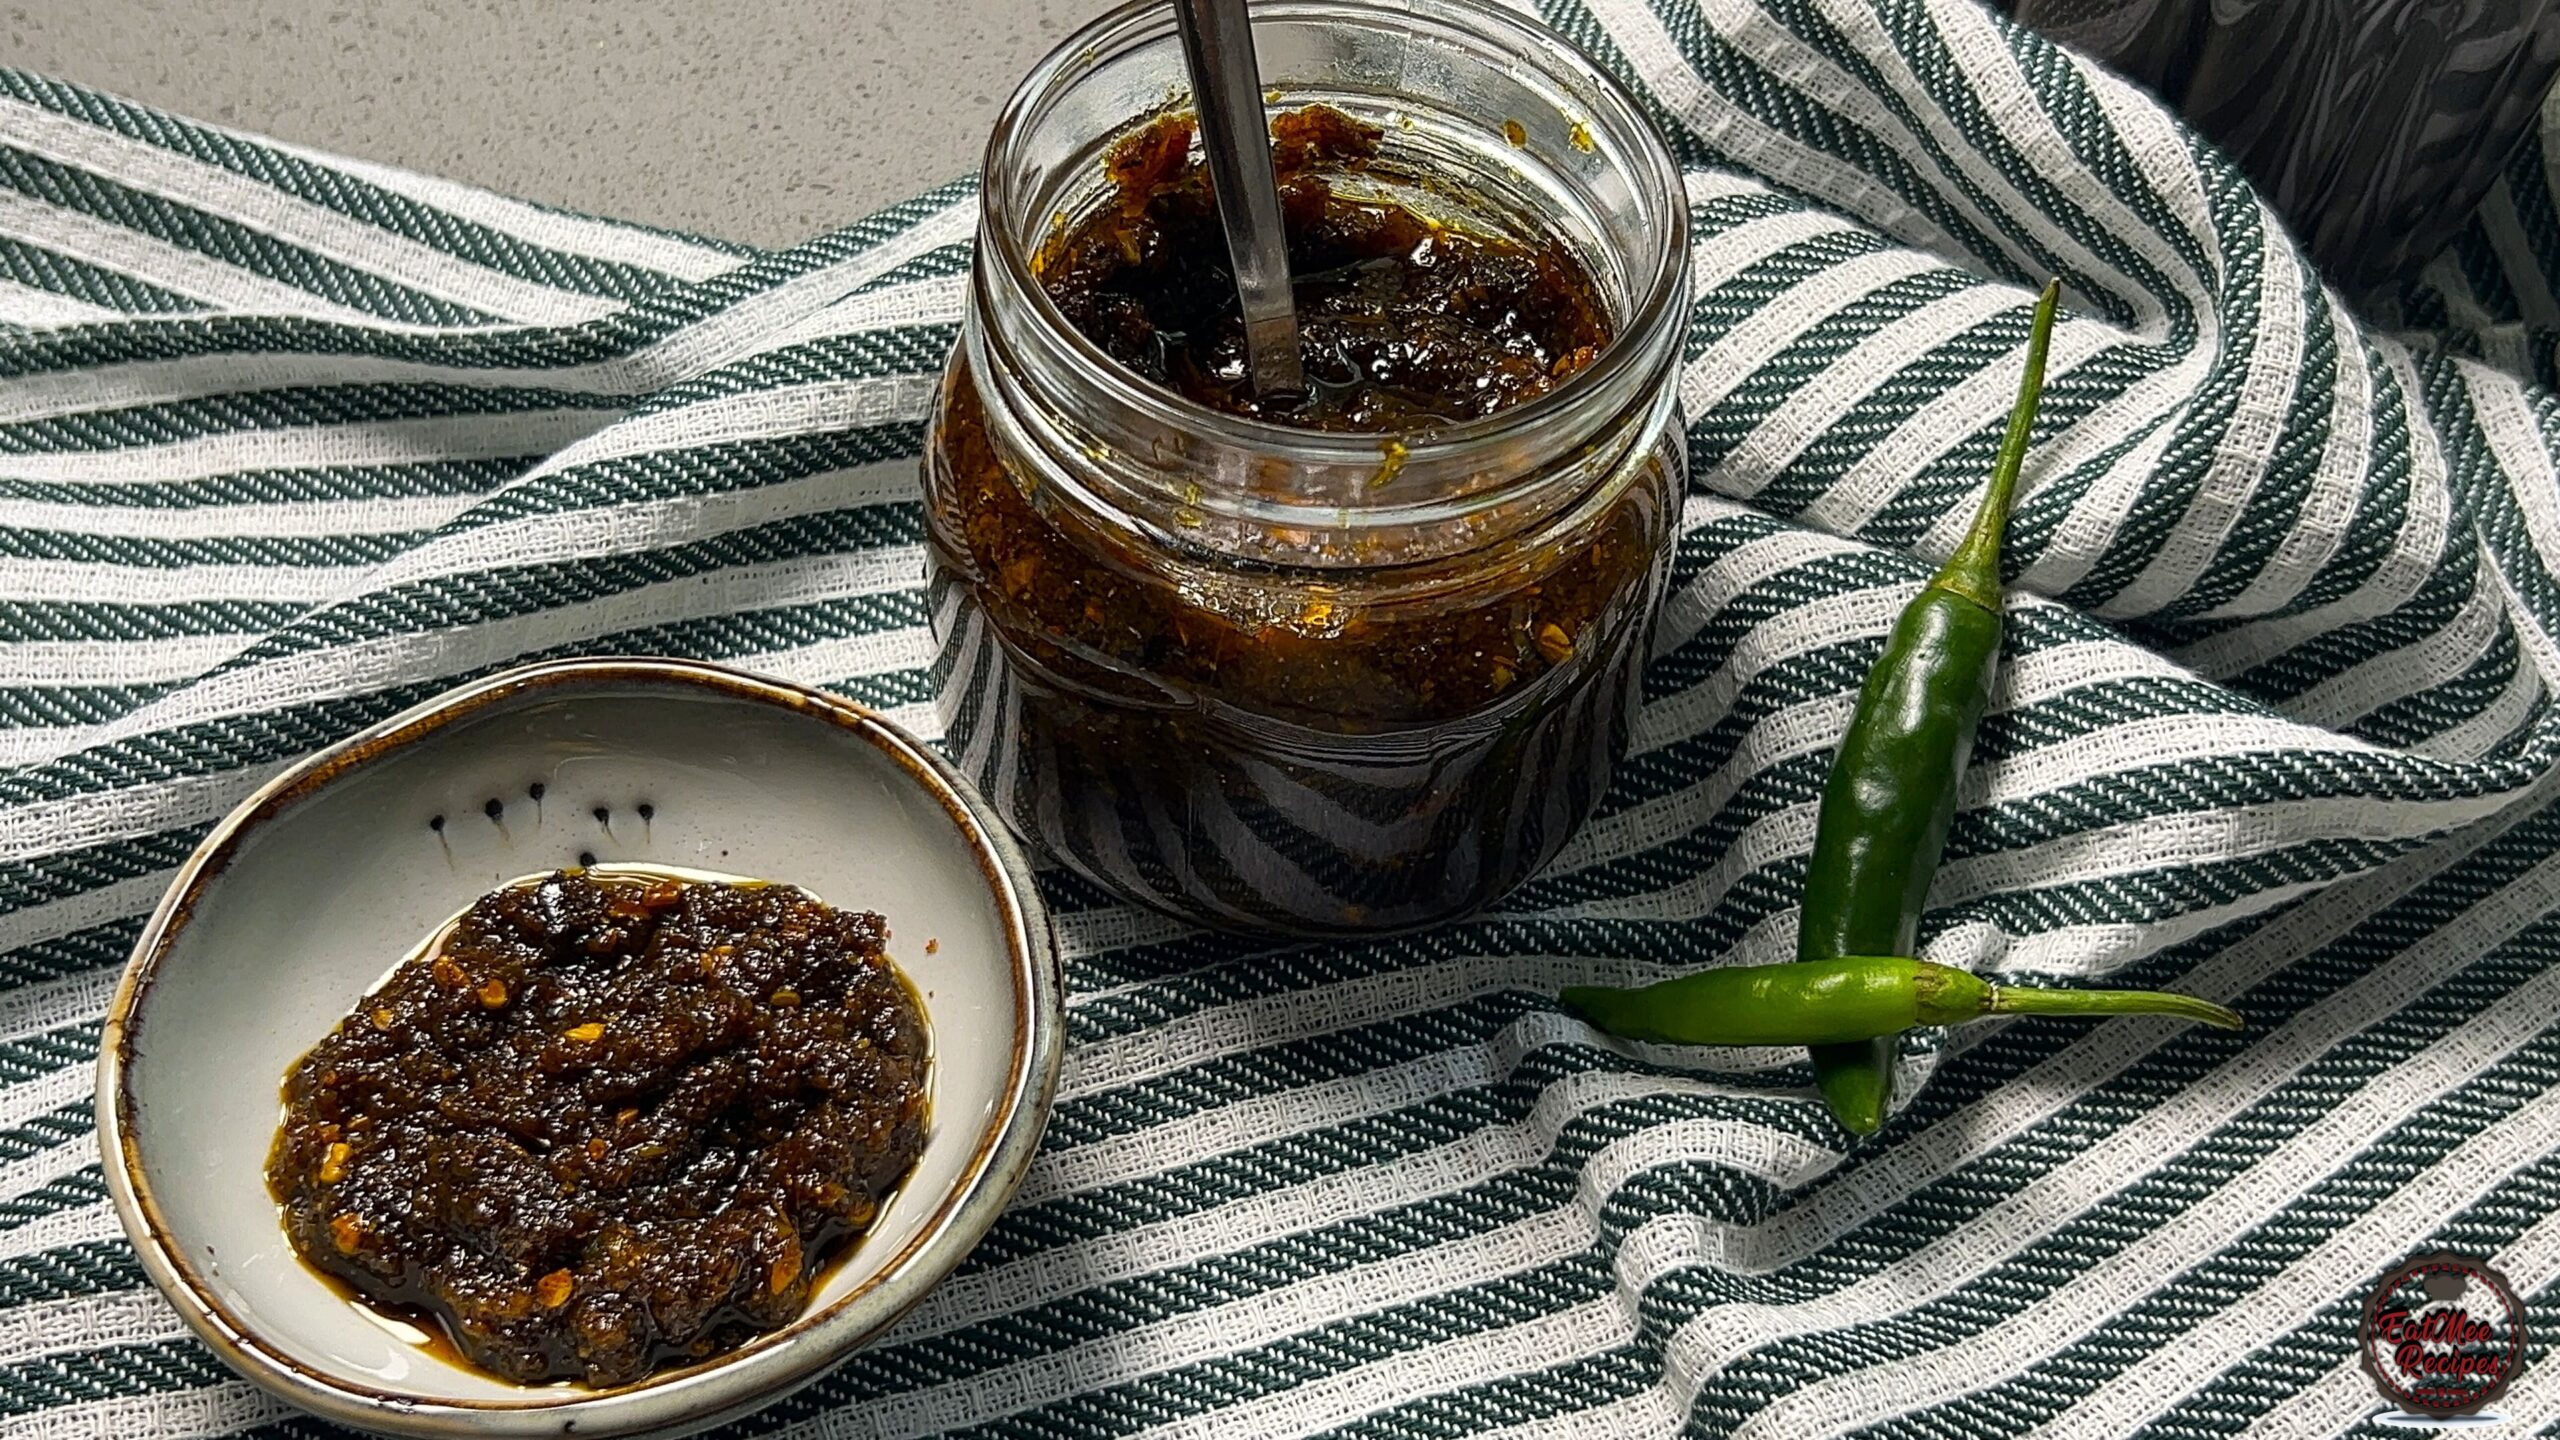
A bold, fiery favourite made in small batches, this crushed chilli pickle is rich, punchy, and packed with flavour.

Join over 60,000+ home chefs for weekly authentic Durban Indian cook-alongs, Instant Pot masterclasses, and family heritage recipes.
A bold, fiery favourite made in small batches, this crushed chilli pickle is rich, punchy, and packed with flavour.
There’s something special about a good chilli pickle. It doesn’t just sit on the side of your plate, it brings everything together. This crushed chilli pickle is strong, vibrant, and full of depth, with layers of toasted spices and that unmistakable tang from pickle masala.
Made in a smaller batch, it’s perfect for keeping things fresh while still delivering that classic Durban-style flavour we all love. Whether you enjoy it chunky or smooth, this one is guaranteed to add a fiery kick to your meals.
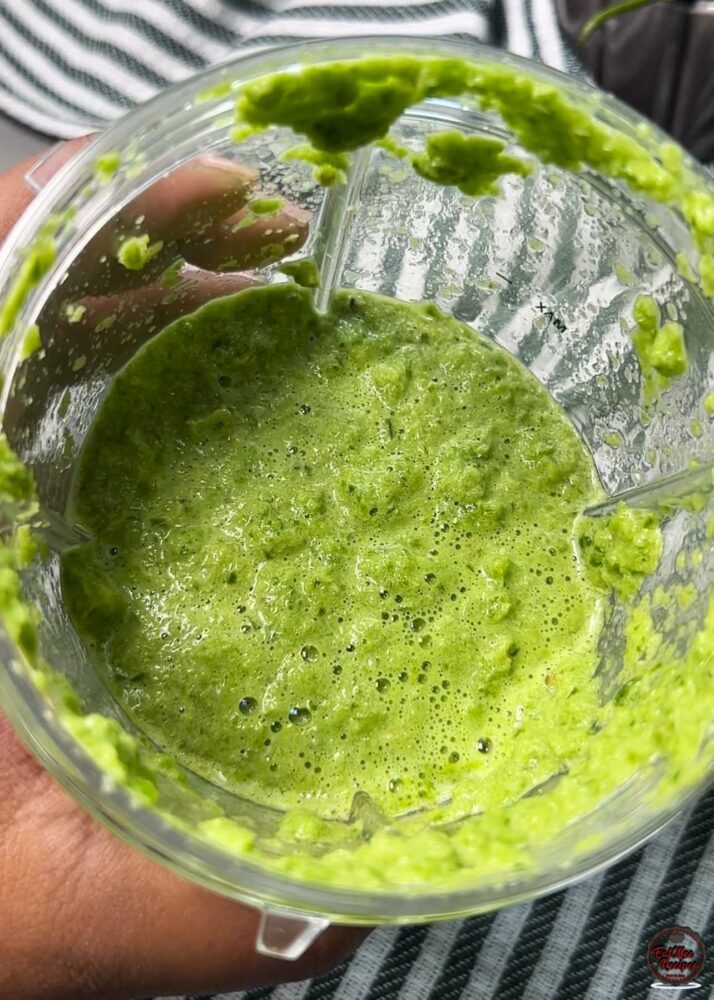
Just a quick note before we begin, I did over blend my chillies but the flavour is still absolutely delicious.
Start by getting all your whole spices for the homemade masala. Making your own masala from whole spices builds a layered flavour that you simply can’t get from pre-ground blends. Toasting them until fragrant and slightly darker in colour helps release their natural oils, intensifying both aroma and taste.
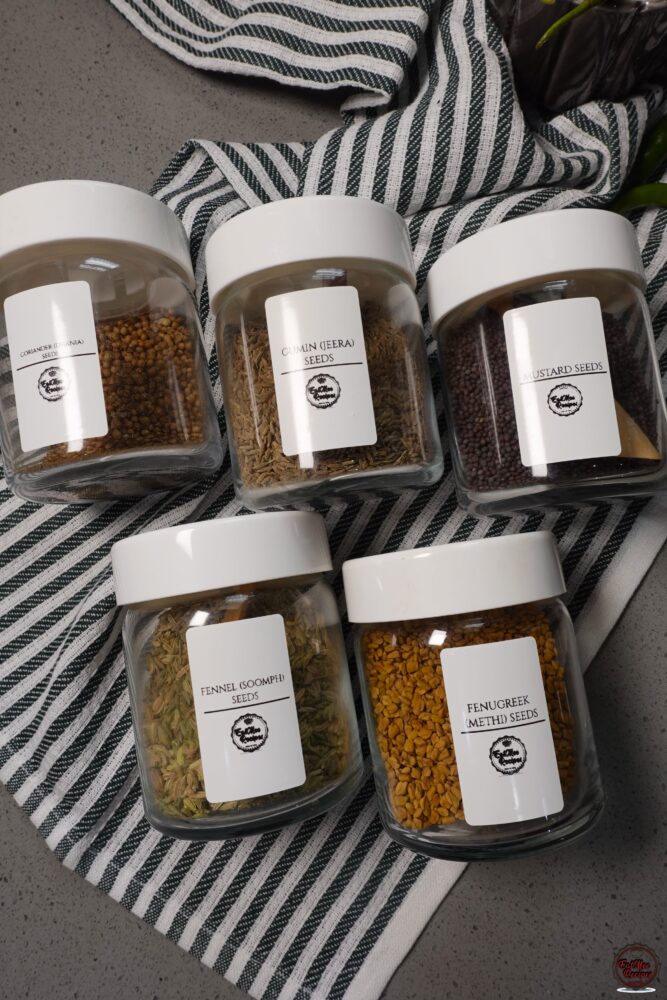
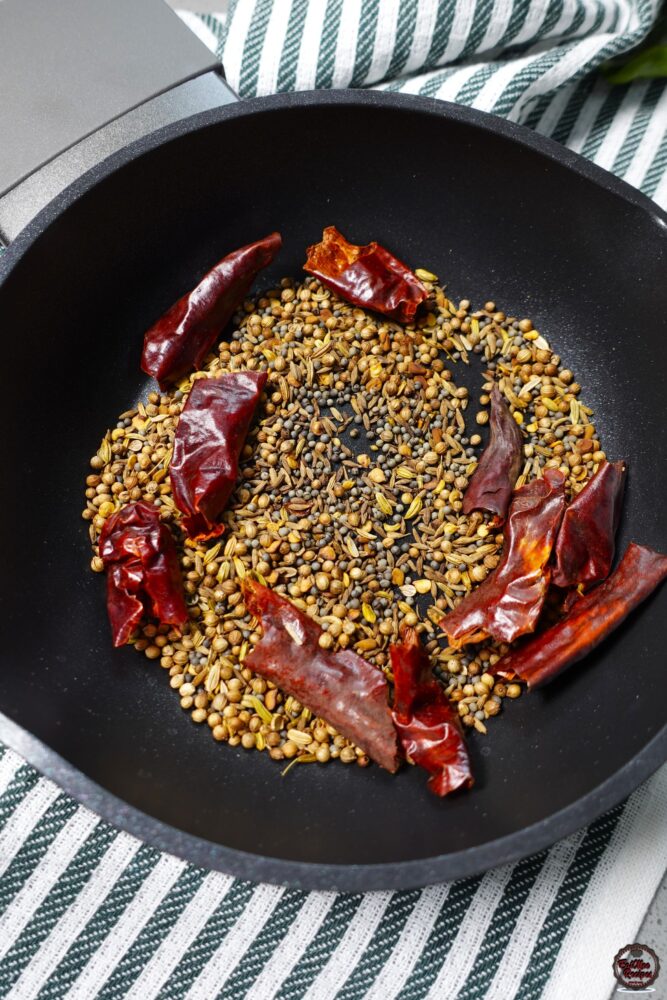
Each of these spices plays its role – coriander adds body, cumin brings warmth, mustard seeds give that signature pickle bite, fennel adds a gentle sweetness, fenugreek lends a slight bitterness for balance, and the dried chillies deepen the heat.
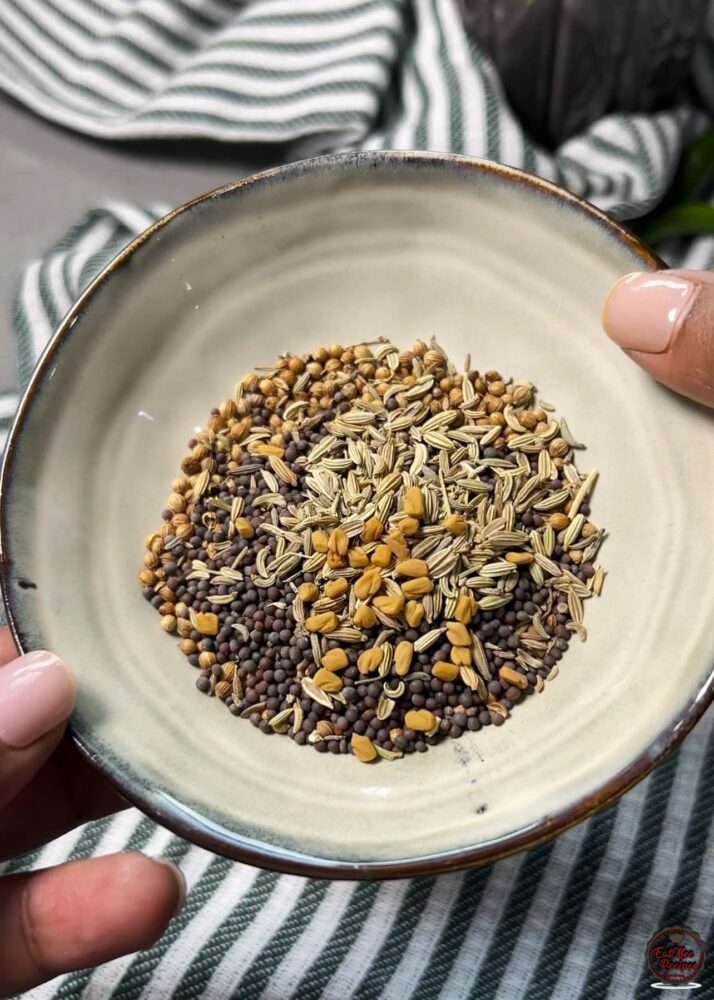
Toast the coriander seeds, cumin seeds, mustard seeds, fennel seeds, fenugreek seeds and dried red chillies in a dry pan.
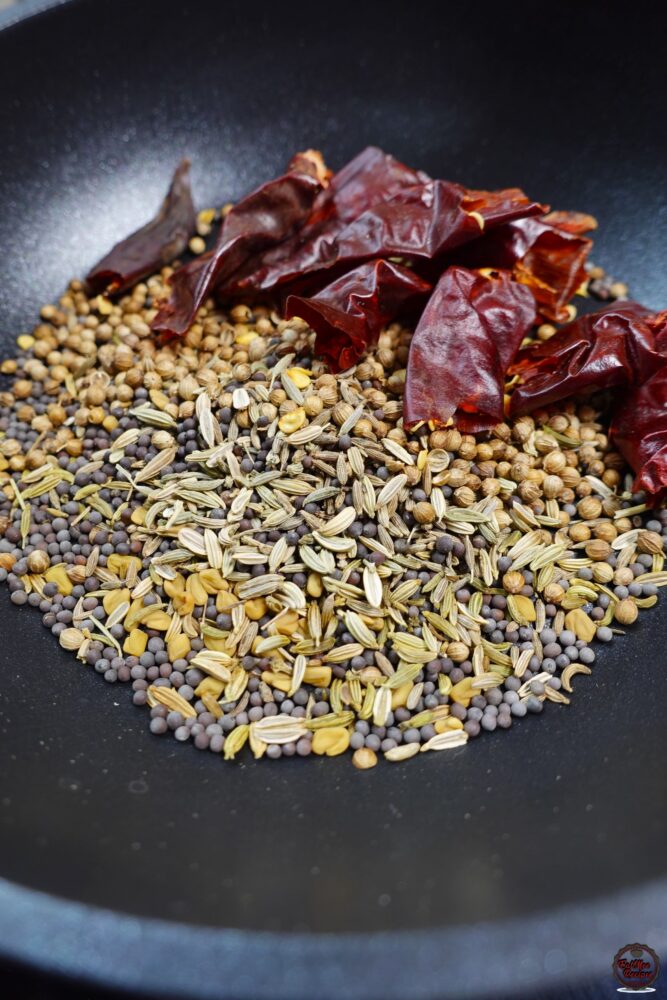
Toast until fragrant and slightly darker in colour as this step releases the natural oils and deepens the flavour.
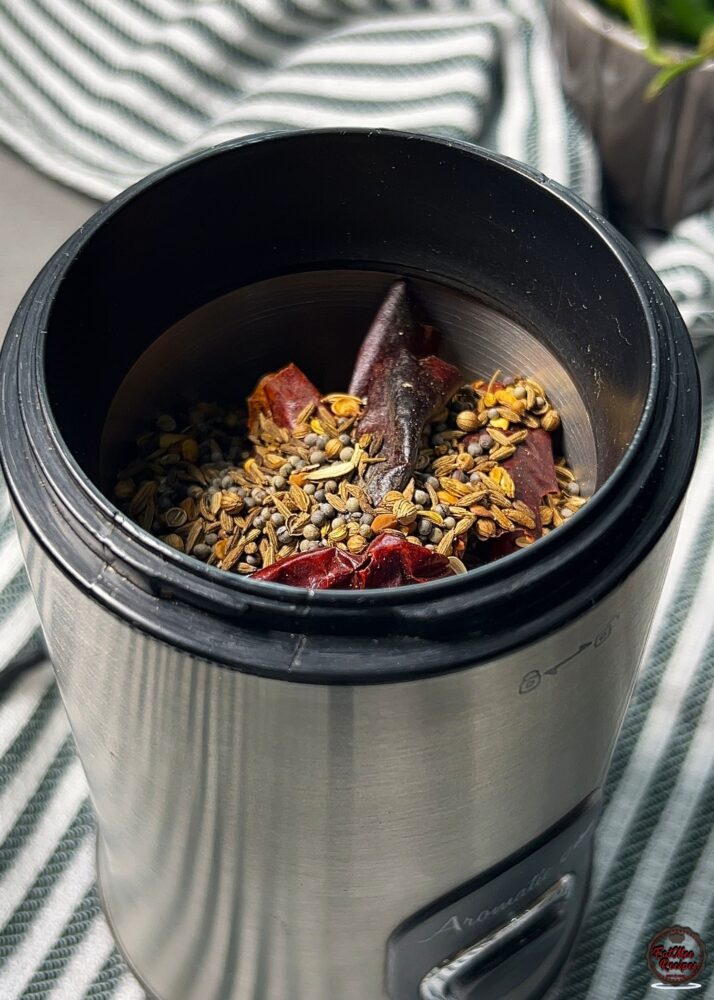
Remove from the heat, allow to cool slightly, then grind into a powder. I’m using a coffee grinder for this step. Note that all of the masala won’t be used so the remaining can be stored in an airtight container.
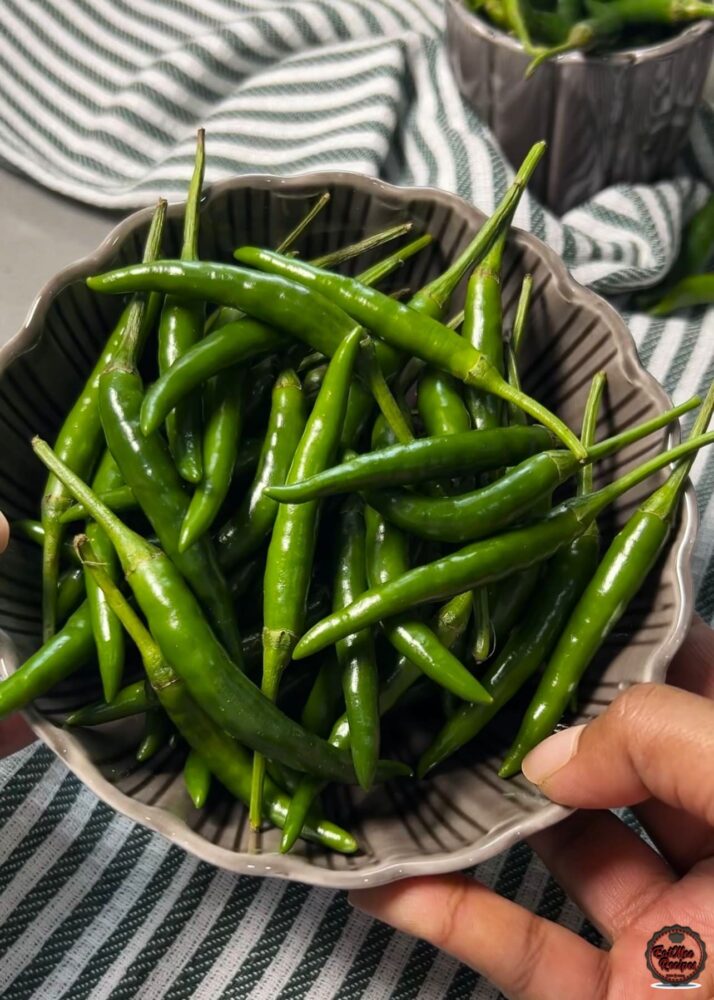
Next, rinse and dry the green chillies well.
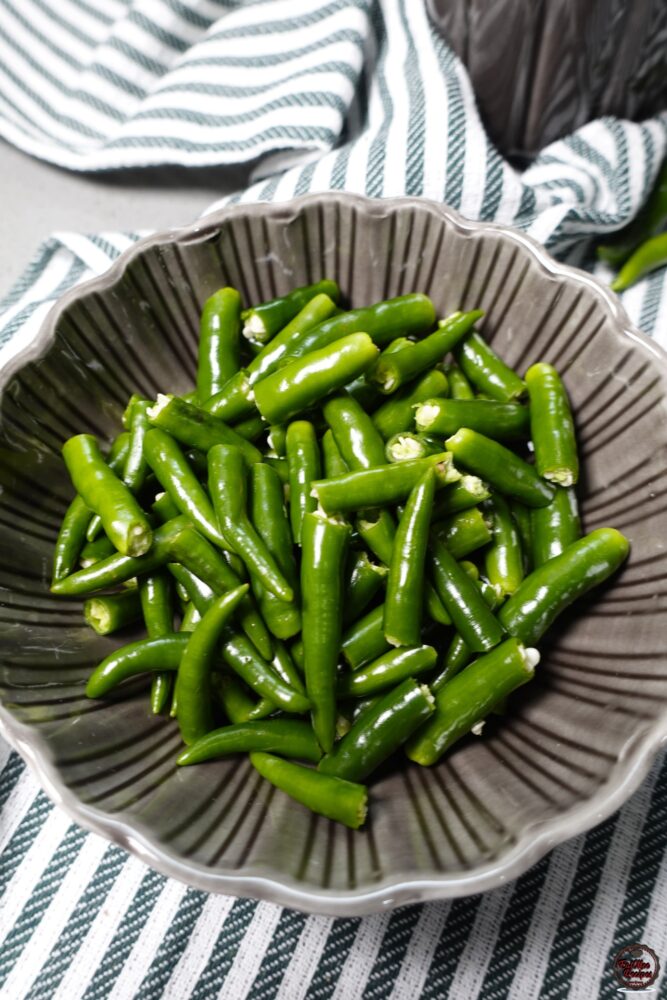
Remove the stems and break them in halves.
Peel the garlic.
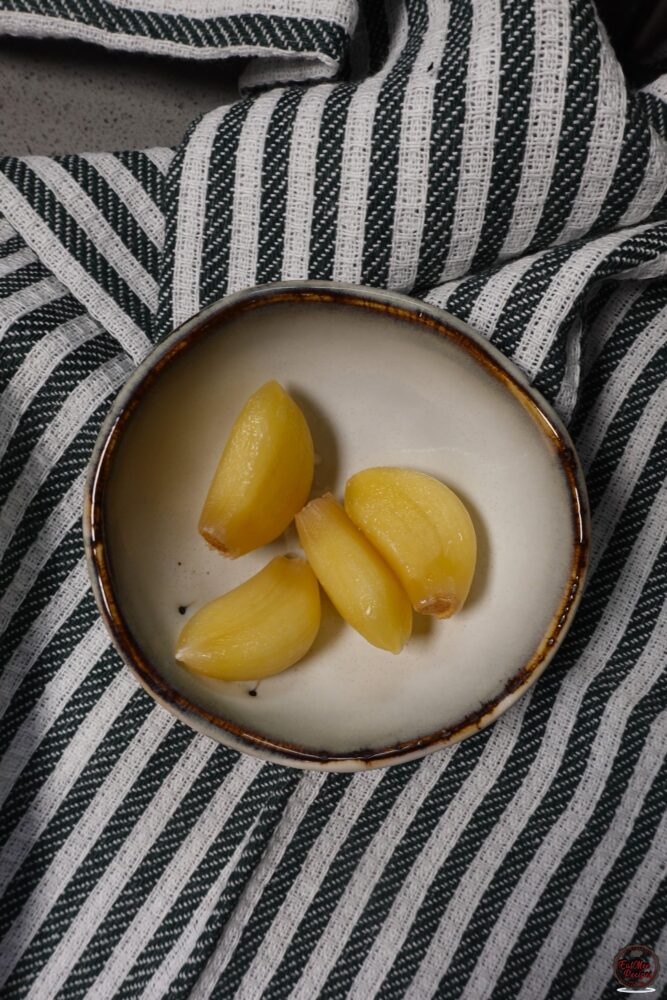
Add the chillies to a blender along with the garlic, salt and vinegar.
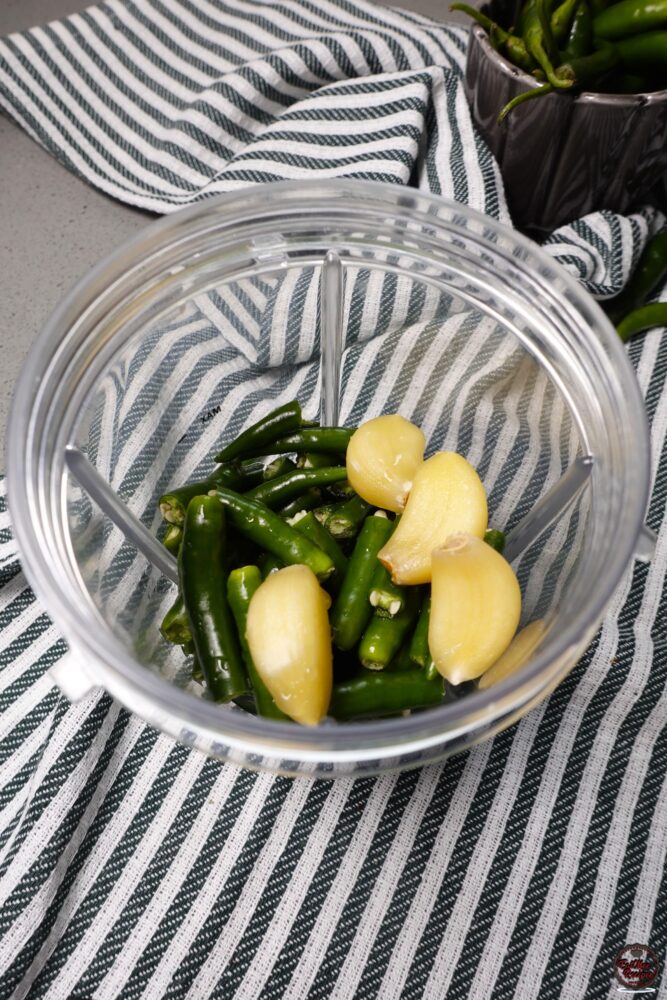
Blend until crushed to your preferred texture. Alternatively, finely chop the chillies and garlic if you prefer a more textured pickle. I used my Nutribullet and it resulted in a paste like texture so if you want it chunkier, I would suggest chopping them by hand.
Heat ½ cup sunflower oil on medium heat, then add the blended chilli mixture.
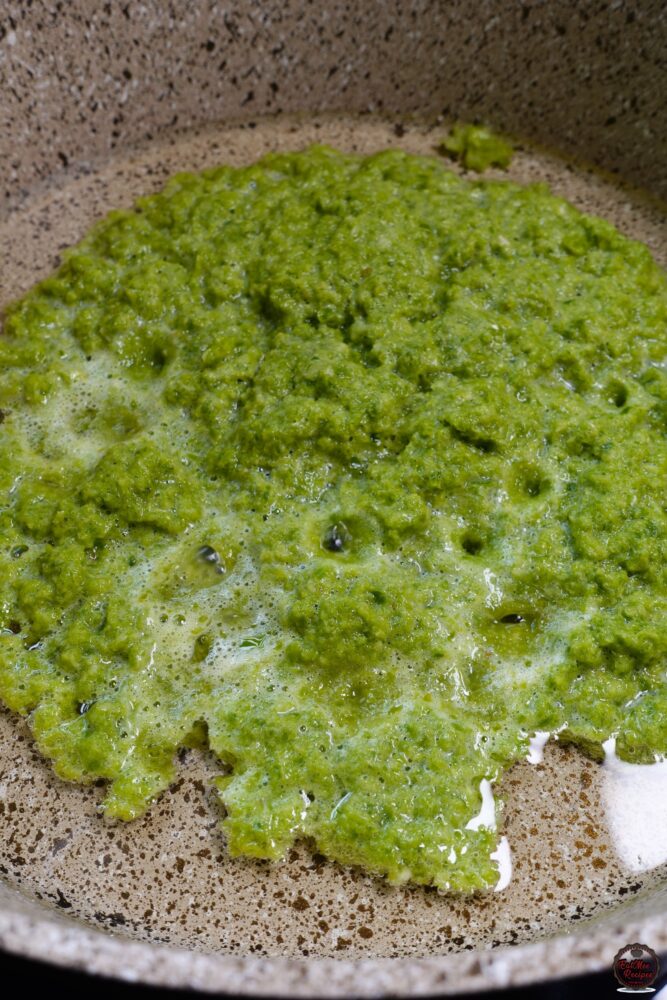
Cook for 6-8 minutes, stirring gently. You’ll notice the mixture begins to thicken and the sharpness mellows.
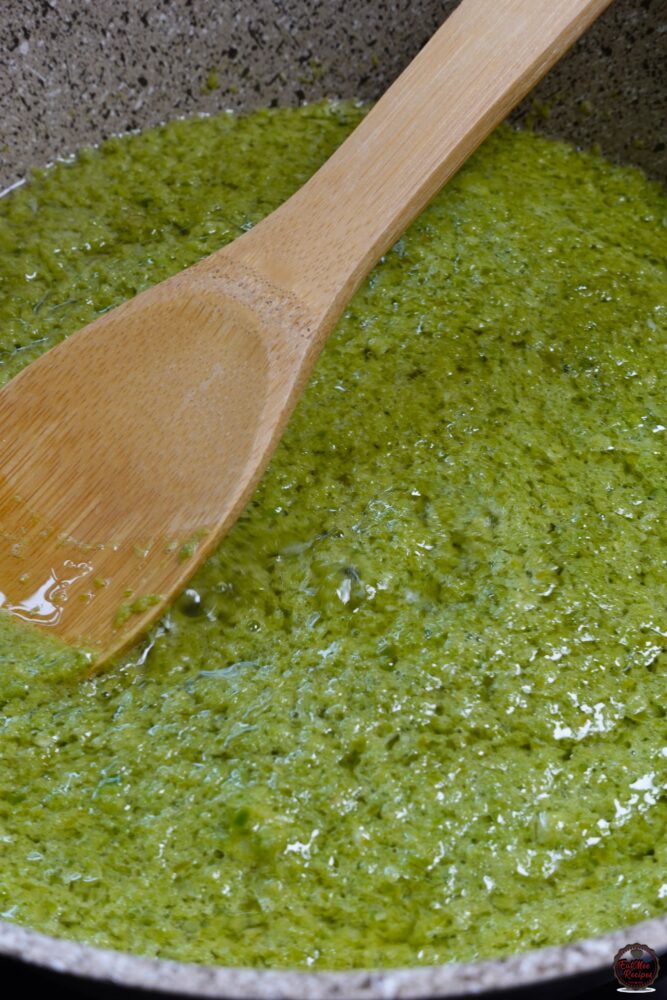
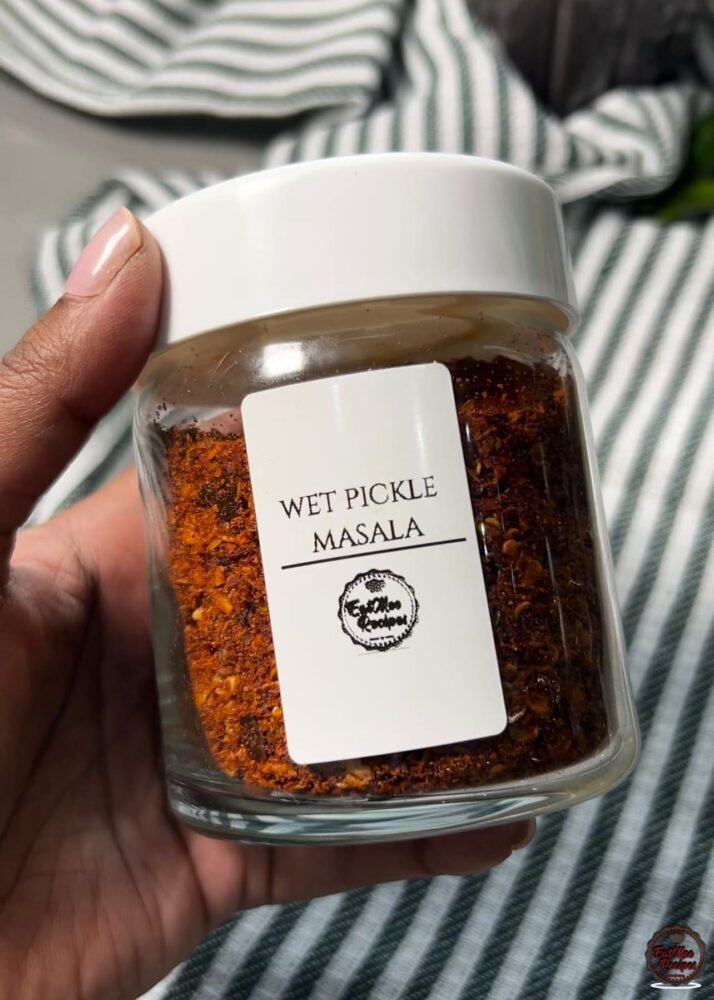
Add the turmeric powder and 1½ tablespoons of the homemade masala, followed by the pickle masala.
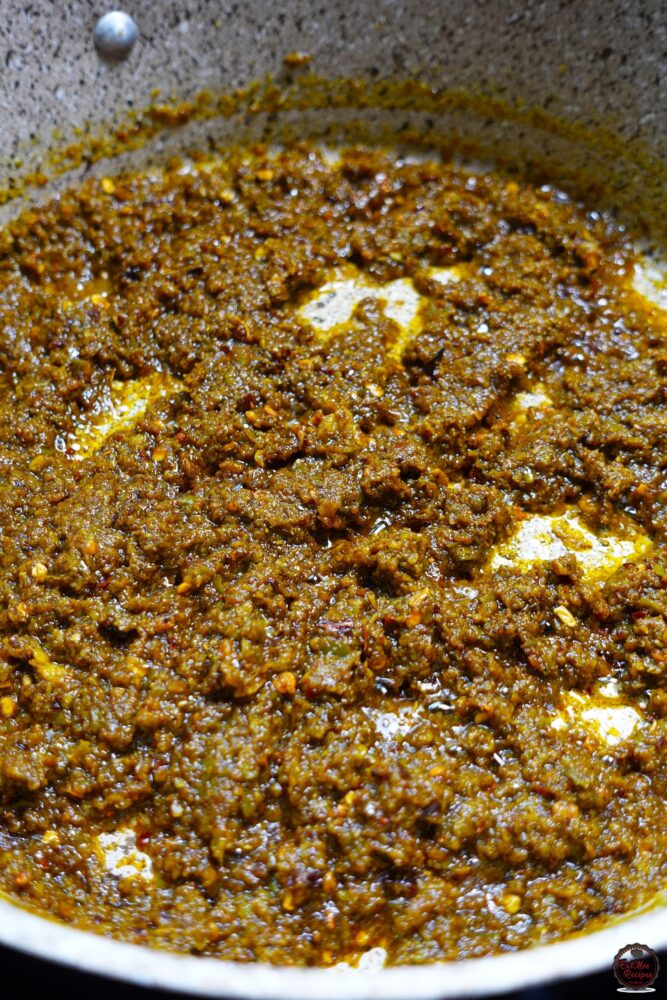
Mix well and cook for a further 4-5 minutes, allowing everything to come together.
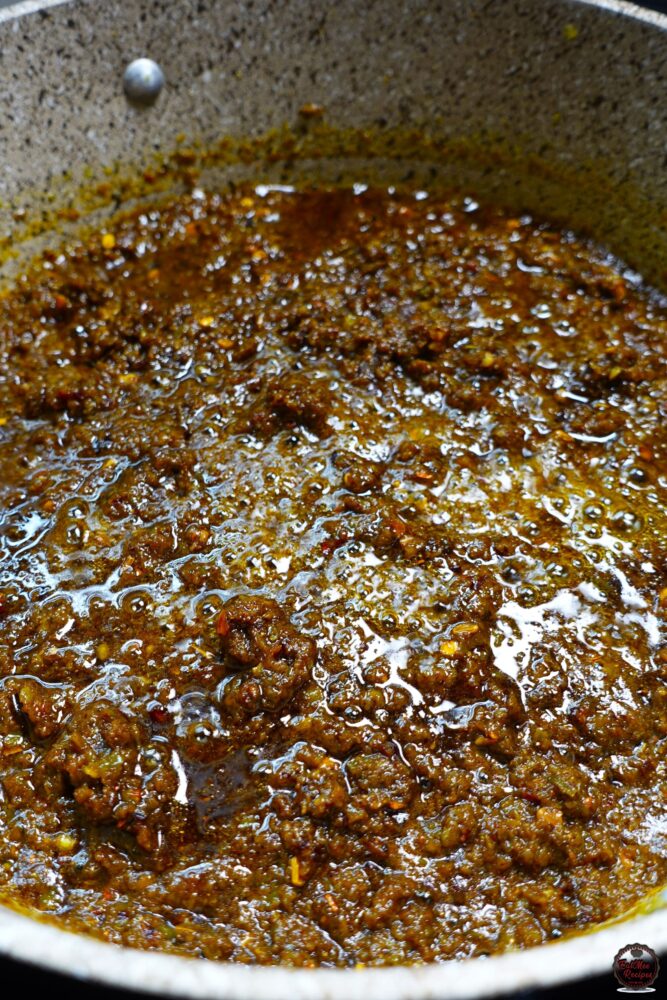
Towards the last minute, add the remaining ¼ cup oil and mix through. Cook until you notice slight oil separation on the surface – this is your sign that the pickle is ready.
Transfer the pickle to a clean, dry glass jar and allow it to cool completely before sealing. It stored perfectly into a 250ml jar.
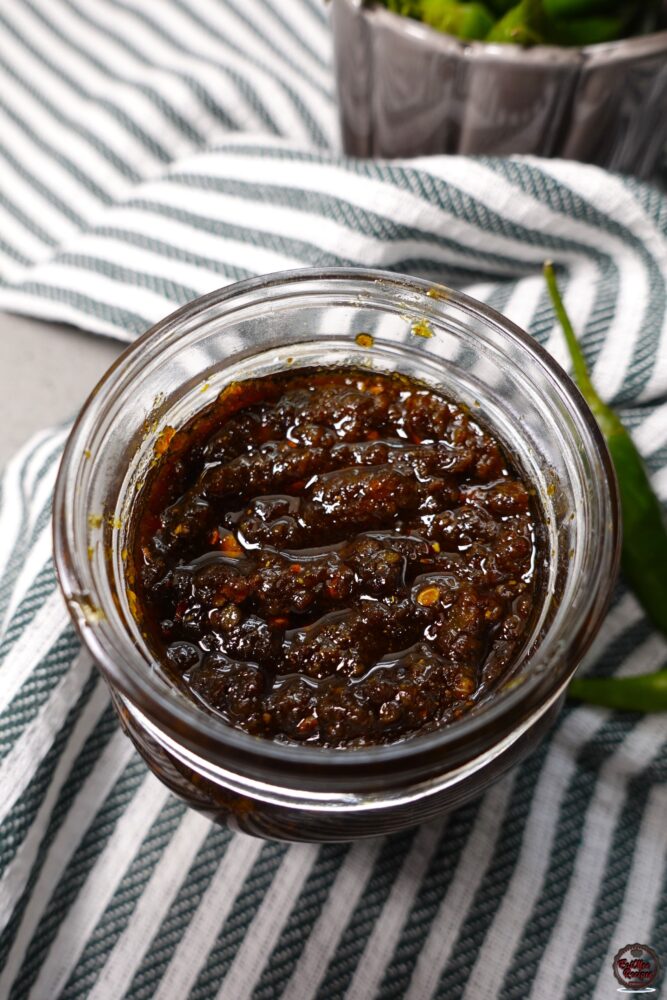
Top with a thin layer of oil to help preserve freshness.
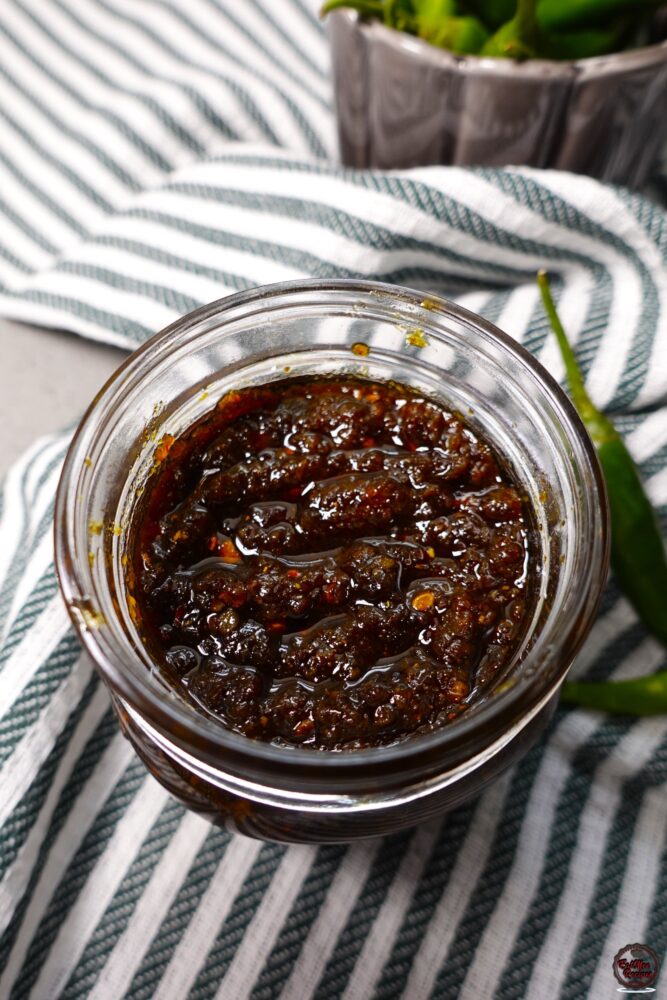
Store in the refrigerator for up to 3-4 weeks. The flavour deepens beautifully after a day or two.
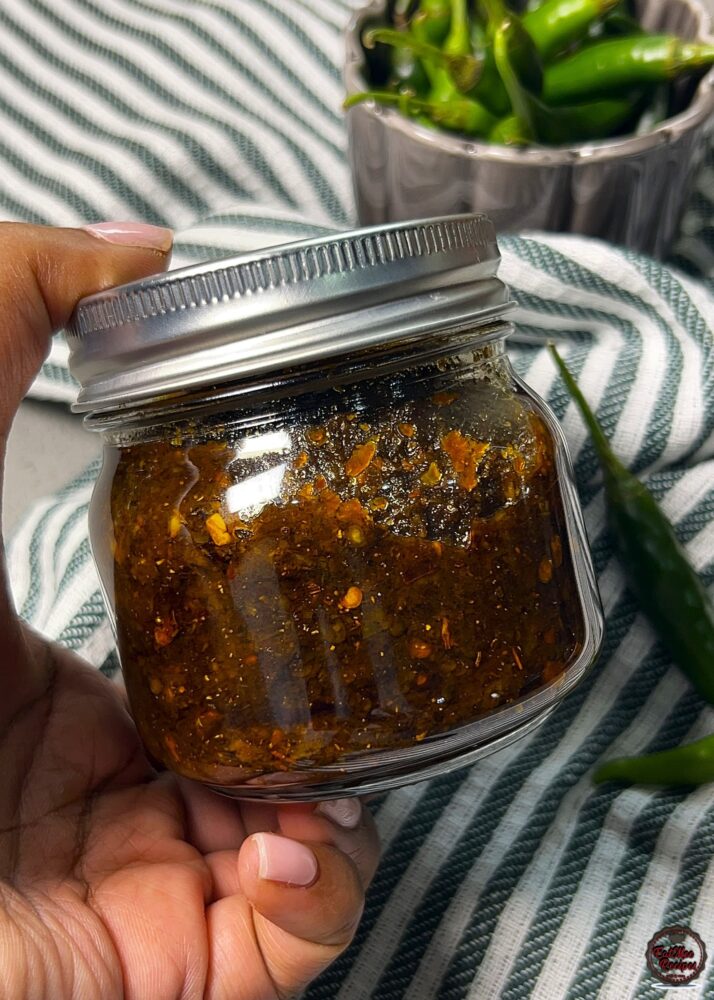
And that’s your chilli pickle all done! It goes perfectly with your favourite curries, dhall and even fresh bread.
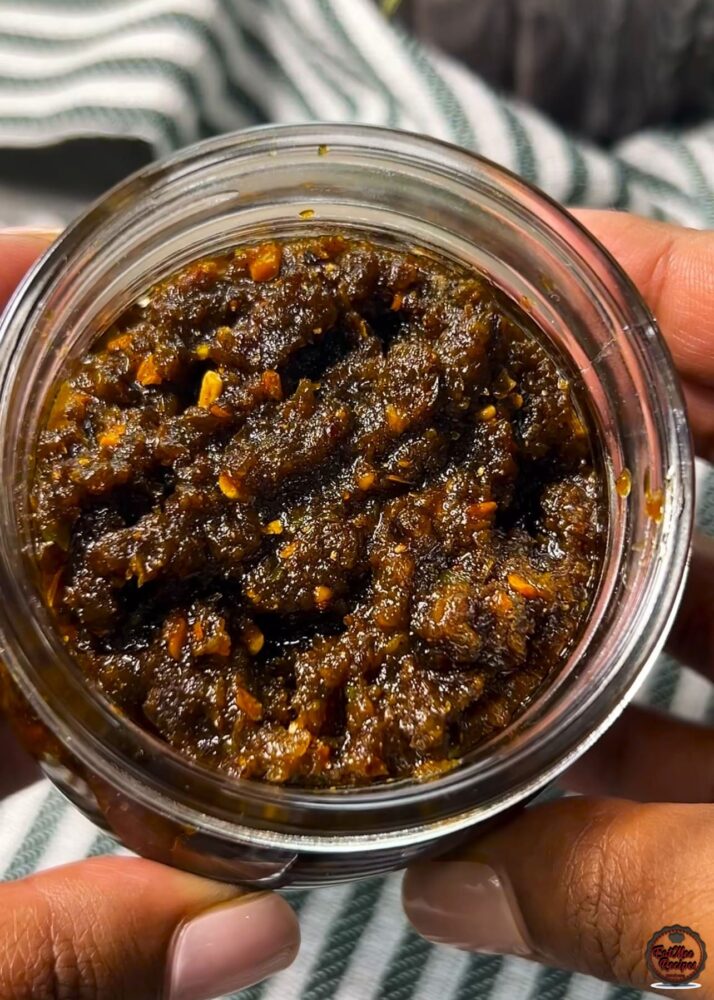
Follow along with Denisiya's step-by-step video guide for Crushed Chilli Pickle.
Expert kitchen guidance and troubleshooting for making the best Crushed Chilli Pickle
Store in thoroughly sterilized, airtight glass jars in a cool, dark place or in the refrigerator. Always use a clean, dry spoon to serve. Properly preserved pickles can last for 6 months to a year.
Yes, sterilizing jars in boiling water or a warm oven ensures no bacteria or moisture remains, preserving the flavor and preventing spoilage.
Hi, I'm Denisiya! Food lover, recipe developer, and founder of EatMee Recipes. I specialize in authentic South African Durban Indian cuisine, comforting curries, and modern Instant Pot adaptations. Every recipe on this site is tested in my personal kitchen to ensure you get mouth-watering, foolproof results every time.
Explore more authentic Durban curries, traditional bakes, and comforting family favourites.
 Indian Cuisine
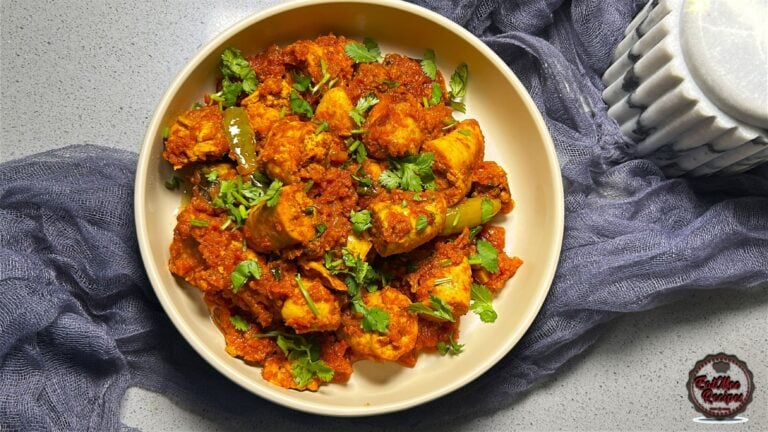
My mum is sharing another one of her much-loved traditional South African Indian recipes. ...
 Indian Cuisine
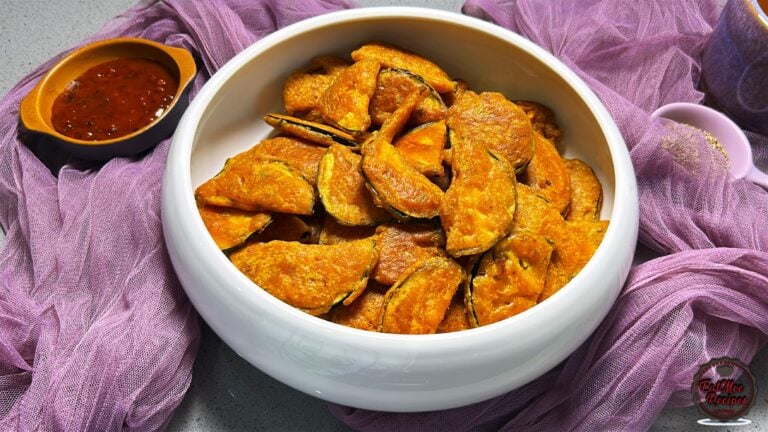
Crispy, golden and delicious, these Brinjal Pakoras are made with thin slices of brinjal c...
 Indian Cuisine
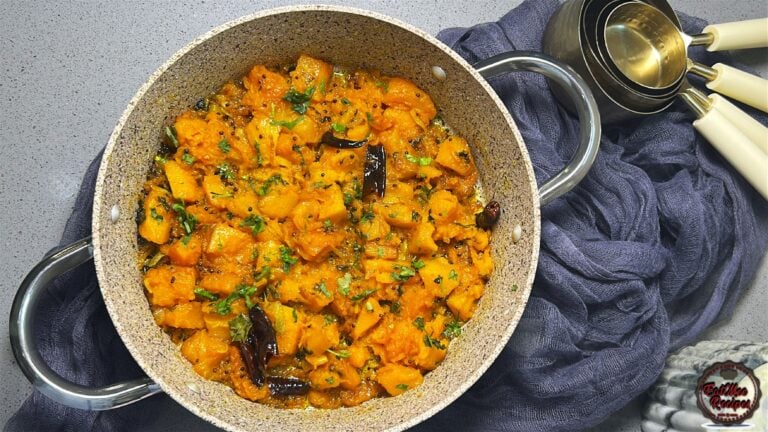
Mum’s Pumpkin Curry is a simple, comforting vegetarian dish that proves you don’t need a l...
Have you tried this recipe or have questions for Denisiya? Join the conversation below.
No comments yet. Be the first to share your thoughts on this recipe!
Leave a Comment
Your email address will not be published. Required fields are marked *