
We Value Your Culinary Privacy
EatMee Recipes uses cookies to provide a personalized browsing experience, analyze recipe popularity, and serve relevant ads. You can review our full disclosure in our Privacy Policy.
Make authentic Milk Tart with this foolproof recipe. Packed with rich traditional flavor, step-by-step photos, and cooking tips by Denisiya on EatMee Recipes.

Join over 60,000+ home chefs for weekly authentic Durban Indian cook-alongs, Instant Pot masterclasses, and family heritage recipes.
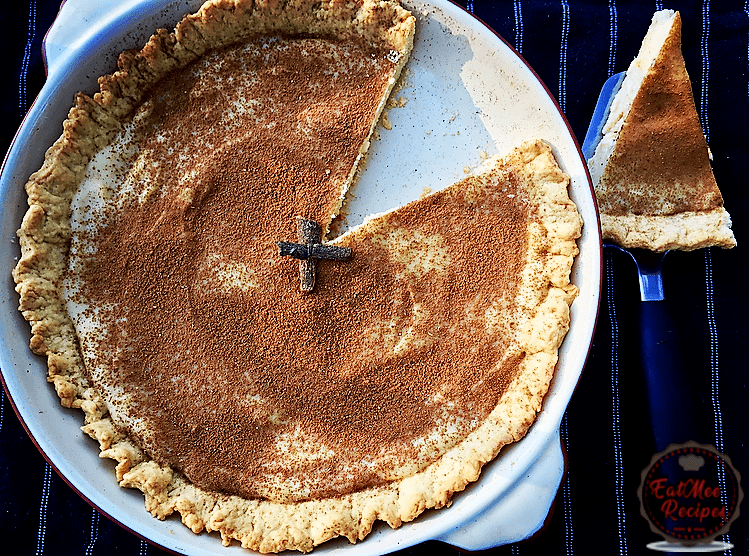
Milk Tart also known as Melk Tert, is the Afrikaners local cuisine. Milk Tart is a South African dessert. Traditionally, it is a sweet pastry crust filled with creamy deliciousness & topped with sweet, powdered cinnamon.
This dessert shows distinctive Dutch traits.
Preheat oven to 200° Celsius.
Grease an oven proof casserole with butter or spray & cook. Set aside.
In a medium to large bowl, add in the butter.
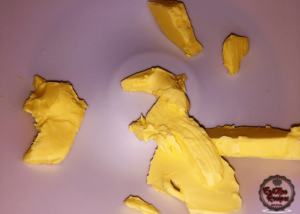
Add the sugar to the butter. I have used brown granulated sugar but white sugar may be used as well.
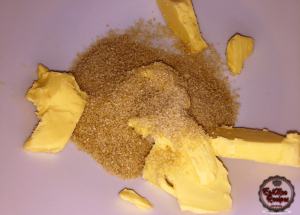
Cream the butter & the sugar together.
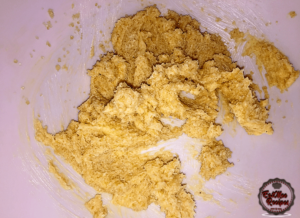
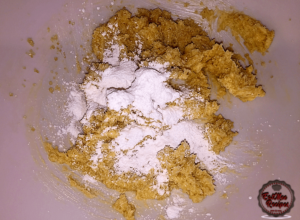
Add in the salt & baking powder.
Next, crack in the egg.
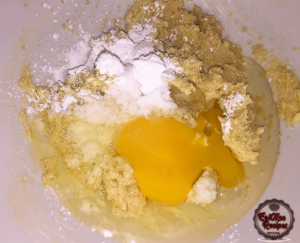
Lightly mix.
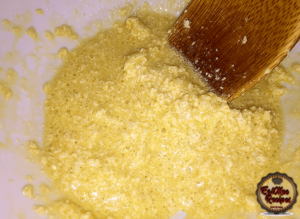
Add the flour to the mixture.
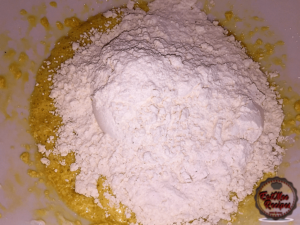
Mix well until all the ingredients are thoroughly combined. It will begin to take the form of dough.
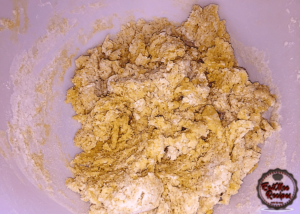
The dough may seem to be dry. Using your hands, begin to combine the dough, lightly kneading it in the bowl for a few minutes.
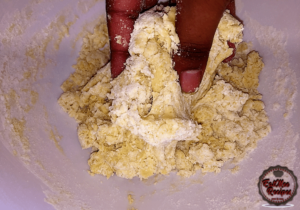
It should turn into a soft, pliable dough.
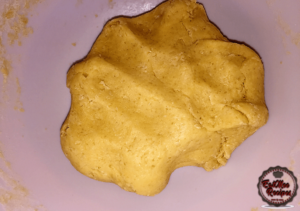
Place the dough onto a lightly floured surface.
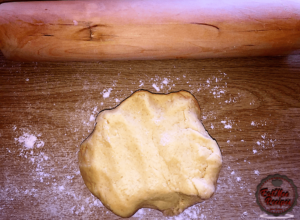
Roll out the dough, according to the size of your casserole. It shouldn’t be too thin.
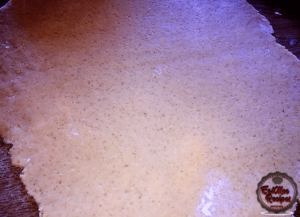
Carefully lift the rolled dough & place into the prepared casserole.
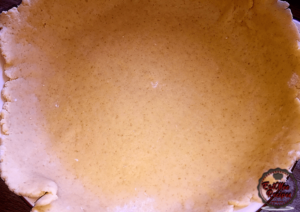
Neaten up the ends if you desire.
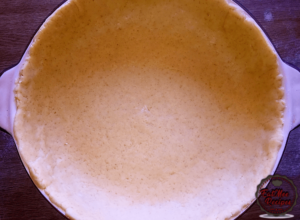
This step is optional. Place your pinky finger under the ends of the dough & pinch over it, creating frills along the edges.
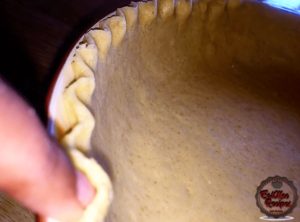
Place the casserole into the preheated oven & allow to bake for approximately 15-20 minutes, until lightly browned.
.
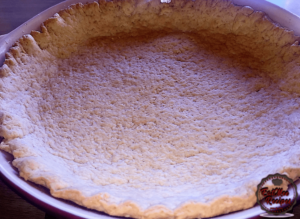
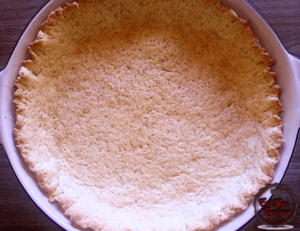
Once fully baked, remove & allow for the crust to cool
In a medium to large bowl, add in the castor sugar.
Crack in the eggs.
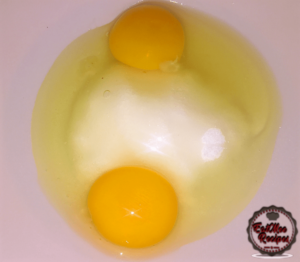
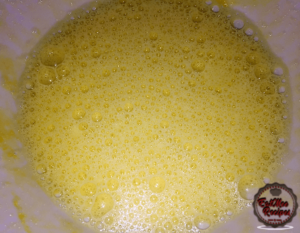
Whisk the eggs & sugar for a few seconds until airy.
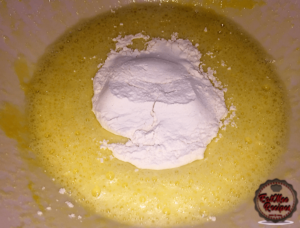
Next add in the all purpose flour.
Thereafter, pour in the water.
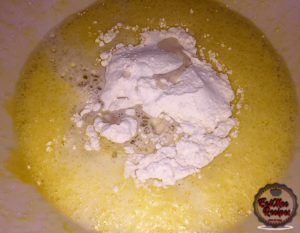
Whisk together for 30 seconds until all the ingredients are combined. Set aside.
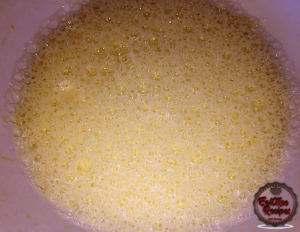
Pour the milk into a deep pot or saucepan.
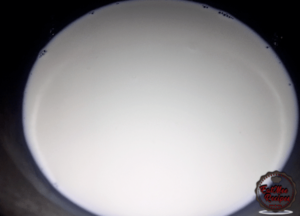
Add in the cinnamon stick, vanilla essence & butter.
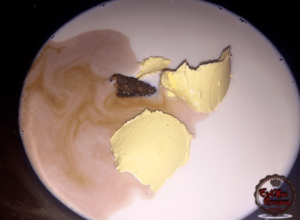
Lightly stir.
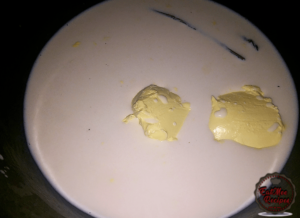
Bring the milk mixture to a boil. Stir every now & then until it reaches a boil.
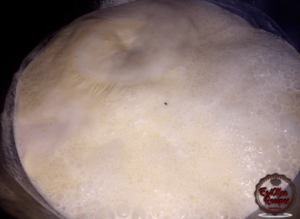
Once boiled, remove from heat & pour in the flour/egg mixture whilst stirring as you pour to avoid any lumps from forming.
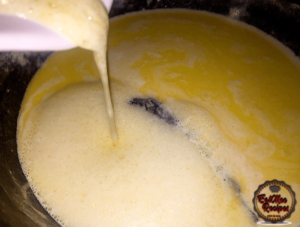
Place the pot back onto the heat, making sure its on low heat. Whisk well until the mixture thickens.
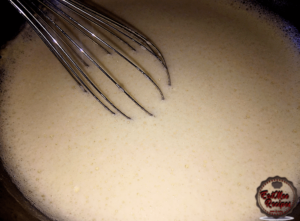
Once the mixture is thick, turn off the heat & pour mixture into the baked shell.
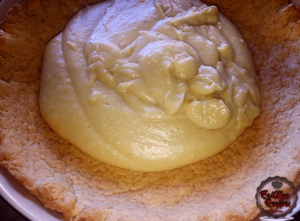
Using a spoon, spread the mixture evenly.
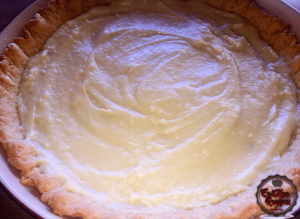
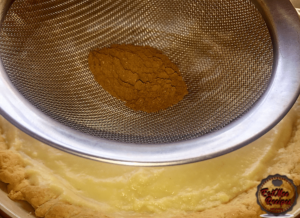
Sprinkle the top with cinnamon powder. I used a sifter to dust over the cinnamon.
Allow to cool for about 5 minutes & then place the milk tart into the refrigerator to set.
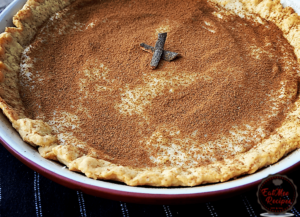
You may add some small pieces of whole cinnamon to garnish if desired.
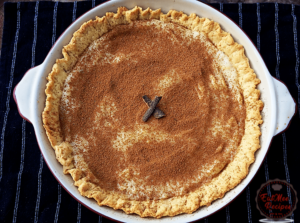
My milk tart took about 30-40 minutes to set in the refrigerator. The longer it is left in the refrigerator, the firmer it will be.
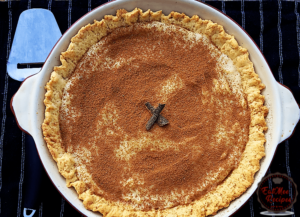
Slice & serve.
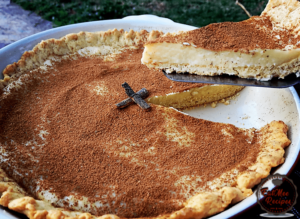
Milk Tart is best eaten cold.
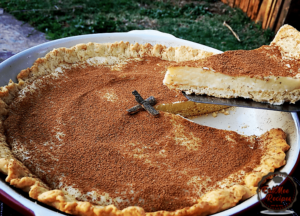
Stores for a week in the refrigerator.
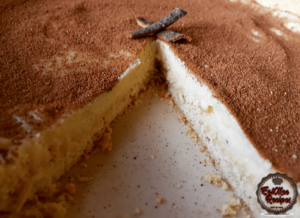
Follow along with Denisiya's step-by-step video guide for Milk Tart.
Expert kitchen guidance and troubleshooting for making the best Milk Tart
Store in an airtight container at room temperature for up to 1 to 2 weeks. For milk-based sweetmeats like burfee or soji, refrigerate in an airtight container for up to 7 to 10 days.
Pure butter or ghee provides the authentic rich aroma and texture characteristic of traditional Indian sweetmeats and bakes. Margarine can be used in a pinch, but butter delivers superior flavor.
Hi, I'm Denisiya! Food lover, recipe developer, and founder of EatMee Recipes. I specialize in authentic South African Durban Indian cuisine, comforting curries, and modern Instant Pot adaptations. Every recipe on this site is tested in my personal kitchen to ensure you get mouth-watering, foolproof results every time.
Explore more authentic Durban curries, traditional bakes, and comforting family favourites.
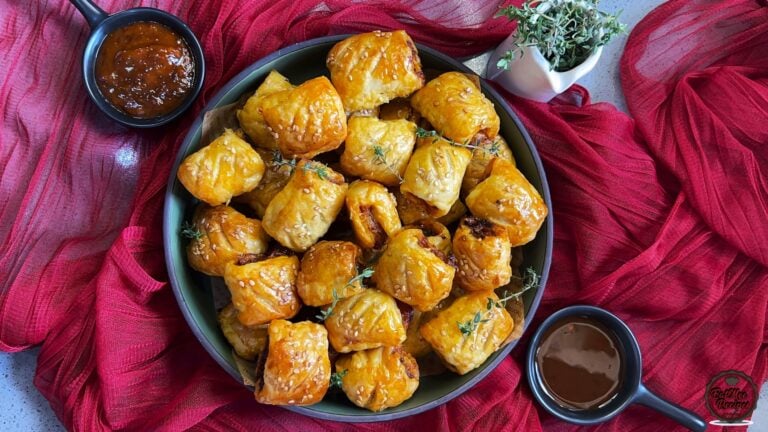 Afrikaner Cuisine
There’s something undeniably comforting about a warm, flaky sausage roll. They’re nostalgi...
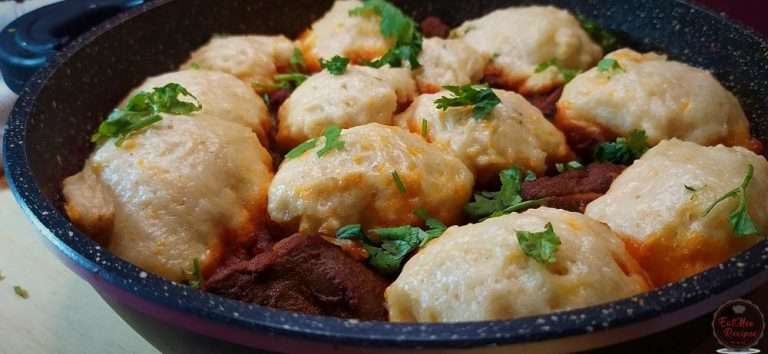 Afrikaner Cuisine
In South Africa, Dumplings (Dombolo) is known to be steamed bread which is cooked over cur...
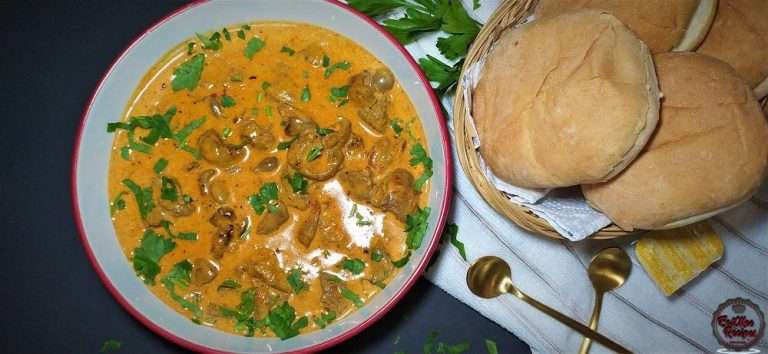 Afrikaner Cuisine
Who else goes to Nandos & orders the livers? I know I do but sometimes we just want to sta...
Have you tried this recipe or have questions for Denisiya? Join the conversation below.
No comments yet. Be the first to share your thoughts on this recipe!
Leave a Comment
Your email address will not be published. Required fields are marked *