
We Value Your Culinary Privacy
EatMee Recipes uses cookies to provide a personalized browsing experience, analyze recipe popularity, and serve relevant ads. You can review our full disclosure in our Privacy Policy.
Make authentic Maavilakku with this foolproof recipe. Packed with rich traditional flavor, step-by-step photos, and cooking tips by Denisiya on EatMee Recipes.

Join over 60,000+ home chefs for weekly authentic Durban Indian cook-alongs, Instant Pot masterclasses, and family heritage recipes.
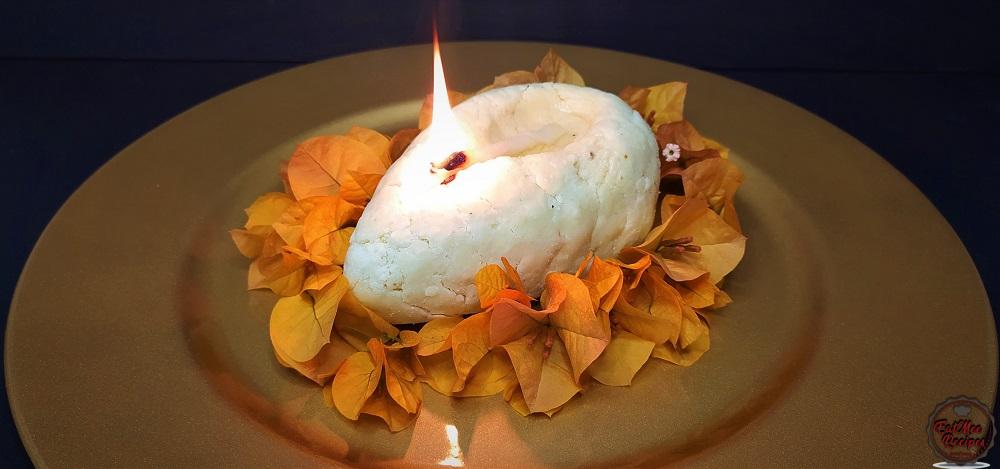
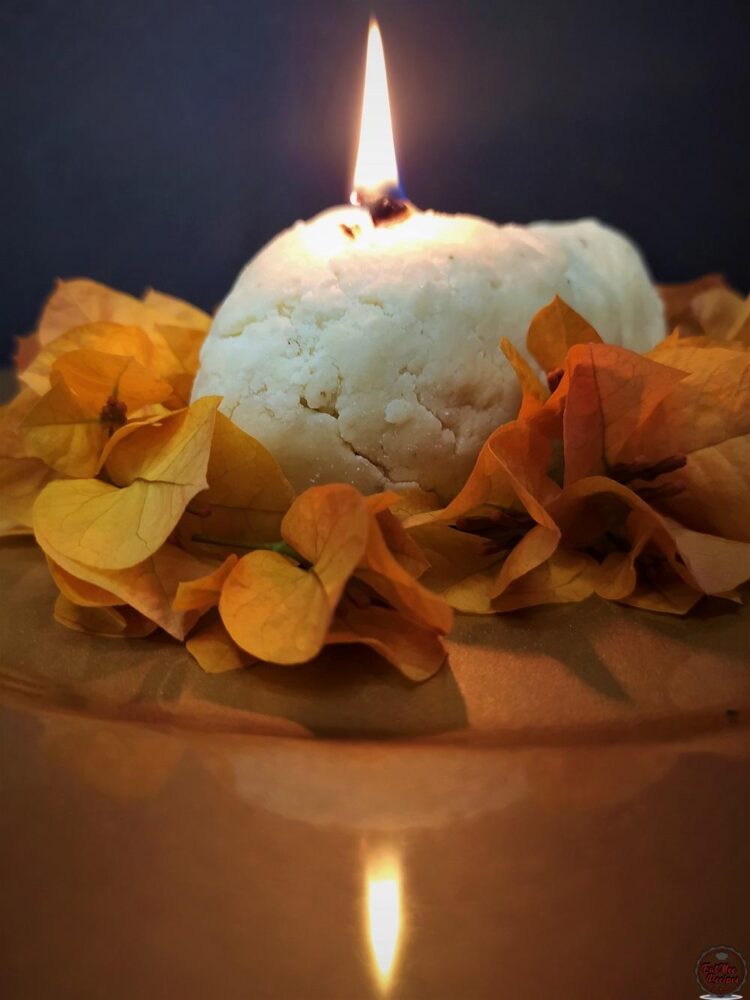
Maavilakku is an auspicious edible lamp made with rice flour & is believed to be offered to Perumal (the family deity) & the divine Mother Mariamman, by the Hindu God Vishnu (Lord Venkatachalapathy), to pacify her anger at humanity sins & transgressions.
Lighting Maavilakku in our homes, invites Lord Malaiyappan (Tirupathi Perumal) to visit our homes & the special prayer to the Goddess Mariamman is believed to bless the world with abundant rain & to cure & prevent disease.
Maavilakku on Purttasi Saturdays are very important for Tamilians. The reason behind this ritual is that the Lord Venkatachalapathy expects his devotees to be close to him. For those who could not travel to Tirupati Hills, they may light Maavillakku in their homes & worship Lord Vishnu by chanting thy name ‘Govinda’. Thy blesses them through rays of Maavillakku light. Scientifically, the carbon emitted through the mixture of rice flour & ghee will destroy all ill radiation from the home.
In Srivaishnava Community, during the month of Purttasi (Mid September/Mid October) on a Saturday, they used to light a lamp made of rice flour with added jaggery, cashew, ghee etc. Normally, this is done on any one of the Saturdays, on the first, third or fifth Saturday of Purttasi Tamil month.
Many of the Tamilians offer Maavilakku to the GOD of their choice; Amman, Perumal, Murugan; in temples or at their homes.
I learned about this from my late grandmother whom was of Tamil descent, she often made this lamp during the month of Kavady (Thai Poosam).
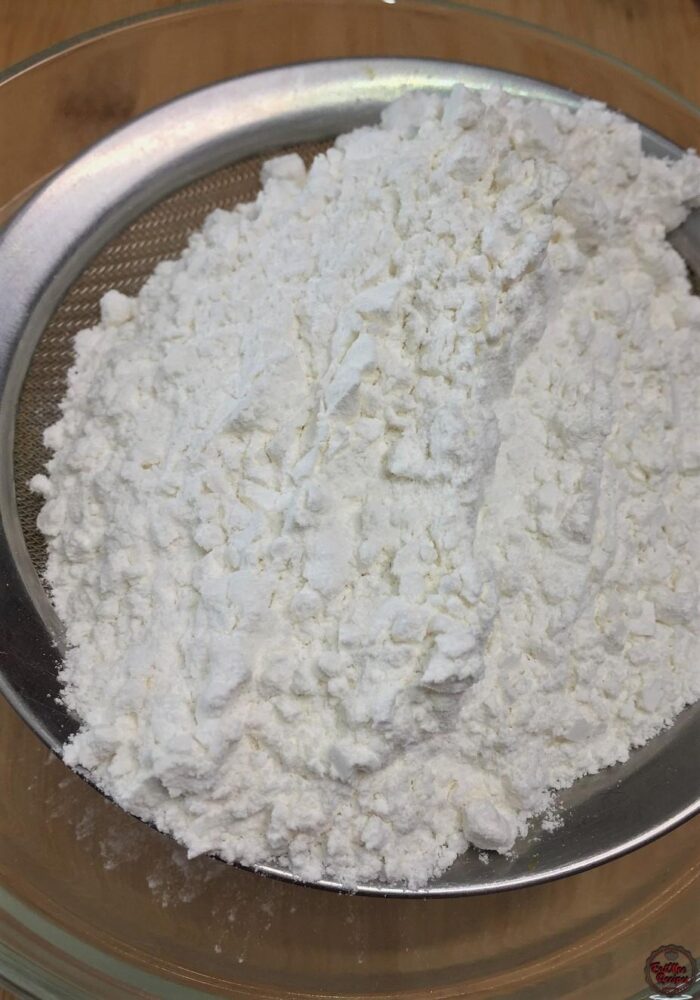
Sift the rice flour into a bowl. Often, the rice flour can be made by soaking, drying & grinding white rice.
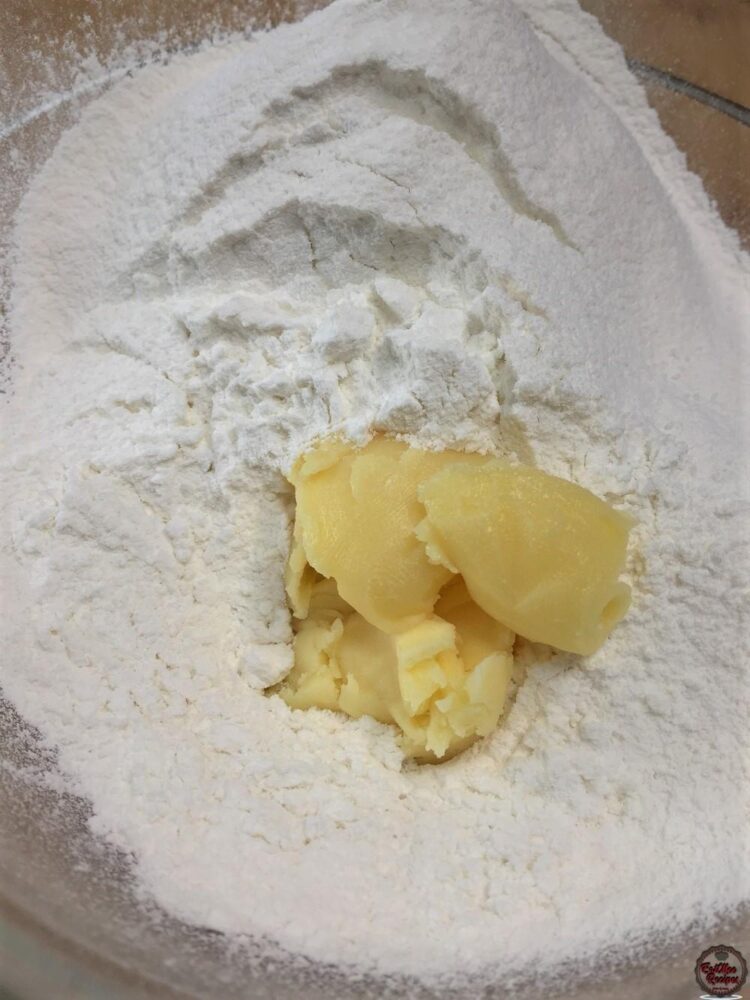
Once the rice flour is sifted, add in butter ghee (clarified butter).
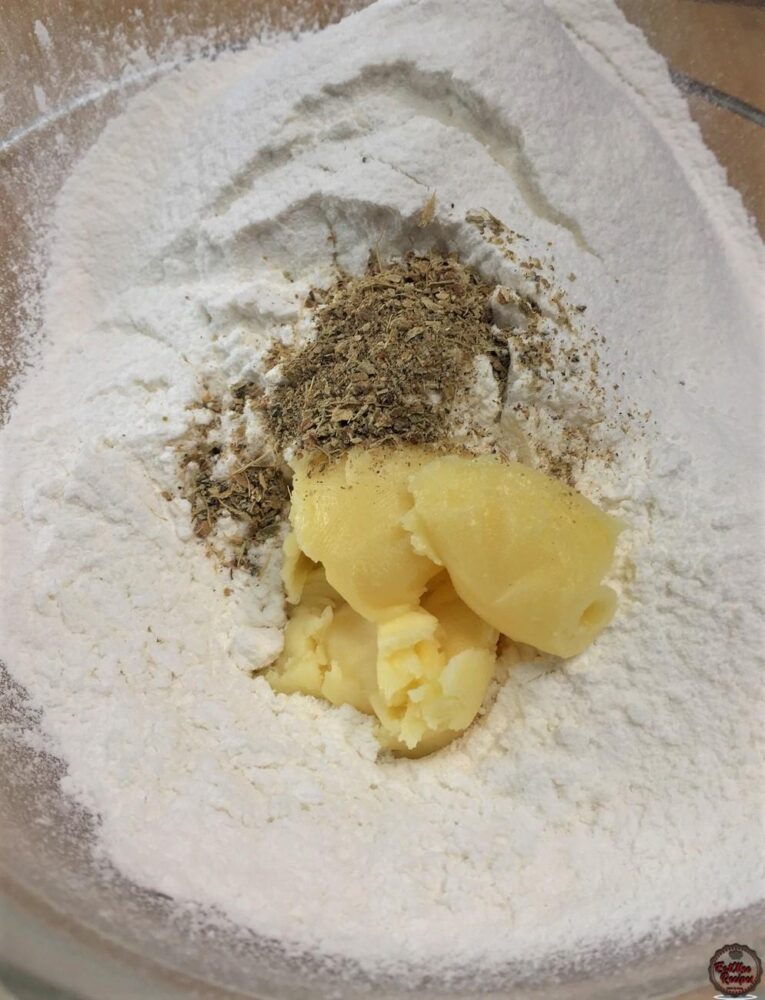
Add in the cardamom (elachi) powder.
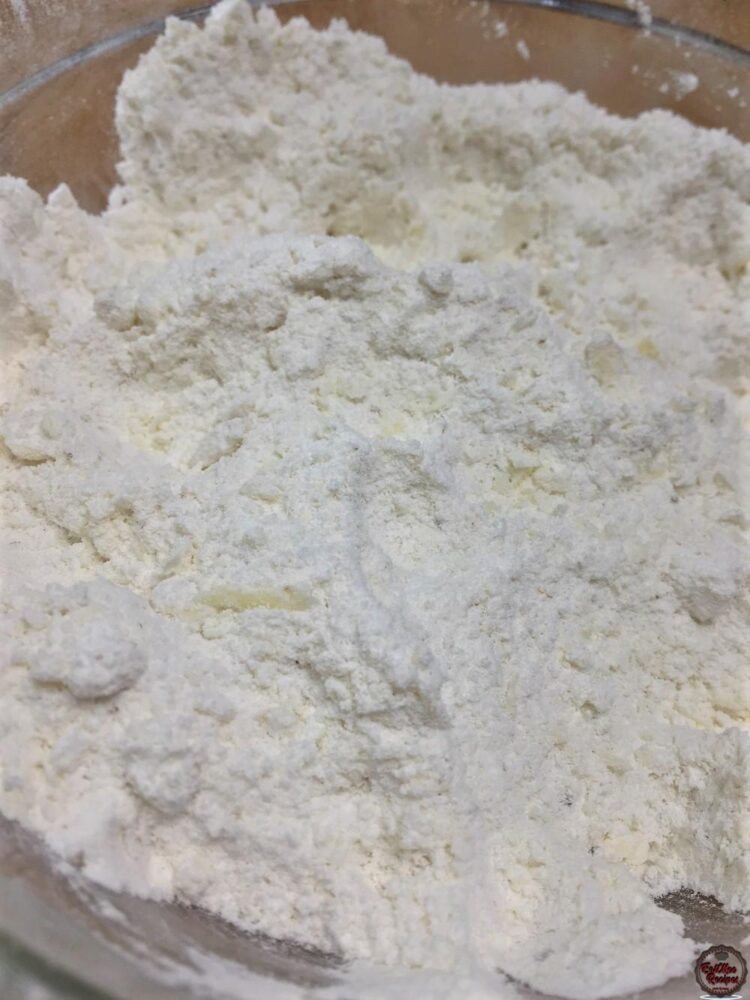
Using your fingertips, rub the butter ghee (clarified butter) into the flour to resemble a breadcrumb texture.
Add in the condensed milk.
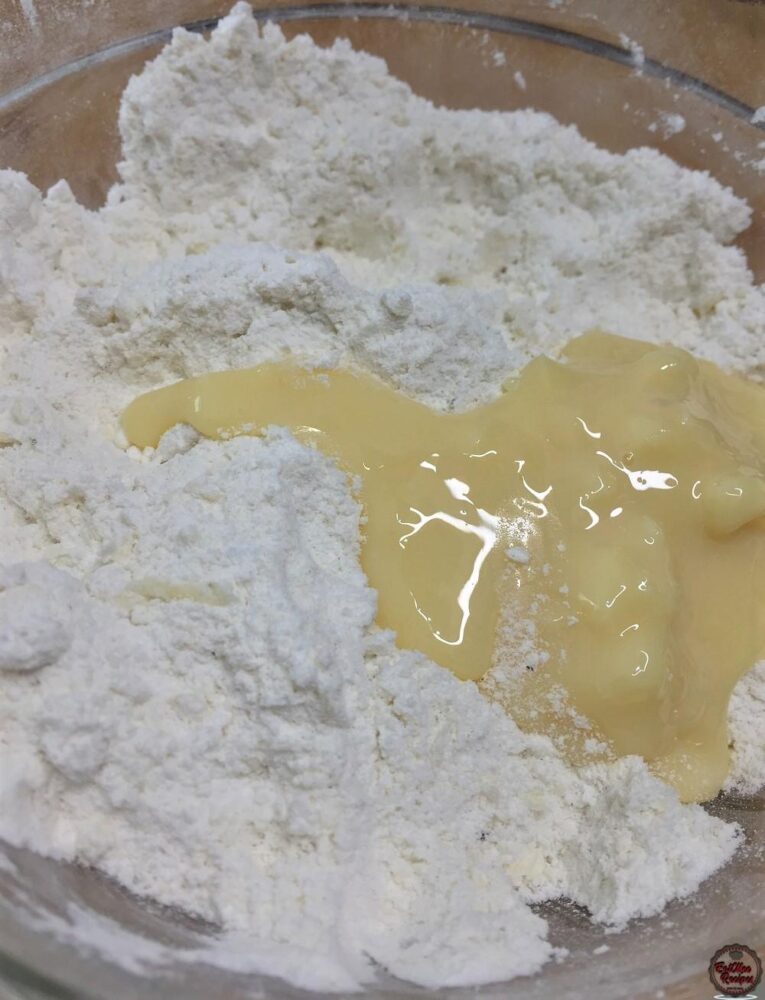
Combine the ingredients using your hands, it should begin to mould together by forming a stiff texture.
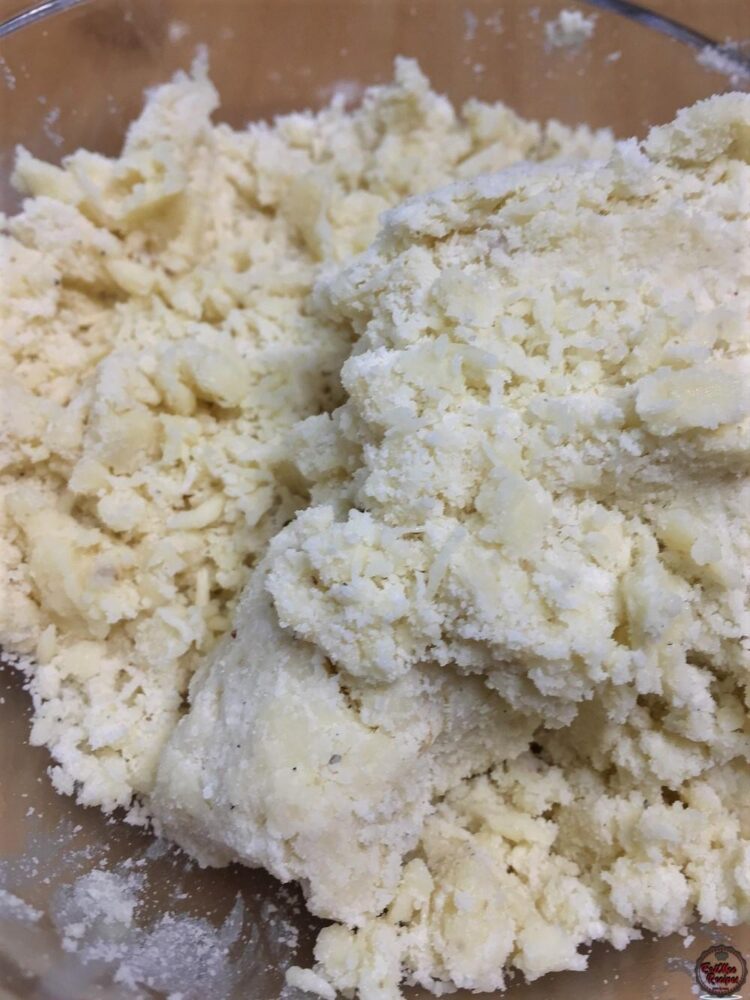
Mould the dough together into a stiff ball.
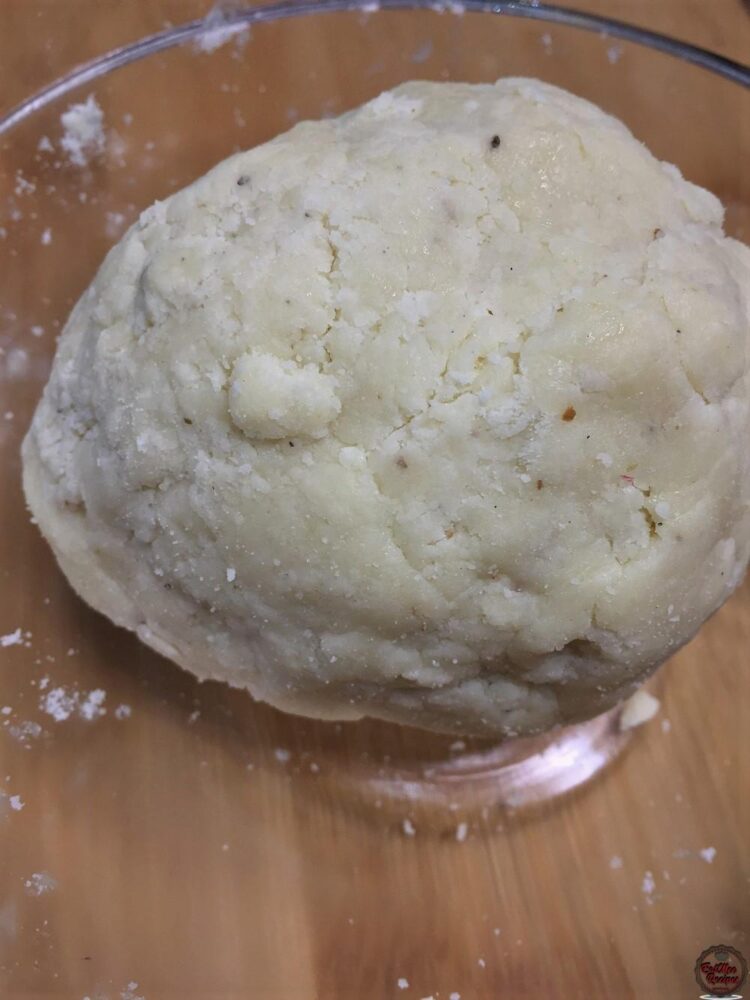
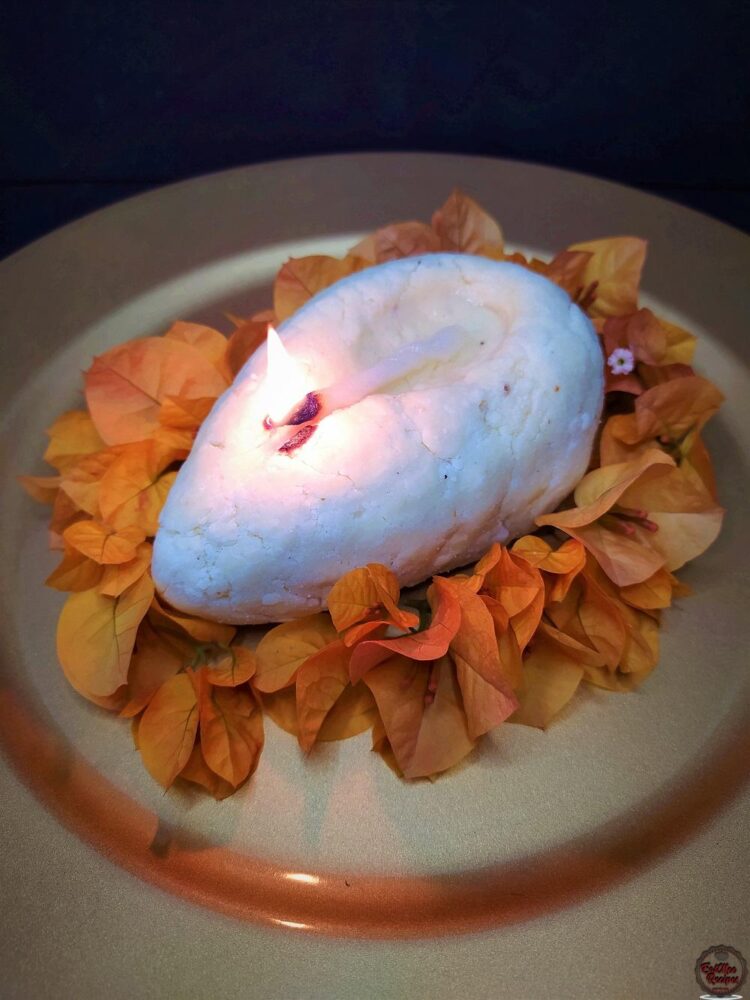
The dough may be left in the shape of a ball or you may shape it into a lamp like I have.
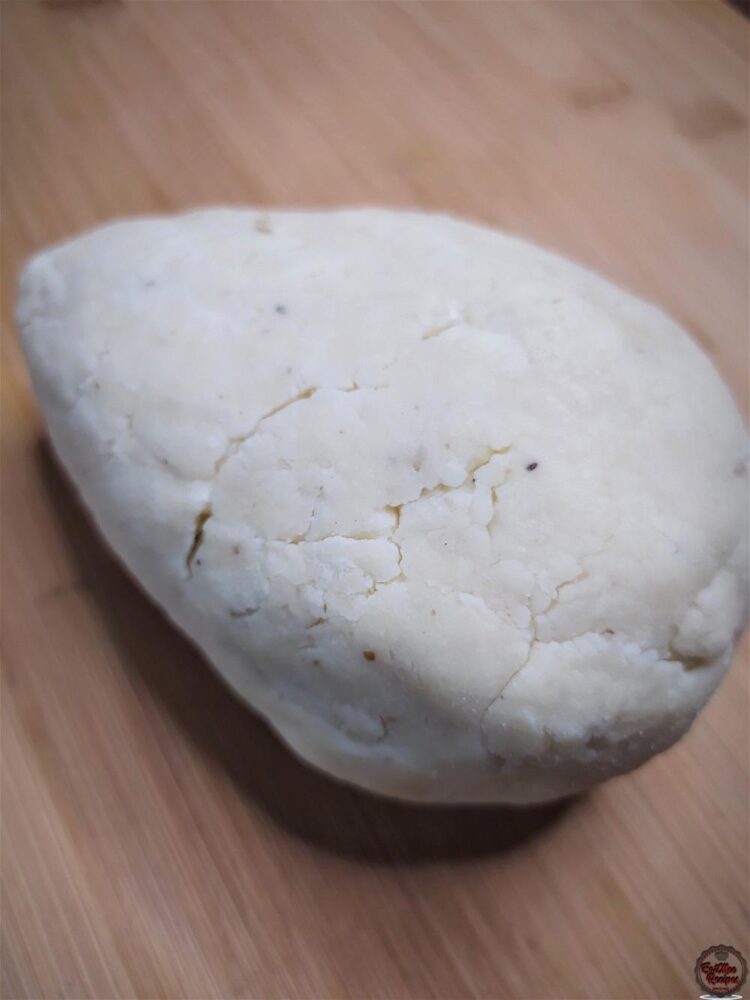
Next, use a teaspoon or a tablespoon, depending on how big you want the indent to be in the lamp & gently press the spoon into the dough. Be sure to secure the sides with your other hand as too much pressure may cause it to crumble.
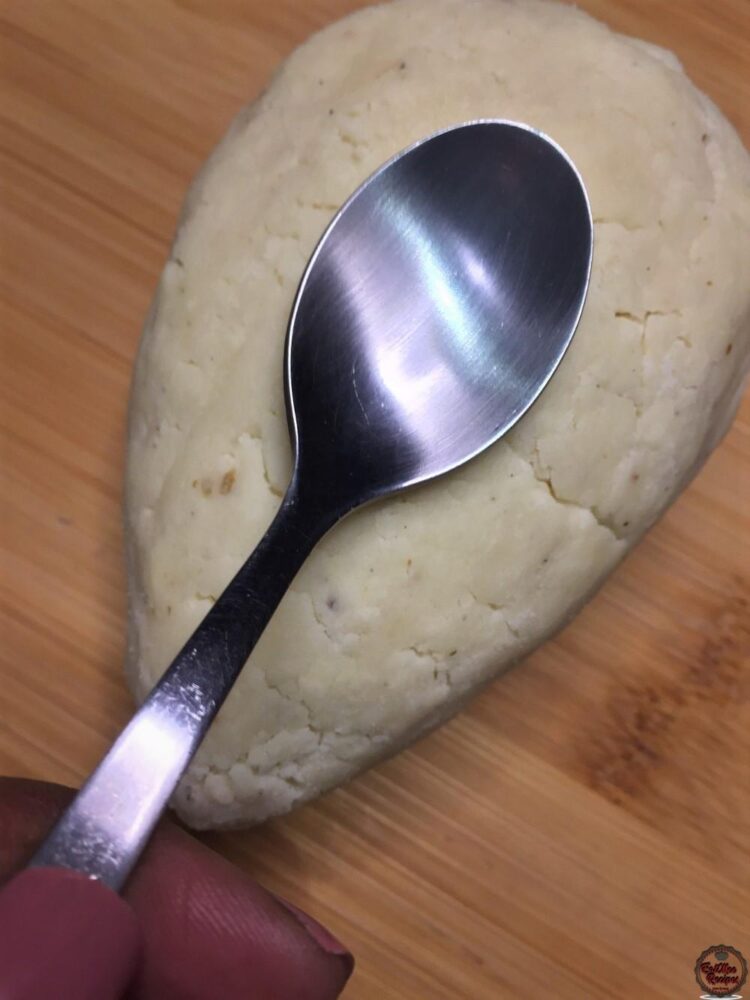
Carefully remove the spoon & you should have an indent on the lamp. You may use your fingers to mould the indent to make it deeper if preferred. The indent is made to hold the butter ghee (clarified butter) or vegetable oil so that it can be lit.
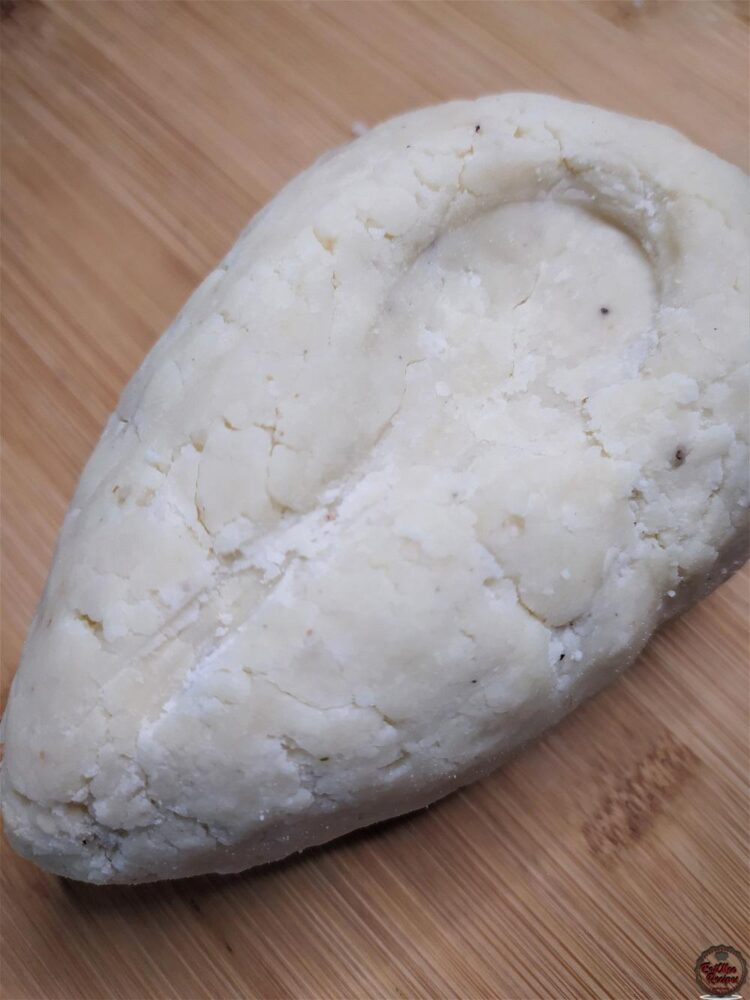
This lamp can be stored in the refrigerator until ready to be used.
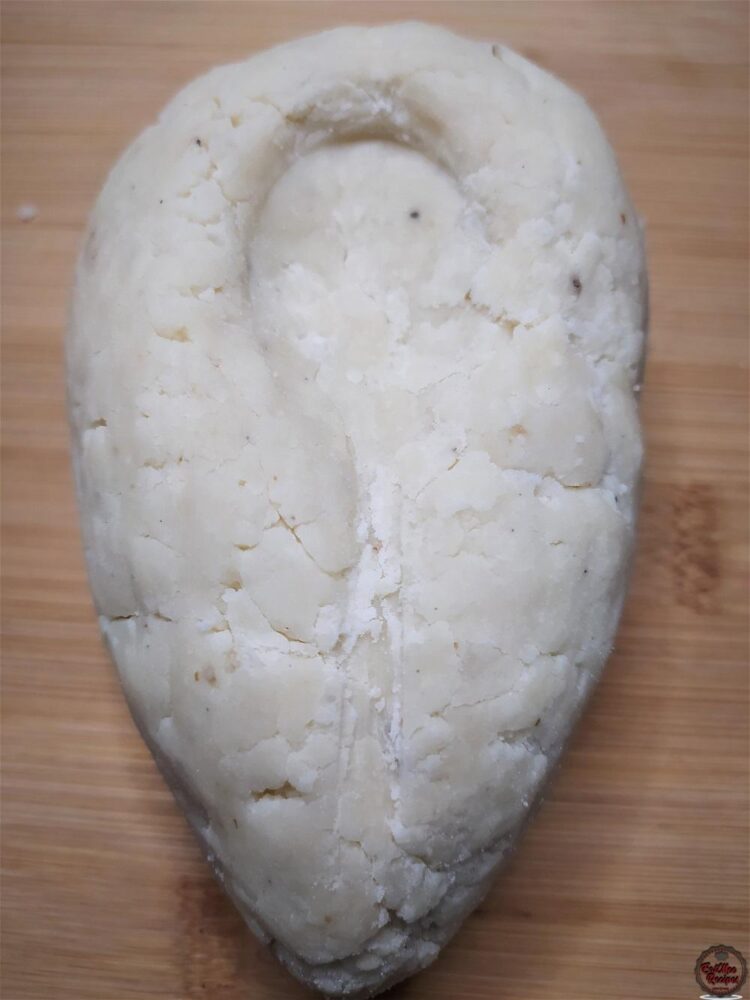
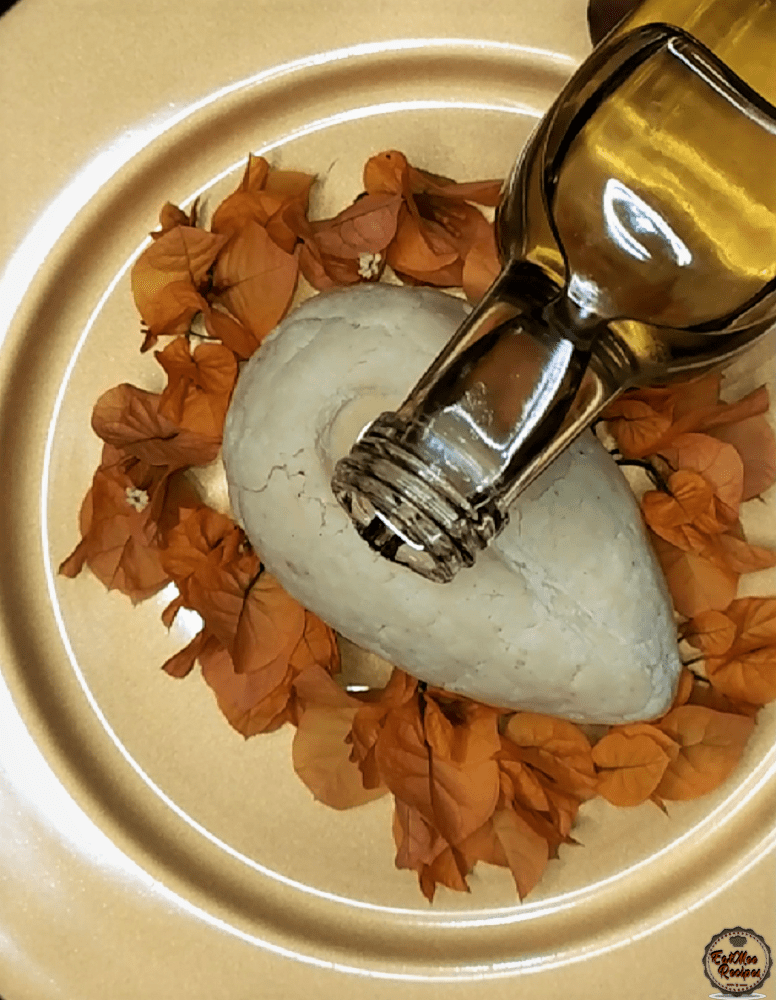
Once you are ready to light the Maavilakku, place it onto a tray & decorate if preferred. Pour butter ghee (clarified butter) or vegetable oil into the indent that was made with the spoon.
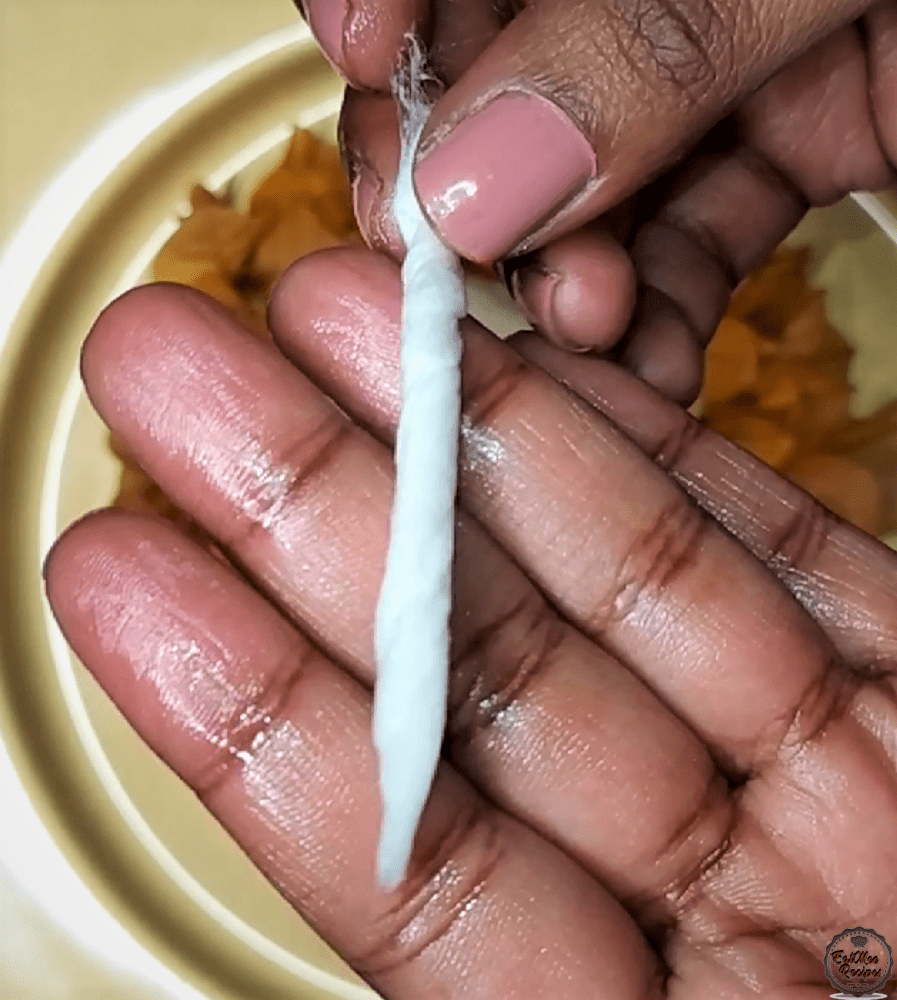
Next, take a piece of cotton wool & slightly dip it into the butter ghee or vegetable oil, rub it in-between your palms & twist if needed to form a wick.
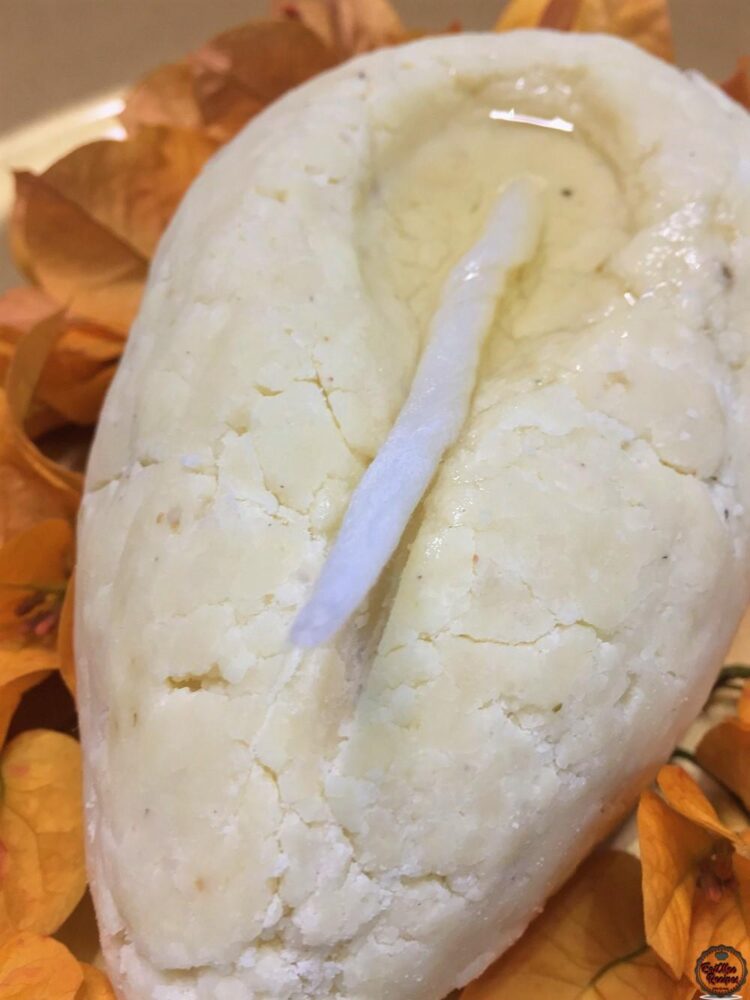
Place the cotton wool wick into the indent, with one side of the wick in the butter ghee or vegetable oil.
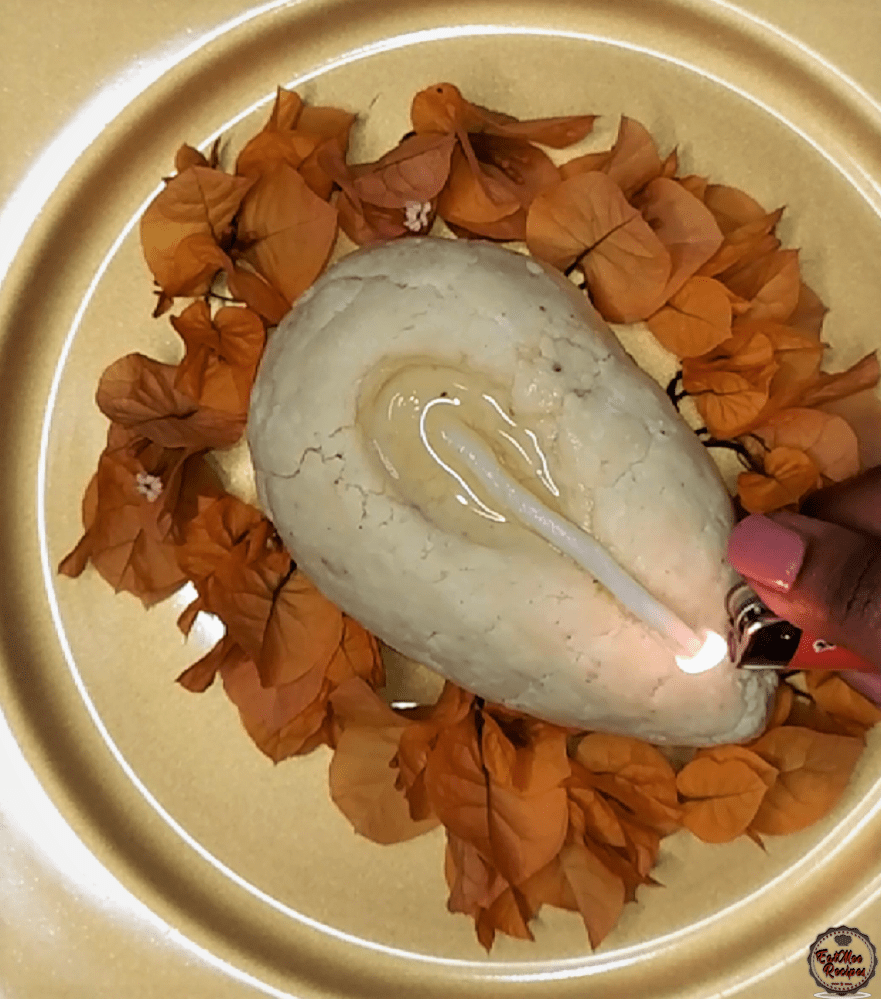
Light up the wick for your prayer.
This Maavilakku keeps well in room temperature for 3 days. Store in the refrigerator to extend shelf life for another 2 days. Freezing is not recommended.
As it is made with raw rice flour, consuming too much of it in one day will cause stomach ache so ration your daily intake.
Follow along with Denisiya's step-by-step video guide for Maavilakku.
Expert kitchen guidance and troubleshooting for making the best Maavilakku
Absolutely! You can easily tailor the heat by increasing or reducing the chili powder and fresh chilies to suit your family’s palate without compromising the authentic flavor profile.
Yes, you can freeze Maavilakku in an airtight, freezer-safe container for up to 2 to 3 months. Thaw overnight in the refrigerator before gently reheating.
Reheat gently on the stovetop over low heat with a splash of water, or in the microwave covered with a damp paper towel to retain moisture.
Hi, I'm Denisiya! Food lover, recipe developer, and founder of EatMee Recipes. I specialize in authentic South African Durban Indian cuisine, comforting curries, and modern Instant Pot adaptations. Every recipe on this site is tested in my personal kitchen to ensure you get mouth-watering, foolproof results every time.
Explore more authentic Durban curries, traditional bakes, and comforting family favourites.
 Indian Cuisine
My mum is sharing another one of her much-loved traditional South African Indian recipes. ...
 Indian Cuisine
Crispy, golden and delicious, these Brinjal Pakoras are made with thin slices of brinjal c...
 Indian Cuisine
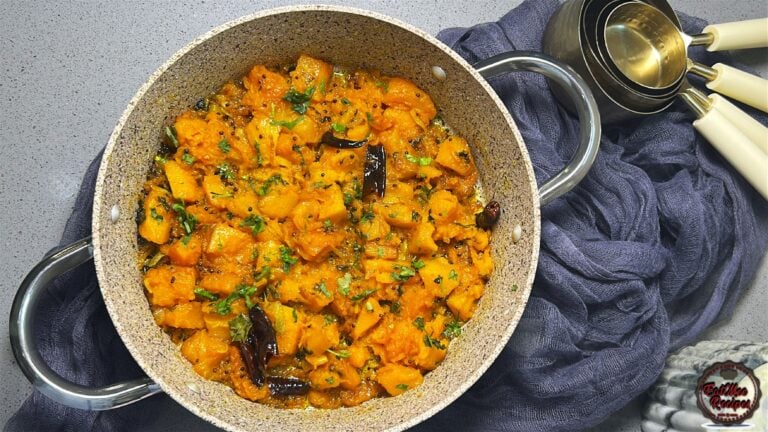
Mum’s Pumpkin Curry is a simple, comforting vegetarian dish that proves you don’t need a l...
Have you tried this recipe or have questions for Denisiya? Join the conversation below.
No comments yet. Be the first to share your thoughts on this recipe!
Leave a Comment
Your email address will not be published. Required fields are marked *