
We Value Your Culinary Privacy
EatMee Recipes uses cookies to provide a personalized browsing experience, analyze recipe popularity, and serve relevant ads. You can review our full disclosure in our Privacy Policy.
Make authentic Kolkutter / Pidi Kozhukattai with this foolproof recipe. Packed with rich traditional flavor, step-by-step photos, and cooking tips by Denisiya on EatMee Recipes.

Join over 60,000+ home chefs for weekly authentic Durban Indian cook-alongs, Instant Pot masterclasses, and family heritage recipes.
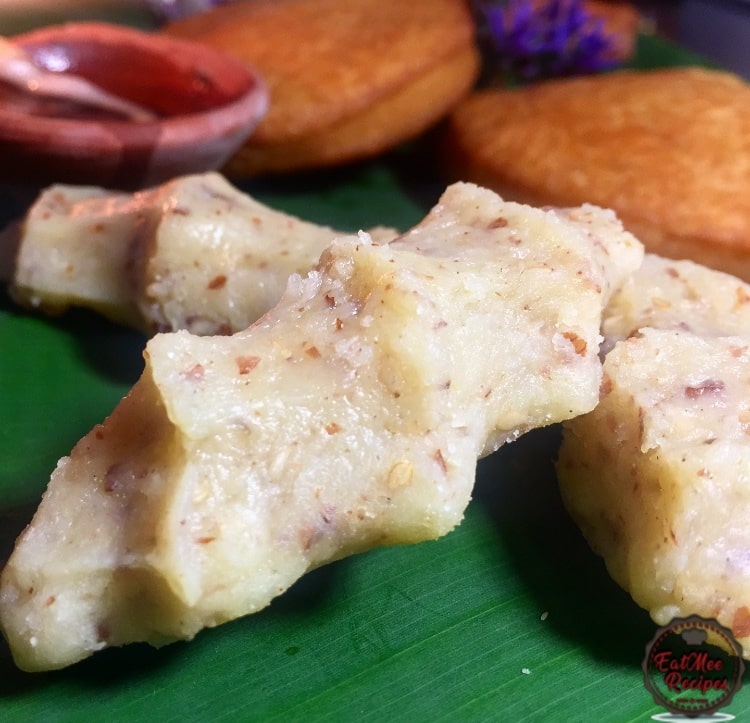
Kolkutter / Pidi Kozhukattai (also known as Koikutter, Kolikutter, Kolkatta, Vella Kozhukattai, Fingers), is a sweet, rice flour treat which is molded & steamed. It originated in South India.
These treats are usually prepared for prayers in the Hindu custom, namely, Vinayger Chaturthi (Ganesh Chaturthi), Sangatahara Chaturthi, Varalakshmi Vratam (Luxmi Prayers), Mariamman Prayers (Porridge Prayers) & Dead Peoples Prayers.
My mum & late grandmother always prepared these Kolkutters / Pidi Kozhukattais during the prayer time, so I grew up always enjoying these delicious handcrafted goodies. These Kolkutters / Pidi Kozhukattais are very easy to prepare, & even yummy to devour.
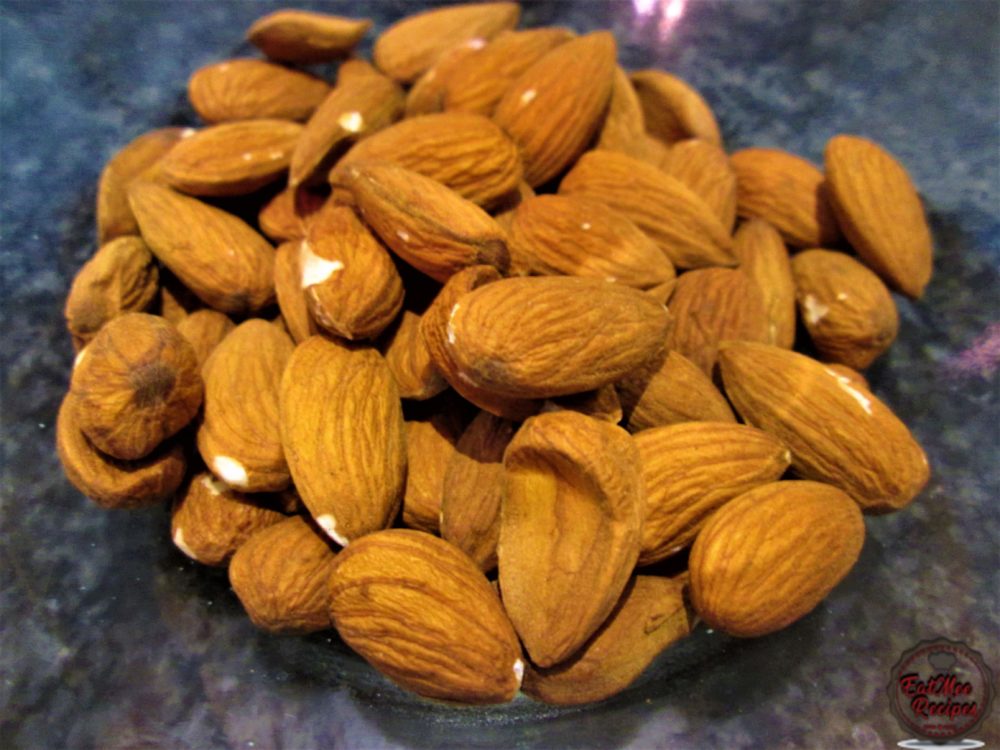
Ground or finely chop almonds.
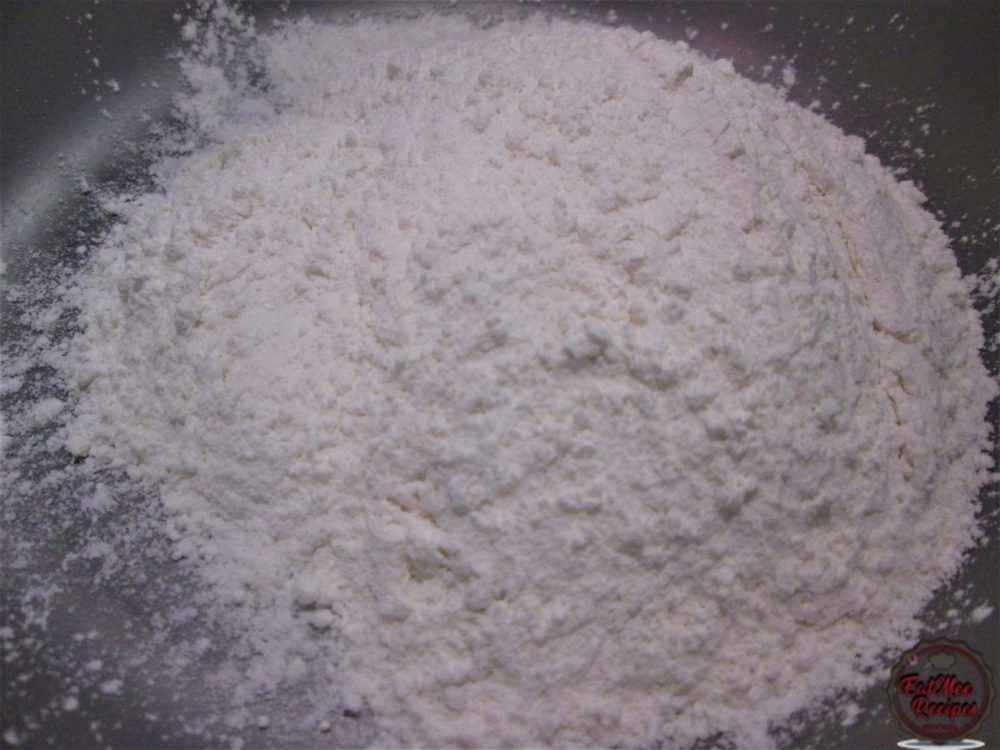
Add rice flour to a bowl.
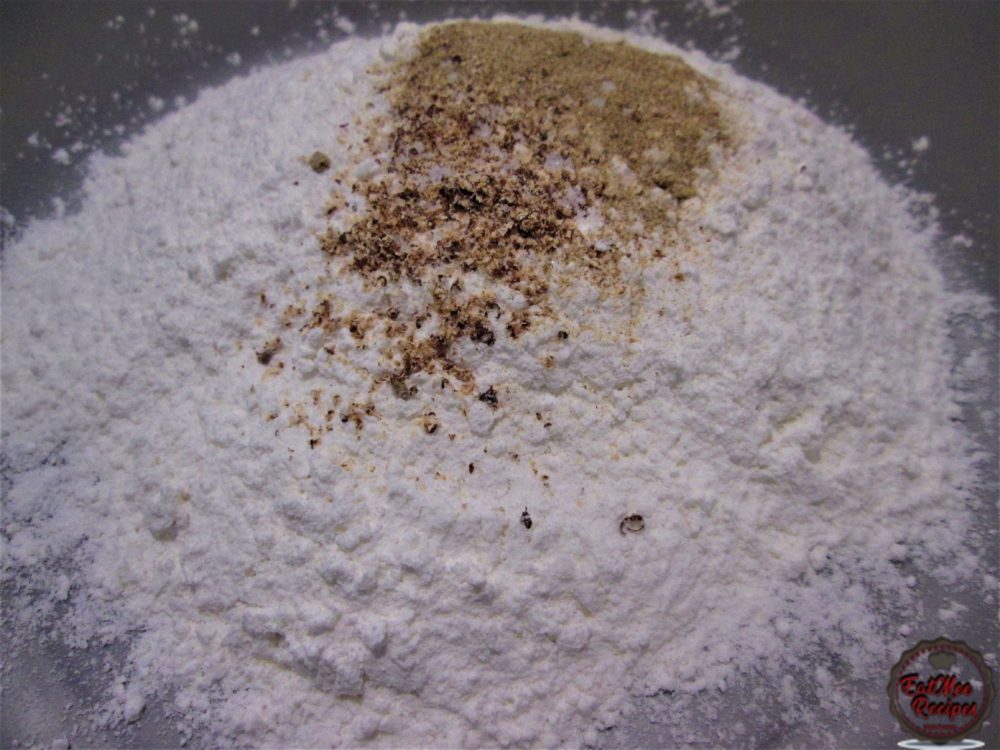
Thereafter, add in the elachi (cardamom) powder, nutmeg powder & salt.
Add in the milk powder. This step is optional, my mum adds it in when she prepares it, as it adds more flavour. I now have the tendency to add it in as well.
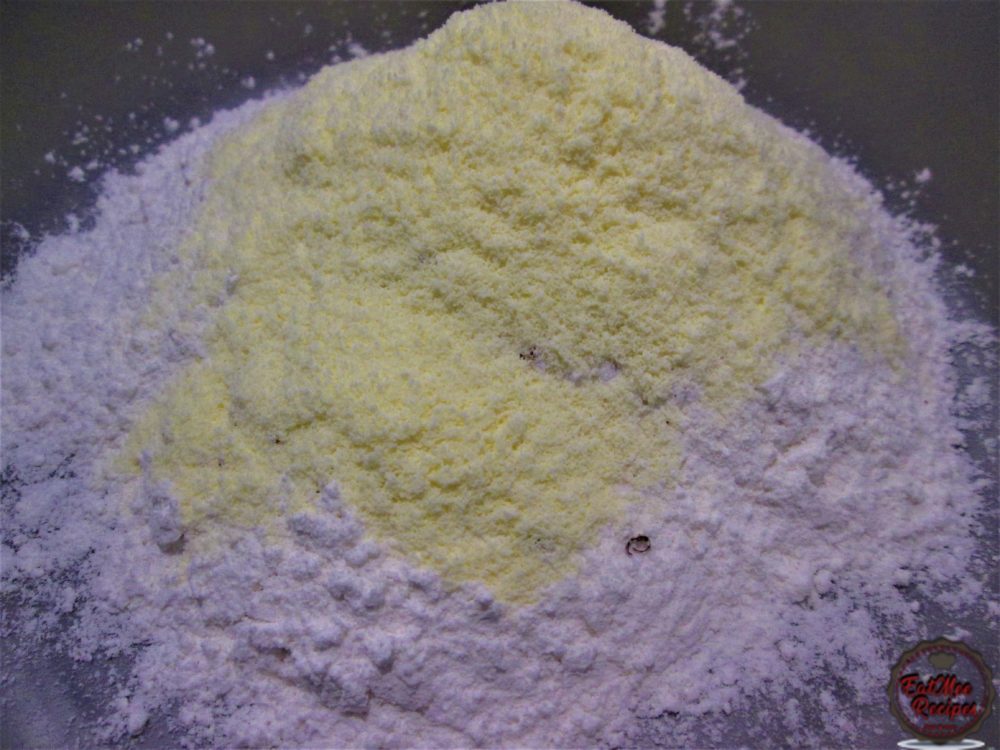
Next, add in the castor sugar. White granulated sugar may be used as an alternative.
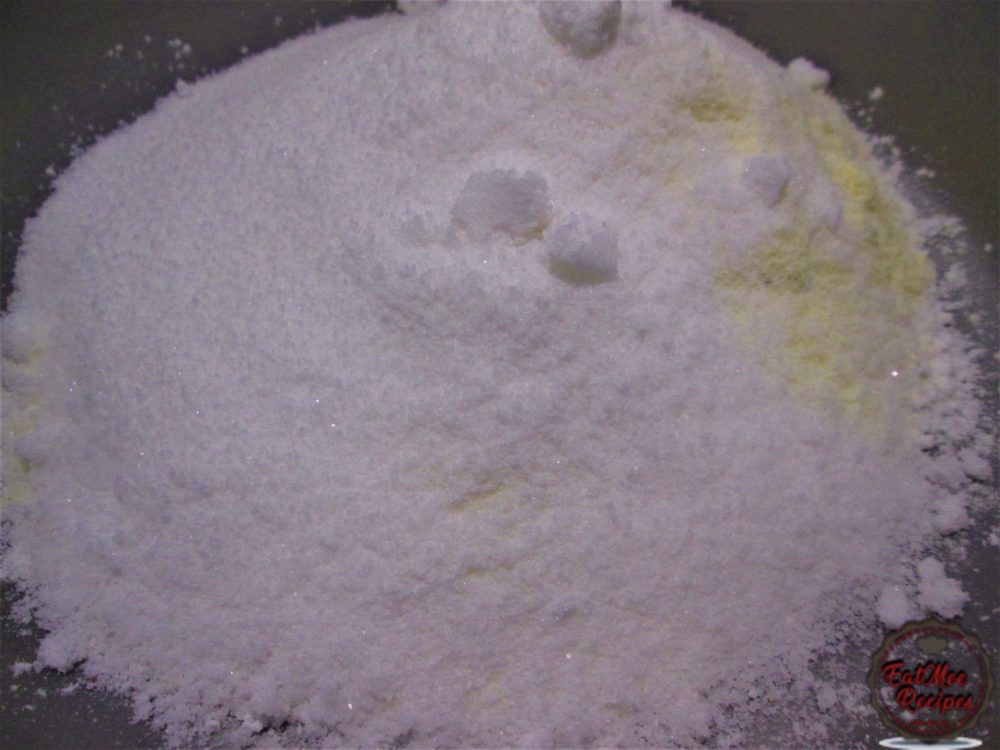
Add in the desiccated coconut.
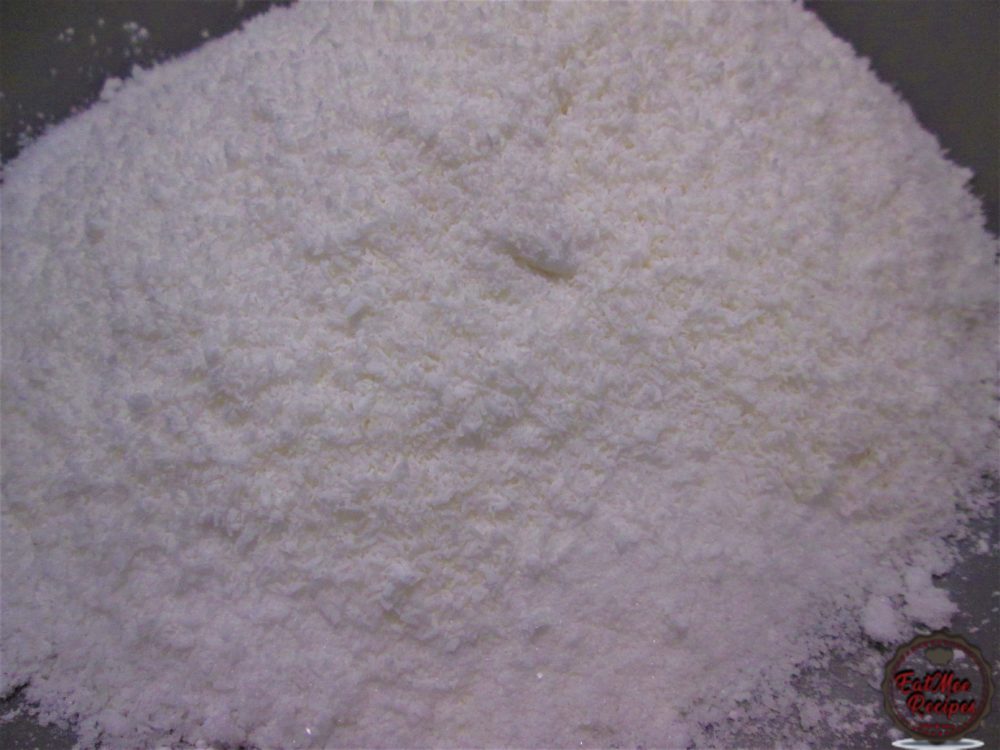
Next, add in the sesame seeds (thill).
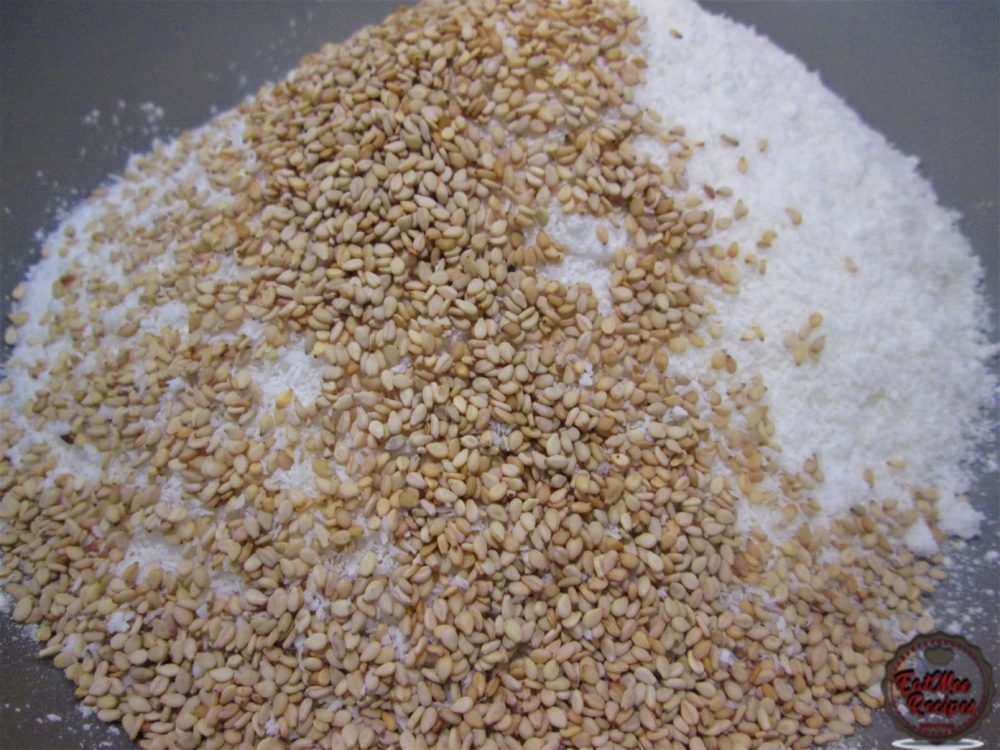
Add in the ground or finely chopped almonds.
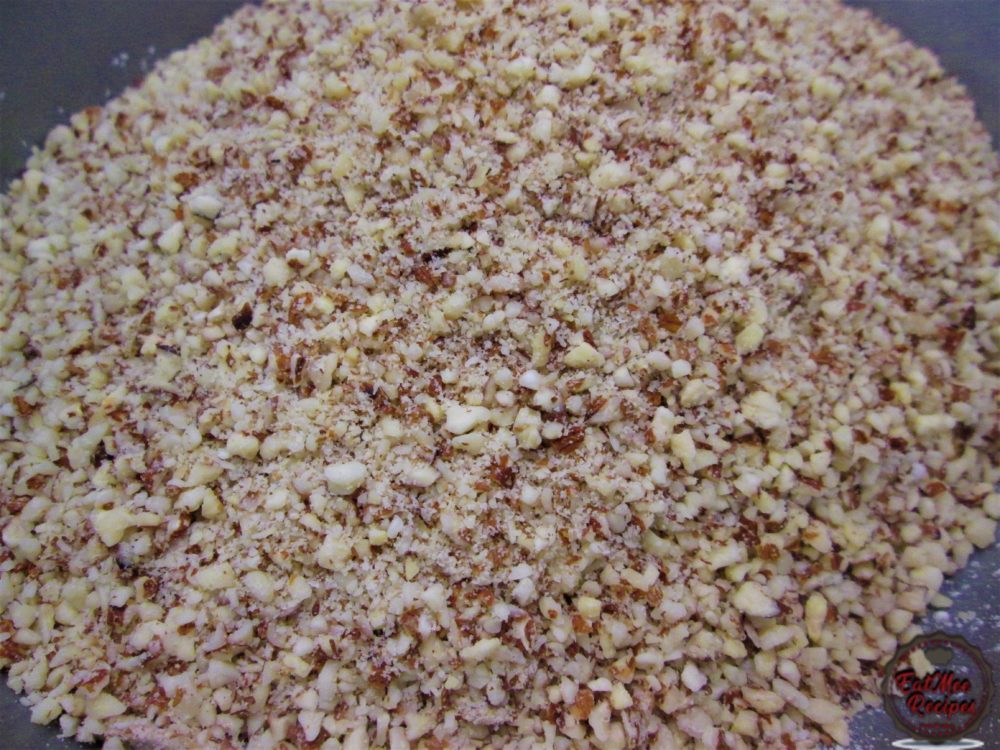
Mix.
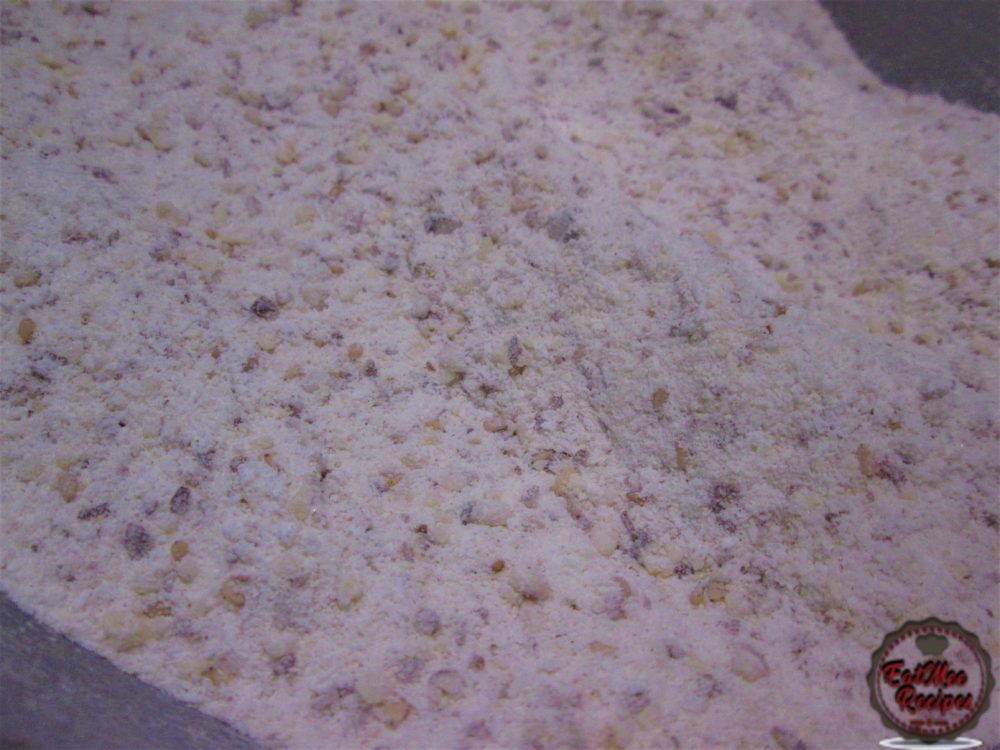
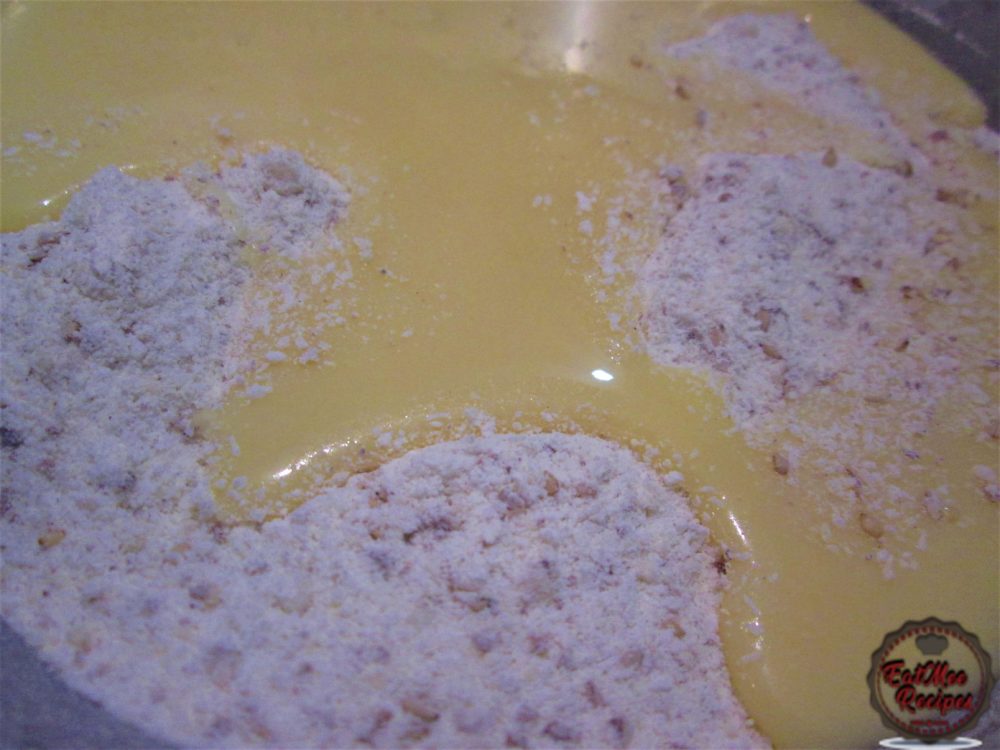
Pour in the condensed milk.
Melt the butter for a few seconds in the microwave.
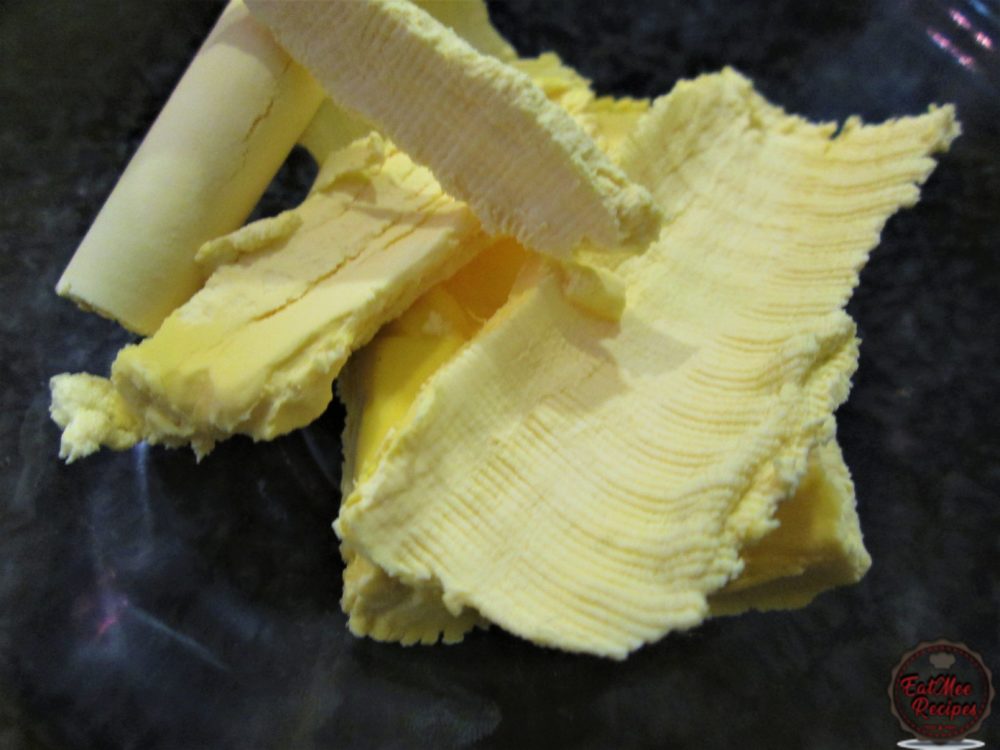
Add the melted butter to the mixture.
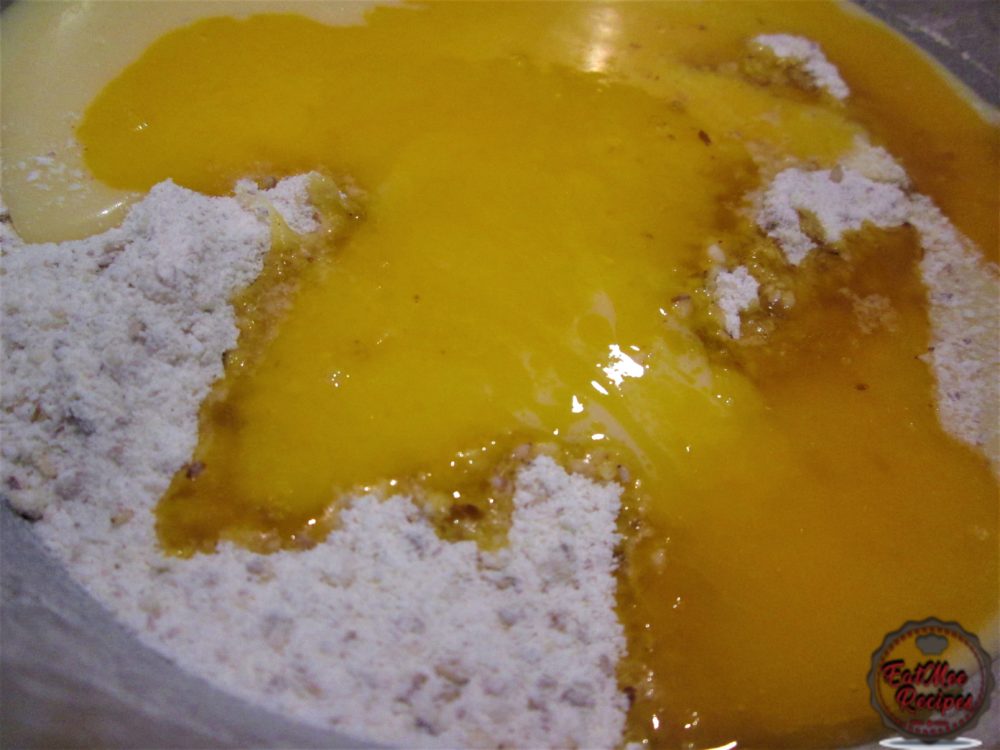
Finally, pour in the milk.
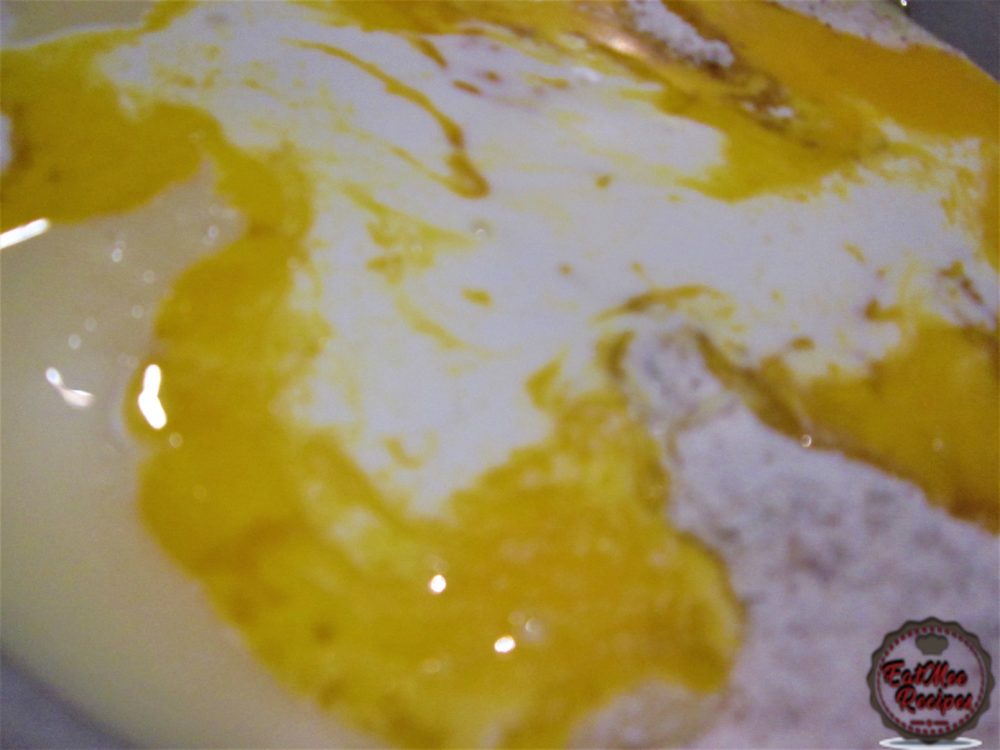
Mix well.
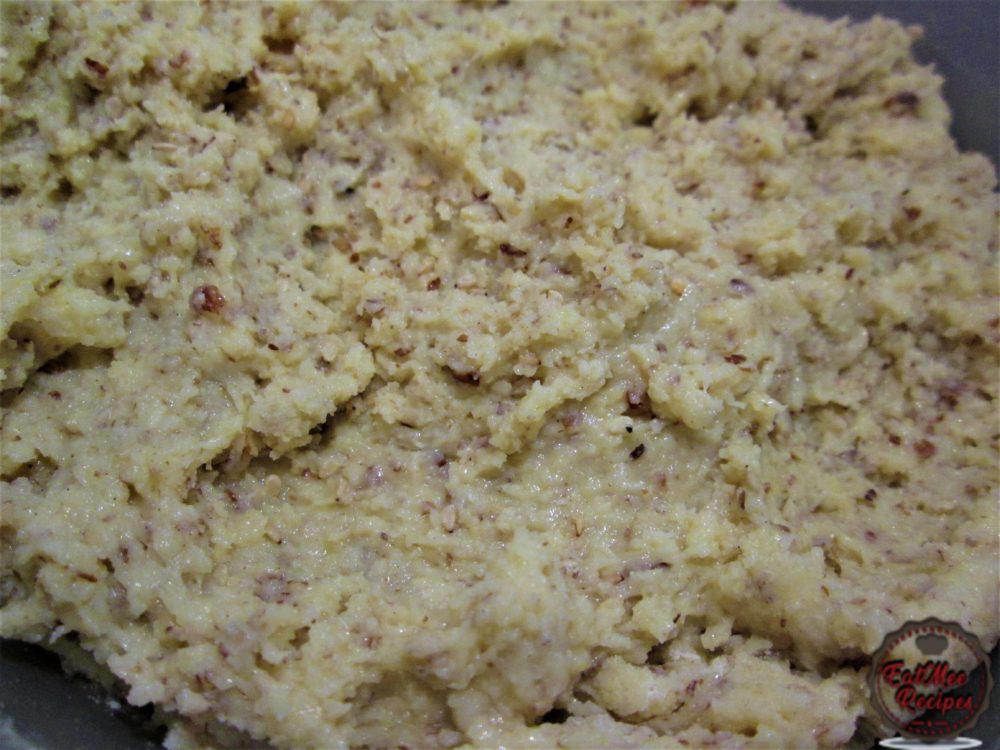
Mixture should not be too mushy or else the mold won’t hold. If it is too mushy then add in more rice flour.
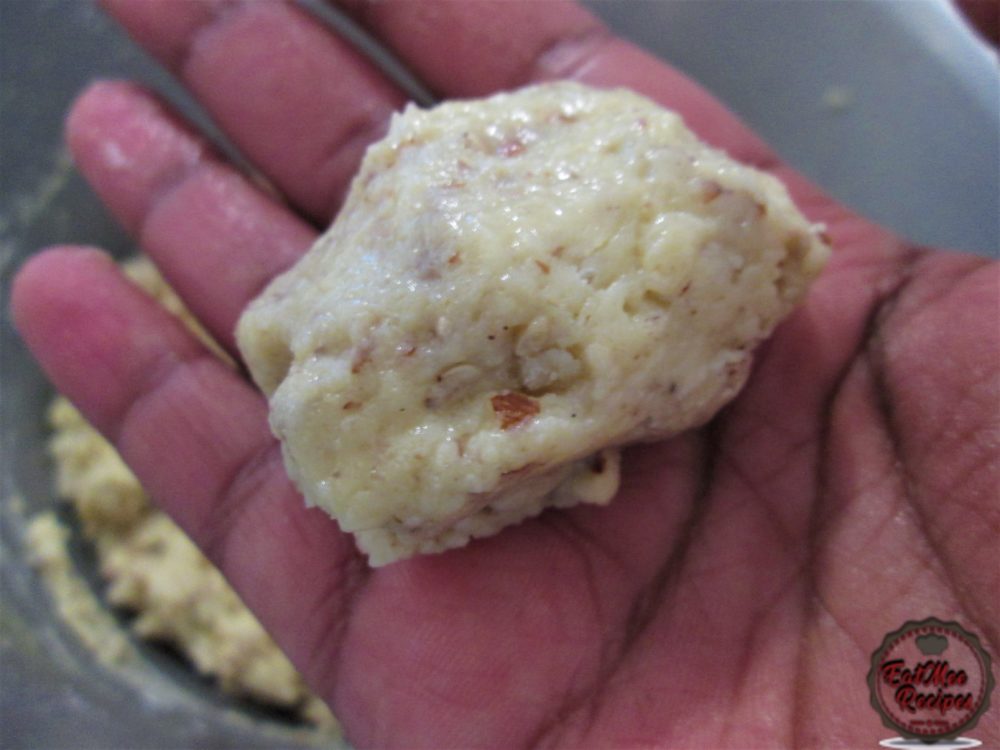
Take a small piece of the dough, around a golf ball size.
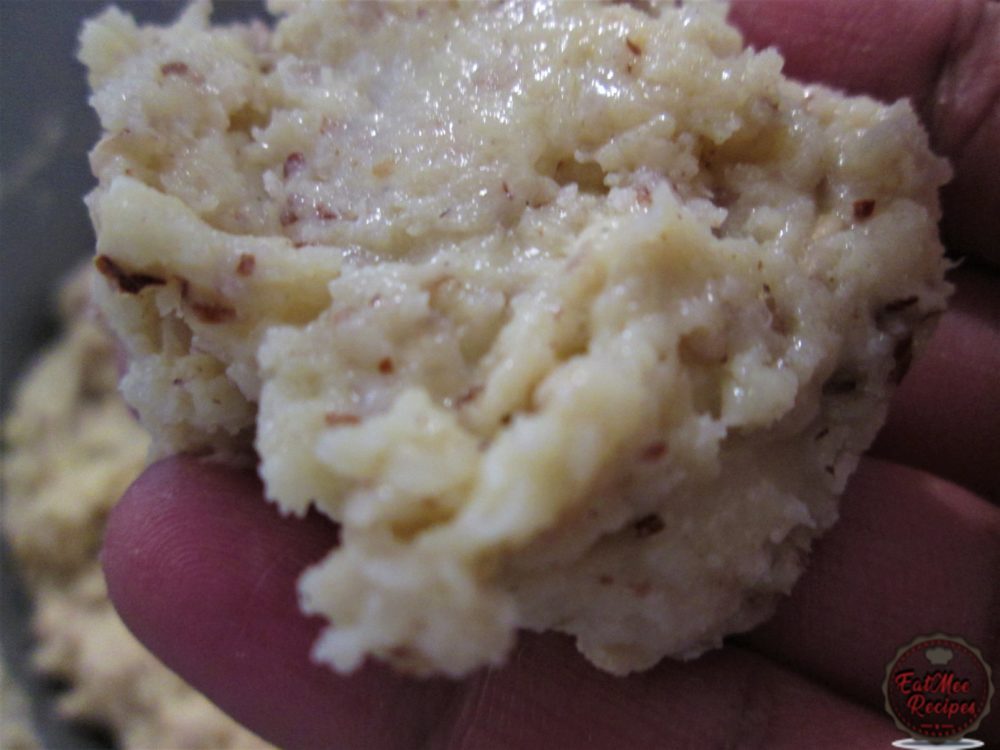
Roll it a bit in your hands.
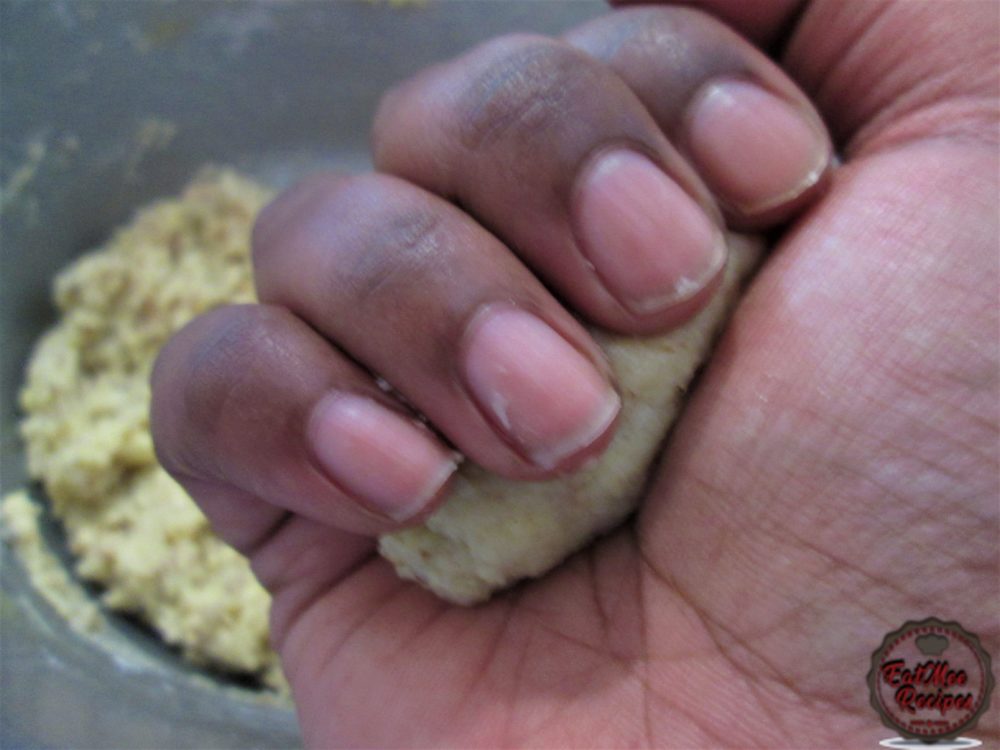
Make a fist motion, with the dough being under fingers.
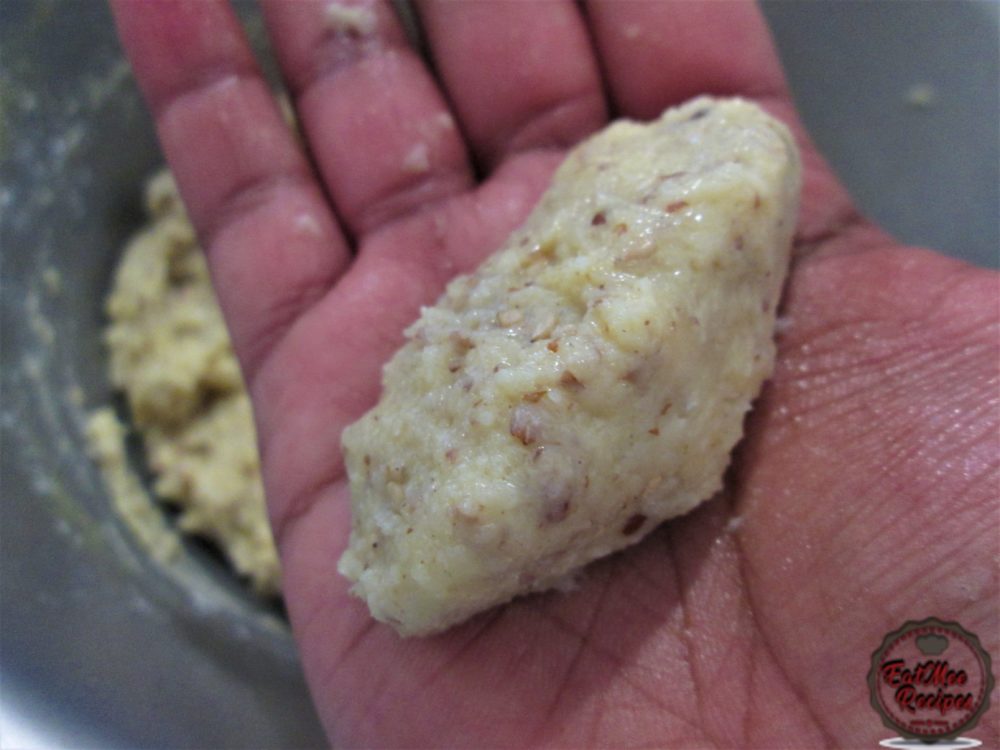
Open hands & the Kolkutter / Pidi Kozhukattai mold is formed.
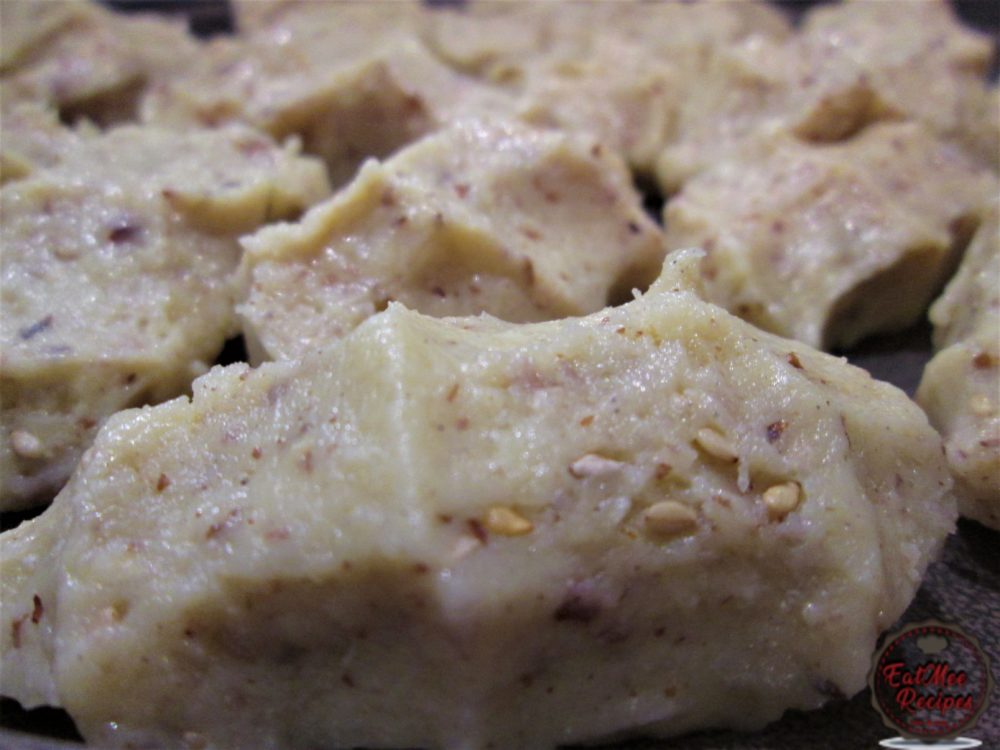
Set aside on a plate & continue the same process until all the mixture is used.
Pour water into a pot – not too much. Preferably a pot with outer edges.
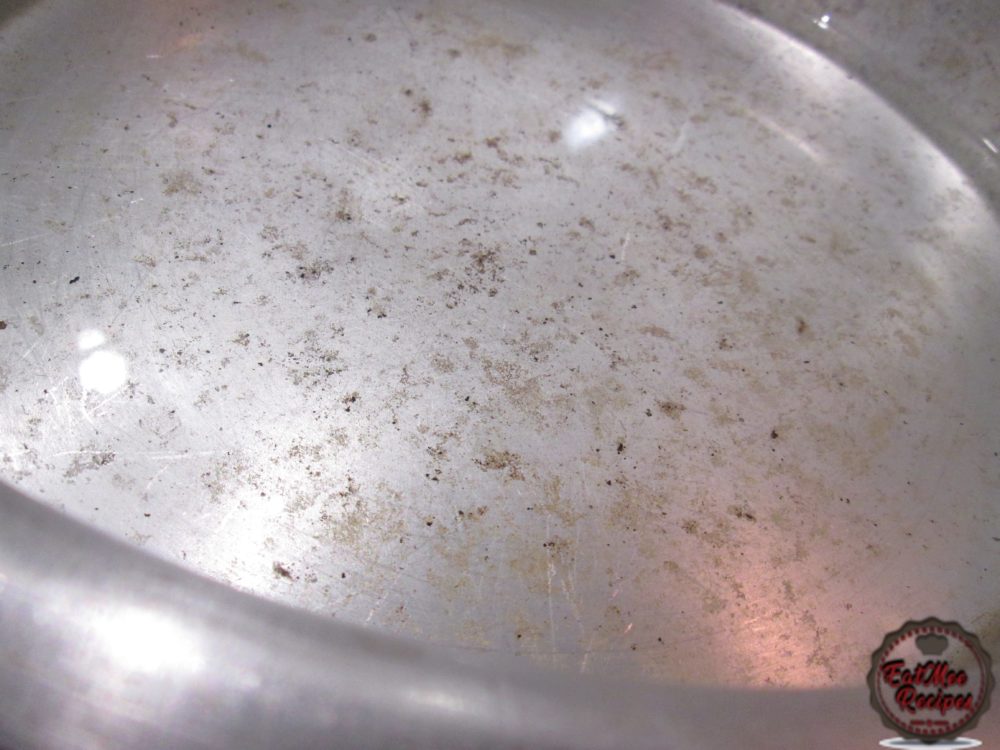
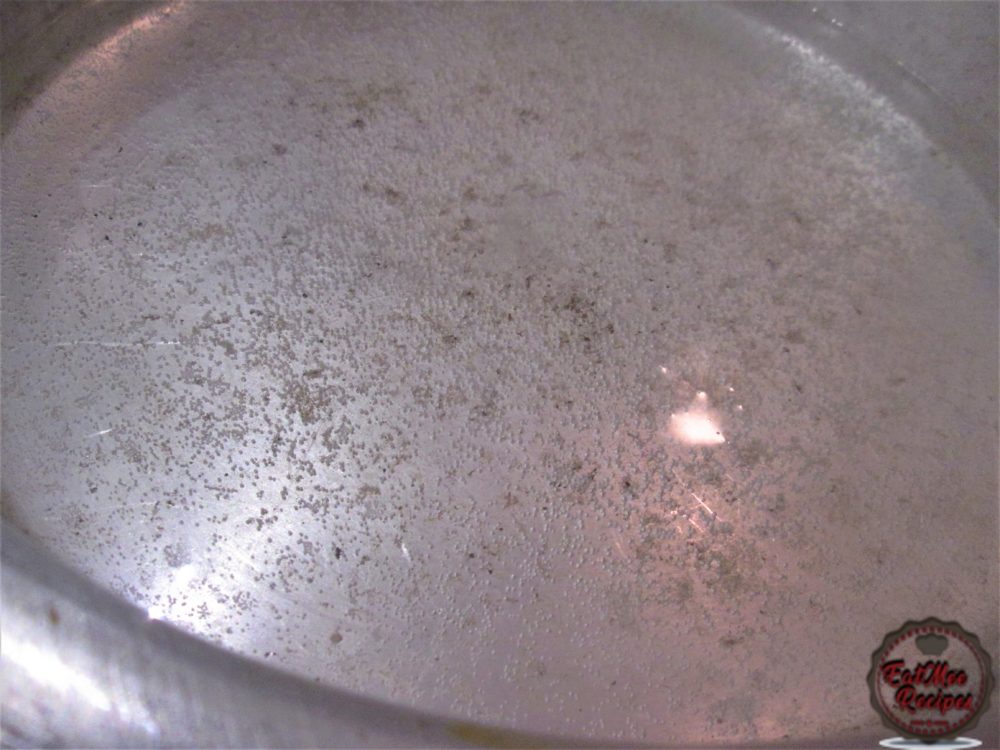
Bring water to a boil. Alternatively, a steamer may be used for this process.
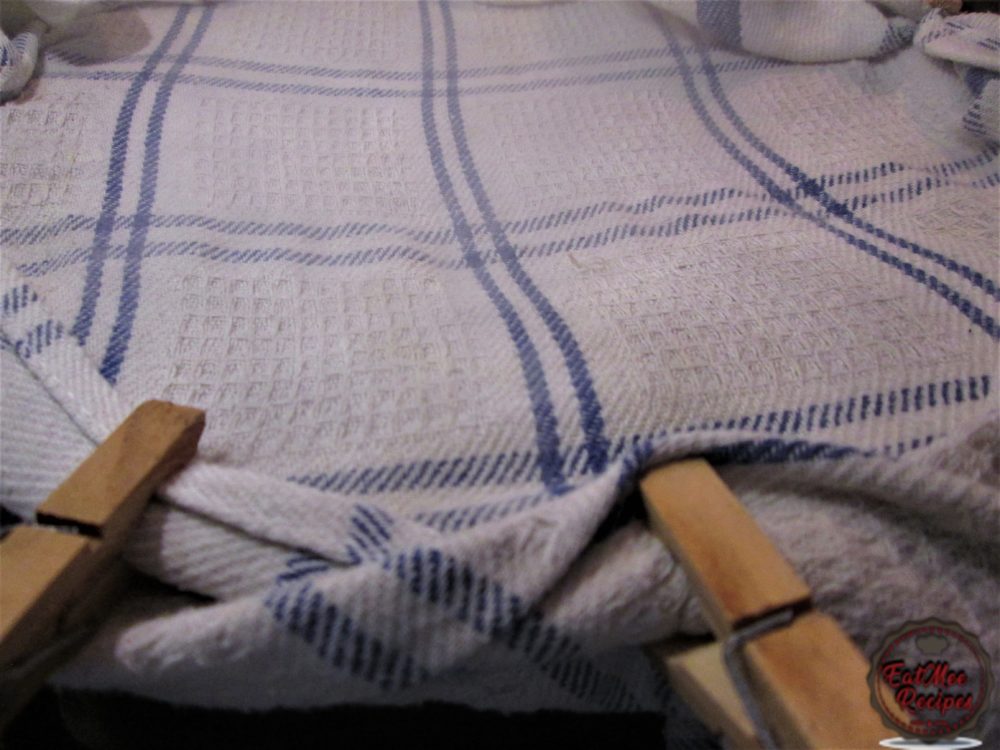
Turn off the heat & place a dish towel over the pot. Secure it tightly with pegs on the ends.
Carefully place the Kolkutter / Pidi Kozhukattai on top of the dish towel & allow it to steam for 10 minutes. Make sure that the Kolkutter / Pidi Kozhukattai does not touch the water – this is why the dish towel needs to be secured tightly.
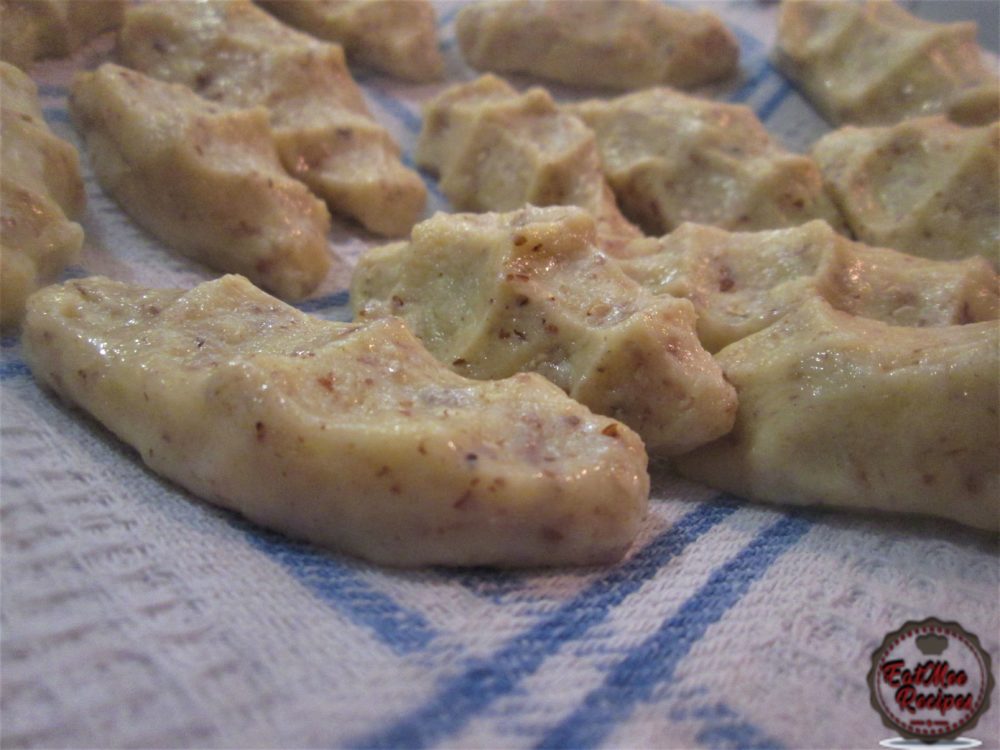
After steaming, carefully remove the Kolkutter / Pidi Kozhukattai from the dish towel & place onto a plate.
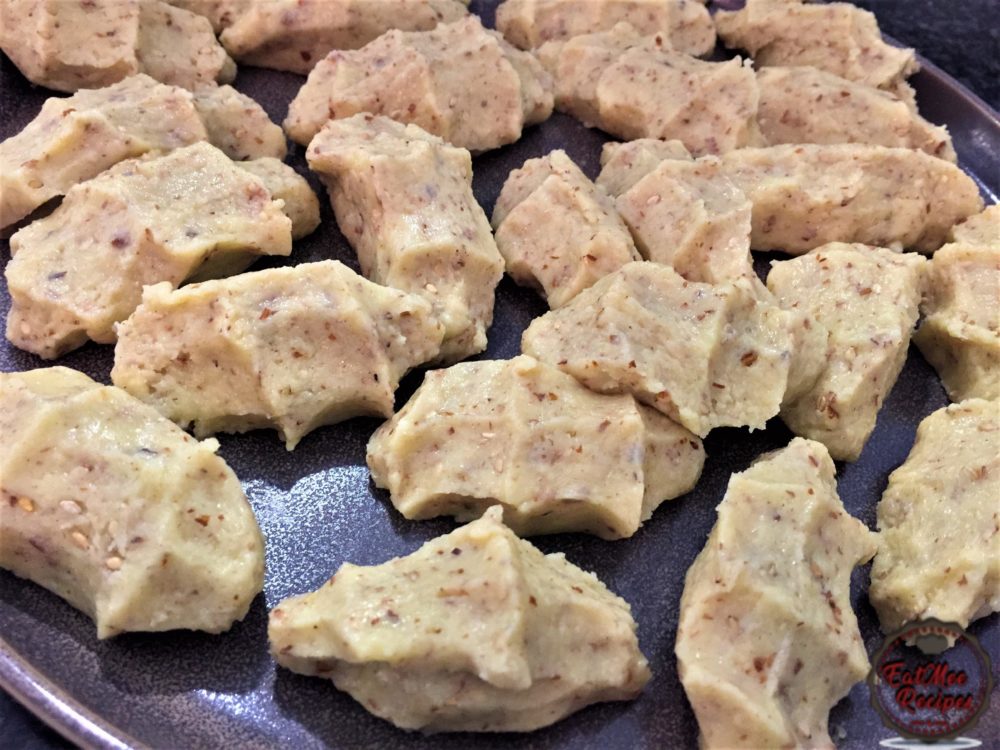
Allow to rest for 10 minutes so that they can firm up. Reshape & mold if necessary.
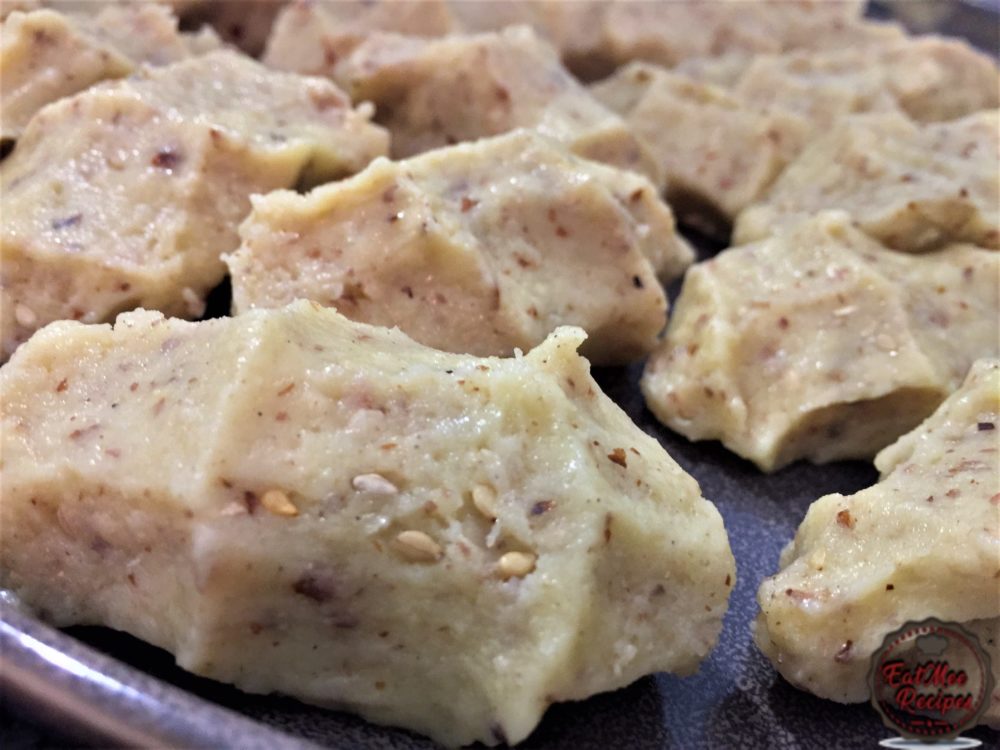
These Kolkutter’s / Pidi Kozhukattai’s are now ready for devouring or offering for a prayer.
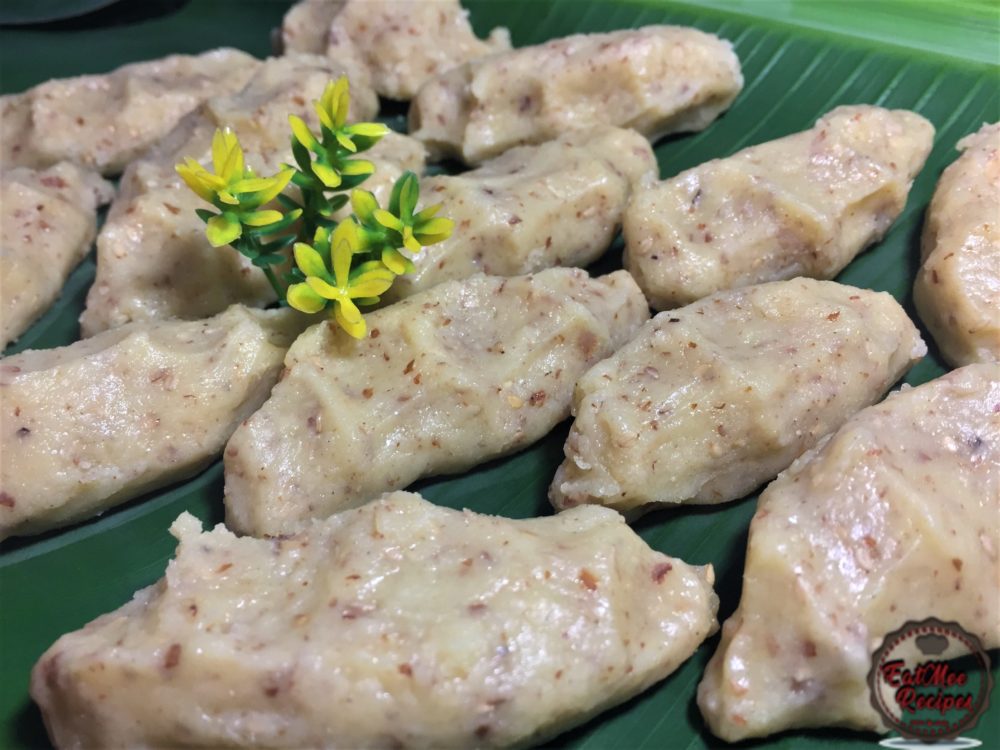
Do not refrigerate.
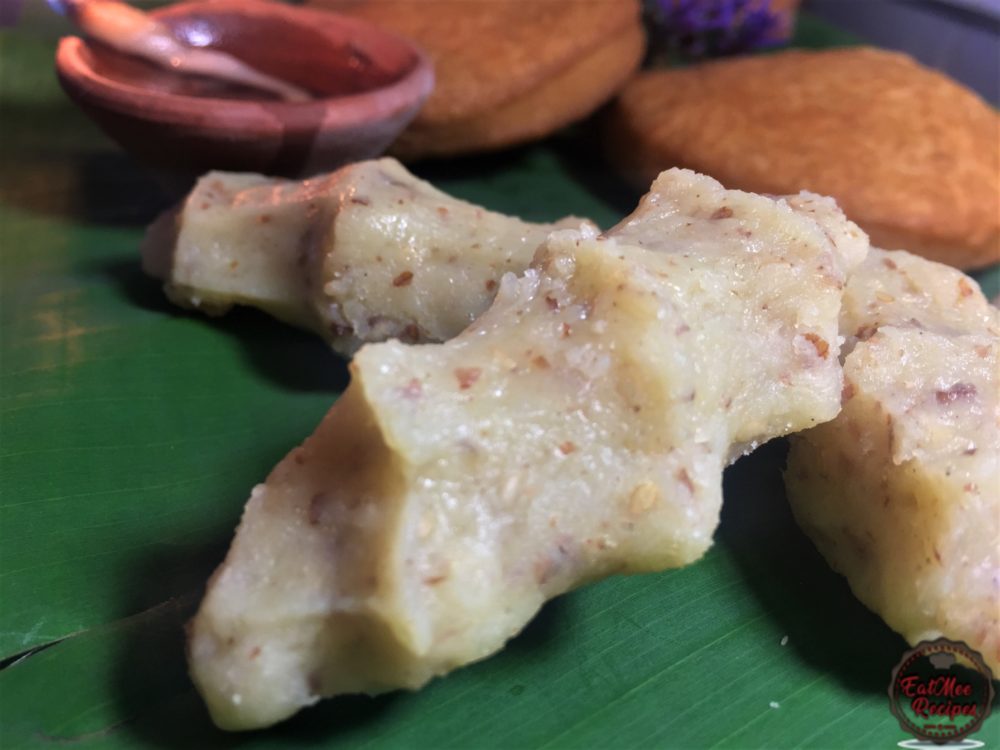
Stays fresh for up to a week.
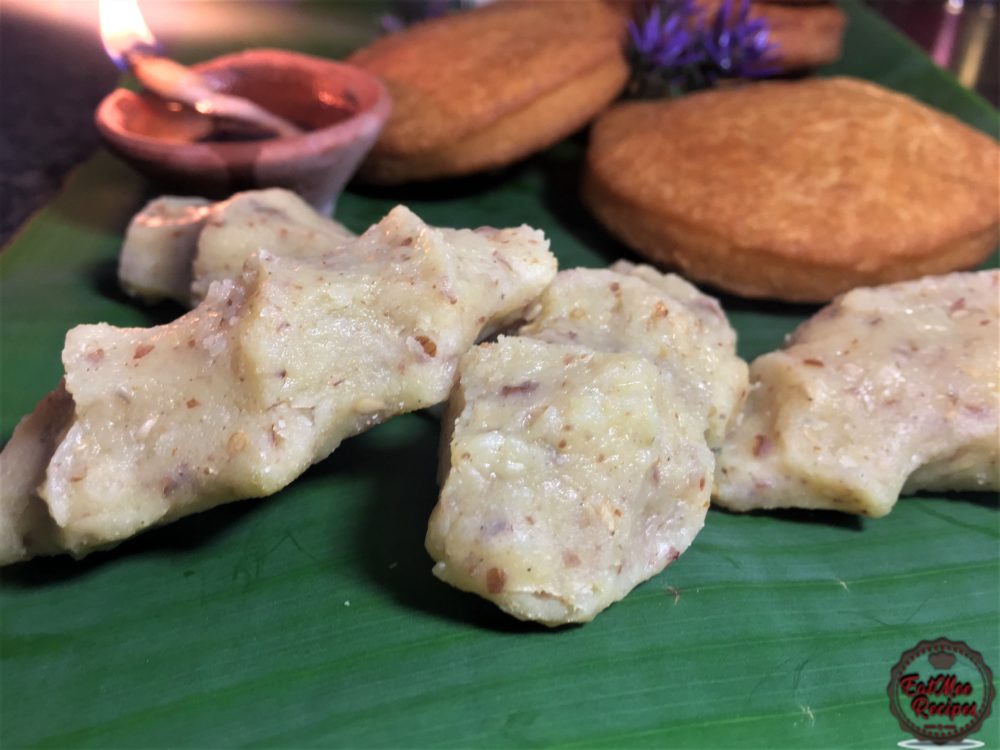
These Kolkutter’s / Pidi Kozhukattai’s can also be prepared in conjunction with Roht, another Indian sweet meat & can be used as an offering during a prayer.
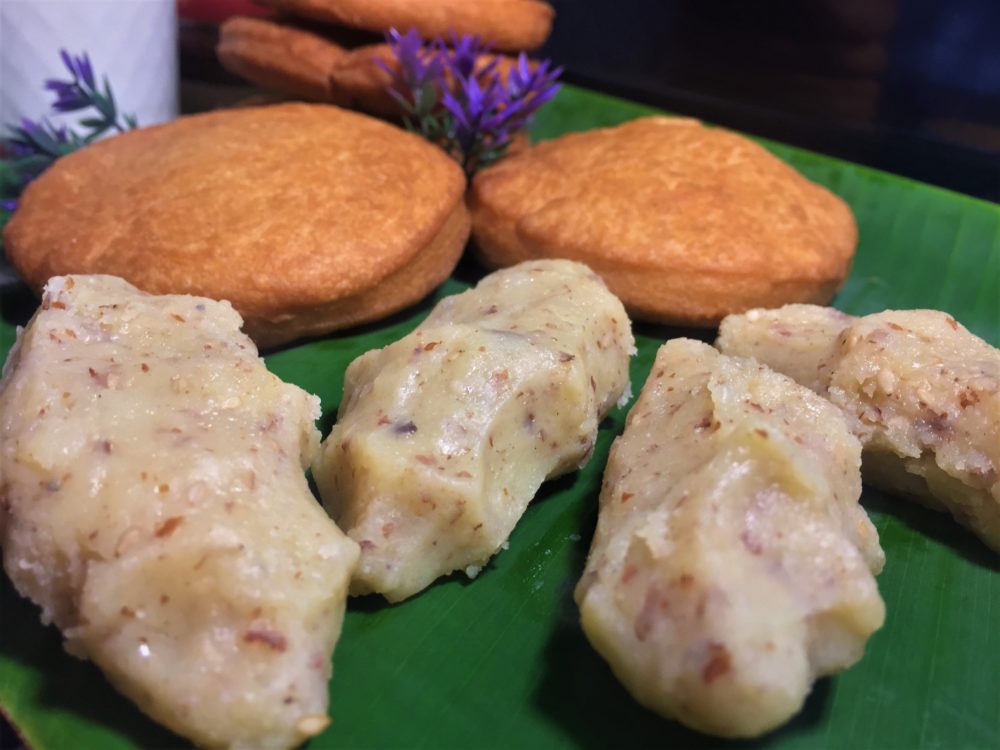
Follow along with Denisiya's step-by-step video guide for Kolkutter / Pidi Kozhukattai.
Expert kitchen guidance and troubleshooting for making the best Kolkutter / Pidi Kozhukattai
Absolutely! You can easily tailor the heat by increasing or reducing the chili powder and fresh chilies to suit your family’s palate without compromising the authentic flavor profile.
Yes, you can freeze Kolkutter / Pidi Kozhukattai in an airtight, freezer-safe container for up to 2 to 3 months. Thaw overnight in the refrigerator before gently reheating.
Reheat gently on the stovetop over low heat with a splash of water, or in the microwave covered with a damp paper towel to retain moisture.
Hi, I'm Denisiya! Food lover, recipe developer, and founder of EatMee Recipes. I specialize in authentic South African Durban Indian cuisine, comforting curries, and modern Instant Pot adaptations. Every recipe on this site is tested in my personal kitchen to ensure you get mouth-watering, foolproof results every time.
Explore more authentic Durban curries, traditional bakes, and comforting family favourites.
 Indian Cuisine
My mum is sharing another one of her much-loved traditional South African Indian recipes. ...
 Indian Cuisine
Crispy, golden and delicious, these Brinjal Pakoras are made with thin slices of brinjal c...
 Indian Cuisine
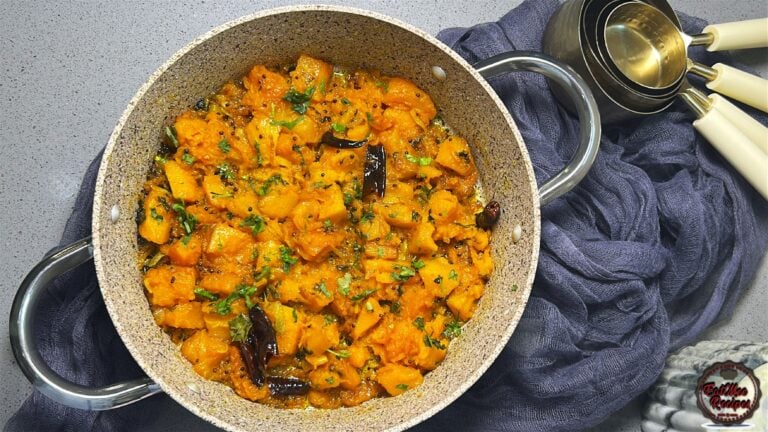
Mum’s Pumpkin Curry is a simple, comforting vegetarian dish that proves you don’t need a l...
Have you tried this recipe or have questions for Denisiya? Join the conversation below.
No comments yet. Be the first to share your thoughts on this recipe!
Leave a Comment
Your email address will not be published. Required fields are marked *