
We Value Your Culinary Privacy
EatMee Recipes uses cookies to provide a personalized browsing experience, analyze recipe popularity, and serve relevant ads. You can review our full disclosure in our Privacy Policy.
Make authentic Jalapeño Chicken Crumbed Samoosa with this foolproof recipe. Packed with rich traditional flavor, step-by-step photos, and cooking tips by Denisiya on EatMee Recipes.

Join over 60,000+ home chefs for weekly authentic Durban Indian cook-alongs, Instant Pot masterclasses, and family heritage recipes.
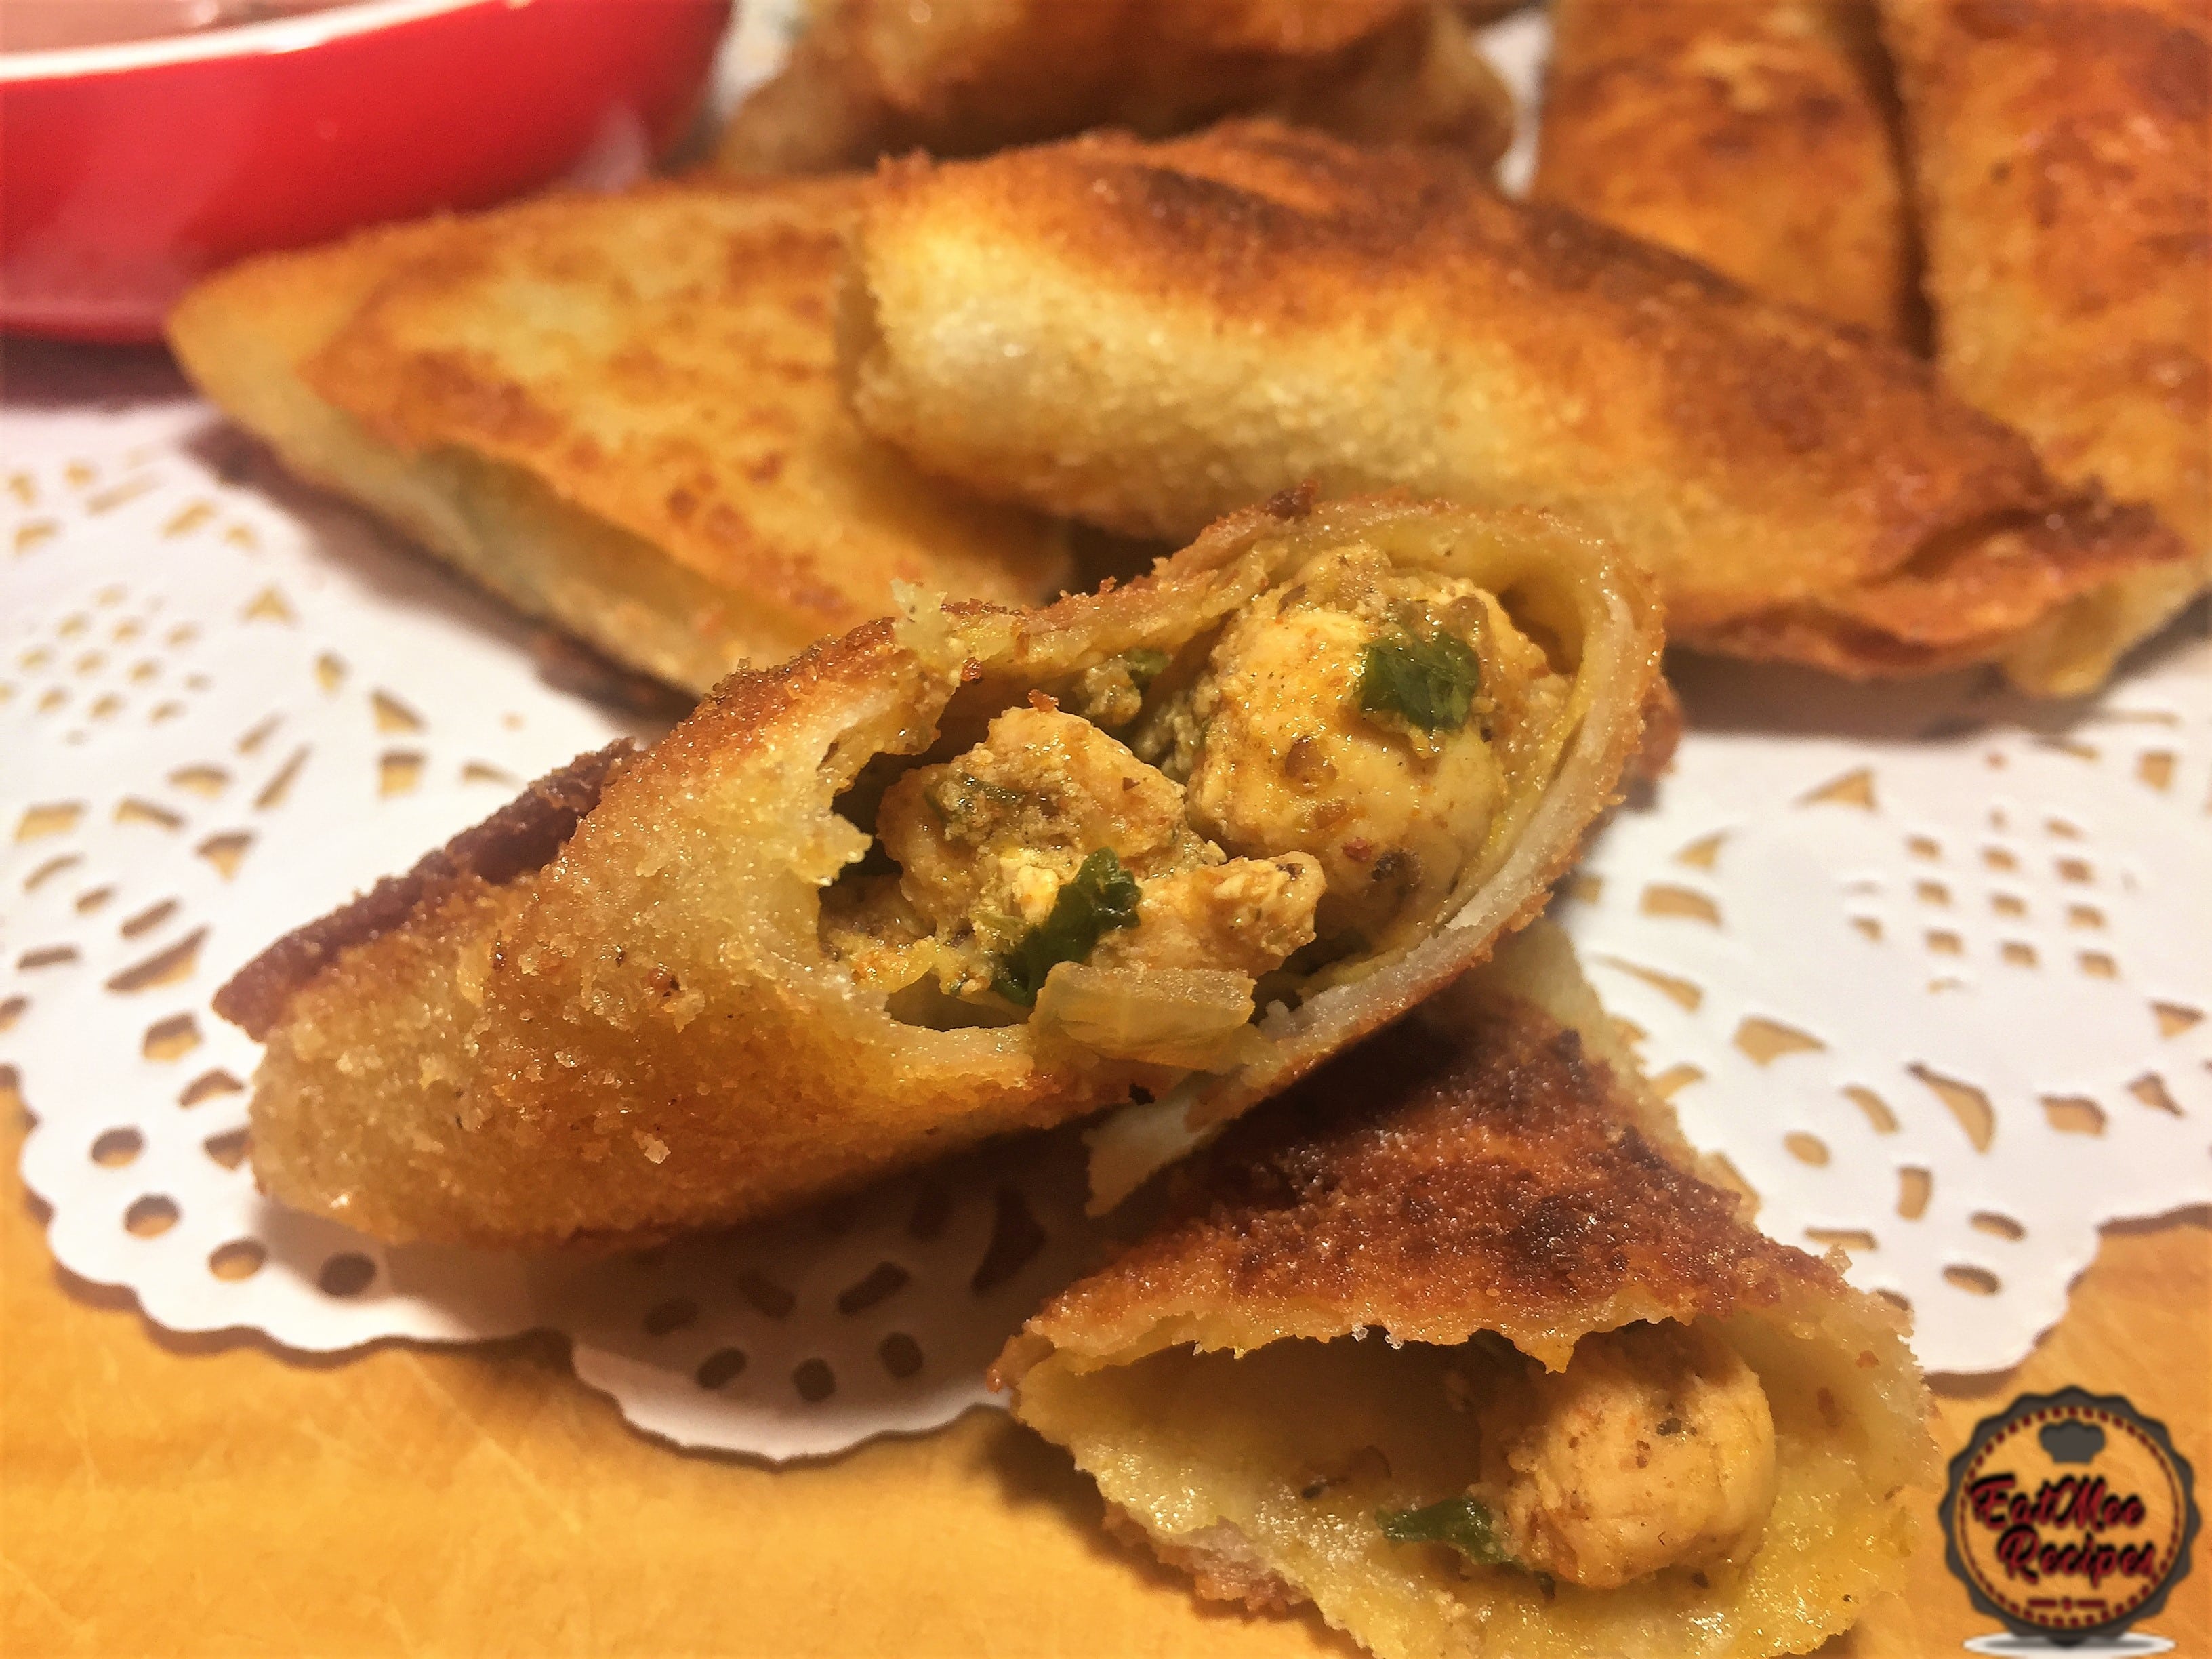
Jalapeño Chicken Crumbed Samoosa is a new variation to samoosa’s. It has become a huge favourite in South Africa & many other parts of the world. It is prepared with chicken fillets, although chicken mince (ground chicken) may be used. The chicken is then cooked & filled into the samoosa pastry/pur, along with fresh jalapeño’s or jalapeño sauce & thereafter it is crumbed & fried until golden. This samoosa is a twist between Mexican flavour & Indian flavour.
In South Africa, most people refer to it as samoosa, whilst internationally, it is referred to as samosa. Samoosa’s actually originated in the Middle East but passed over to the Indian subcontinent & today most people categorize it as an Indian savoury dish.
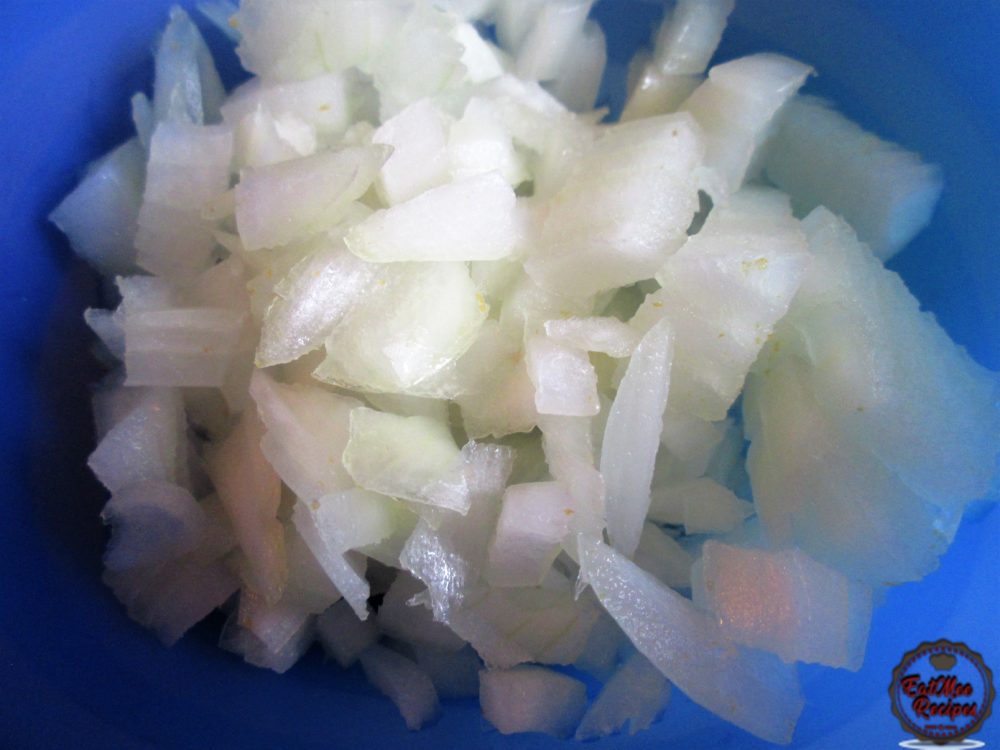
Peel & chop the onion into small pieces & set aside.
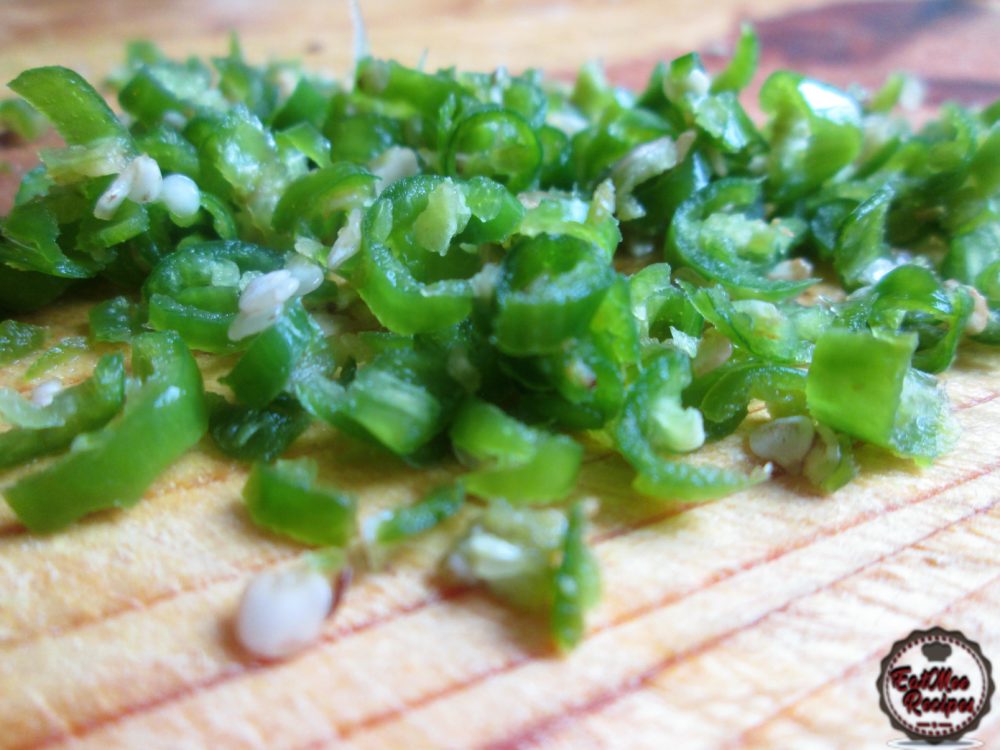
Finely chop the green chillies or jalapeño’s. Note that chillies or jalapeño’s may be added or reduced according to your taste.
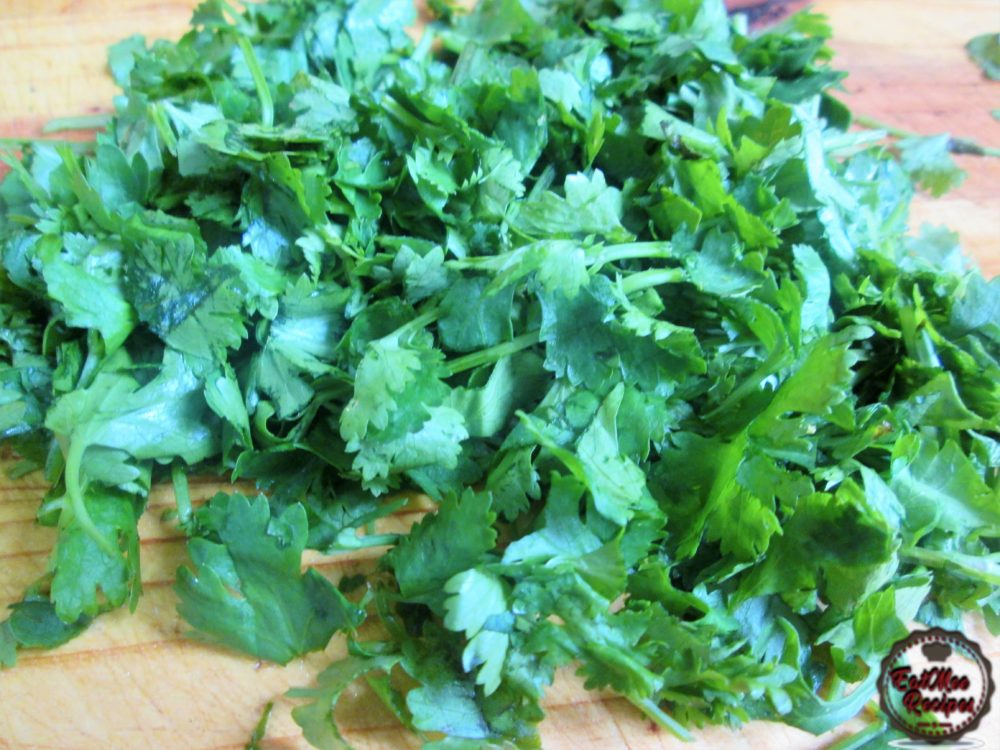
Roughly chop dhania (coriander) & set aside.
Rinse chicken fillets.
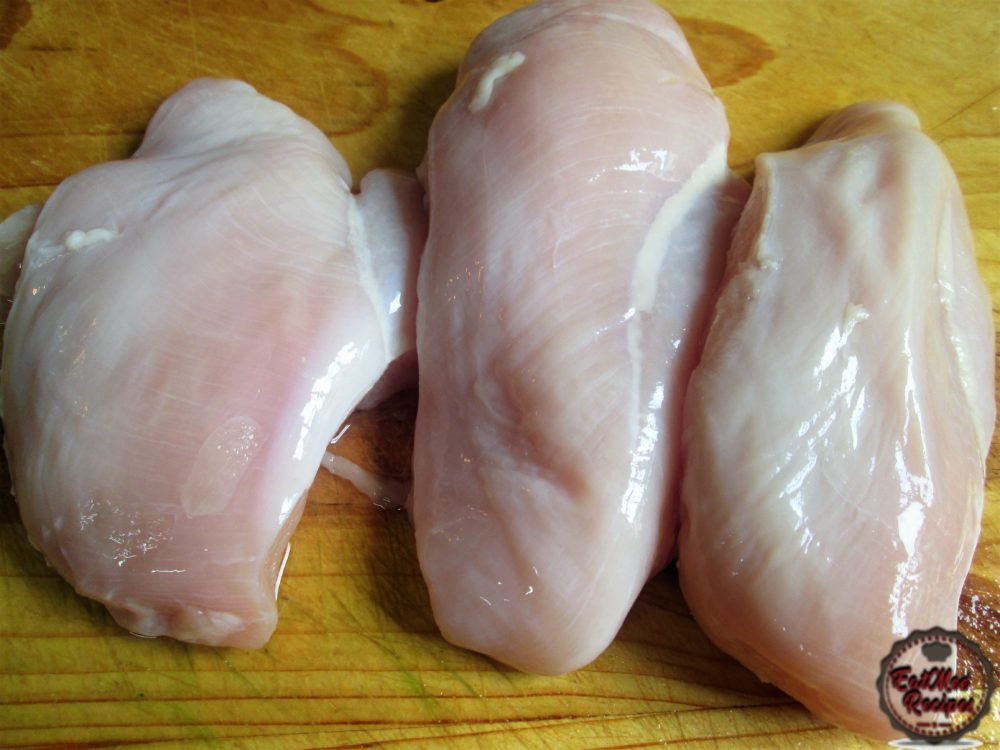
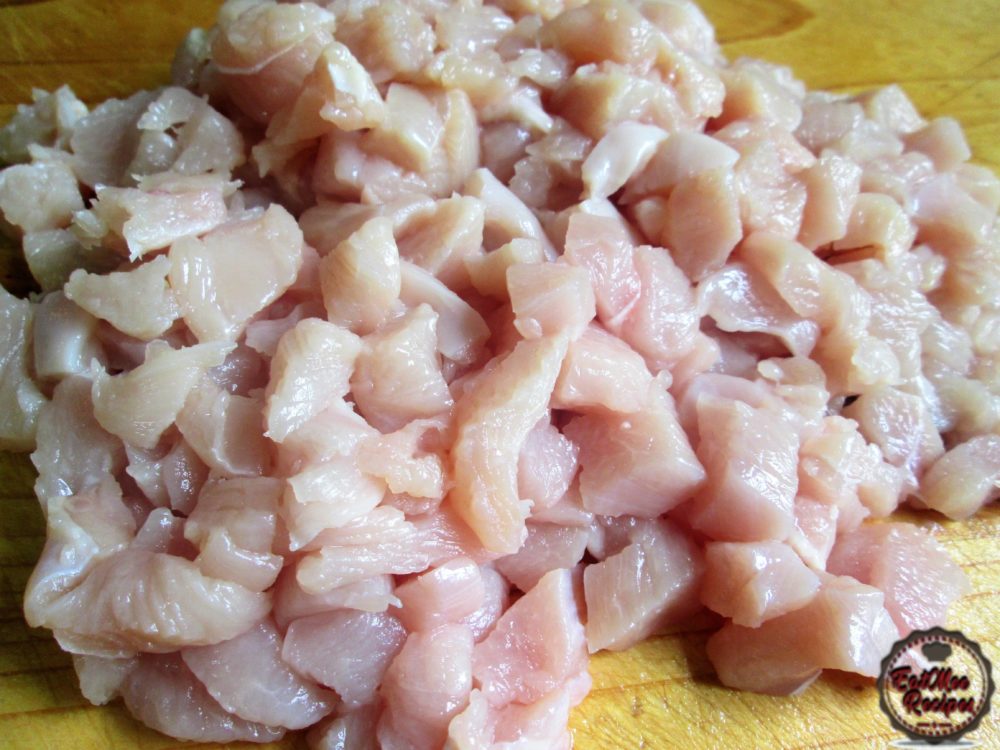
Dice the fillets into small pieces.
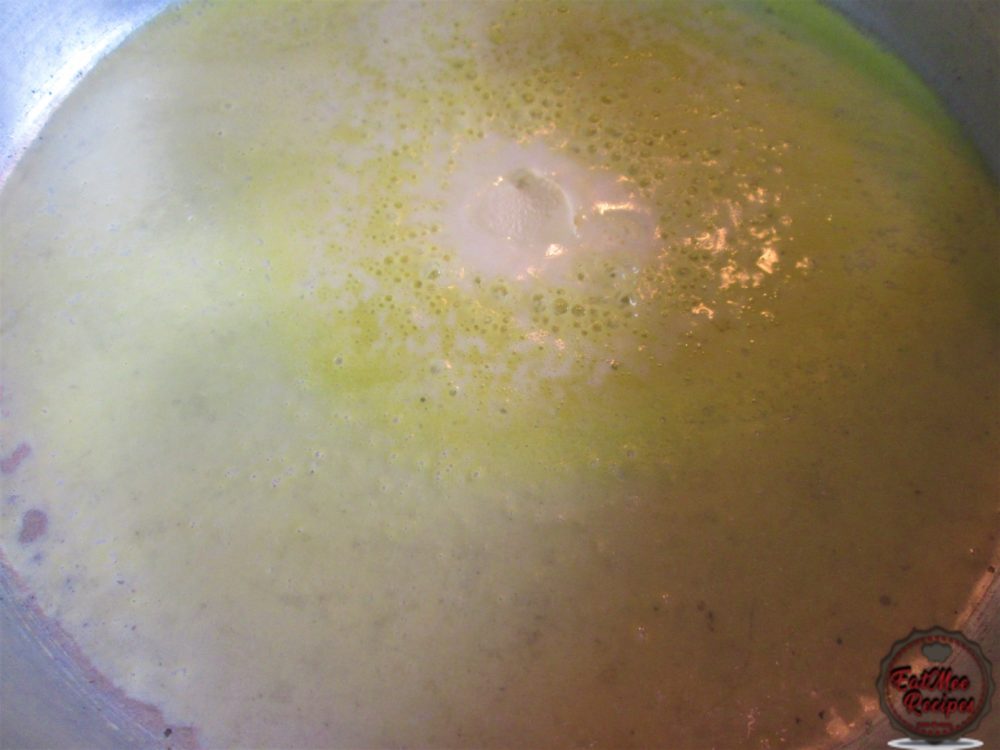
Add the butter to a pot & allow to melt on medium heat.
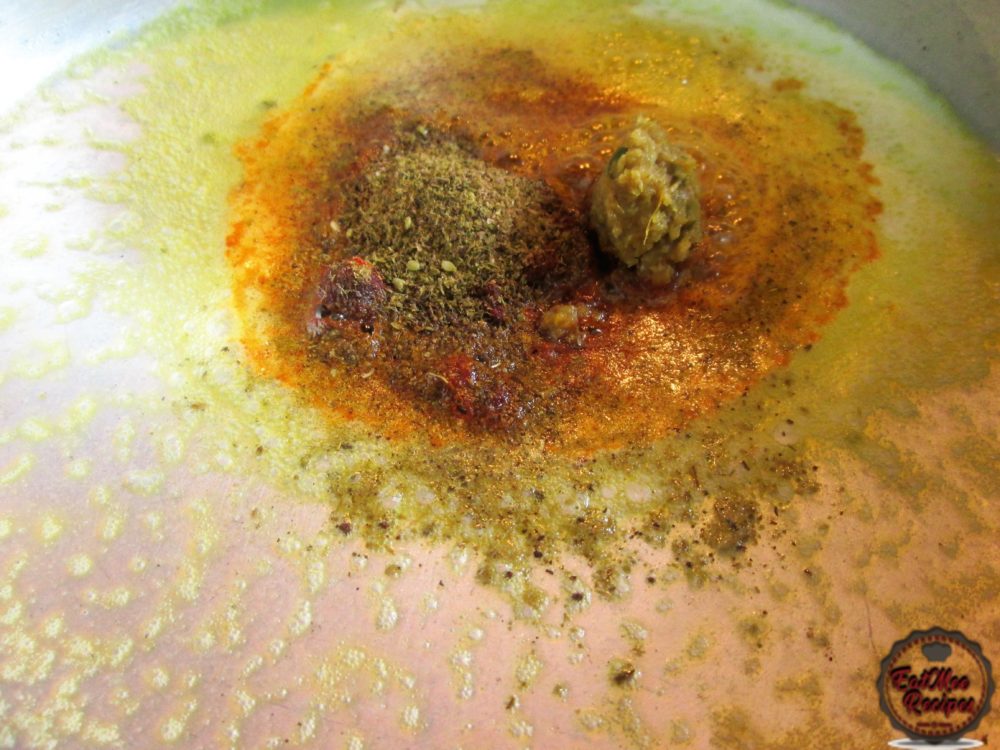
Once the butter has melted, add in the chilli powder, garam masala, jeera (cumin) powder, dhania (coriander) powder, Za’ataar blend & ginger & garlic paste.
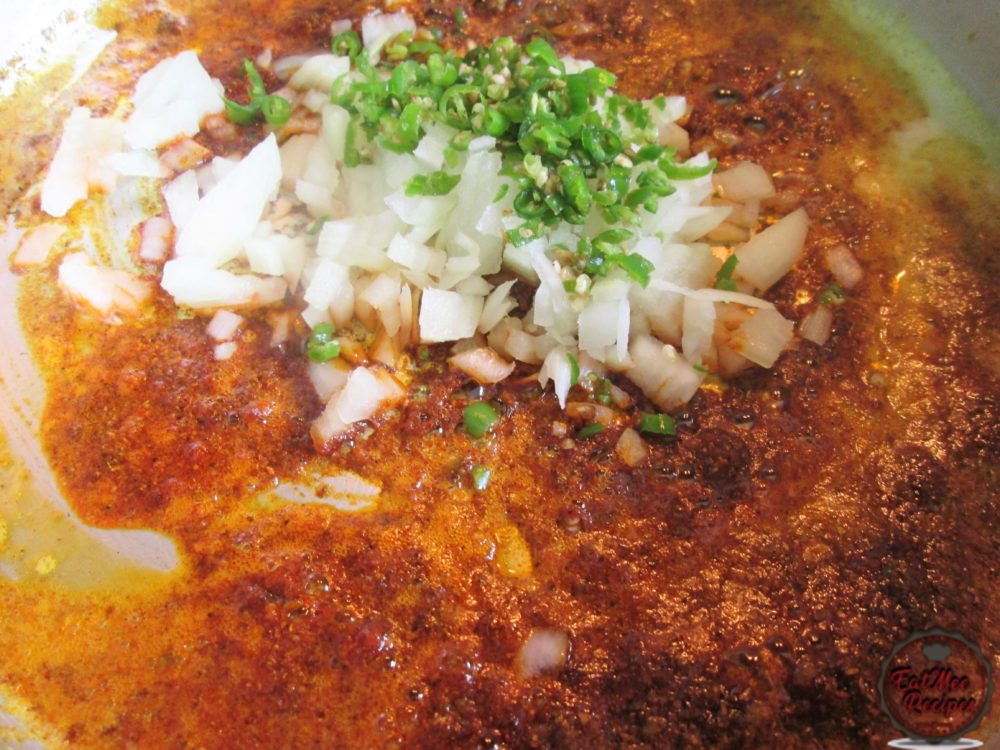
Mix well & add in the onions & green chillies.
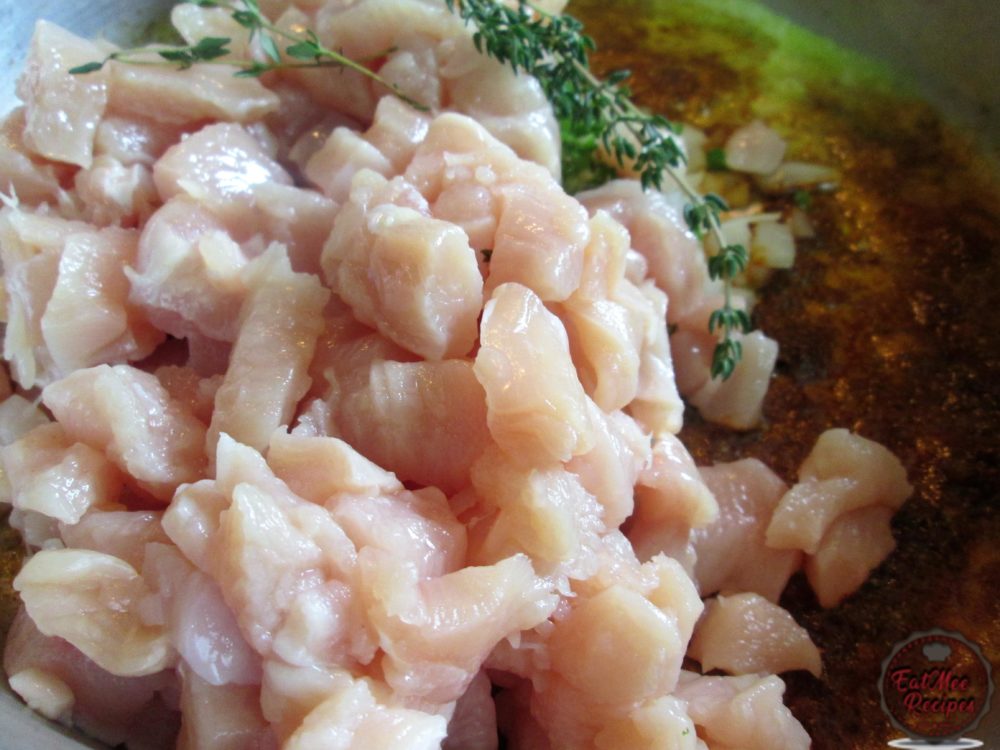
Thereafter, add in the diced chicken fillets & thyme.
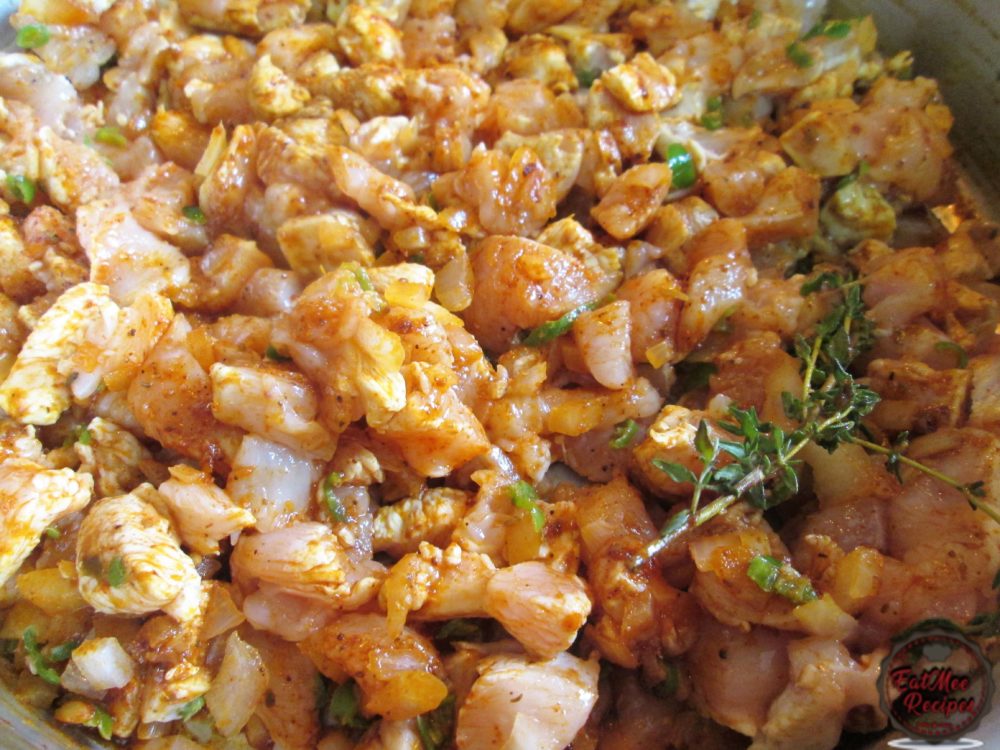
Mix well.
Add a little water. Cover with the lid & allow the chicken to cook for 20 minutes.
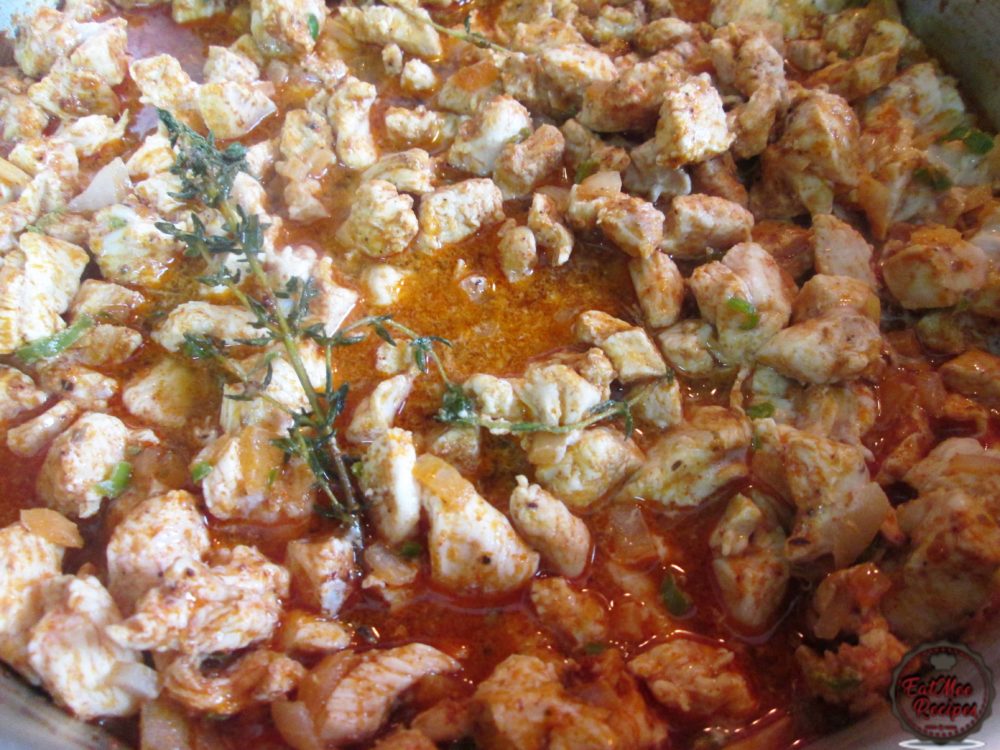
When the water is almost evaporated, add in the jalapeño & salt to taste.
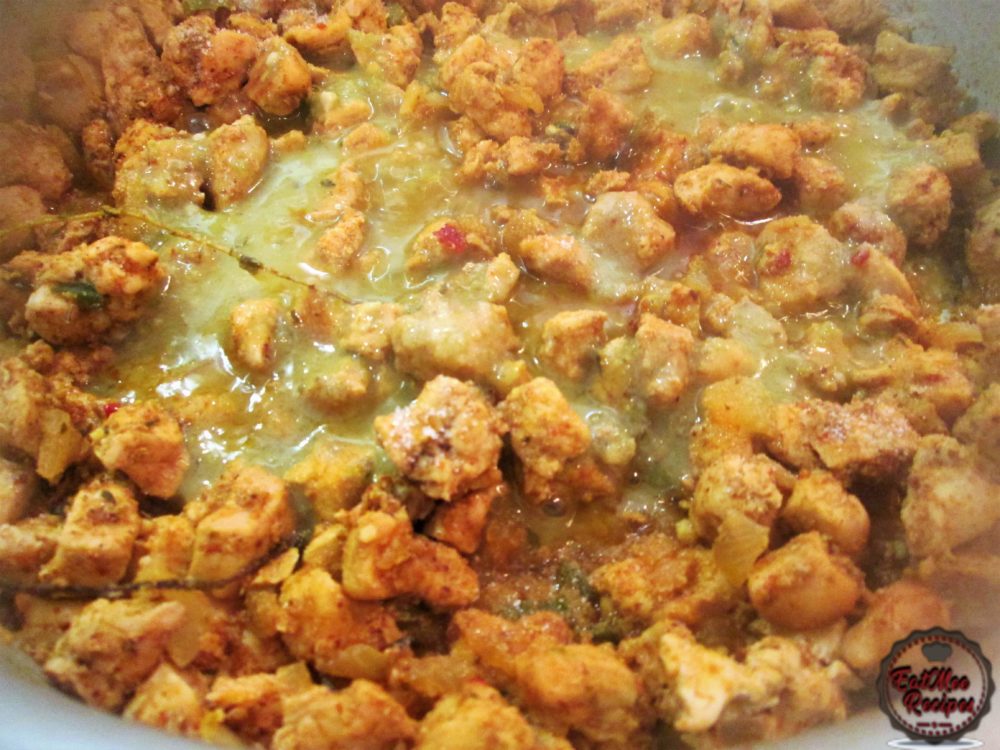
Mix well.
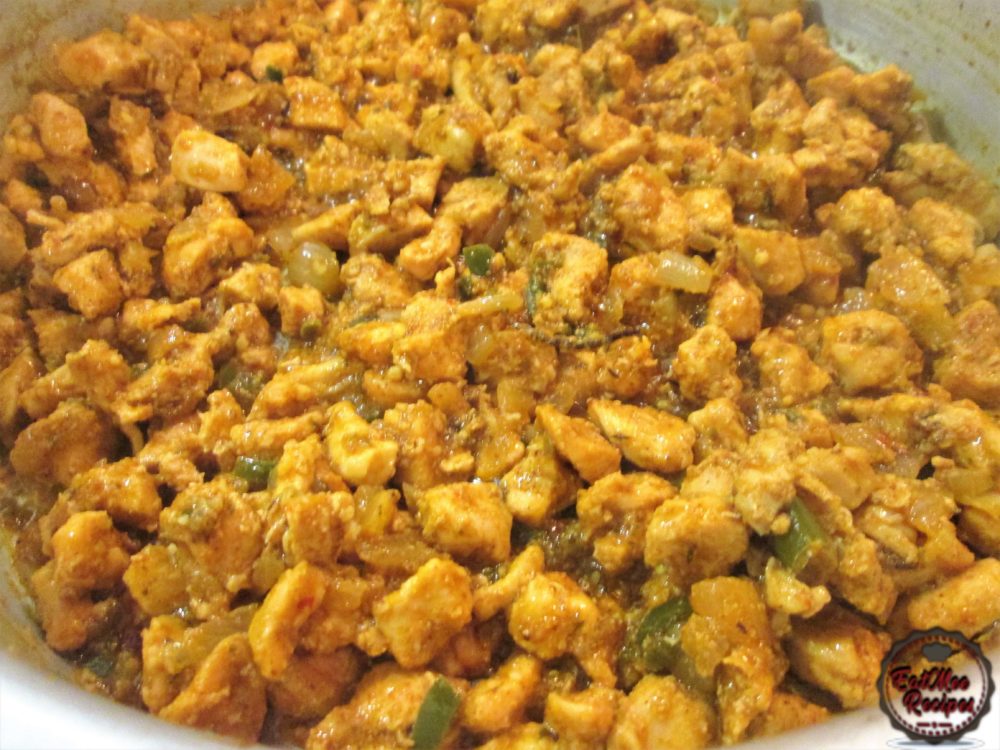
Turn off the heat.
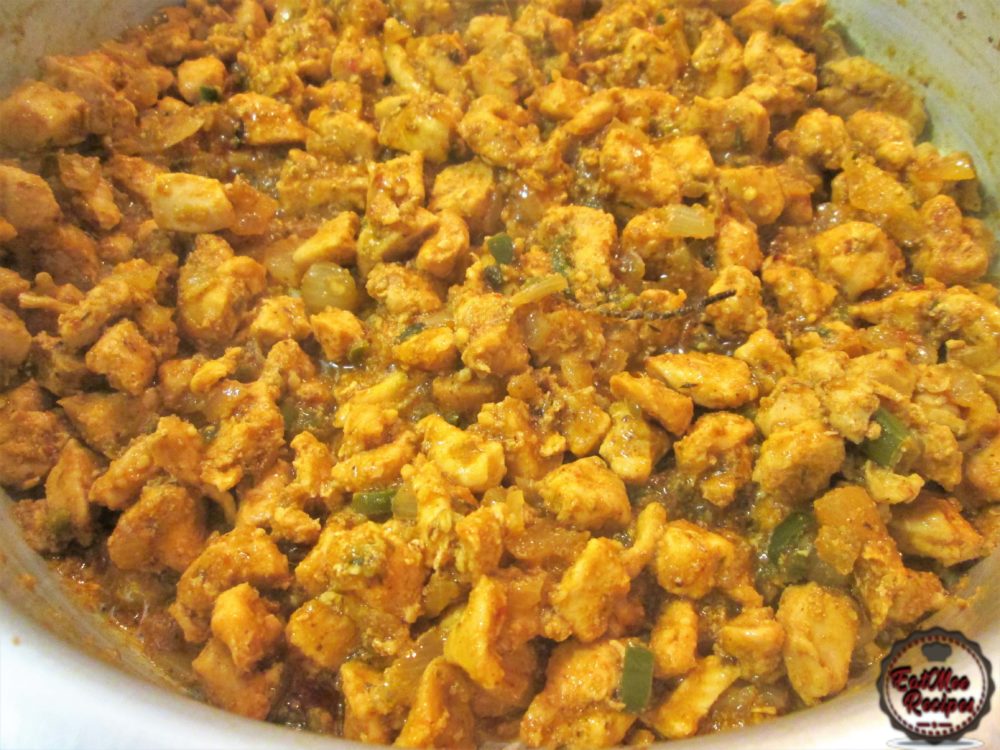
Add in the dhania (coriander).
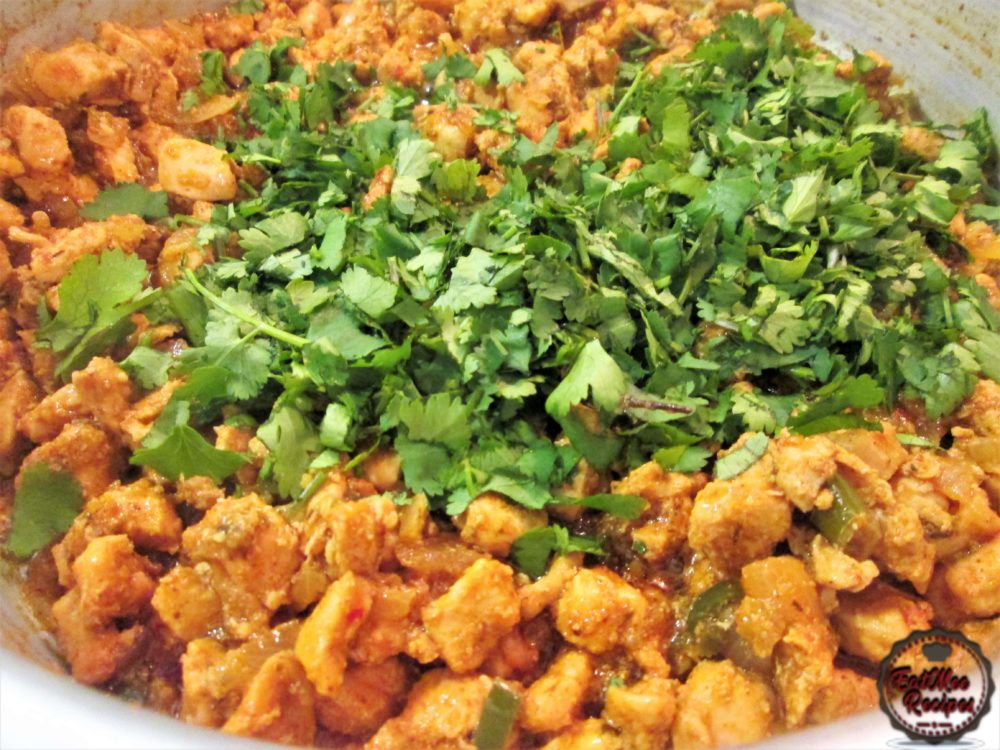
Mix well & set aside to cool completely.
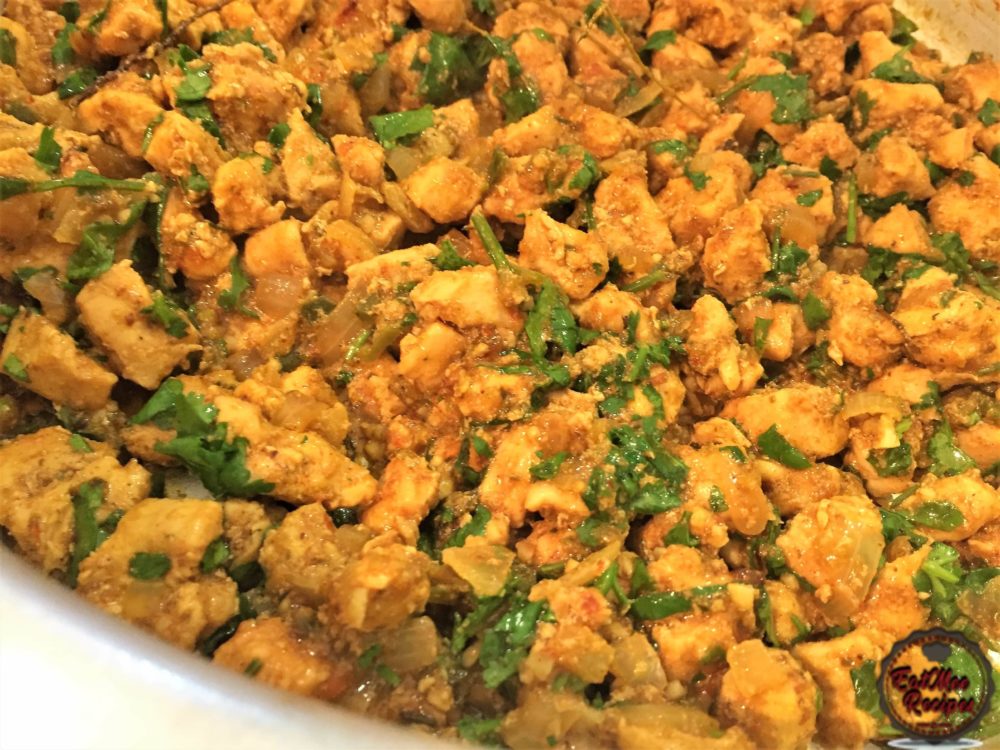
Whilst the filling cools down, begin preparing the paste that will hold the samoosa together.
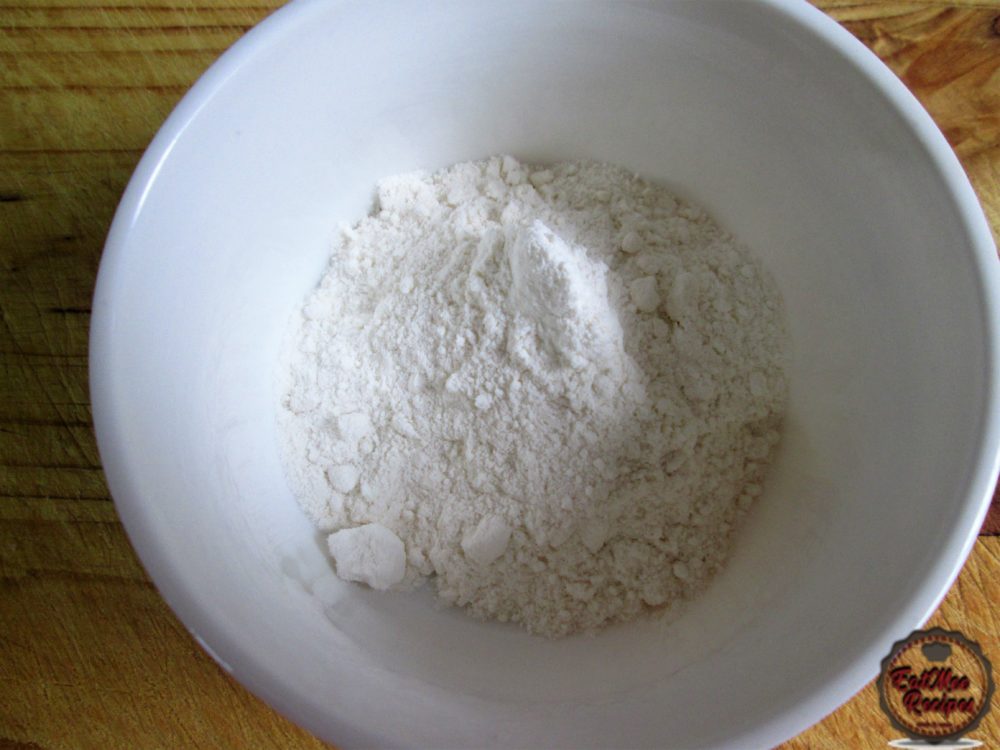
To a small bowl, add in the all purpose flour.
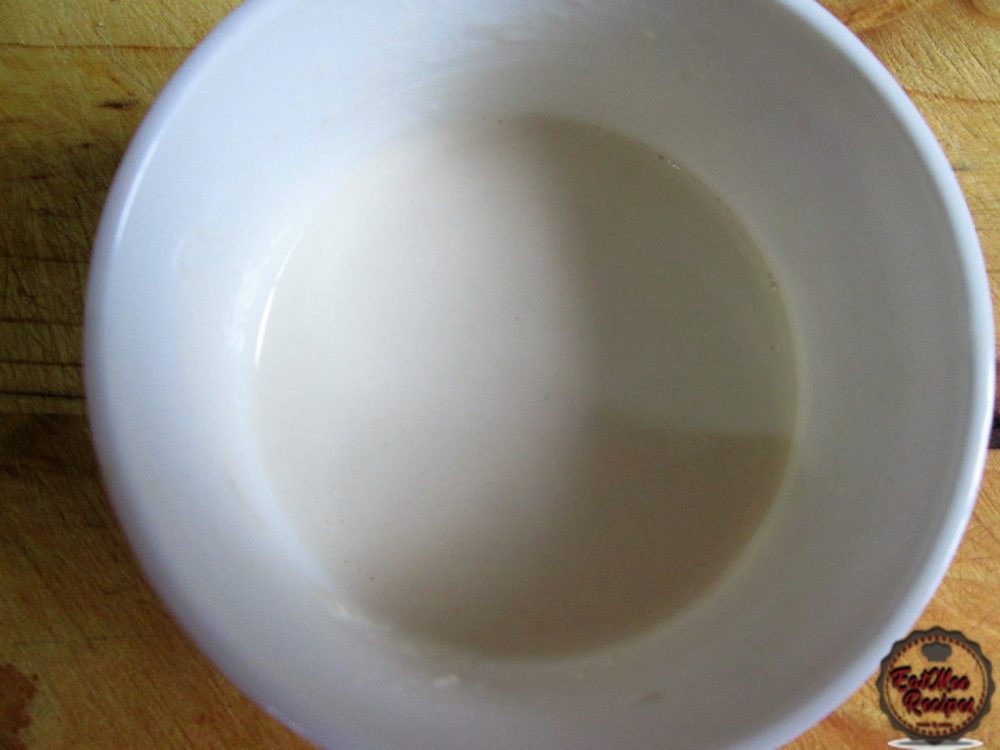
Next, gradually pour in a little water & stir until it forms a smooth paste.
Once the filling has cooled, it’s now time to start filling the samoosa pur.
Begin prepping your work station. Have the flour paste nearby, as well as the cooled filling & the samoosa pur. Note that the samoosa pur can be purchased from most grocers or you can make it from scratch at home. I opted for the store bought pur.
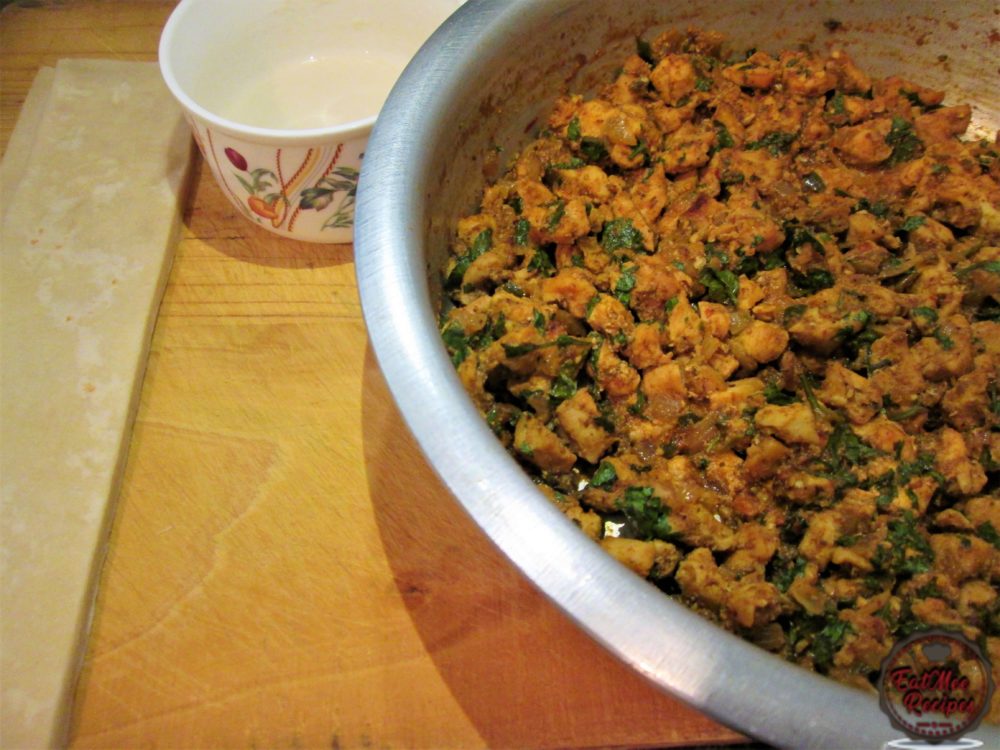
Take one sheet of the samoosa pur & fold it to form a triangle. (View video below on folding technique).
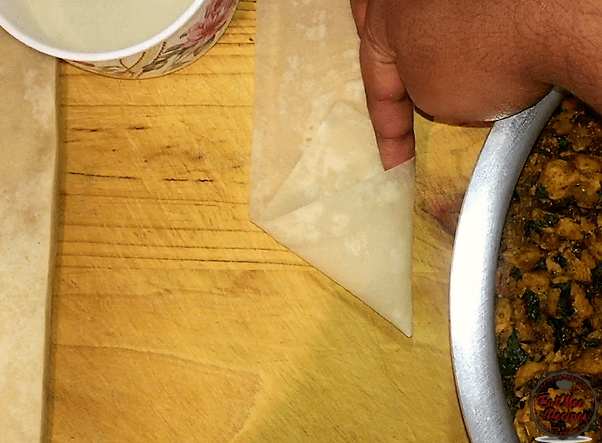
The pur should now look like a pocket to hold the filling.
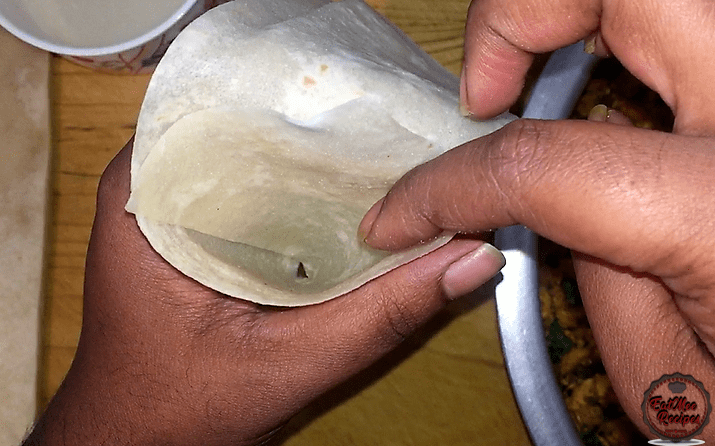
Add a little of the chicken filling into the triangular pocket that was formed.
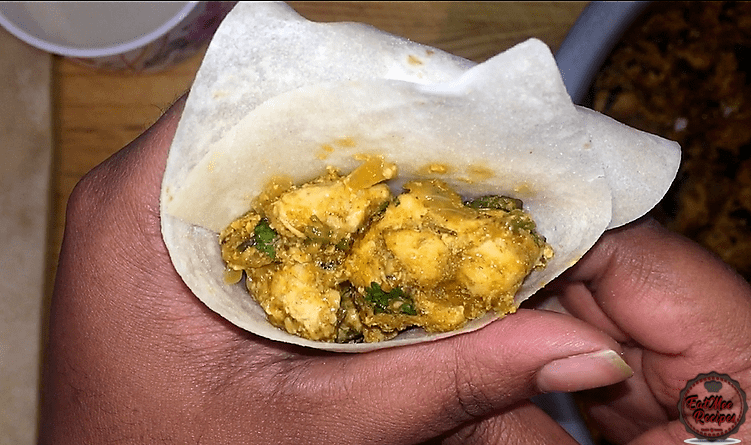
Carefully fold over to seal the filling. There should still be a flap remaining.
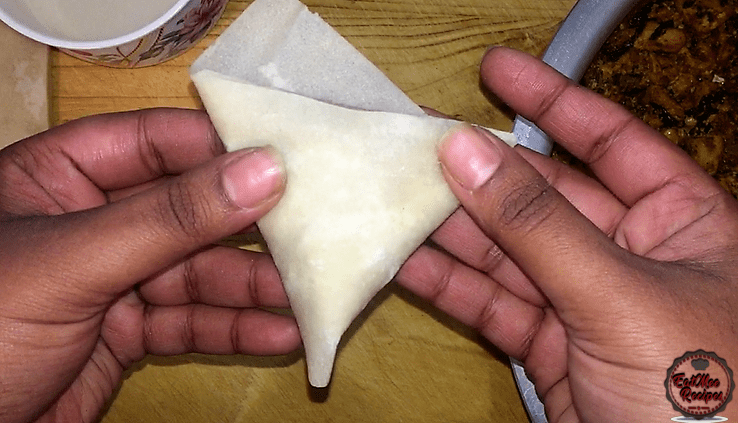
Take some of the paste & apply onto the remaining flap & seal the samoosa.
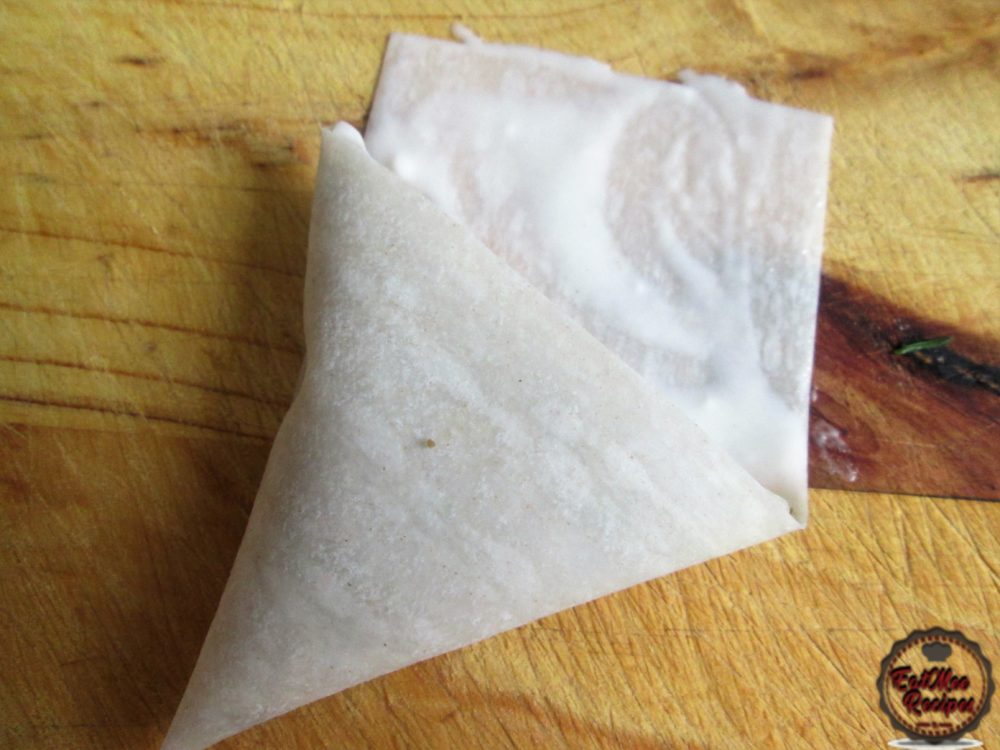
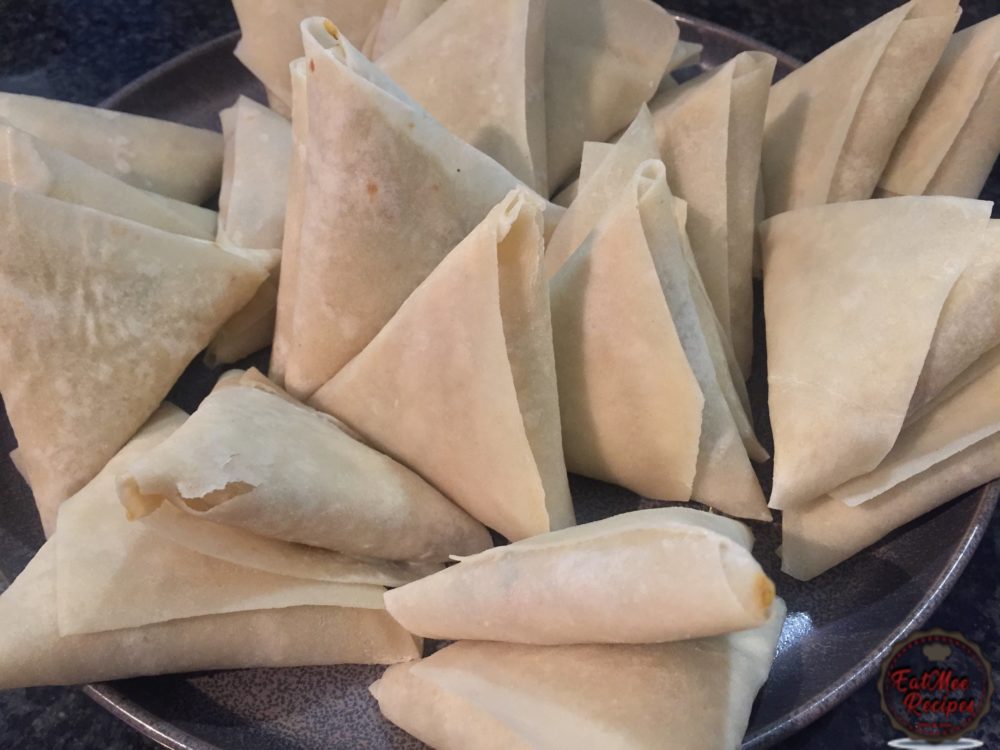
Continue the same process until all the filling is used up.
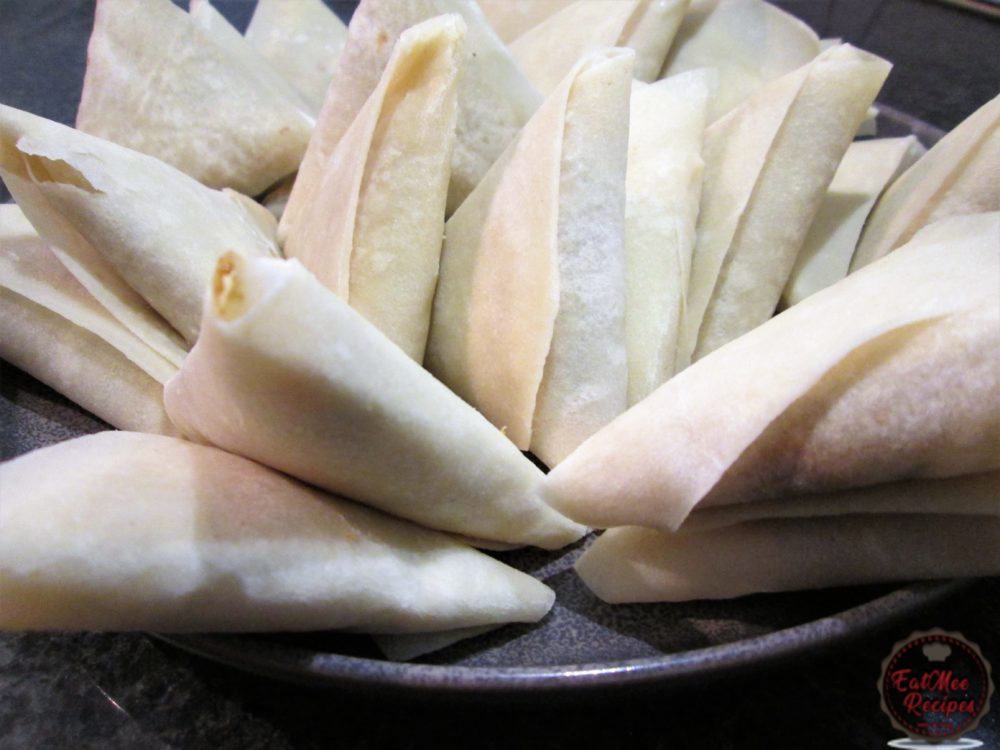
Set the samoosa’s aside.
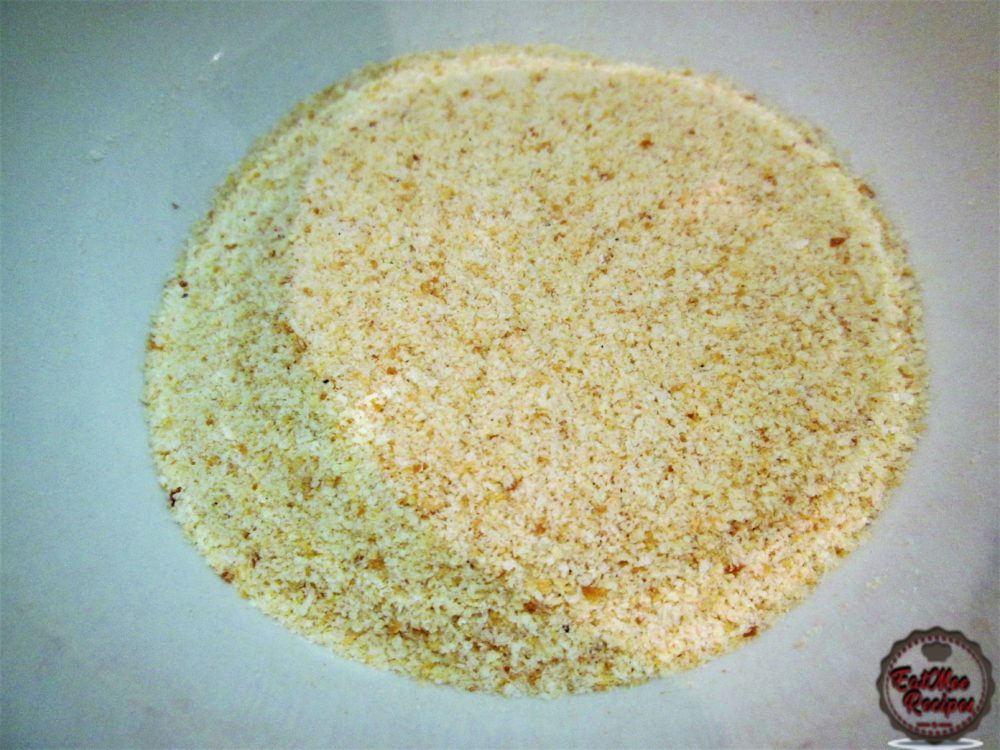
Next, add the breadcrumbs into a bowl.
Thereafter, crack the eggs into another bowl.
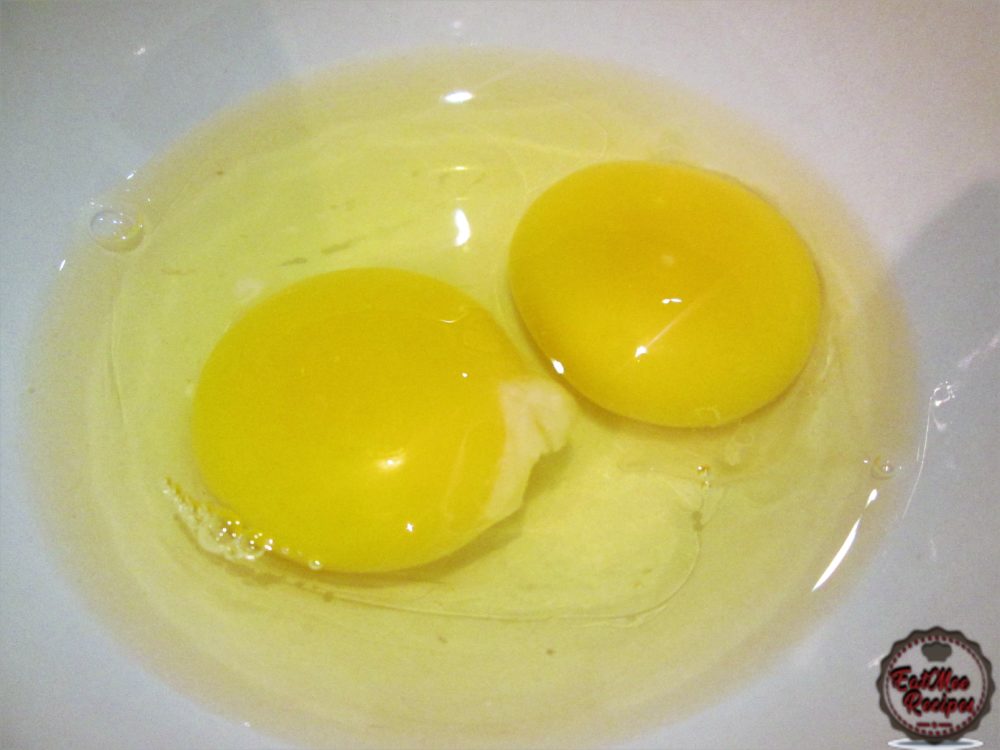
Beat the eggs using a fork.
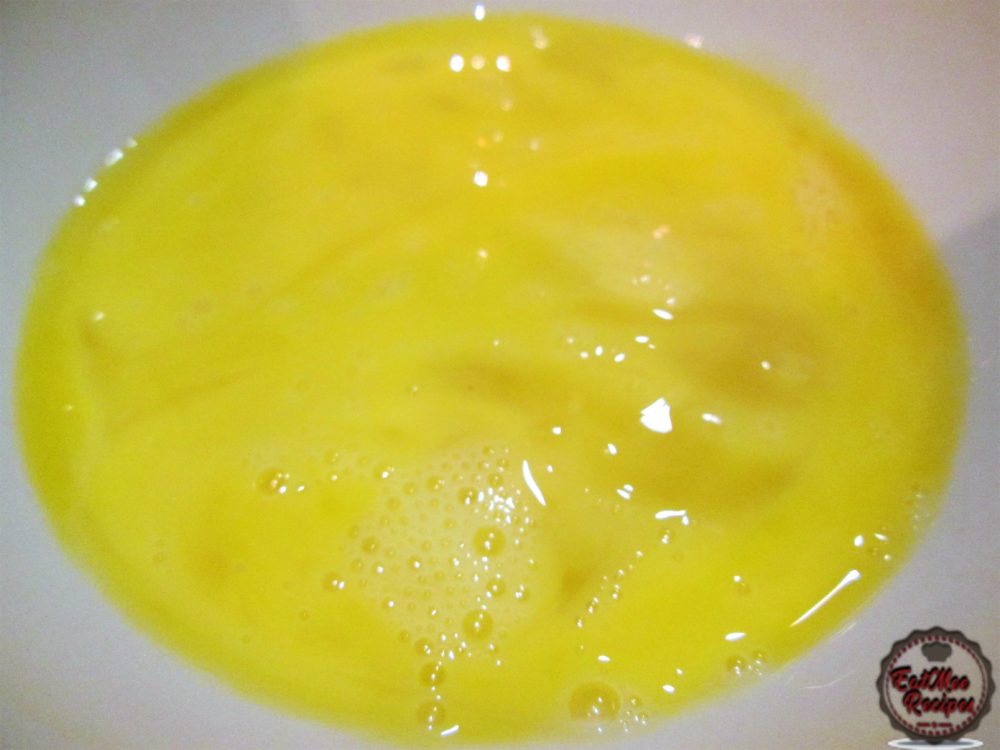
Prep your work station once again. Have the beaten eggs & the breadcrumbs nearby, as well as the already folded samoosa’s.
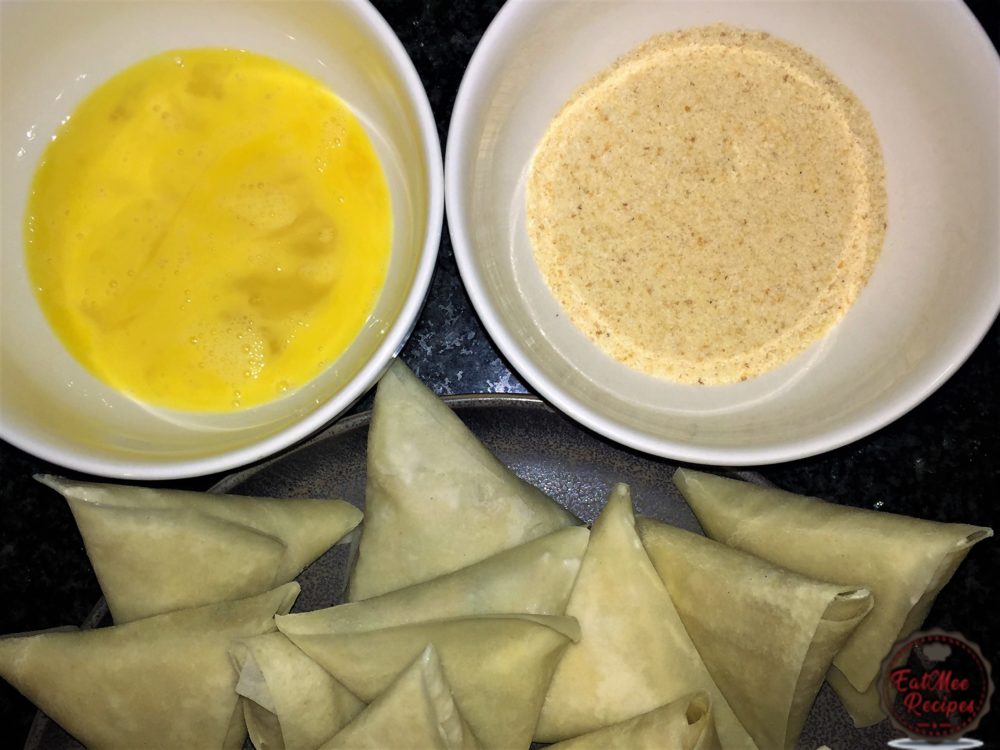
Dip the samoosa (work with one at a time) into the beaten eggs.
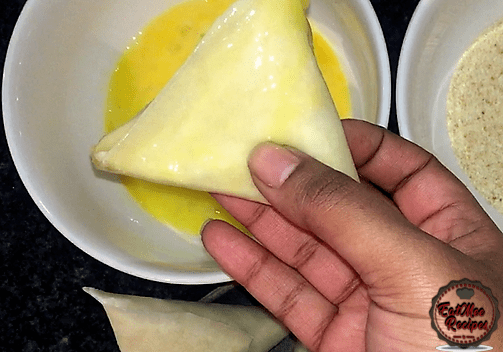
Then dunk it into the breadcrumbs, making sure it is well coated.
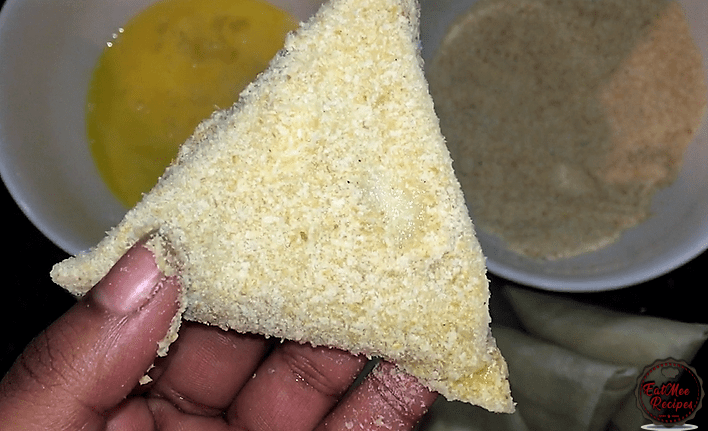
Continue the same process until all of the samoosa’s are crumbed.
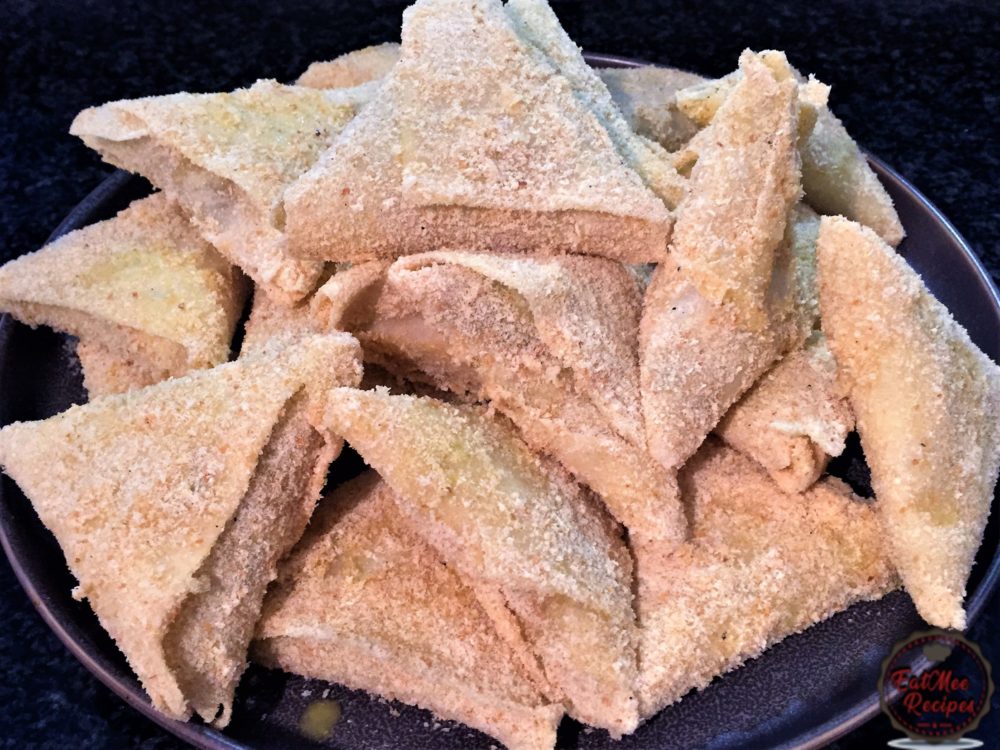
Set aside. At this point you may also place all the samoosa’s into a container lined with plastic. This will avoid the pastry from tearing & the plastic may also be used to divine them in the container. These Jalapeño Chicken Crumbed Samoosa’s can be frozen in the container for up to 4 months. Defrost when needed to fry. So if you aren’t going to fry all in one go, you may freeze some of them for later use.
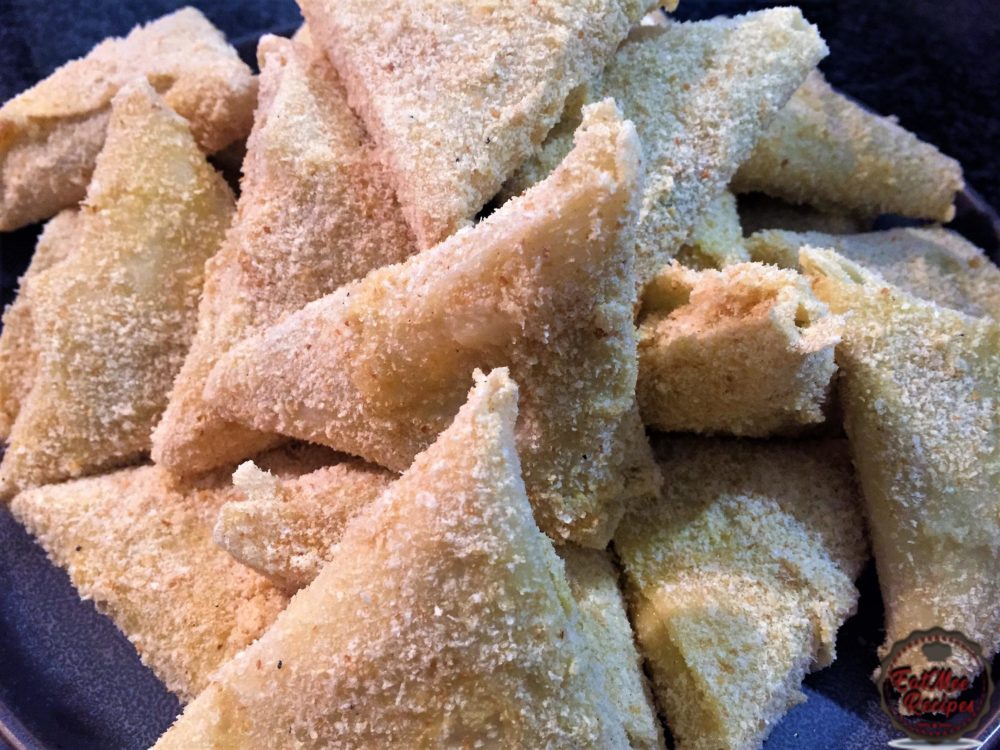
To fry the samoosa’s, simply add about 3 tablespoons of vegetable oil to a large pan.
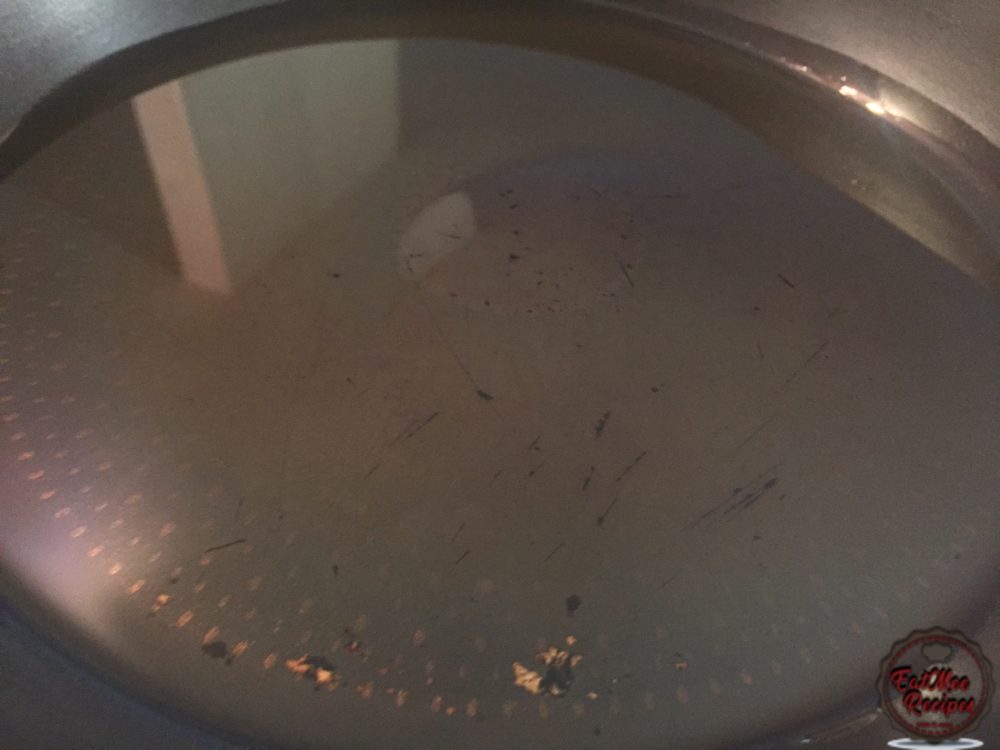
Once the oil is hot, carefully place the samoosa’s in.
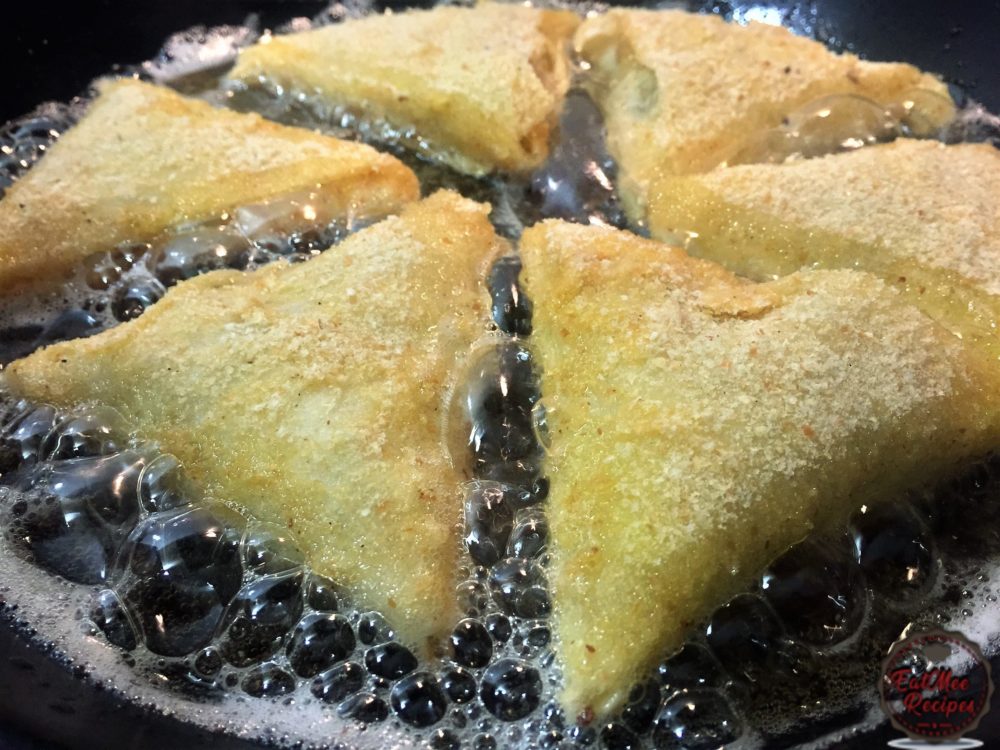
Keep an eye on them as leaving them unattended to may result in burnt samoosa’s. Fry the samoosa’s until golden & crisp.
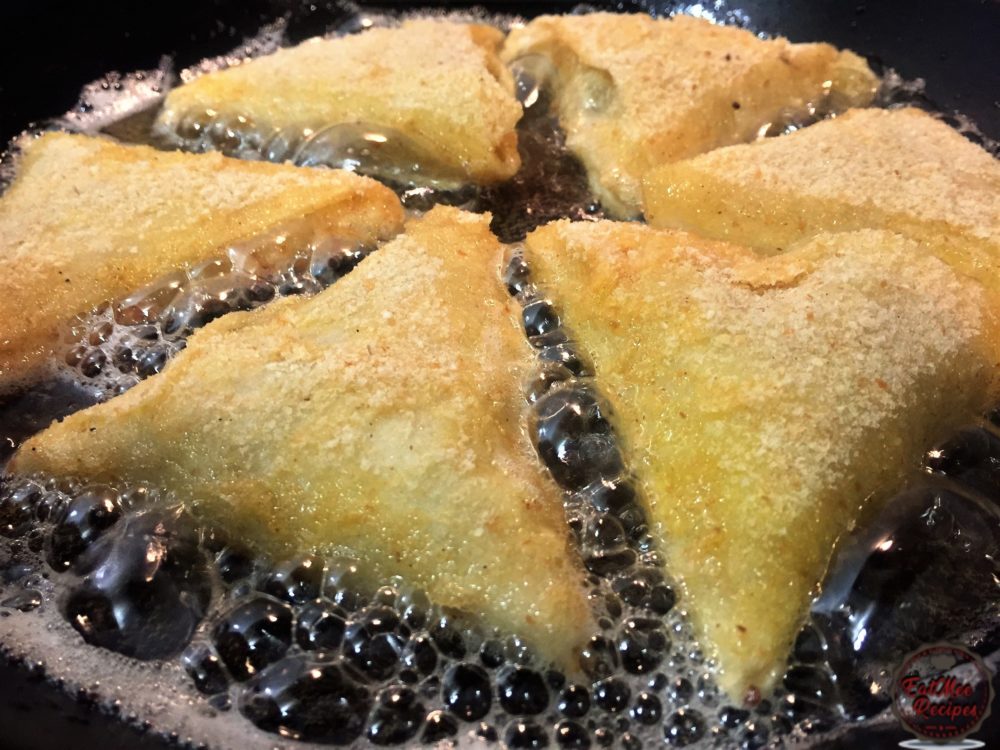
Once their golden on both sides, remove from oil.
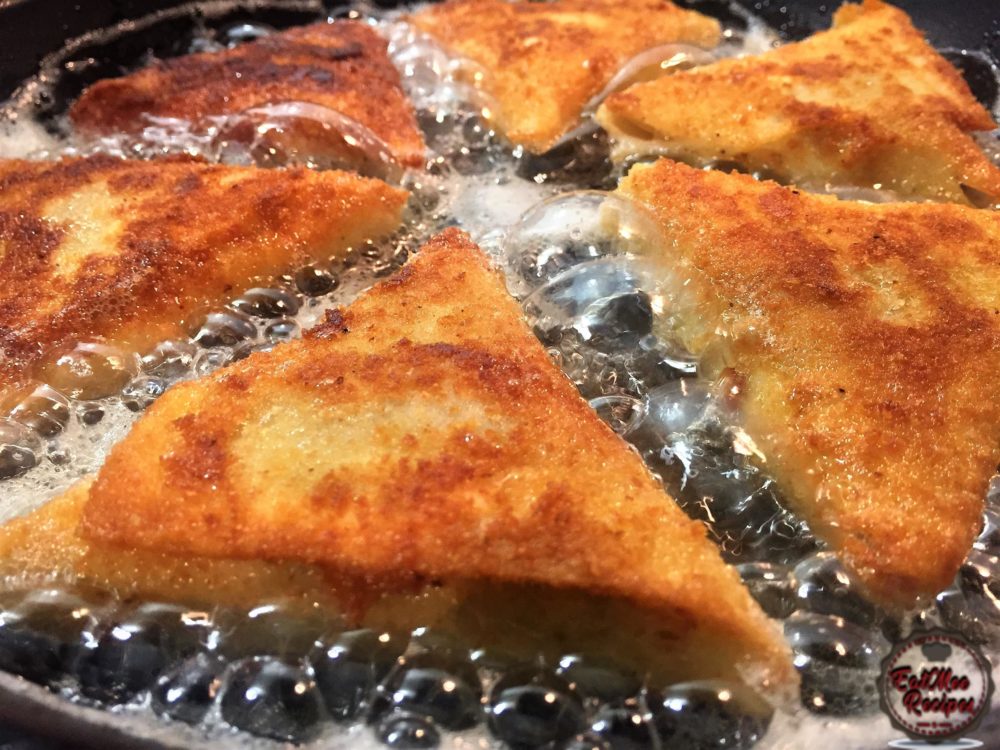
Drain off excess oil on a paper towel.
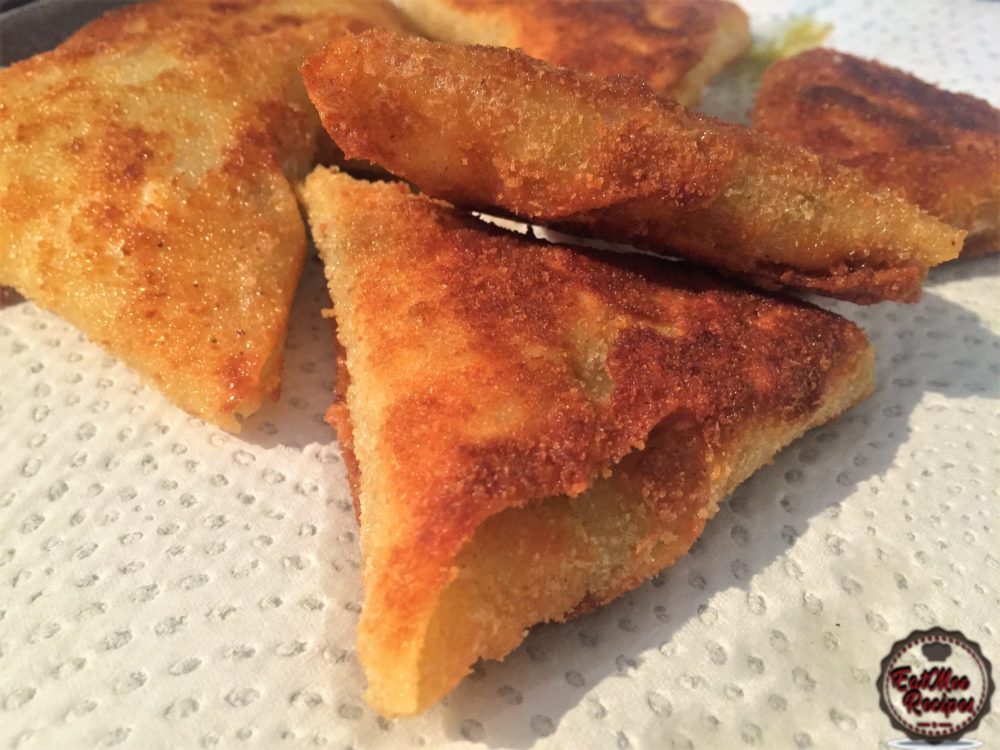
Serve whilst nice & hot with your favourite dipping sauce.
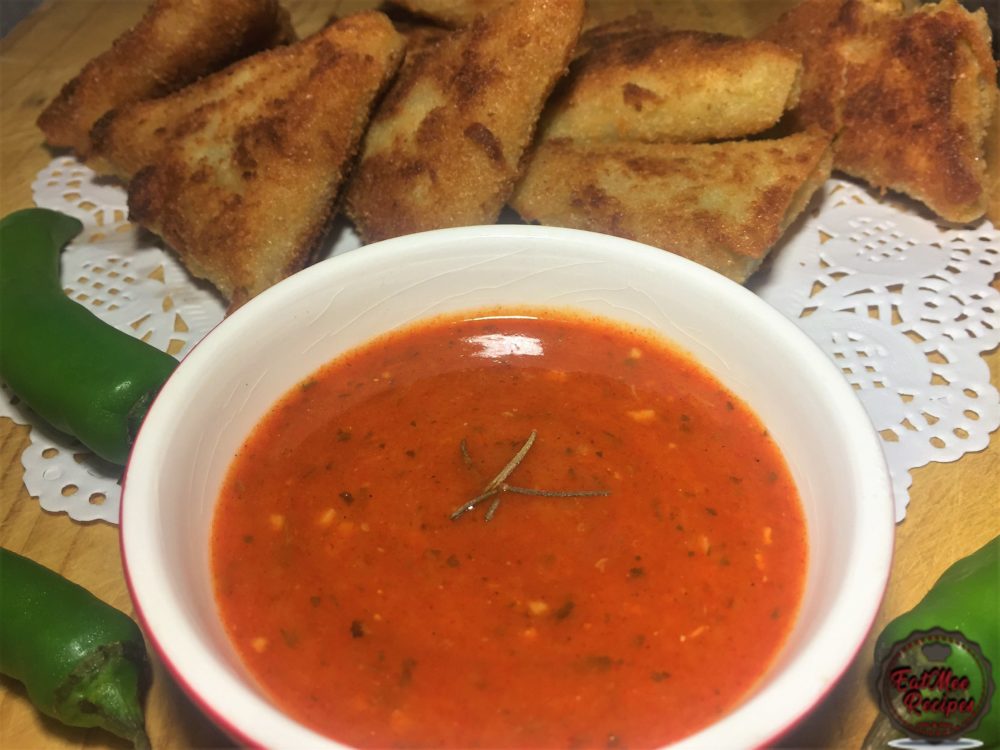
Notice how crisp & delicious these samoosa’s look compared to the plain uncrumbed ones.
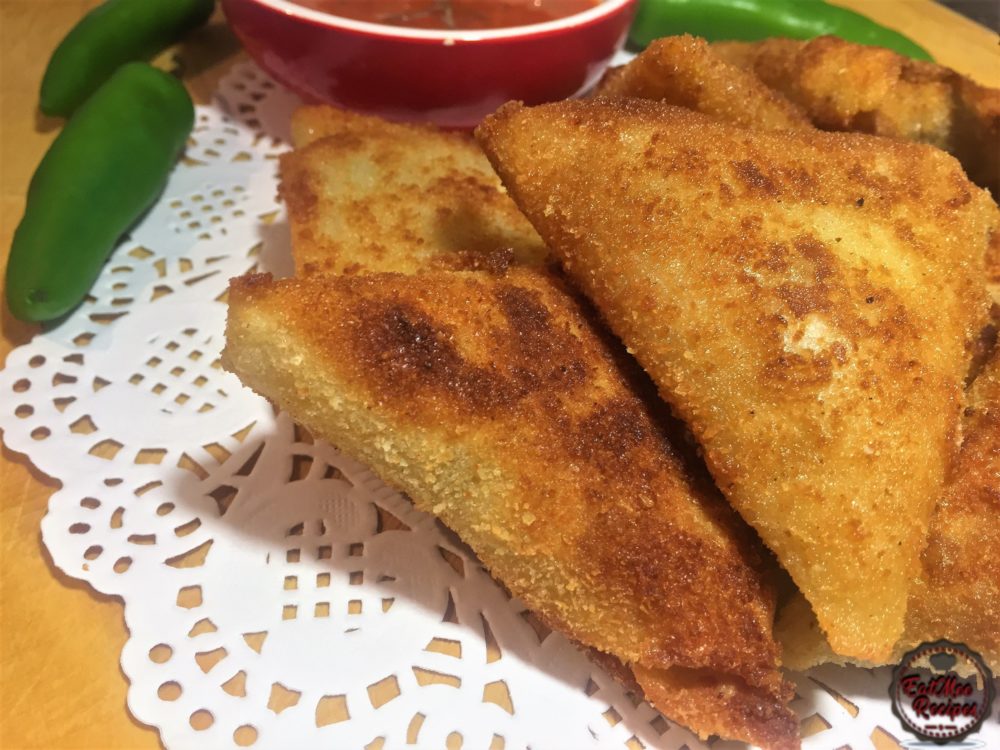
Break them open & enjoy these Jalapeño Chicken Crumbed Samoosa’s with Mexican & Indian flavours.
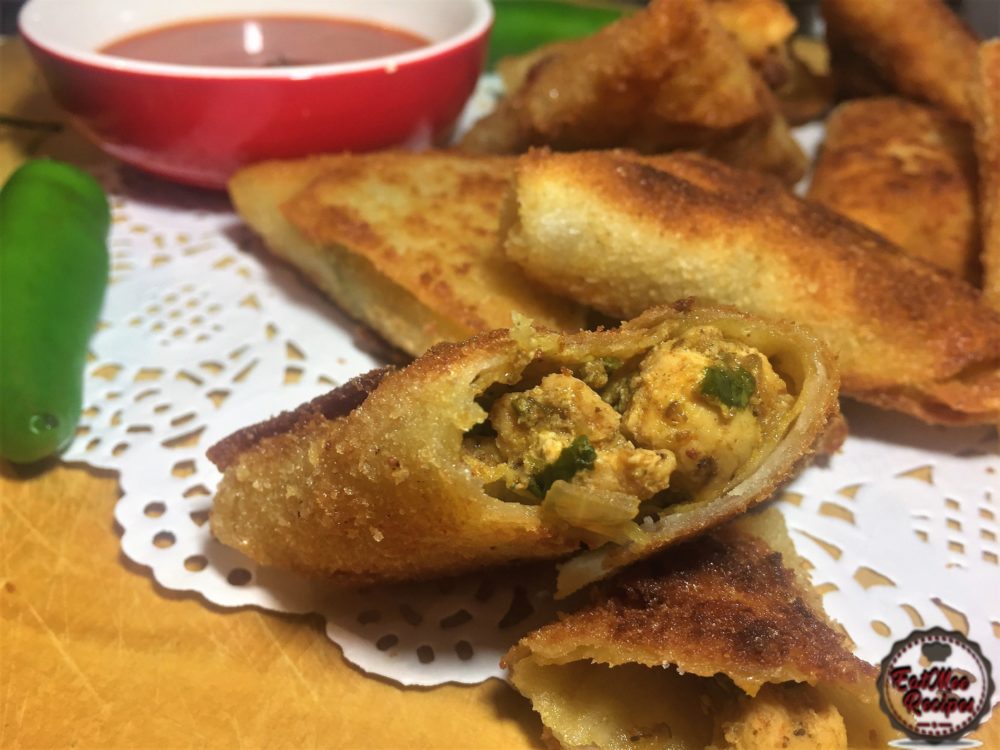
Follow along with Denisiya's step-by-step video guide for Jalapeño Chicken Crumbed Samoosa.
Expert kitchen guidance and troubleshooting for making the best Jalapeño Chicken Crumbed Samoosa
Absolutely! You can easily tailor the heat by increasing or reducing the chili powder and fresh chilies to suit your family’s palate without compromising the authentic flavor profile.
Yes, you can freeze Jalapeño Chicken Crumbed Samoosa in an airtight, freezer-safe container for up to 2 to 3 months. Thaw overnight in the refrigerator before gently reheating.
Reheat gently on the stovetop over low heat with a splash of water, or in the microwave covered with a damp paper towel to retain moisture.
Hi, I'm Denisiya! Food lover, recipe developer, and founder of EatMee Recipes. I specialize in authentic South African Durban Indian cuisine, comforting curries, and modern Instant Pot adaptations. Every recipe on this site is tested in my personal kitchen to ensure you get mouth-watering, foolproof results every time.
Explore more authentic Durban curries, traditional bakes, and comforting family favourites.
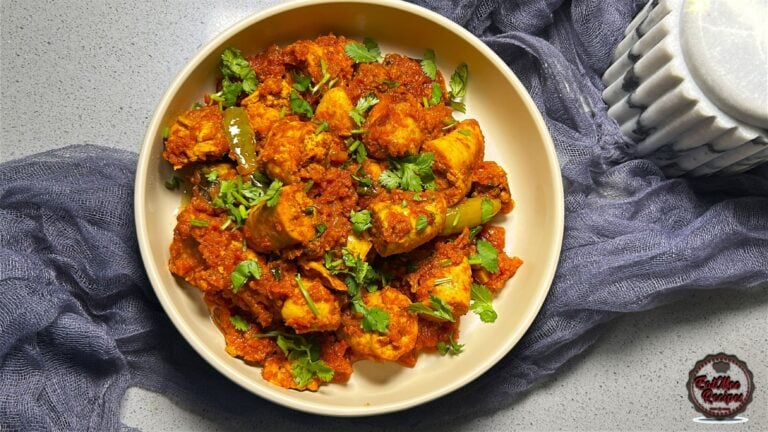 Indian Cuisine
My mum is sharing another one of her much-loved traditional South African Indian recipes. ...
 Indian Cuisine
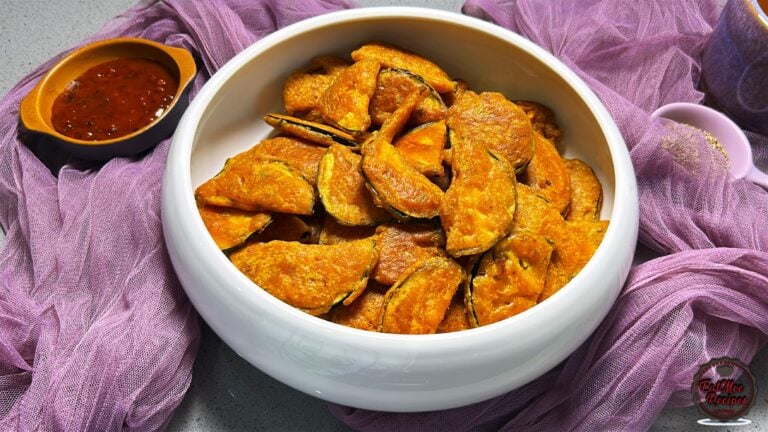
Crispy, golden and delicious, these Brinjal Pakoras are made with thin slices of brinjal c...
 Indian Cuisine
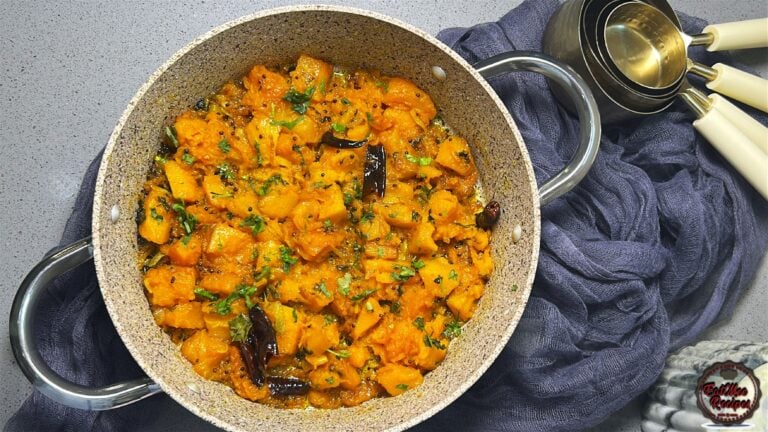
Mum’s Pumpkin Curry is a simple, comforting vegetarian dish that proves you don’t need a l...
Have you tried this recipe or have questions for Denisiya? Join the conversation below.
No comments yet. Be the first to share your thoughts on this recipe!
Leave a Comment
Your email address will not be published. Required fields are marked *