
We Value Your Culinary Privacy
EatMee Recipes uses cookies to provide a personalized browsing experience, analyze recipe popularity, and serve relevant ads. You can review our full disclosure in our Privacy Policy.
Make authentic Instant Pot Mutton Dhall Gosht with this foolproof recipe. Packed with rich traditional flavor, step-by-step photos, and cooking tips by Denisiya on EatMee Recipes.

Join over 60,000+ home chefs for weekly authentic Durban Indian cook-alongs, Instant Pot masterclasses, and family heritage recipes.
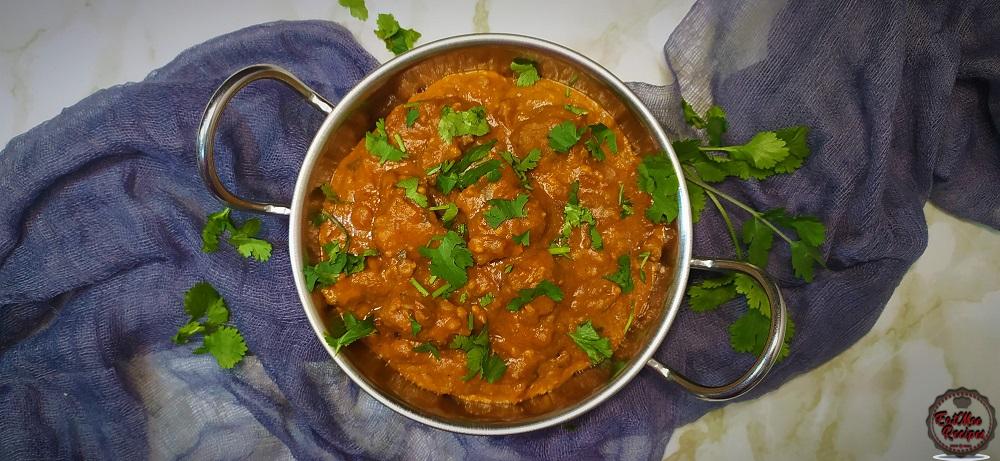
Looking for something to warm up with that’s also quick & easy to make – this Instant Pot Mutton Dhall Gosht is definitely one to add to your menu.
If you’re wondering, what is Dhall Gosht, well it is a dish with a meaty curry (lamb/mutton/chicken) that is cooked in dhall. These two can be cooked separately & combined once both have been cooked however, usually on the stove-top, Dhall can take hours to boil, whereas in the Instant Pot, it literally takes only 30 minutes to cook throughout. So I have combined both the mutton curry & dhall to cook together in the Instant Pot & it only took about 45 minutes in total.
This dish is of Pakistani & North Indian cooking but is also popular in South Africa.
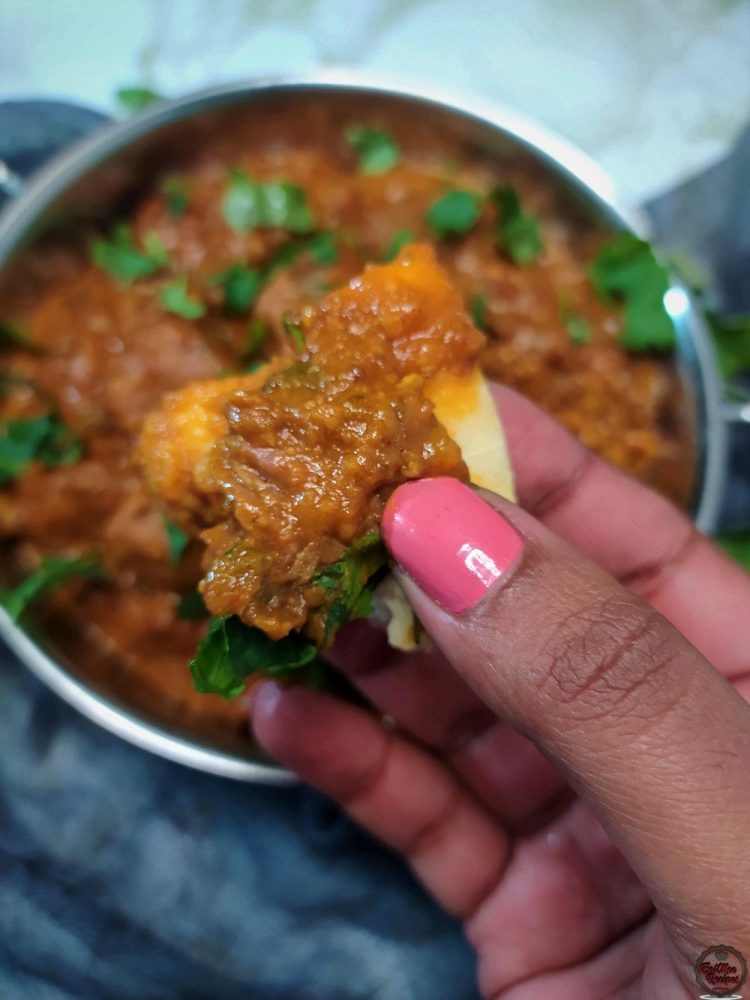
I enjoy this meal with hot, fluffy pita breads but it can be enjoyed with other sides.
For dhall gosht we need to use different lentils such as biryani dhall (masoor), yellow pea dhall &/or red lentils. To make it easier, I am using the lentil mix from Gorimas. It used to be labelled as the dhall gosht mix but now it has been renamed.
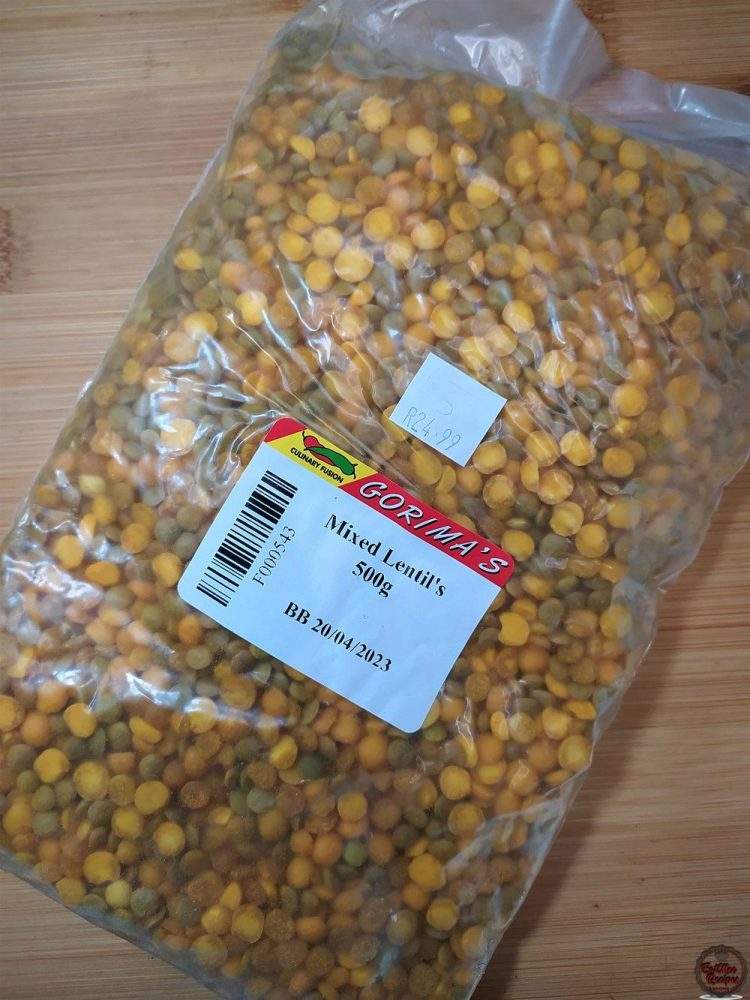
Add a cup of the mixed lentils or the separate lentils together into a bowl.
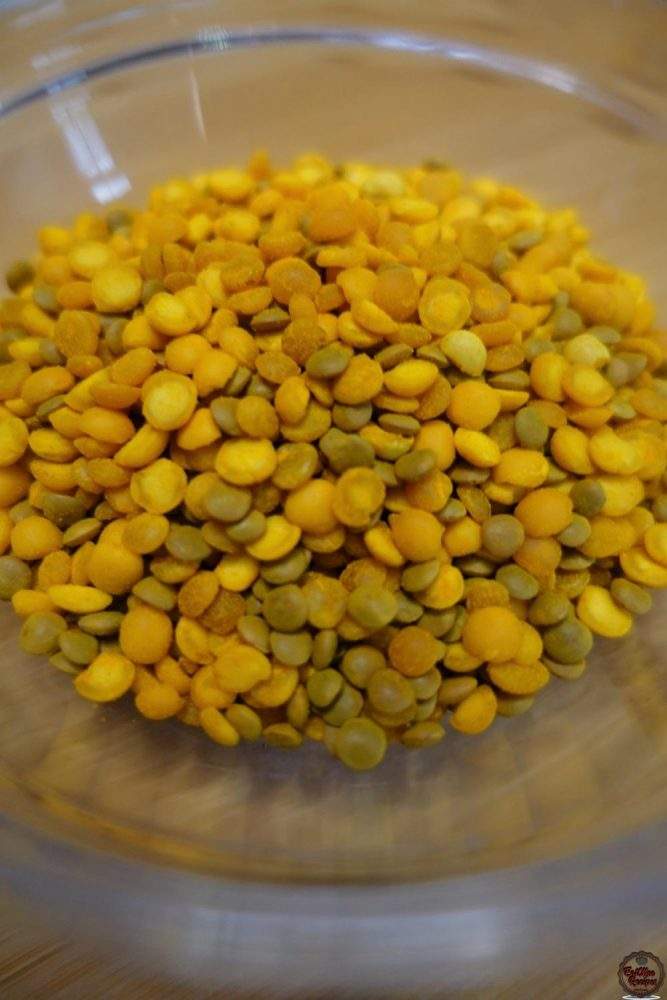
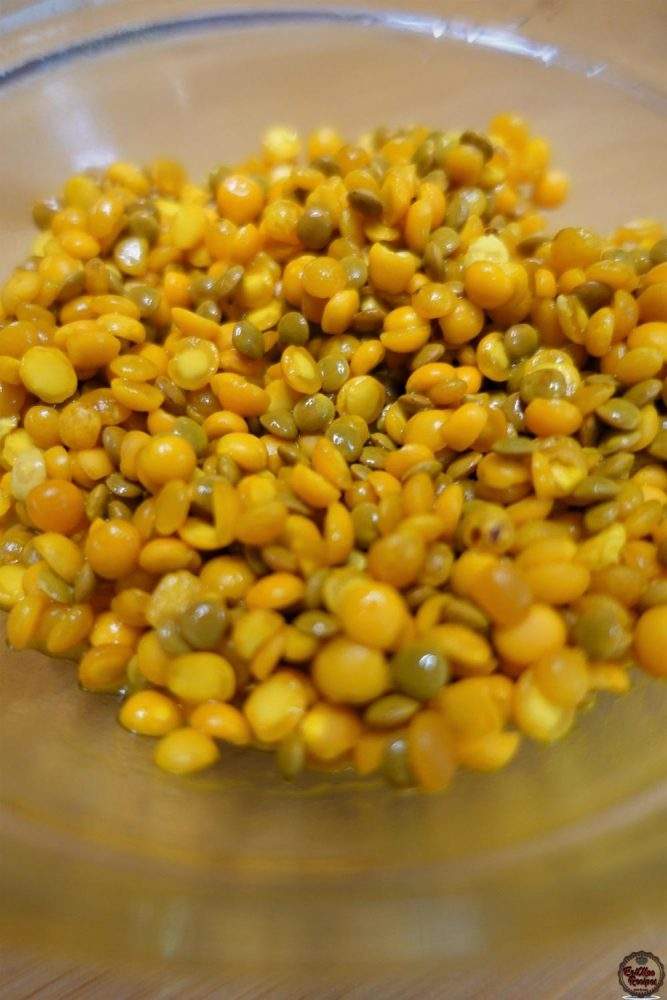
Please note that the Gorimas mixed lentils comes coated in turmeric powder so whilst there is no need to rinse it, I give it a quick rinse just to be on the safe side.
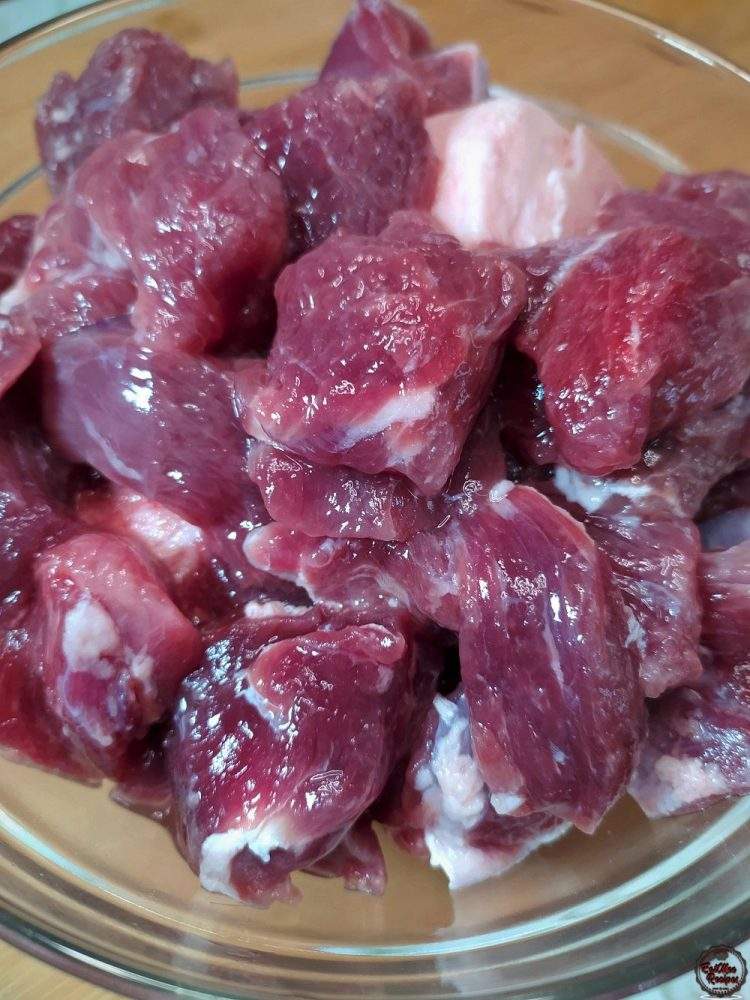
Rinse & cut the lamb or mutton into cubes.
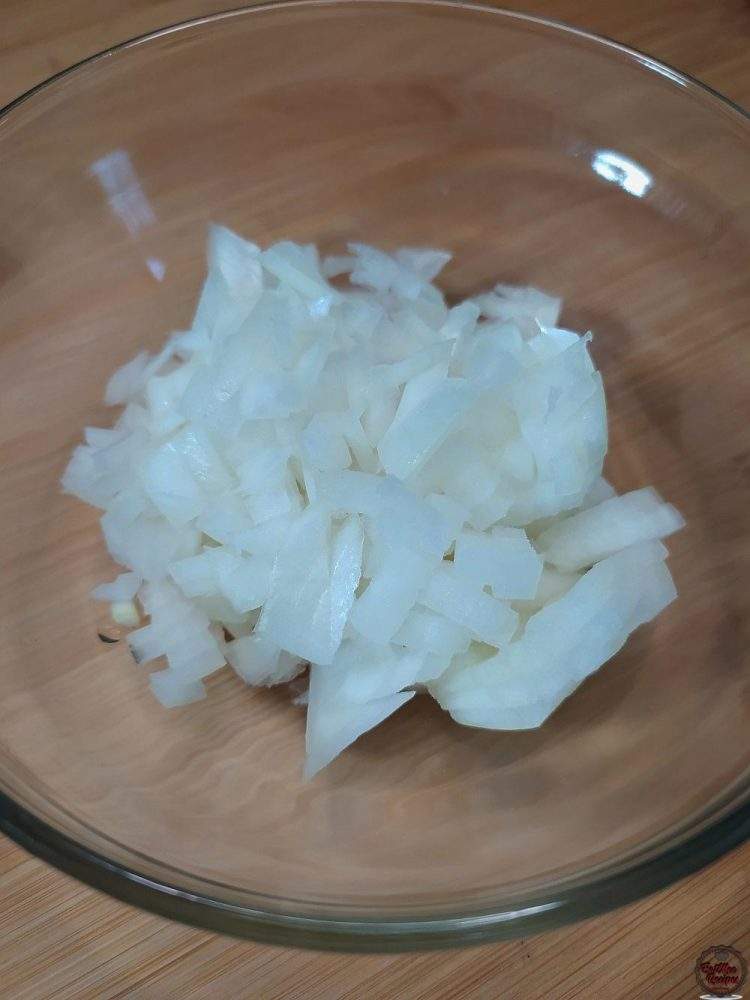
Peel & chop the onion.
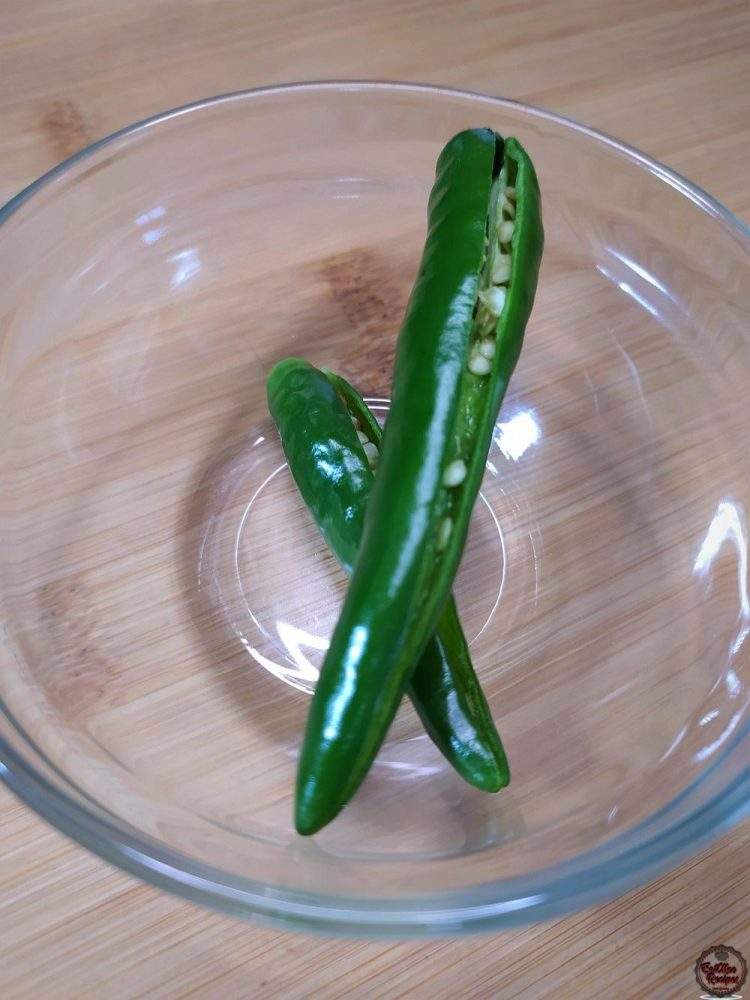
Rinse & slit the green chilies.
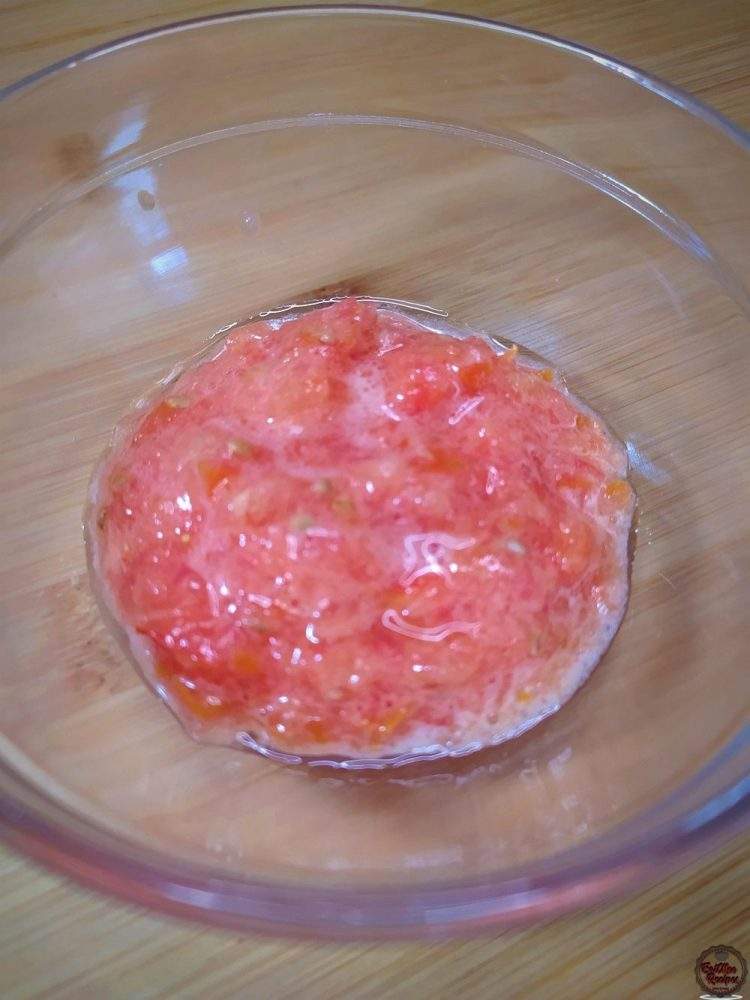
Rinse & blend the tomato.
Today I am using my Instant Pot Duo Crisp which is a newer version of the Standard Instant Pot – this one comes with two lids so that it can be switched from a pressure cooker to an air fryer. The screen is blue lit whilst the standard version is red lit.
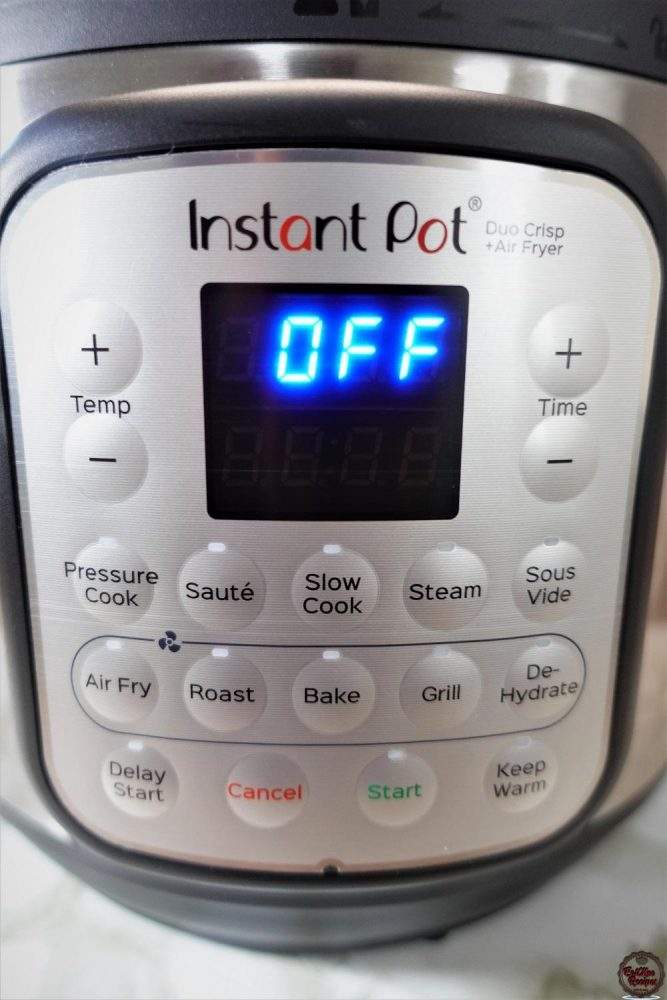
Press the “SAUTÉ” button the Instant Pot. Press on it again until the heat level is at “HI (High)”.

The display should pre-select to 00:30, but it is fine at whichever time because it may be canceled whenever you are done sautéing.
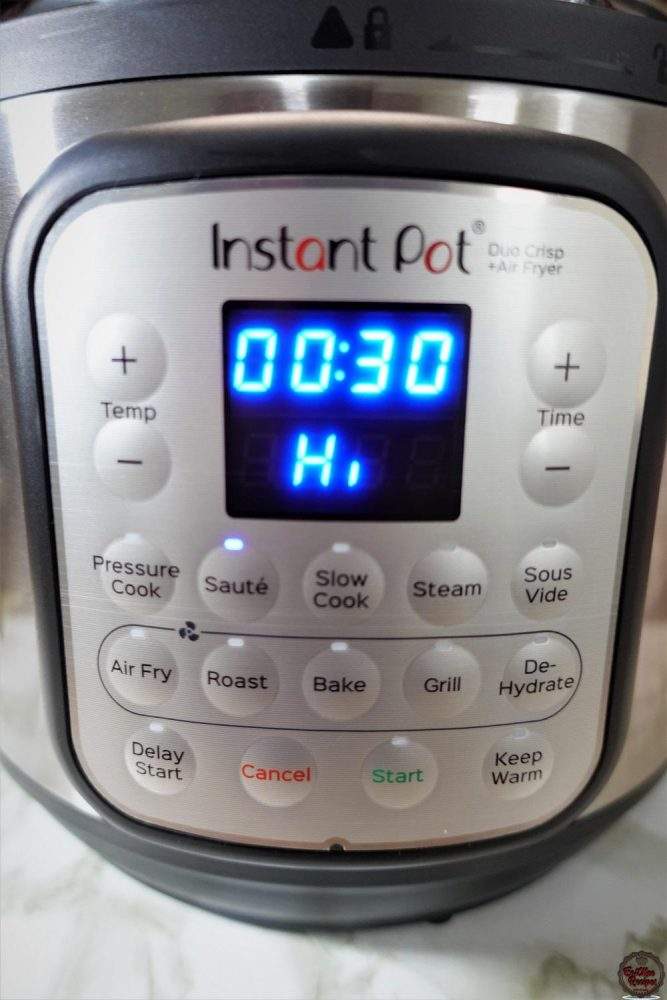
On the Duo Crisp, the “START” button needs to be pressed after every function is selected. So after selecting sauté, select start.

Pour the vegetable oil into the inner stainless steel pot. Add in the onions, slit green chilies & thyme.
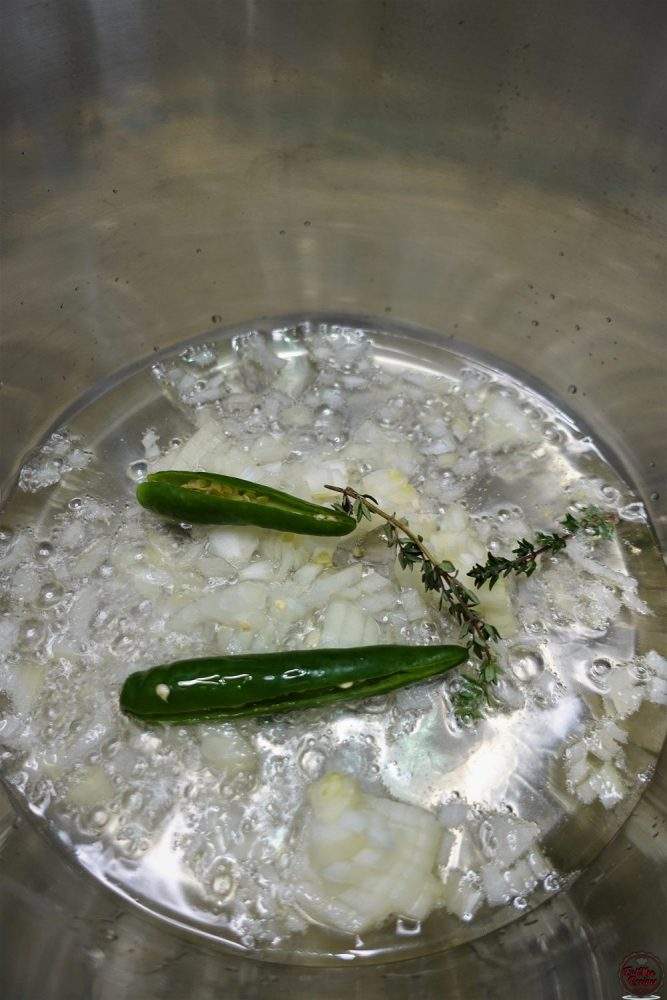
Thereafter, add in the bay leaves, star aniseed, cinnamon stick, cumin (jeera) seeds & fennel (soomph) seeds.
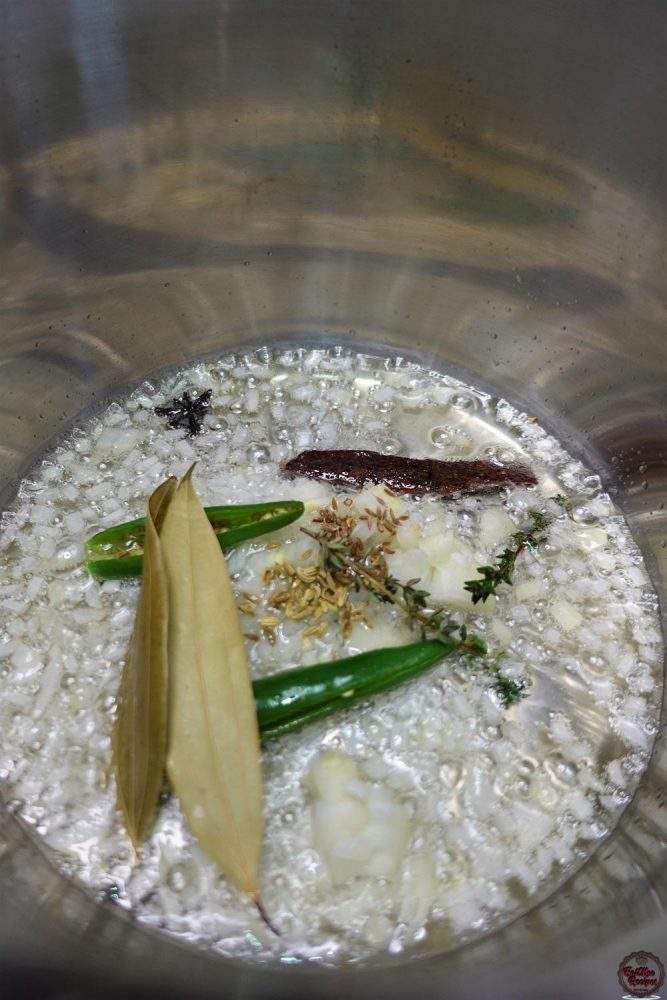
Mix well & allow to sauté until the onions are translucent.
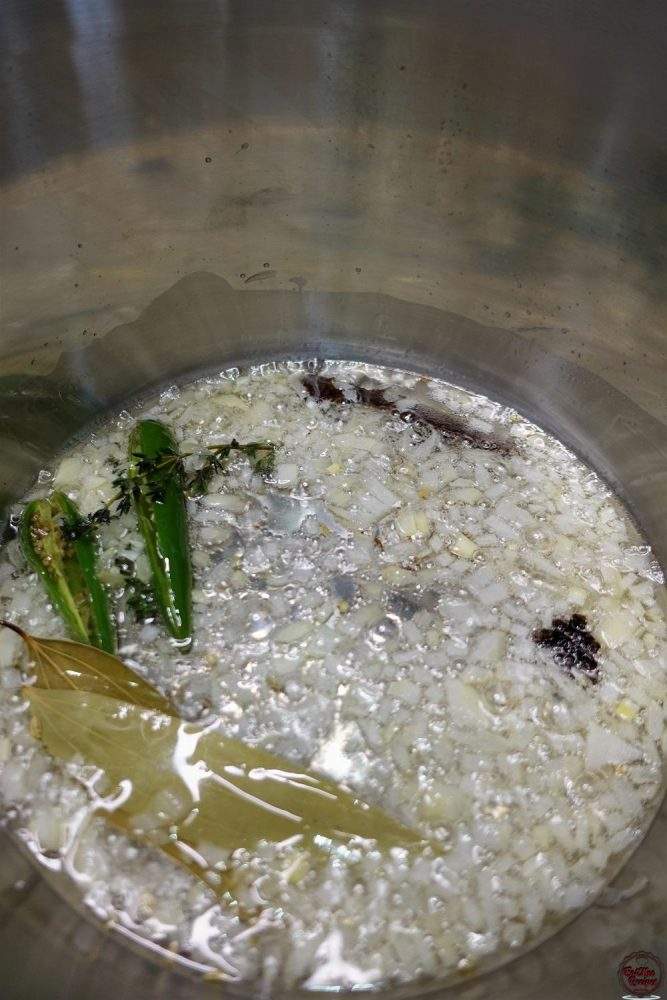
Once the onions are translucent, add in turmeric powder, garam masala, cumin (jeera) powder, coriander (dhania) powder, cardamom (elachi) powder, red chili flakes, chili powder/masala & ginger & garlic paste.
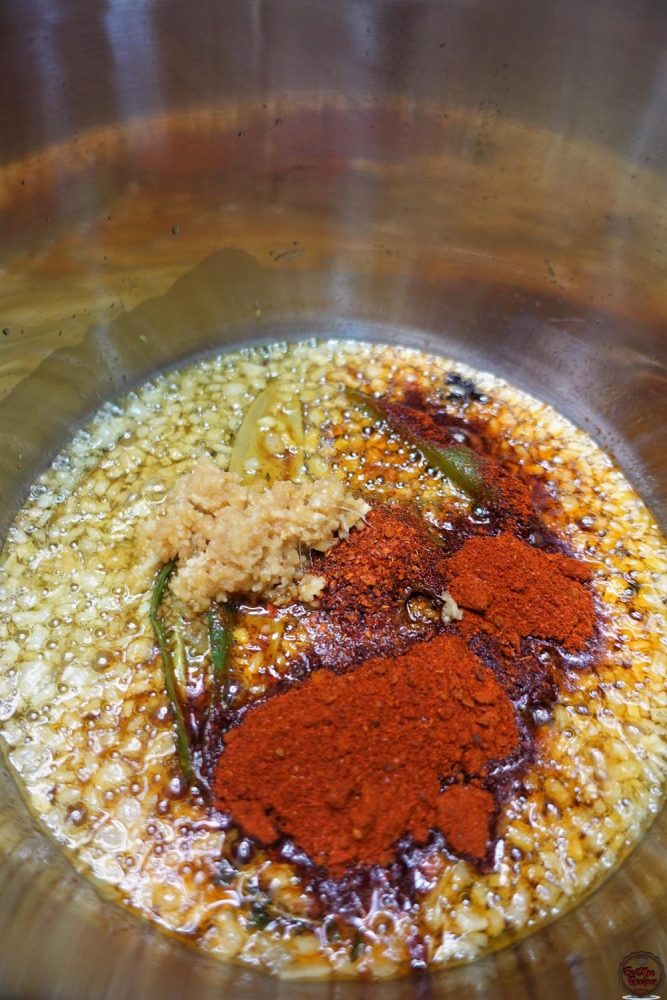
Mix well.
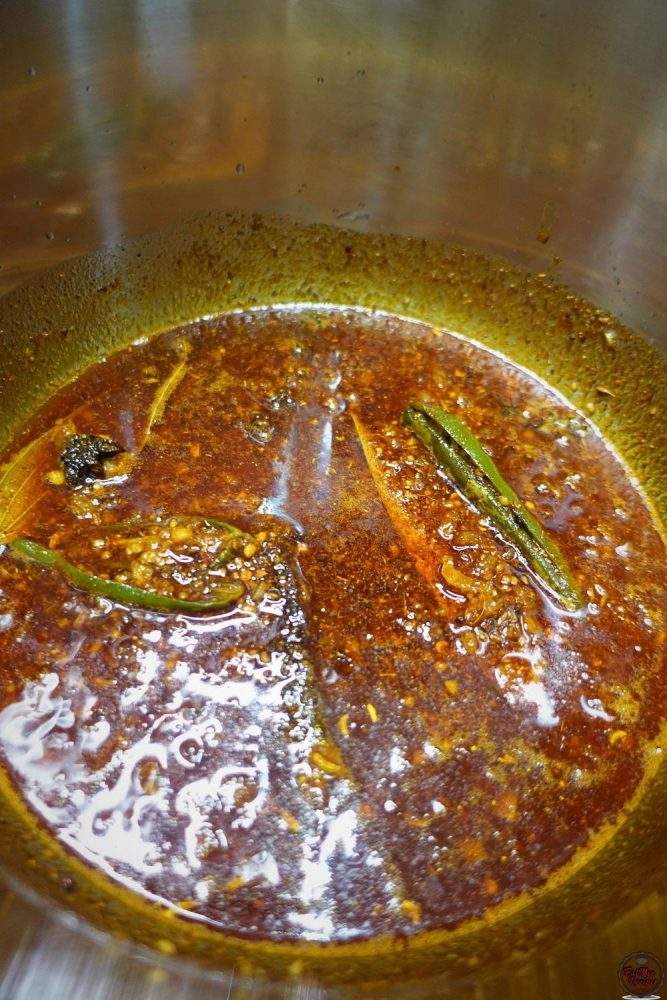
Thereafter, add in the lamb or mutton pieces & salt to taste.
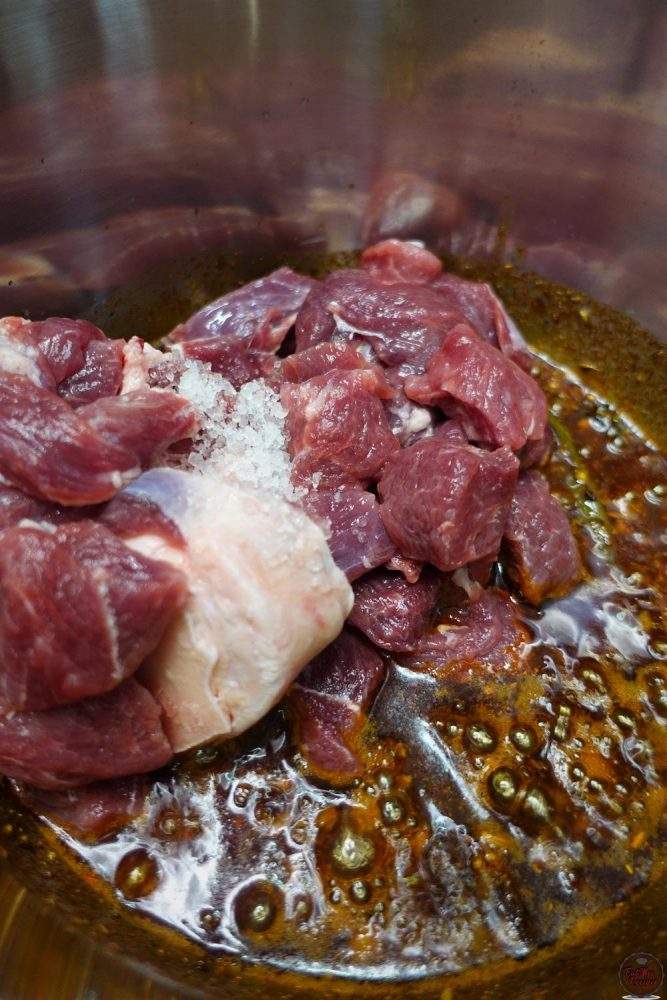
Mix until the meat is coated in the spices.
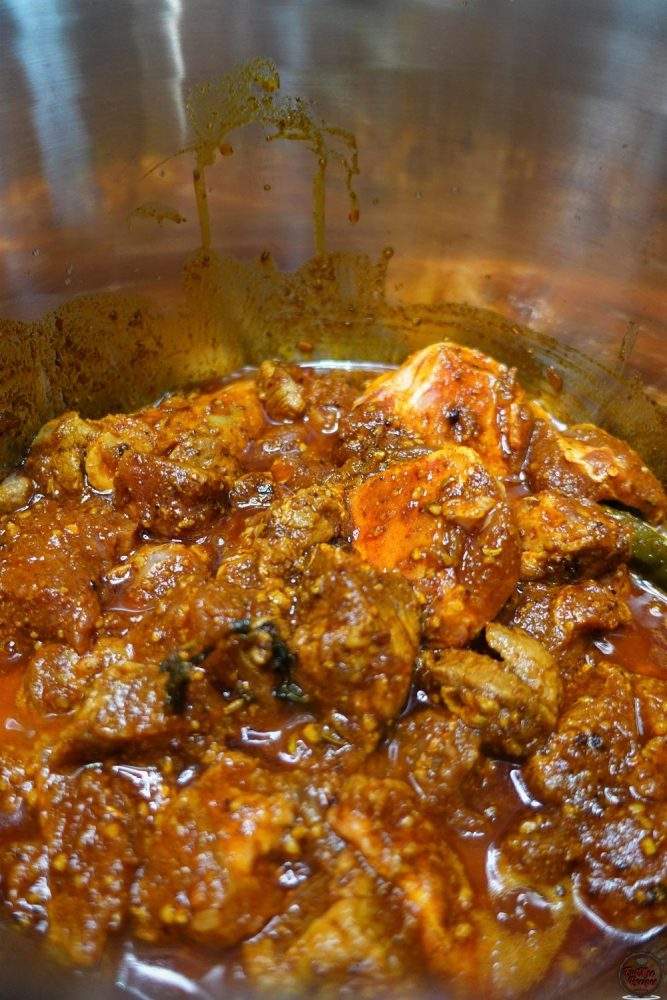
Cover with a lid & allow the meat to seal in the spices for 10 minutes. Make sure to give it a stir now & again as you do not want it to burn – also avoid adding any water. I do not have the Instant Pot lid so I used a lid that I had on hand.
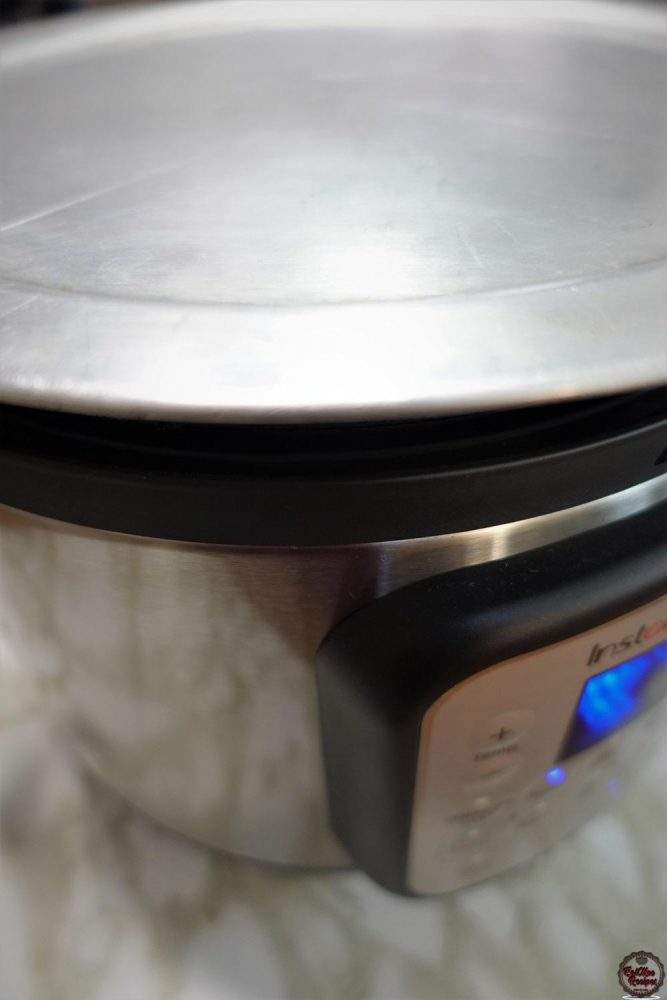
After 10 minutes, the meat should have a beautiful colour on them, give it a quick stir.
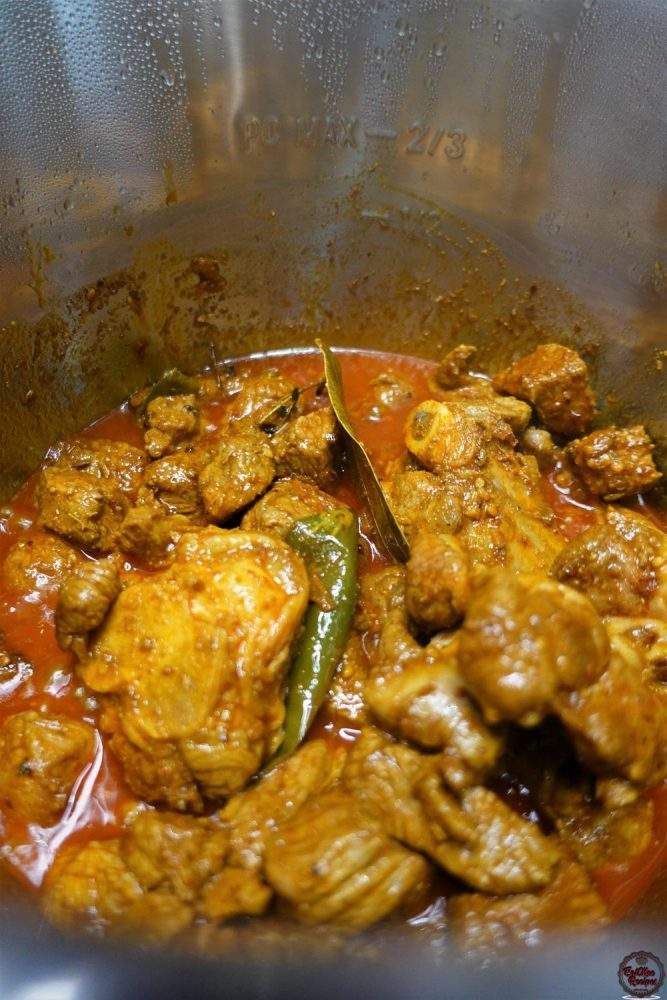
Add in the blended or grated tomato, curry leaves, ¼ cup of mint & ¼ cup of coriander (dhania).
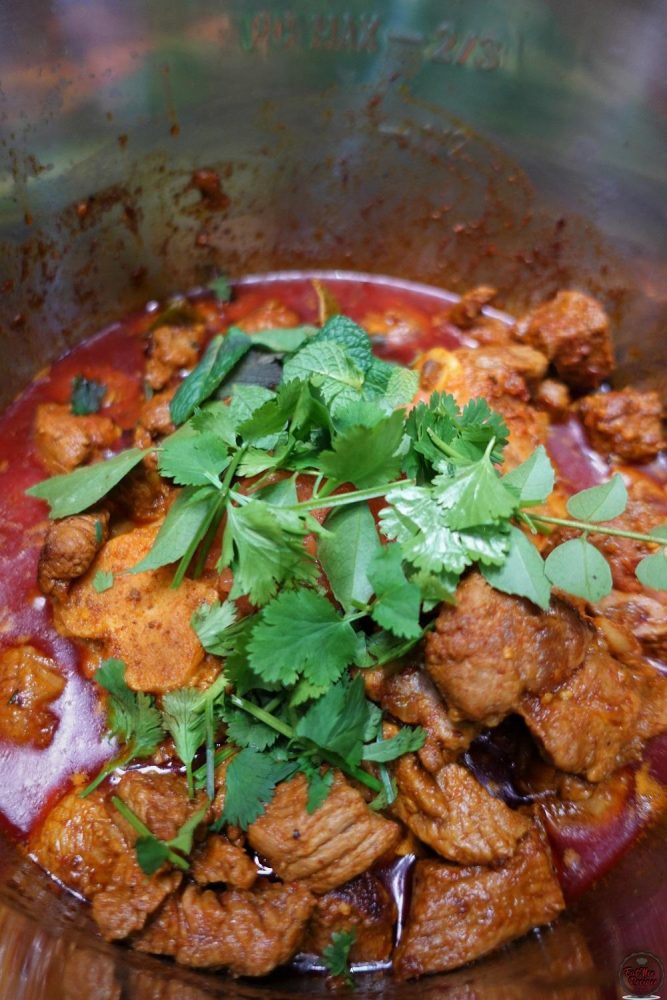
Next, add in the rinsed lentils.
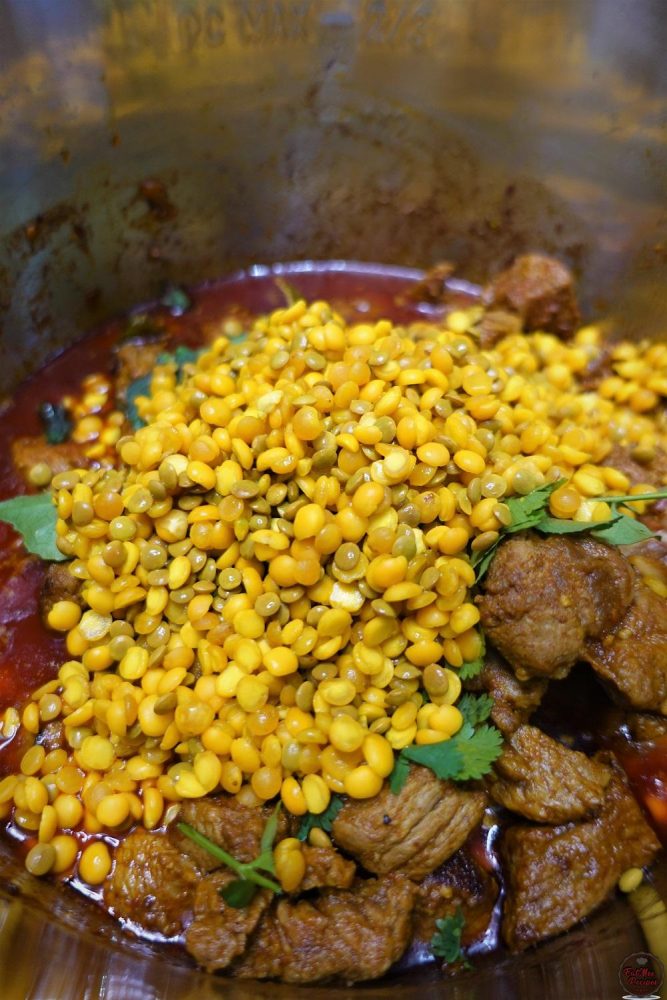
Pour in the water.
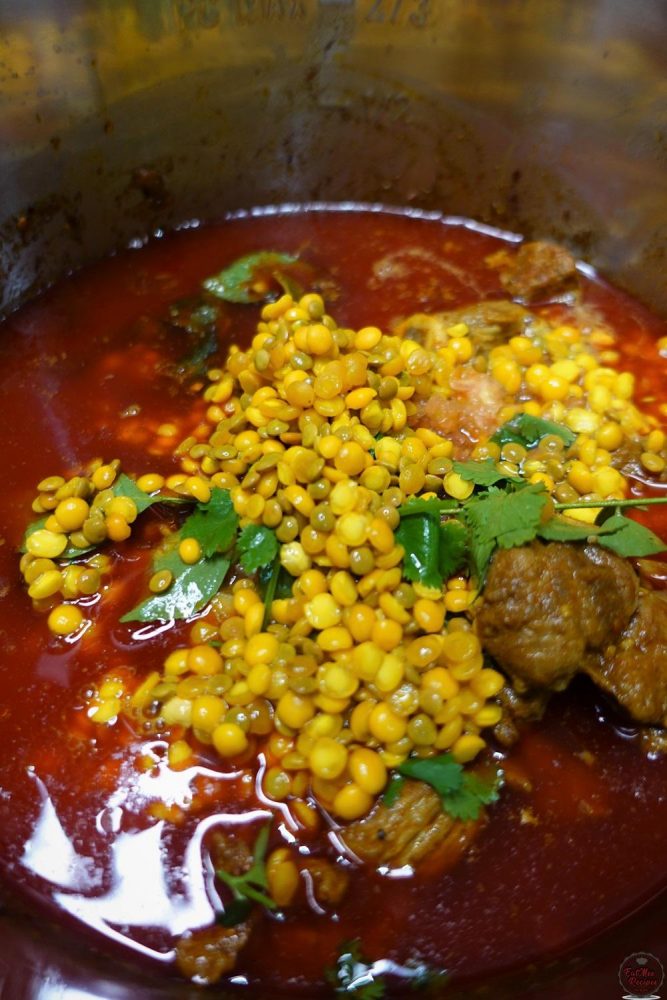
Mix well.
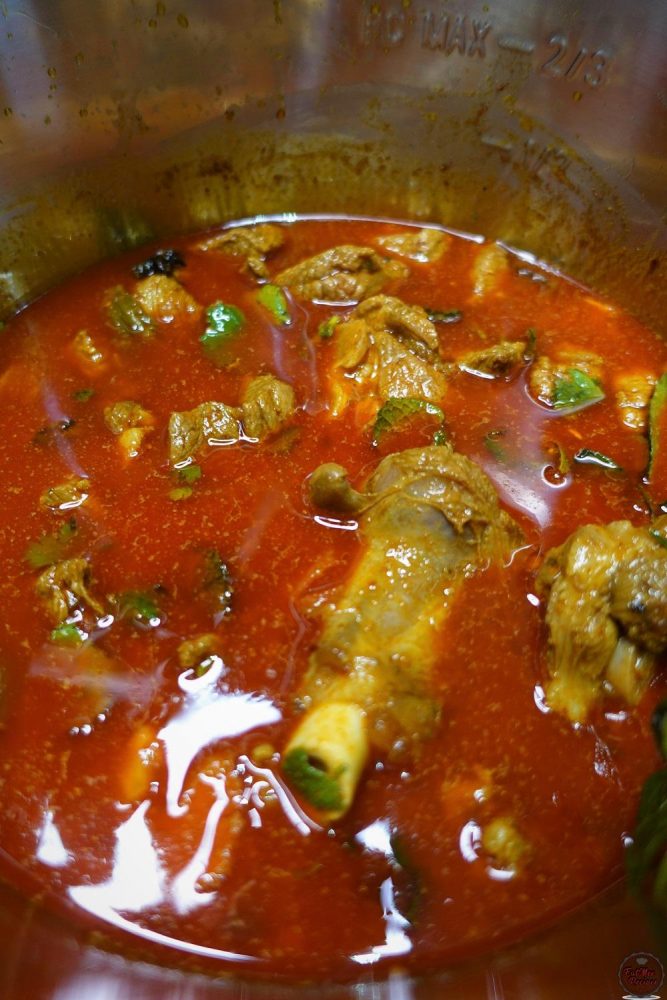
Press “CANCEL” on your Instant Pot.
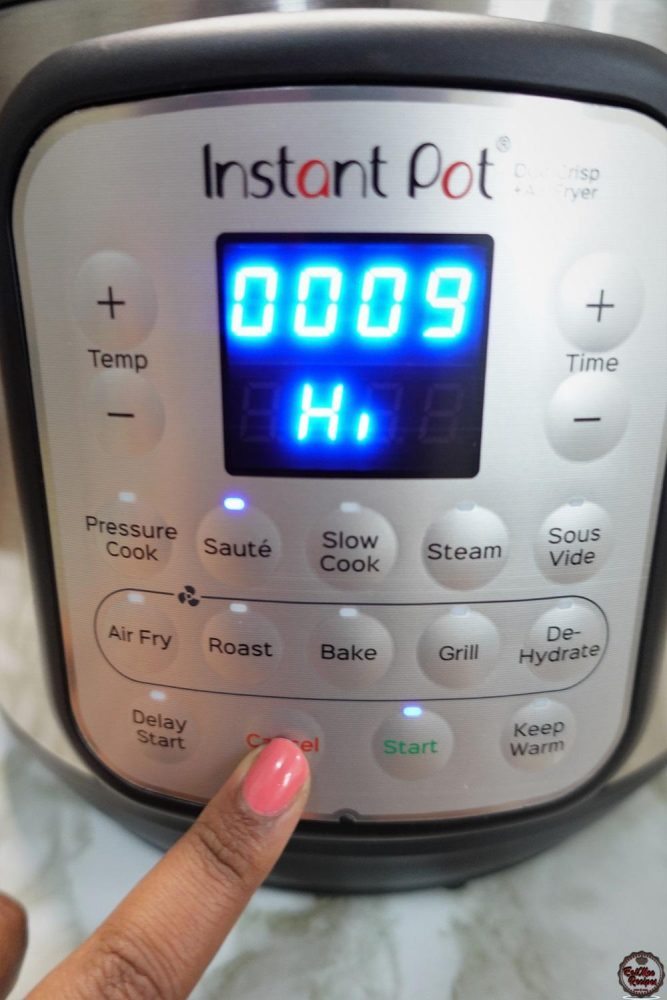
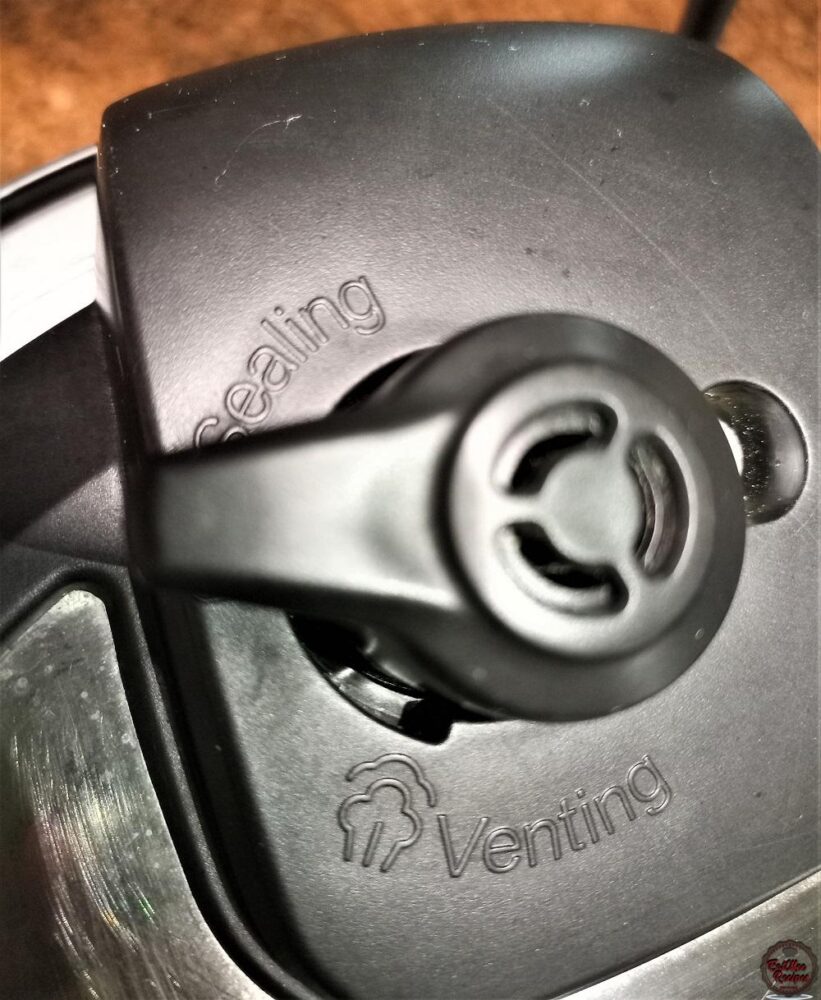
Secure the lid on the Instant Pot. On the Duo Crisp Instant Pot there is no turning of the anti-blockage vent (steam release handle) to “SEALING” as this will automatically seal.
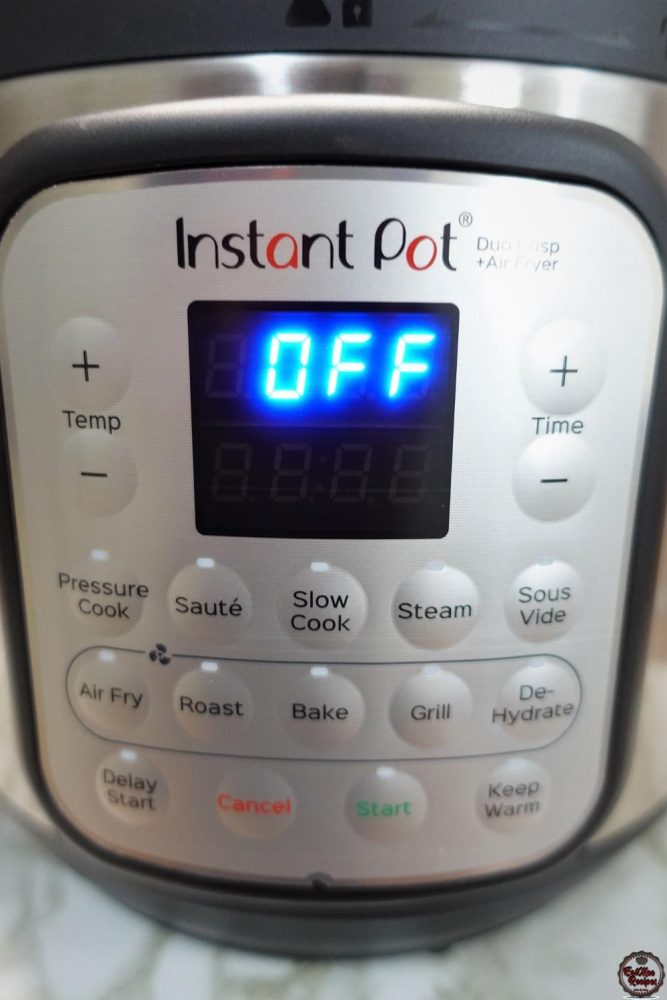
If using the Standard IP then turn the vent to “SEALING”.
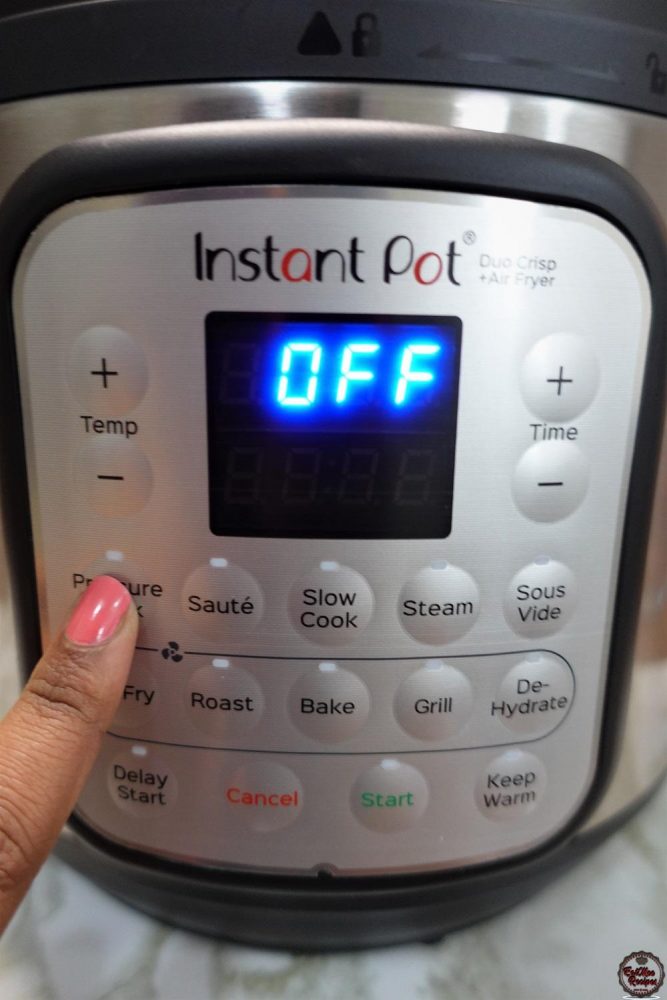
Press the “Pressure Cook” button. Press the button again to set the pressure level to “HI (High)” on the display.
Next, use the “- or +” buttons & set the cooking time to 00:30 (30 minutes).
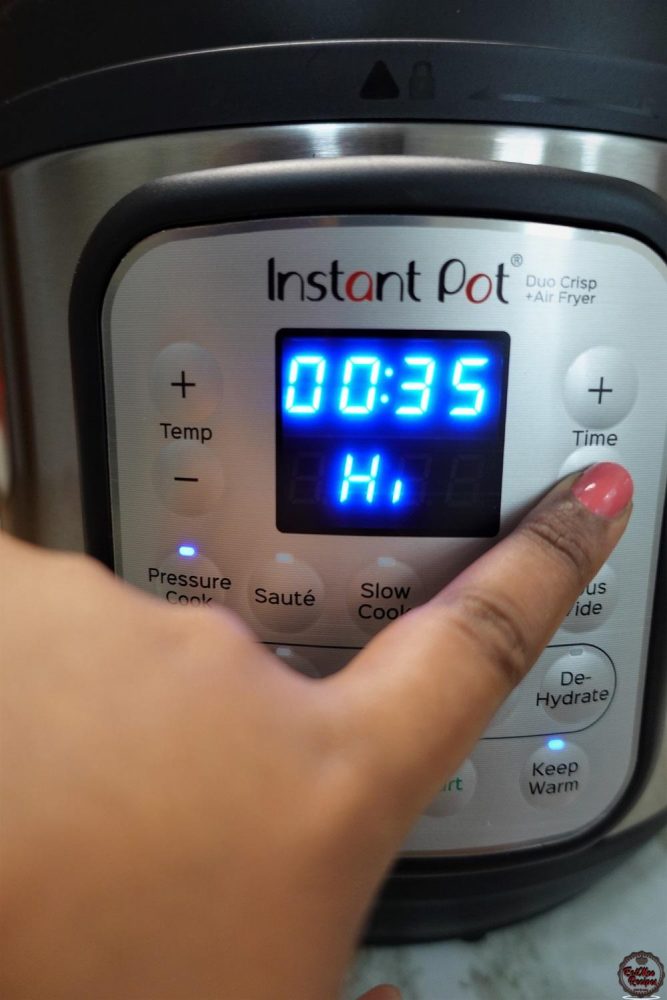
Don’t forget to hit the “START” button so that it can start the function.
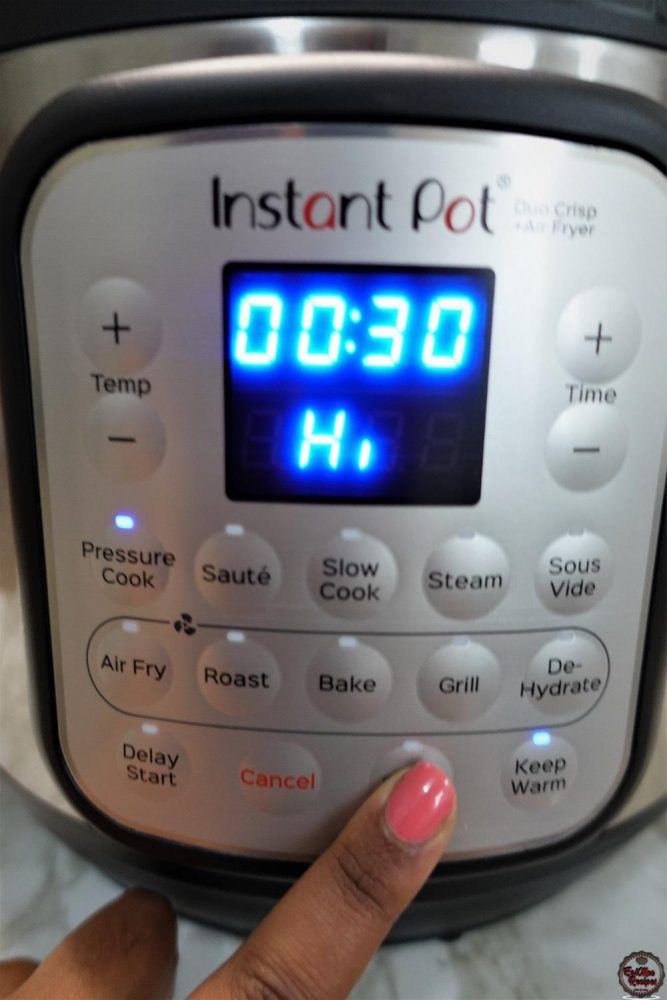
The Instant Pot should display “ON” until the pressure builds up.
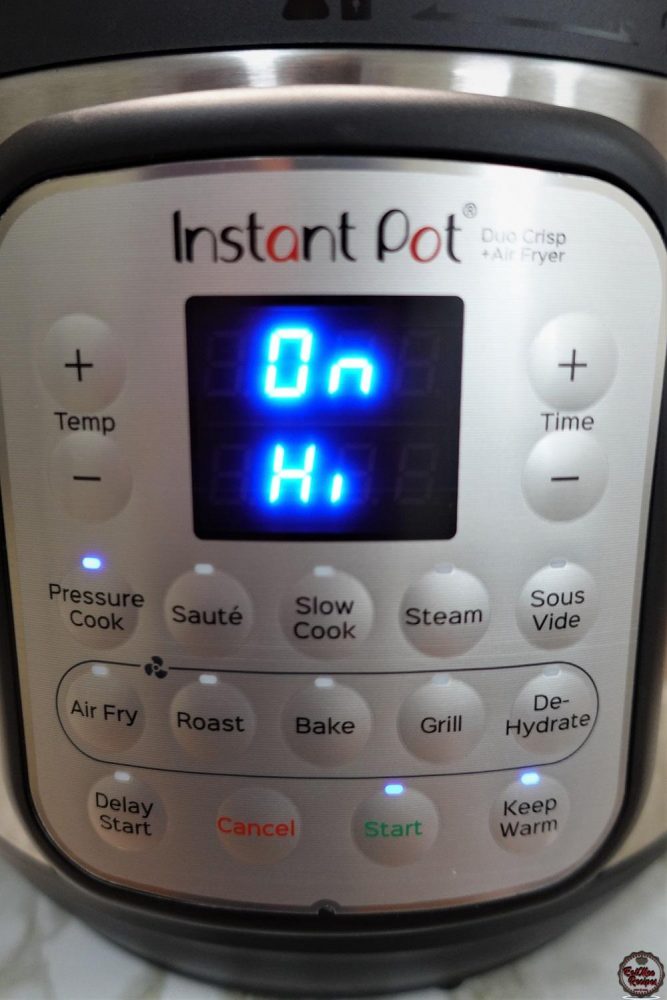
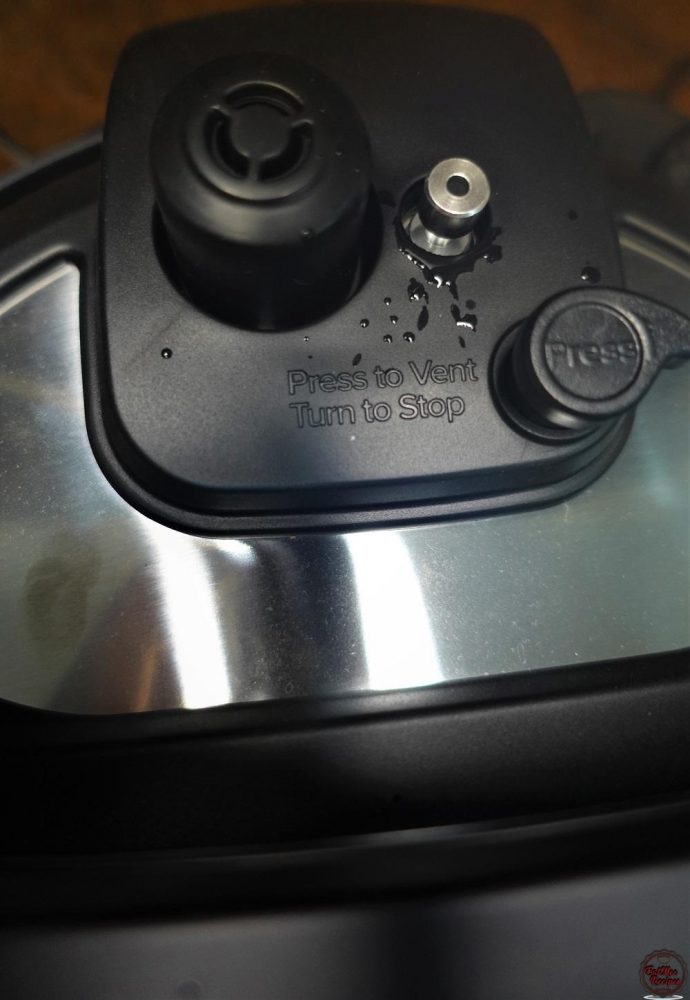
Once the pressure builds up, the “float valve” will pop up – when it pops up, do not attempt to open the lid!
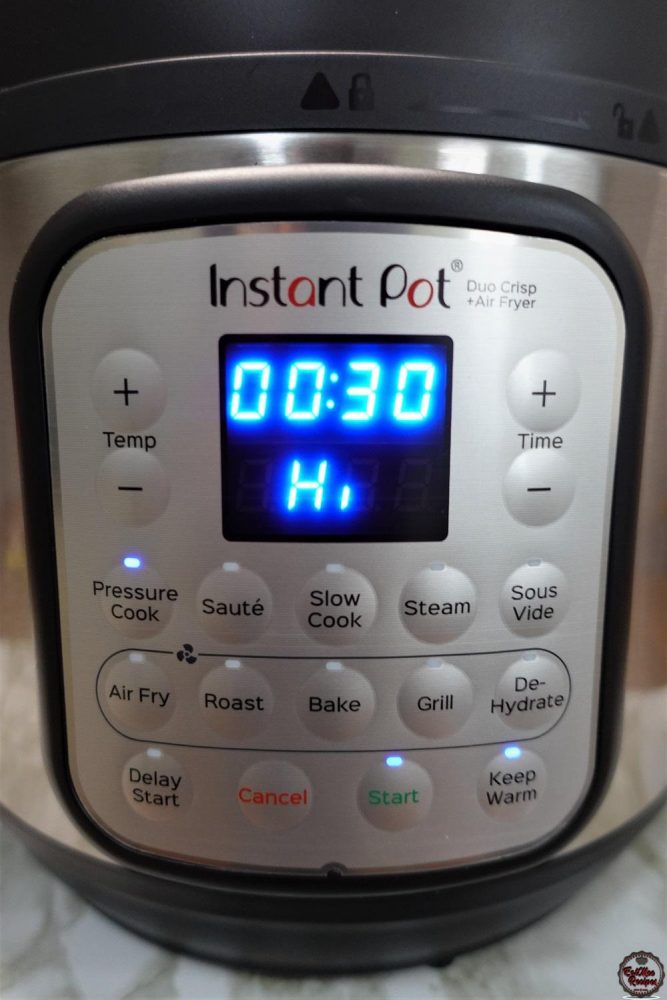
Thereafter, the 30 minute timer will count down on the screen.
After the 30 minutes are over, the screen should display “L0:00”.
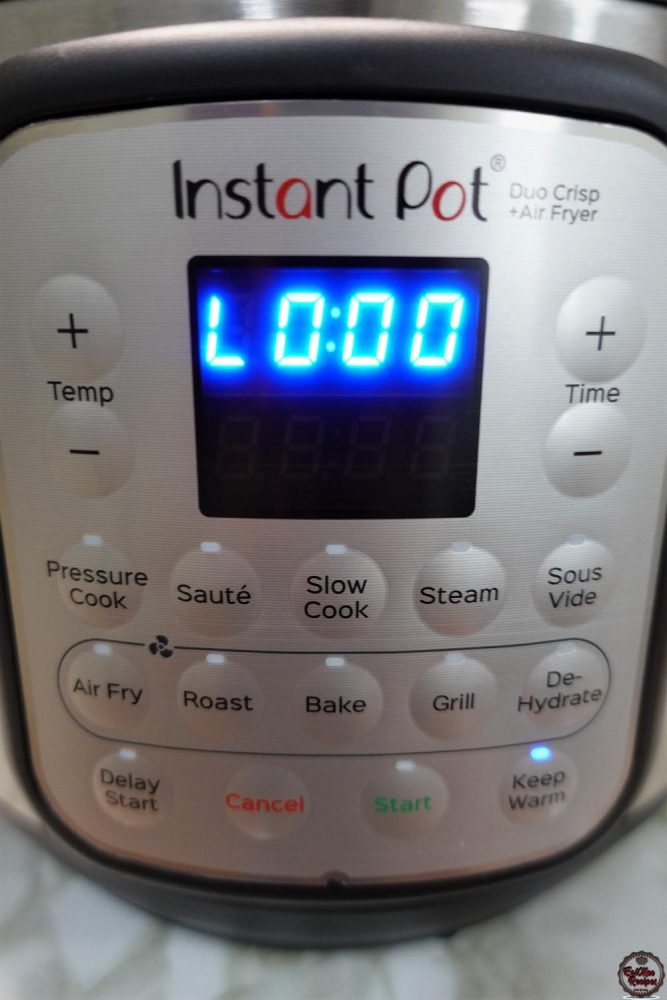
Press “CANCEL” on your Instant Pot & press the valve next to the vent that says “PRESS” – On the Standard IP, turn the anti-blockage vent (steam release handle) to “VENTING” & allow the steam to release.
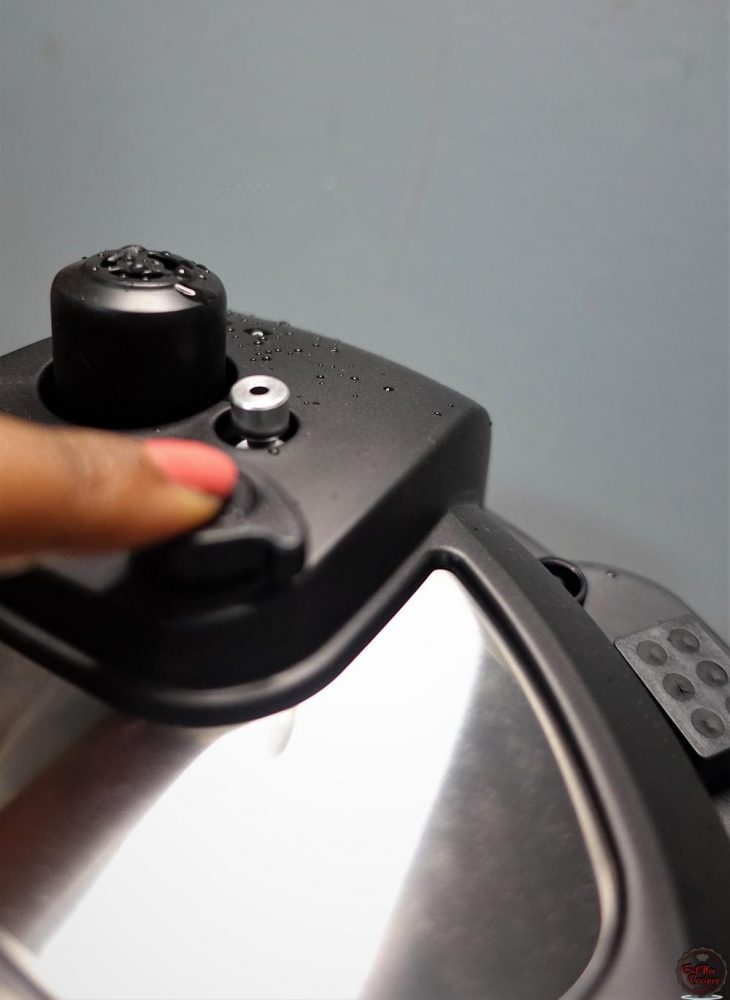
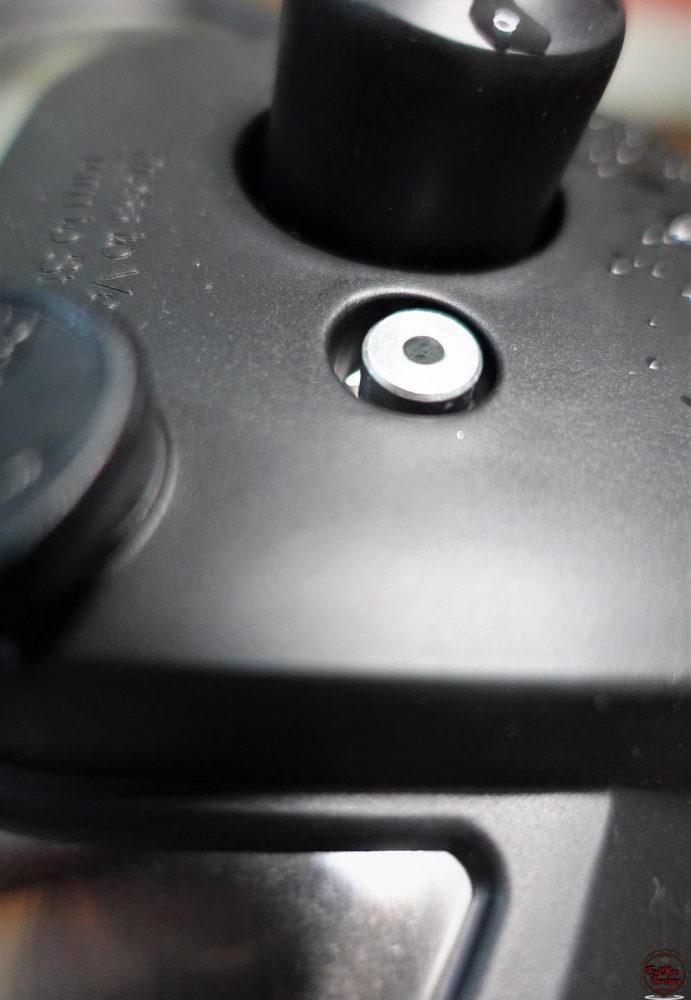
Once the “float valve” sinks in, it is safe to open the lid.
As you can see, the lentils have cooked perfectly.
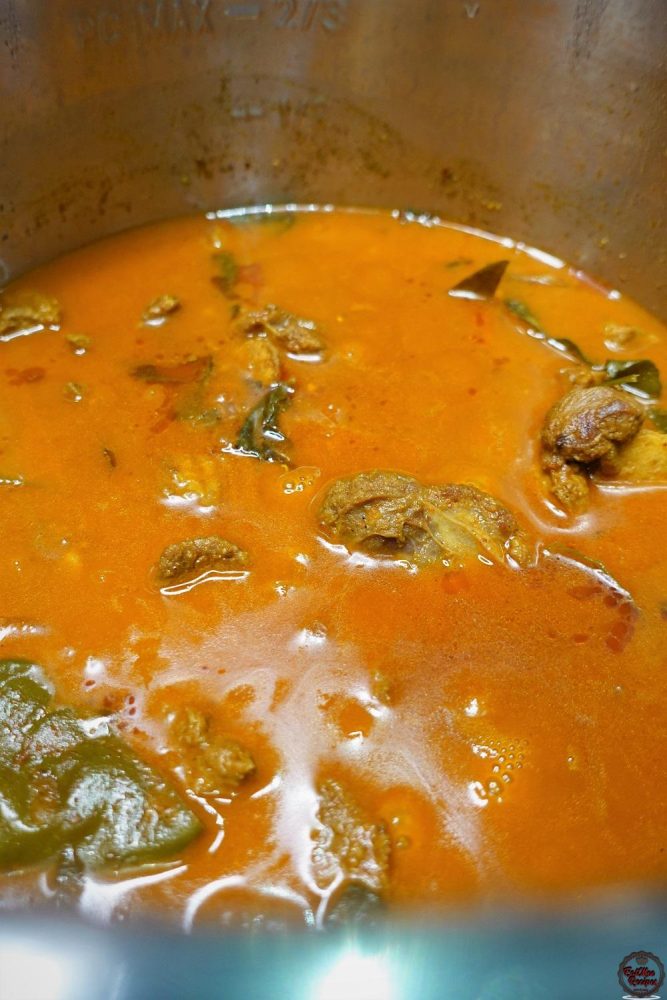
Give it all a mix.
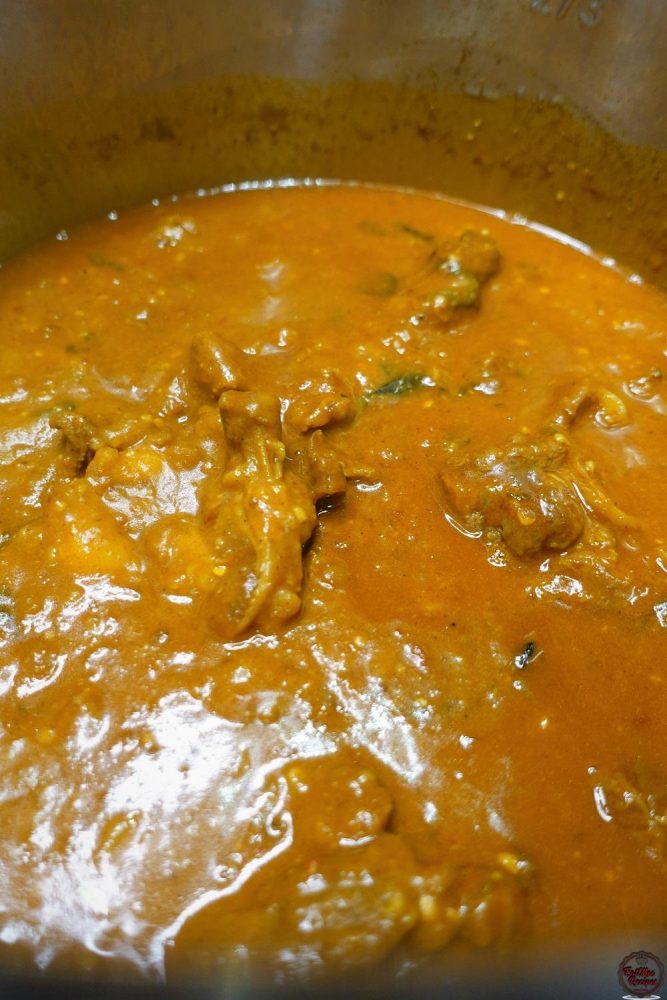
The meat should be cooked throughout as well. At this point check if the salt is enough & add more if needed.
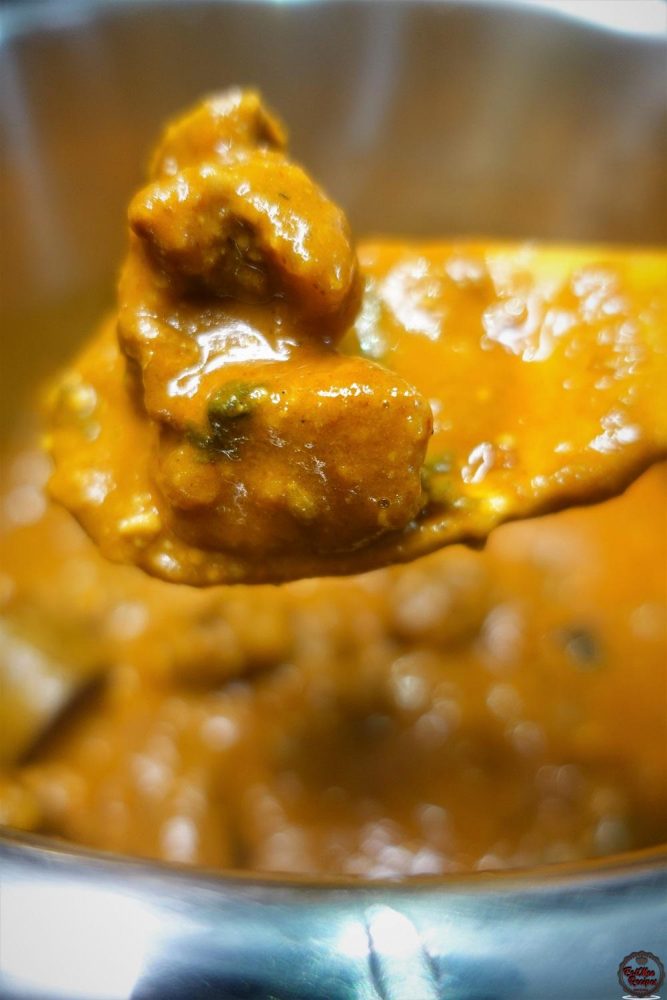
Plate & garnish with freshly chopped coriander (dhania).
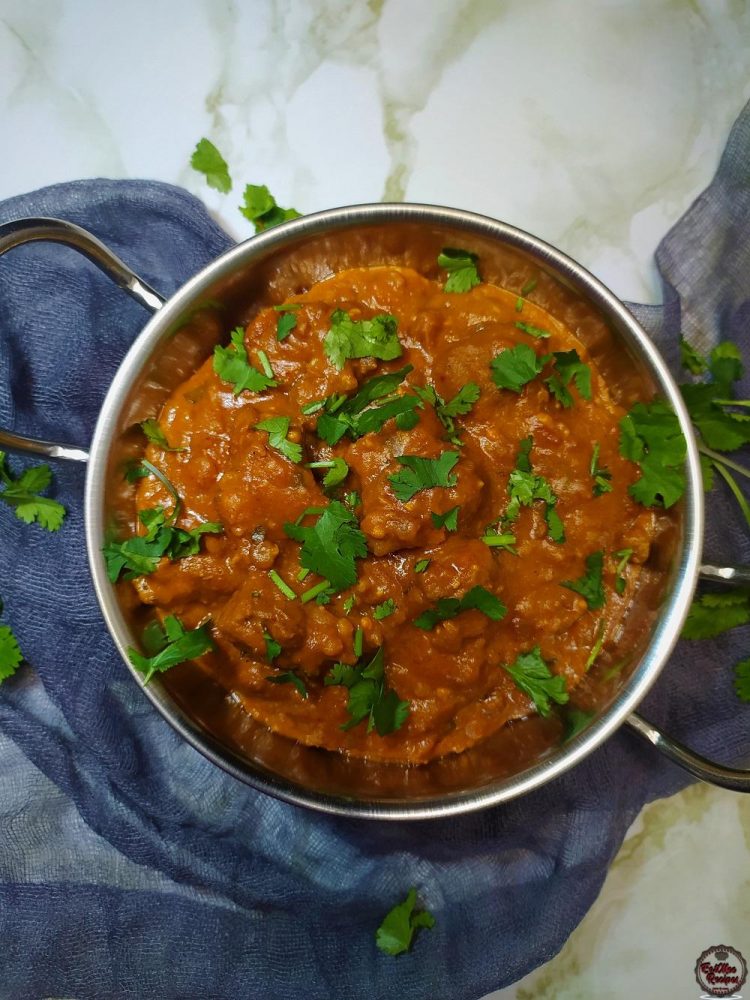
Serve this Instant Pot Mutton Dhall Gosht with bread, rice, puris, rotis or pita bread which I highly recommend.
Follow along with Denisiya's step-by-step video guide for Instant Pot Mutton Dhall Gosht.
Expert kitchen guidance and troubleshooting for making the best Instant Pot Mutton Dhall Gosht
Absolutely! You can easily tailor the heat by increasing or reducing the chili powder and fresh chilies to suit your family’s palate without compromising the authentic flavor profile.
Yes, you can freeze Instant Pot Mutton Dhall Gosht in an airtight, freezer-safe container for up to 2 to 3 months. Thaw overnight in the refrigerator before gently reheating.
Reheat gently on the stovetop over low heat with a splash of water, or in the microwave covered with a damp paper towel to retain moisture.
Hi, I'm Denisiya! Food lover, recipe developer, and founder of EatMee Recipes. I specialize in authentic South African Durban Indian cuisine, comforting curries, and modern Instant Pot adaptations. Every recipe on this site is tested in my personal kitchen to ensure you get mouth-watering, foolproof results every time.
Explore more authentic Durban curries, traditional bakes, and comforting family favourites.
 Indian Cuisine
My mum is sharing another one of her much-loved traditional South African Indian recipes. ...
 Indian Cuisine
Crispy, golden and delicious, these Brinjal Pakoras are made with thin slices of brinjal c...
 Indian Cuisine
Mum’s Pumpkin Curry is a simple, comforting vegetarian dish that proves you don’t need a l...
Have you tried this recipe or have questions for Denisiya? Join the conversation below.
No comments yet. Be the first to share your thoughts on this recipe!
Leave a Comment
Your email address will not be published. Required fields are marked *