
We Value Your Culinary Privacy
EatMee Recipes uses cookies to provide a personalized browsing experience, analyze recipe popularity, and serve relevant ads. You can review our full disclosure in our Privacy Policy.
Make authentic Instant Pot Caramel Flan with this foolproof recipe. Packed with rich traditional flavor, step-by-step photos, and cooking tips by Denisiya on EatMee Recipes.

Join over 60,000+ home chefs for weekly authentic Durban Indian cook-alongs, Instant Pot masterclasses, and family heritage recipes.
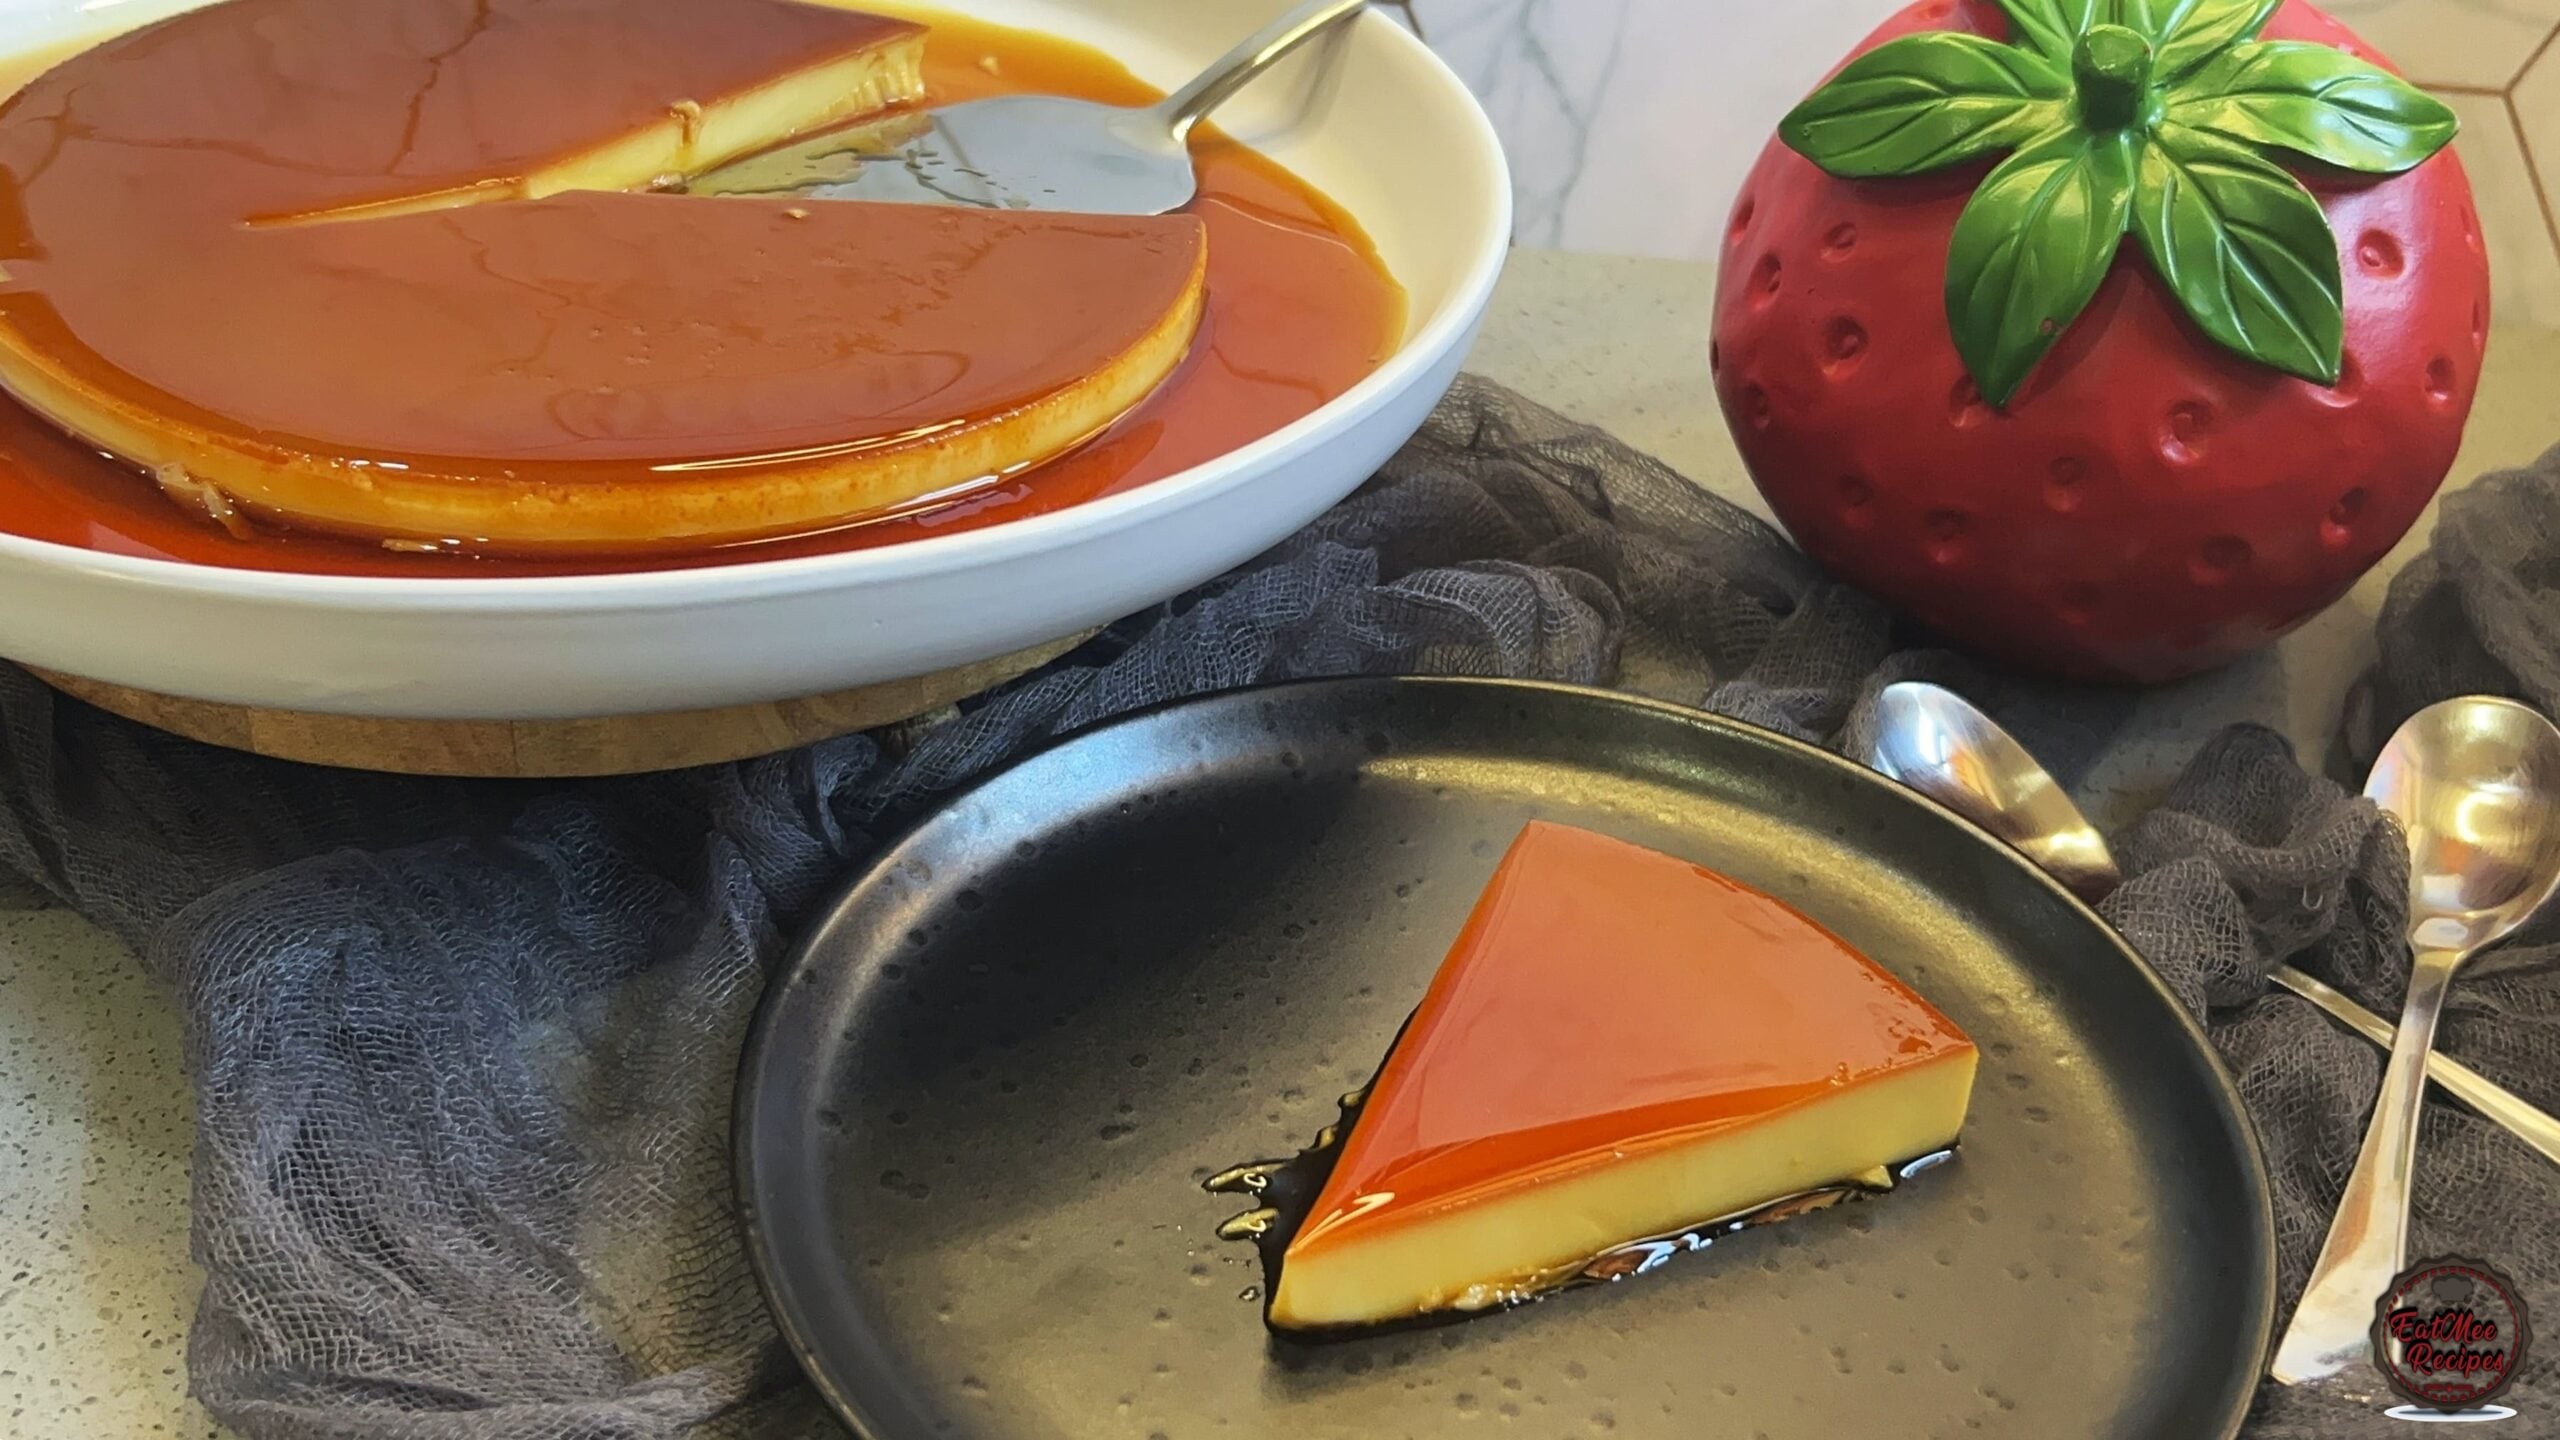
There’s something timeless about a good caramel flan. Silky smooth custard, a gentle wobble, and that deep amber caramel that melts into a glossy sauce the moment you turn it out. This Instant Pot caramel flan delivers all of that, with far less stress than a traditional water bath in the oven.
This is the exact method I use and trust for making caramel flan in the Instant Pot using a 17 cm round baking pan.
This recipe was originally published in 2019 and has since been recreated, retested, and refined to make it even better. Over time, I adjusted the custard ratio, pressure time, and cooling method to eliminate cracking and improve texture, resulting in a more reliable and polished flan.

Traditionally, this dessert is baked in the oven but since the Instant Pot is so versatile, I though why not, right? The results were amazing! Pressure cooking creates an evenly cooked custard with a delicate, creamy texture, making this method ideal if you want consistent results every single time.
Below, I’ve added extra guidance and explanations to help you understand why each step matters, so even first-time Instant Pot users can achieve flawless results.
• Even, gentle heat for ultra-smooth custard
• No cracked or rubbery texture
• Faster and more reliable than oven baking
• Perfect for warm climates or busy kitchens
If you’ve ever had flan split, overcook, or leak water into the custard, this method will change everything.
The caramel can be made either in the microwave or on the stovetop. The microwave method is quick and convenient, but always use a microwave-safe bowl and handle with care as hot sugar is extremely dangerous.
Once the caramel reaches a deep golden amber, immediately pour it into your baking pan, tilting the pan to coat the base evenly. Make sure your pan fits comfortably inside the Instant Pot and is pressure-cooker safe.
For this recipe, use a 17 cm pressure-cooker-safe baking pan. Have the pan out and ready before preparing the caramel, as it needs to be poured immediately.
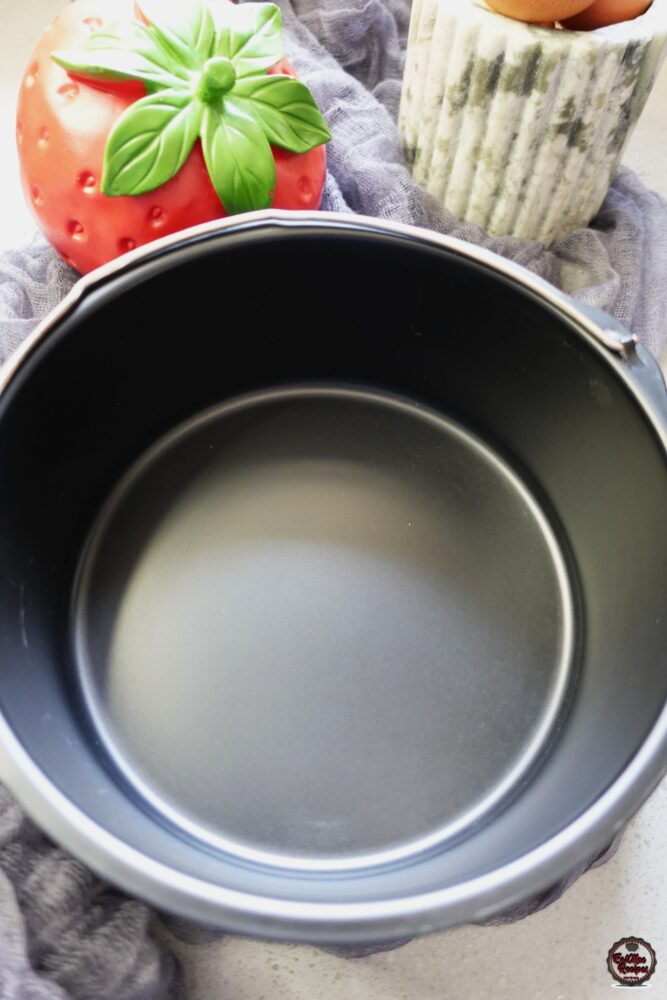
Next, start preparing the caramel. It is crucial that you use a bowl or jug that is microwave safe. Add the white sugar and water to a microwave-safe bowl or jug. Avoid using brown sugar here, as it bubbles aggressively when heated and can easily overflow.
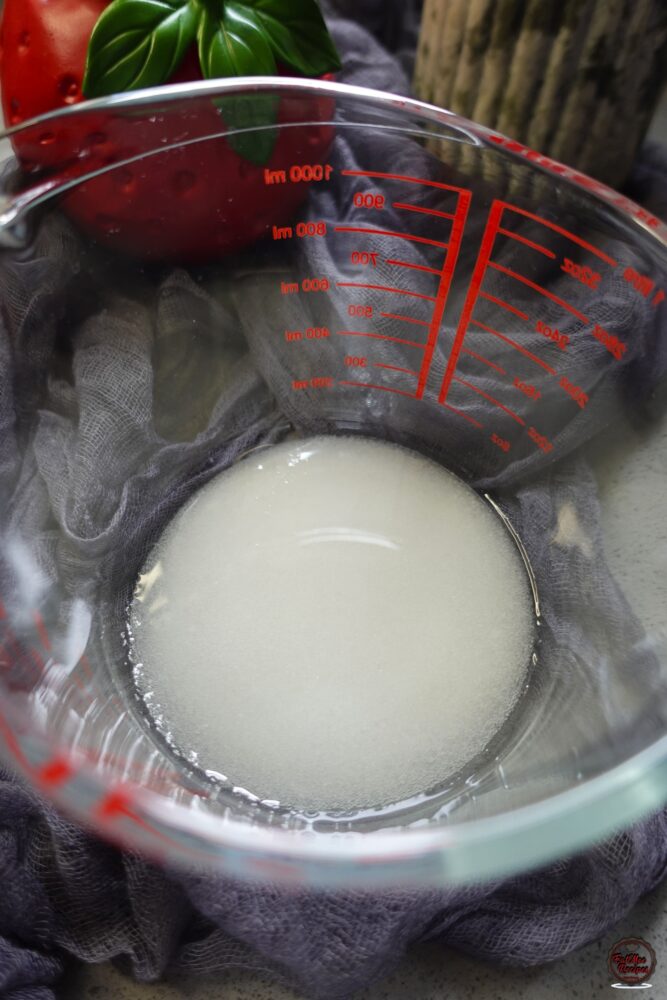
Microwave in intervals until the sugar dissolves and turns a light golden amber colour. This usually takes 2½ – 3 minutes.
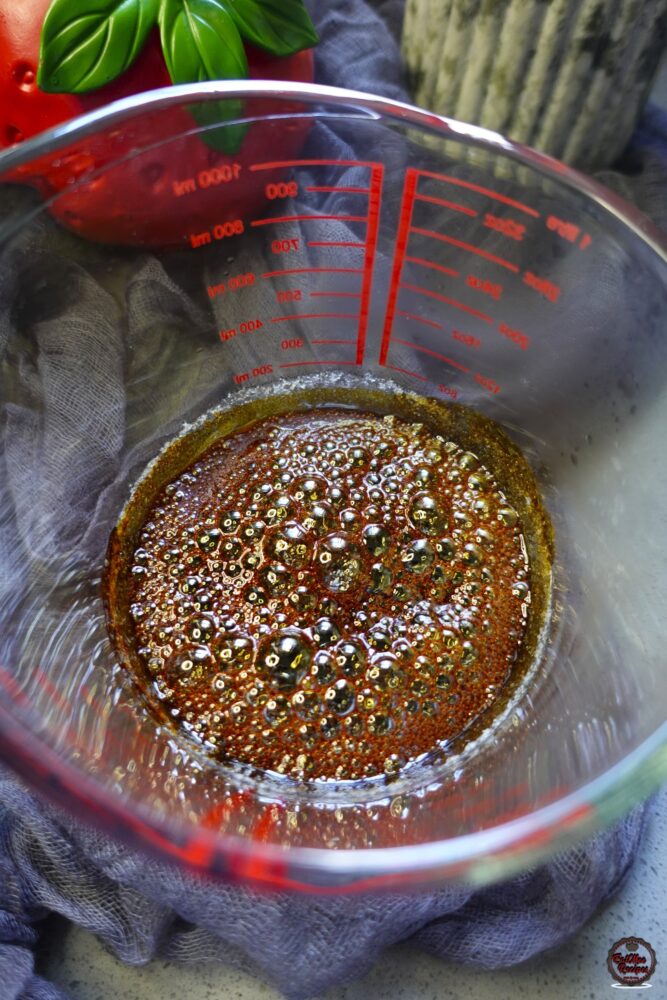
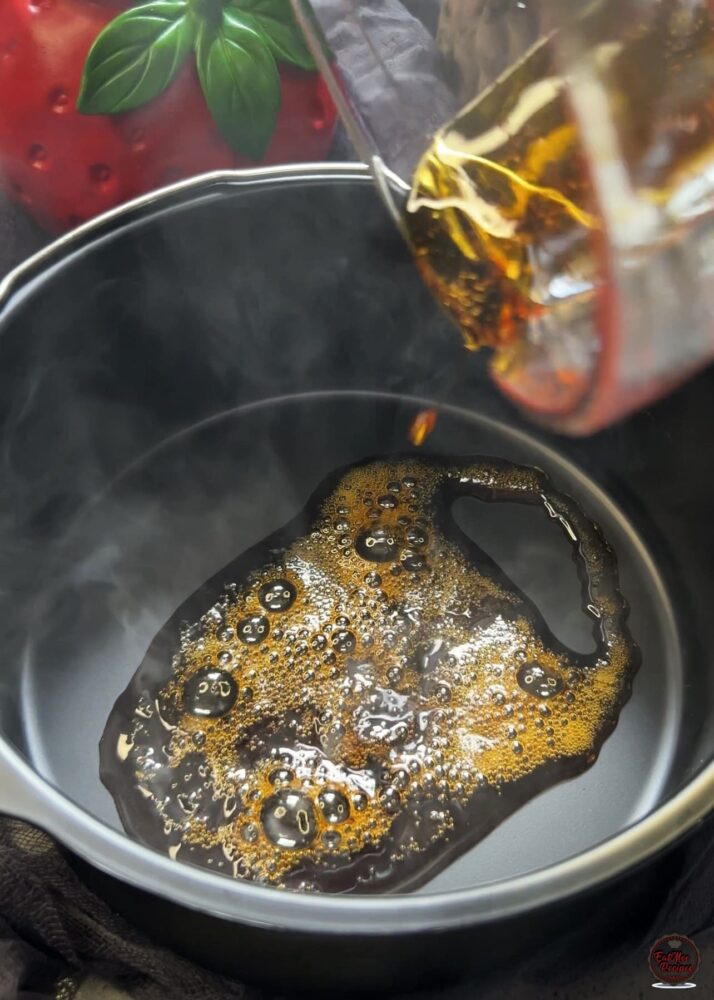
Carefully pour the hot caramel into the 17 cm round baking pan, tilting the pan immediately to coat the base evenly. Set aside to harden. Note: Pouring the caramel immediately into the pan allows it to spread thinly and evenly. If you wait too long, it will harden before coating the base.
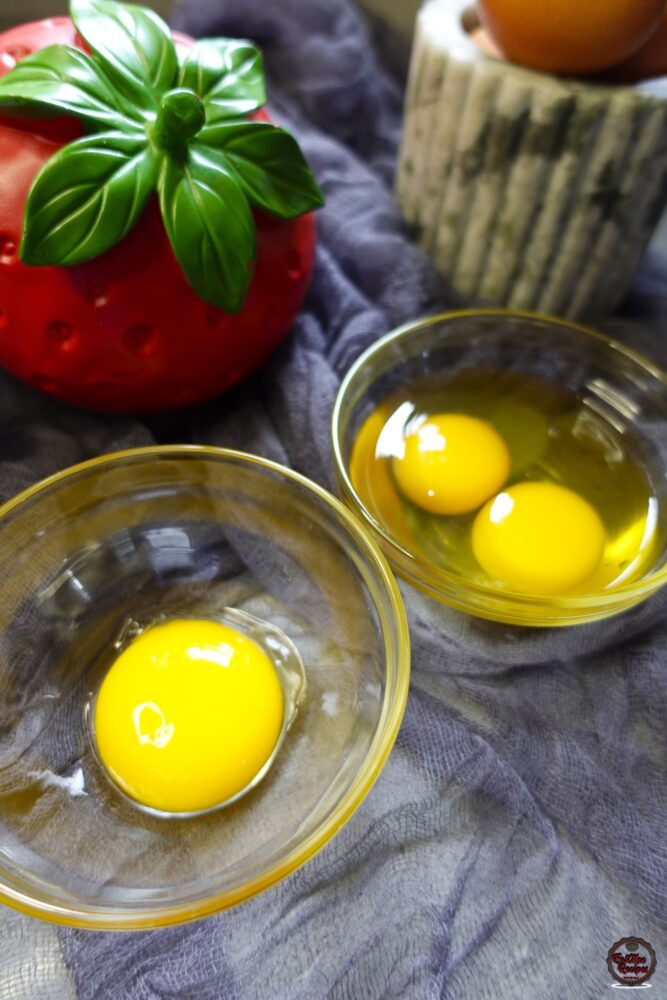
Before starting the custard, crack 2 eggs and 1 egg yolk into a bowl. This can be added directly to your mixing bowl.
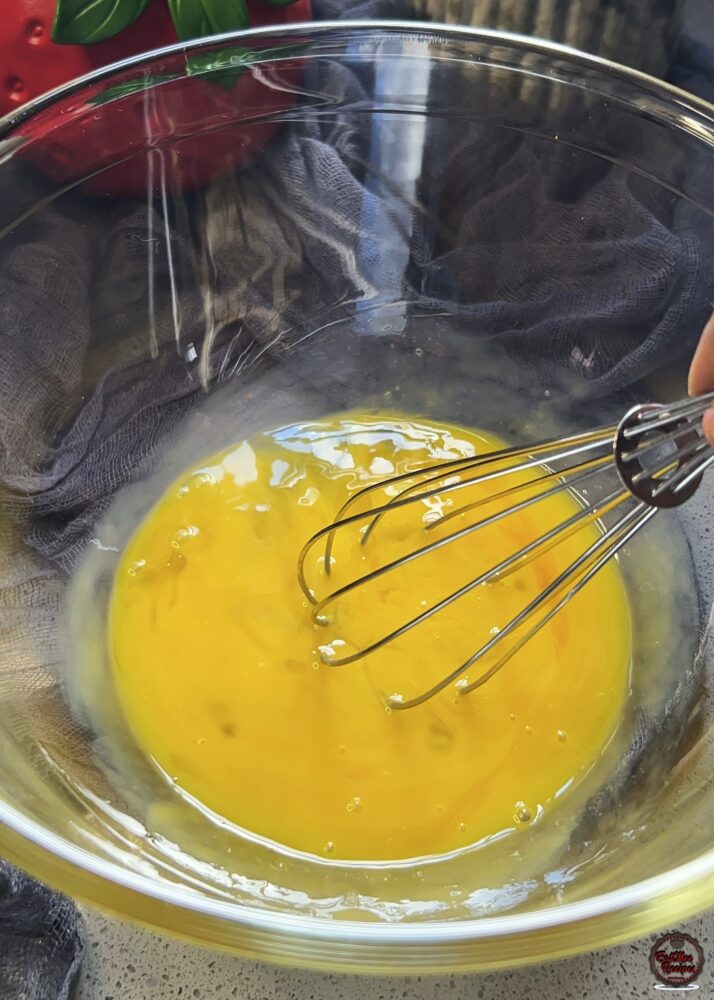
Add the eggs + yolk into a mixing bowl and lightly whisk just until combined. Do not beat. Whisking introduces air, which expands under pressure and causes bubbles, holes, or a spongy texture. The goal is to combine, not aerate.
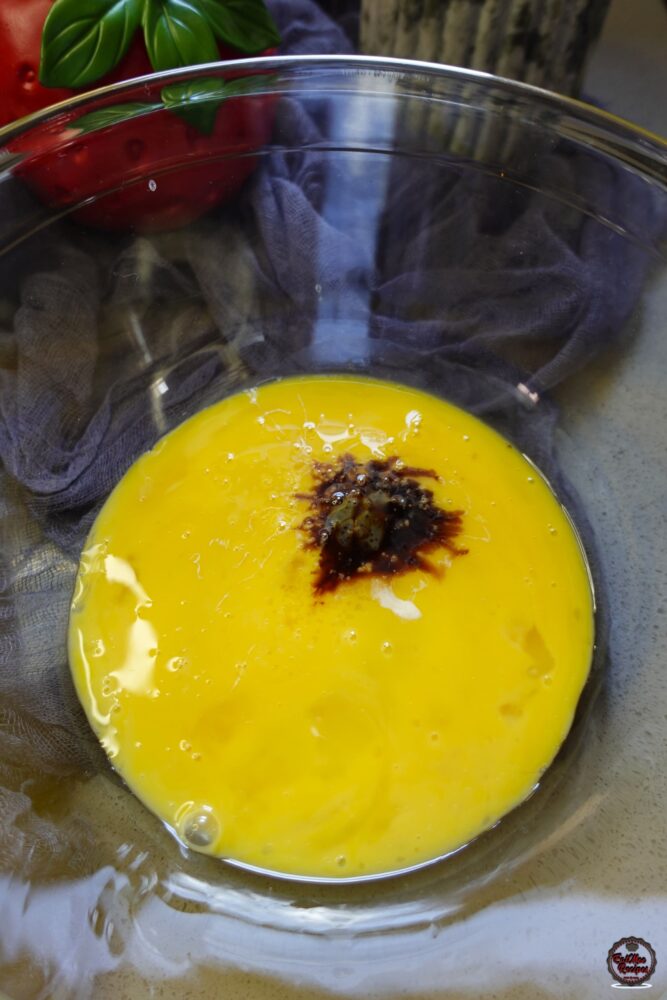
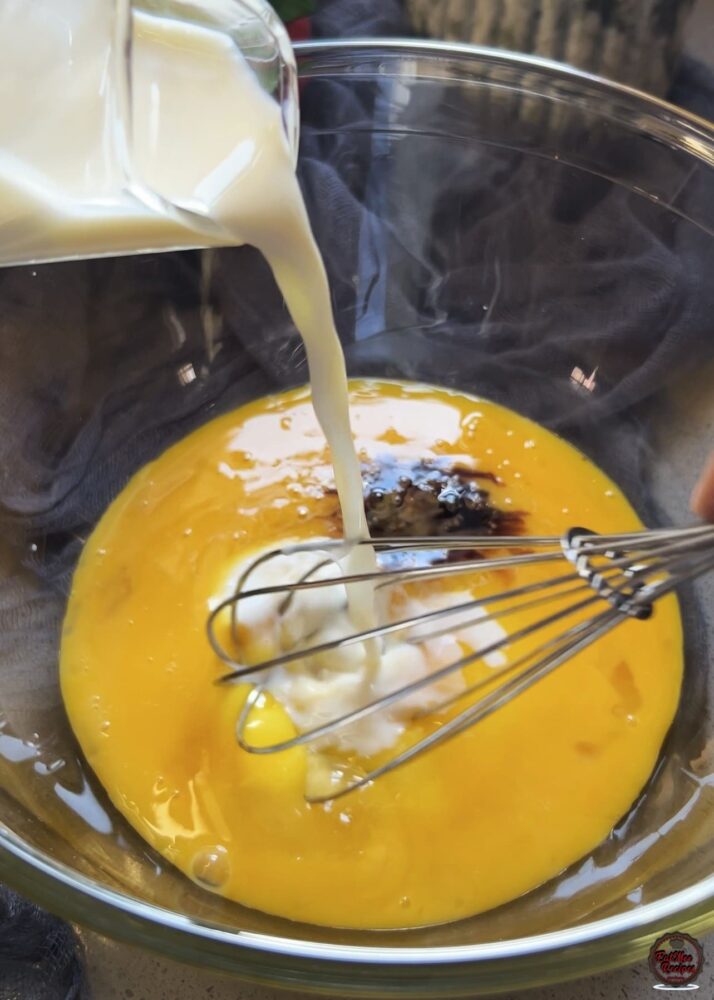
Add in the condensed milk, vanilla essence and salt.
Slowly pour in the milk whilst whisking until everything is fully combined.
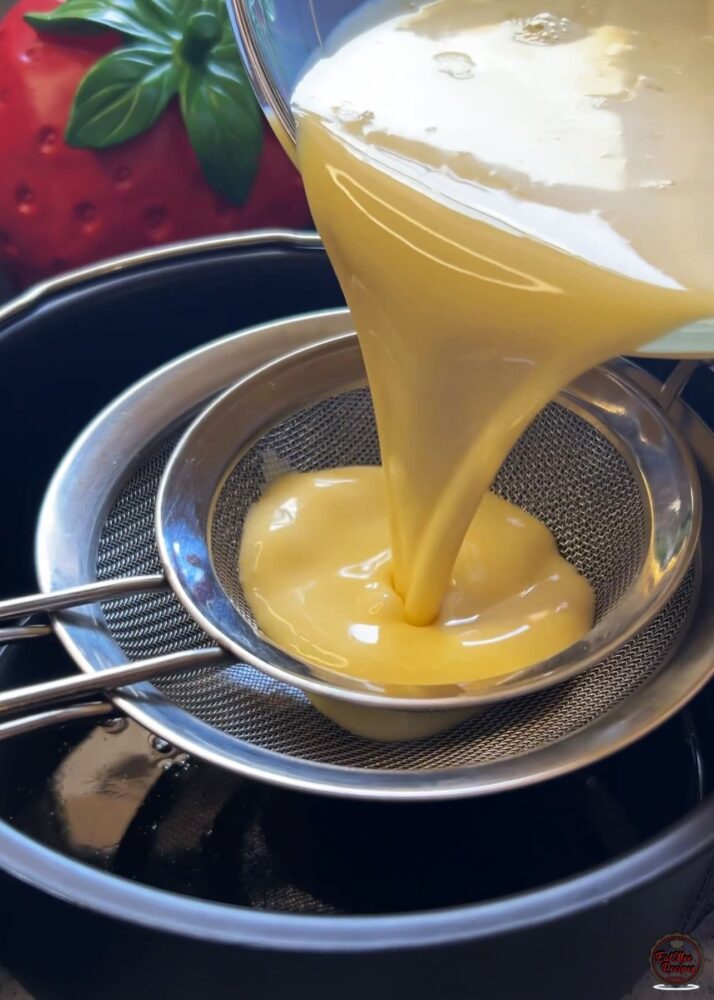
Strain the custard mixture through a fine sieve. I like to use two for extra caution and pour it directly into the caramel-lined baking pan to make sure the texture is smooth and free of bubbles.
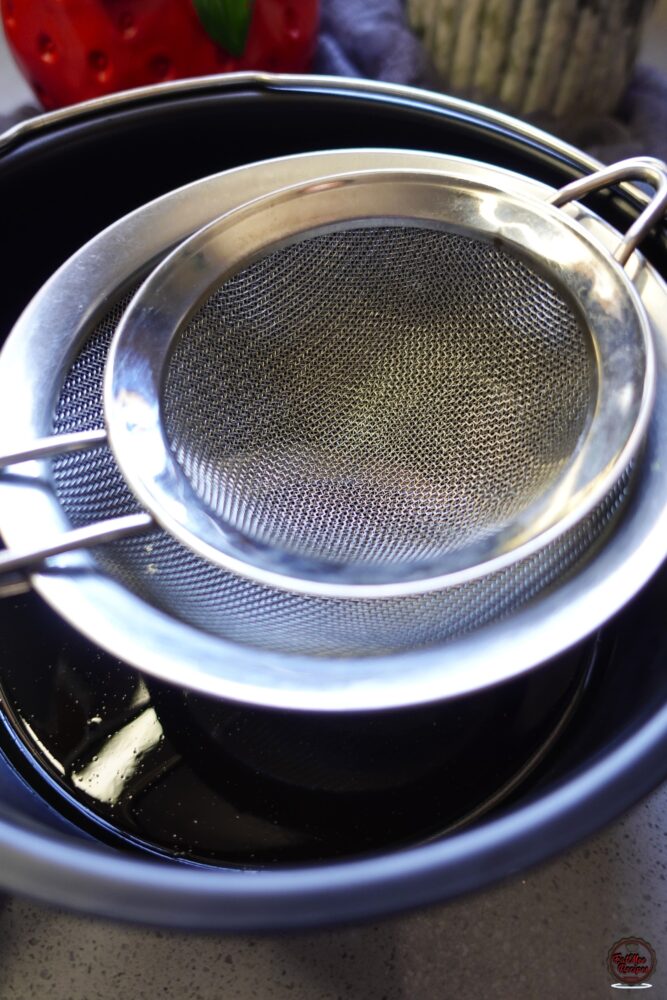
Straining removes: Egg chalazae (stringy white bits), undissolved egg particles and surface bubbles. This single step makes the difference between a good flan and a professionally smooth one.
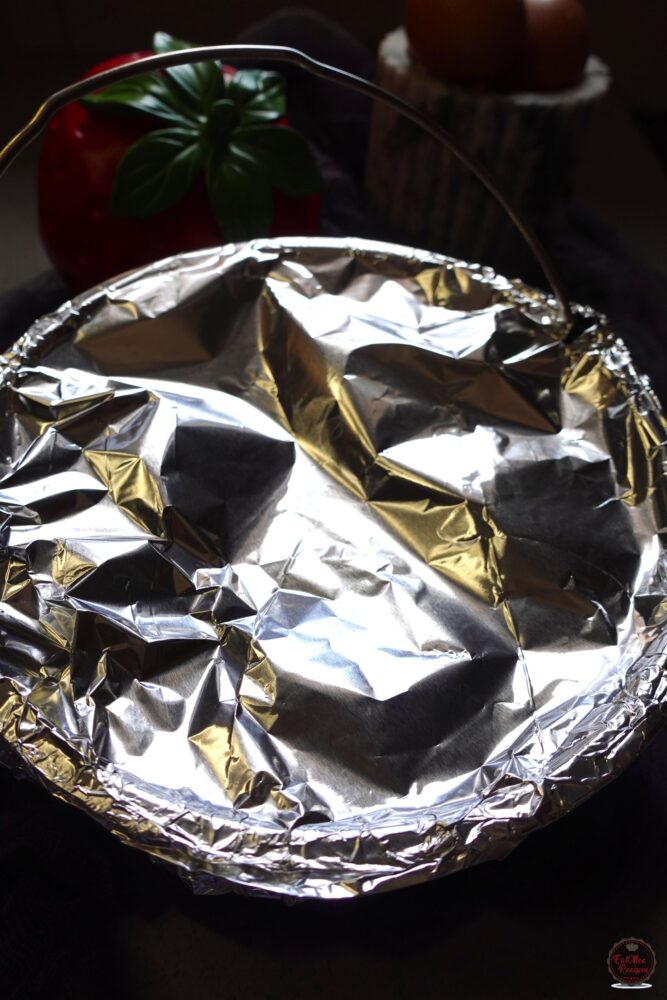
Cover the pan tightly with aluminium foil to prevent condensation from dripping onto the custard during pressure cooking. During pressure cooking, steam circulates aggressively inside the pot, so covering it will prevents water droplets from pooling on the custard, it will the surface silky and unblemished and ensure even setting. Loose foil is one of the most common causes of ruined flan.
Pour the water into the Instant Pot. Water is added to the Instant Pot to generate steam, which creates the pressure needed to cook the flan. The steam surrounds the baking pan, providing gentle, even heat that allows the custard to set smoothly without curdling or cracking. Without water, the Instant Pot cannot come to pressure and the flan will not cook correctly.
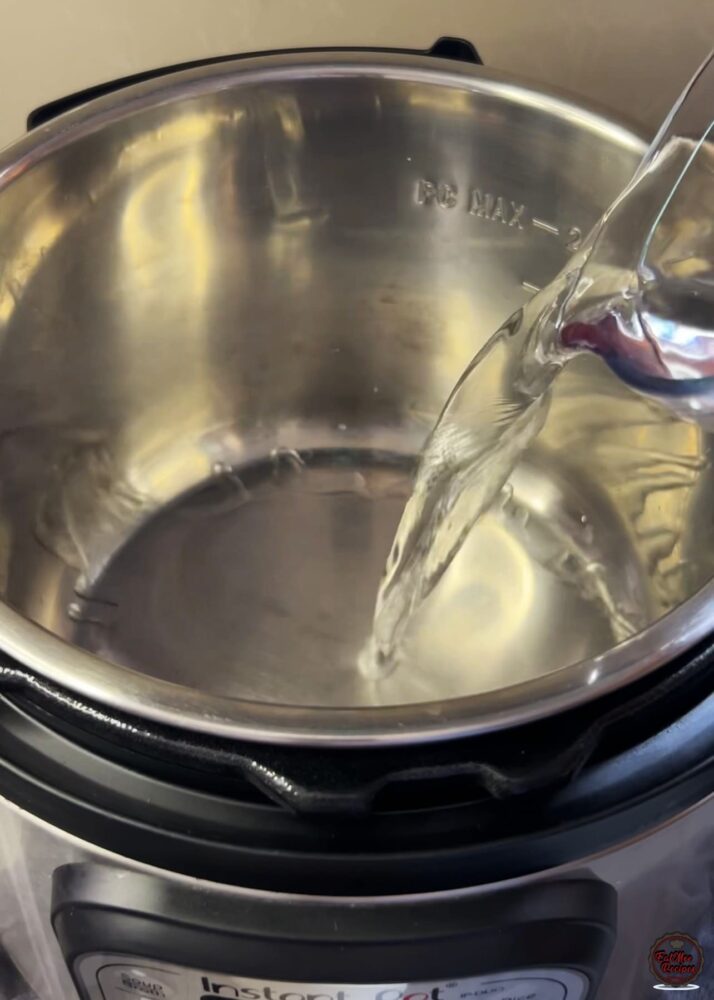
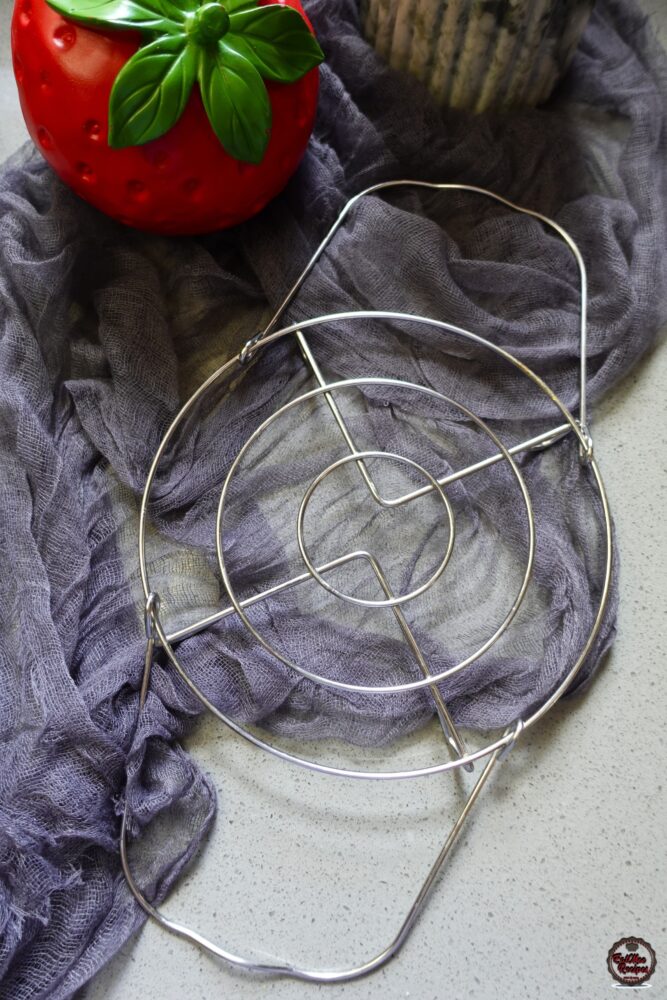
Next, we are using a trivet. This metal stand usually comes with the Instant Pot.
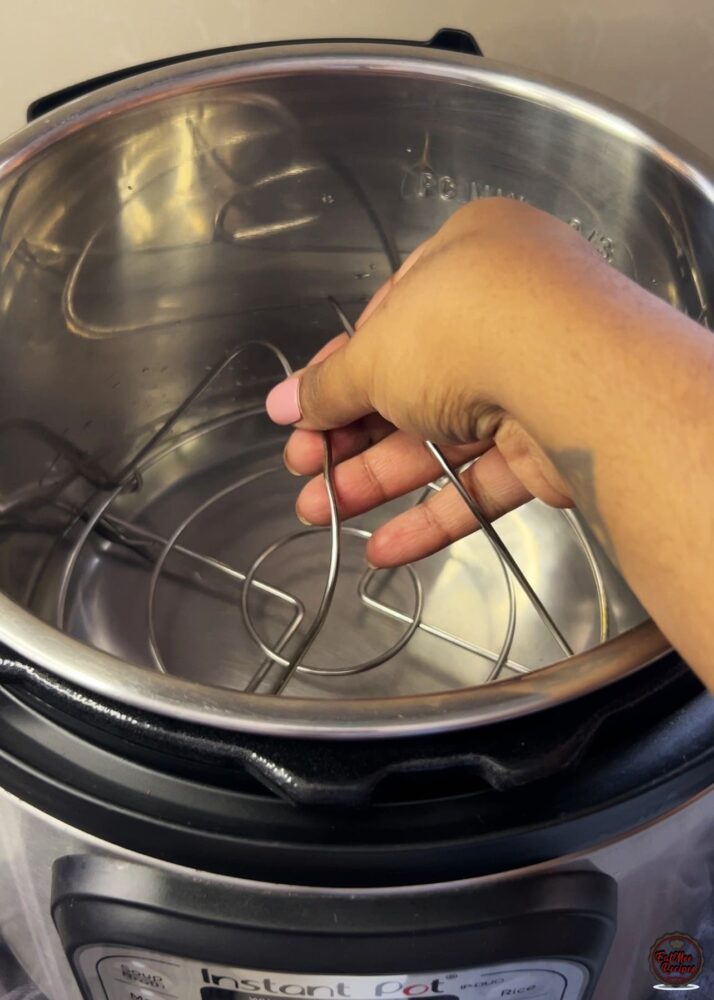
Place the trivet inside the Instant Pot – over the water.
The trivet keeps the flan pan elevated above the water so it cooks by steam, not by boiling.
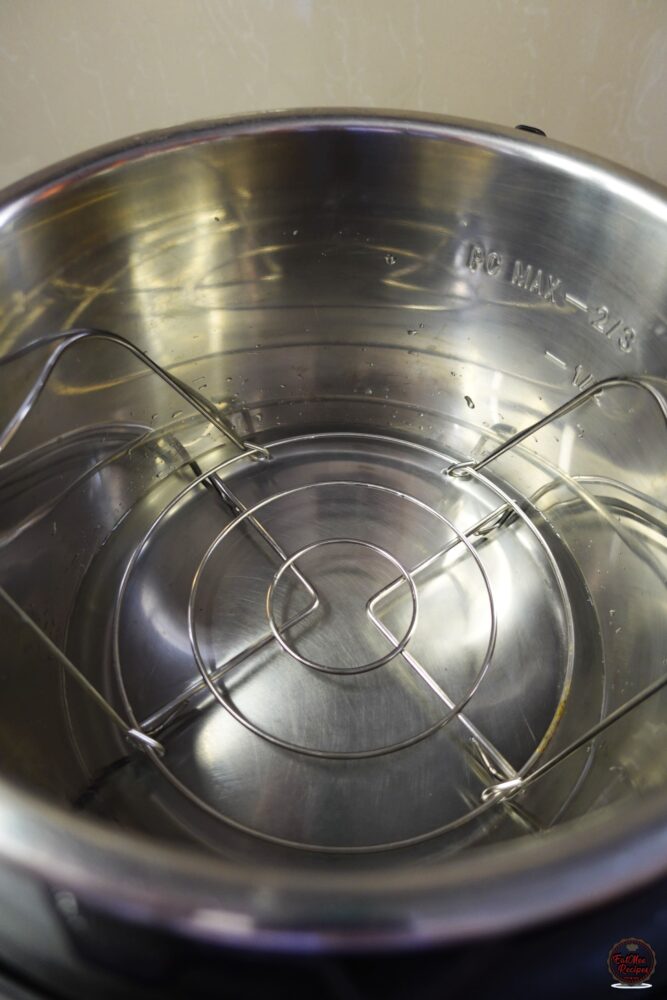
Carefully position the covered baking pan on the trivet.
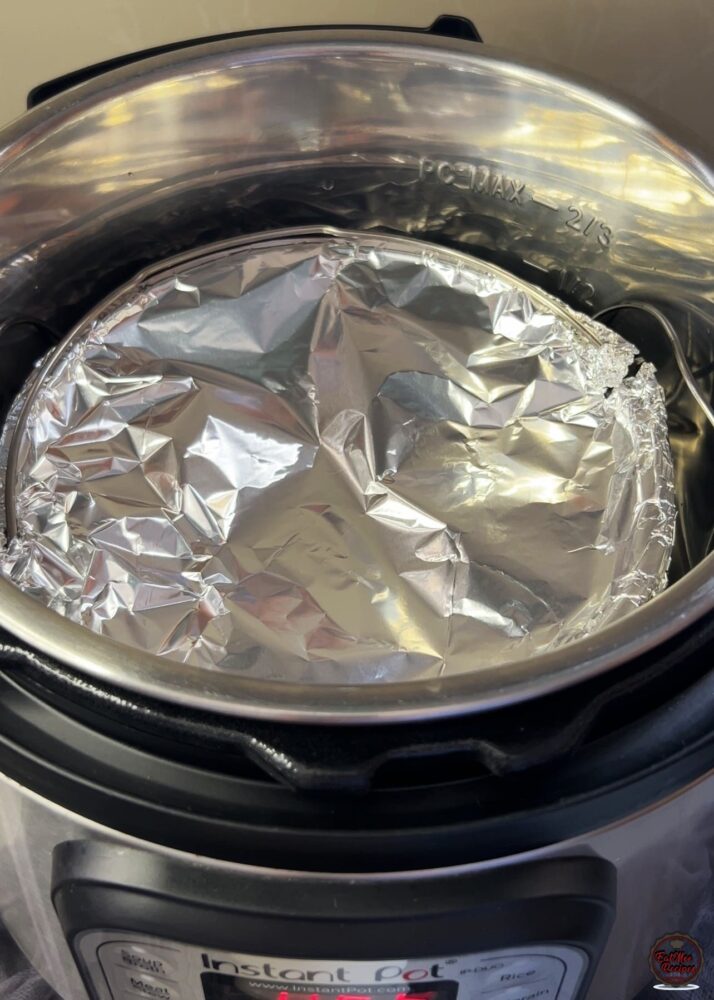
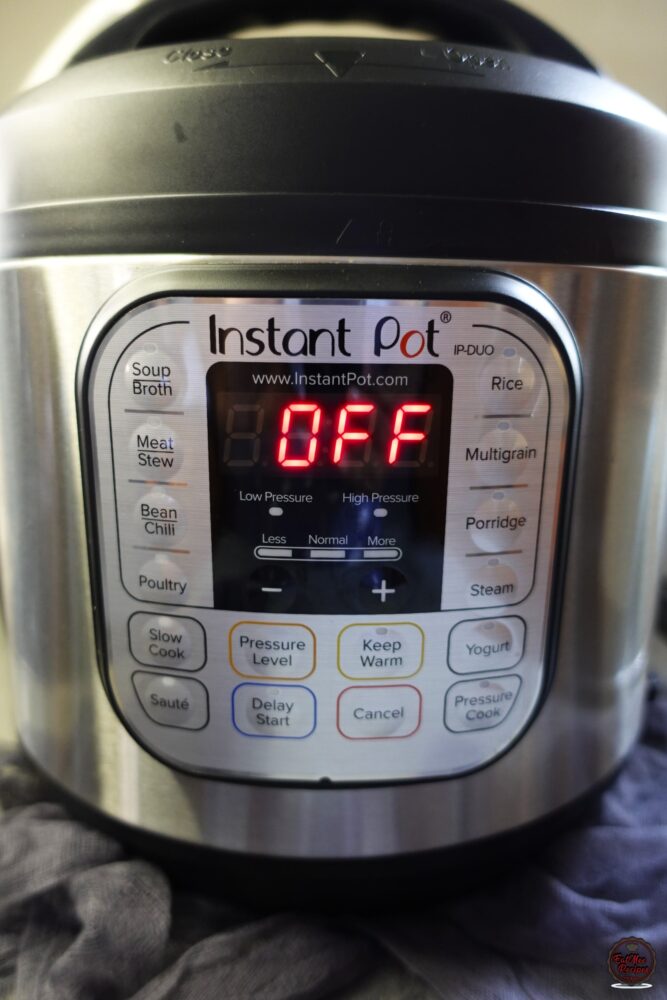
Secure the lid and plug in your Instant Pot, the display should read “OFF”.
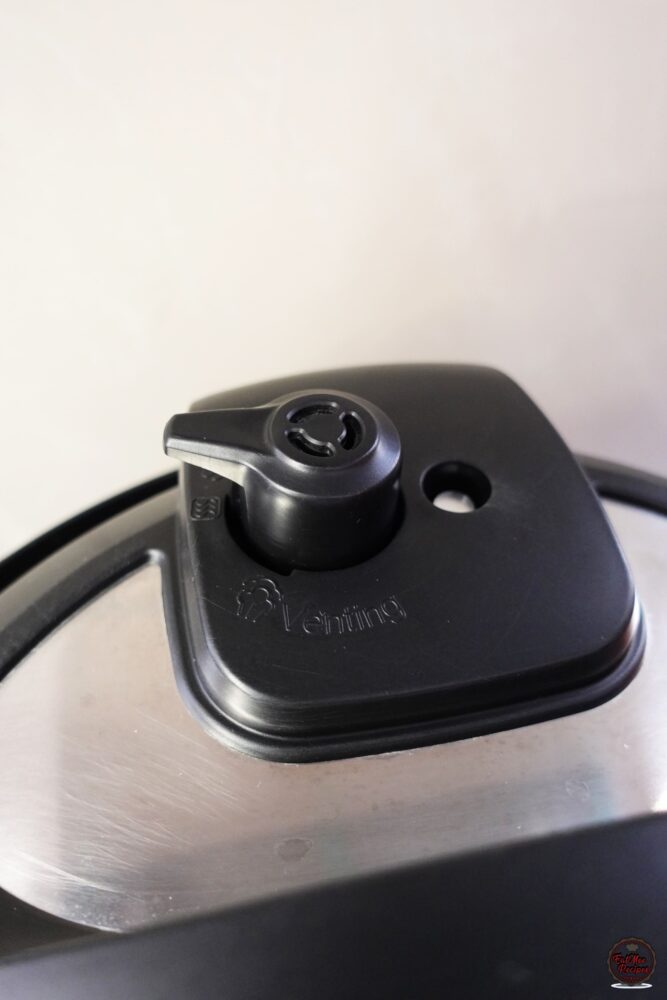
Turn the anti-blockage vent (steam release handle) to “SEALING”.
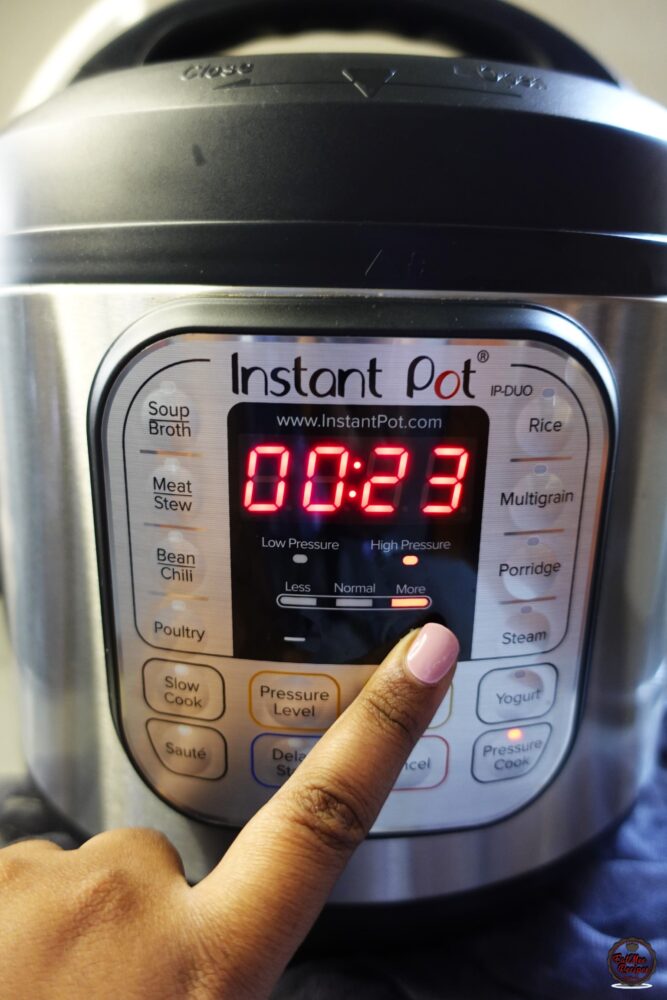
Press the “Pressure Cook” button.
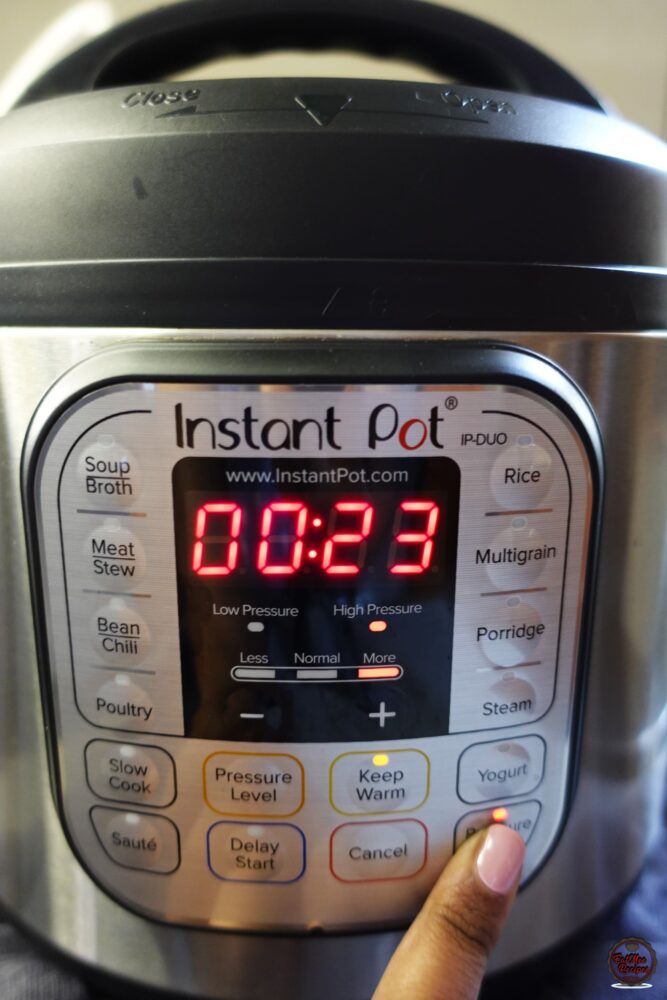
Press the button again to set the pressure level to “MORE” on the display. This will allow for “HIGH PRESSURE” which cooks the custard evenly.

Next, use the “- or +” buttons & set the cooking time to 00:23 (23 minutes).
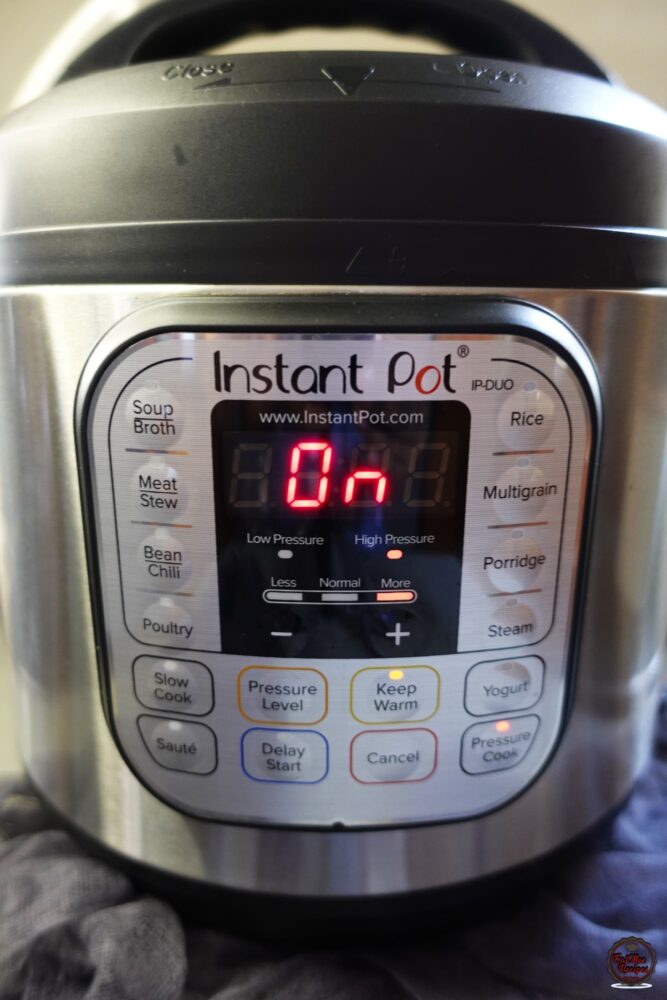
The Instant Pot should display “ON” until the pressure builds up.
Once the pressure builds up, the “float valve” will pop up – when it pops up, do not attempt to open the lid! Thereafter, the 23 minute timer will count down on the screen.
Once the 23-minute cooking cycle ends, do not press anything. The display will show L000, indicating the start of the natural pressure release.
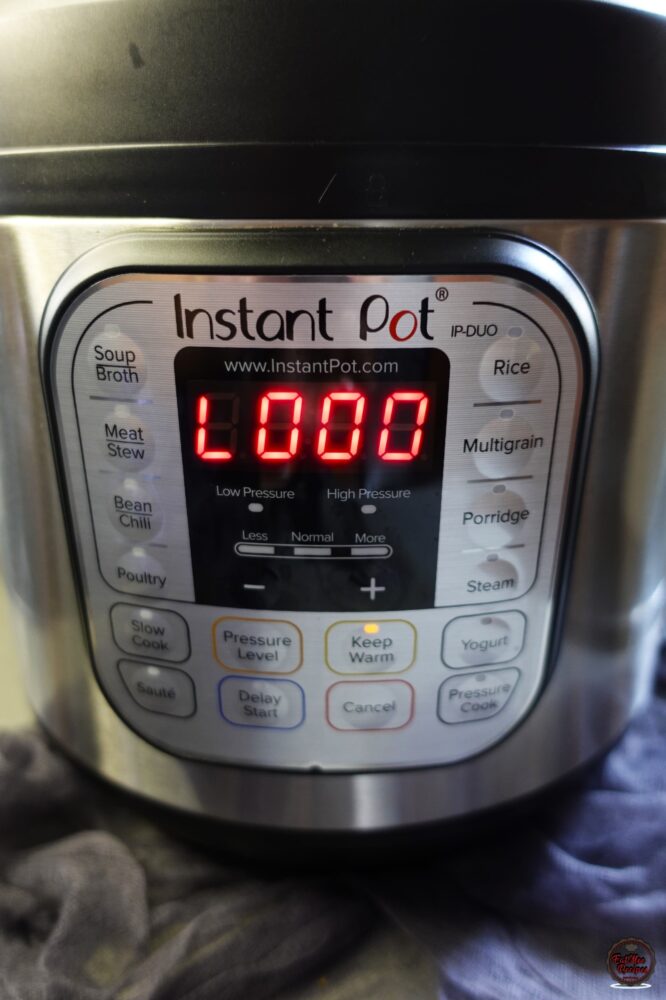
Allow natural pressure release for 15 minutes. The timer should count upwards to 15. Natural pressure release allows proteins to relax as sudden pressure release can cause cracking or collapse
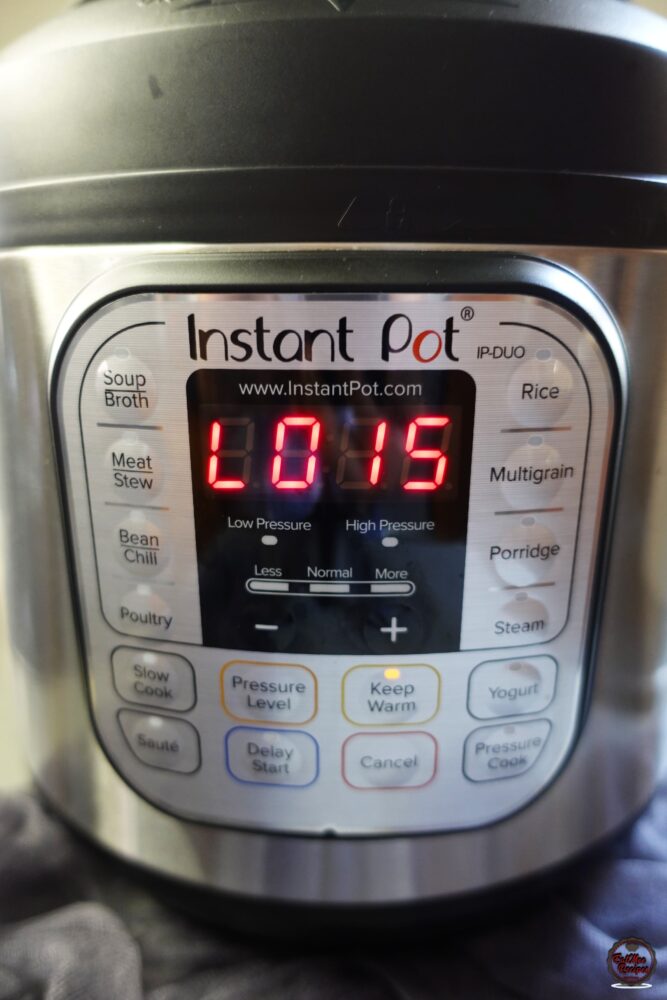
After the 15 minutes of natural release, press “CANCEL” on the Instant Pot.

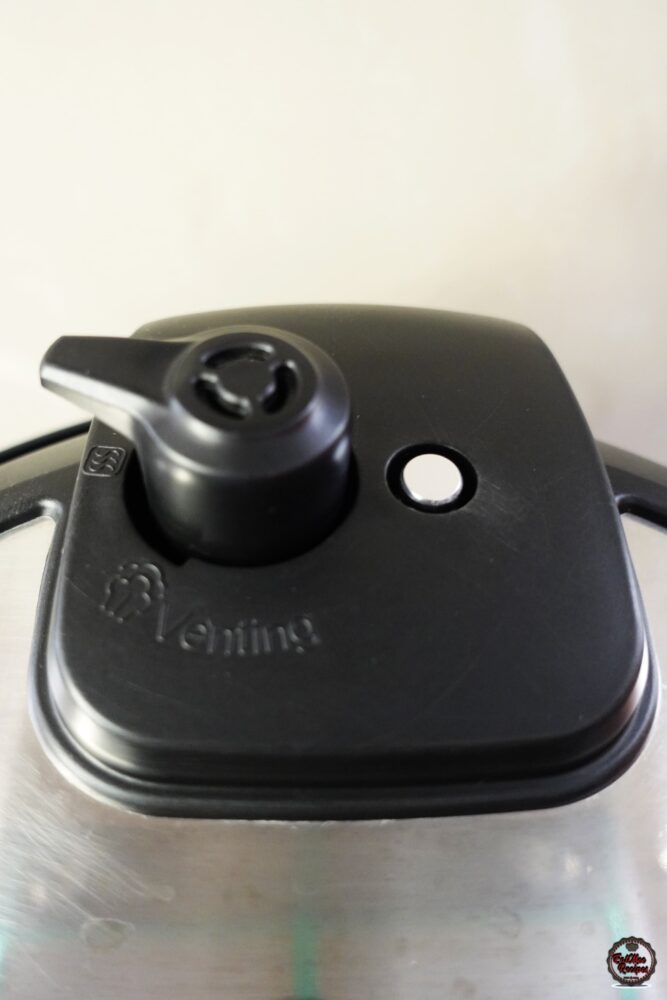
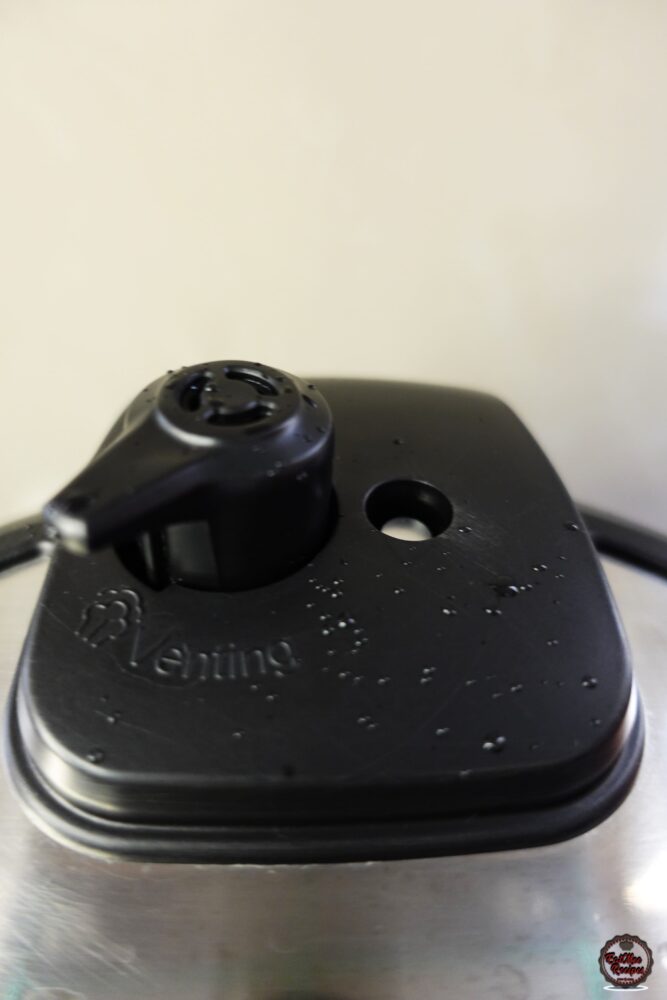
Turn the anti-blockage vent (steam release handle) to “VENTING” to release any remaining pressure.
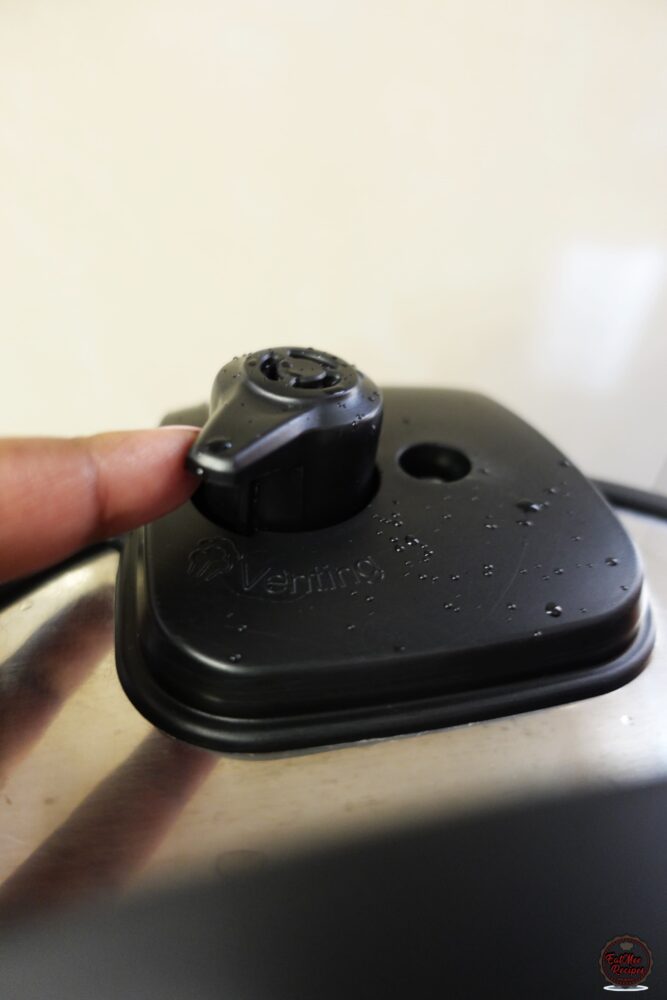
Once the “float valve” sinks in, it is safe to open the lid.
Remove the pan from the Instant Pot and allow it to cool covered with the foil at room temperature for 1 hour. Custards hate temperature shock. That’s why this method uses gradual cooling. Placing a hot flan directly into the fridge causes rapid contraction, leading to surface or base cracks.
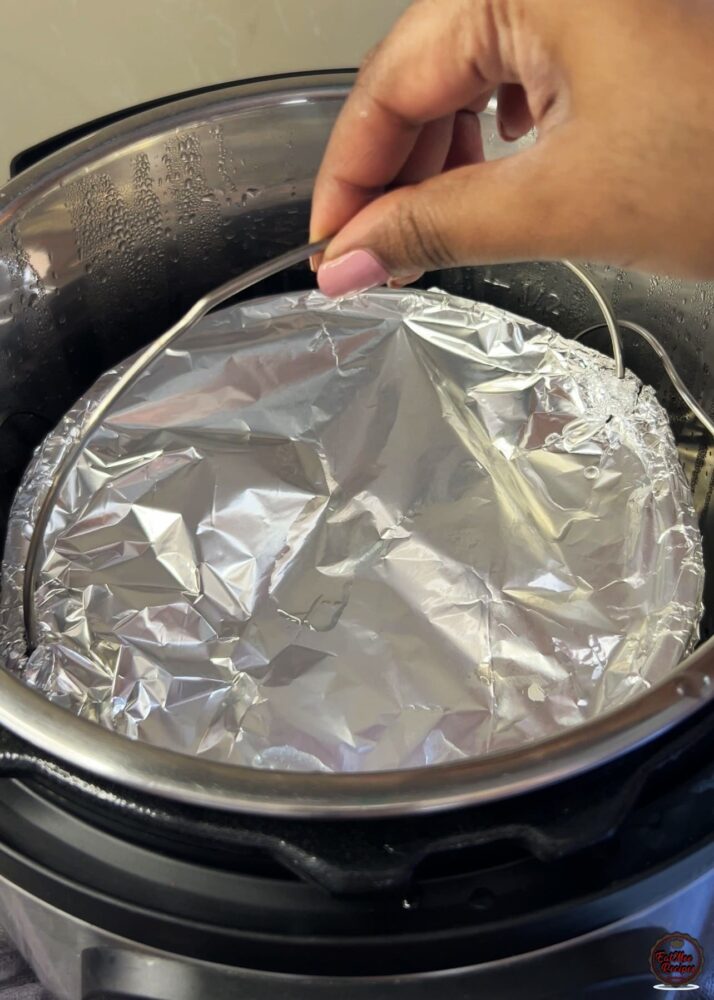
Once cooled, remove the foil.
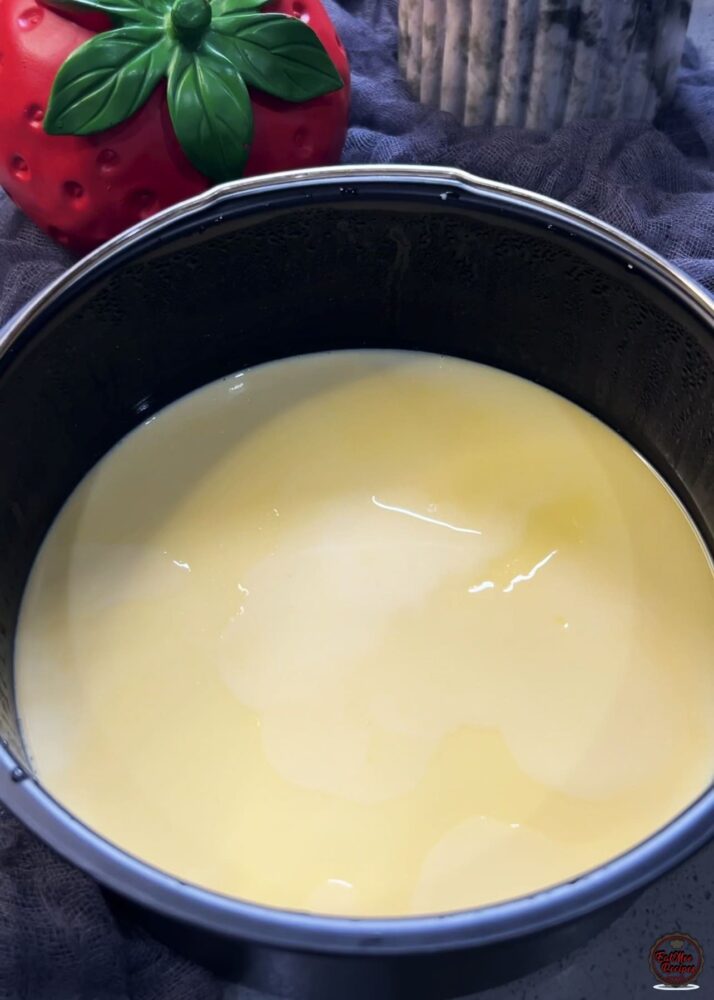
Cover the pan with plastic wrap, and refrigerate for at least 6 hours or overnight.
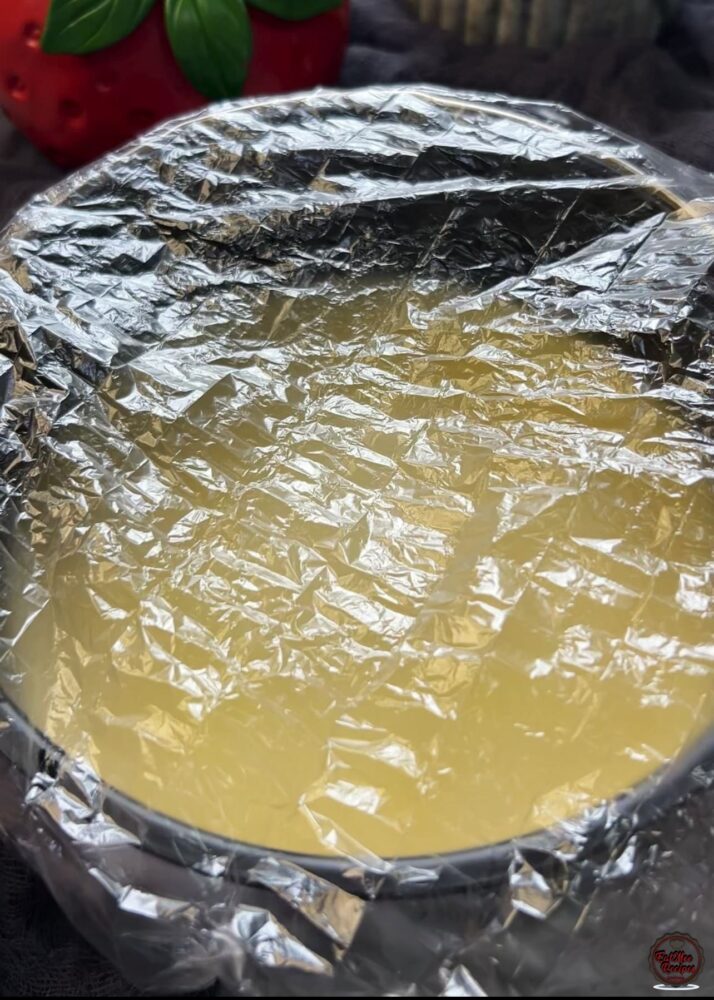
The next day, remove the plastic wrap. Overnight Chilling Is Best because it allows the custard to fully firm up, it helps the caramel loosen naturally and makes unmoulding clean and effortless. Rushing this step often results in breakage.
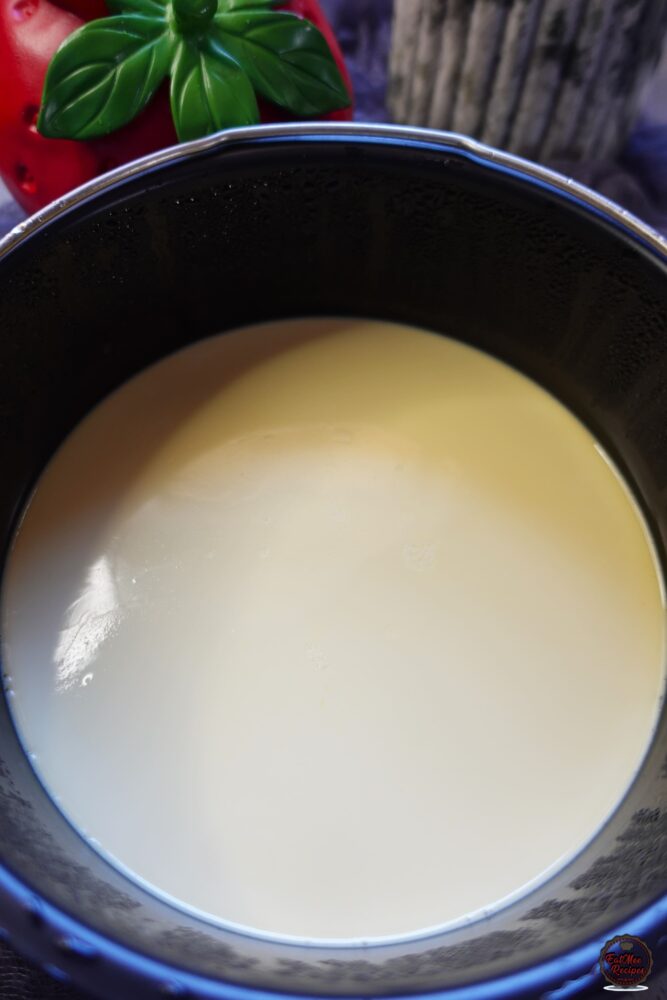
Run a thin knife around the edges, this releases the vacuum seal.
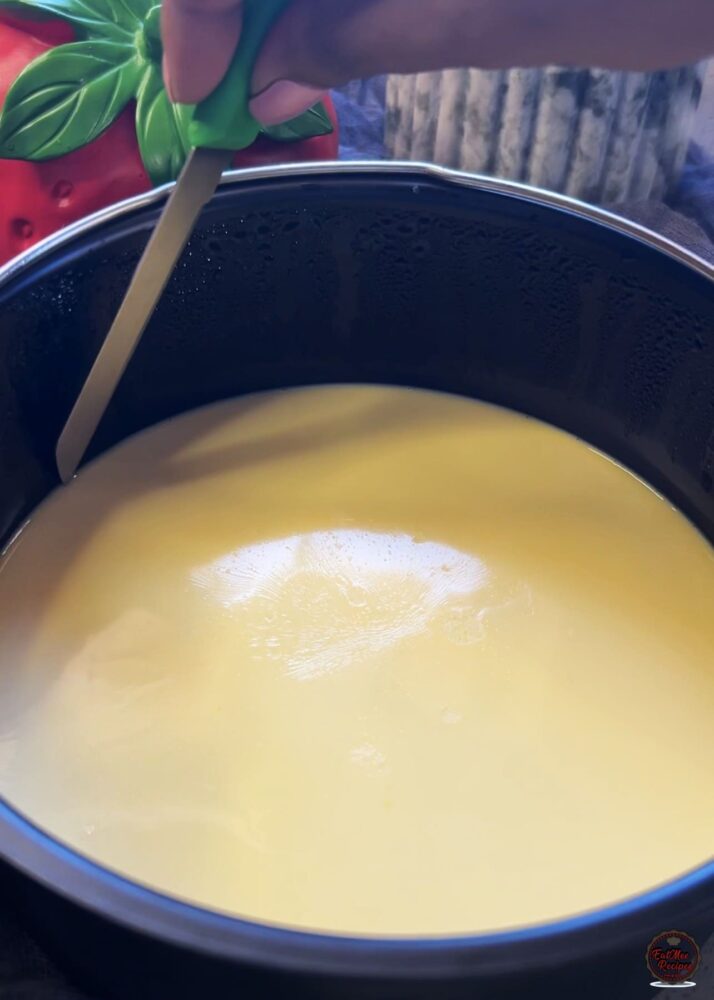
Place a serving plate over the pan and invert gently, allowing the caramel to flow over the flan. Inverting in one confident motion ensures the caramel flows smoothly instead of sticking.
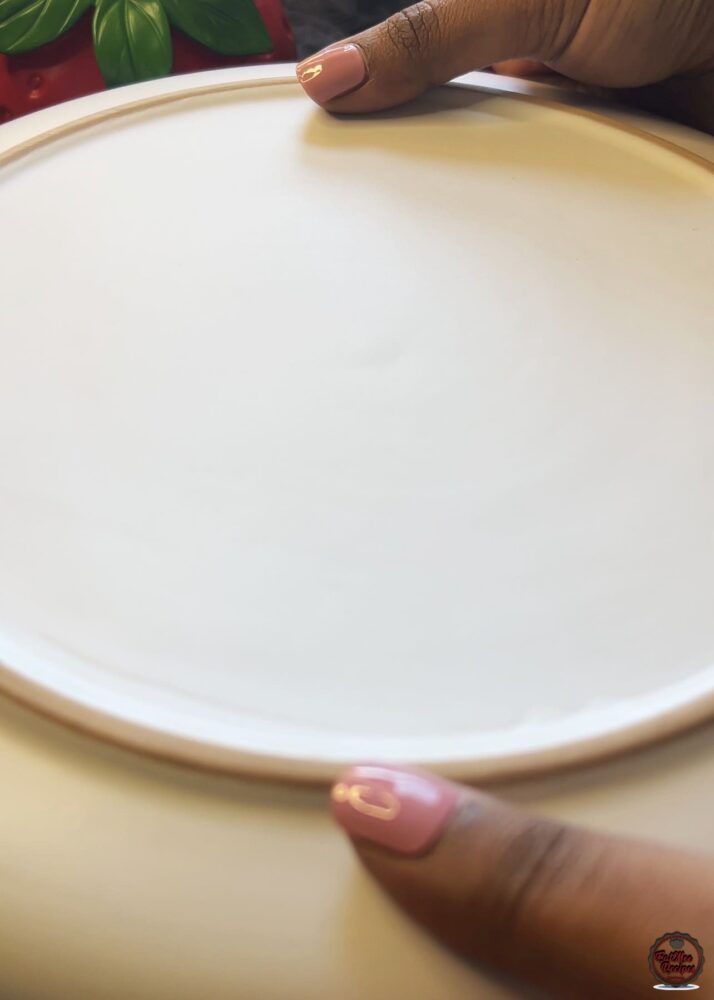
Gently tap the pan to ensure the flan comes out cleanly.
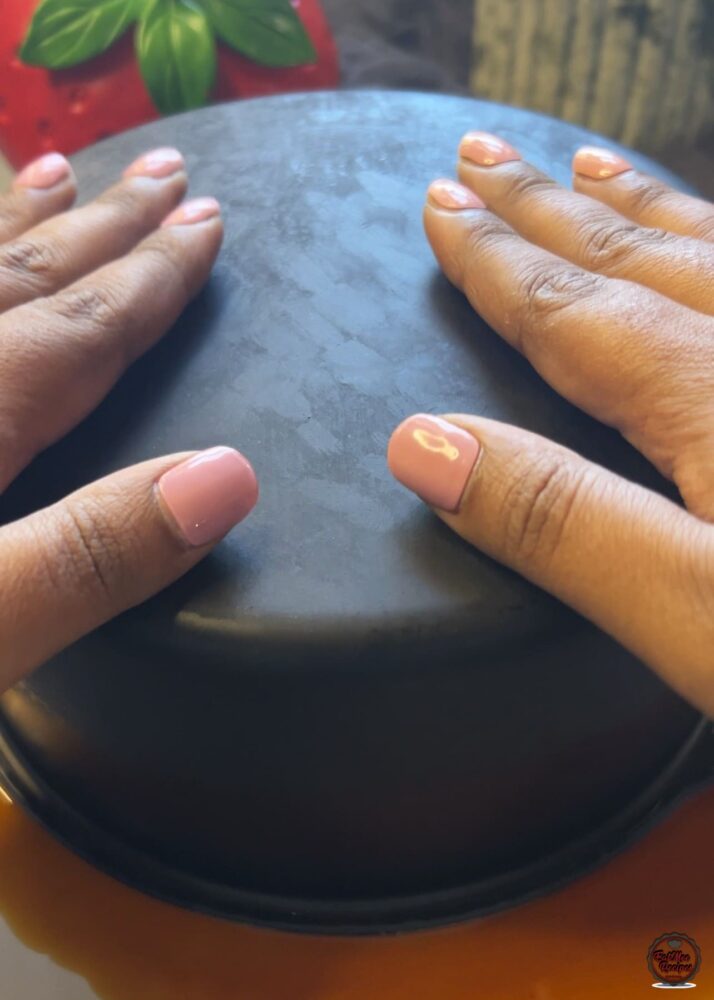
Slowly lift the baking pan away to reveal the flan. The caramel should have formed a smooth, glossy sauce over the custard.
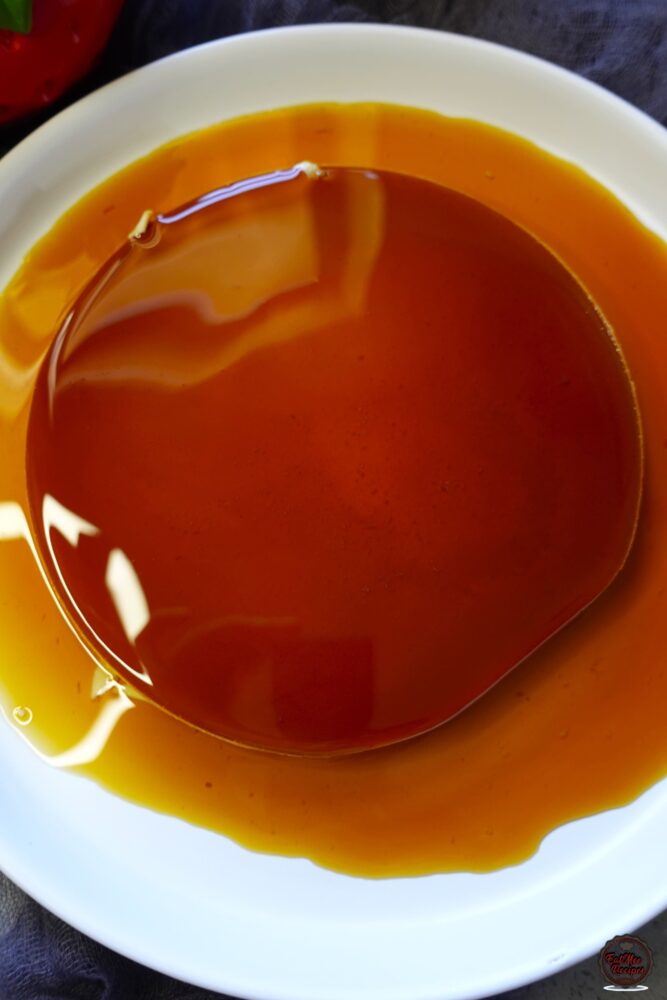
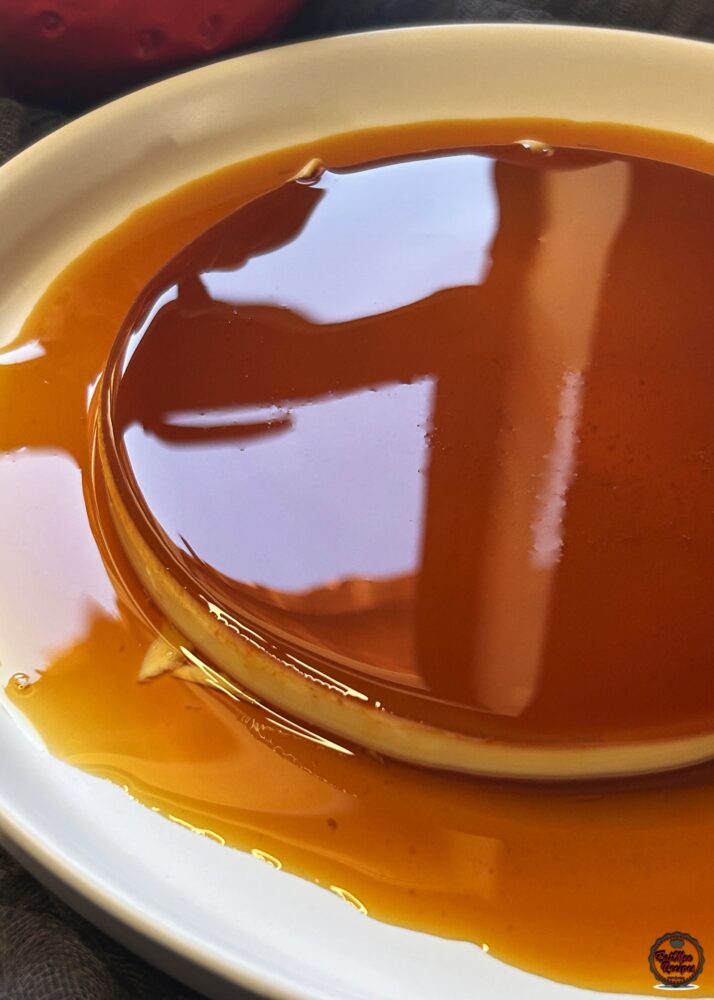
This flan is intentionally thin – about 1 cm in height for a 17 cm pan. A thinner custard sets more evenly under pressure, preventing cracks and giving a silky, delicate texture. Thicker flans can be more prone to uneven cooking, bubbles, or a slightly rubbery centre.
Slice the flan into triangles for easy serving. A sharp knife ensures clean edges without breaking the custard.
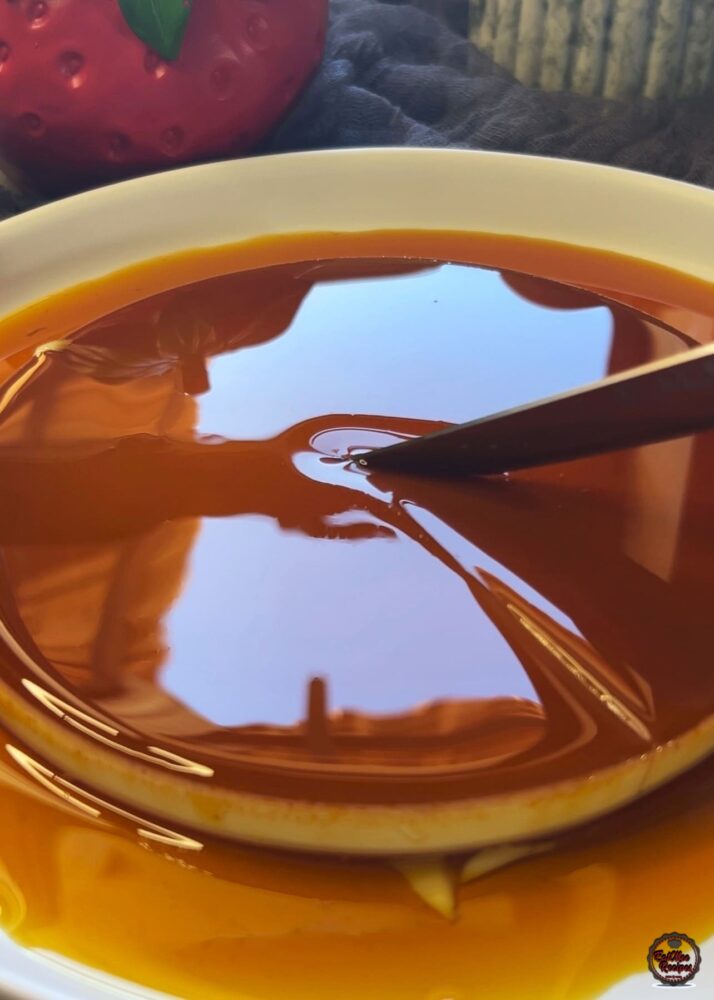
Serve, savor, and enjoy every bite of this luscious flan.
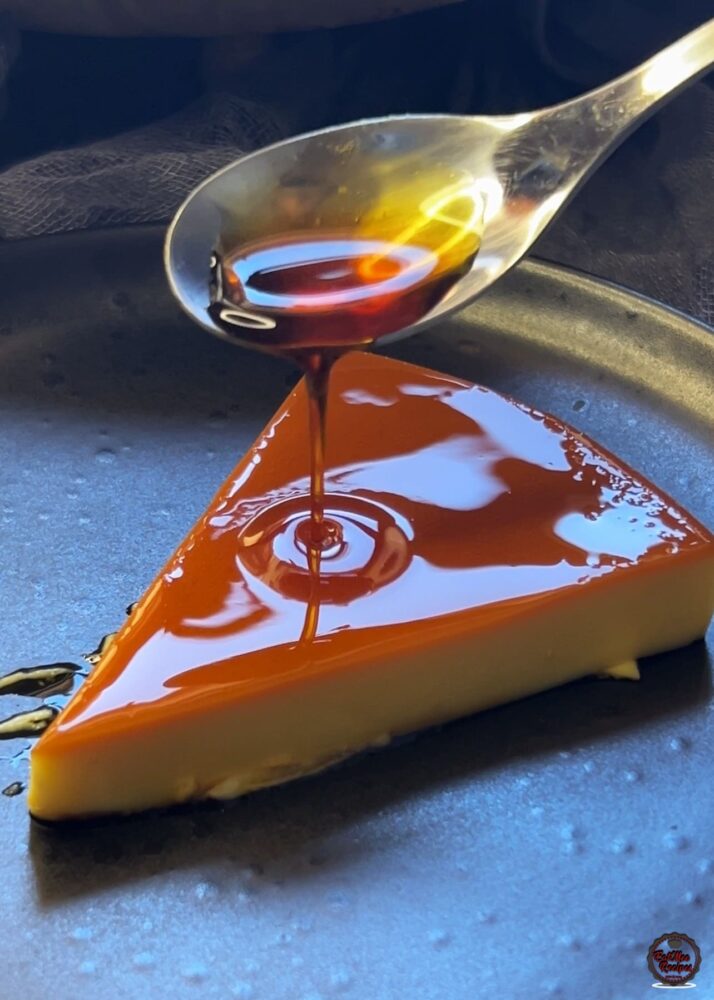
To store: Pop the flan in the fridge, covered, for up to 3 days. Keep it chilled until serving. Freezing isn’t recommended as it can ruin the silky texture.
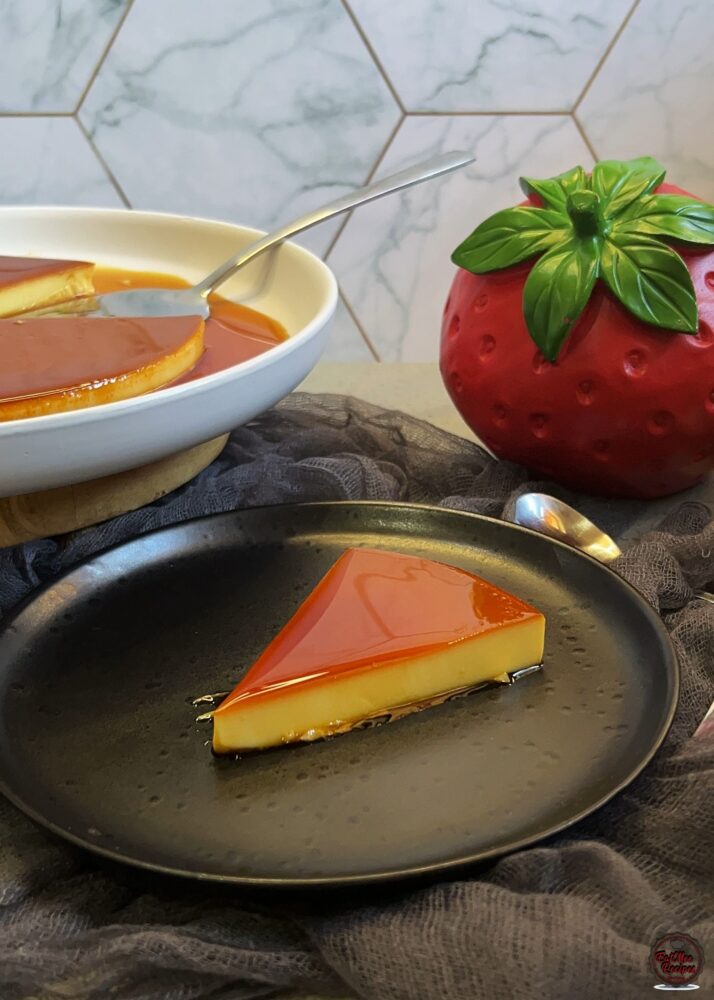
Follow along with Denisiya's step-by-step video guide for Instant Pot Caramel Flan.
Expert kitchen guidance and troubleshooting for making the best Instant Pot Caramel Flan
• Even, gentle heat for ultra-smooth custard • No cracked or rubbery texture • Faster and more reliable than oven baking • Perfect for warm climates or busy kitchens
• Condensed milk adds sweetness and stability • 2 eggs + 1 yolk provide structure without toughness • Milk-only base keeps the flan light, not cheesecake-dense • A pinch of salt enhances flavour without tasting salty This combination is intentionally lighter, producing a refined, classic flan rather than a thick baked custard.
Hi, I'm Denisiya! Food lover, recipe developer, and founder of EatMee Recipes. I specialize in authentic South African Durban Indian cuisine, comforting curries, and modern Instant Pot adaptations. Every recipe on this site is tested in my personal kitchen to ensure you get mouth-watering, foolproof results every time.
Explore more authentic Durban curries, traditional bakes, and comforting family favourites.
 Desserts
If you love traditional South African sweet rice but want an easier, hands-off method, thi...
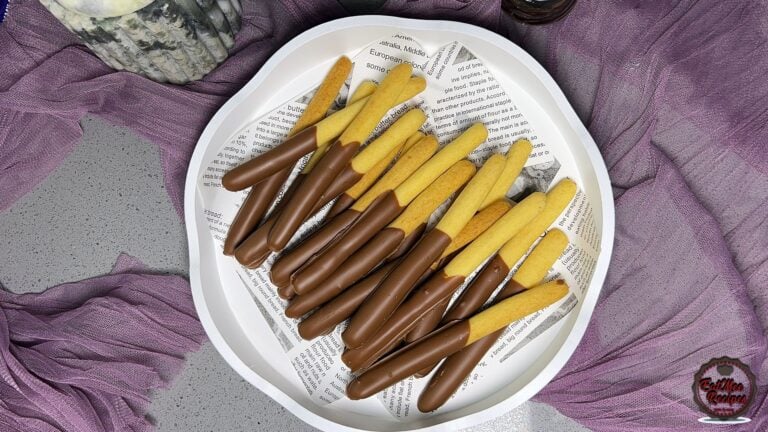 Desserts
Light, crisp, and delicately sweet biscuit sticks dipped in chocolate
 Desserts
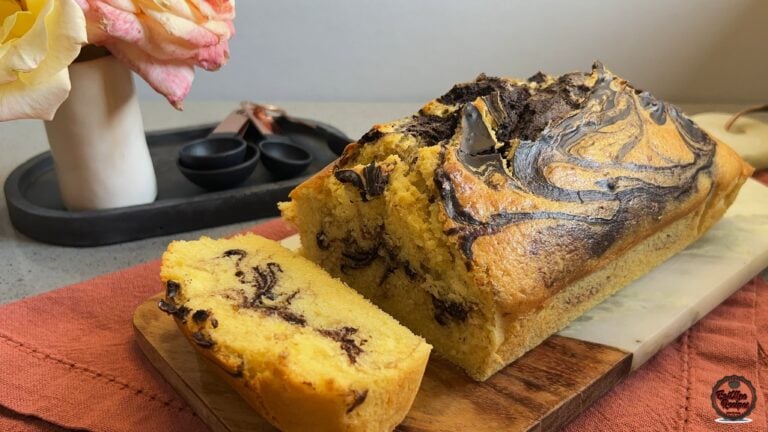
There’s something comforting about a marble loaf cake fresh from the oven, especially when...
Have you tried this recipe or have questions for Denisiya? Join the conversation below.
You need to add printable (no photo) versions of your recipes! They’d be so much more popular!
Thank you for your suggestion Lori. I will consider it in the future. The reason I put images with steps are for amateur cooks, just trying to make their lives easier in the kitchen. 😊
Leave a Comment
Your email address will not be published. Required fields are marked *