
We Value Your Culinary Privacy
EatMee Recipes uses cookies to provide a personalized browsing experience, analyze recipe popularity, and serve relevant ads. You can review our full disclosure in our Privacy Policy.
Make authentic Homemade Patha with this foolproof recipe. Packed with rich traditional flavor, step-by-step photos, and cooking tips by Denisiya on EatMee Recipes.

Join over 60,000+ home chefs for weekly authentic Durban Indian cook-alongs, Instant Pot masterclasses, and family heritage recipes.
For crushing the cumin (jeera) seeds & the coriander (dhania) seeds, i am using a pestle & mortar.
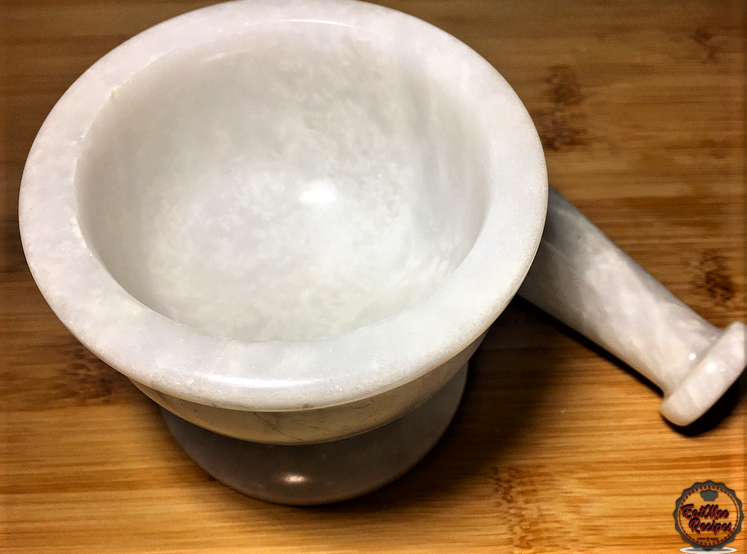
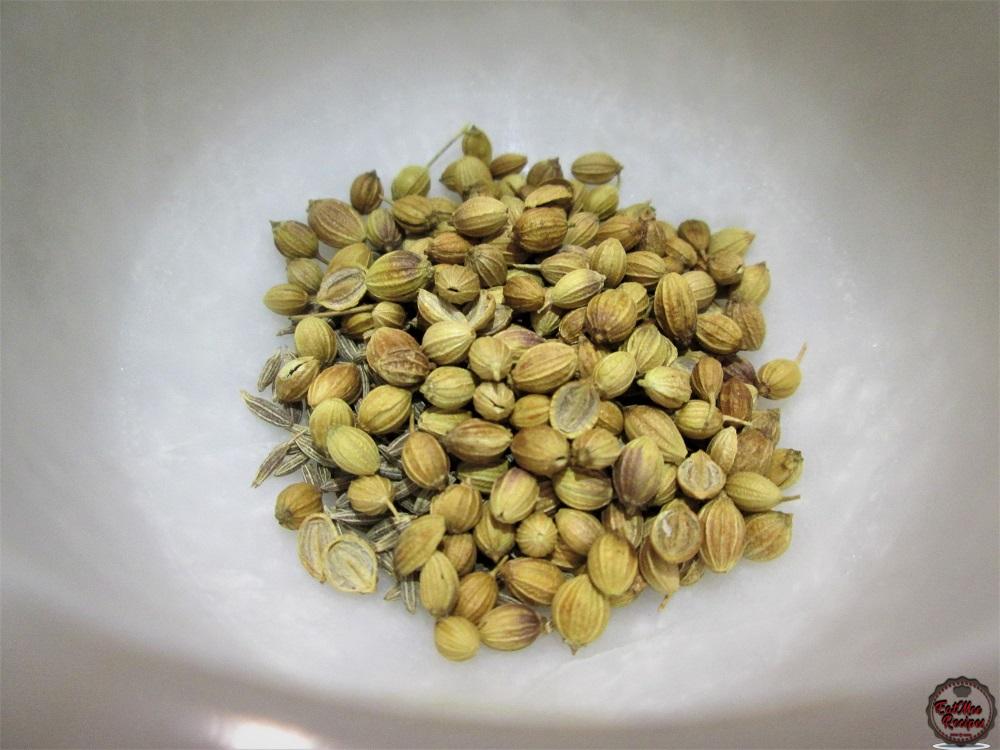
Add the cumin (jeera) seeds & the coriander (dhania) seeds to the mortar.
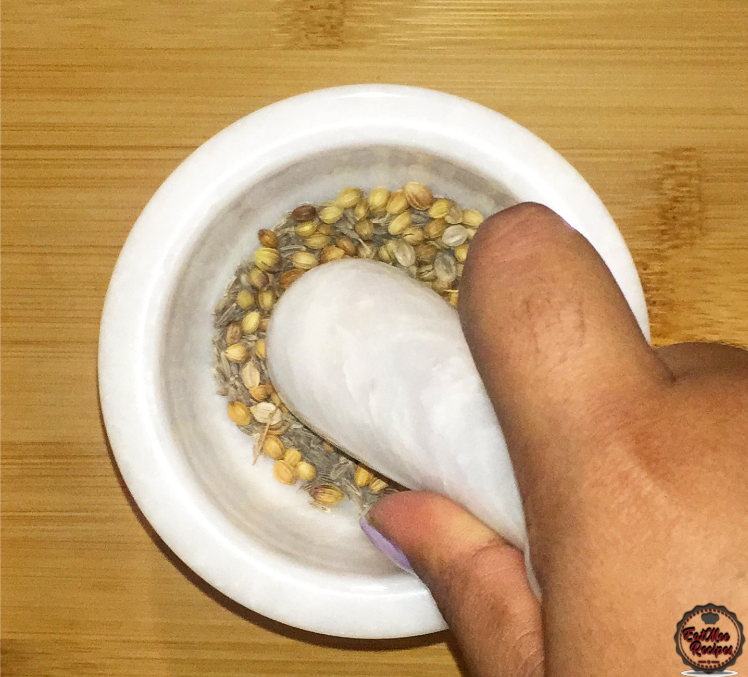
Crush the seeds & set aside.
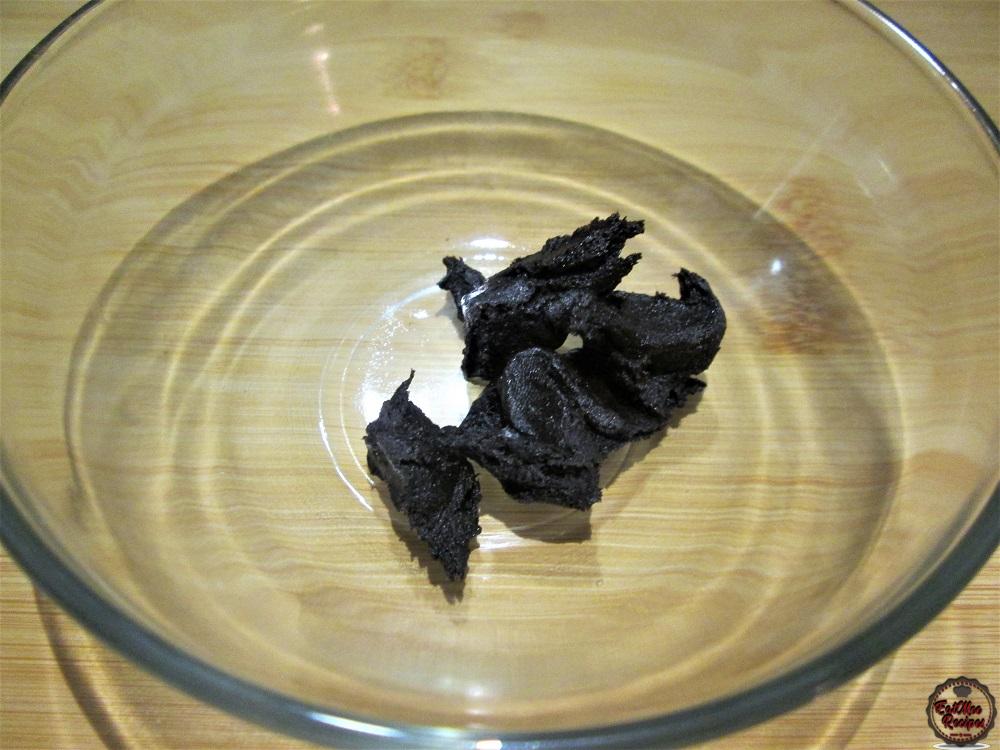
Place the tamarind into a bowl.
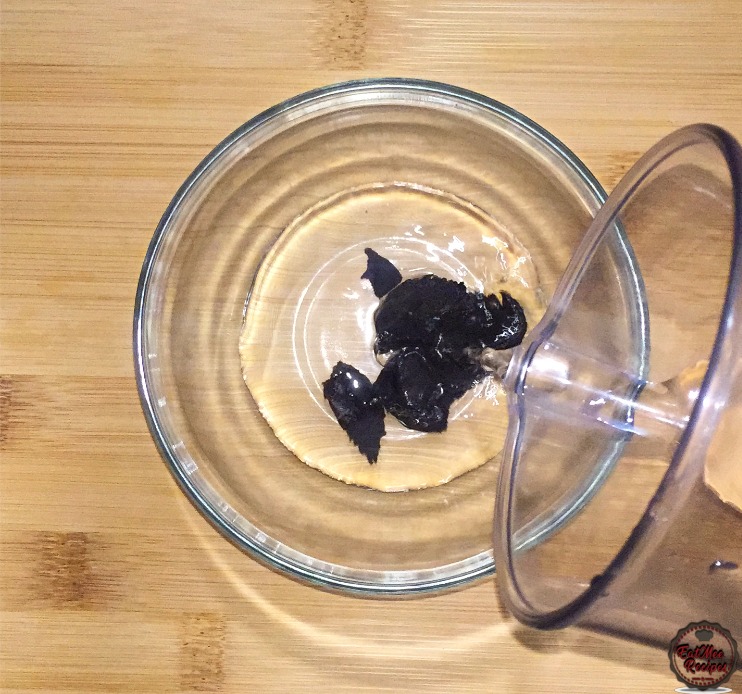
Pour in the 100 ml water.
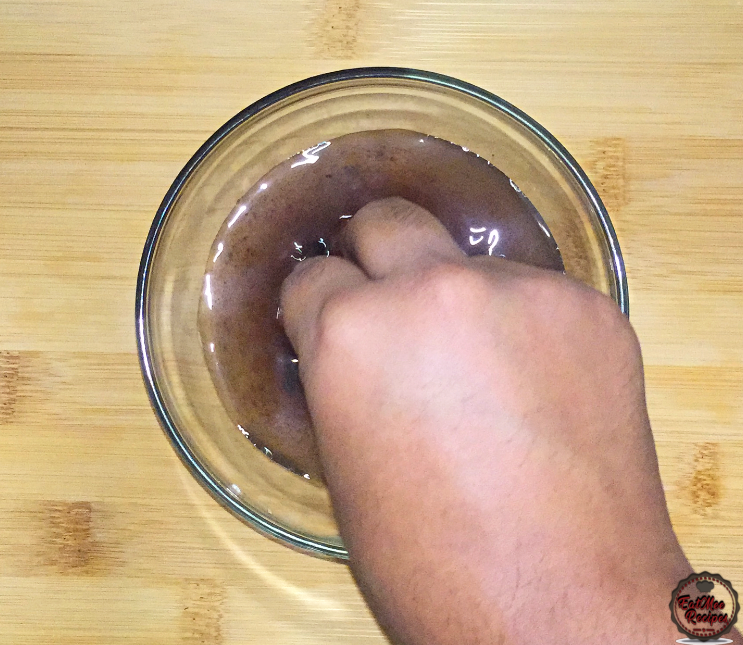
Press the tamarind between your fingers & smash it to allow it to be diluted in the water. Once done, you should have a brownish coloured water.
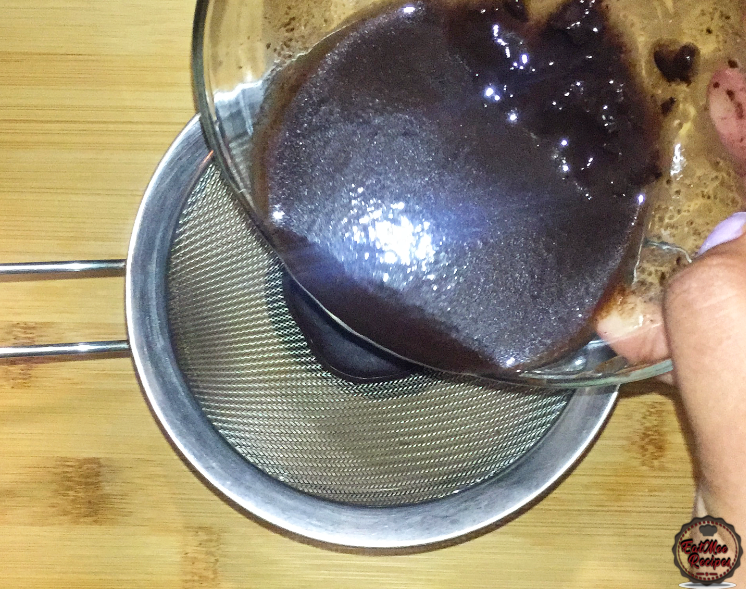
Using a strainer, strain the tamarind water to get rid of the pulp that may have been left over. Set aside.
To a mixing bowl, add in the all-purpose flour.
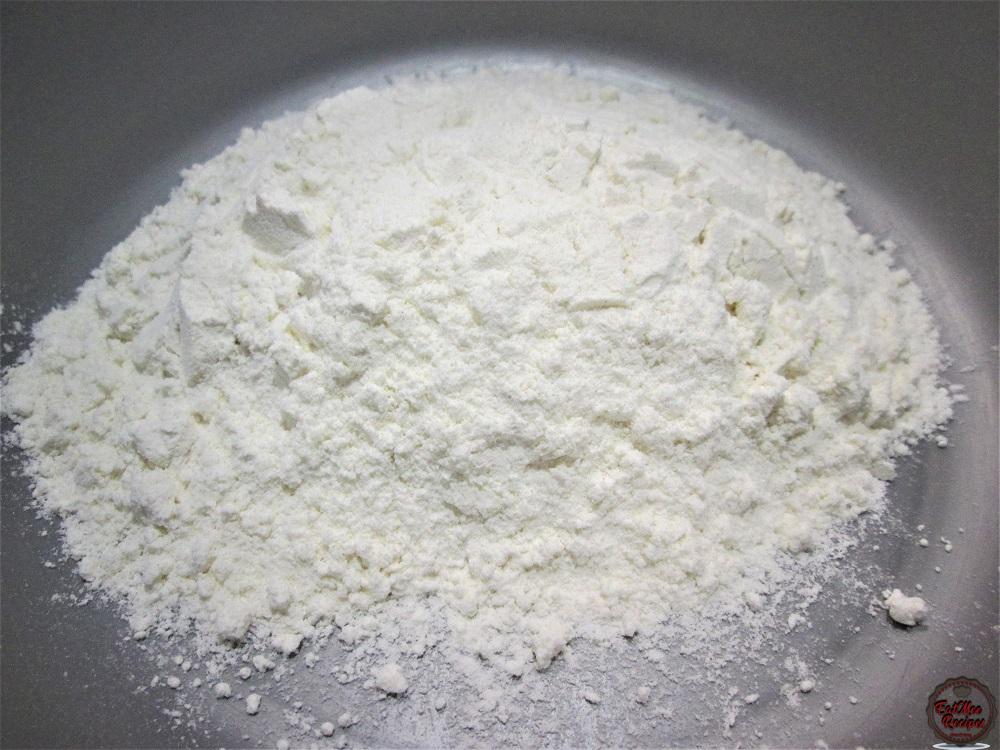
To the flour, add in the gram (chickpea/besan) flour.
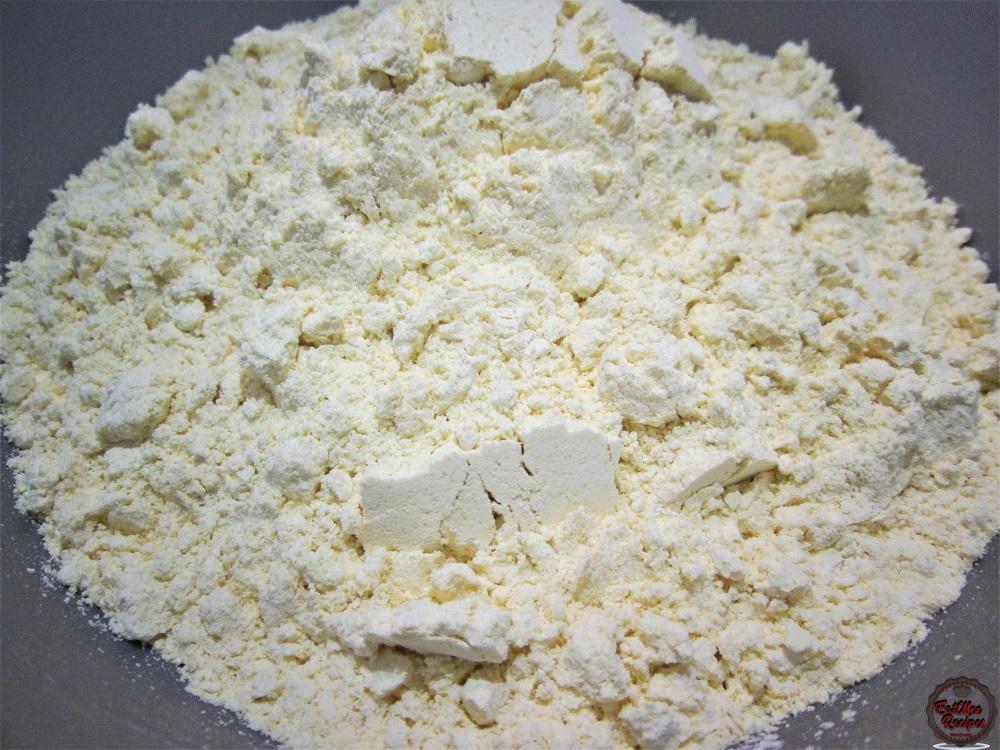
Next, add in the semolina.
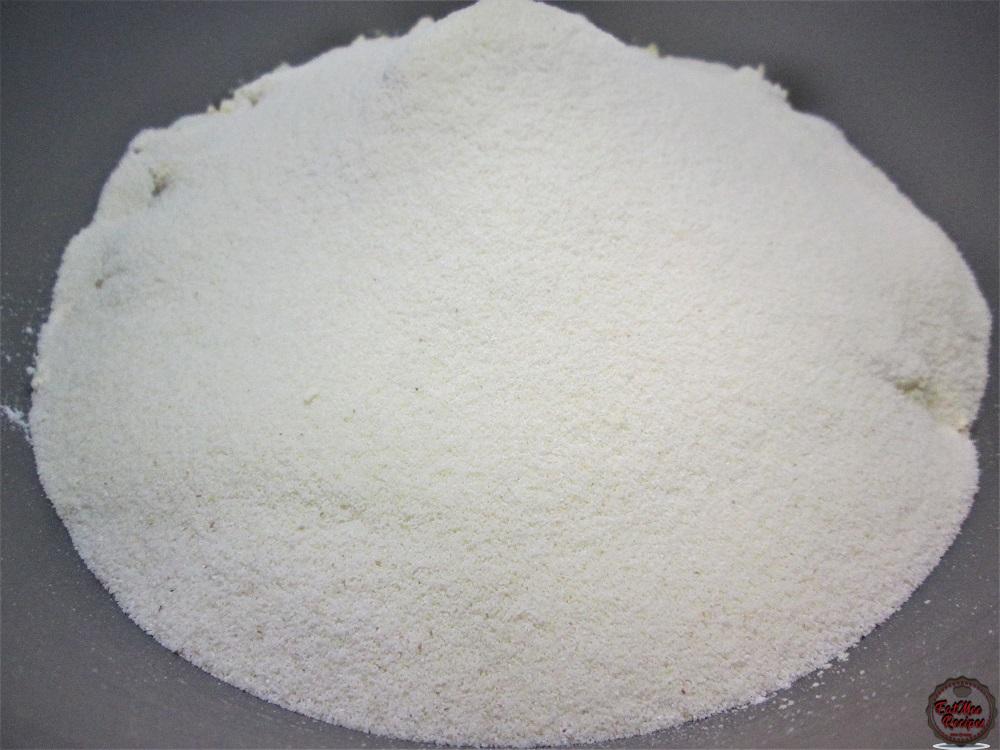
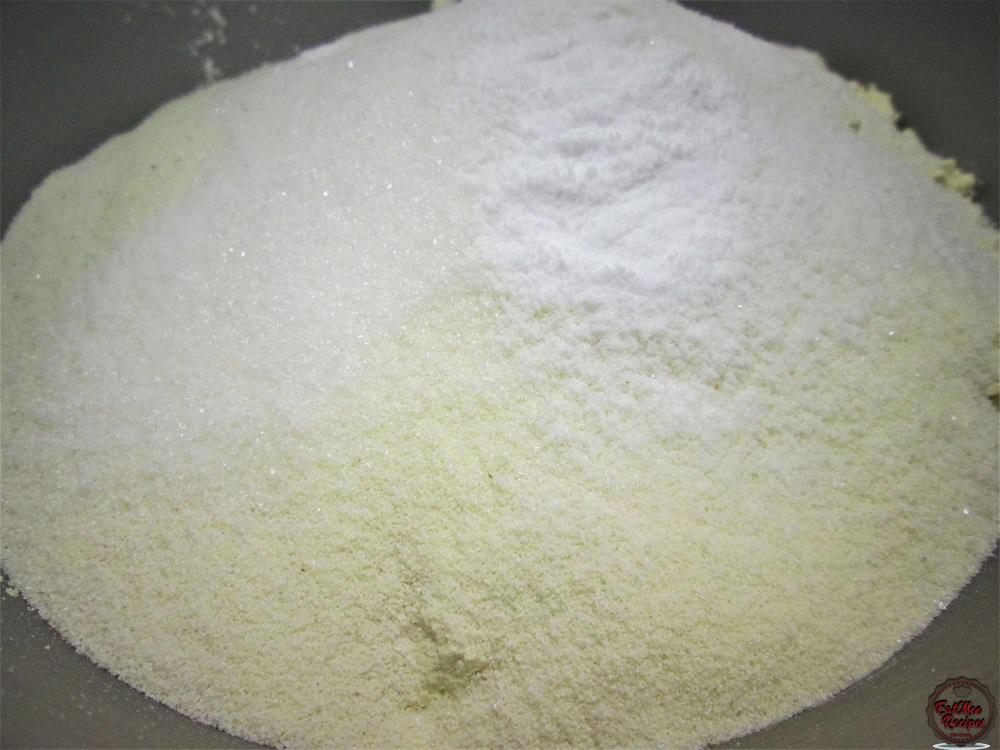
Add in the white sugar.
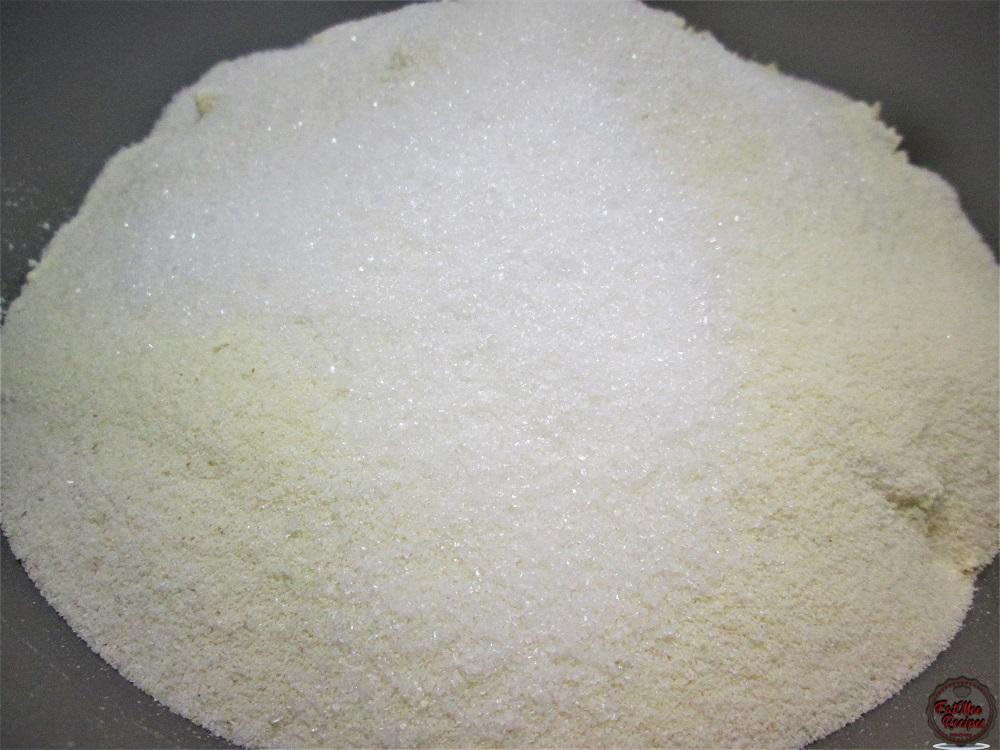
Add in the salt & bicarbonate of soda.
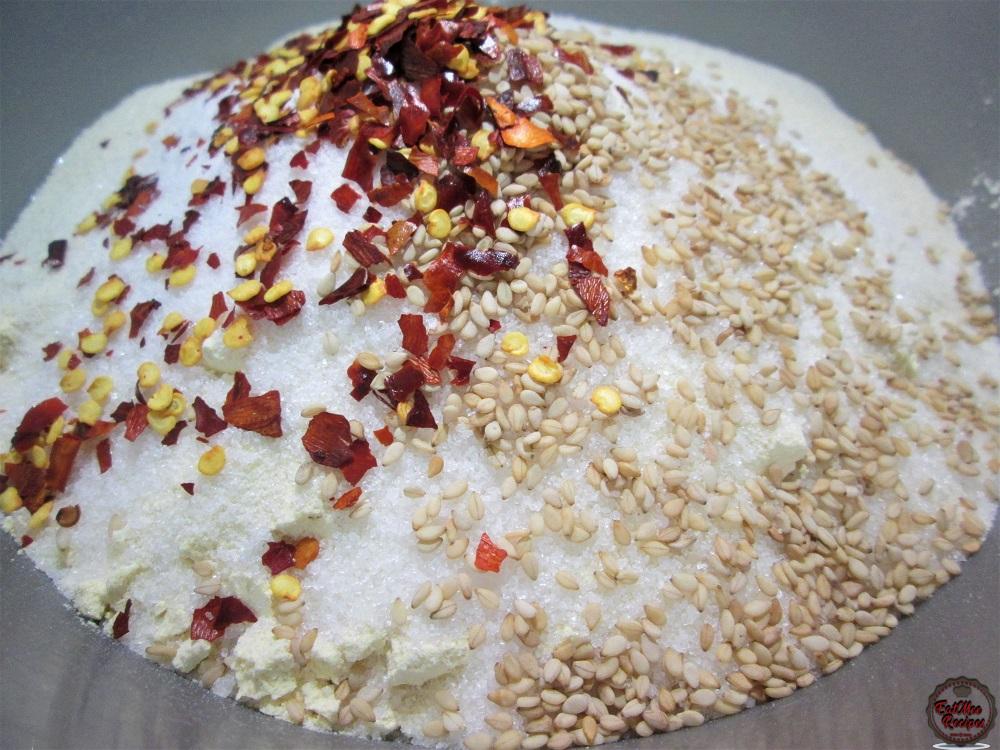
Thereafter, add the sesame seeds & red chili flakes.
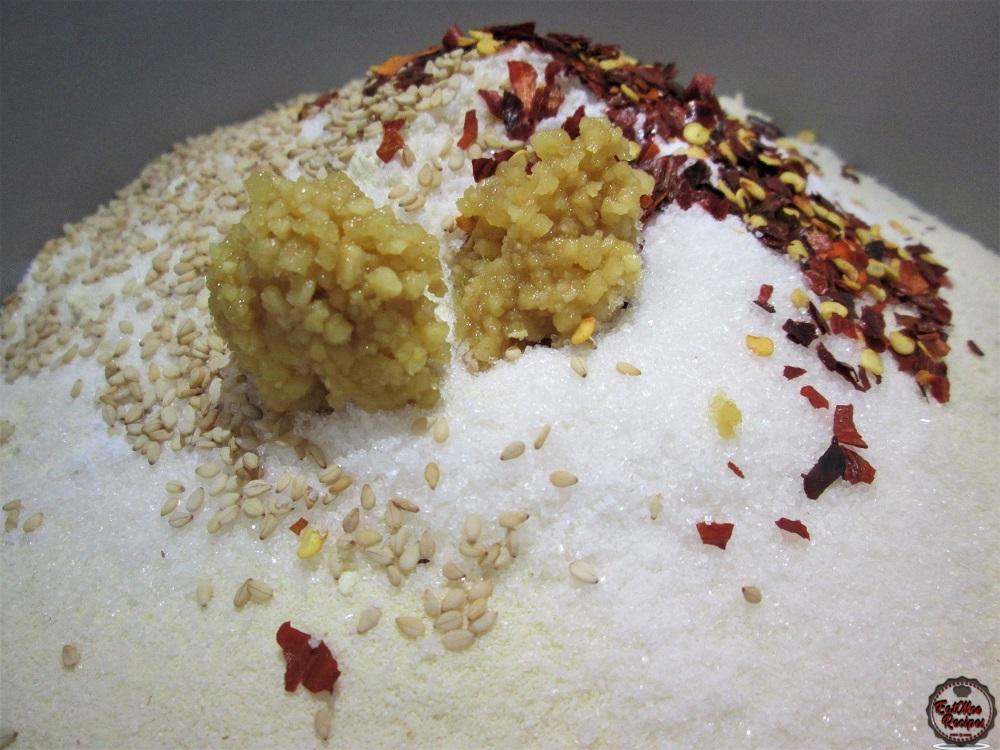
Add the crushed ginger & garlic.
Next, drop in the crushed cumin (jeera) seeds & the coriander (dhania) seeds.
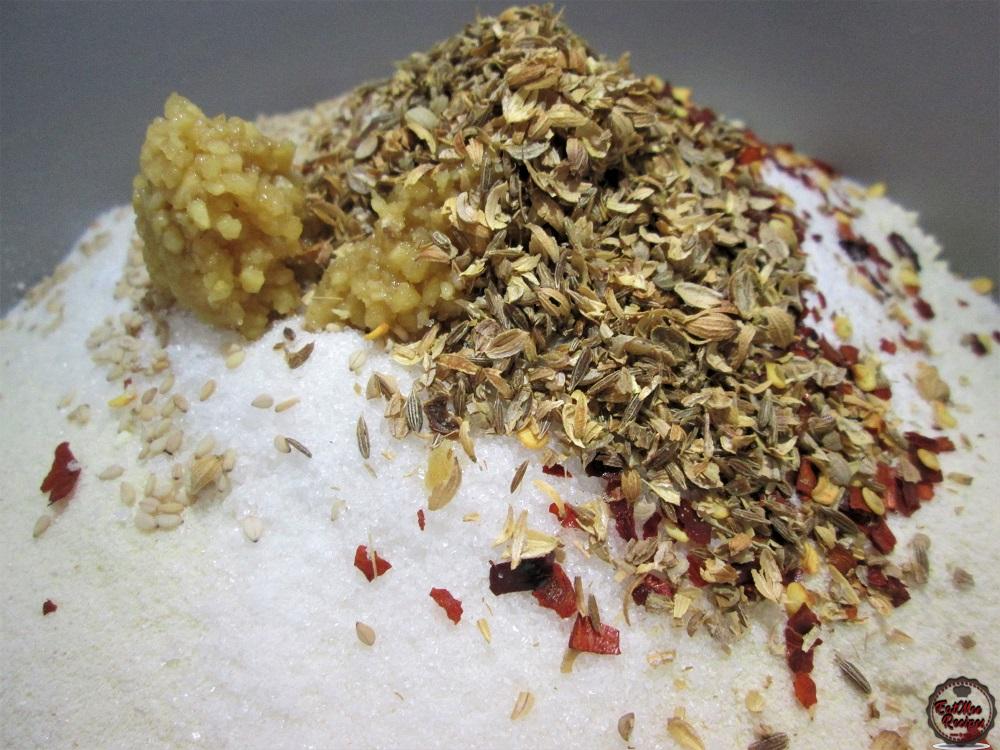
Give it a mix.
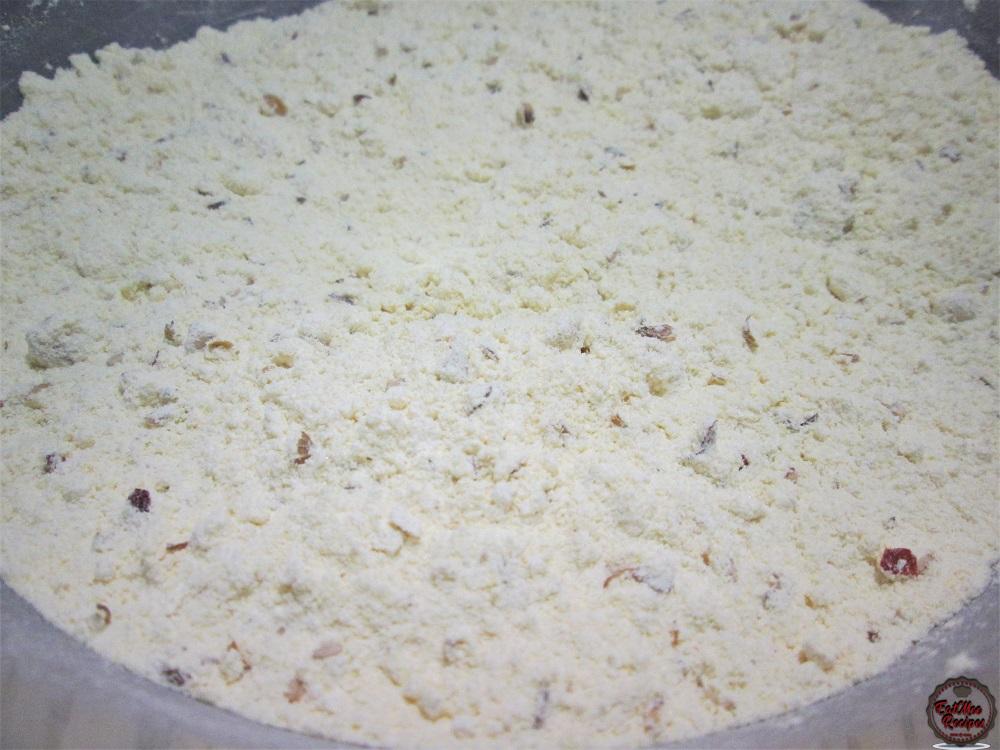
Pour in the vegetable oil.
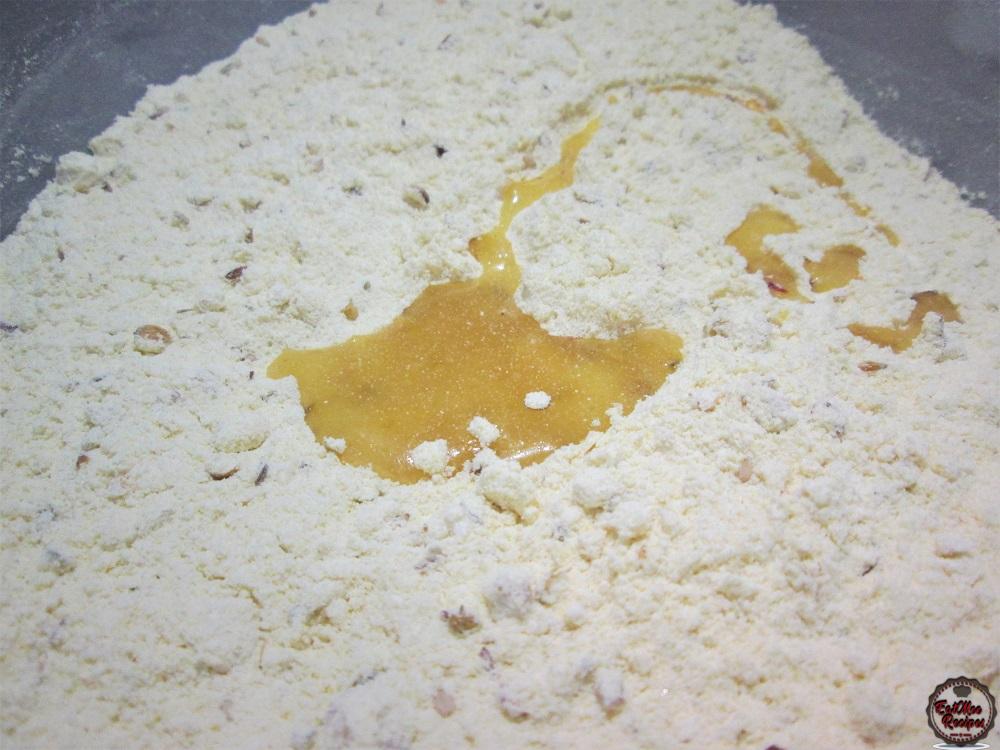
Pour in the tamarind water & the vinegar.
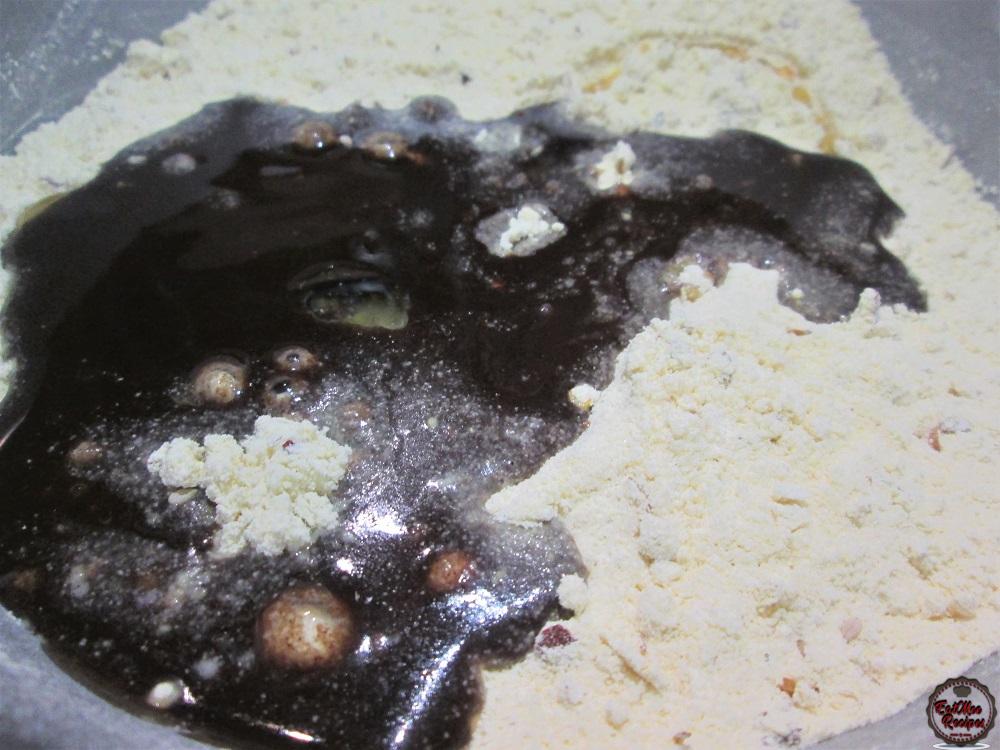
Mix well.
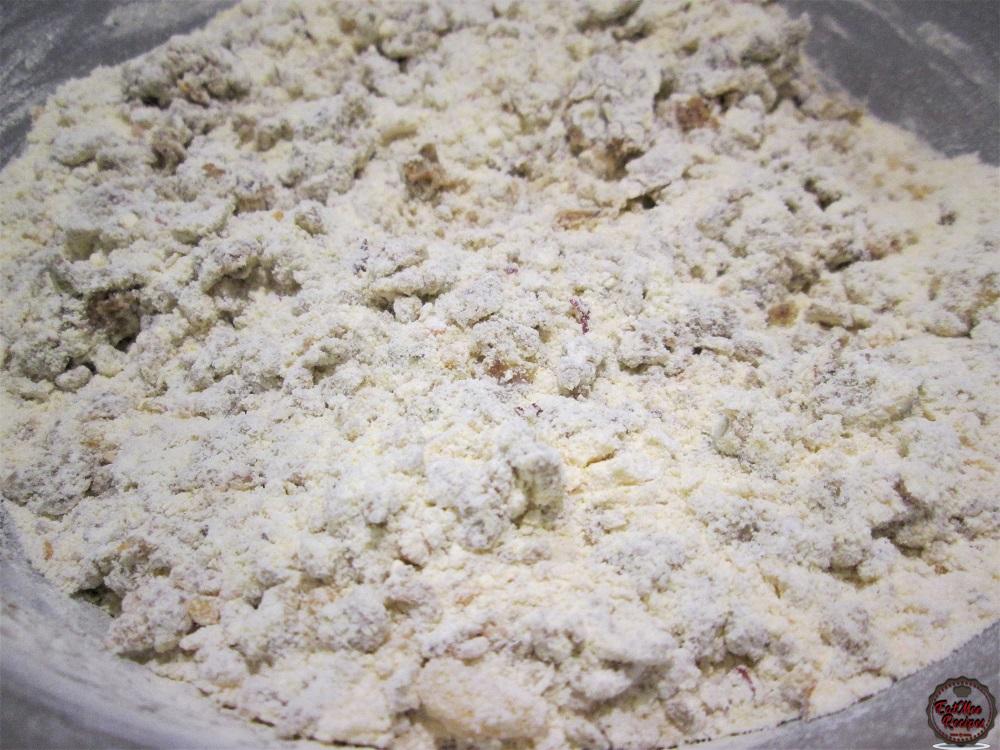
Finally, add in the plain yoghurt.
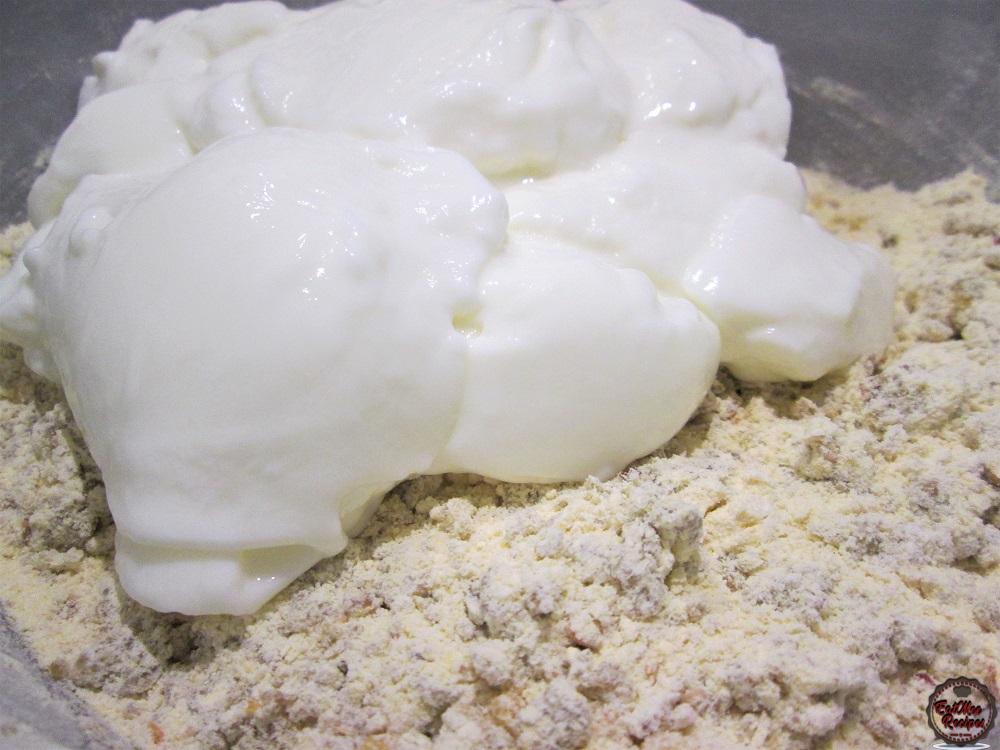
Mix well until it forms a batter.
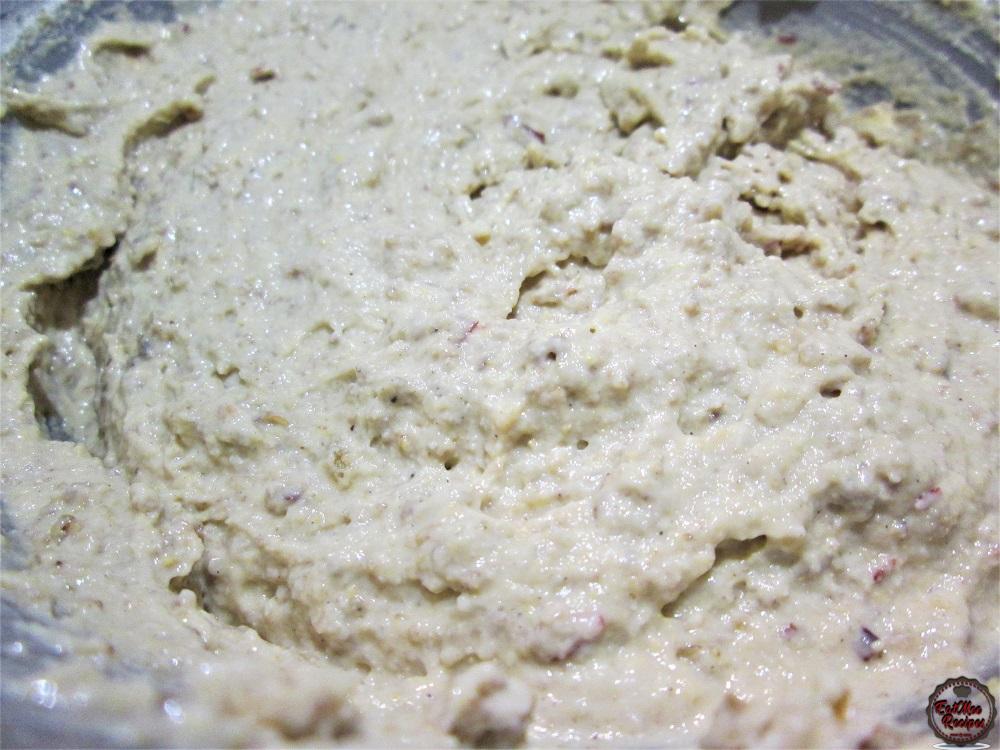
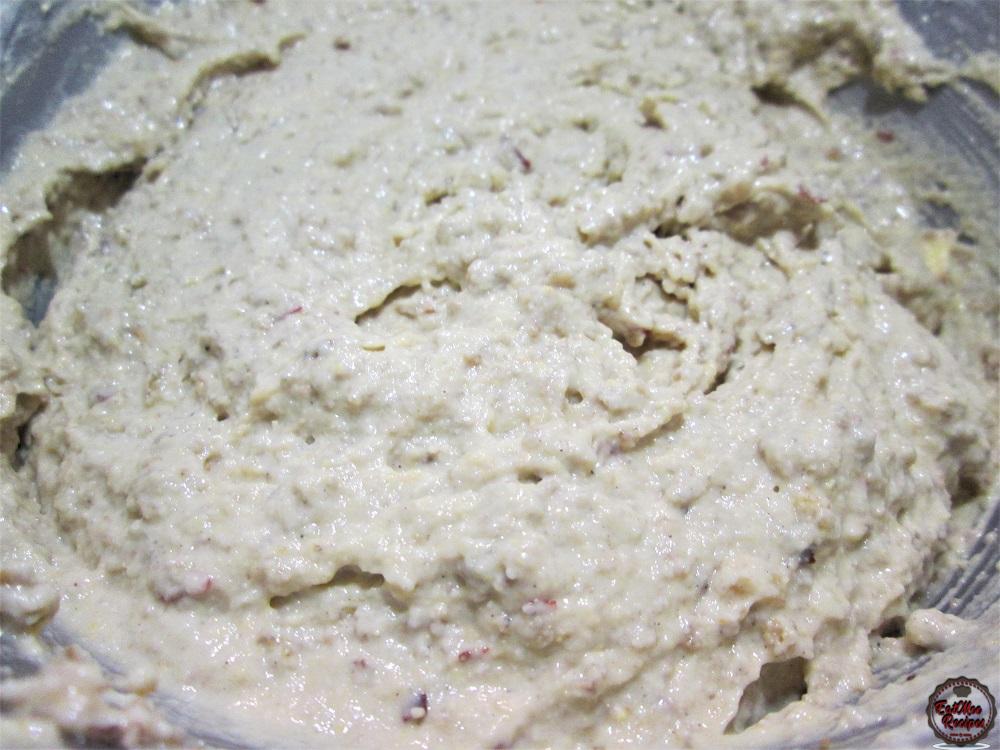
The batter should be thick & not runny. Set aside until ready to use.
Rinse yam or spinach leaves.I have used spinach leaves.
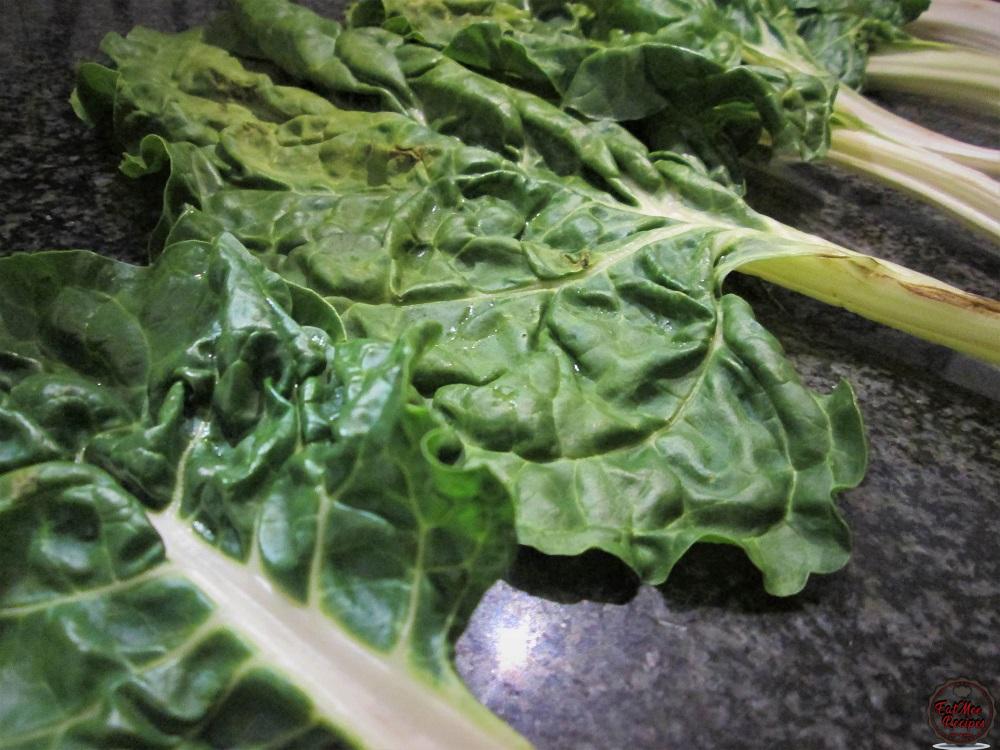
Place the spinach leaves onto a board or counter top & cut off the extended stems.
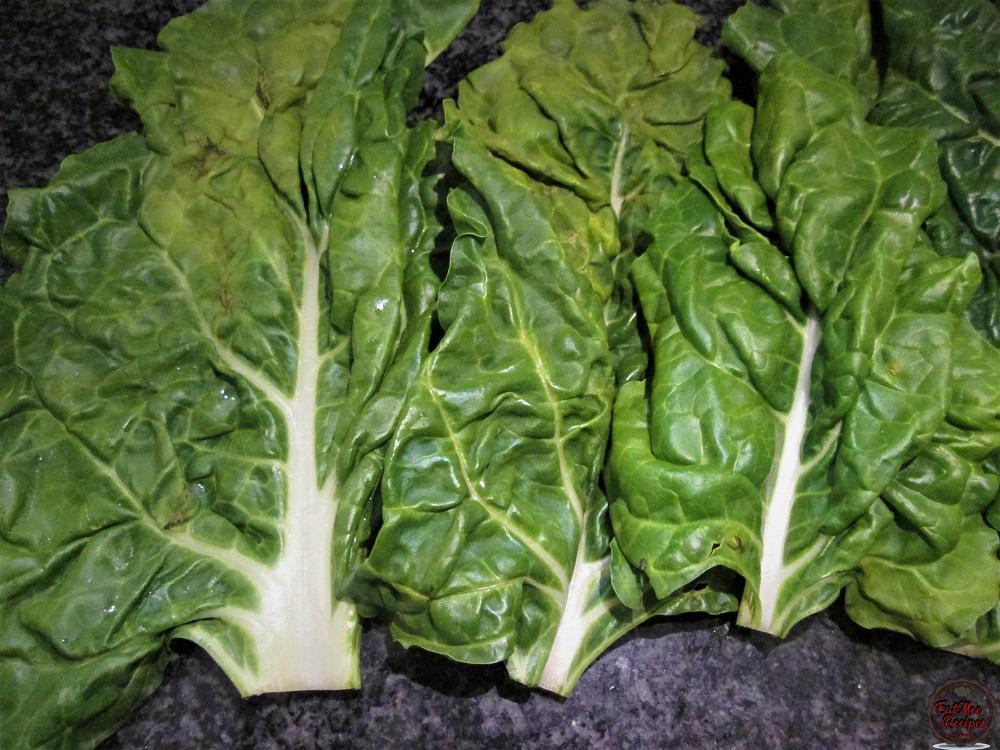
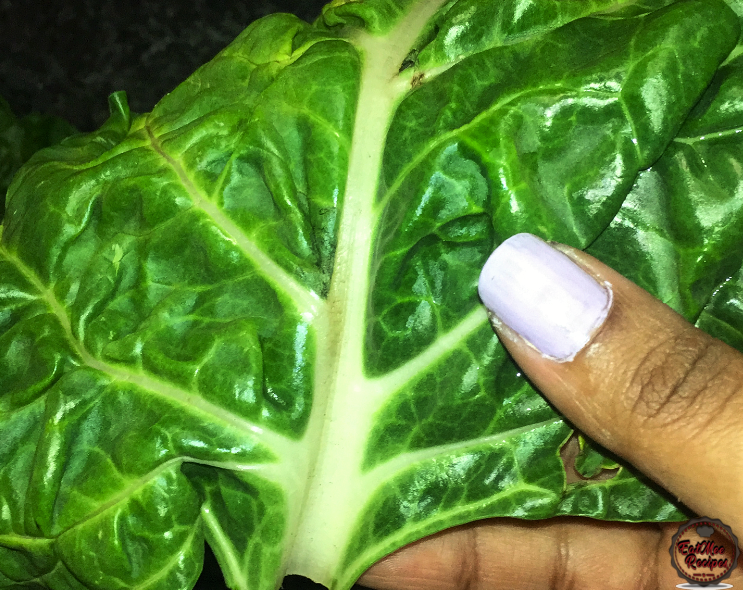
The stem in the middle is usually tough so the next step is to roll them out.
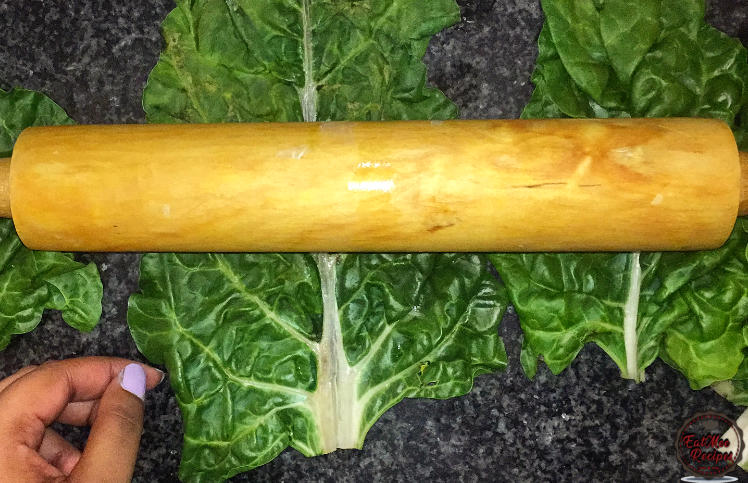
Roll the leaves out using a rolling pin, this will flatten the stem & help soften it.
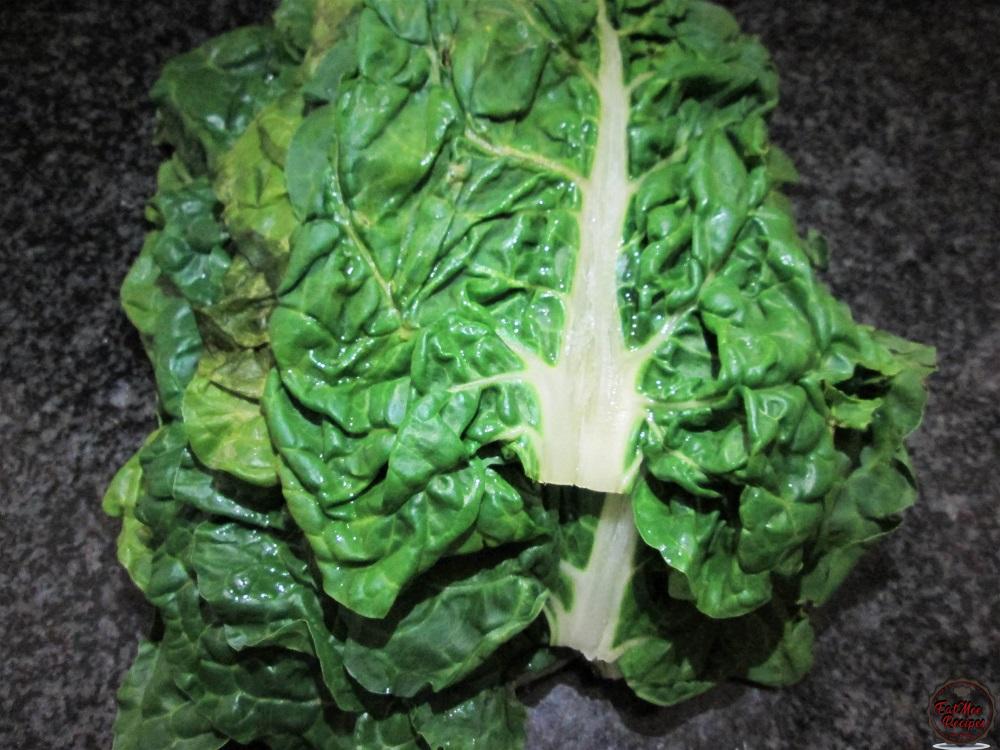
Once all of the leaves are rolled out, it is time to start layering them.
Place one of the leaves onto a working surface & scoop some of the batter onto the leaf. Spread out the batter so that it covers the entire leaf.
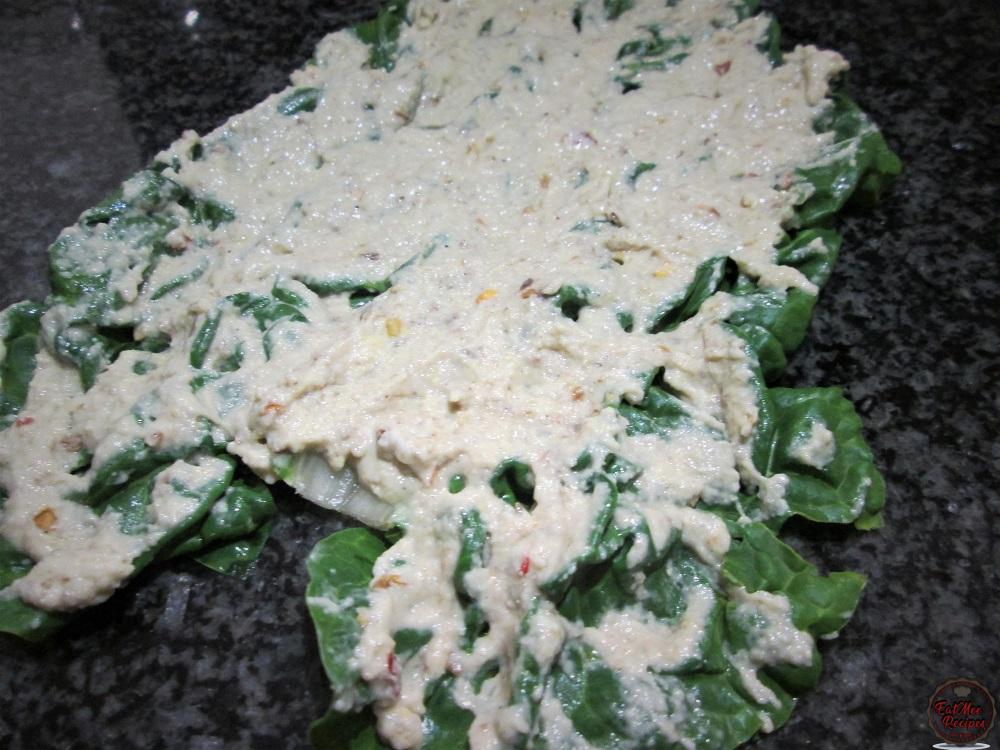
Thereafter, place another leaf over the batter.
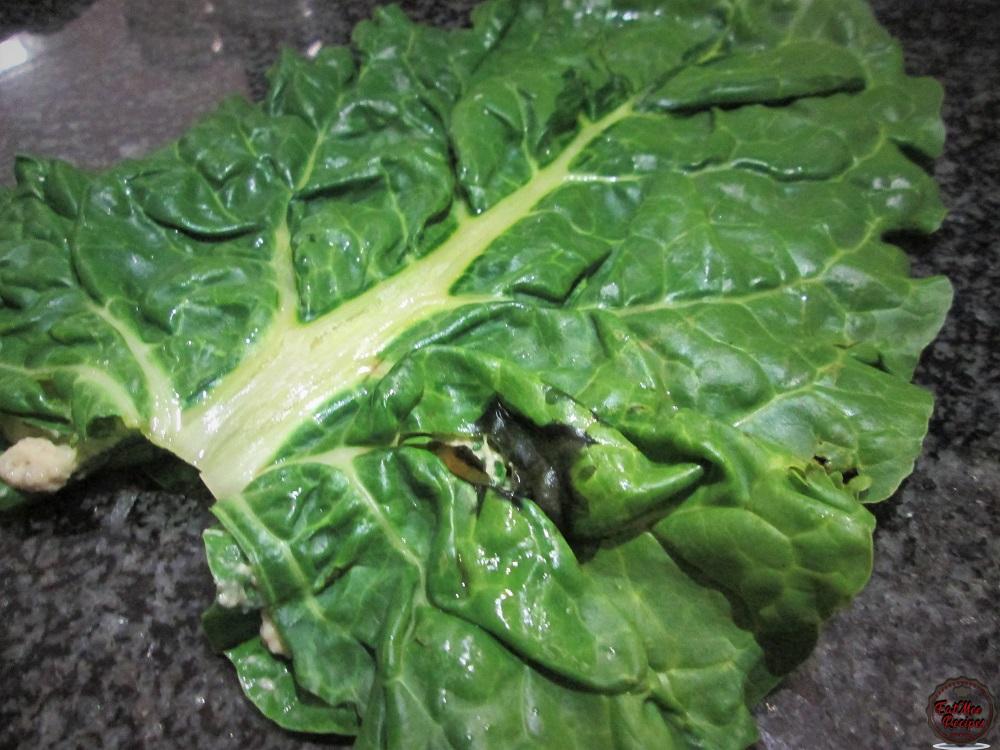
Another layer of the batter goes onto that leaf & so forth – it should create layers.
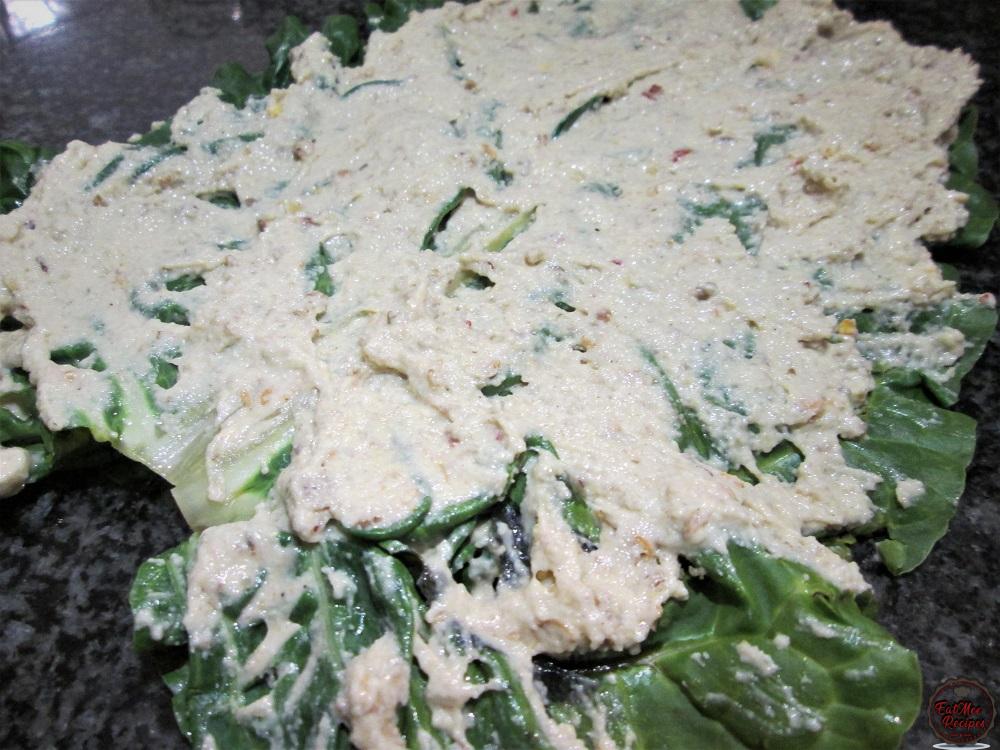
The last layer should end with the batter.
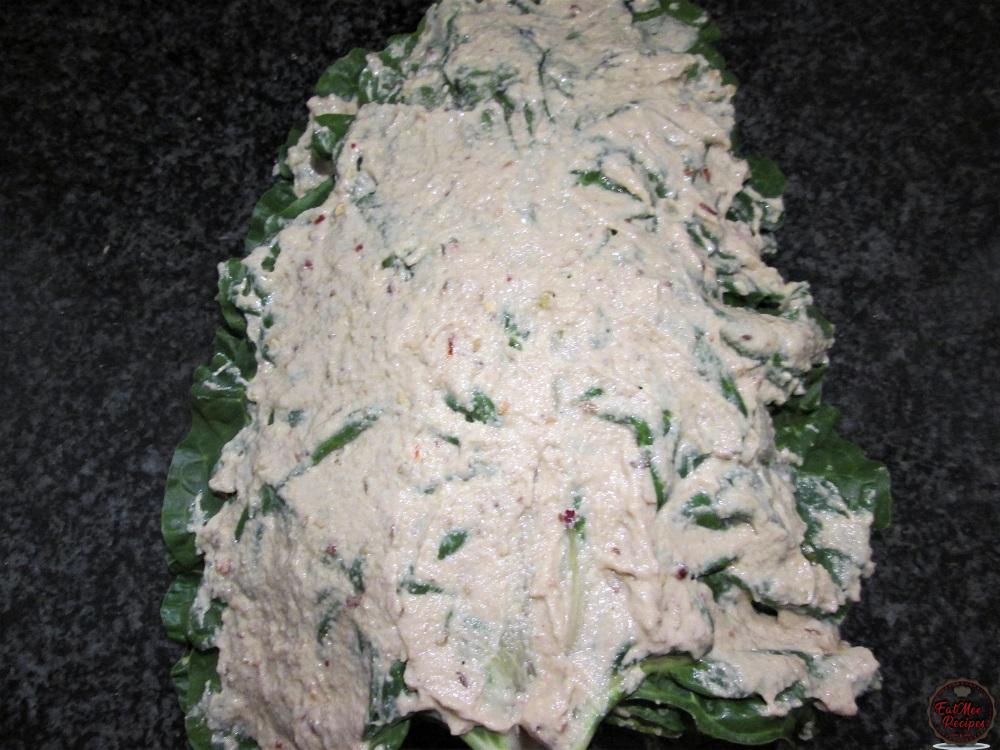
Fold the sides of the leaves over.
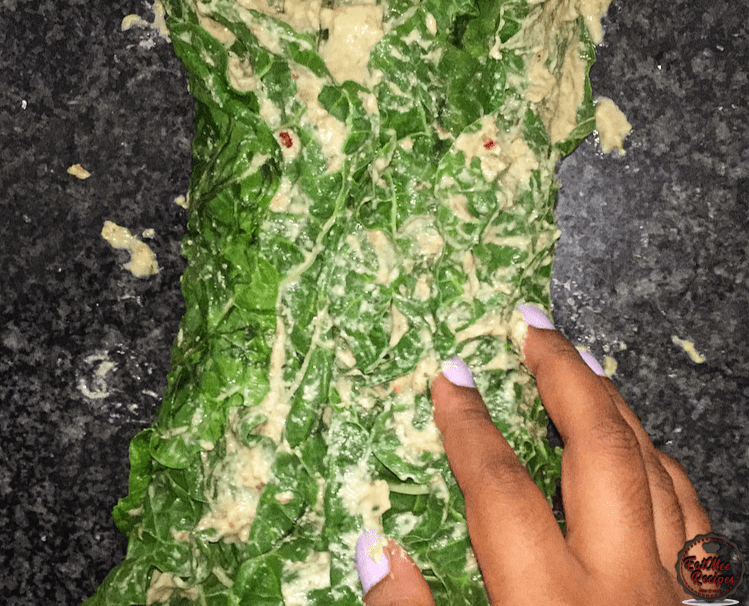
Thereafter, roll all the leaves lengthwise (roll it like a swiss roll).
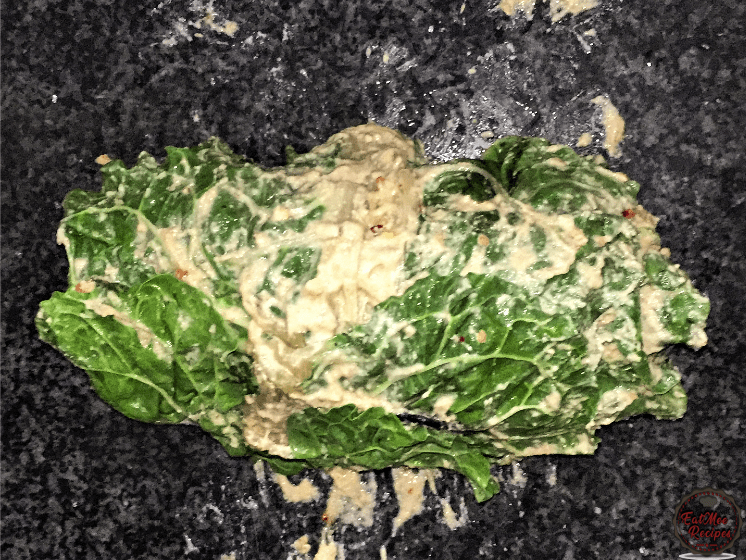
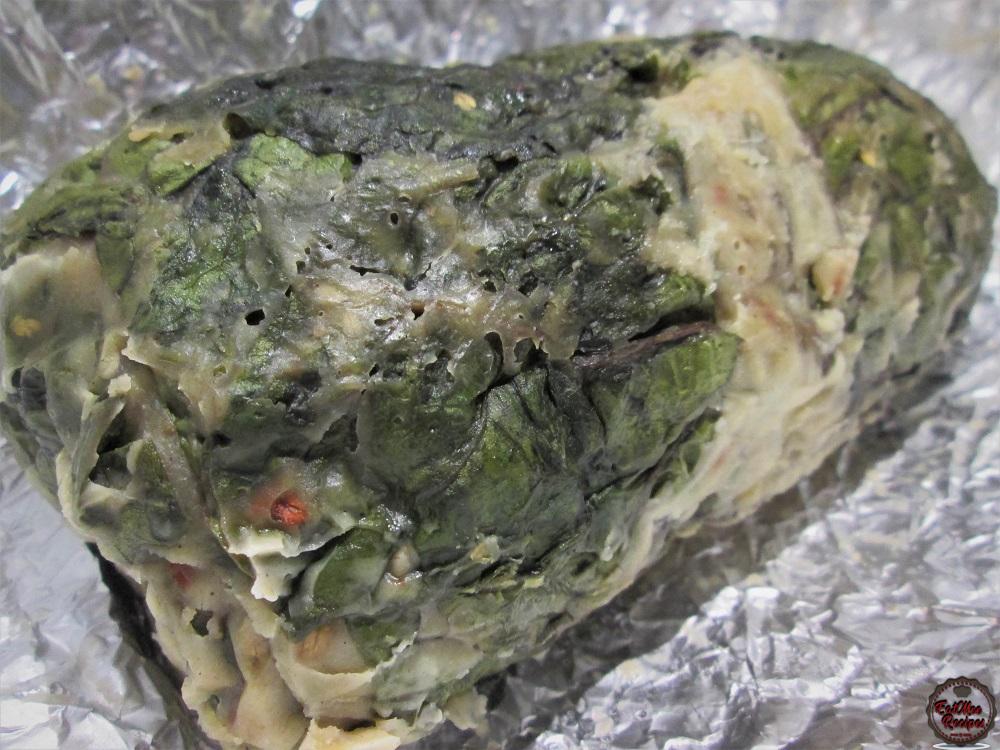
Tightly wrap the patha in foil.
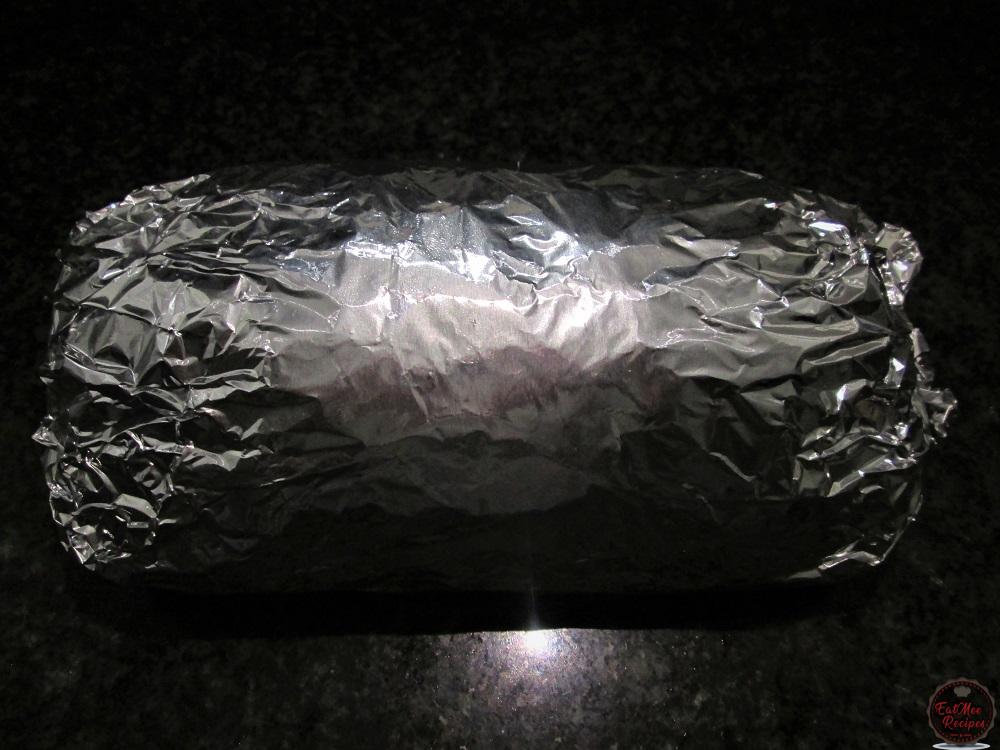
Steam it for 45 minutes. I used my Instant Pot for this step but it can also be done on the stove-top. Fill the Instant Pot or a large pot with 1 cup of water.
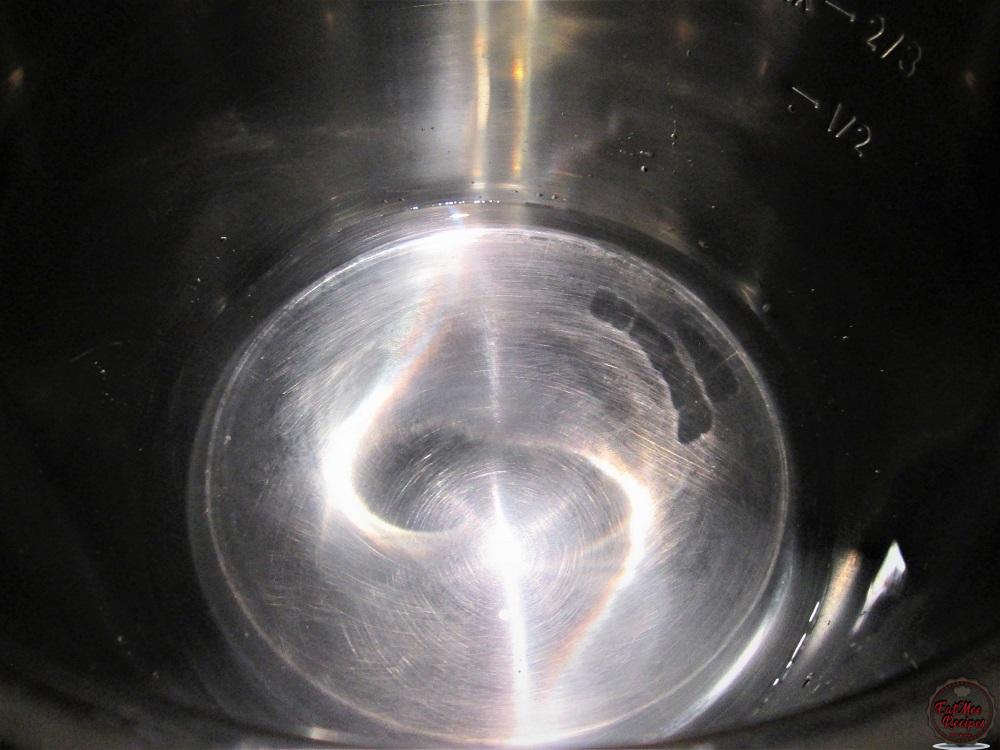
Place the patha onto a trivet & put it inside the Instant Pot. Alternatively, place it onto a trivet or stand & put it into a pot.
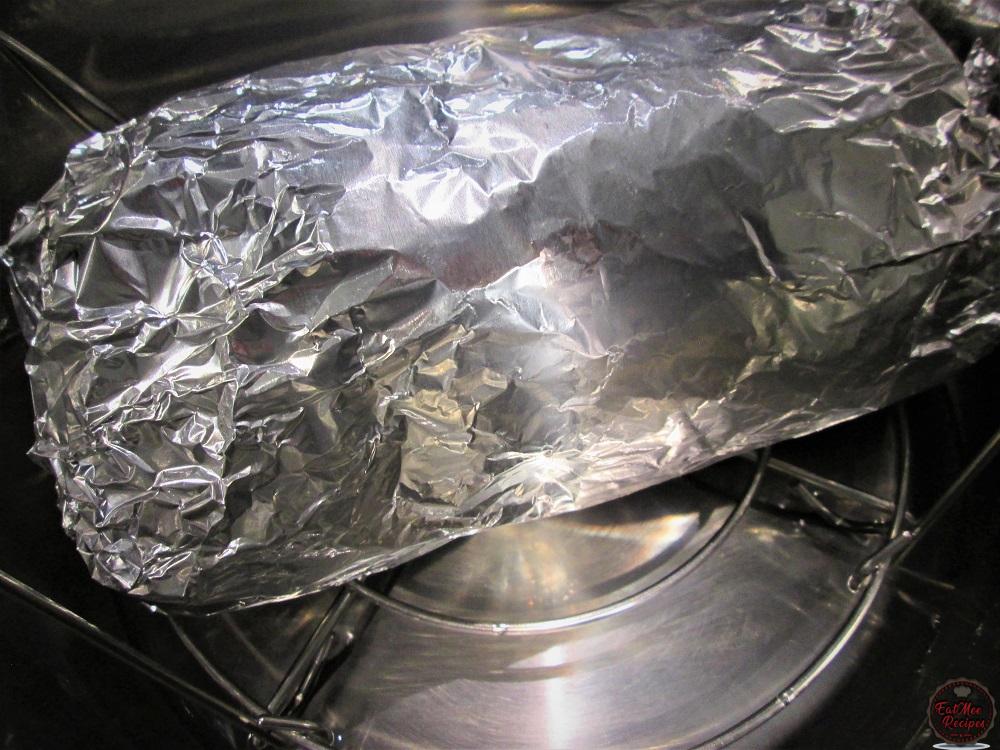
Steam for 45 minutes.
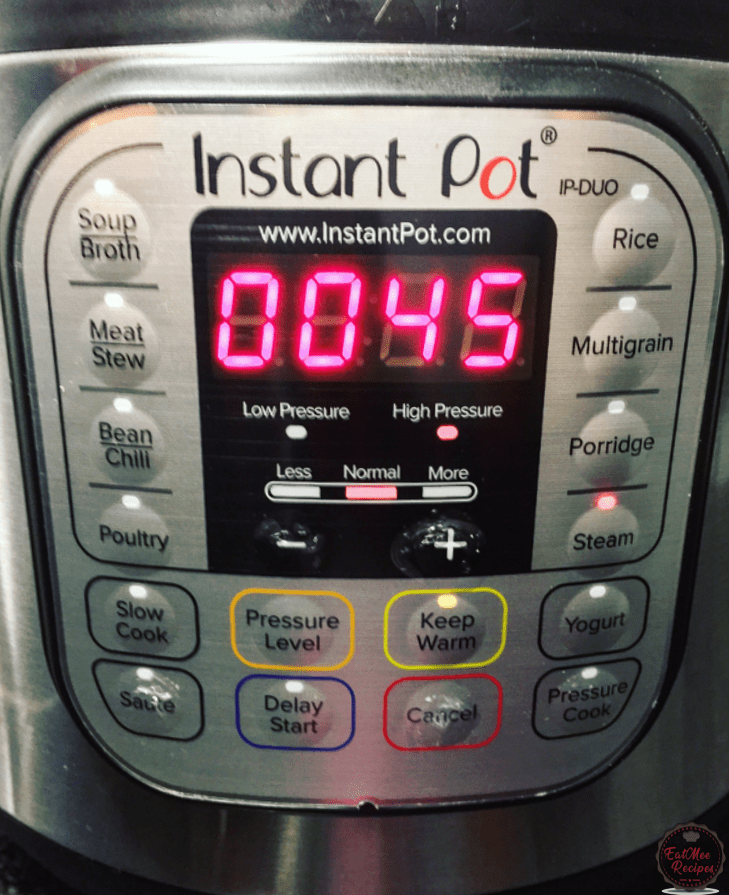
After 45 minutes, turn off the Instant Pot or heat on the stove-top.
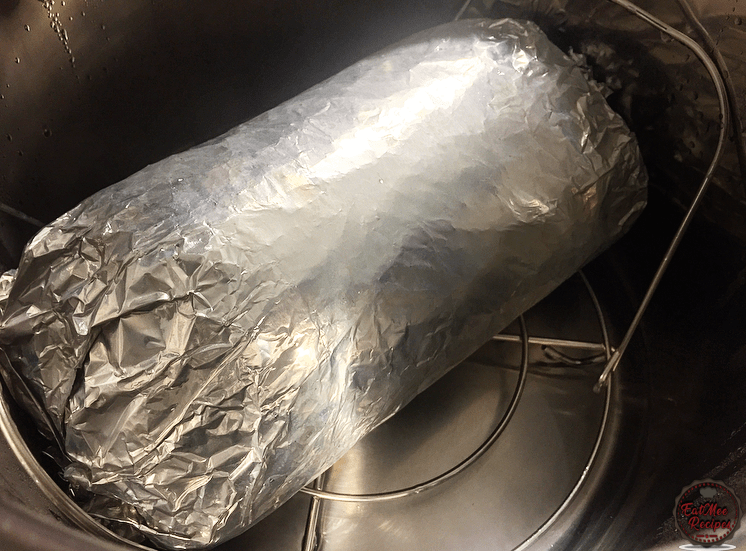
Remove the patha from the pot & allow it to cool completely before opening the foil.
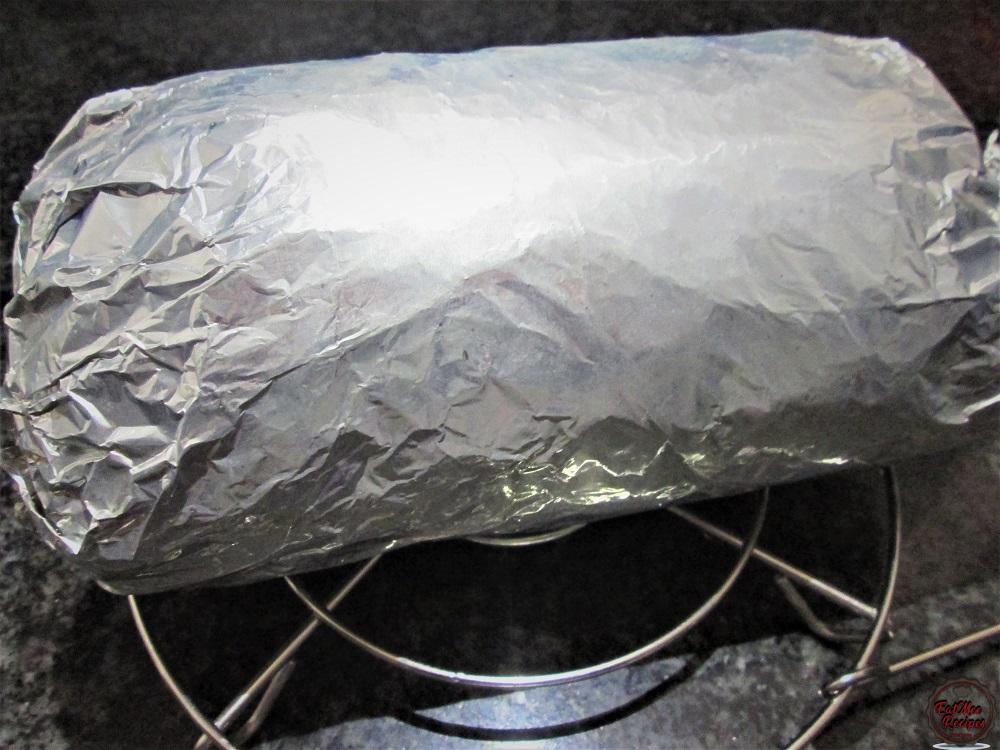
Once the patha is completely cooled, unravel it.
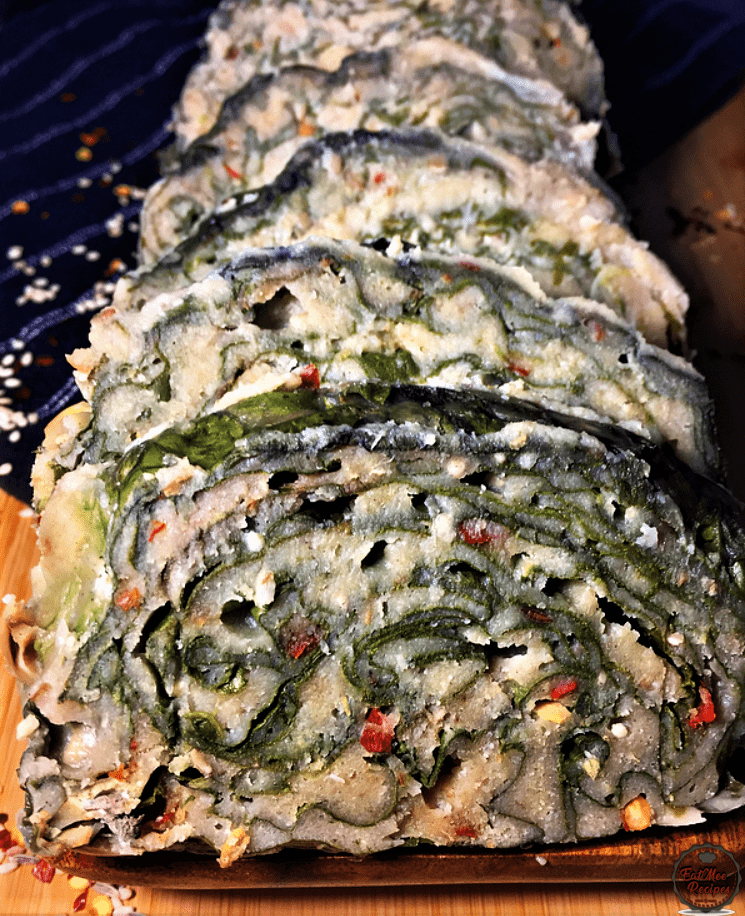
Cut the patha into slices (finger thickness).
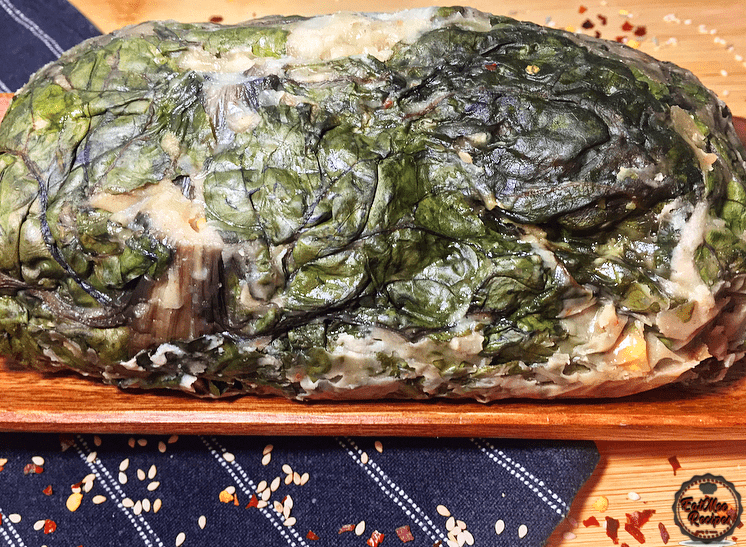
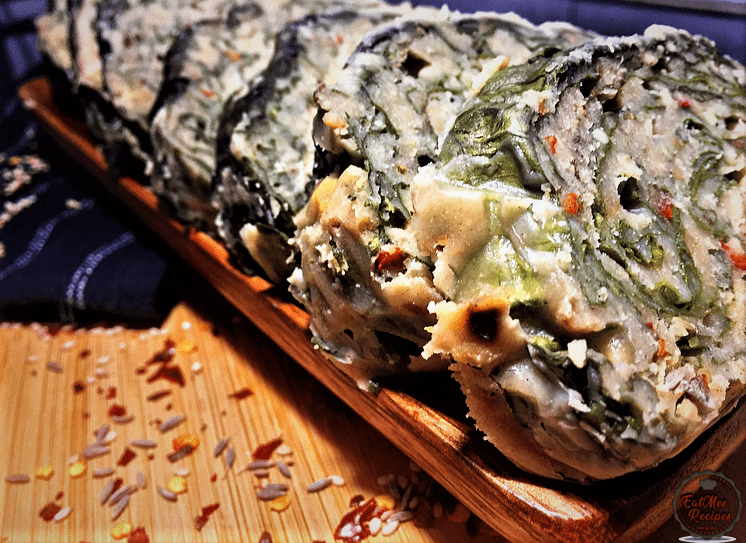
Now you will be able to see all those lovely layers.
If they aren’t going to be consumed straight away, this Homemade Patha can be refrigerated for up to a week or it can be frozen for a good couple of months, simply allow it to thaw out before frying or baking them.
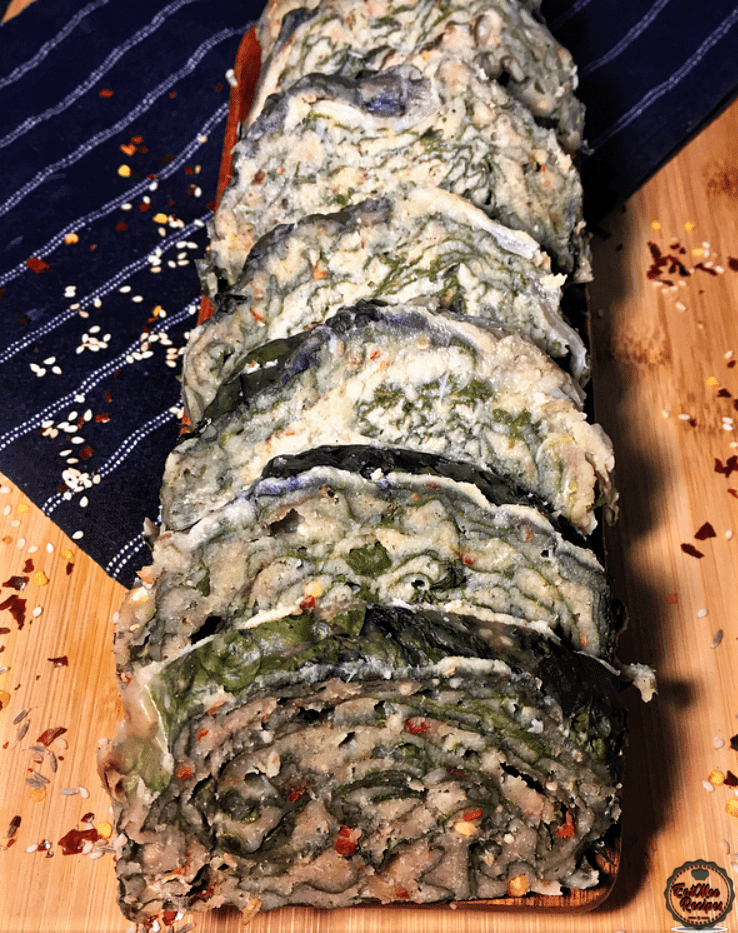
To prepare these pathas, heat 2-3 tablespoons of vegetable oil in a pan on medium heat. When the oil is hot, place the patha slices into the pan, without overcrowding the pan. Fry until it becomes slightly golden in colour. It should take ± 10 minutes to fry & then drain on paper towels. Add a splash of lemon juice onto each of the pathas.
Serve them with soft puris.
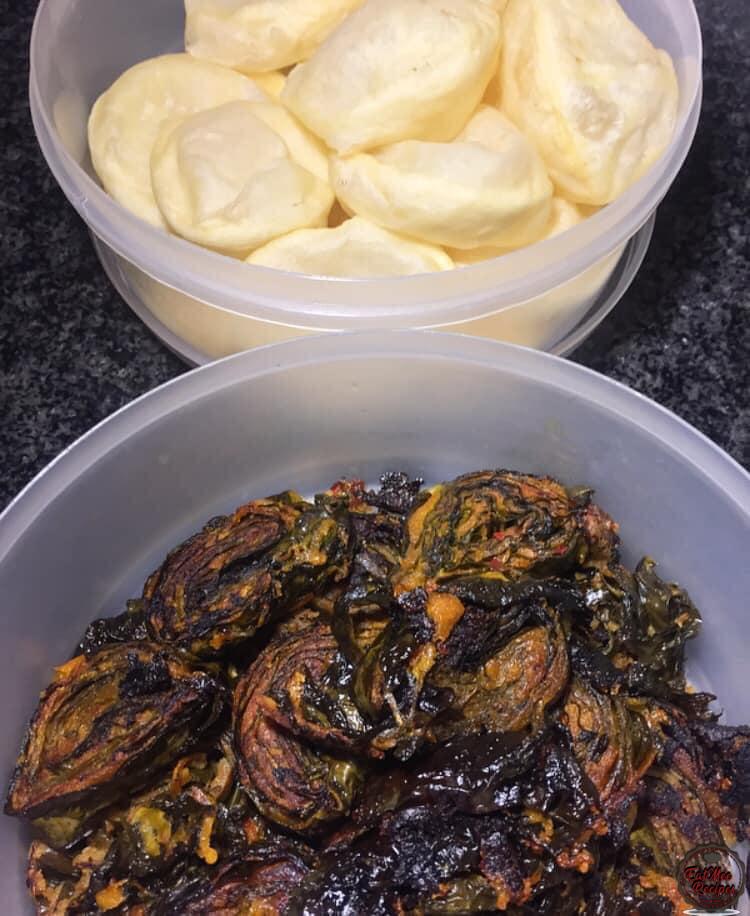
These are known as Puri Pathas.
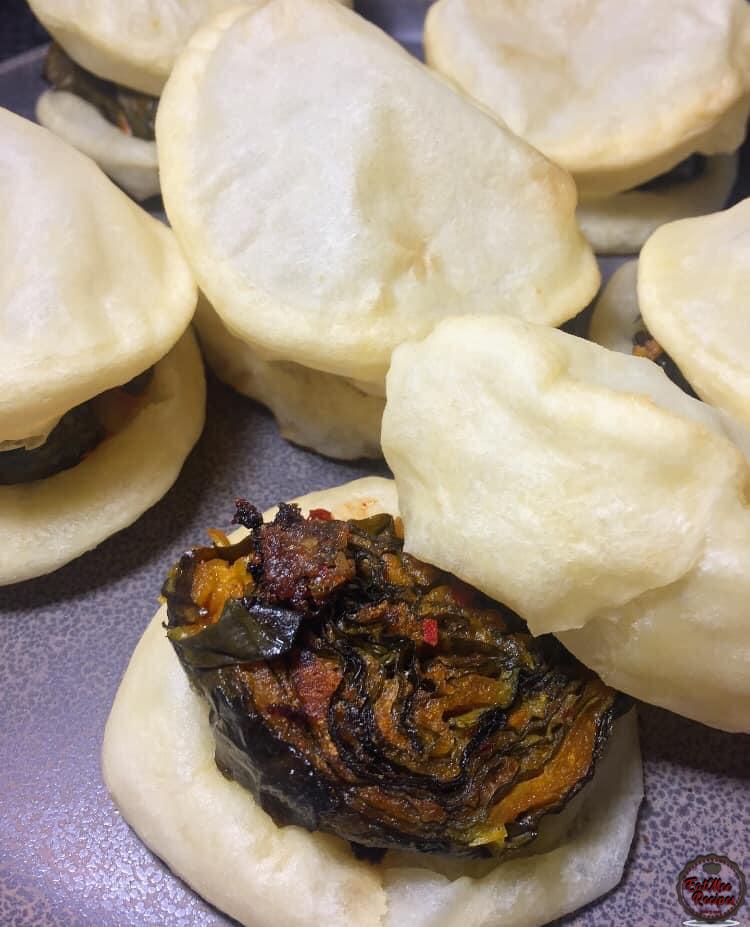
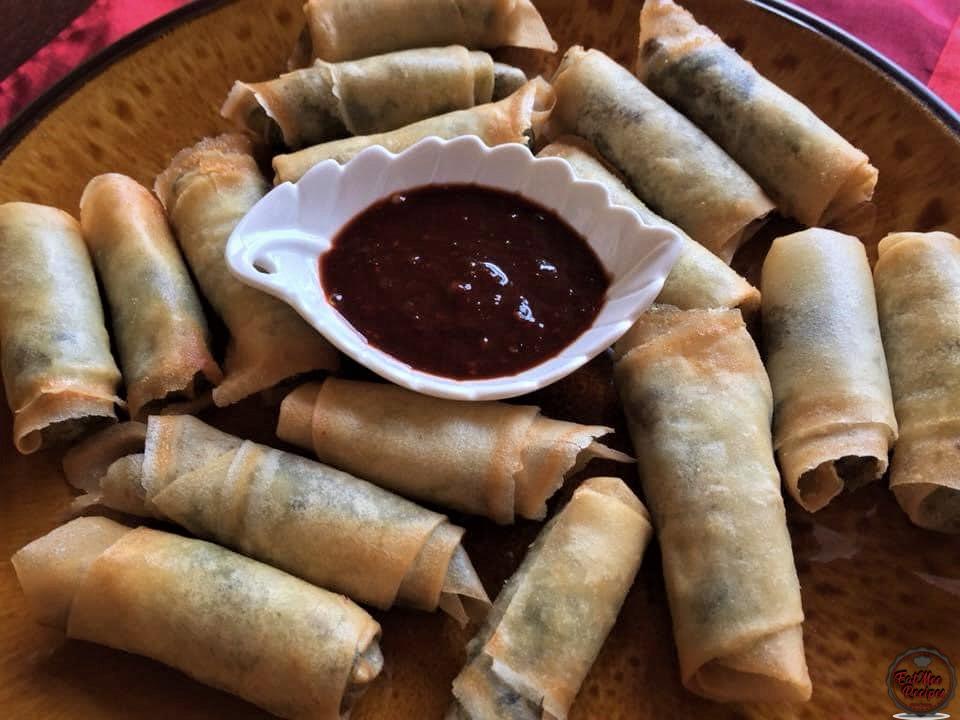
These Pathas can also be cut into halves & folded into spring roll sheets & then fried.
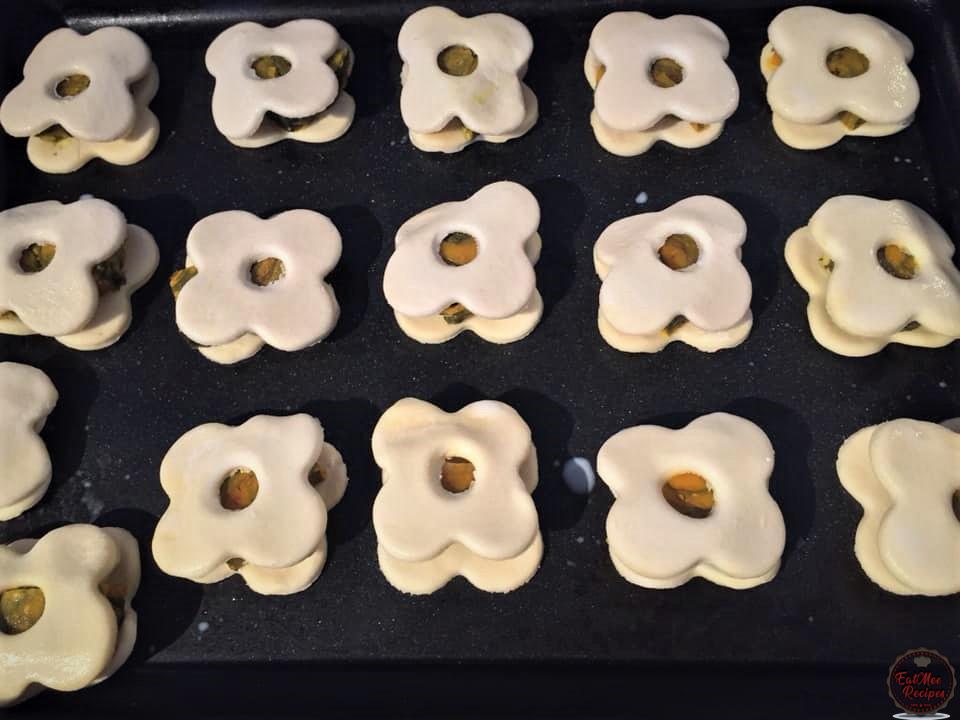
Also sandwich them between puff pastry & bake until the puff pastry is cooked.
Follow along with Denisiya's step-by-step video guide for Homemade Patha.
Expert kitchen guidance and troubleshooting for making the best Homemade Patha
Absolutely! You can easily tailor the heat by increasing or reducing the chili powder and fresh chilies to suit your family’s palate without compromising the authentic flavor profile.
Yes, you can freeze Homemade Patha in an airtight, freezer-safe container for up to 2 to 3 months. Thaw overnight in the refrigerator before gently reheating.
Reheat gently on the stovetop over low heat with a splash of water, or in the microwave covered with a damp paper towel to retain moisture.
Hi, I'm Denisiya! Food lover, recipe developer, and founder of EatMee Recipes. I specialize in authentic South African Durban Indian cuisine, comforting curries, and modern Instant Pot adaptations. Every recipe on this site is tested in my personal kitchen to ensure you get mouth-watering, foolproof results every time.
Explore more authentic Durban curries, traditional bakes, and comforting family favourites.
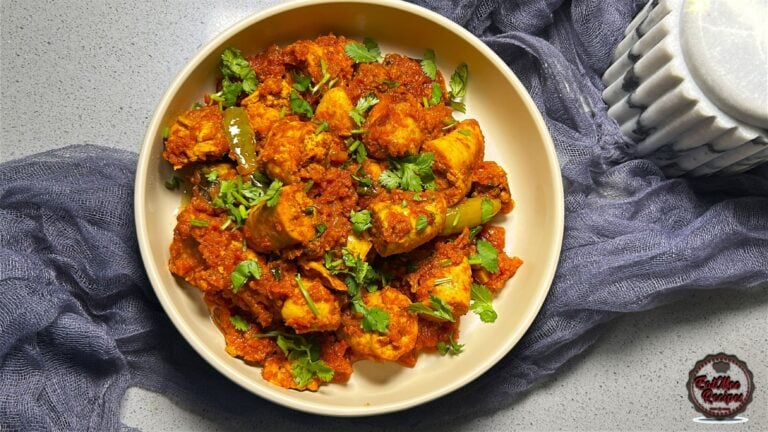 Indian Cuisine
My mum is sharing another one of her much-loved traditional South African Indian recipes. ...
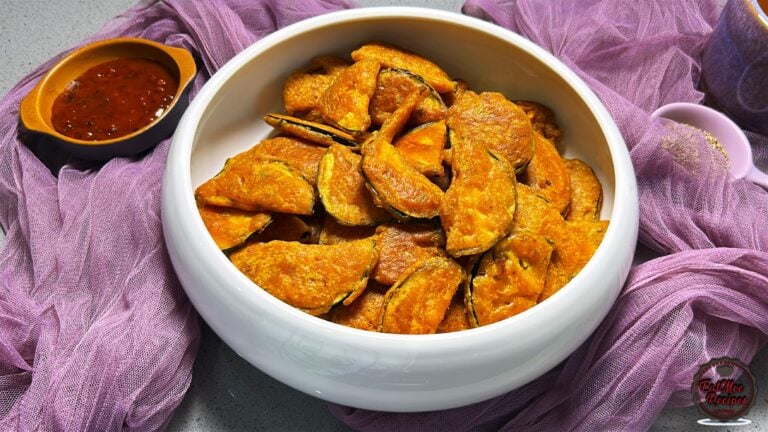 Indian Cuisine
Crispy, golden and delicious, these Brinjal Pakoras are made with thin slices of brinjal c...
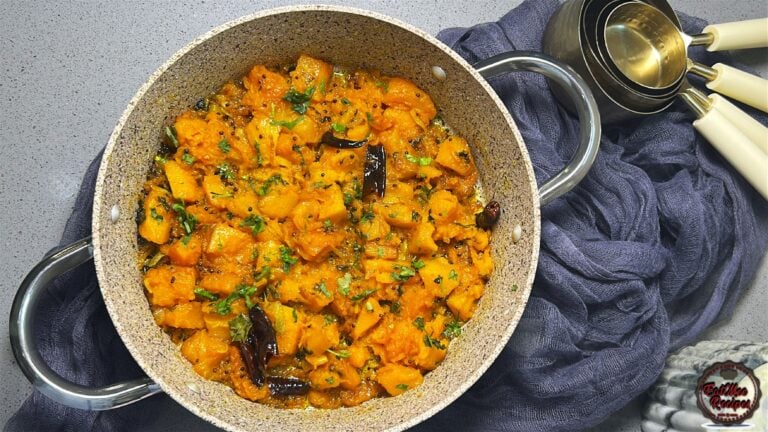 Indian Cuisine
Mum’s Pumpkin Curry is a simple, comforting vegetarian dish that proves you don’t need a l...
Have you tried this recipe or have questions for Denisiya? Join the conversation below.
No comments yet. Be the first to share your thoughts on this recipe!
Leave a Comment
Your email address will not be published. Required fields are marked *