
We Value Your Culinary Privacy
EatMee Recipes uses cookies to provide a personalized browsing experience, analyze recipe popularity, and serve relevant ads. You can review our full disclosure in our Privacy Policy.
Make authentic Chickpea Curry with this foolproof recipe. Packed with rich traditional flavor, step-by-step photos, and cooking tips by Denisiya on EatMee Recipes.

Join over 60,000+ home chefs for weekly authentic Durban Indian cook-alongs, Instant Pot masterclasses, and family heritage recipes.
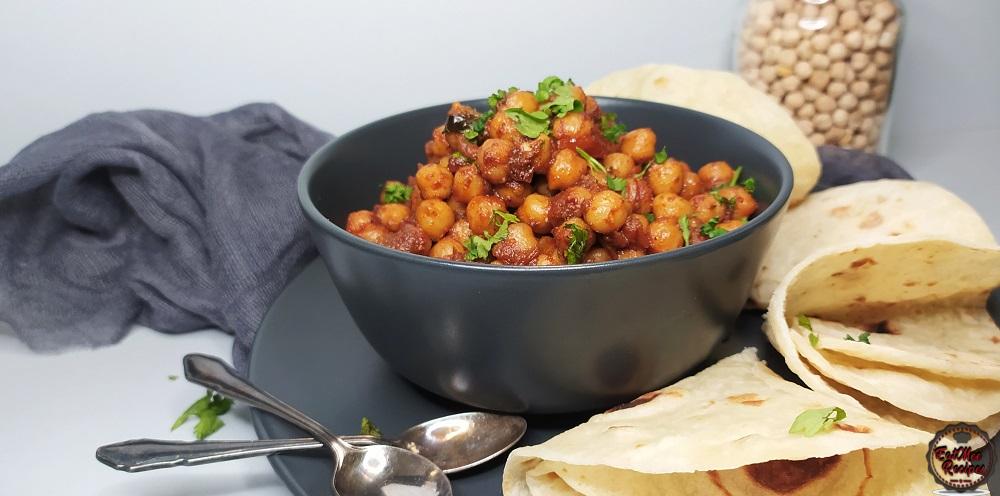
Chickpea Curry also known as Chana Masala, chole masala, chholay, chickpea masala or channay is an Indian vegetarian dish. It is a quick & easy meal which is very nutritious. This meal is also vegan friendly.
Chana is the Indian term for this legume & is known as Chickpeas in English.
These white chickpeas do come in cans which are already pre boiled so this can be used to save on time. However, for this recipe, I am using the raw chickpeas & I will be soaking & pressure cooking them.
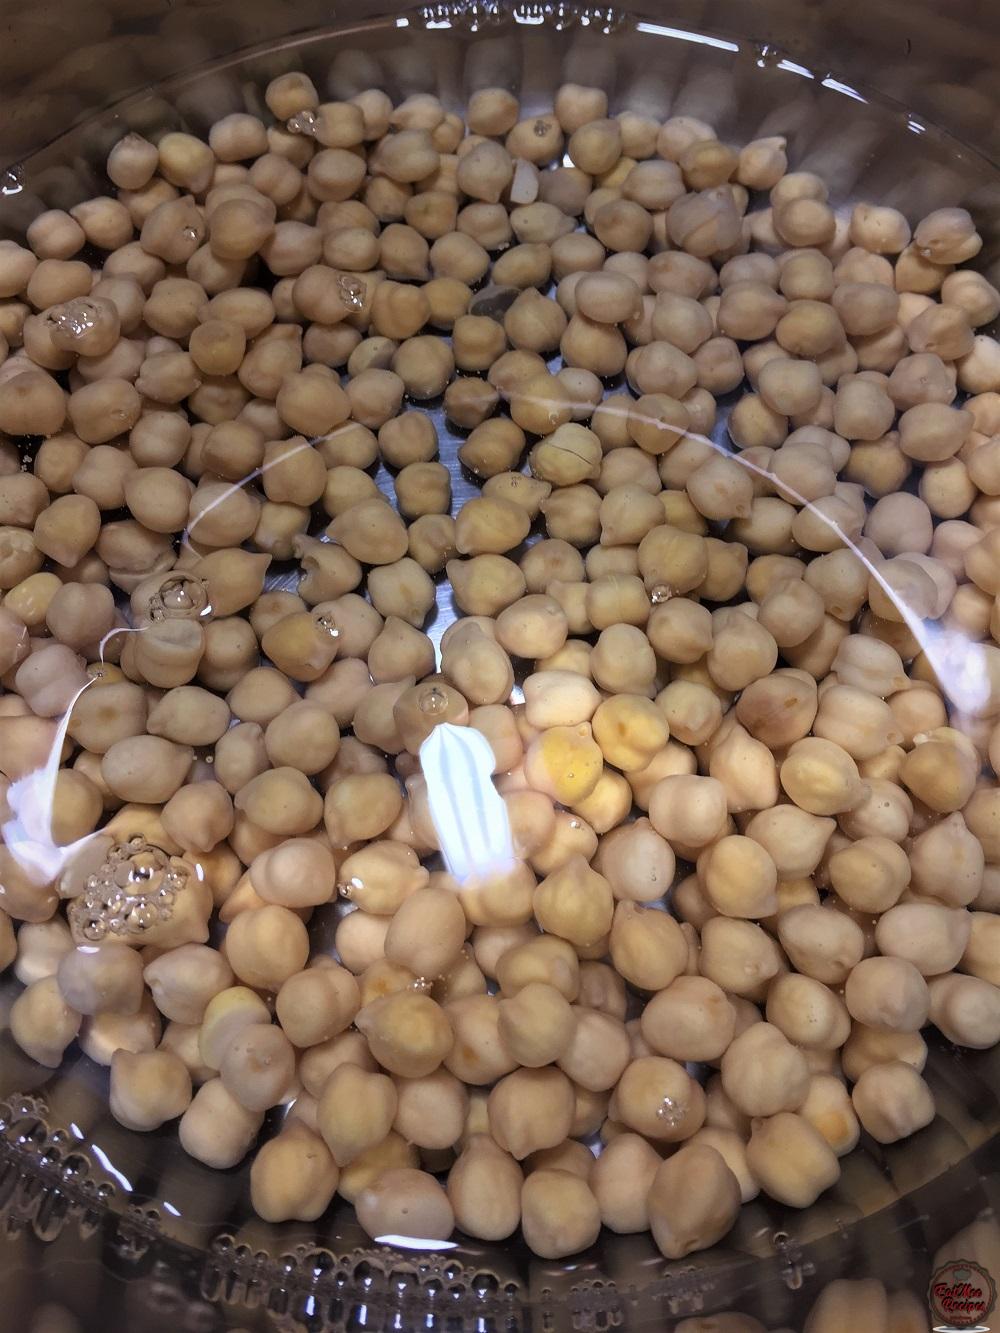
Add the chickpeas to a bowl.
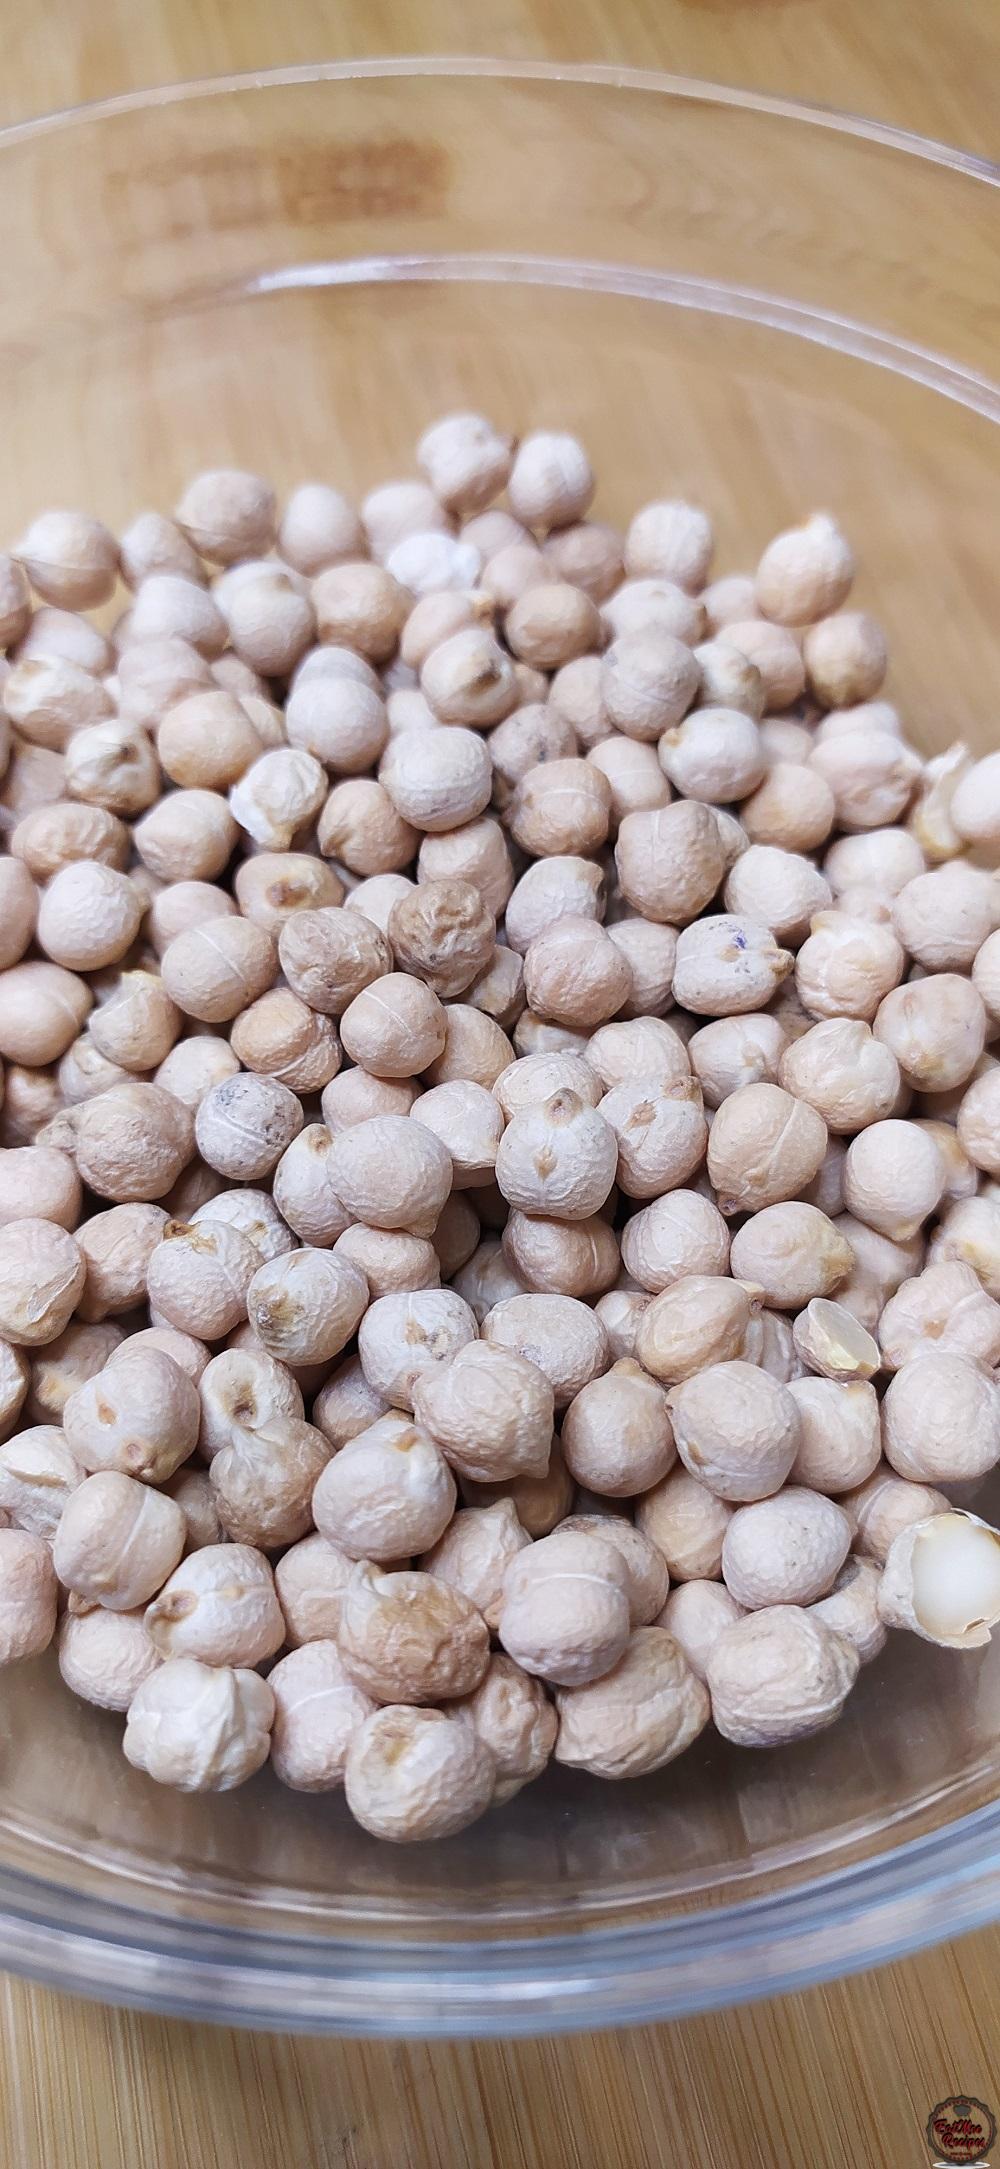
Rinse well.
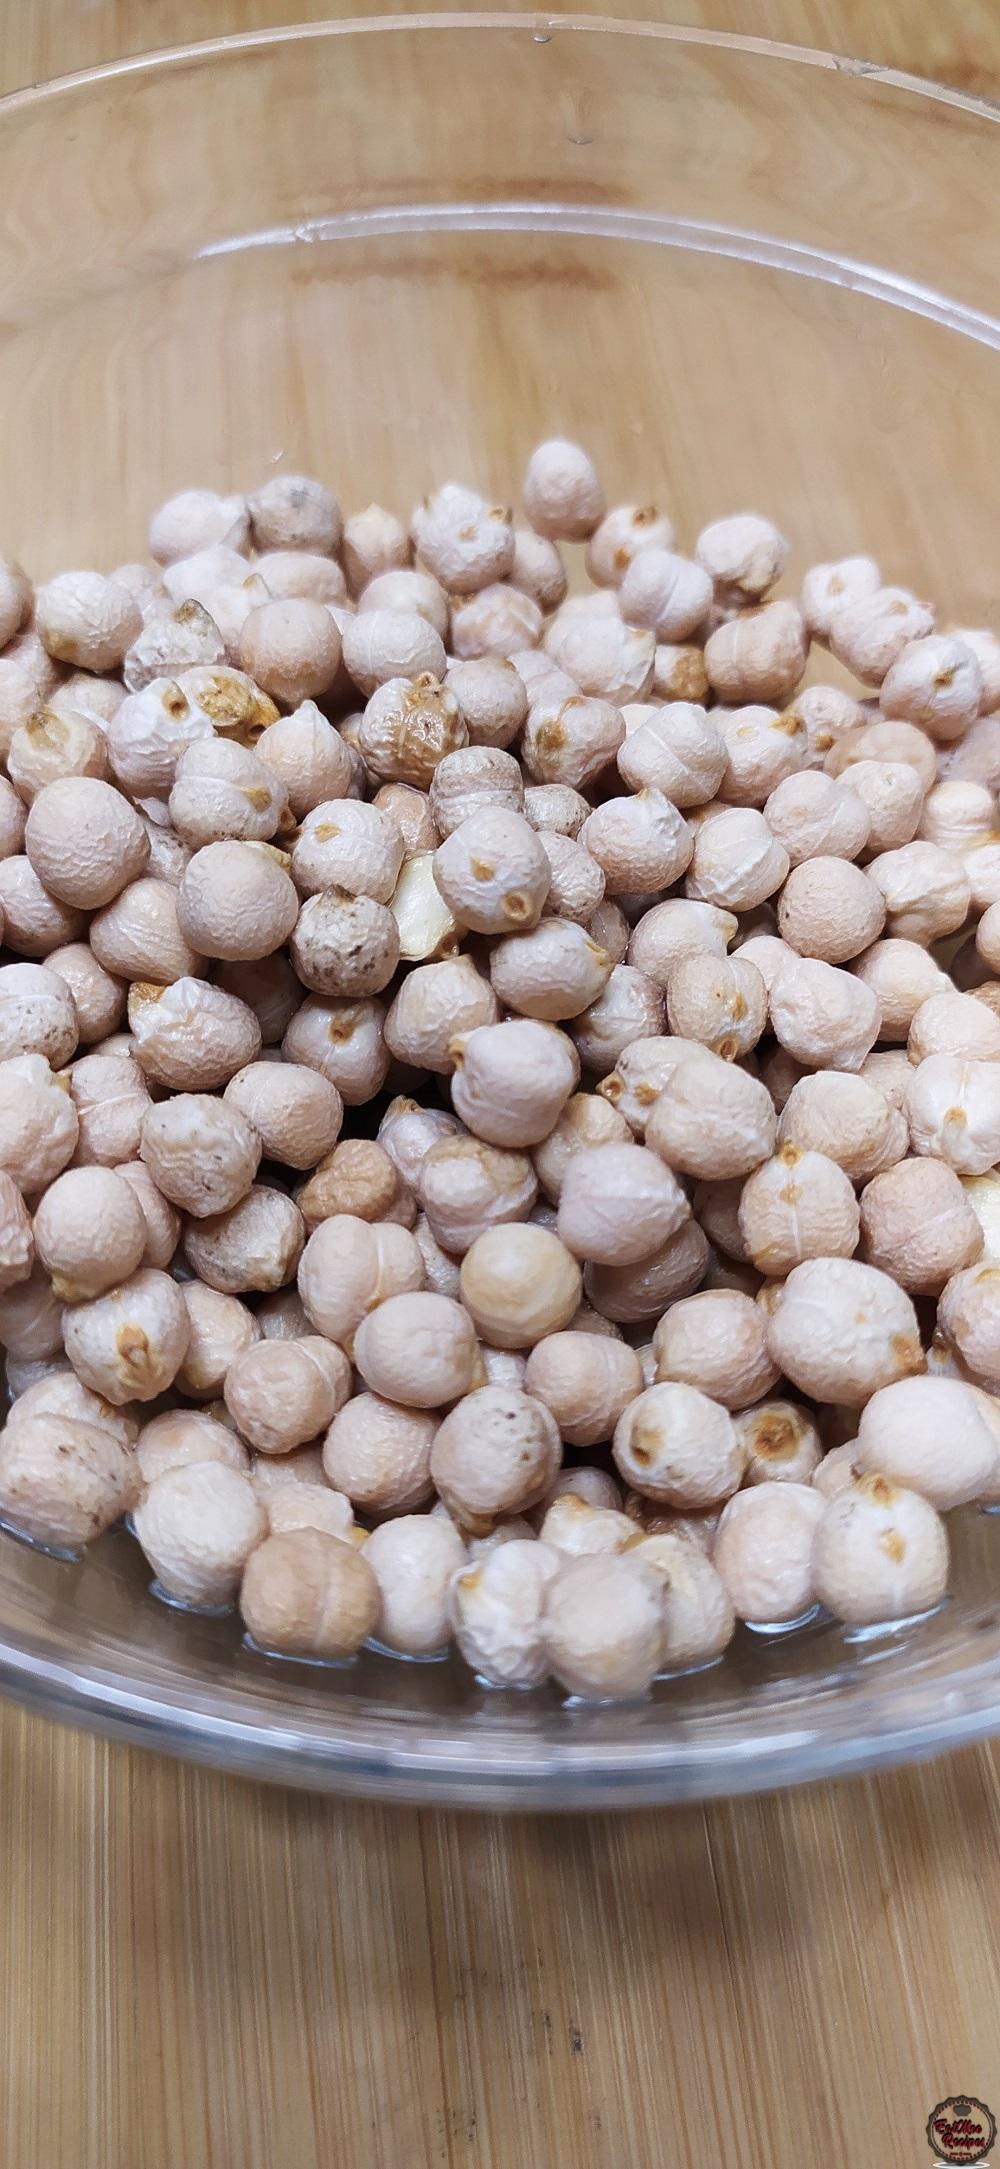
Cover the chickpeas with cold water.
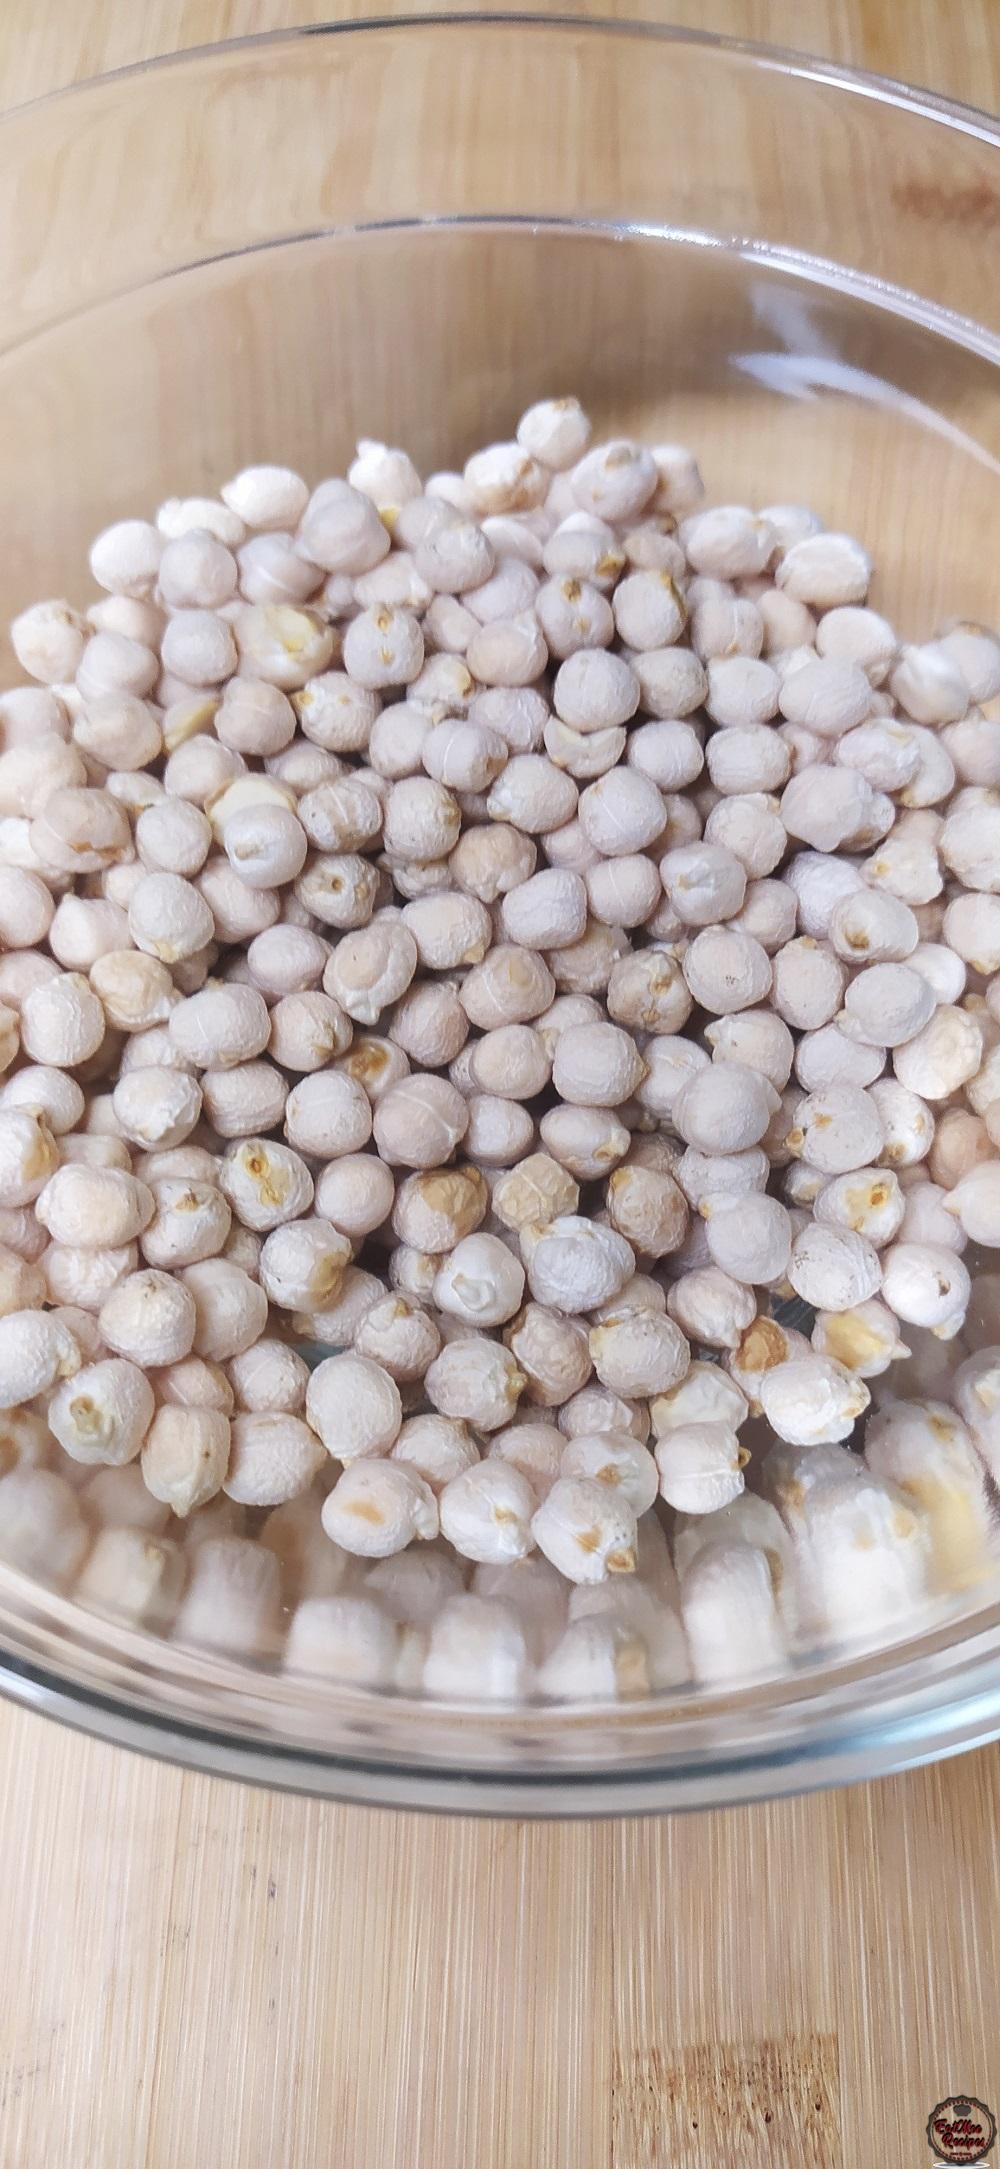
Cover with a lid & allow the chickpeas to soak overnight.
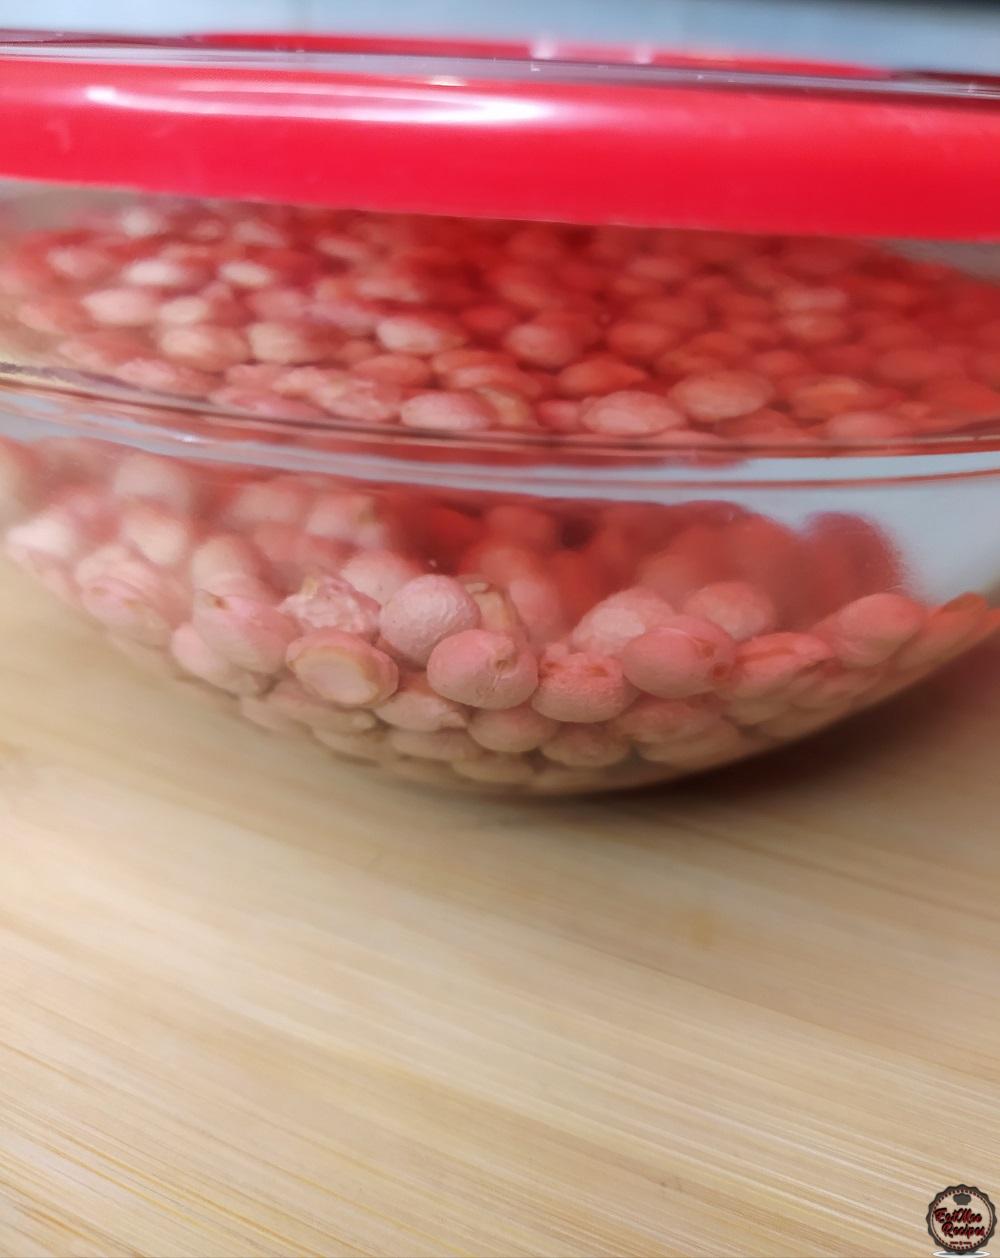
The next day, the chickpeas should have retained some water & expanded in size.
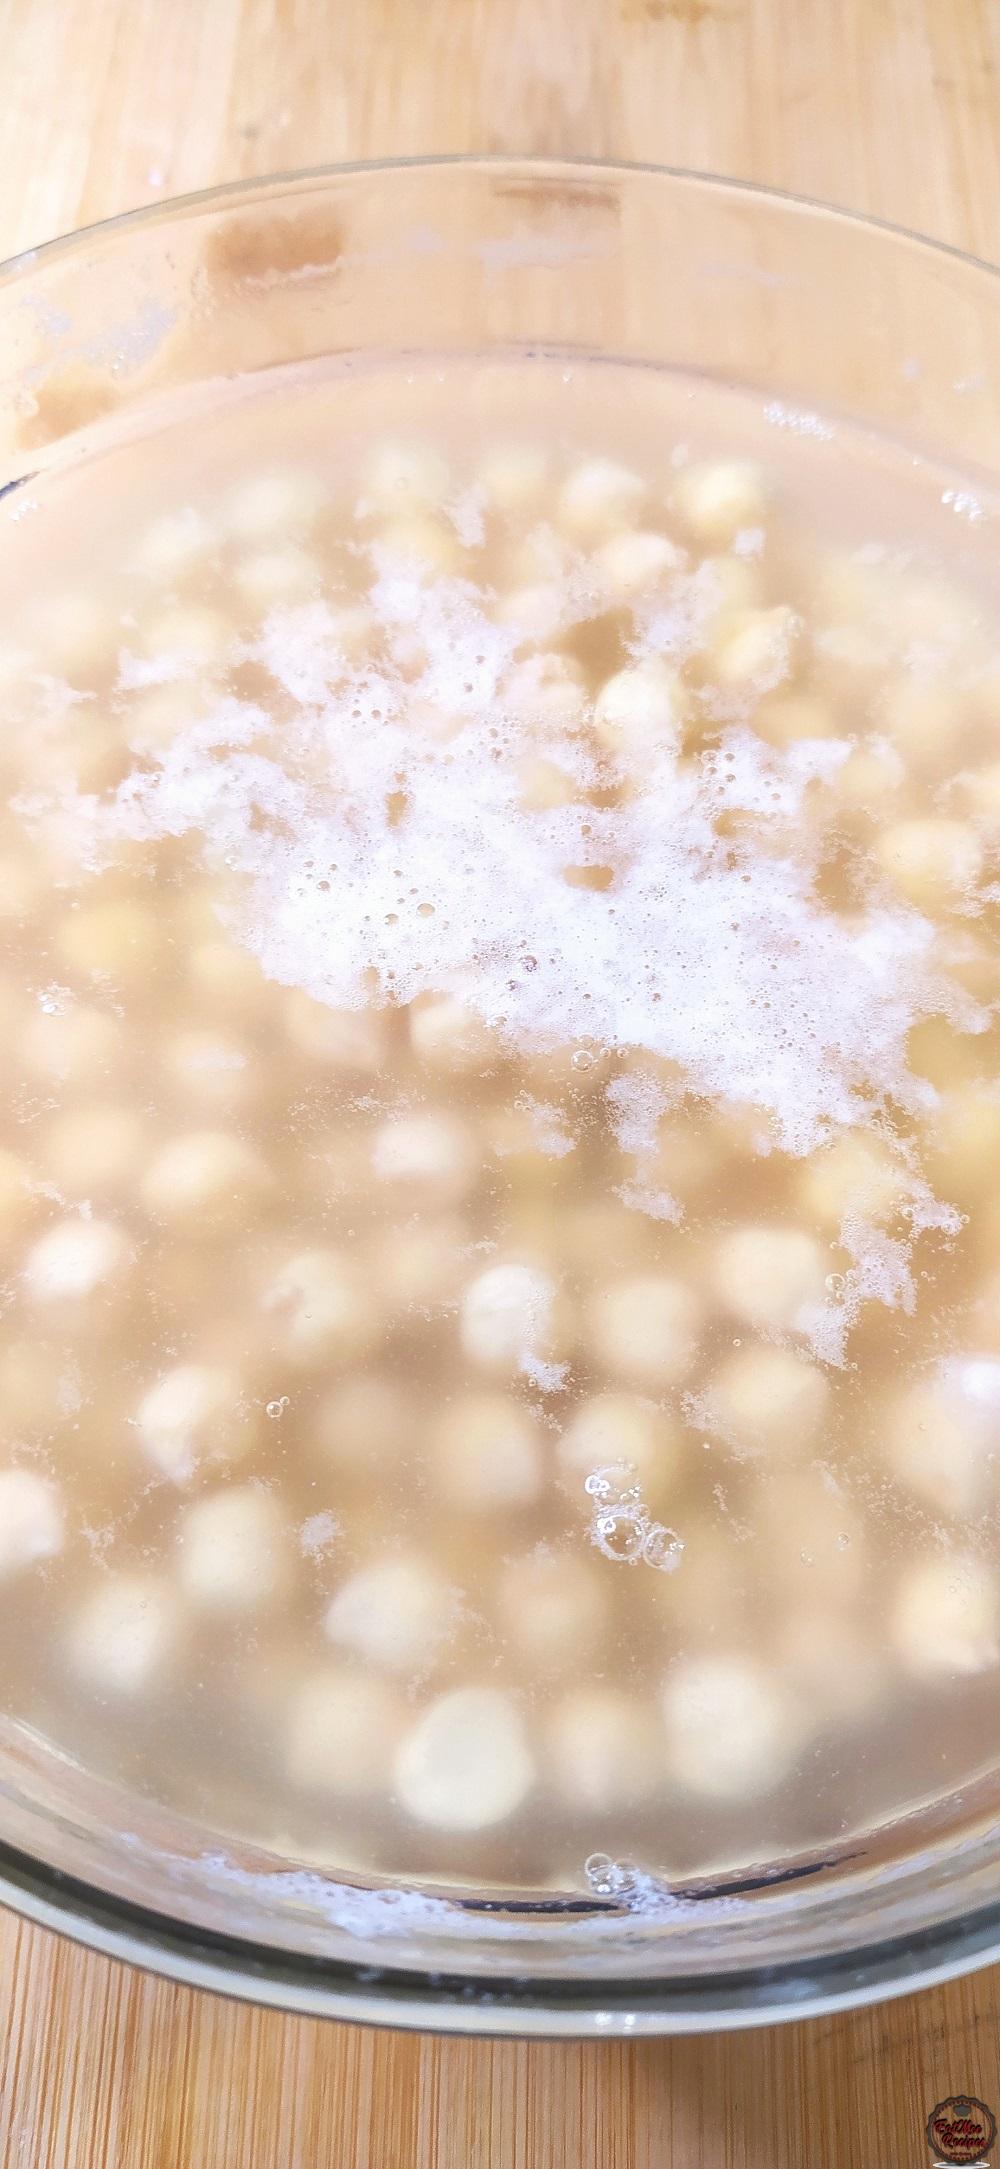
Give it a good rinse, discarding of the water it had been soaking in.
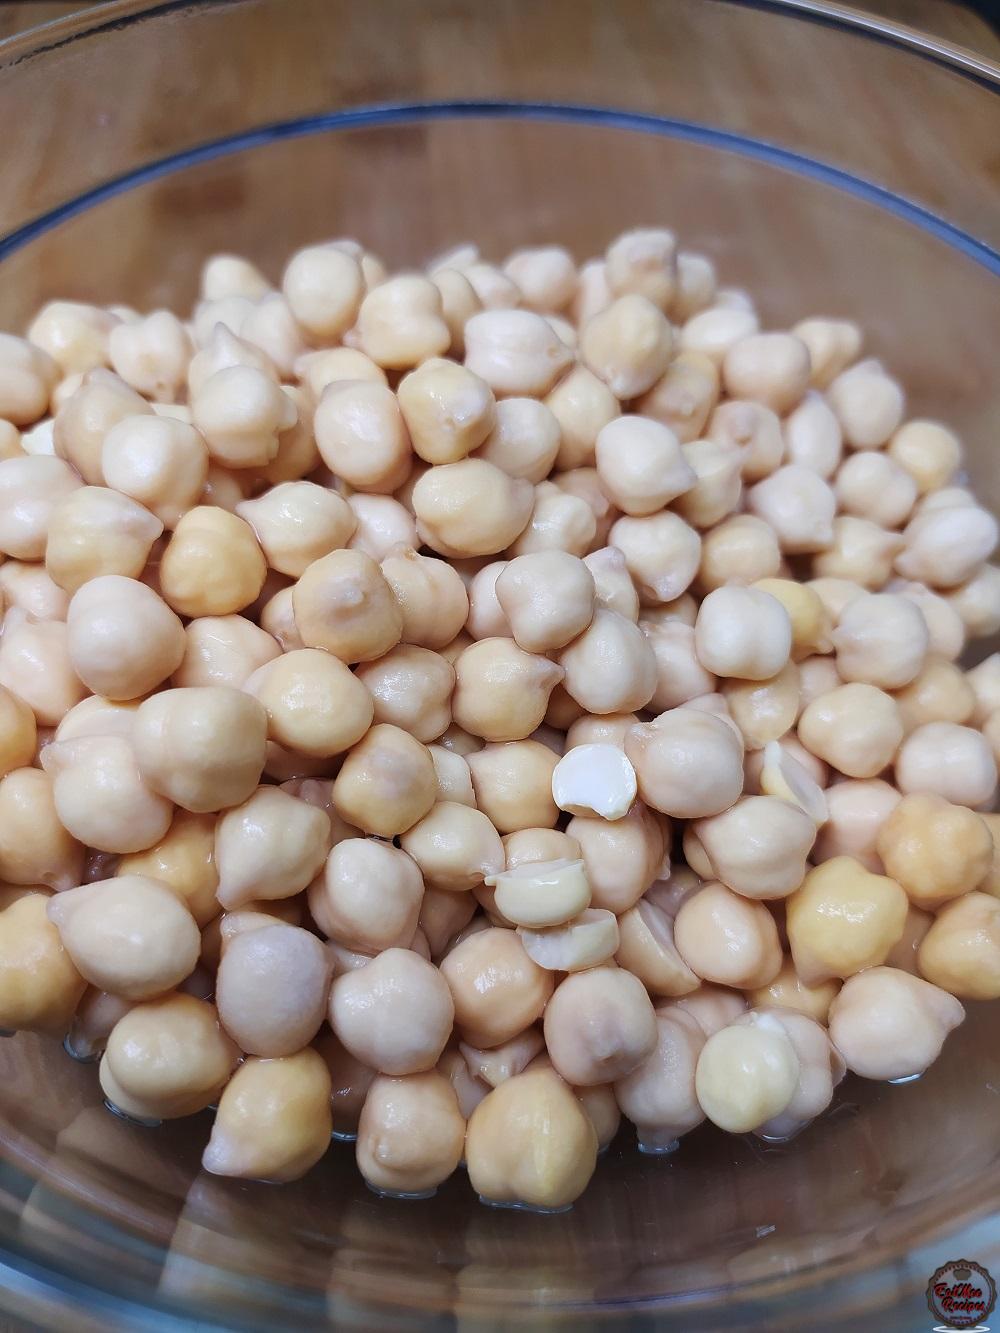
Next, you can either boil the chickpeas on the stovetop or pressure cook it in your pressure cooker. I am using my Instant Pot to pressure cook them.
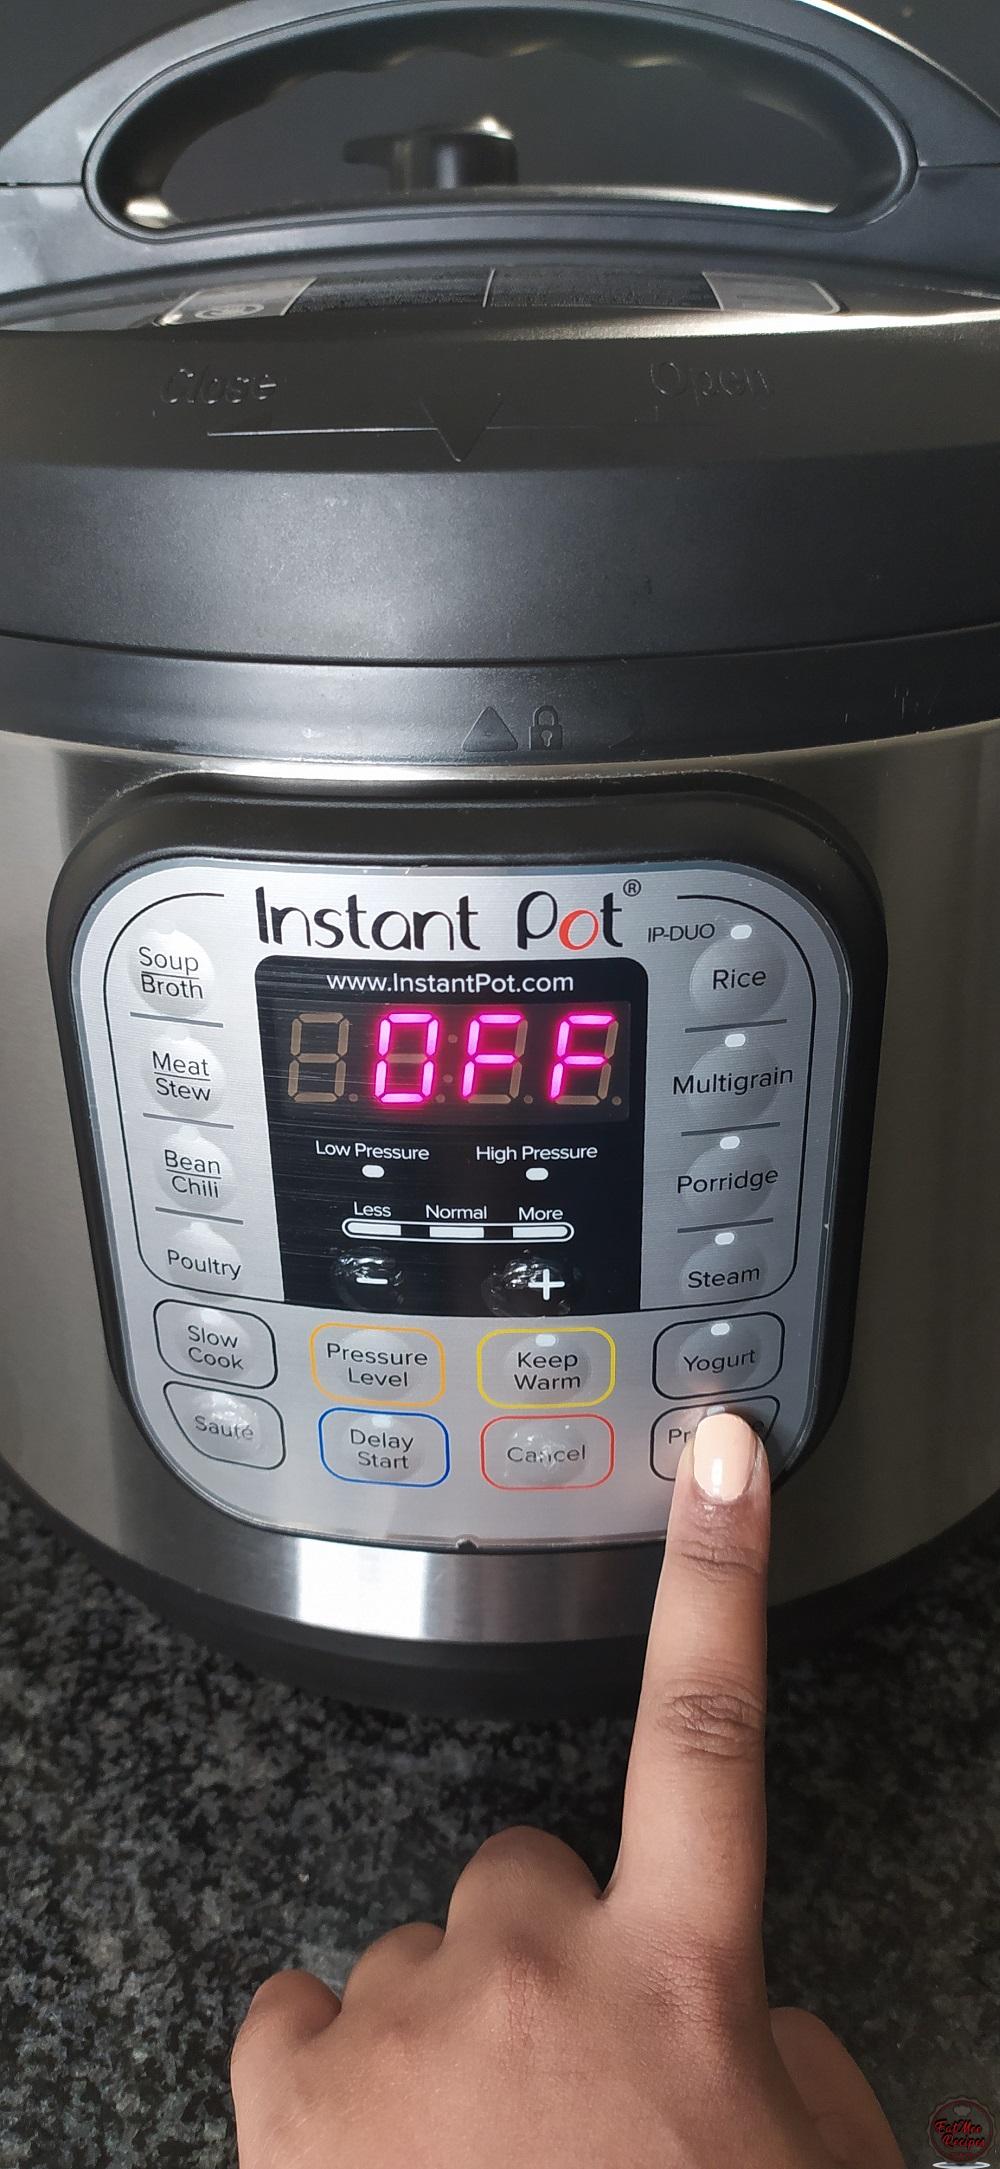
Plug in your Instant Pot, the display should read “OFF”. Add the soaked & rinsed chickpeas to the pot.
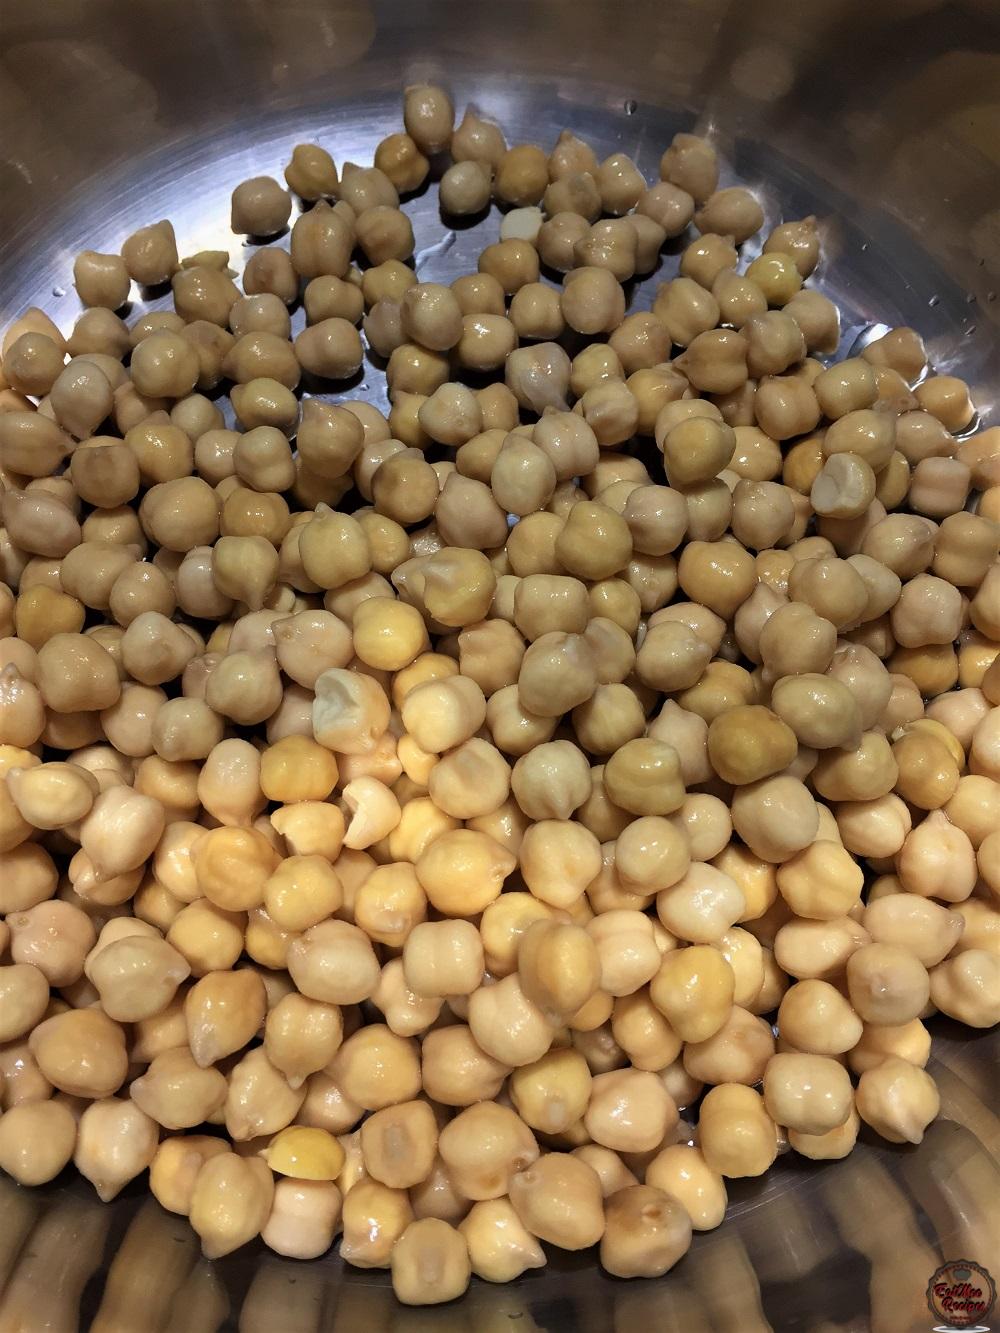
Add ¼ teaspoon salt & 3 cups of water.
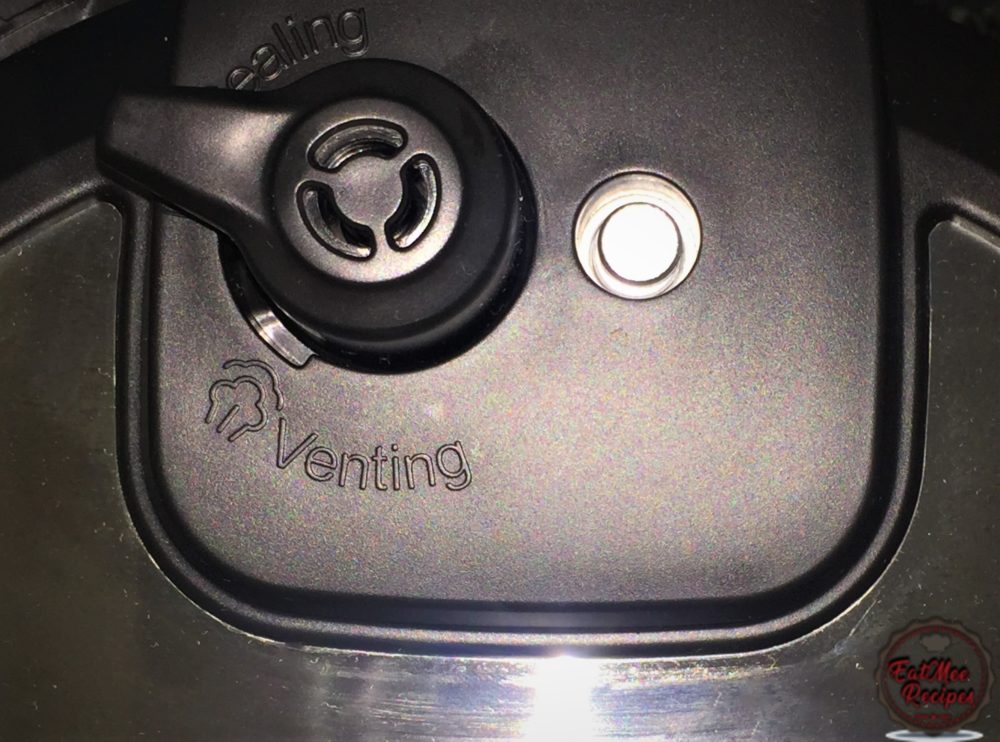
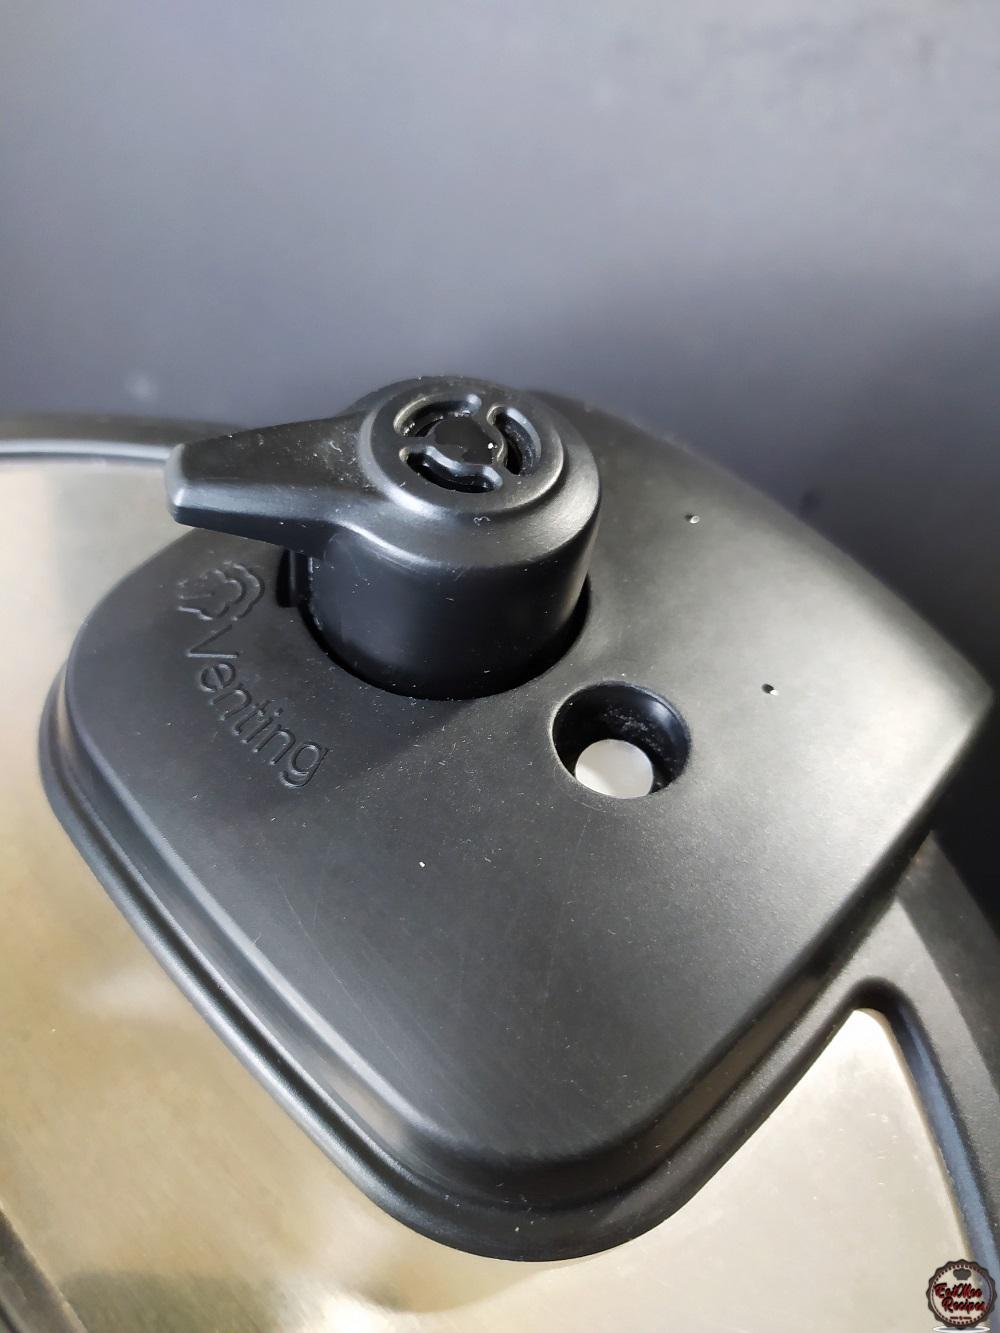
Secure the lid on the Instant Pot. Turn the anti-blockage vent (steam release handle) to “SEALING”.
Press the “PRESSURE COOK” button the Instant Pot. Press on it again to set the pressure level to “MORE” on the display.
.
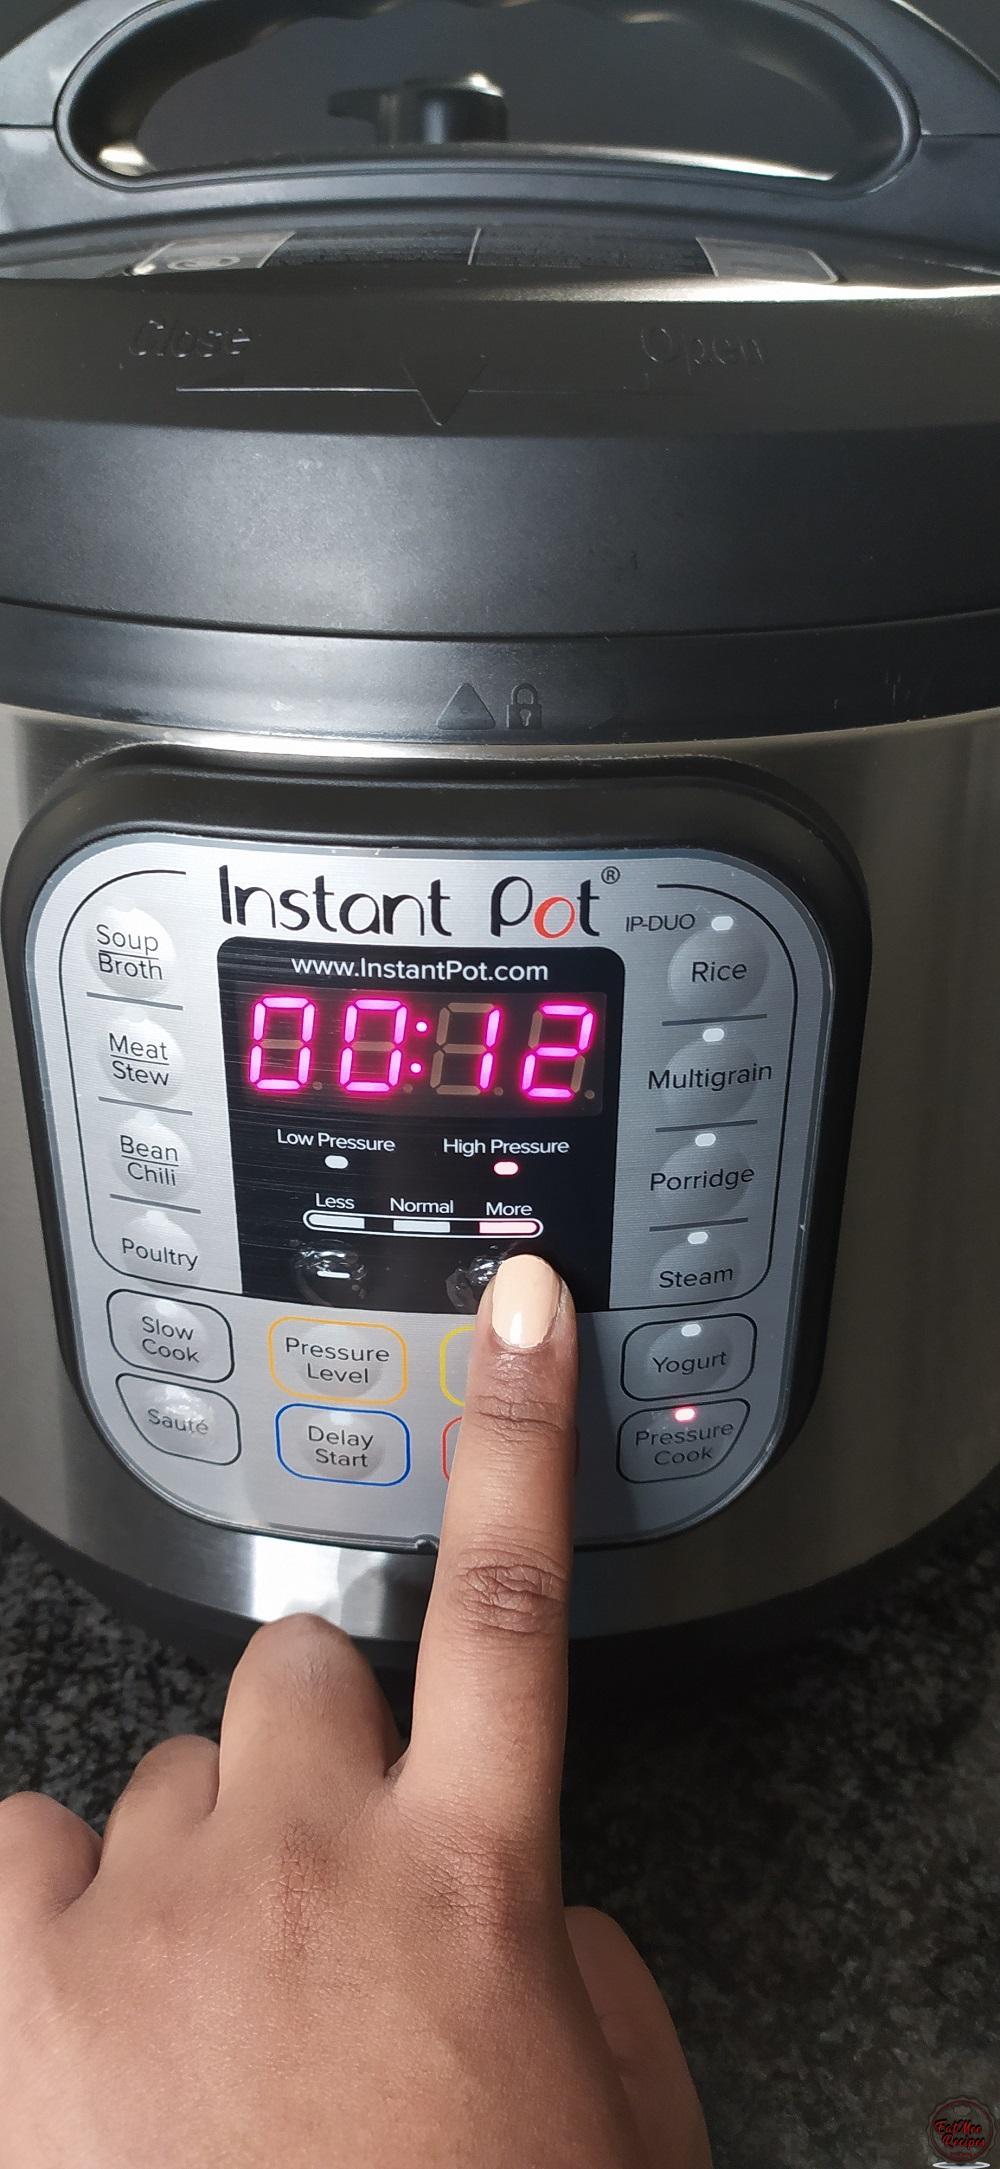
Next, use the “- or +” buttons & set the cooking time to 00:12 (12 minutes). Take note that chickpeas will vary on the cooking time depending on how fresh they are – if they are still hard after pressure cooking for 12 minutes, you can always add them back in for an extended time.
The Instant Pot should display “ON” until the pressure builds up.
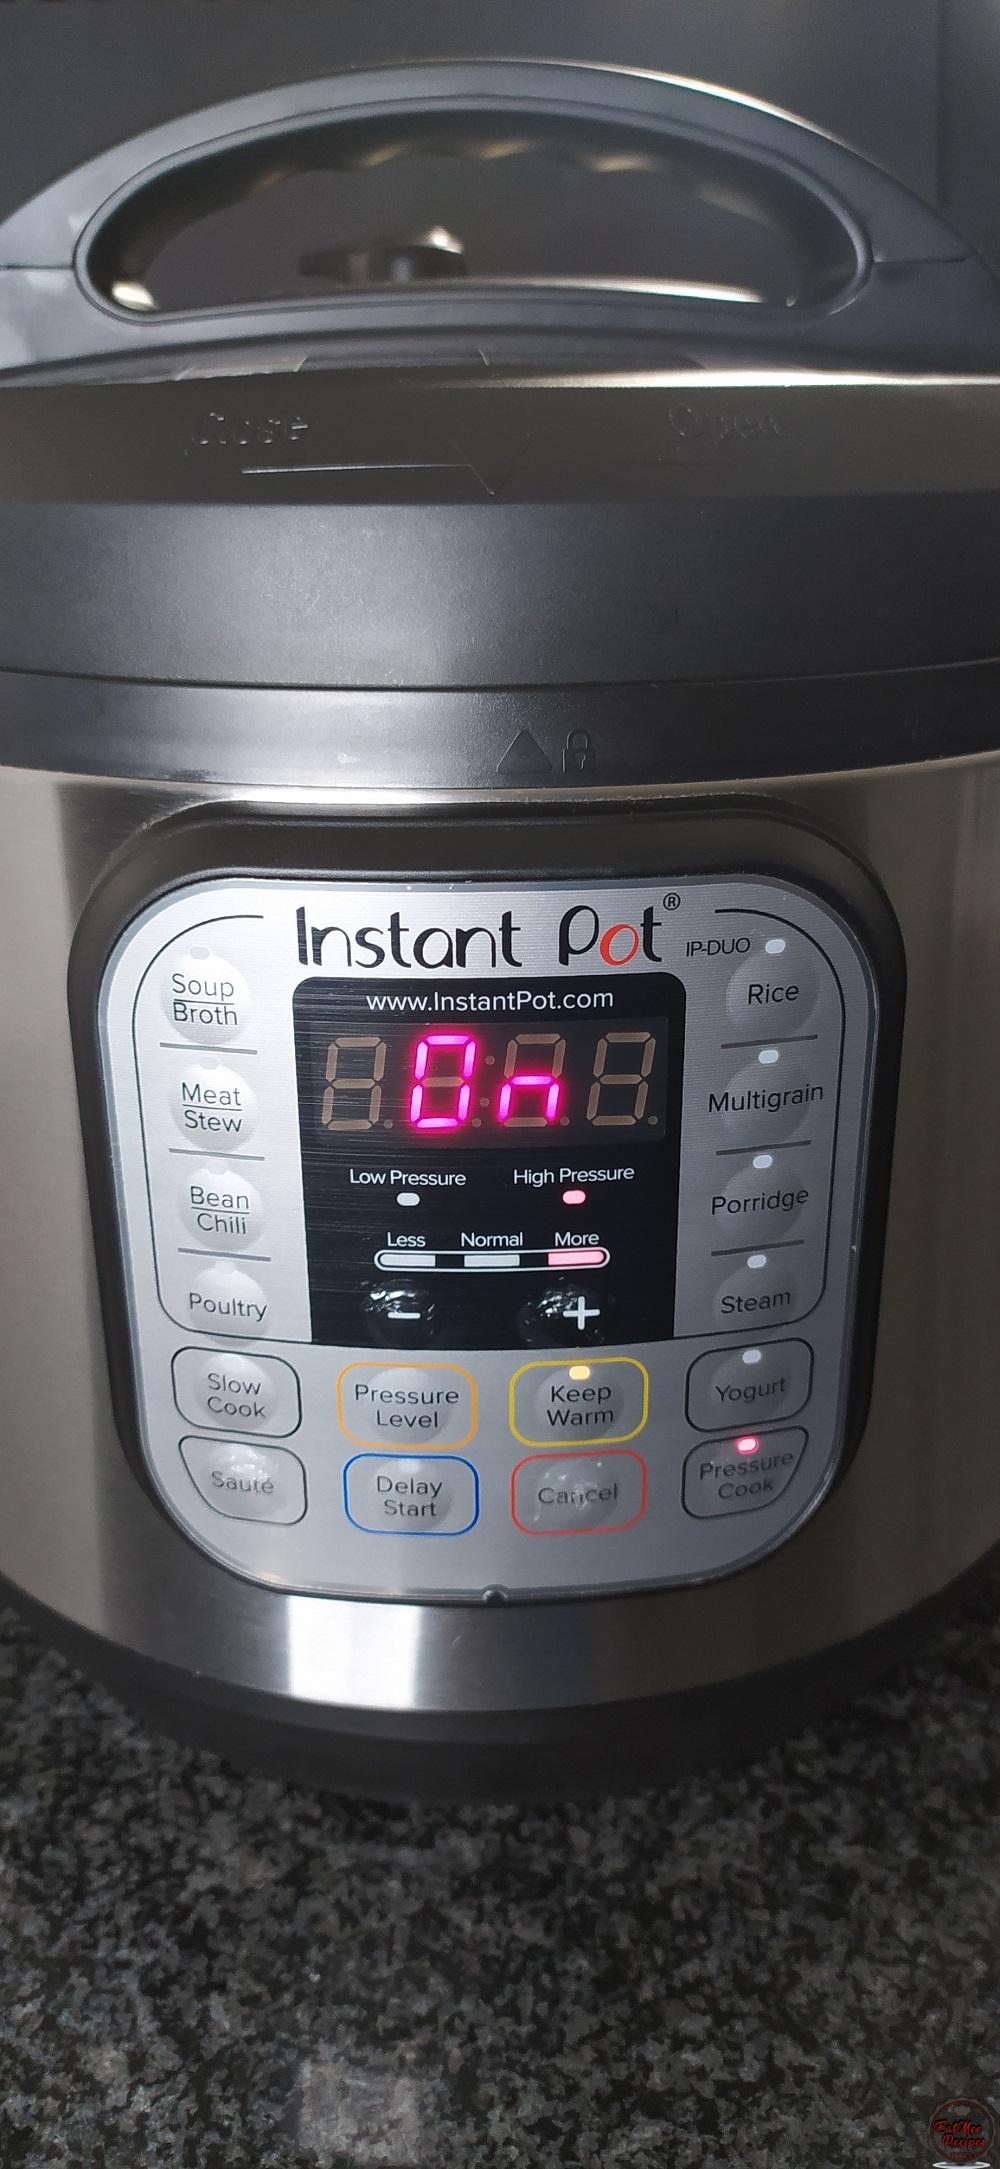
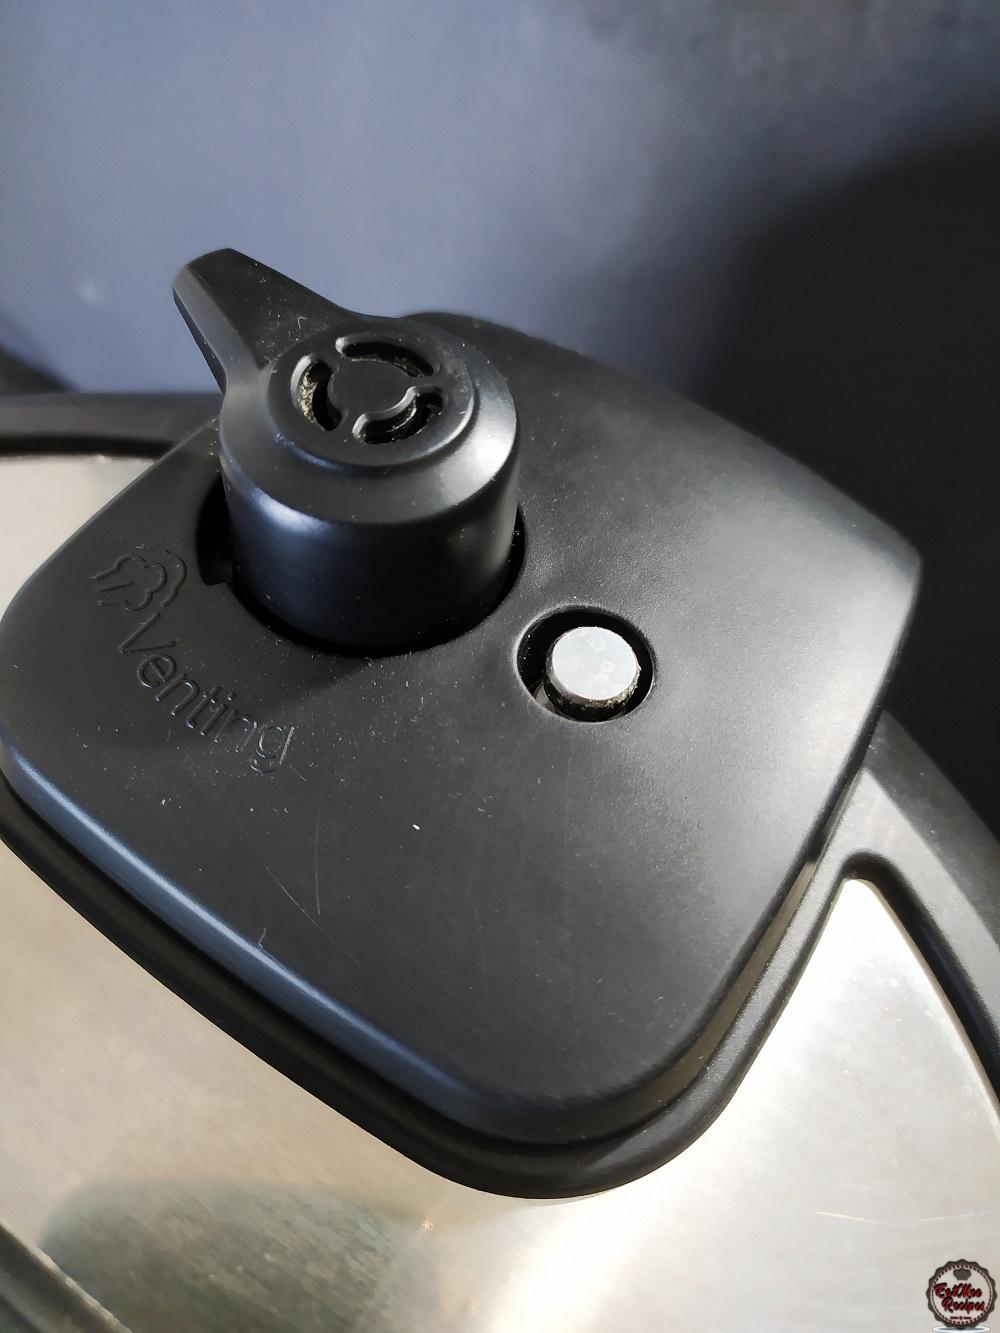
Once the pressure builds up, the “float valve” will pop up – when it pops up, do not attempt to open the lid! Thereafter, the 45 minute timer will count down on the screen.
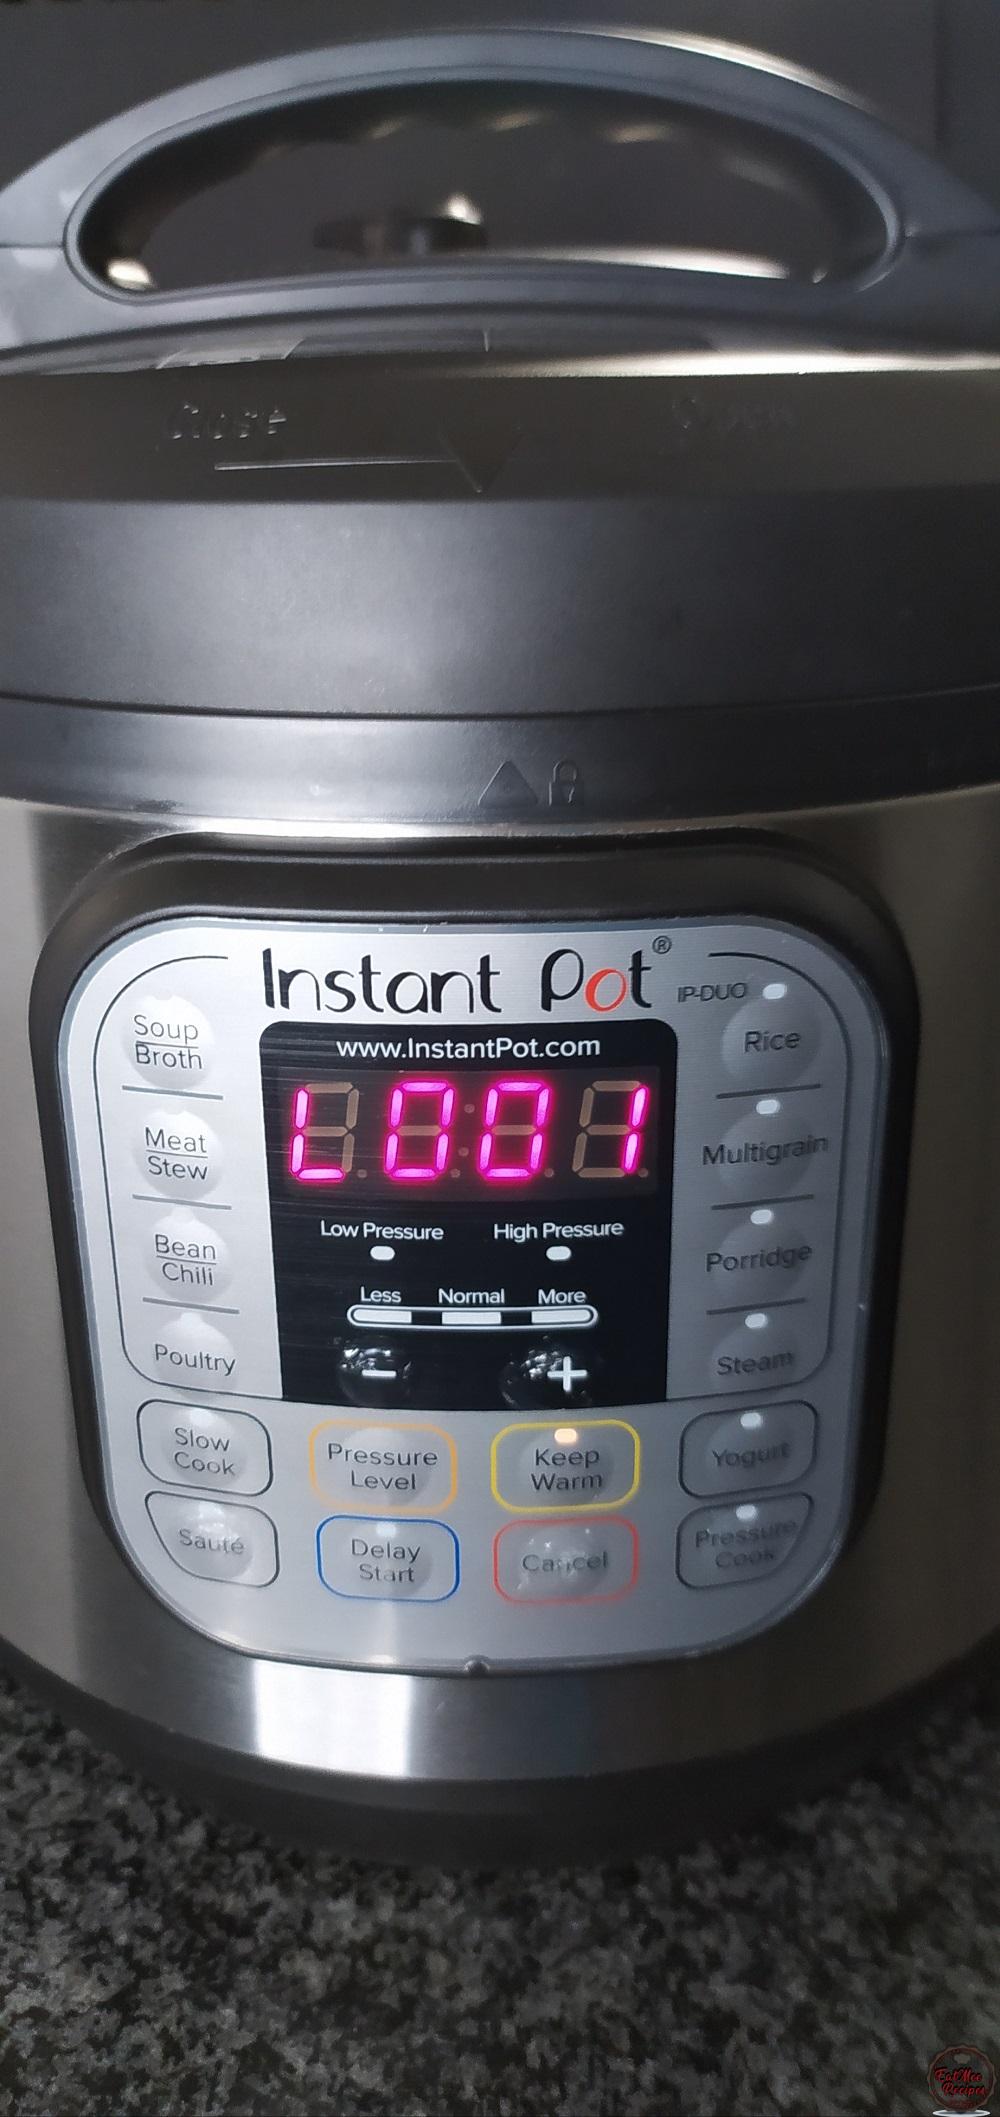
After the 12 minutes are over, the screen should read “L0:00”.
Do not press Cancel – Leave it to do a natural release for 20 minutes.
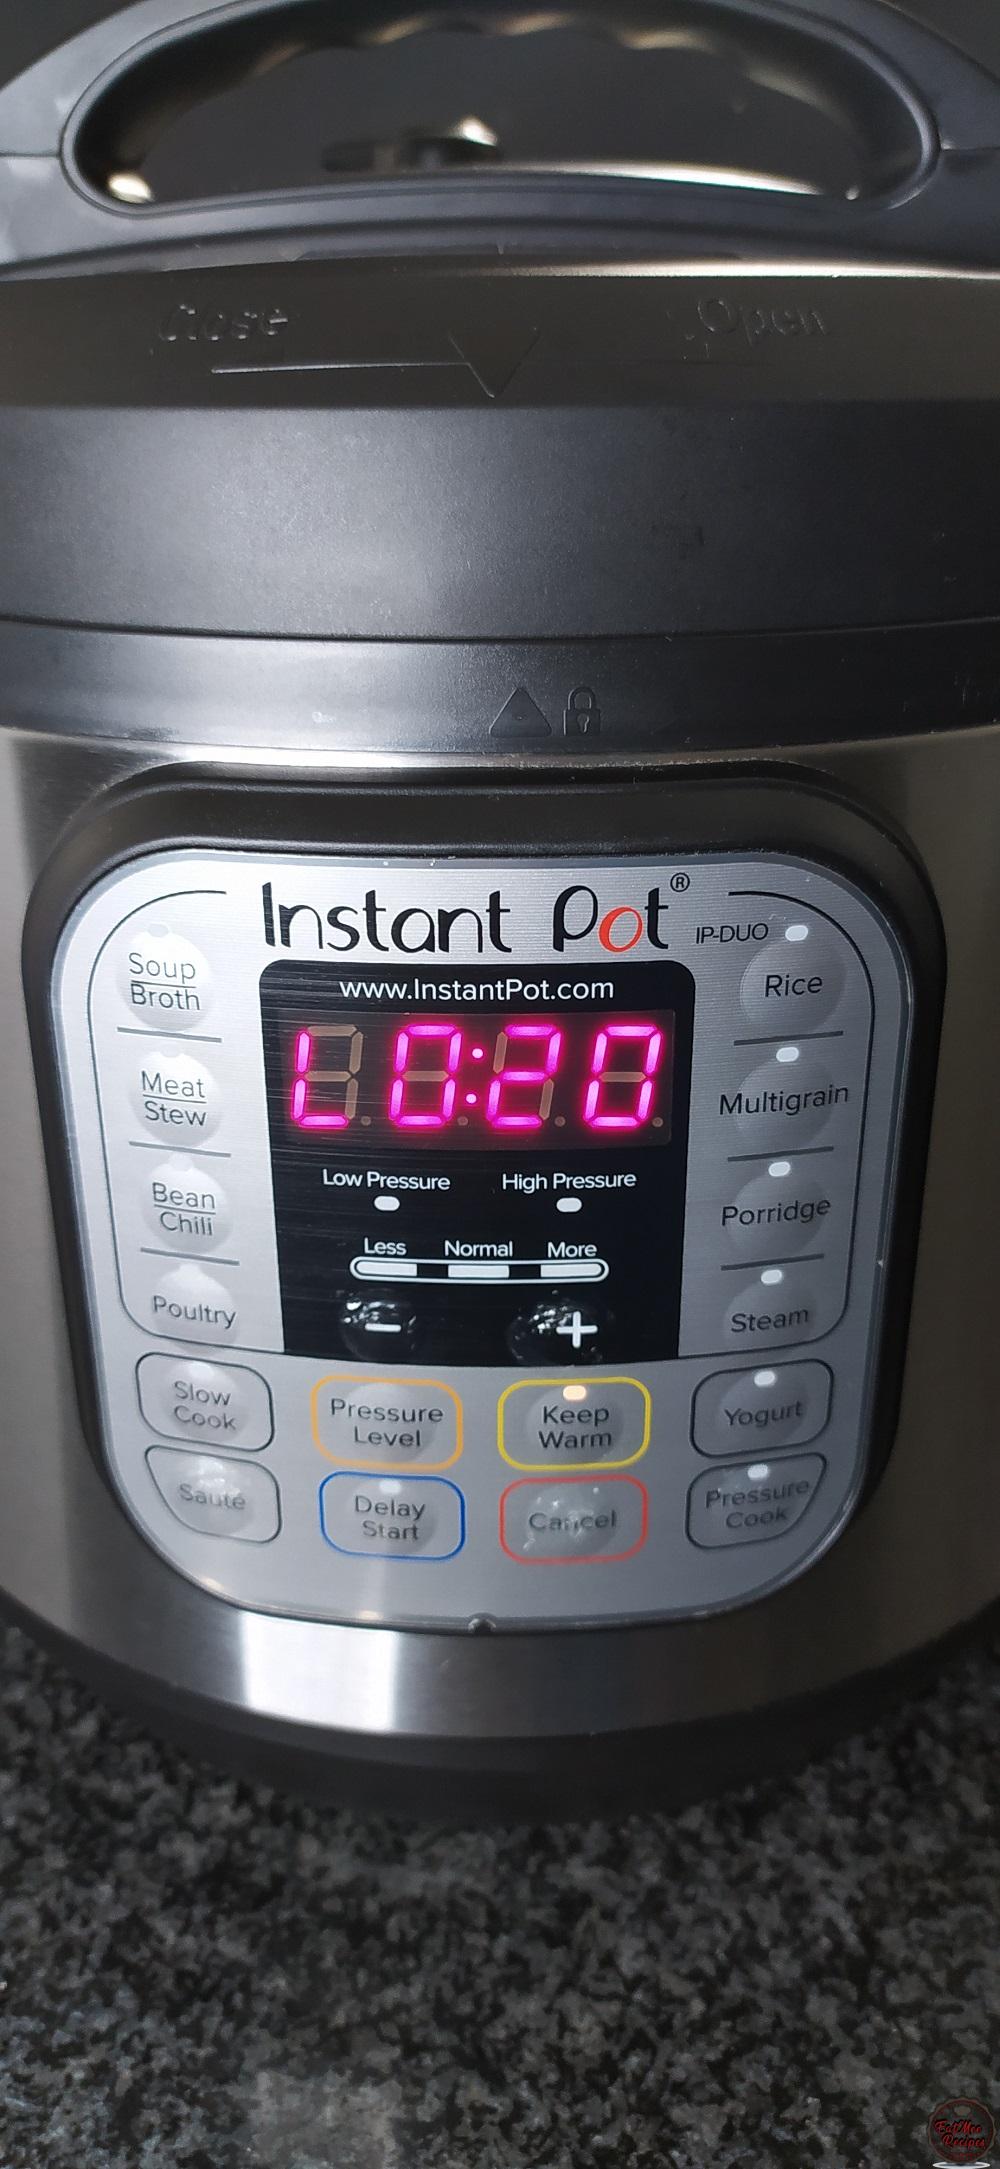
Once the 20 minutes of natural release is over, press “CANCEL”. Turn the anti-blockage vent (steam release handle) to “VENTING” & allow the excess steam to release. Once the “float valve” sinks in, it is safe to open the lid.
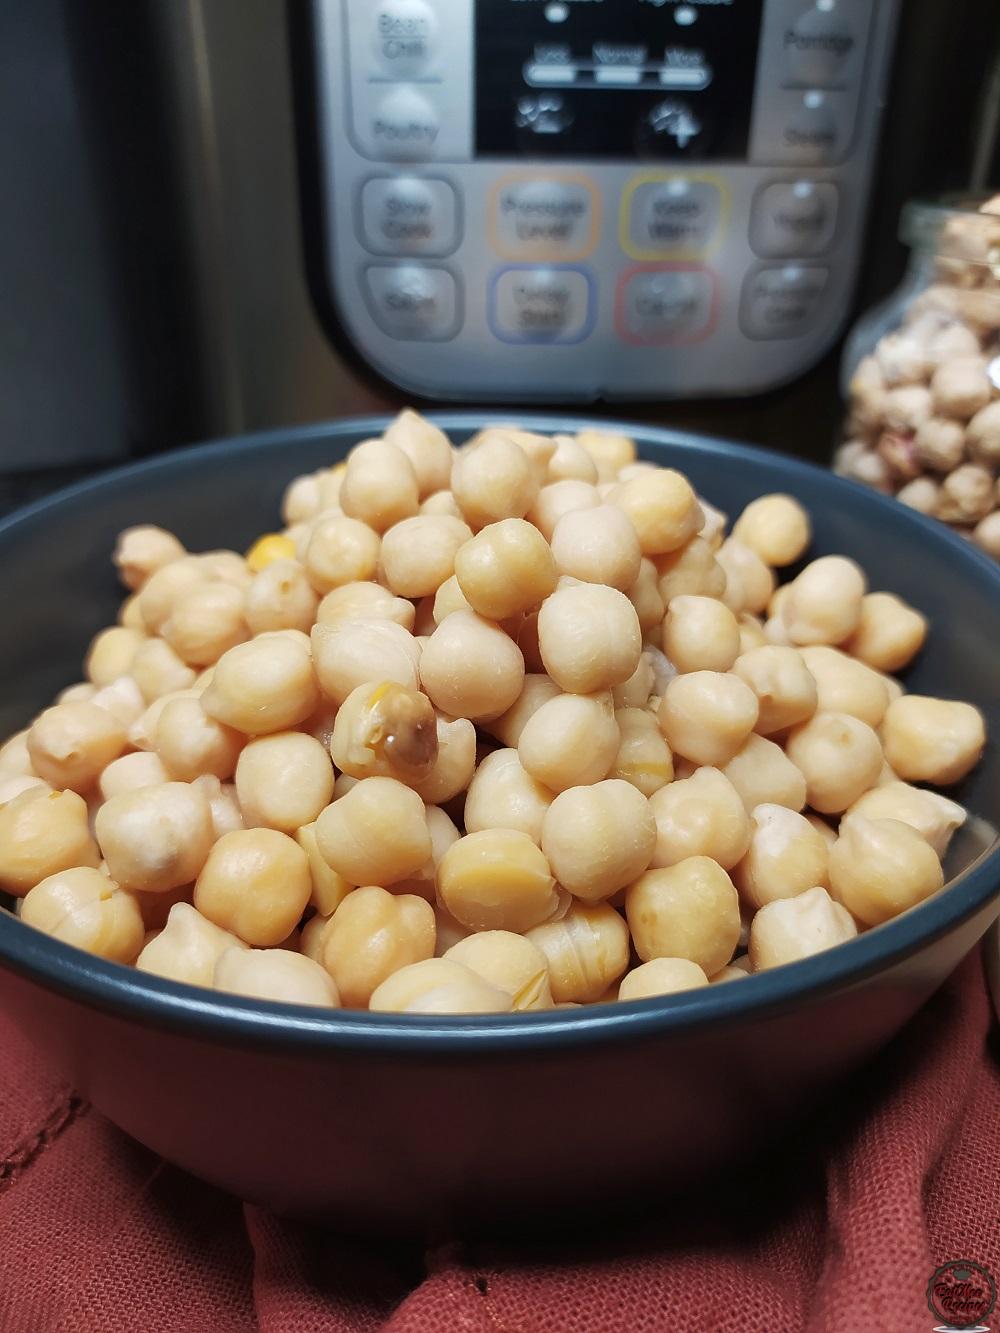
The chickpeas should be soft but not mushy.
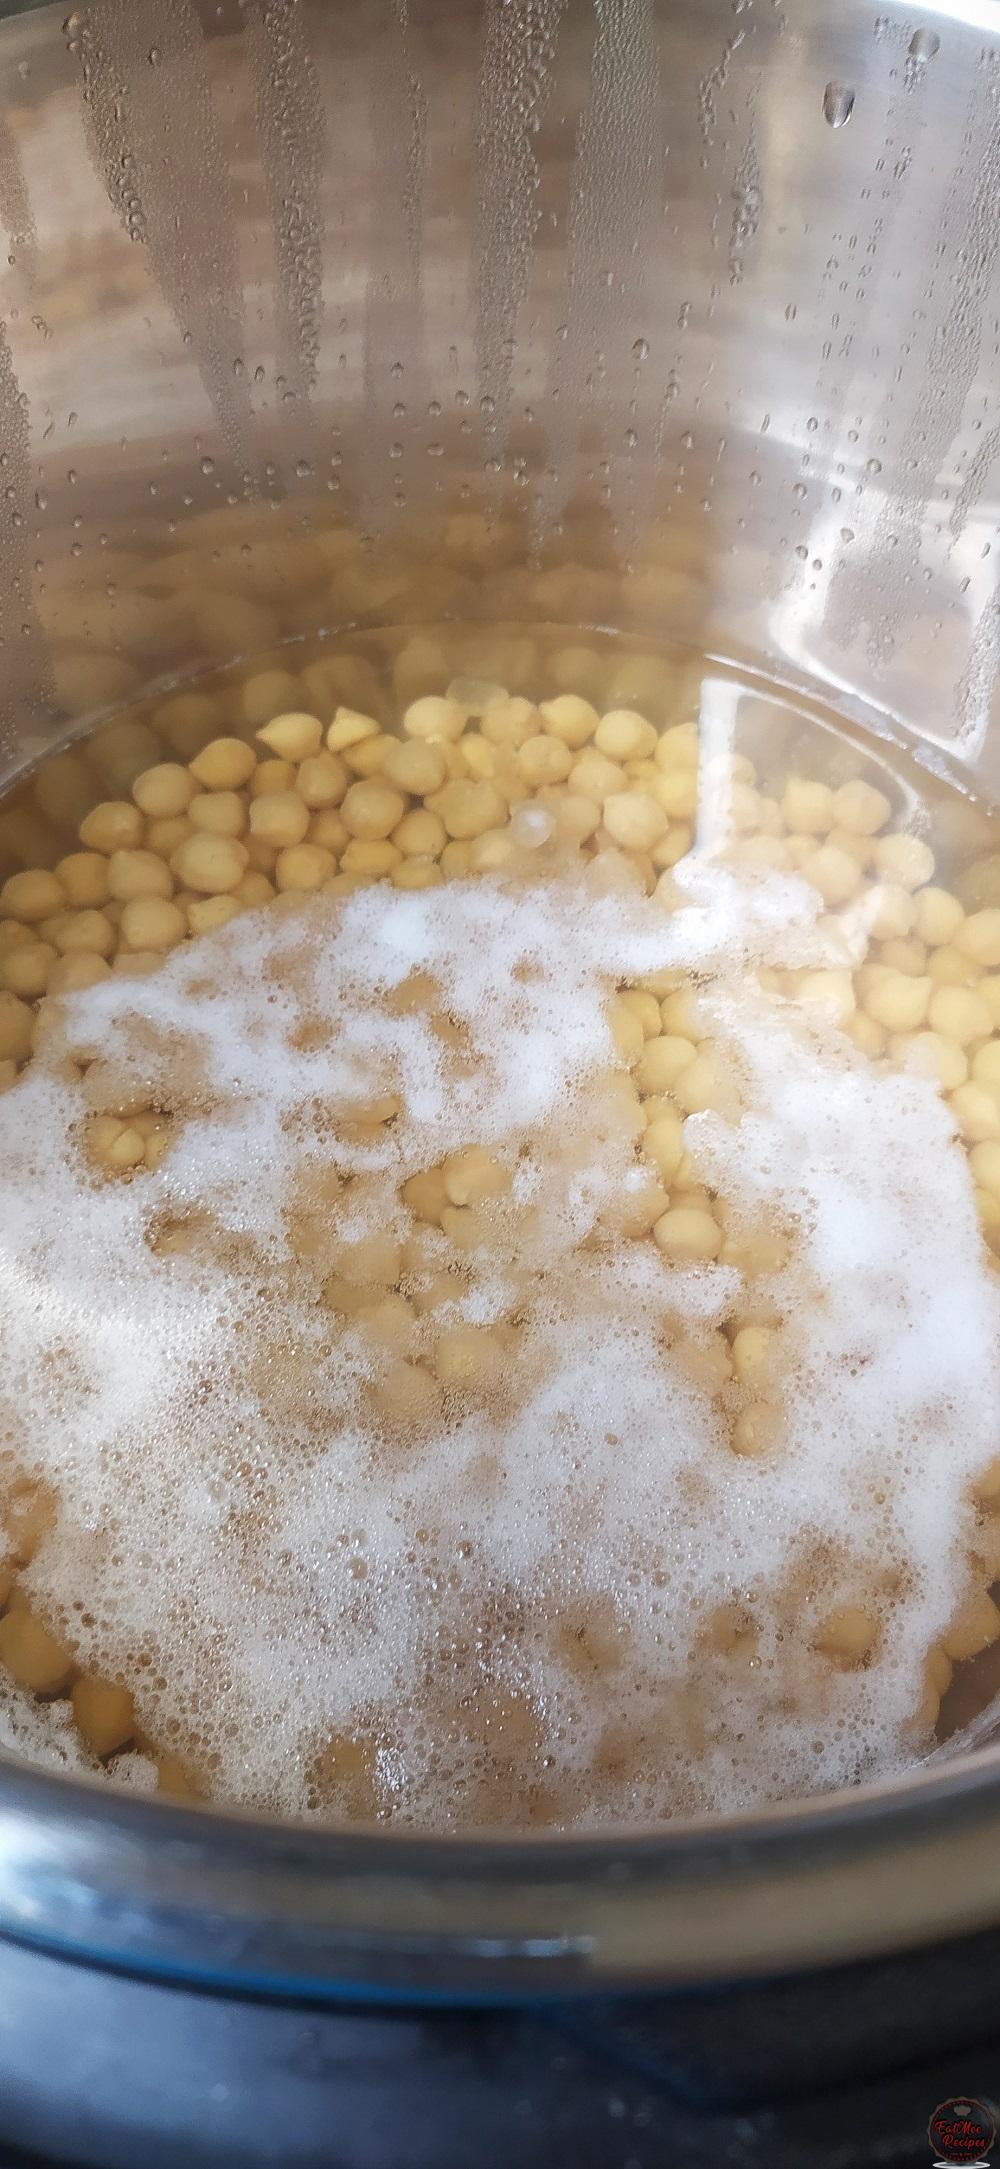
Drain out the water & keep the chickpeas aside until ready to use,
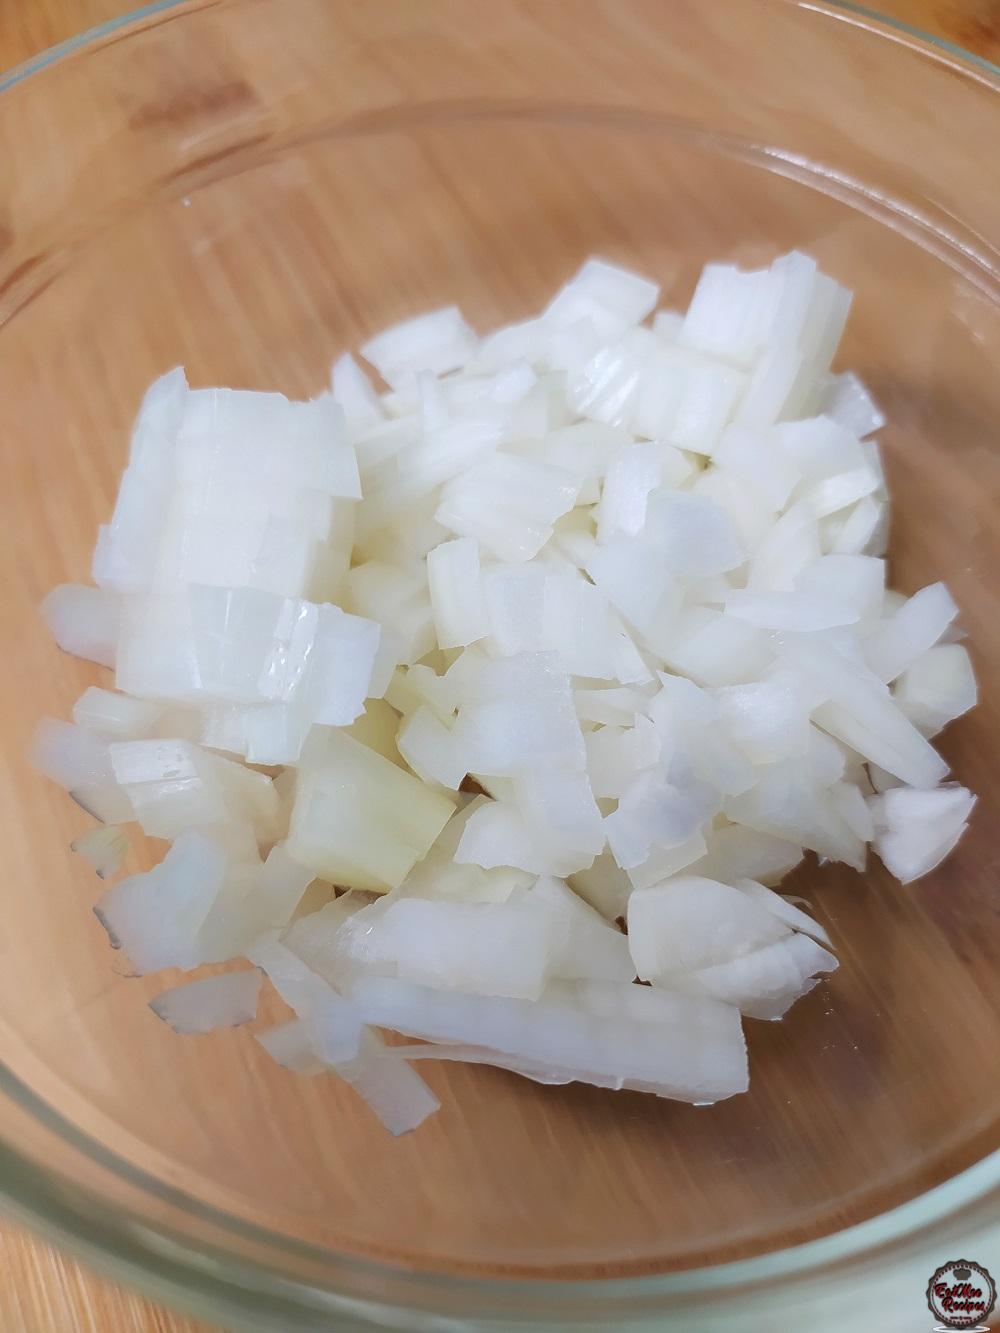
Next, peel & chop the onion.
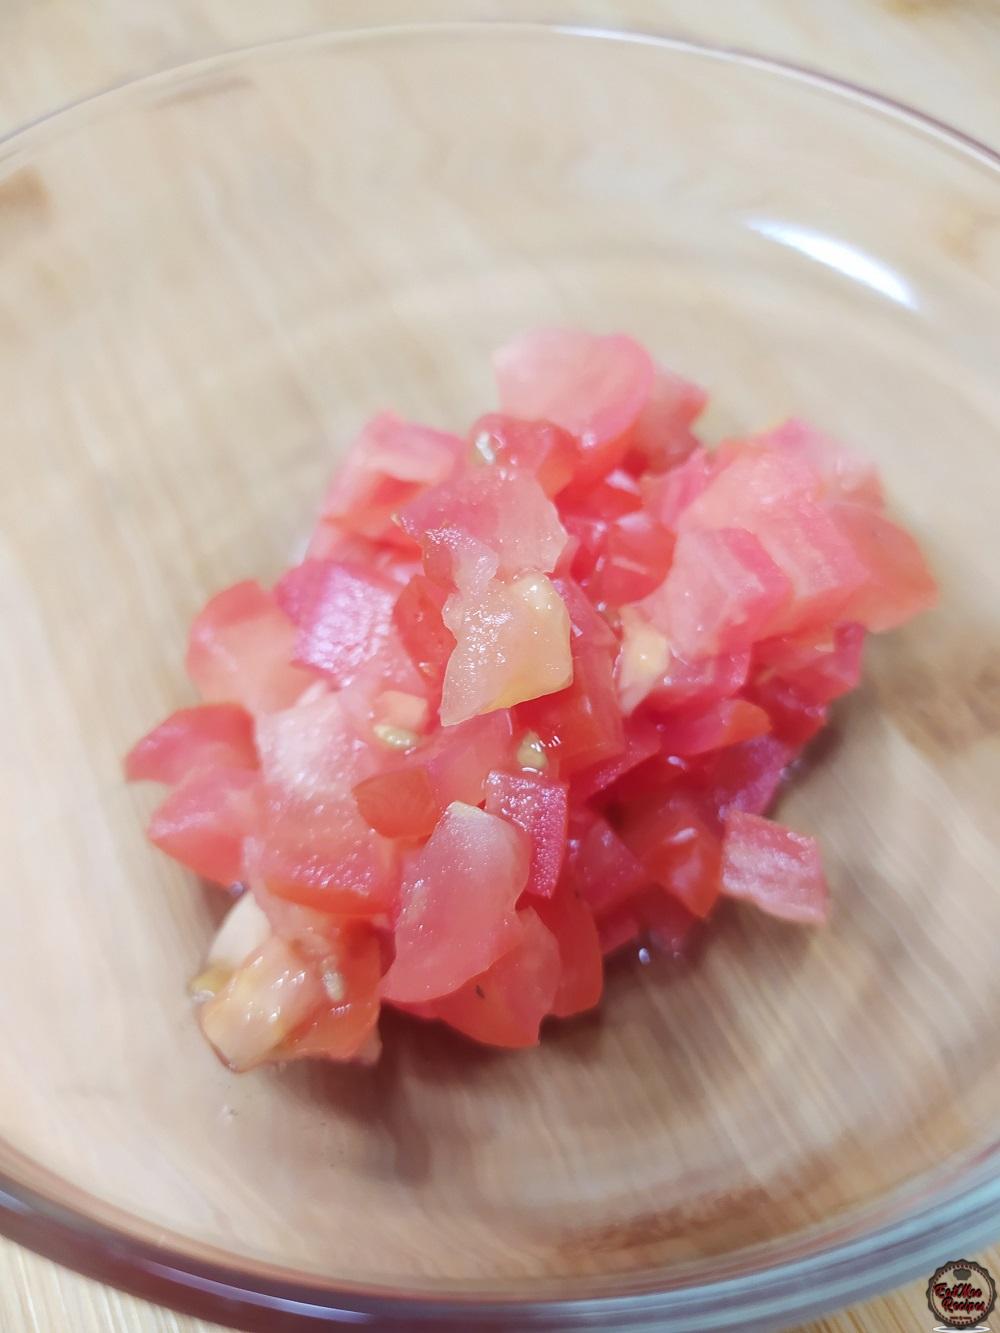
Rinse & chop the tomato.
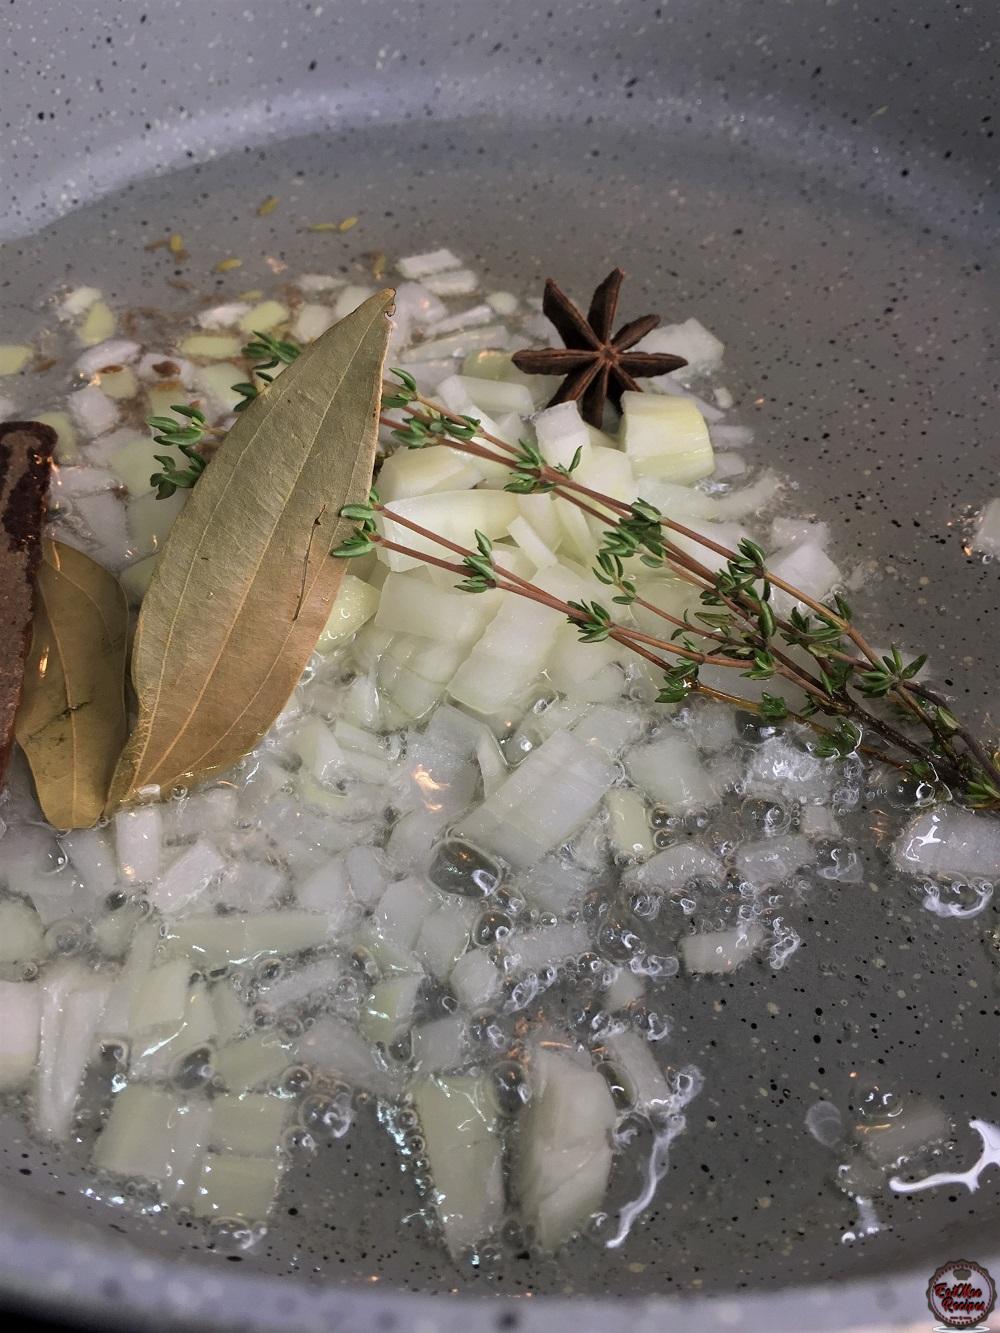
Heat a pot on medium heat. Add in the vegetable oil, chopped onion, thyme, fennel (soomph) seeds, cumin (jeera) seeds, bay leaves, cinnamon stick & the star aniseed.
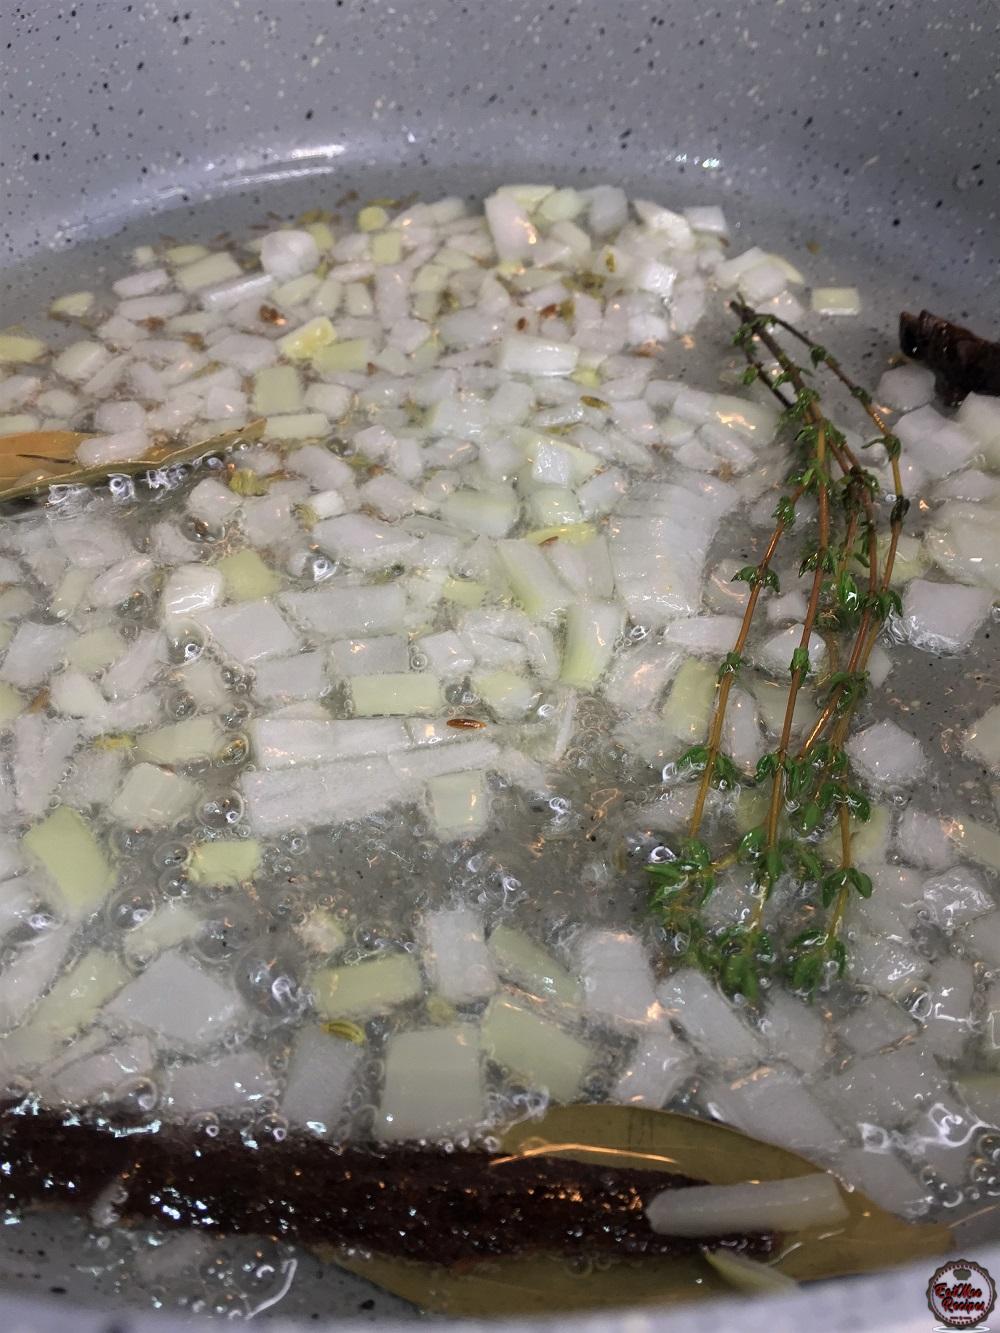
Mix & allow to sauté until onions are translucent.
Thereafter, add in turmeric powder, cardamom (elachi) powder, red chili flakes, garam masala, chili powder & ginger & garlic paste.
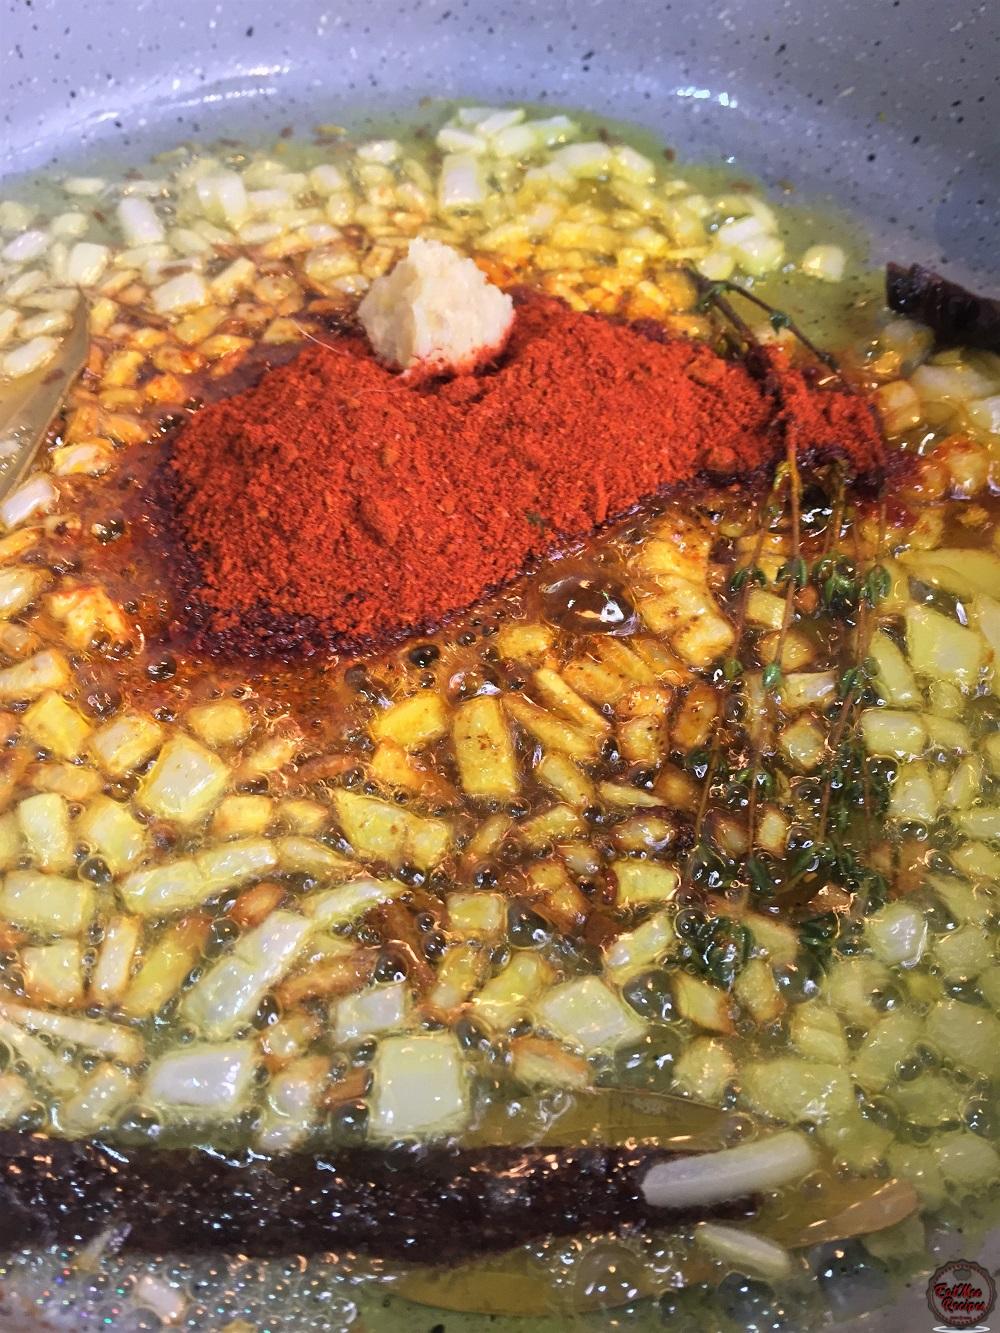
Mix well & simmer for 30 seconds.
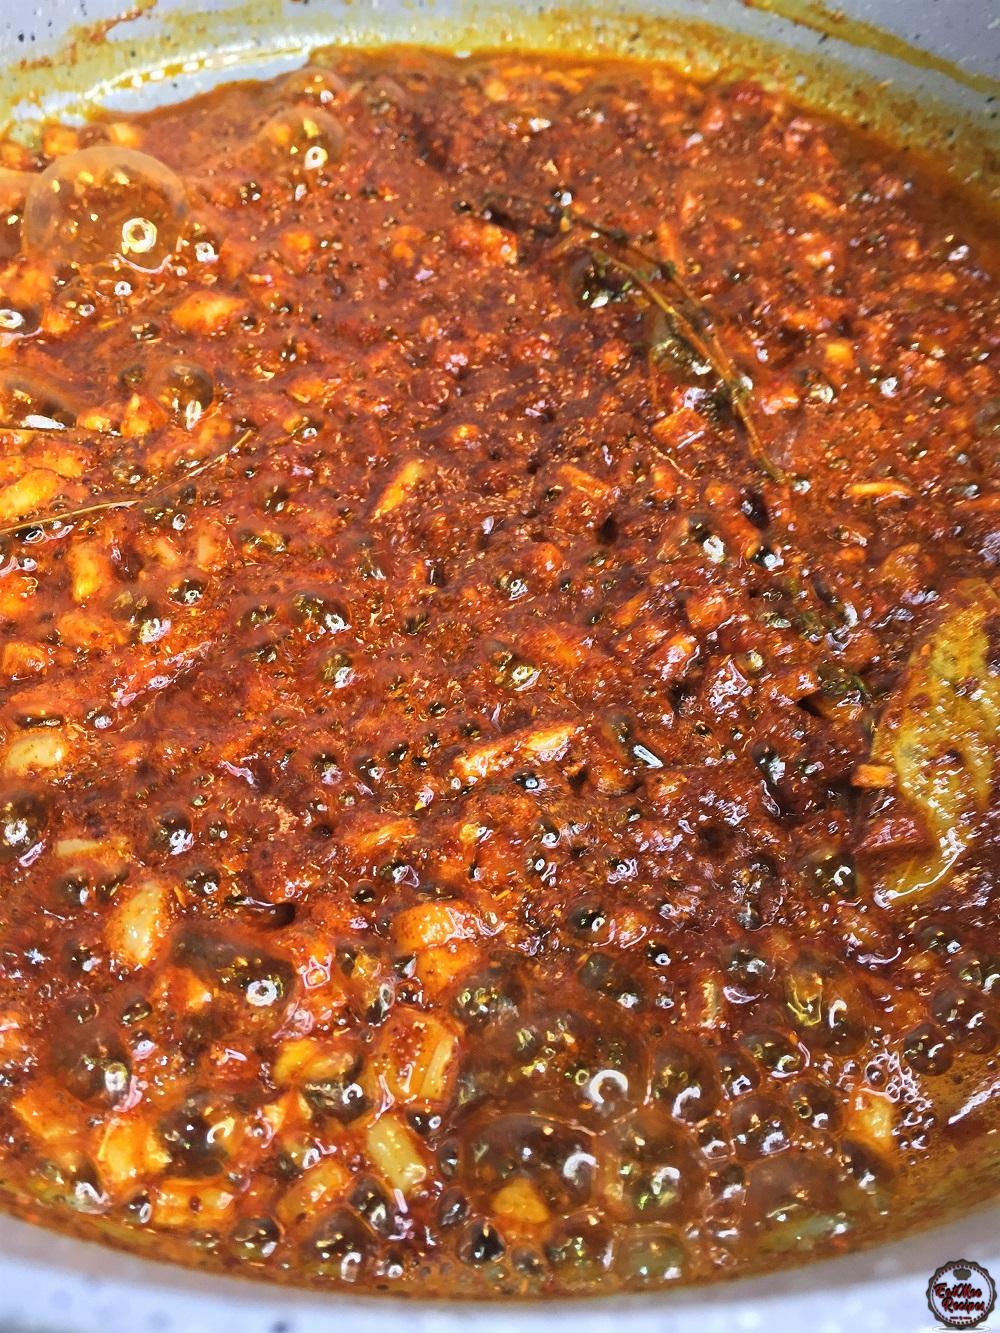
Add in the chopped tomato.
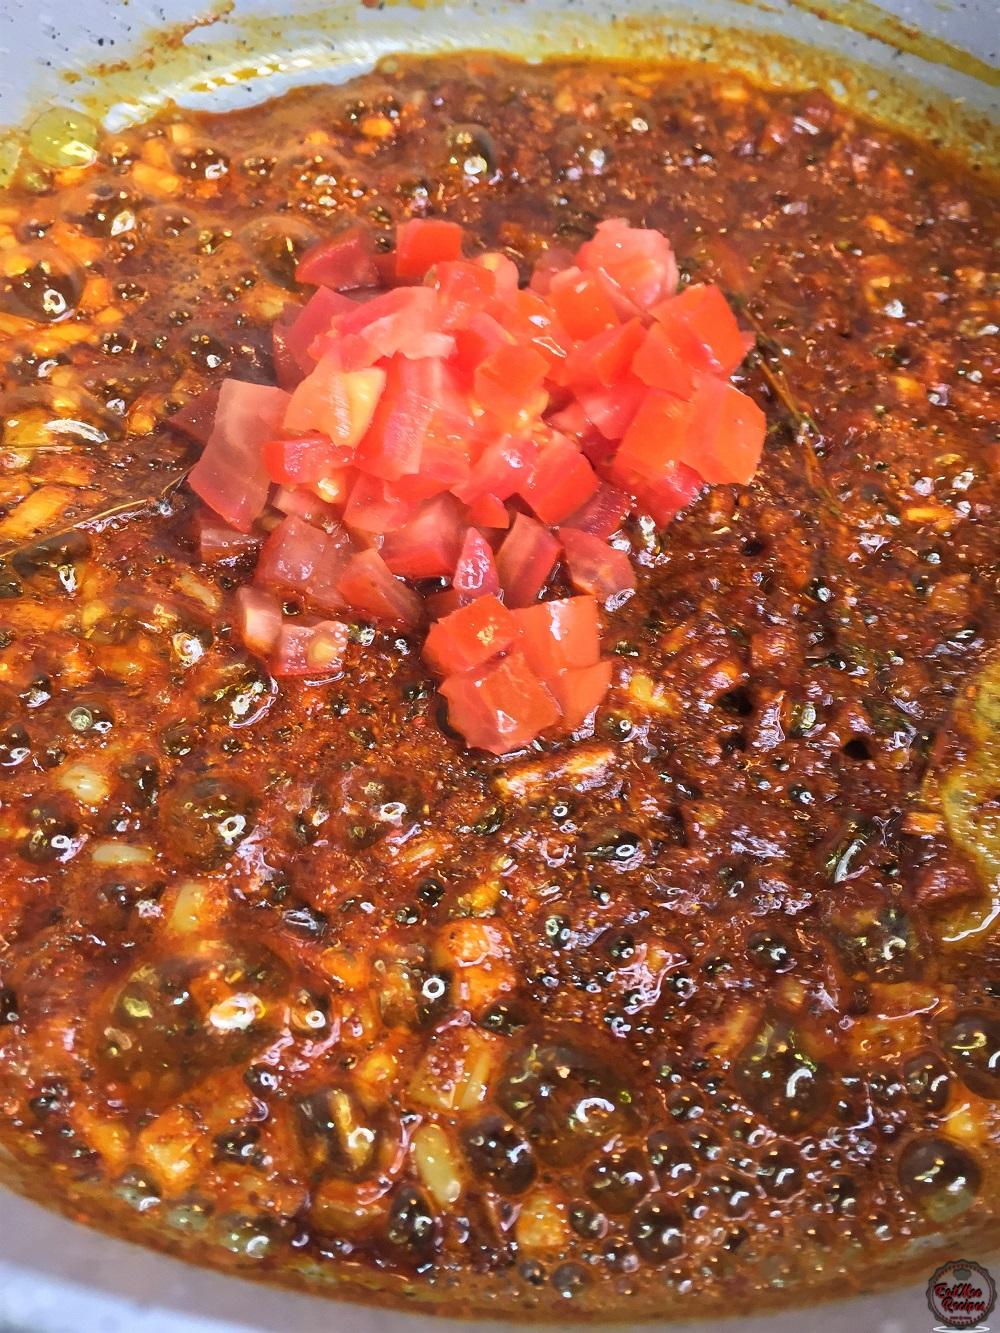
Mix well & pour in a little water if it tends to dry out.
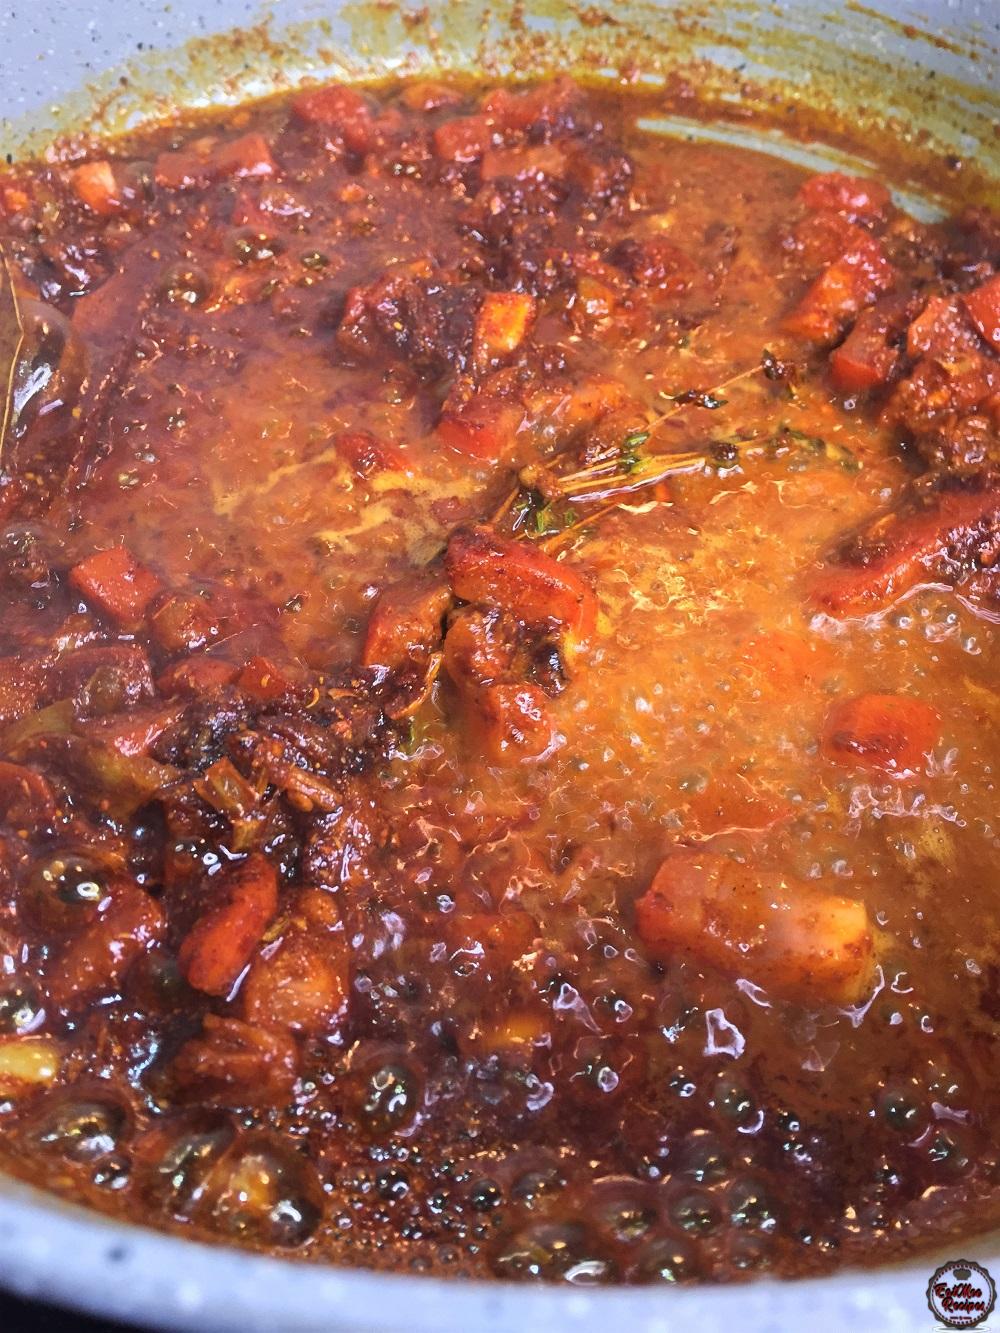
Allow the tomatoes to cook for 2 minutes.
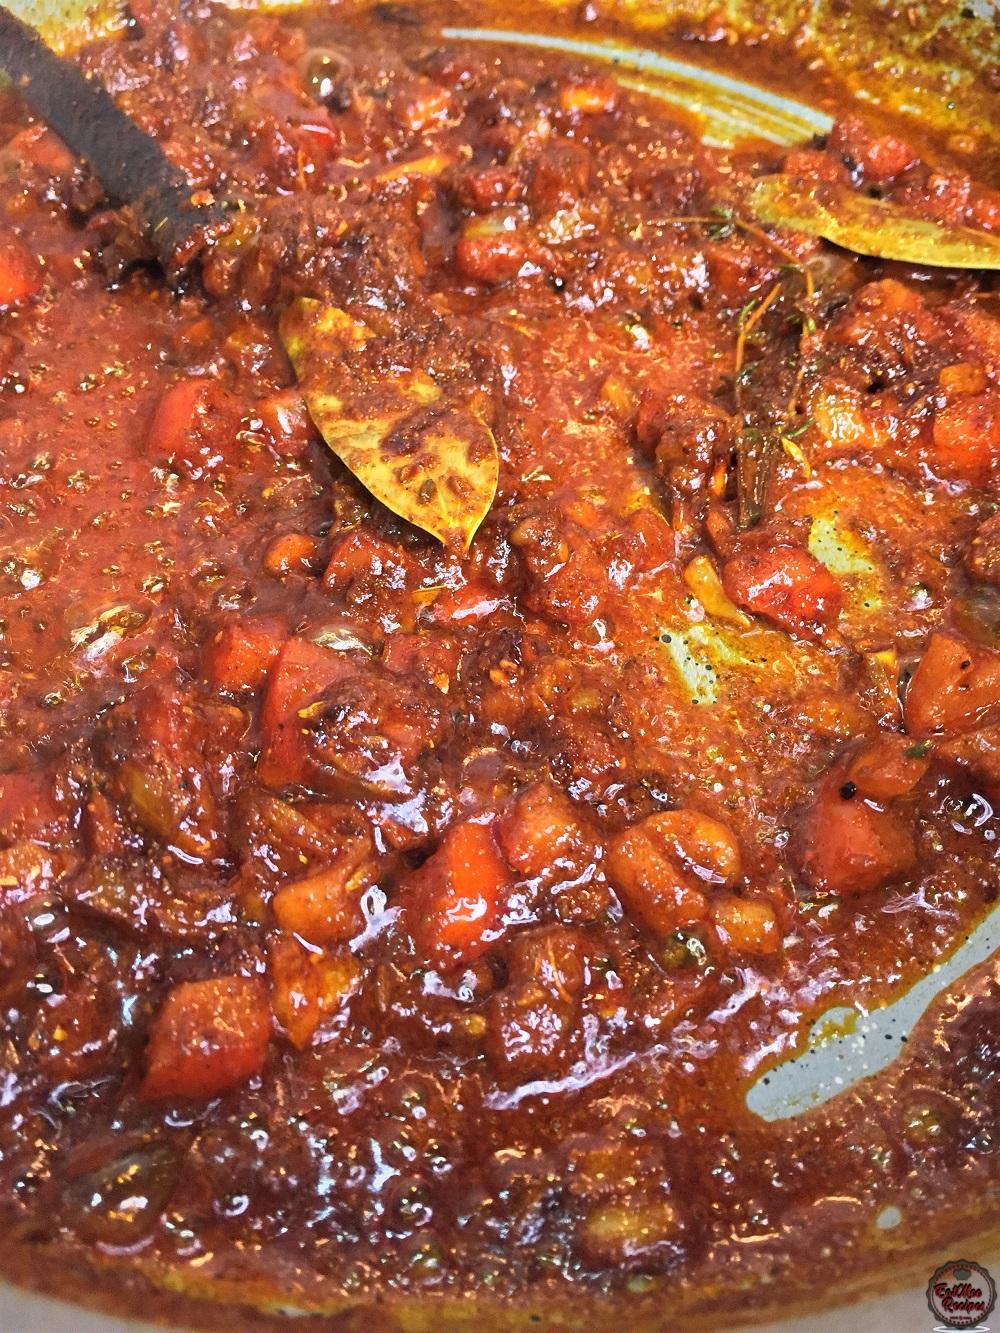
Next, add in the chickpeas, salt to taste & curry leaves.
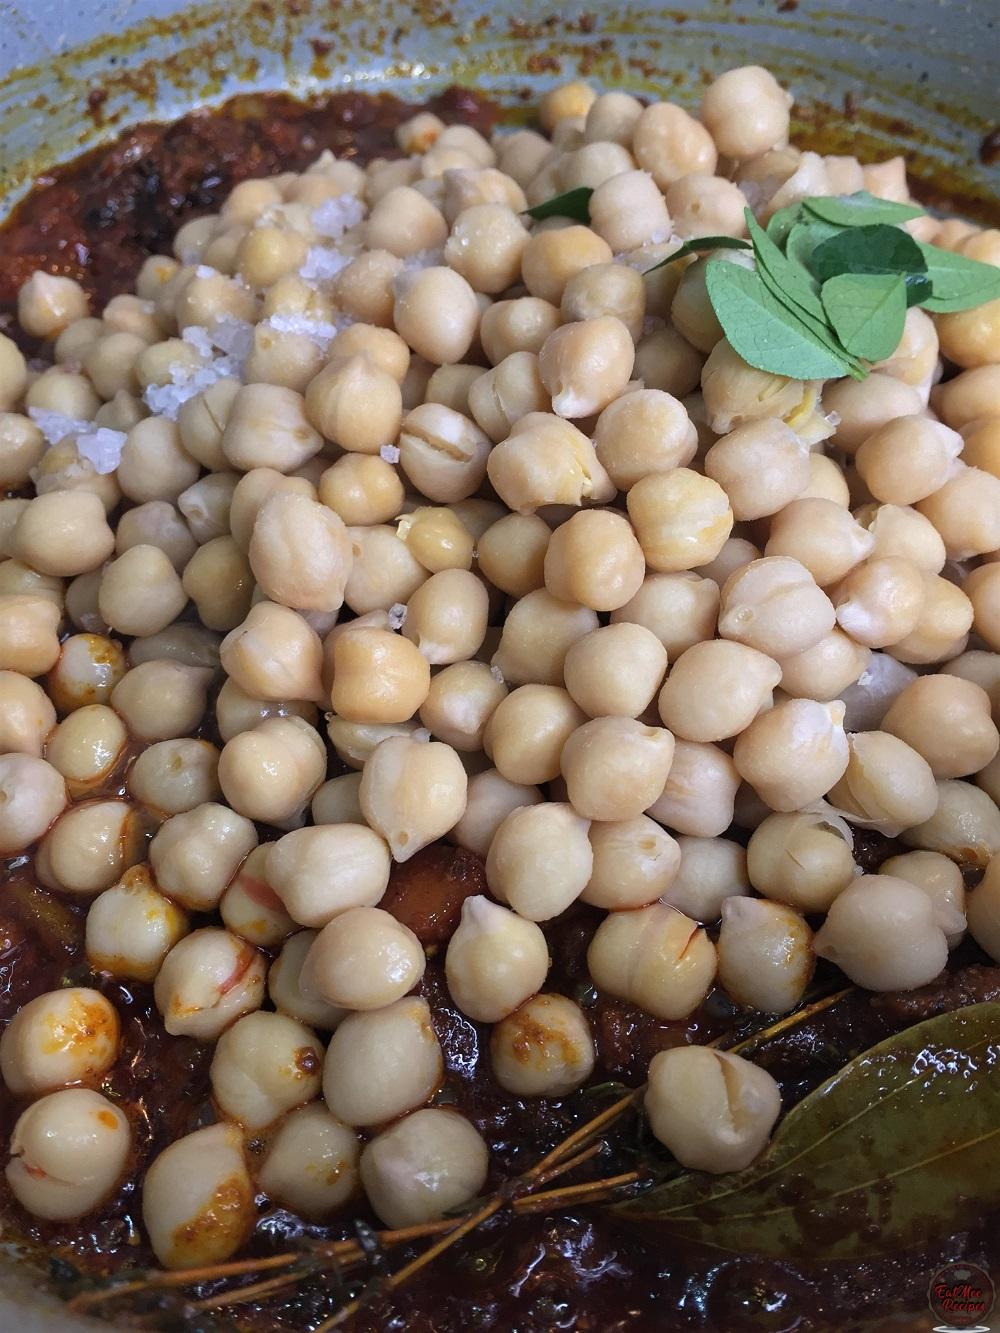
Mix well, allowing the chickpeas to coat in the spices.
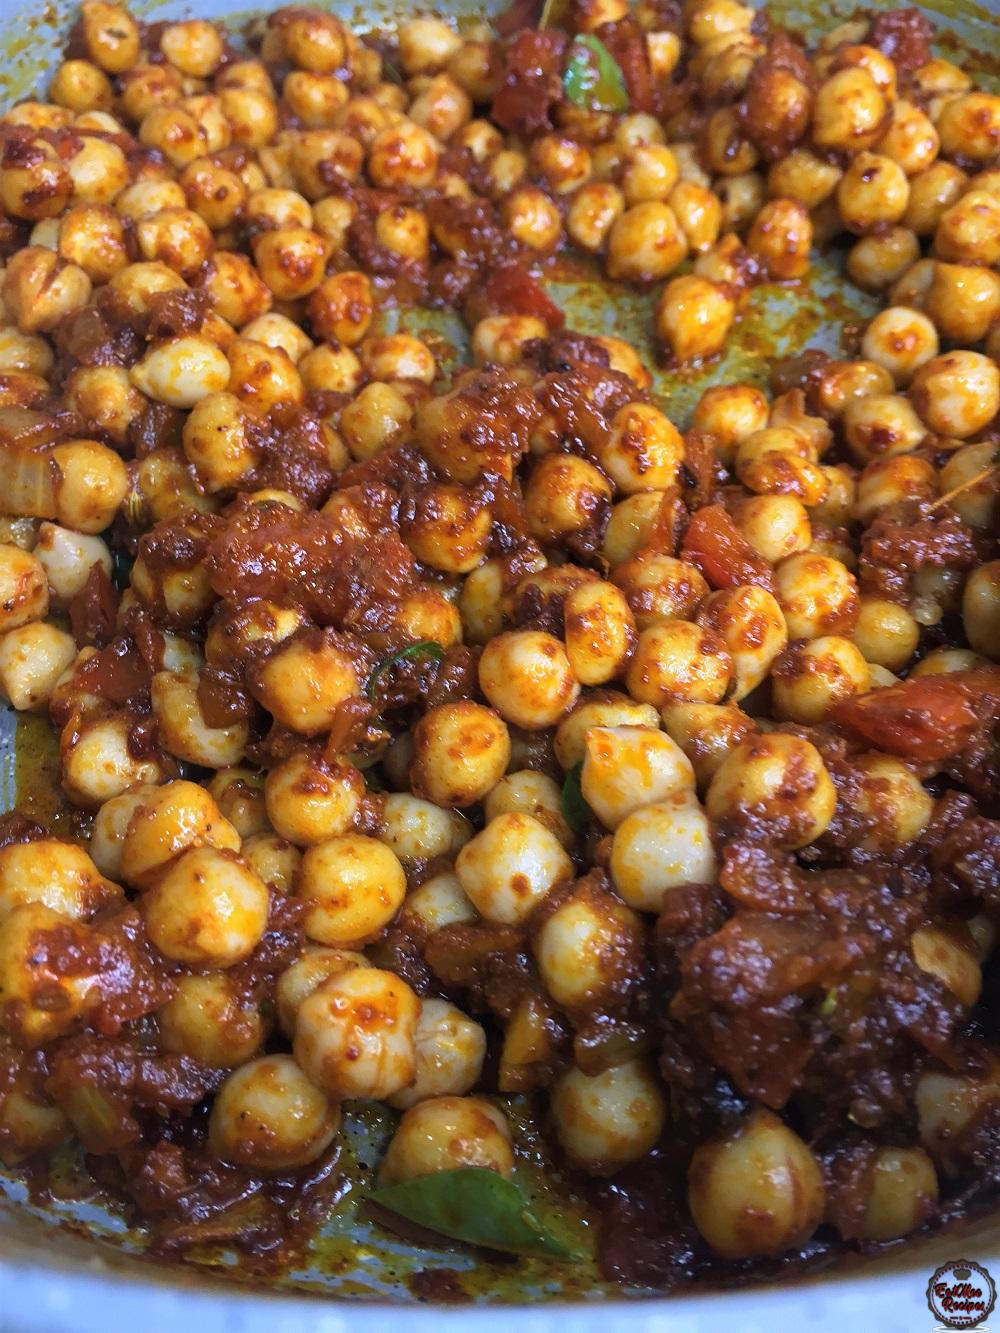
Pour in a little water & mix once more.
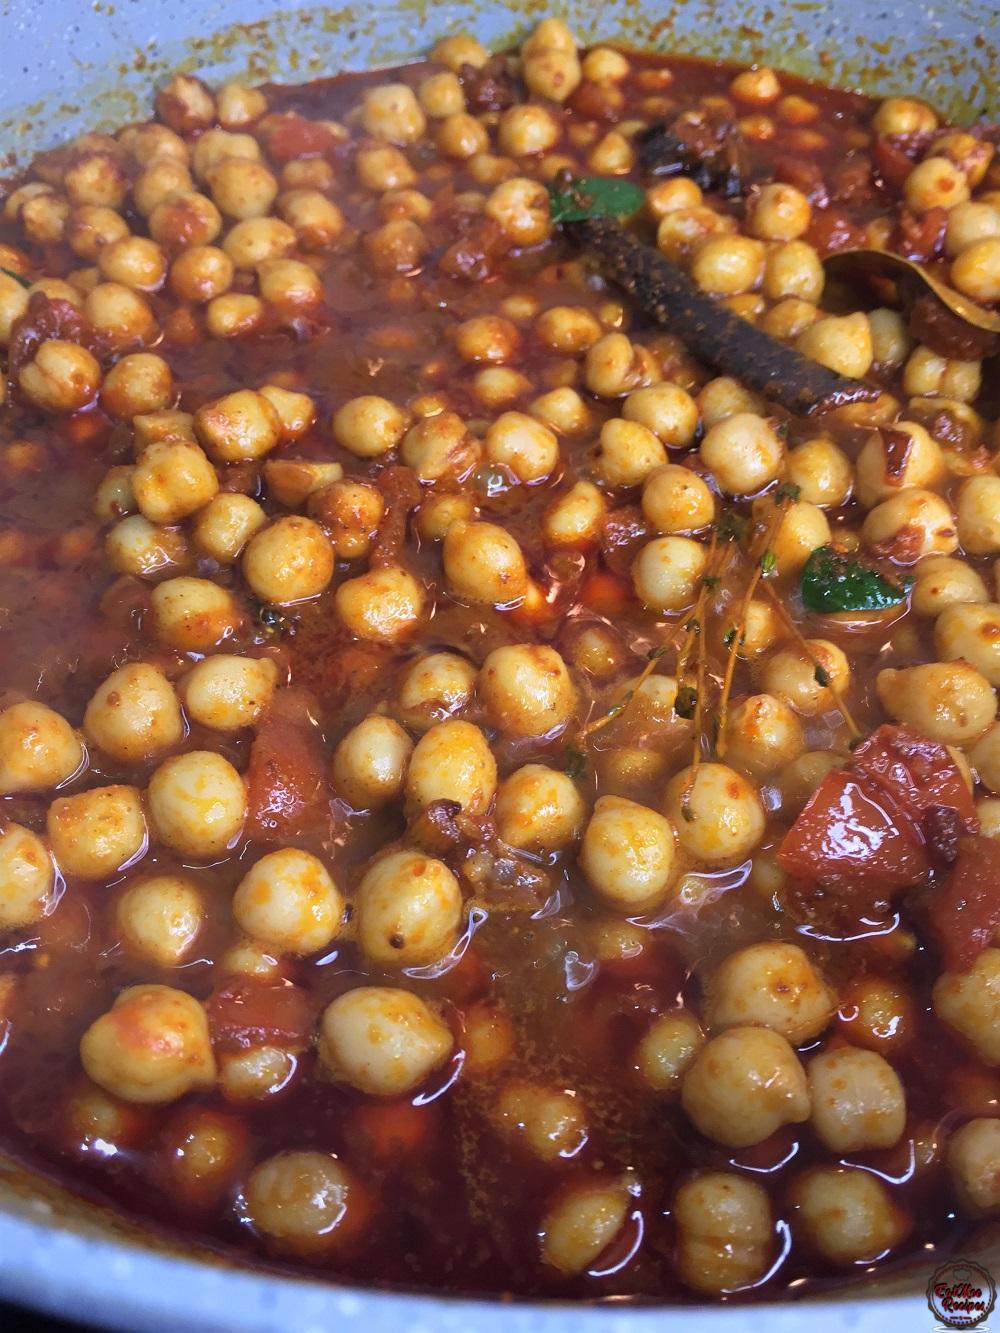
Cover with a lid & allow to cook for 20 minutes.
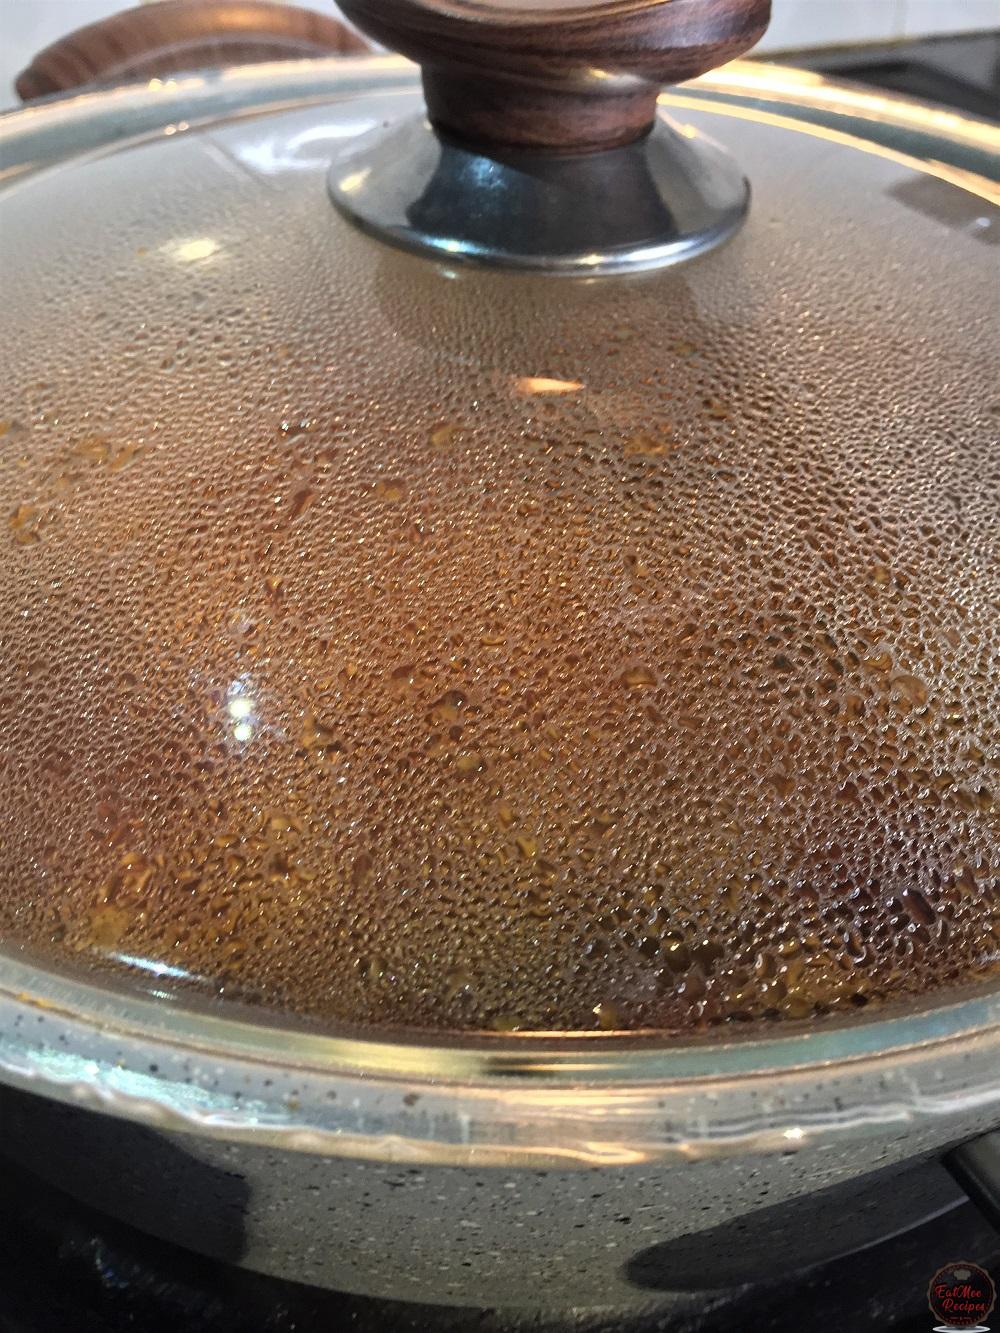
Add water if needed.
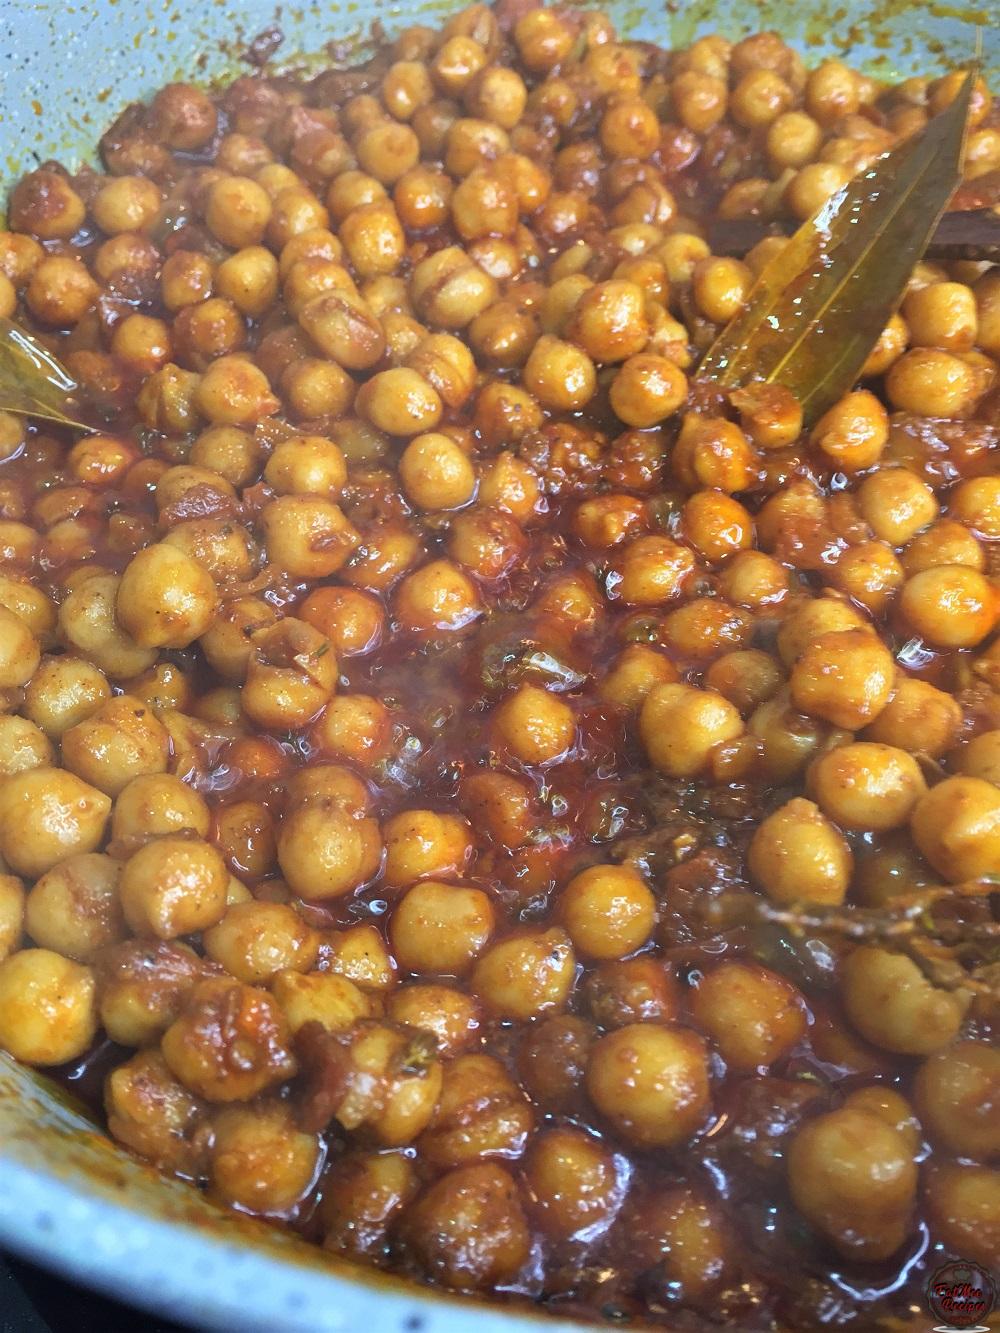
After 20 minutes, turn off the heat & garnish with chopped coriander (dhania).
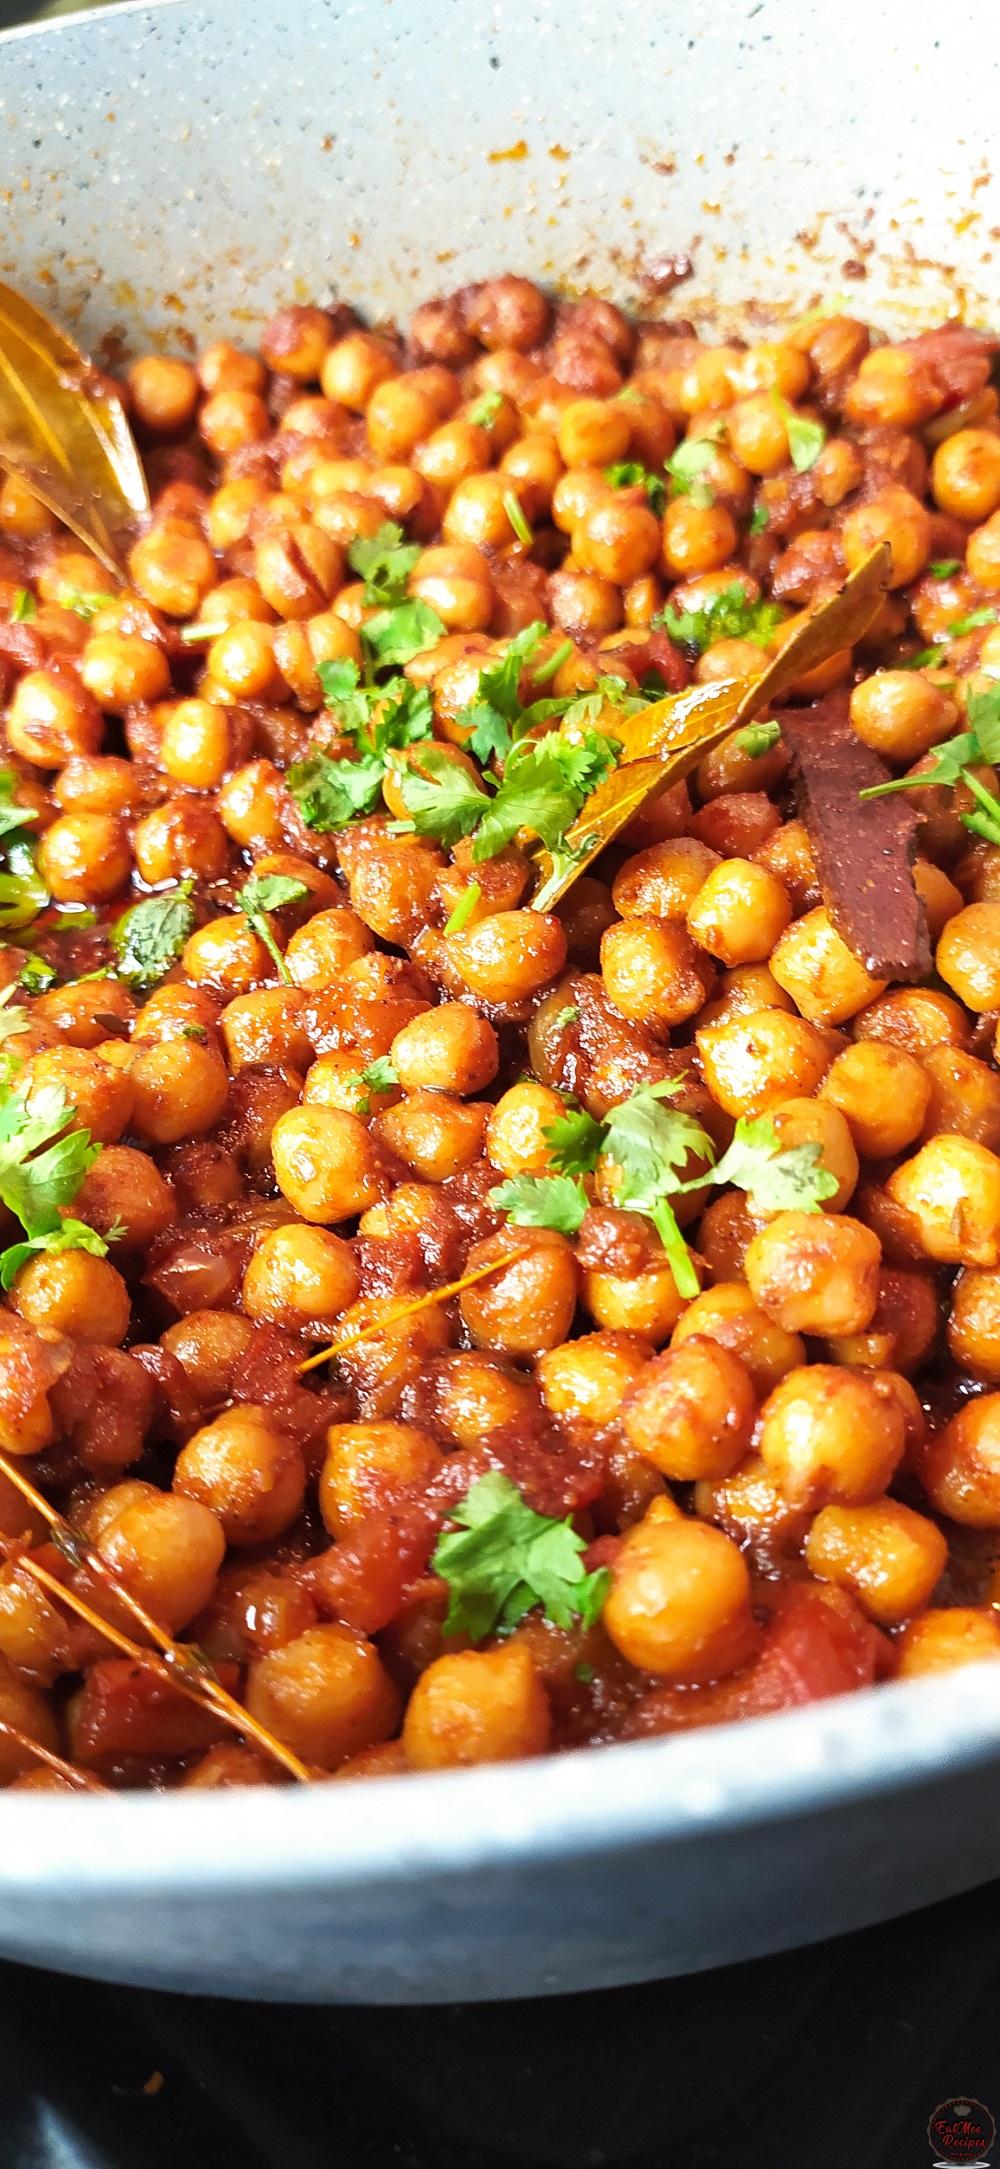
This Chickpea Curry is ready to be served.
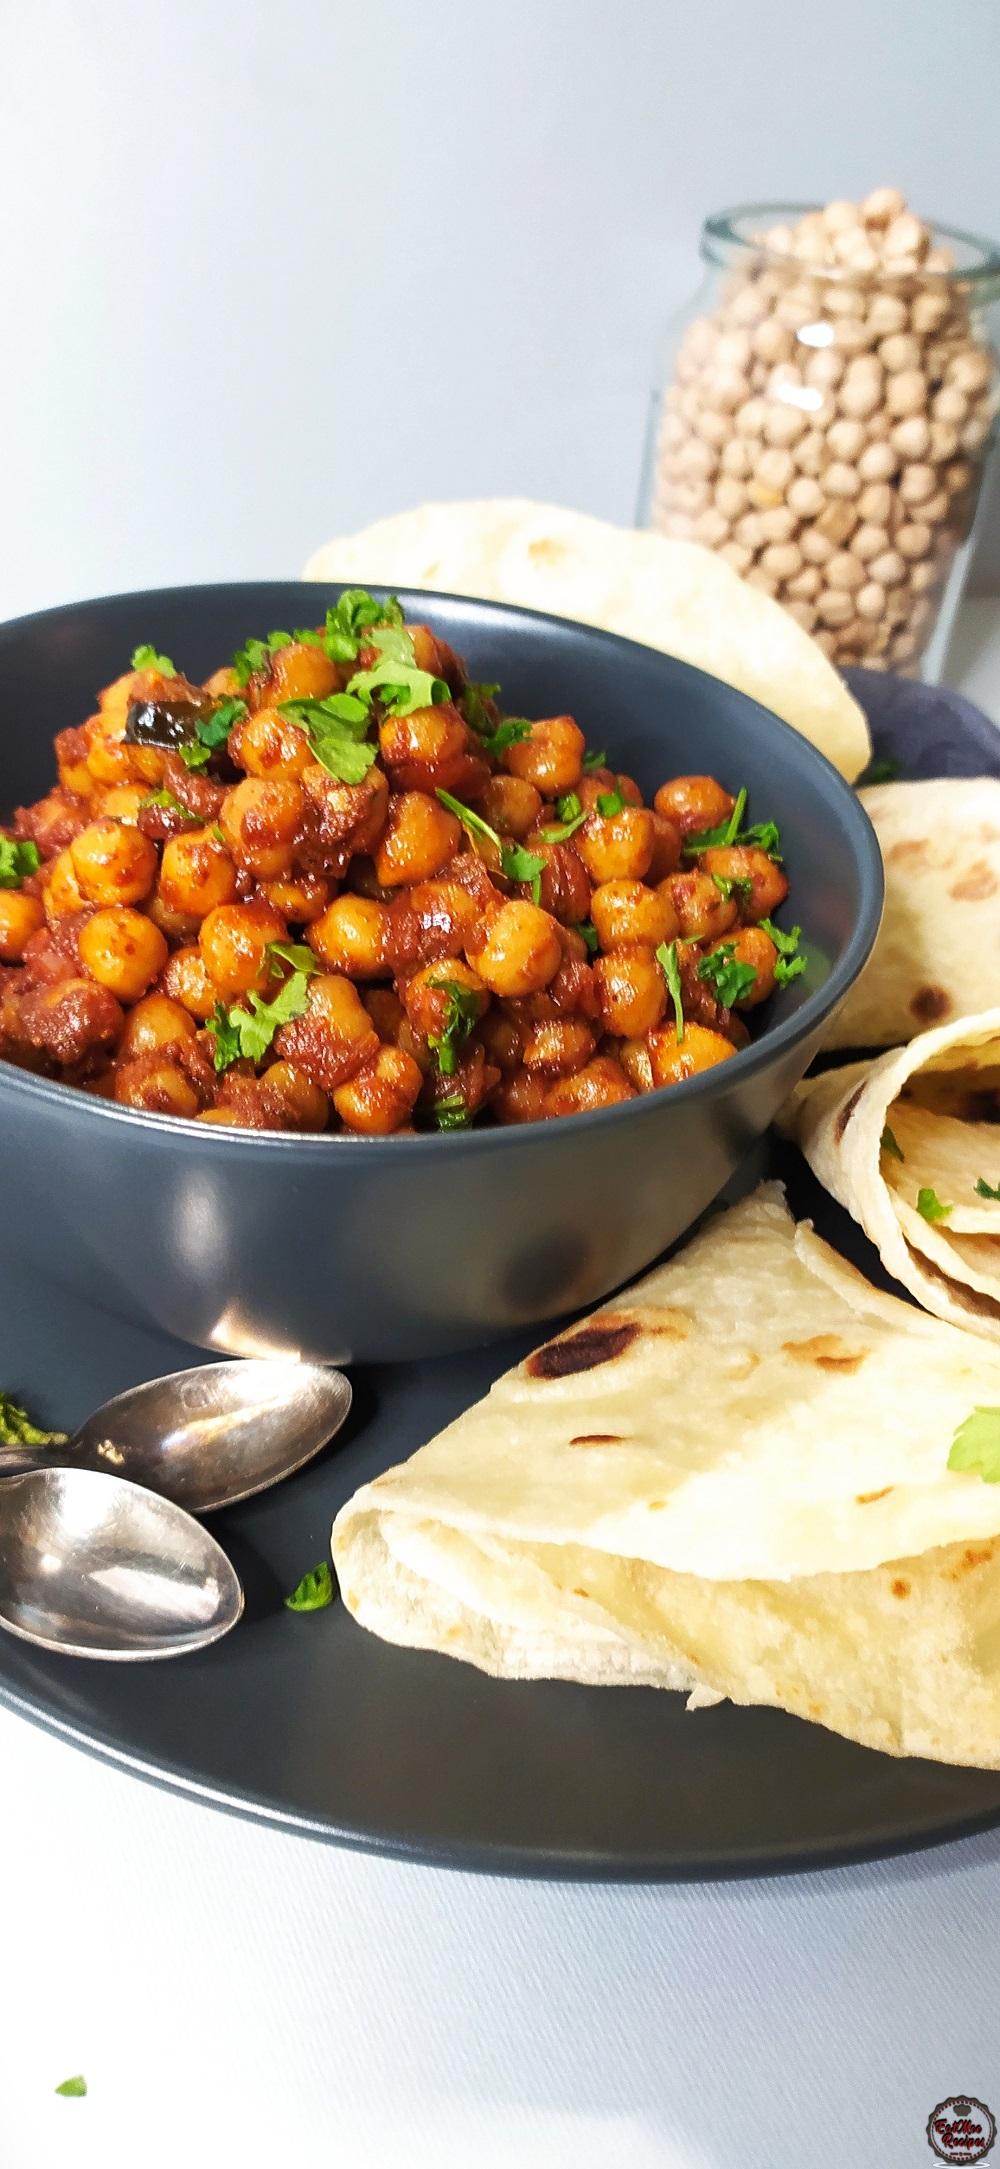
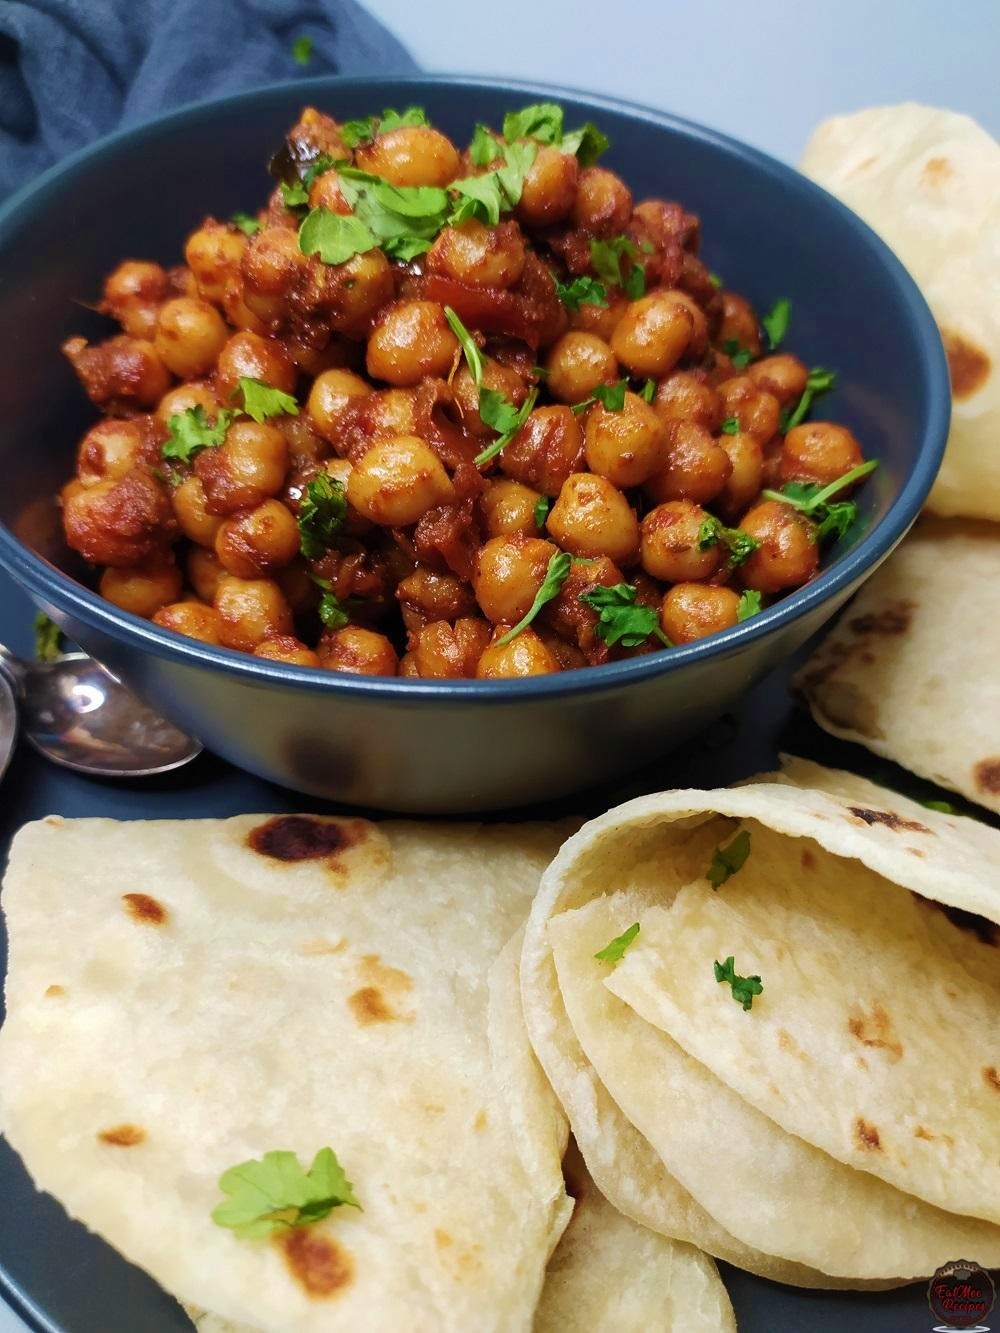
Serve with bread, roti or enjoy as is.
Follow along with Denisiya's step-by-step video guide for Chickpea Curry.
Expert kitchen guidance and troubleshooting for making the best Chickpea Curry
A combination of finely chopped braised onions, pureed or grated tomatoes, and allowing the gravy to simmer uncovered for the last 5 minutes helps reduce and thicken the sauce to a rich coating consistency.
Yes, this curry freezes wonderfully for up to 3 months in an airtight container. Note: If freezing, omit or remove the potatoes as their texture changes when frozen. You can easily add fresh boiled potatoes when reheating!
Stored in an airtight container in the fridge, it keeps well for 3 to 4 days. In fact, Durban curries often taste even richer the next day as the spices continue to infuse overnight.
Hi, I'm Denisiya! Food lover, recipe developer, and founder of EatMee Recipes. I specialize in authentic South African Durban Indian cuisine, comforting curries, and modern Instant Pot adaptations. Every recipe on this site is tested in my personal kitchen to ensure you get mouth-watering, foolproof results every time.
Explore more authentic Durban curries, traditional bakes, and comforting family favourites.
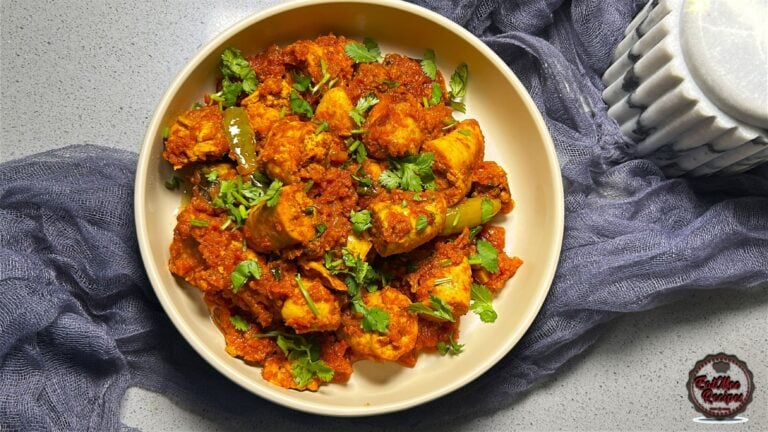 Indian Cuisine
My mum is sharing another one of her much-loved traditional South African Indian recipes. ...
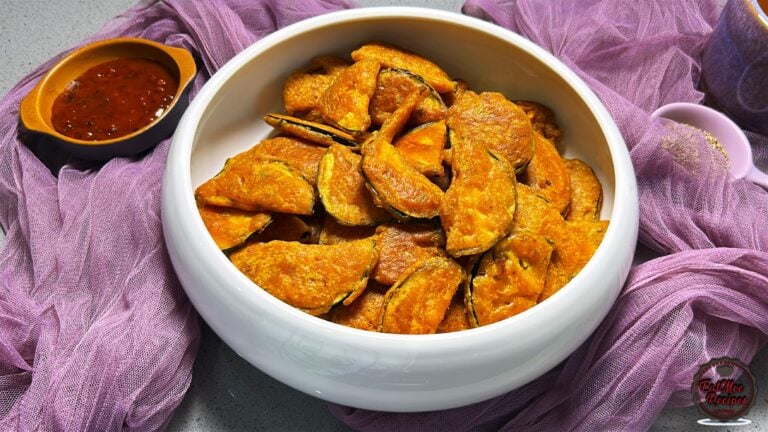 Indian Cuisine
Crispy, golden and delicious, these Brinjal Pakoras are made with thin slices of brinjal c...
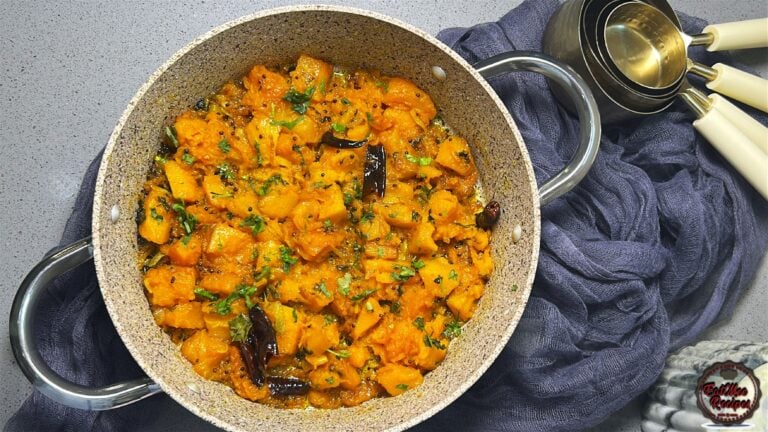 Indian Cuisine
Mum’s Pumpkin Curry is a simple, comforting vegetarian dish that proves you don’t need a l...
Have you tried this recipe or have questions for Denisiya? Join the conversation below.
No comments yet. Be the first to share your thoughts on this recipe!
Leave a Comment
Your email address will not be published. Required fields are marked *