

We Value Your Culinary Privacy
EatMee Recipes uses cookies to provide a personalized browsing experience, analyze recipe popularity, and serve relevant ads. You can review our full disclosure in our Privacy Policy.
Make authentic Chicken Tikka Subs with this foolproof recipe. Packed with rich traditional flavor, step-by-step photos, and cooking tips by Denisiya on EatMee Recipes.

Join over 60,000+ home chefs for weekly authentic Durban Indian cook-alongs, Instant Pot masterclasses, and family heritage recipes.
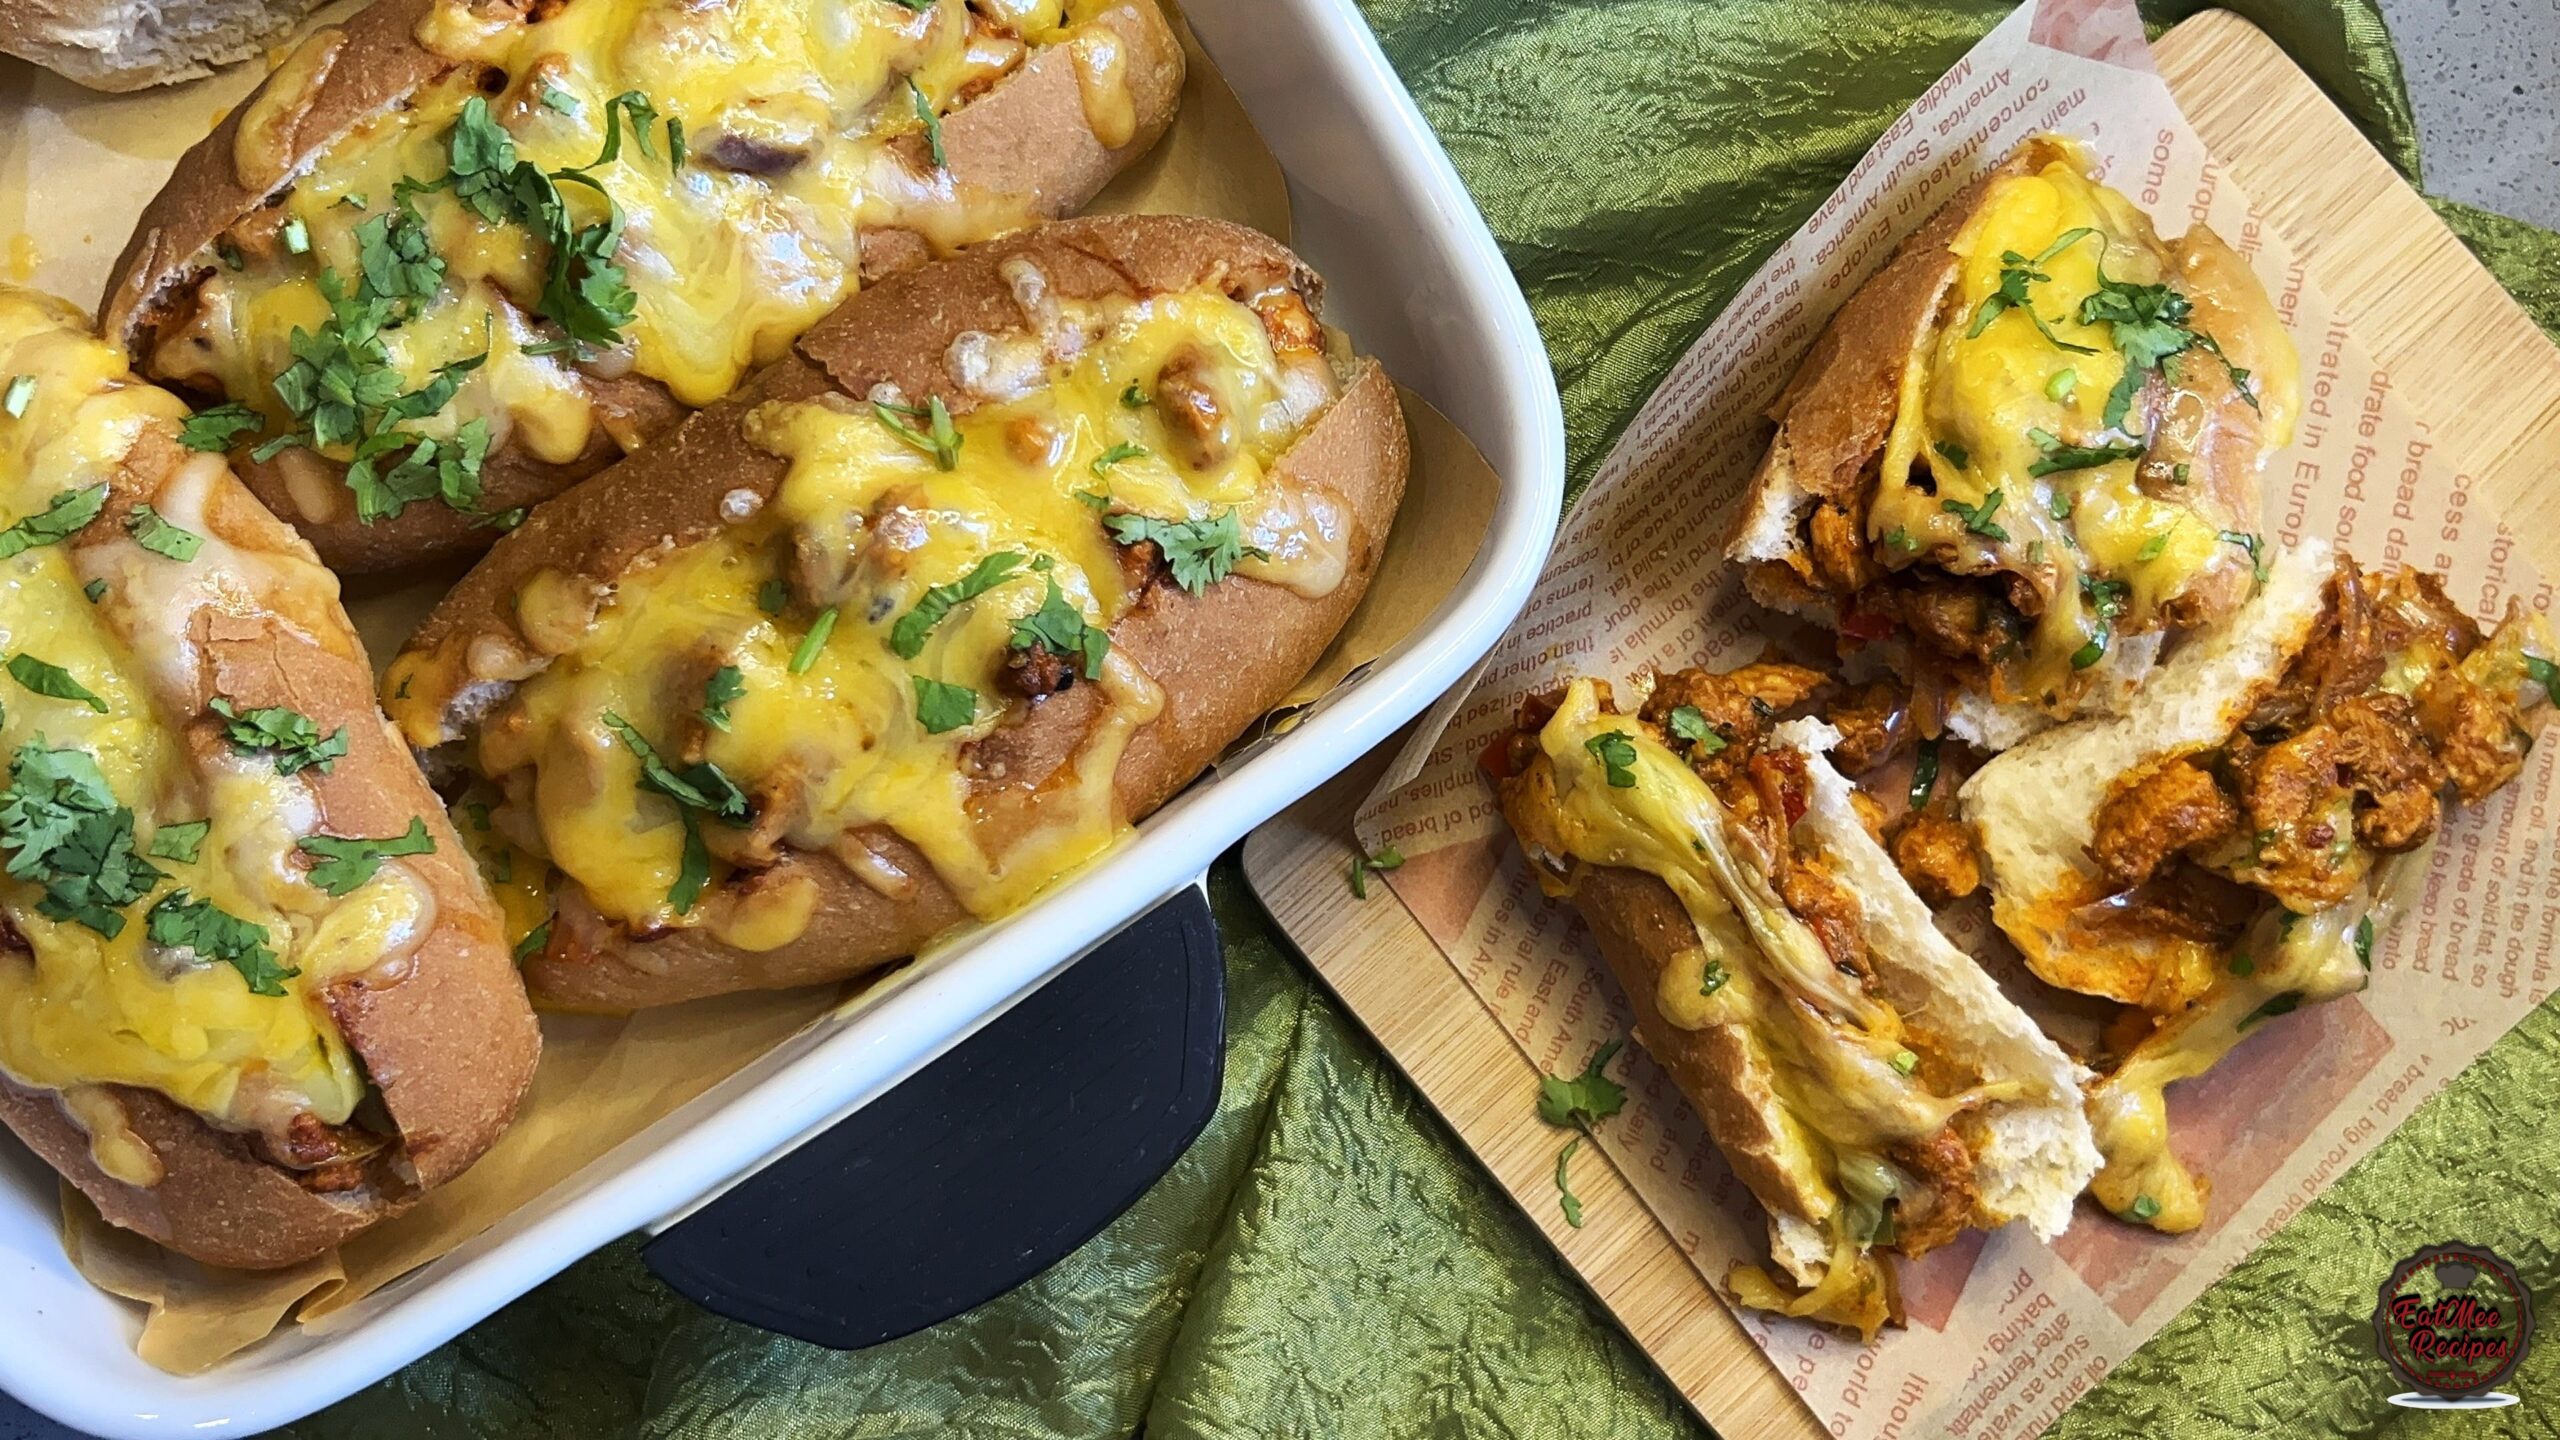
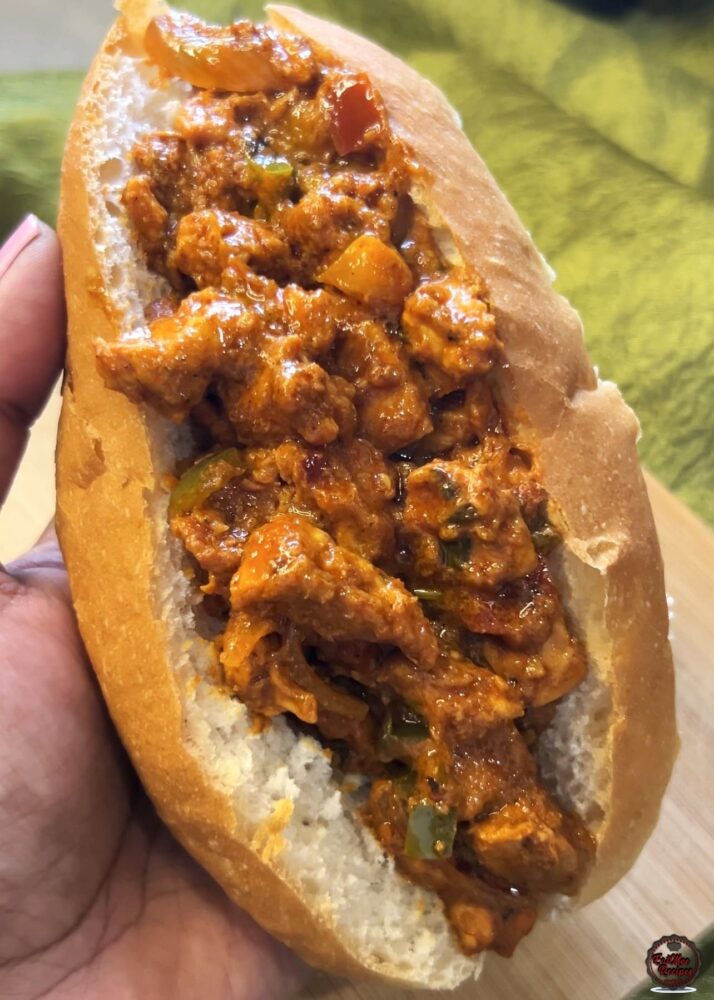
If you’re craving something bold, saucy, cheesy and unmistakably South African, these Chicken Tikka Subs are exactly it. Think juicy, spice-marinated chicken tossed in tikka sauce, finished with that signature smoky dhungar flavour, then loaded into soft rolls and baked with melted cheese.
The best part? This entire meal comes together in under 30 minutes, making it perfect for busy weeknights or when you want takeaway-style food at home without the wait.
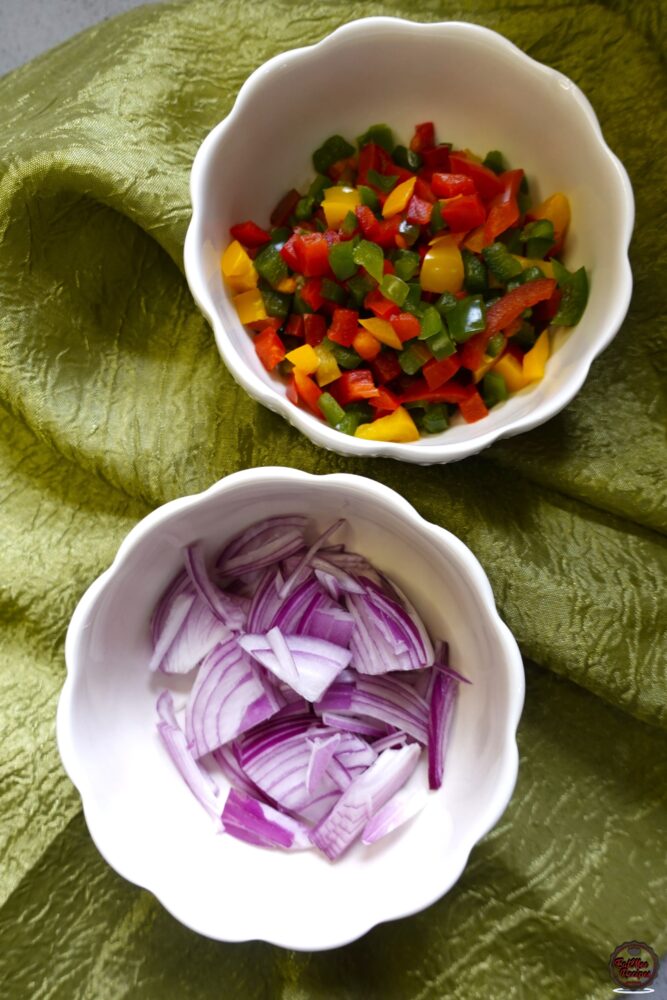
Start by slicing the red onions and chopping the bell peppers – we will be using them later on.
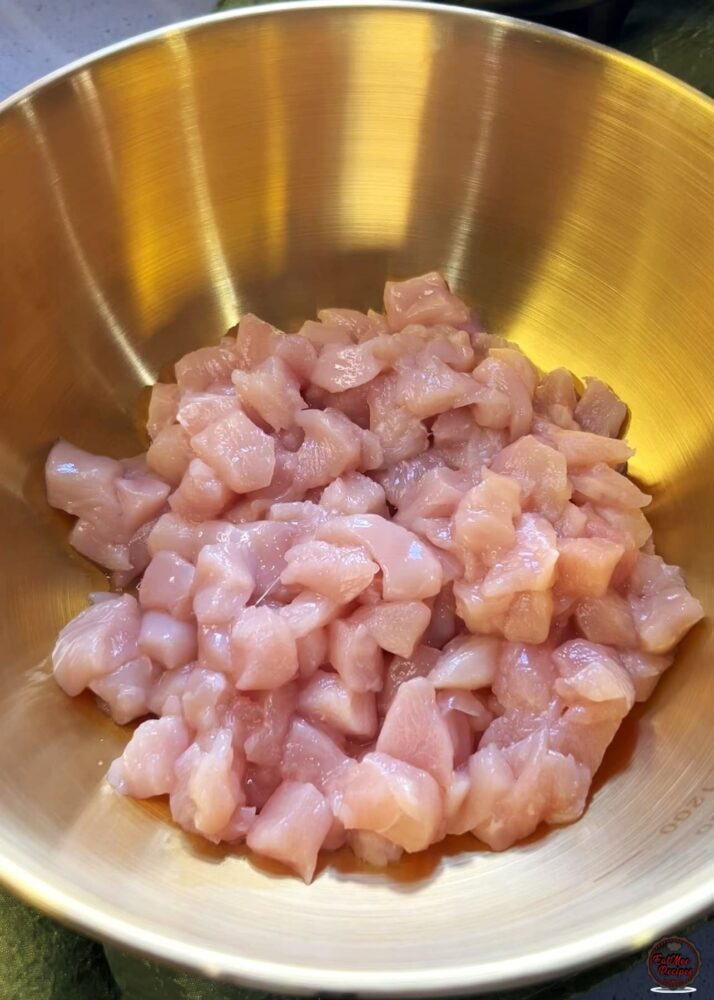
Rinse and cut the chicken breasts into small cubes.
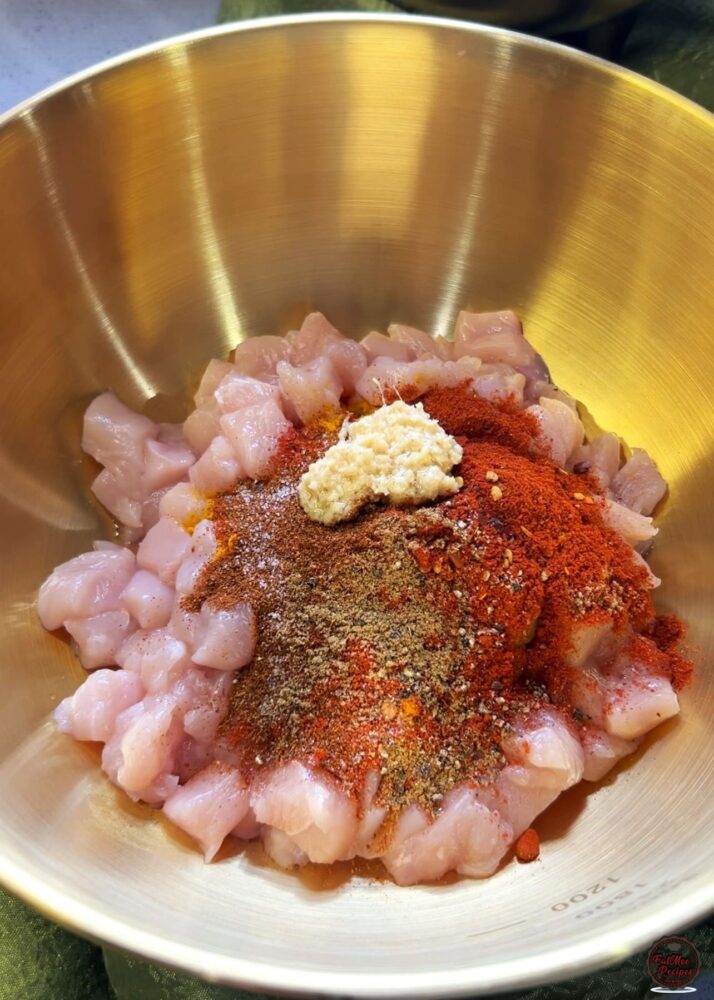
To the chicken, add all the spices (turmeric powder, salt, cracked black pepper, cumin (jeera) powder, coriander (dhania) powder, paprika, cayenne pepper, chilli powder, chilli flakes) and ginger and garlic paste.
Next, add in lemon juice, oil and plain yoghurt.
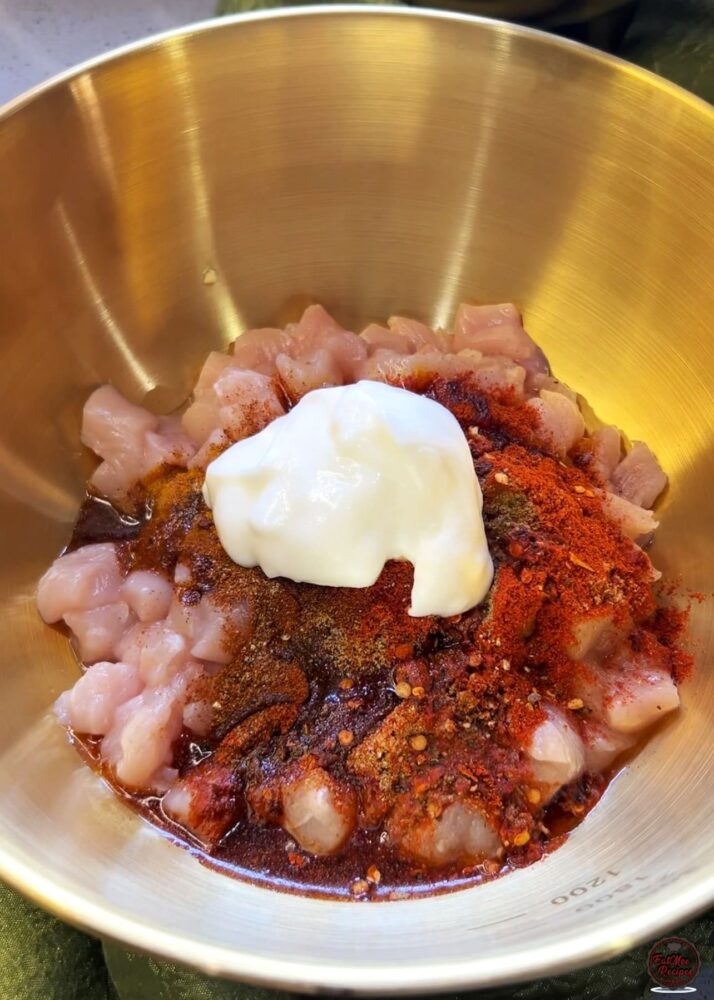
Mix together using your hands as this will allow all the spices to really get into the chicken. The chicken doesn’t need to marinate for long – because of the bold spices, you can cook it straight away. However, if you have time, letting it sit for 10-15 minutes will deepen the flavour.
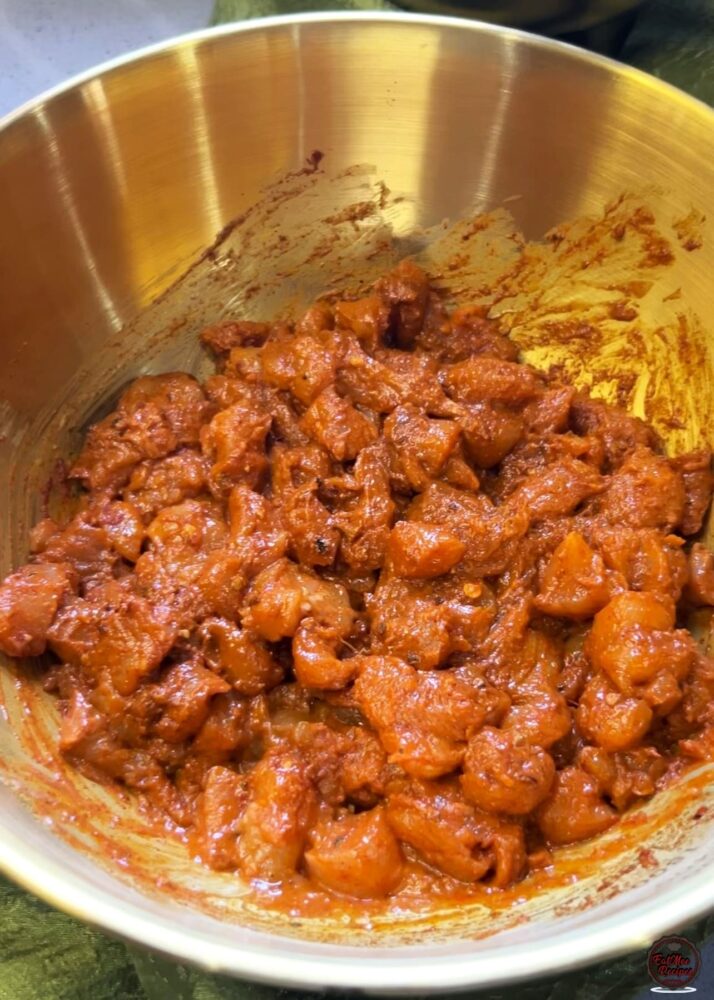
Heat 2 tablespoons oil in a pot over medium heat and add in the marinated chicken.
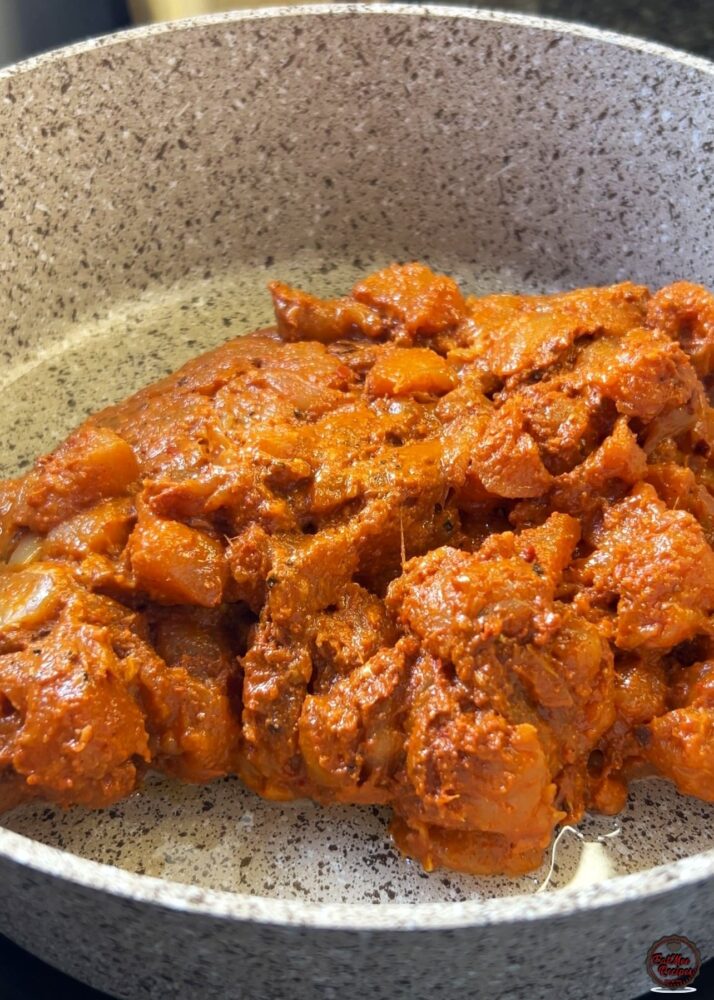
Mix together, cover and allow to cook for 10 minutes, stirring occasionally.
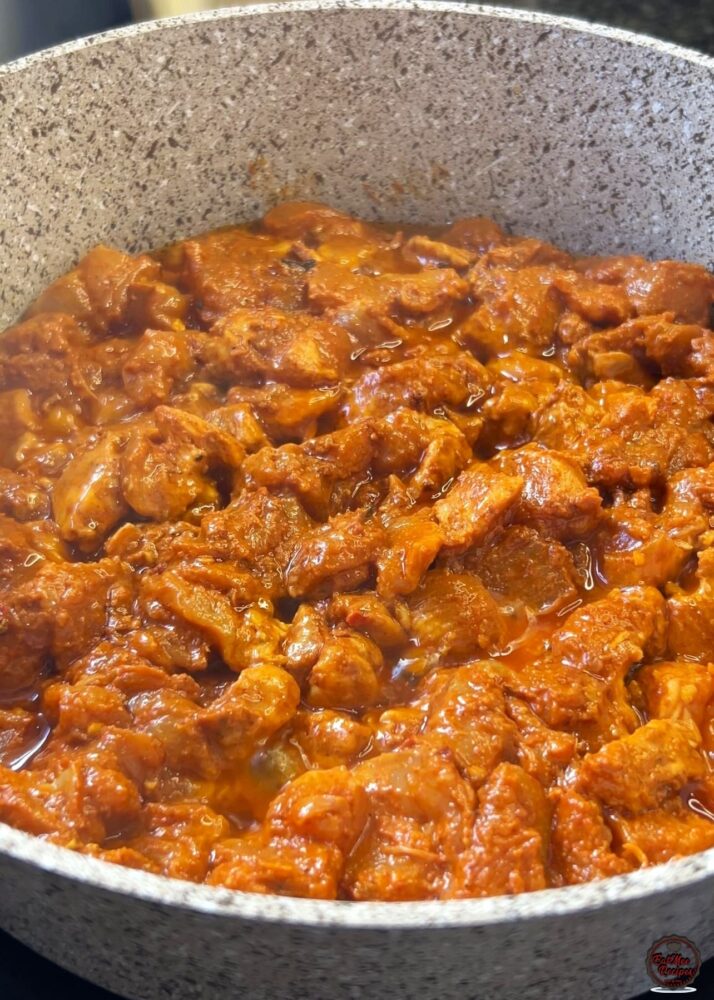
After 10 minutes, add in sliced red onions, bell peppers and fresh coriander.
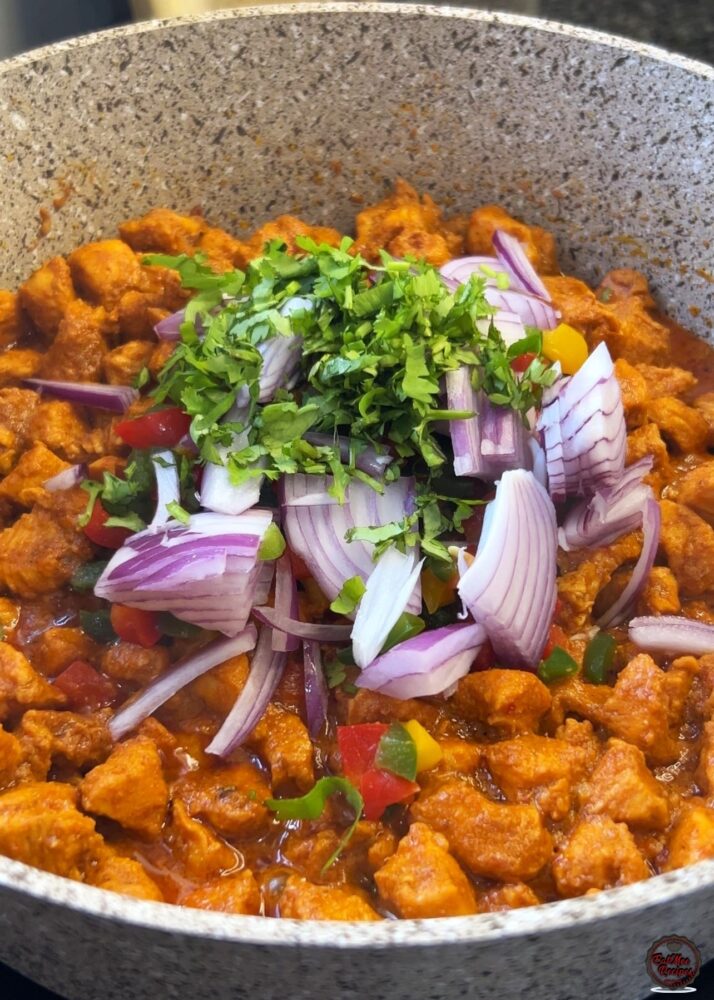
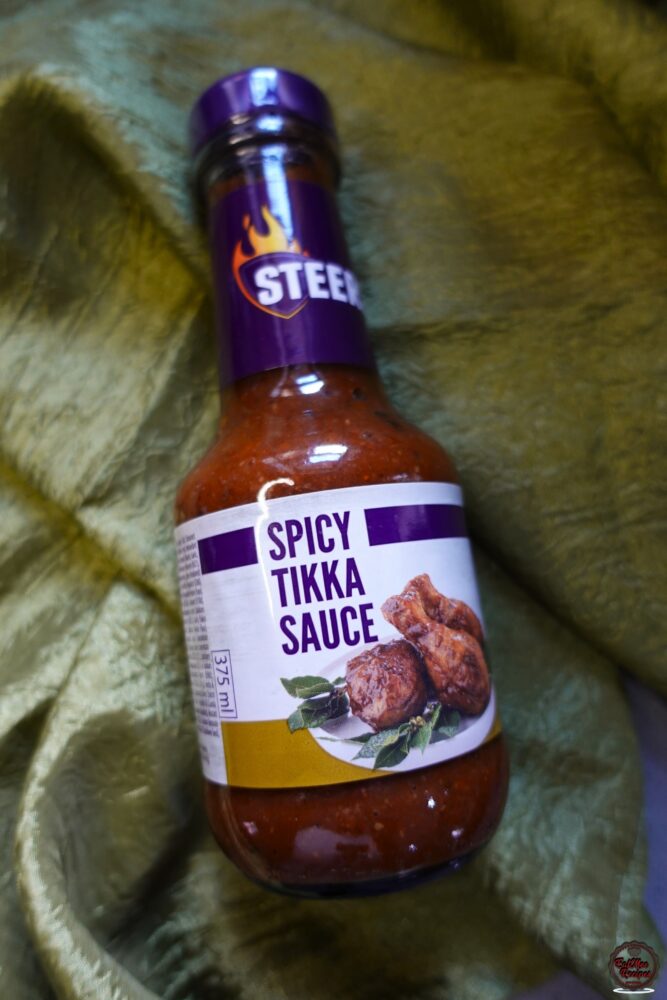
Next, pour in the Steers Spicy Tikka Sauce.
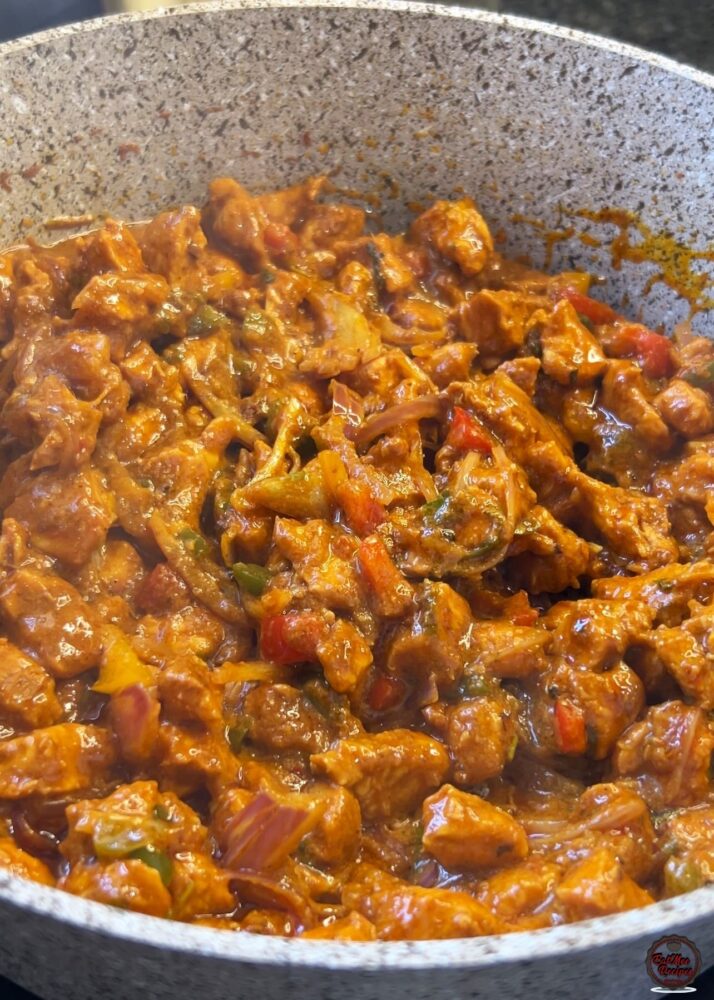
Mix well and cook for 5 minutes, allowing everything to combine while the peppers and onions stay slightly crunchy.
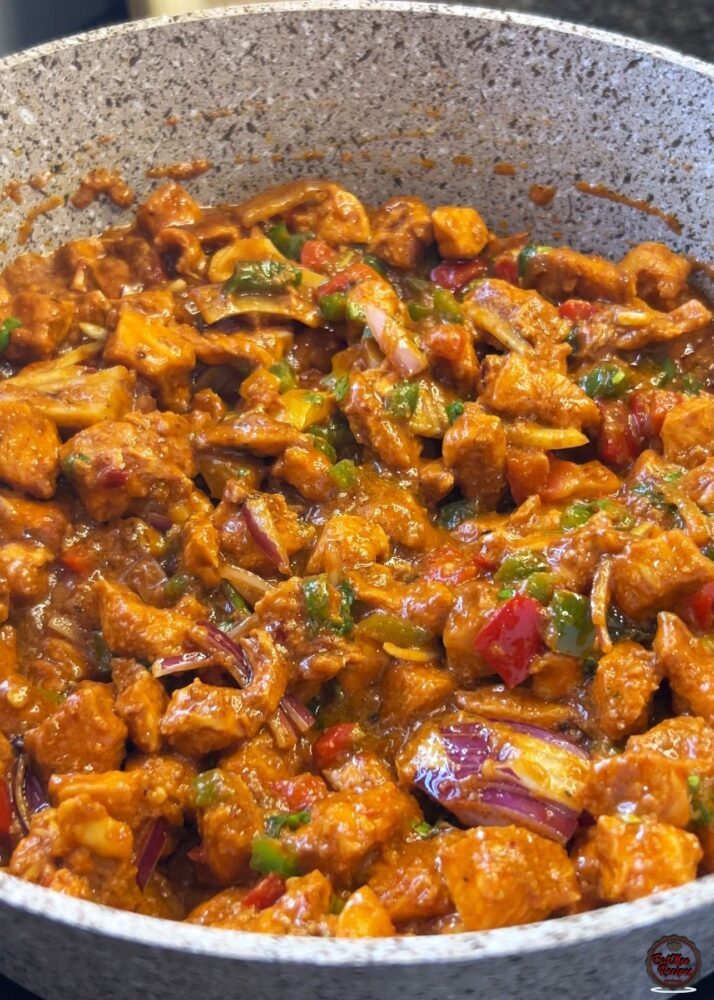
At this stage, your filling is ready and can be used as is. For an extra smoky, takeaway-style flavour, you can do the optional dhungar method. For the dhungar method, you will need instant-light (quick-light) charcoal tablets which is primarily used for hookahs (shisha) and burning incense like bakhoor or loban. These tablets are designed for convenience, as they are pre-soaked in a chemical accelerant that allows them to ignite within seconds using a simple match or lighter. The brand I’m using is Samra Gold – these can be found at local spice stores (I got mine at Aandals). You will also need a metal bowl or a piece of foil (shape it so it can hold the coal).
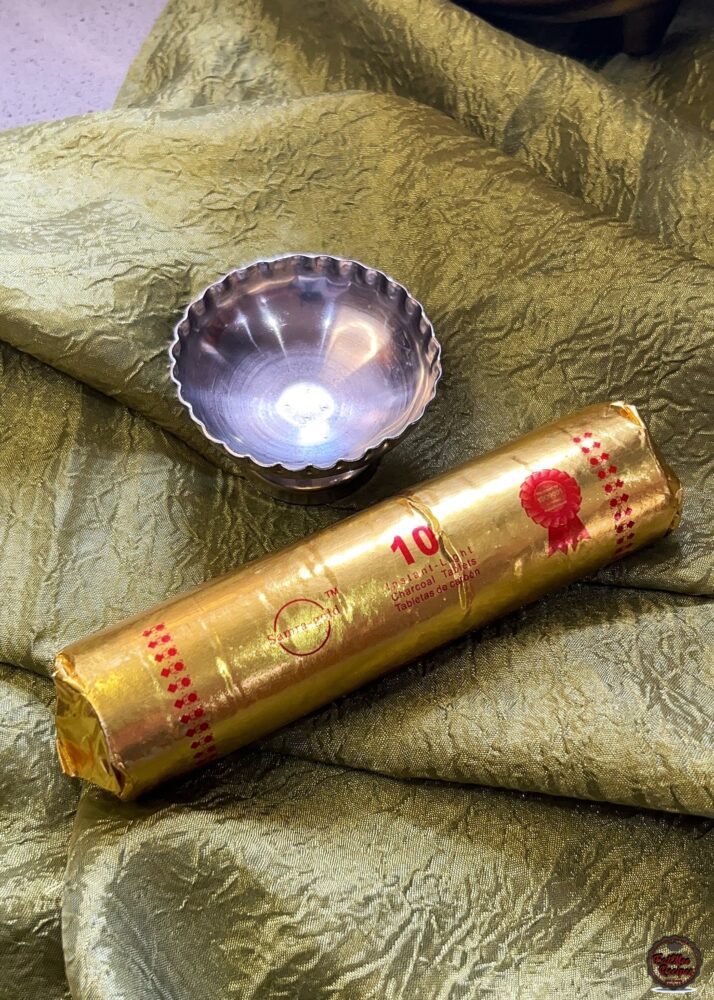
This is what the coal should look like:
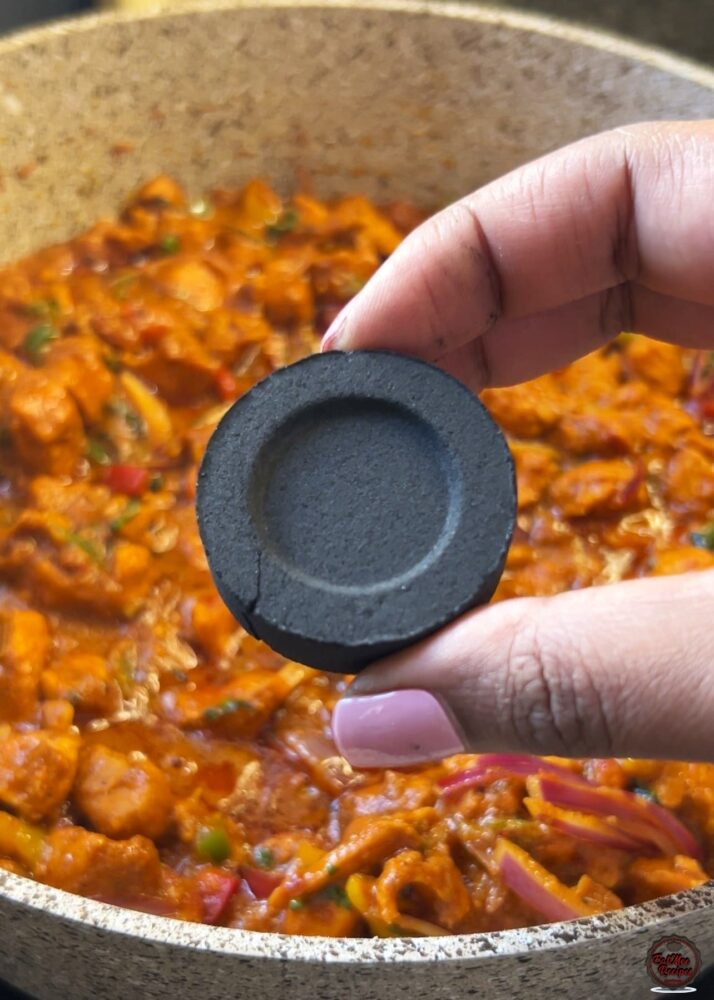
To start with the dhungar method, use your spoon to gently push the filling aside, creating a space in the center of the pot, then place your metal bowl or foil into that gap.
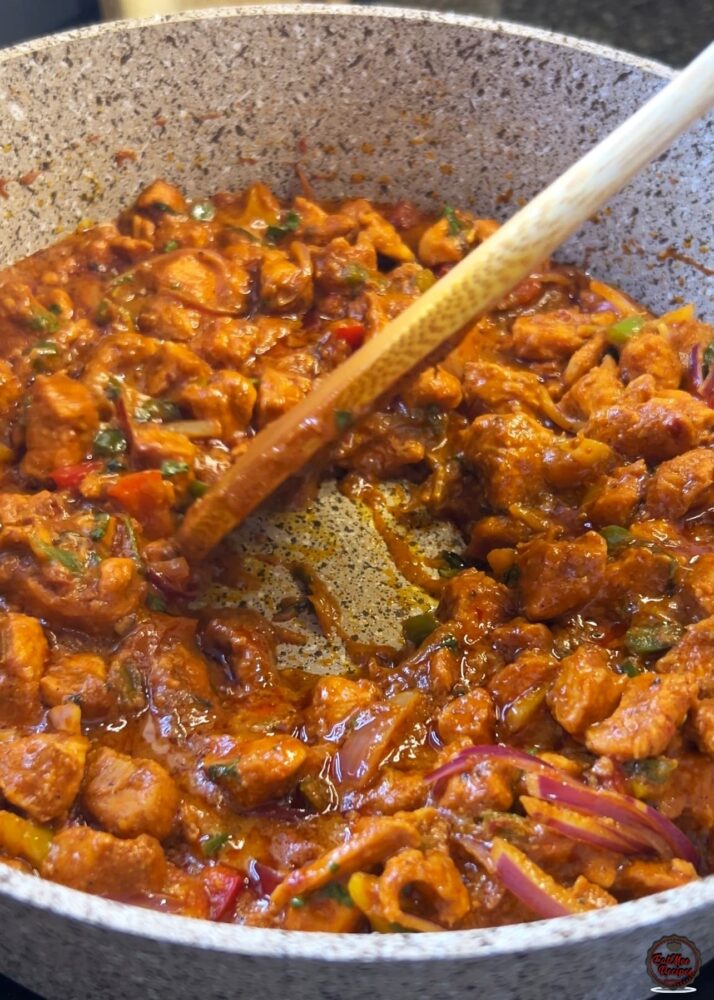
Heat a piece of charcoal over an open flame until red hot – use tongs.
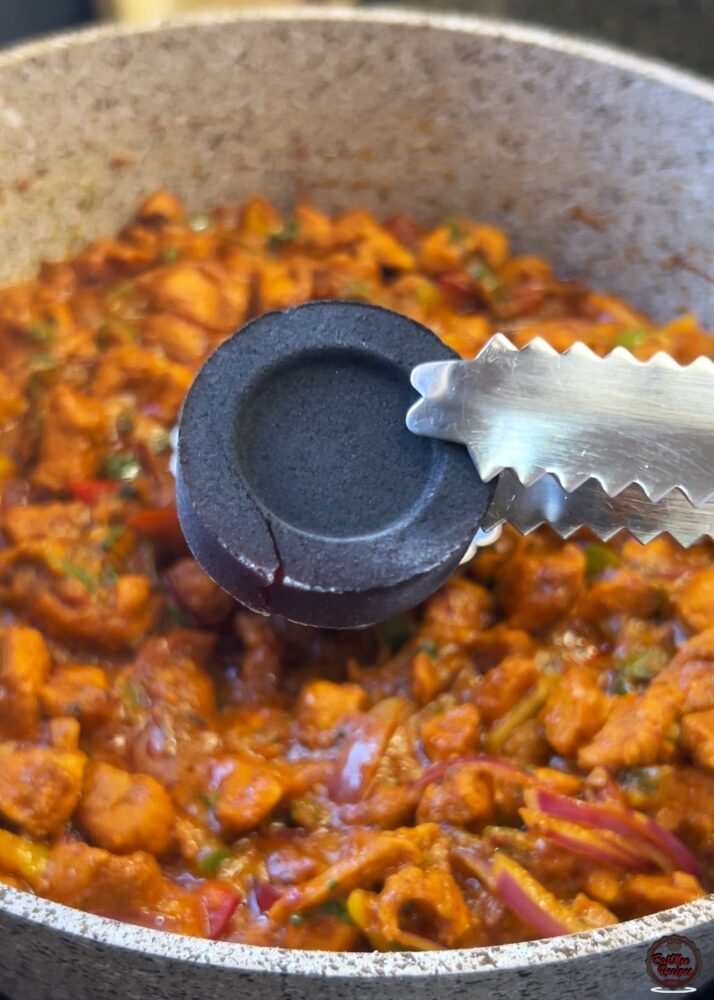
Add the hot coal into the bowl and pour 1 teaspoon melted butter over the coal.
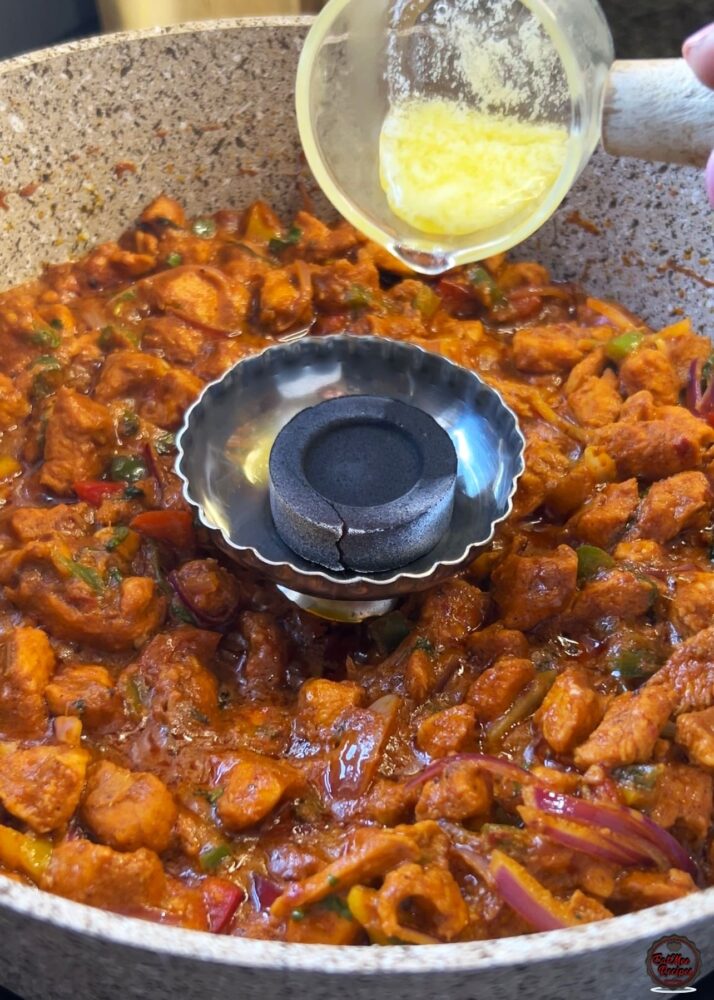
It will begin smoking so immediately cover the pot with a lid. Make sure to cover any ventilation holes that the lid may have to ensure the smoke stays trapped.
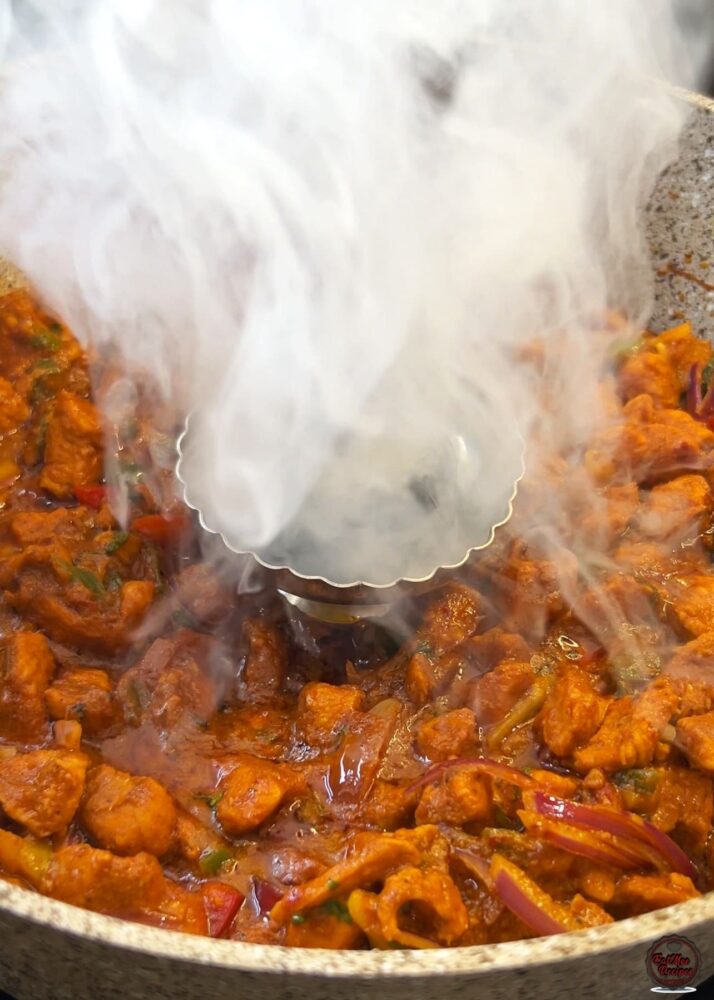
Let it smoke for 5 minutes, then remove the coal. This is just enough time to infuse a deep smoky flavour without overpowering the dish – any shorter and the smokiness will be too mild, any longer and it can turn bitter.
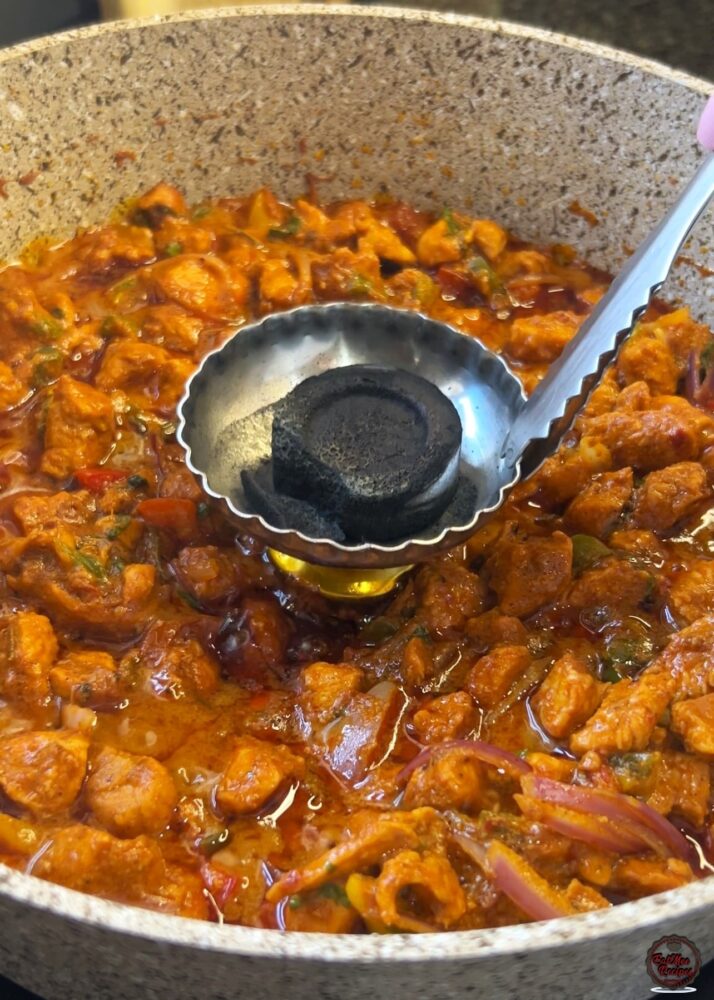
The filling is now ready to be loaded in the rolls.
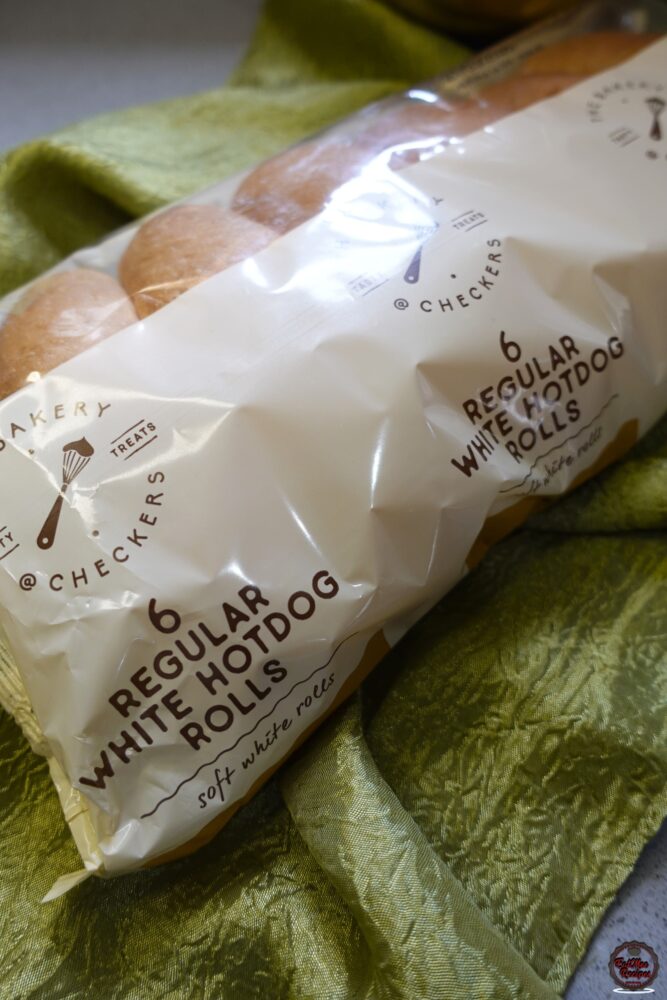
Bring out the hot dog rolls and slice each one down the middle (don’t cut all the way through).
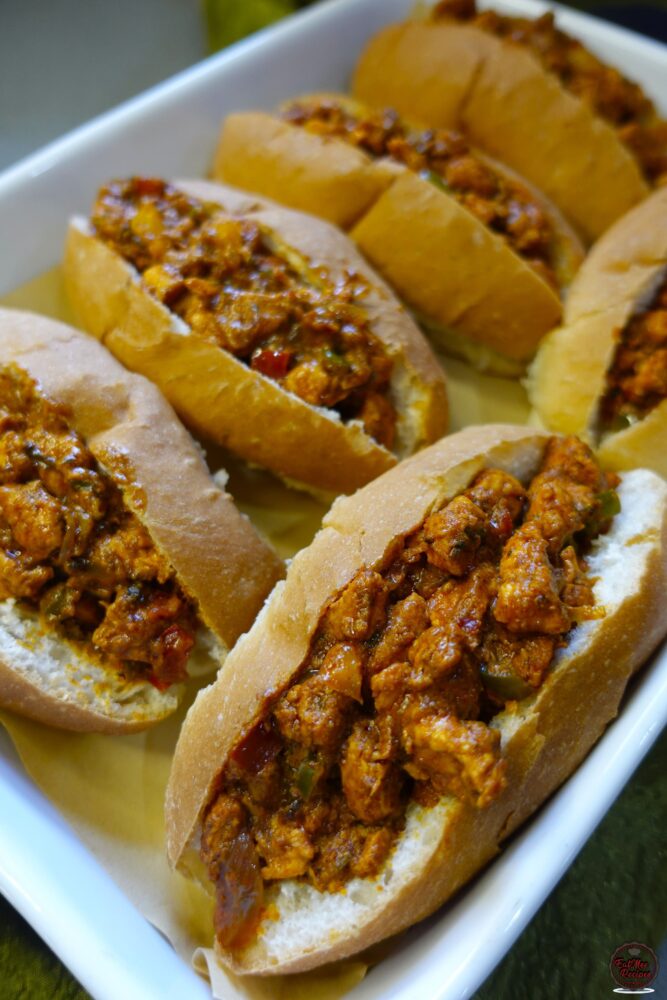
Fill each roll with the chicken tikka mixture.
Place all the rolls into a lined casserole dish.
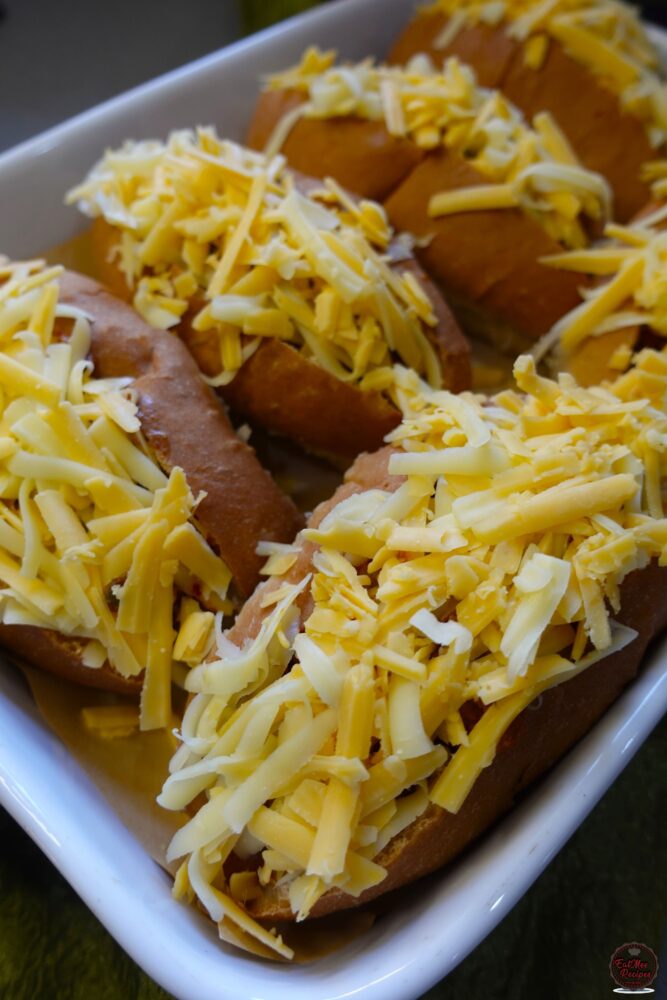
Top generously with cheese.
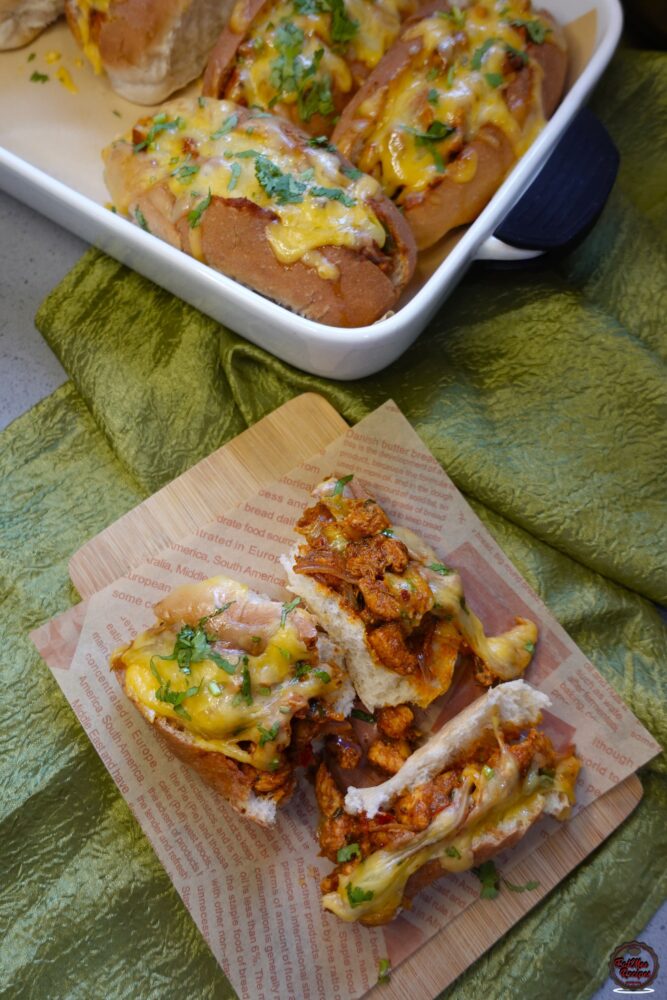
Bake in a preheated oven at 180°C (top heat) for 4 minutes, or until the cheese is melted and bubbly.
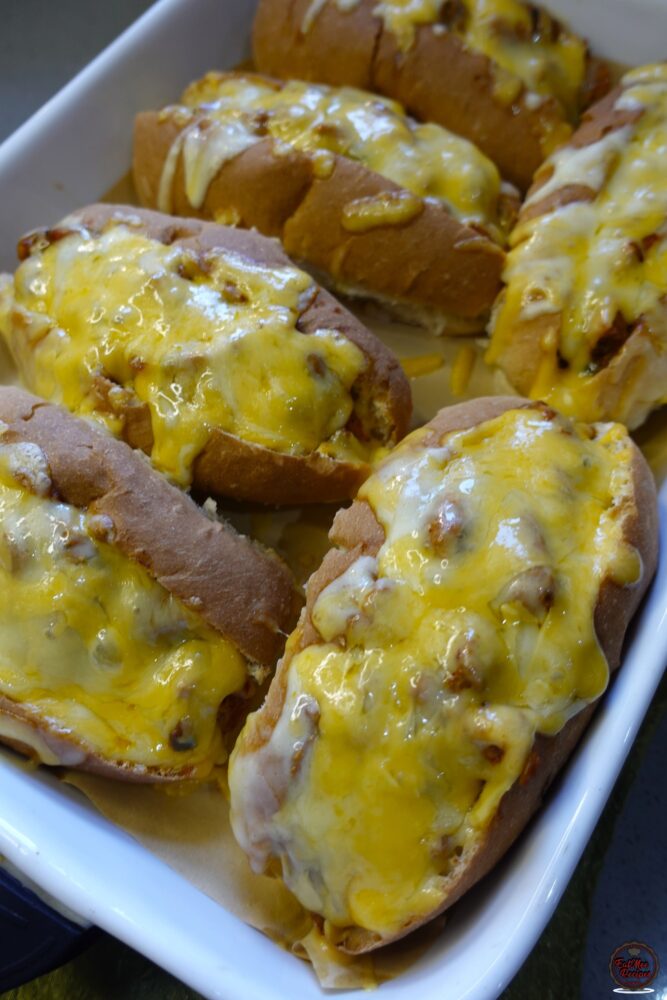
If you don’t want to use the oven: Preheat air fryer to 180°C, place filled subs in the basket (you may need to work in batches). Air fry for 3-5 minutes, until cheese is melted and rolls are lightly toasted.
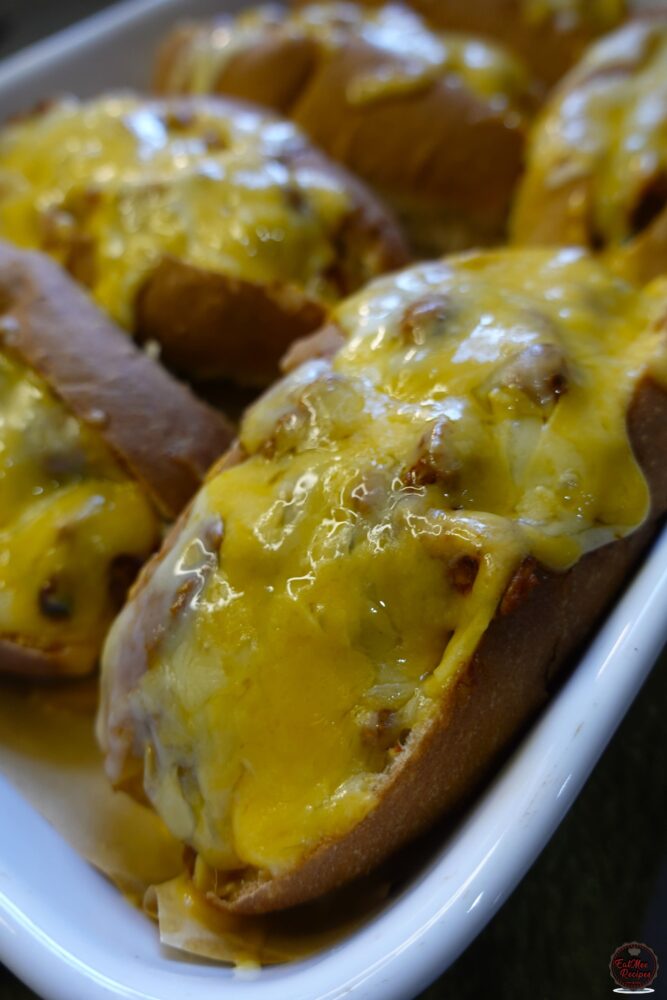
Garnish with freshly chopped coriander for a burst of freshness and colour to balance the rich, smoky flavours.
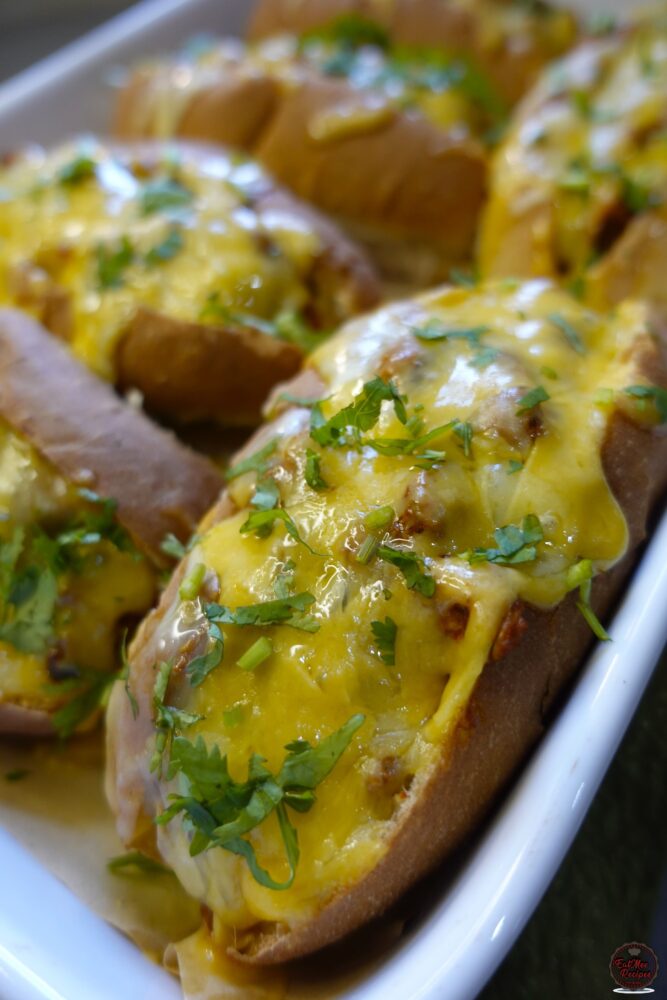
Serve immediately while hot, cheesy, and smoky.
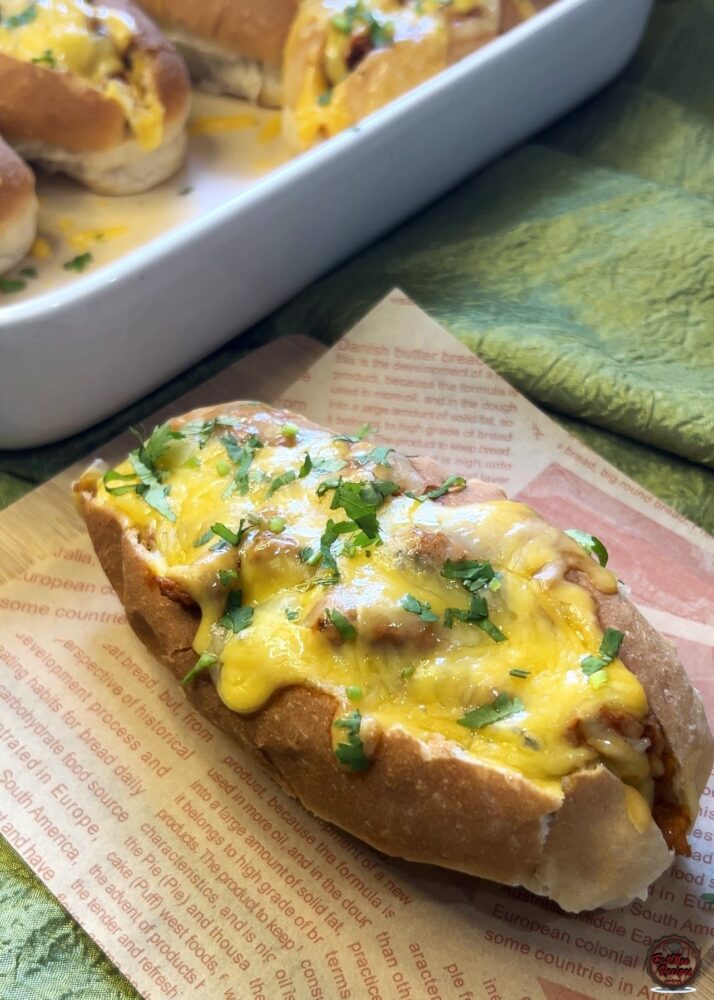
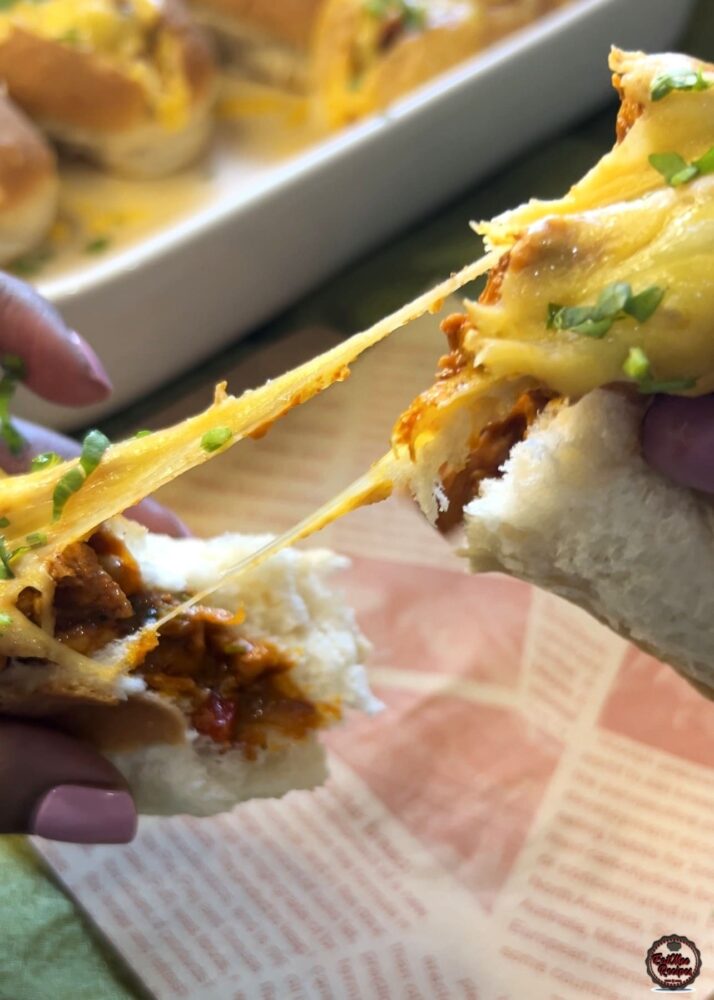
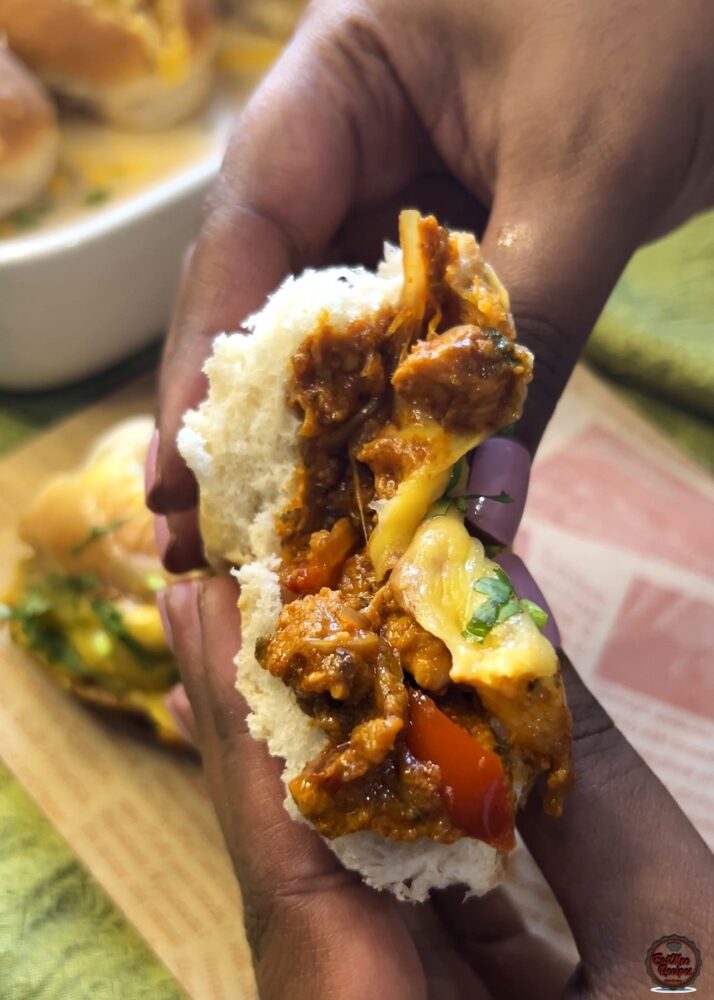
As you open up the sub or take that first bite, the melted mozzarella and Gouda stretch into those irresistible, gooey strands-rich, creamy, and perfectly coating the saucy chicken. It’s that classic cheese pull that makes every bite feel indulgent and satisfying, just like your favourite takeaway subs.
Allow the subs to cool completely, then store in an airtight container in the fridge for up to 2-3 days.
To reheat, pop them in the oven or air fryer at 180°C for 5-8 minutes until warmed through and the cheese is melty again. Avoid microwaving if possible, as the rolls can become soggy.
Follow along with Denisiya's step-by-step video guide for Chicken Tikka Subs.
Expert kitchen guidance and troubleshooting for making the best Chicken Tikka Subs
Absolutely! You can easily tailor the heat by increasing or reducing the chili powder and fresh chilies to suit your family’s palate without compromising the authentic flavor profile.
Yes, you can freeze Chicken Tikka Subs in an airtight, freezer-safe container for up to 2 to 3 months. Thaw overnight in the refrigerator before gently reheating.
Reheat gently on the stovetop over low heat with a splash of water, or in the microwave covered with a damp paper towel to retain moisture.
Hi, I'm Denisiya! Food lover, recipe developer, and founder of EatMee Recipes. I specialize in authentic South African Durban Indian cuisine, comforting curries, and modern Instant Pot adaptations. Every recipe on this site is tested in my personal kitchen to ensure you get mouth-watering, foolproof results every time.
Explore more authentic Durban curries, traditional bakes, and comforting family favourites.
 Indian Cuisine
My mum is sharing another one of her much-loved traditional South African Indian recipes. ...
 Indian Cuisine
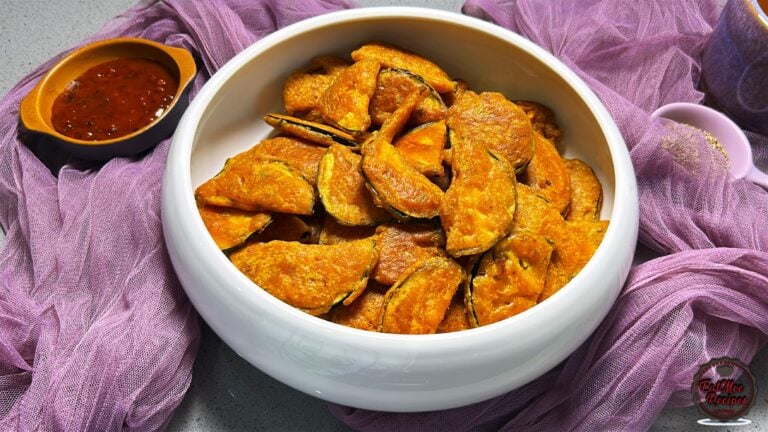
Crispy, golden and delicious, these Brinjal Pakoras are made with thin slices of brinjal c...
 Indian Cuisine
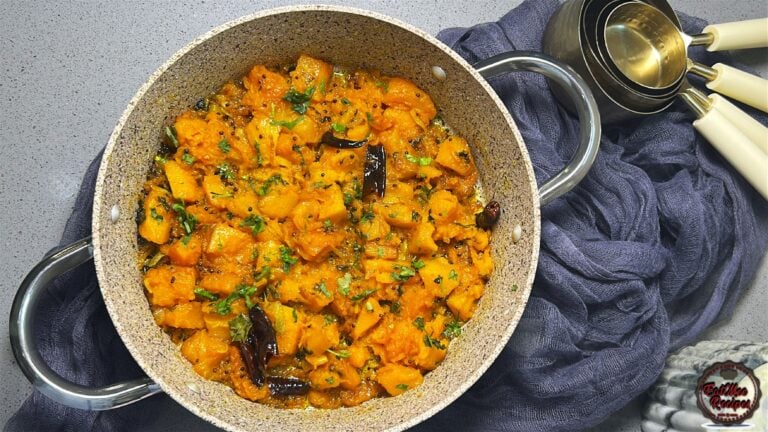
Mum’s Pumpkin Curry is a simple, comforting vegetarian dish that proves you don’t need a l...
Have you tried this recipe or have questions for Denisiya? Join the conversation below.
No comments yet. Be the first to share your thoughts on this recipe!
Leave a Comment
Your email address will not be published. Required fields are marked *