
We Value Your Culinary Privacy
EatMee Recipes uses cookies to provide a personalized browsing experience, analyze recipe popularity, and serve relevant ads. You can review our full disclosure in our Privacy Policy.
Make authentic Chicken Stew with this foolproof recipe. Packed with rich traditional flavor, step-by-step photos, and cooking tips by Denisiya on EatMee Recipes.

Join over 60,000+ home chefs for weekly authentic Durban Indian cook-alongs, Instant Pot masterclasses, and family heritage recipes.
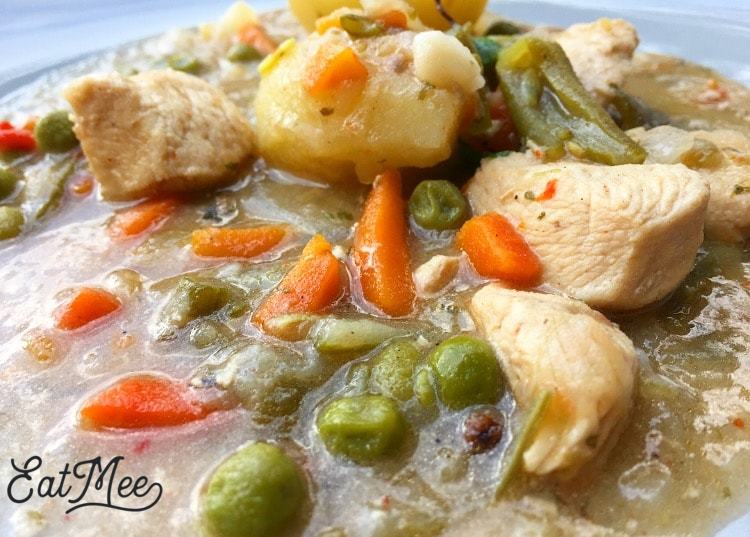
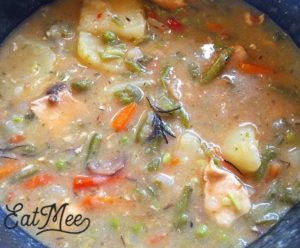
This Chicken Stew is stacked with vegetables & flavour.
Peel carrots, rinse & chop into small chunks.
Finely slice the cabbage, rinse & set aside.
Break off either ends of the green beans (just a tiny bit to remove the stems), wash & slice.
Place the vegetables in a bowl & set aside.
Rinse chicken breasts.

Cut breast pieces into chunks & set aside in a bowl/dish.

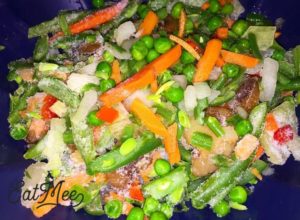
Defrost vegetables if frozen veggies are being used. If fresh veggies are going to be used then peel the carrots & dice up all the veggies & set aside.
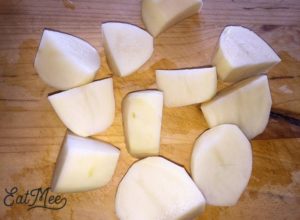
Peel potatoes, cut in halves & set in a bowl of cold water.
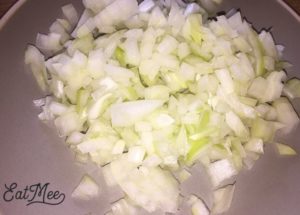
Chop onion & set aside.
Chop tomato & set aside.

Cut off the stems of the green chillies, rinse & slit each one down the middle.

Heat the oil in a large pot.
When the oil is hot enough, add in the chopped onion, curry leaves, rosemary & thyme.
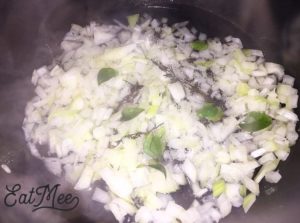
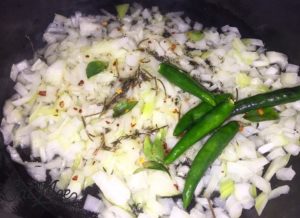
Thereafter add in the green chillies & chilli flakes (optional). Simmer on medium heat for 2 minutes without allowing the onions to burn. (If onions burn, it’s best to start over).
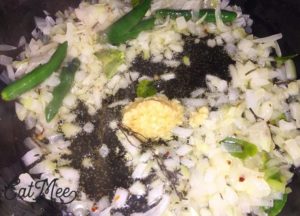
Add in the ginger & garlic paste.
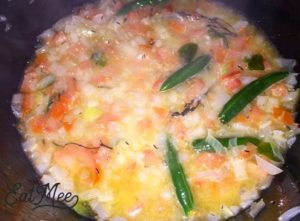
Thereafter, add in the chopped tomato, followed with about a ¼ cup of water. (I used boiled water).
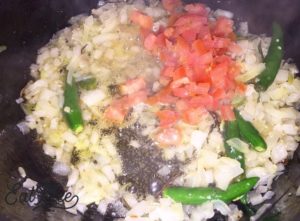
Allow this to simmer until the tomatoes have been cooked through.
Drop in the chicken pieces.

Mix well & add a little more water if needed.
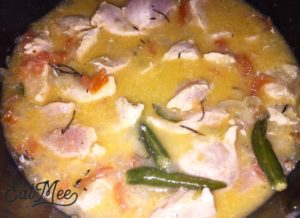
Add in the peppercorns.
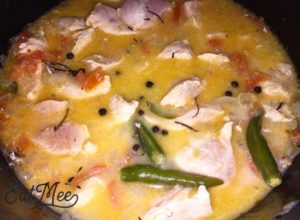
I have also added in a little chicken spice, this step may be omitted.

Allow to cook on medium heat until the chicken is almost soft.
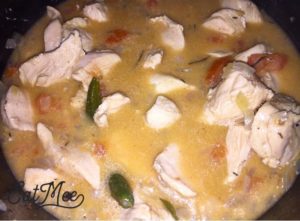
When the chicken is almost soft, drop in the vegetables (carrots, green beans, cabbage) or frozen veggies like I have.
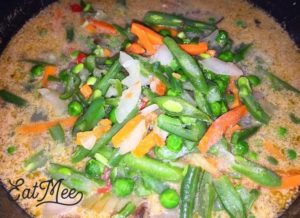
Mix well.
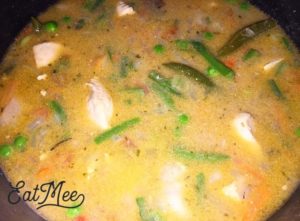
When the veggies have softened up then drop in the potatoes. (Discard the water that the potatoes have been resting in).
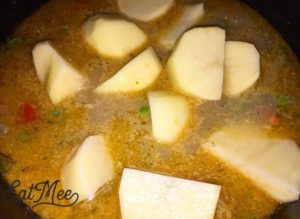
Mix well & try to push the potatoes under the gravy so that they cook.
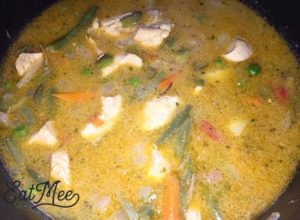
Whilst the potatoes are cooking, grab a bowl & drop in the 4 teaspoons of flour. Add a little tap water to it to form a paste. Mix well & set aside.

When the potatoes are soft & almost melting, add in a spoon at a time of the flour paste, stirring as you add it into the pot. The flour paste acts as a thickening agent & forms the thick stewy gravy.
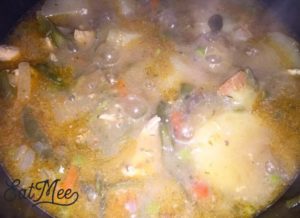
Add in the dried mixed herbs if you are using it.
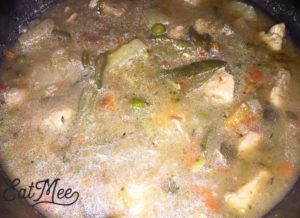
Add salt to taste.
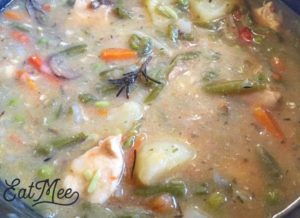
At this point you may add in Dumplings if you like. Dumplings are balls of batter that are added to most stews & other dishes, which form big doughy balls that are soft.
If the stew is too thick, add more boiled water. If the stew is too weak, add in a little more of the flour paste.
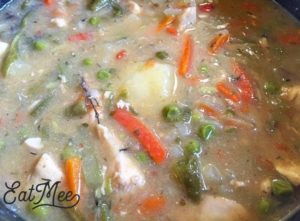
Serve hot with bread, rice or as is.
Follow along with Denisiya's step-by-step video guide for Chicken Stew.
Expert kitchen guidance and troubleshooting for making the best Chicken Stew
Bone-in, skinless chicken pieces (such as thighs, drumsticks, and breasts with bone) yield the richest, most authentic flavor because the bones release gelatin into the gravy as it simmers.
Braise your onions with whole spices (cinnamon stick, star anise, curry leaves) until deep golden brown before adding the ginger, garlic, and masala. Allowing the spices to fry for 30 seconds in hot oil blooms the essential oils.
Yes, this curry freezes wonderfully for up to 3 months in an airtight container. Note: If freezing, omit or remove the potatoes as their texture changes when frozen. You can easily add fresh boiled potatoes when reheating!
Hi, I'm Denisiya! Food lover, recipe developer, and founder of EatMee Recipes. I specialize in authentic South African Durban Indian cuisine, comforting curries, and modern Instant Pot adaptations. Every recipe on this site is tested in my personal kitchen to ensure you get mouth-watering, foolproof results every time.
Explore more authentic Durban curries, traditional bakes, and comforting family favourites.
 Afrikaner Cuisine
There’s something undeniably comforting about a warm, flaky sausage roll. They’re nostalgi...
 Afrikaner Cuisine
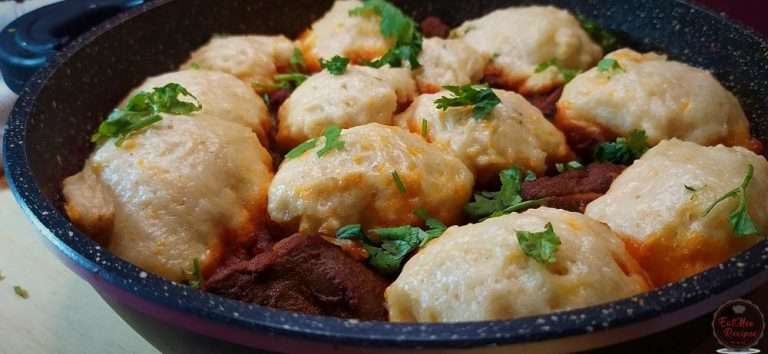
In South Africa, Dumplings (Dombolo) is known to be steamed bread which is cooked over cur...
 Afrikaner Cuisine
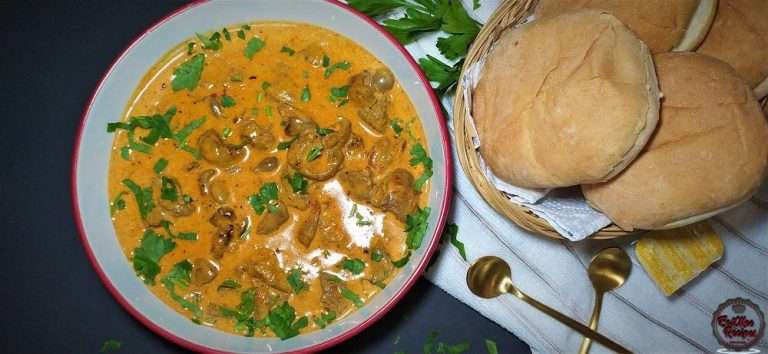
Who else goes to Nandos & orders the livers? I know I do but sometimes we just want to sta...
Have you tried this recipe or have questions for Denisiya? Join the conversation below.
No comments yet. Be the first to share your thoughts on this recipe!
Leave a Comment
Your email address will not be published. Required fields are marked *