
We Value Your Culinary Privacy
EatMee Recipes uses cookies to provide a personalized browsing experience, analyze recipe popularity, and serve relevant ads. You can review our full disclosure in our Privacy Policy.
Make authentic Chicken Biryani with this foolproof recipe. Packed with rich traditional flavor, step-by-step photos, and cooking tips by Denisiya on EatMee Recipes.

Join over 60,000+ home chefs for weekly authentic Durban Indian cook-alongs, Instant Pot masterclasses, and family heritage recipes.
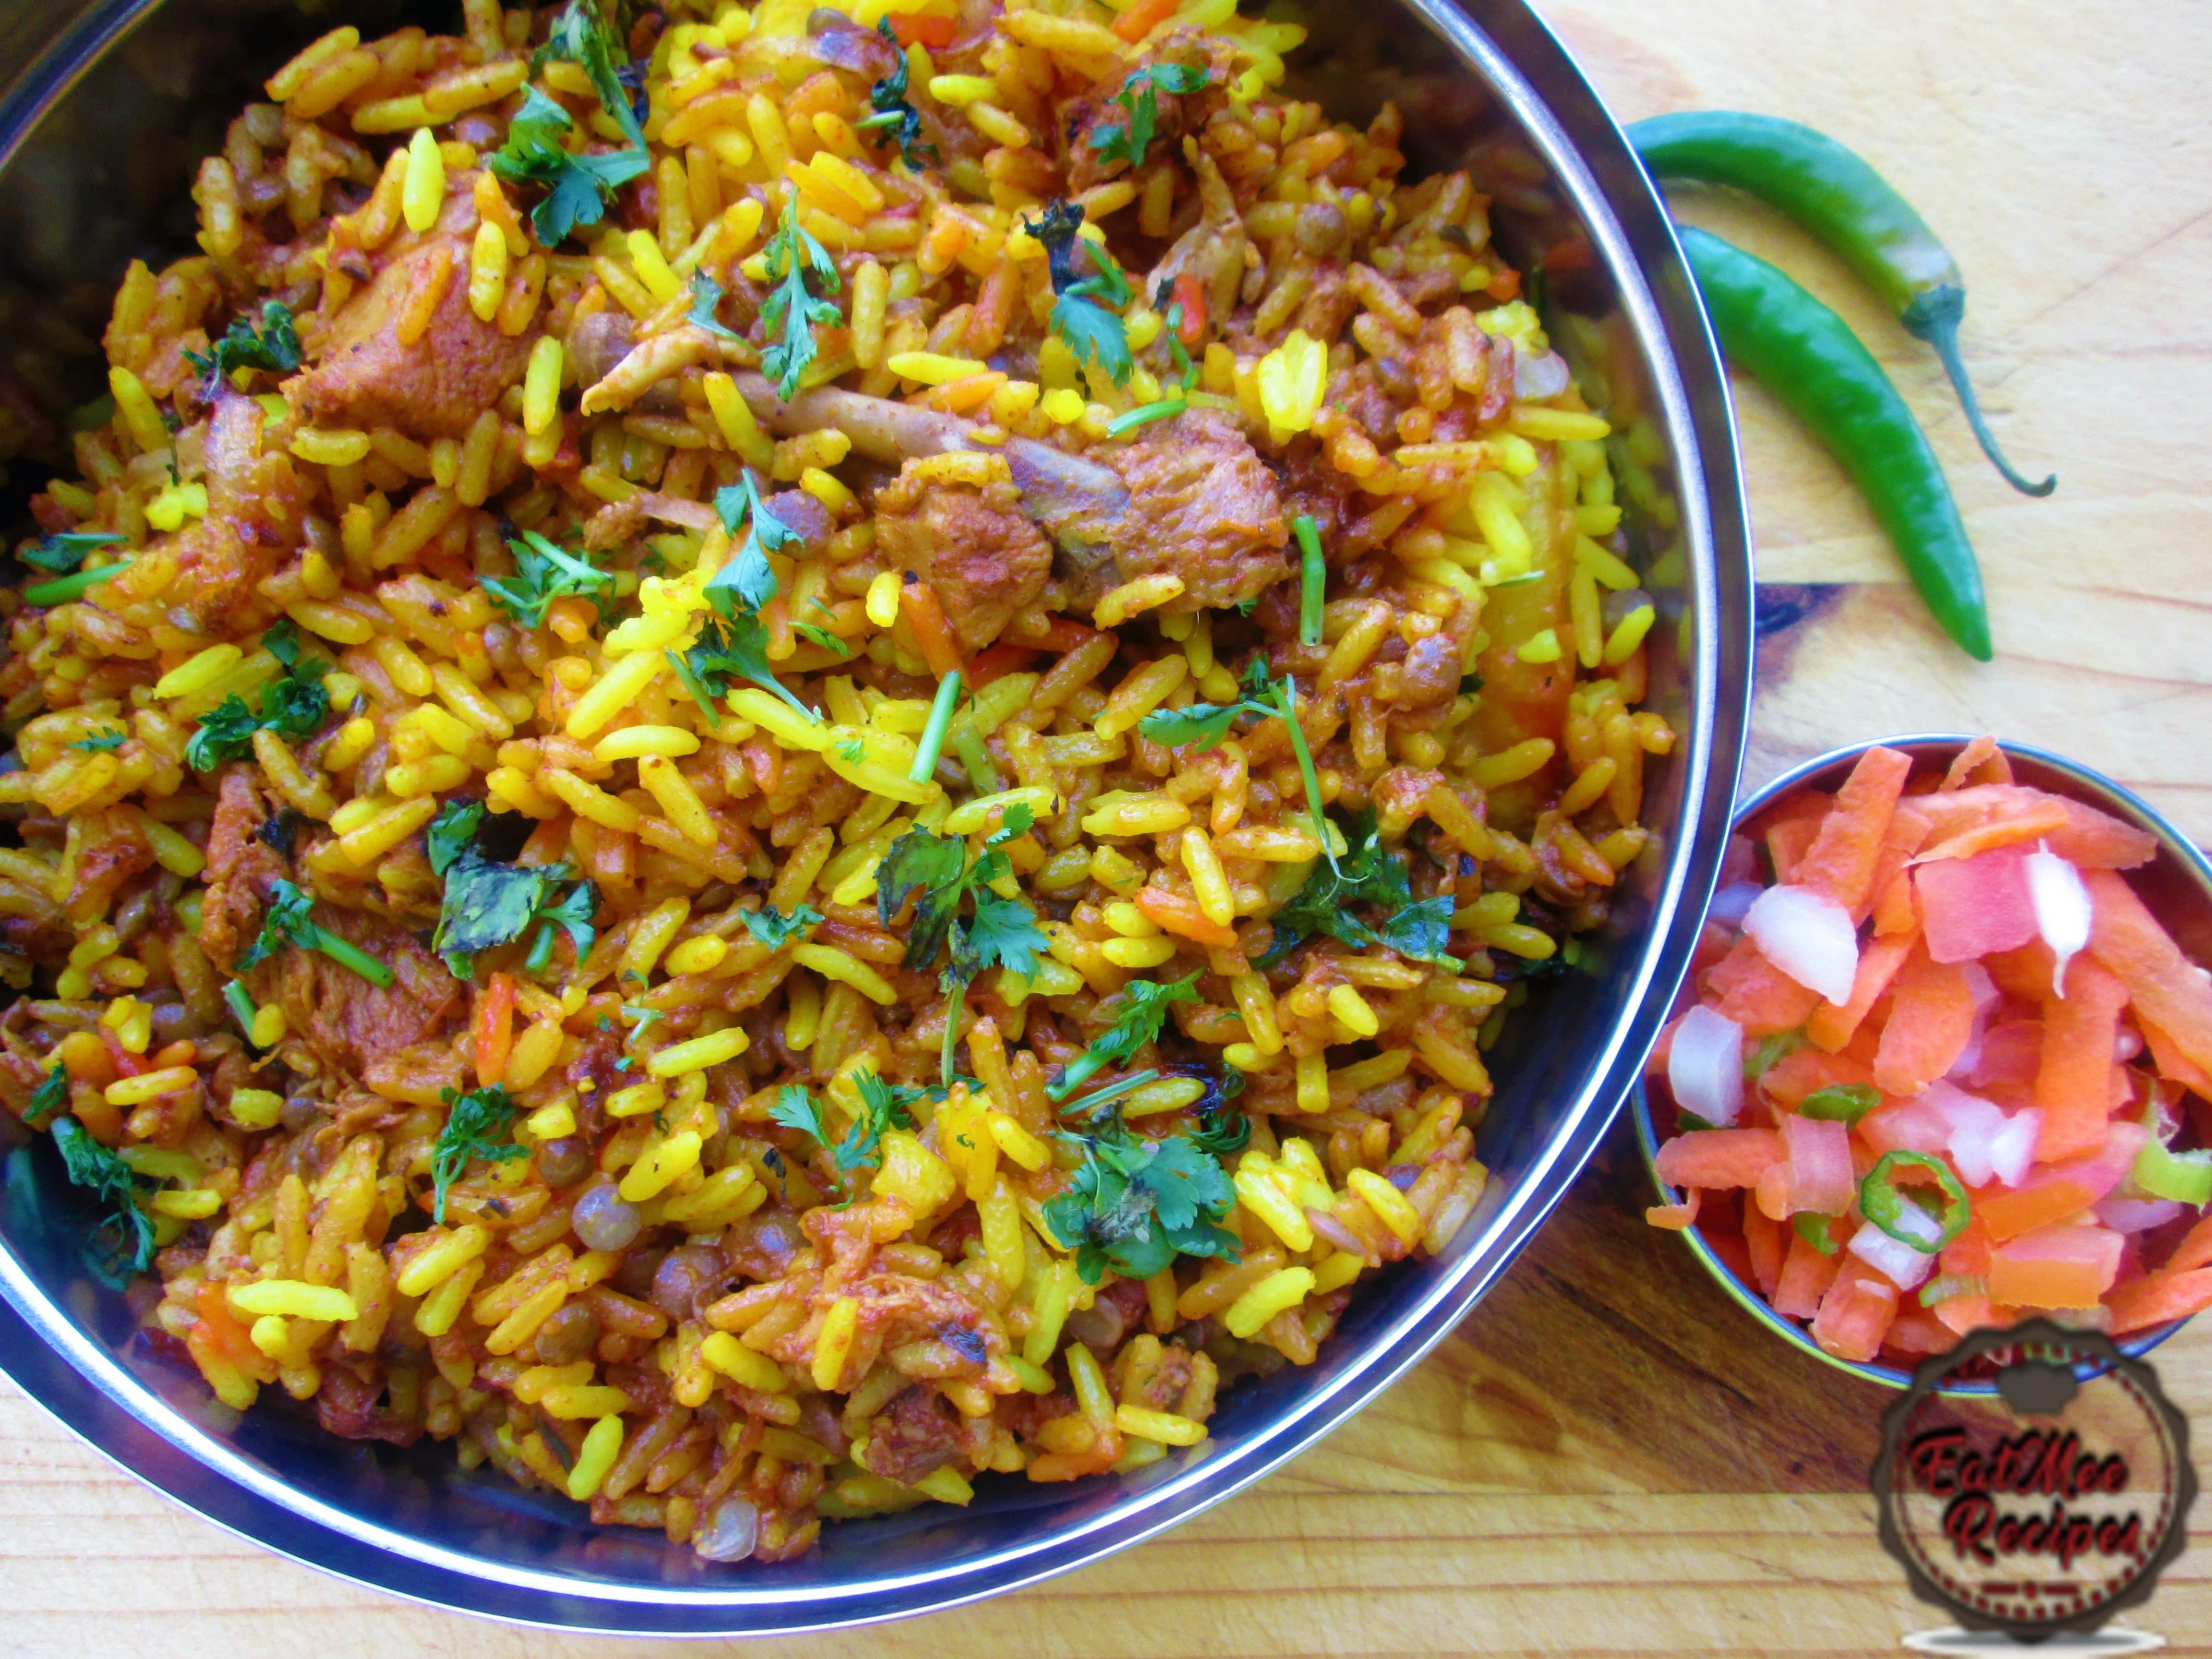
This Chicken Biryani recipe will always be a great meal idea at home. This recipe is inspired by my mum. It is a typical South African style biryani with infused flavours.
Biryani otherwise called biriyani or biriani, is a blended rice dish with its origins among the Muslims of the Indian subcontinent. It is mainstream all through the subcontinent & among the diaspora from the area. It is made with flavors, rice, meat &/or vegetables.
It can be prepared using long grain basmati rice or parboiled rice.
South Africans usually prepare biryanis’ with parboiled rice.
“Biryani” is a Urdu word got from the Persian dialect, which was utilized as an official dialect as a part of various parts of medieval India, by different Islamic administrations.
Pronunciation: Bee-r-ya-nee
Rinse & cut whole chicken or chicken pieces.
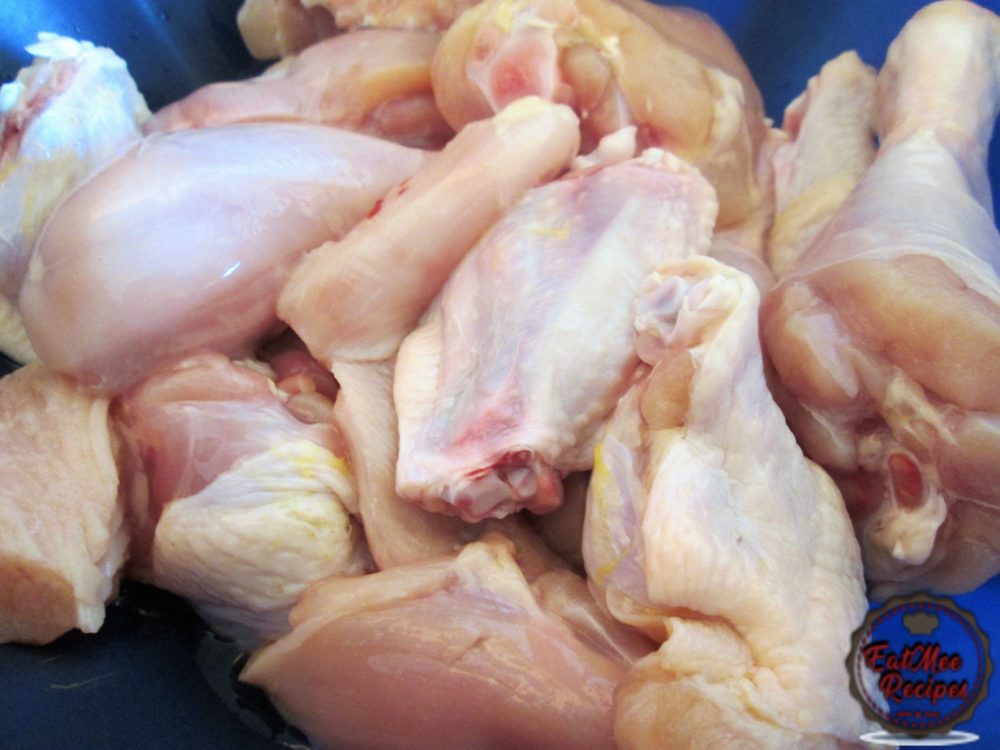
Marinate the chicken with 1 teaspoon ginger & garlic paste, 2-3 sprigs thyme, handful of mint, handful of coriander (dhania), ¼ teaspoon turmeric powder, ½ teaspoon jeera powder, 1 teaspoon dhania powder, 1 teaspoon garam masala, 1 tablespoon chilli powder, ¼ cup vegetable oil, 1 teaspoon salt, sourmilk (maas).
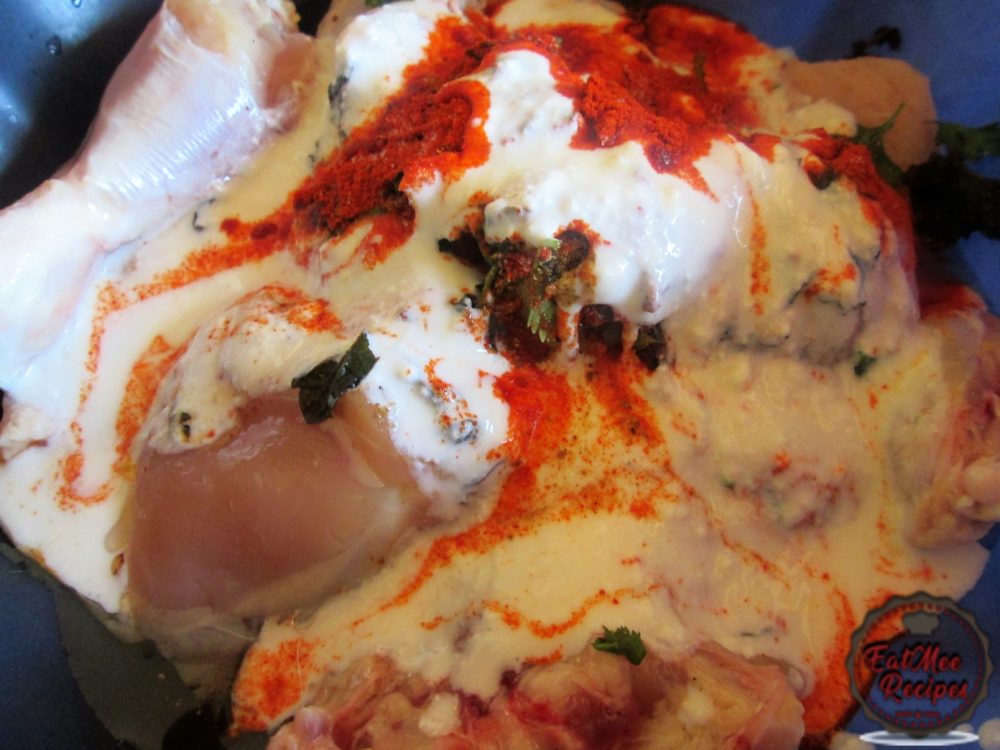
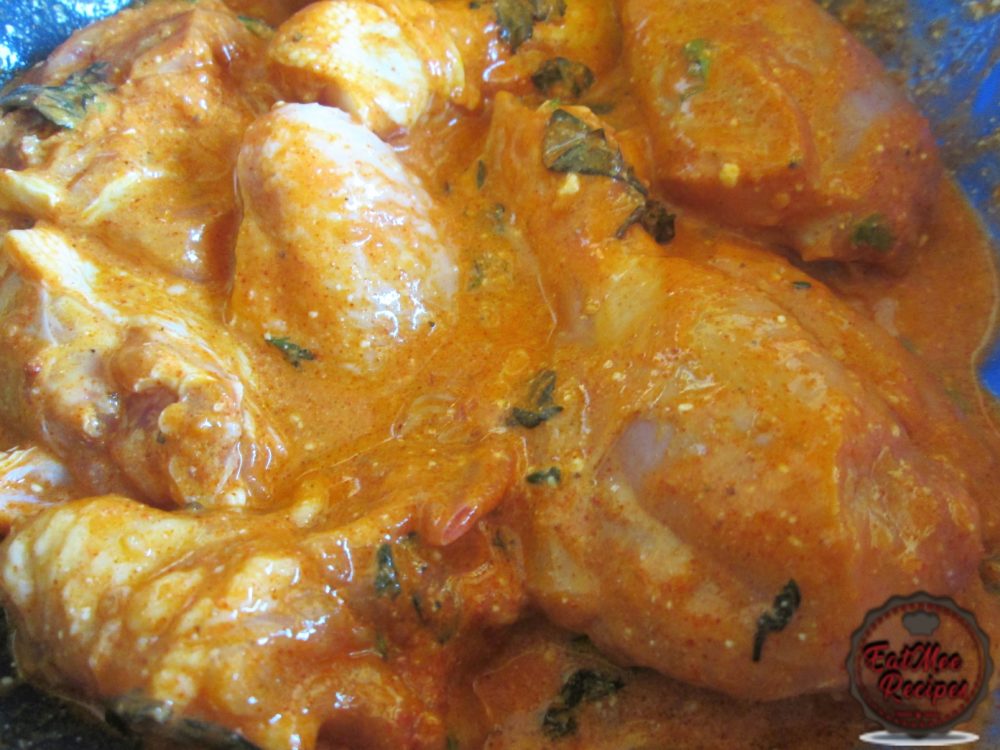
Mix well, cover with cling wrap & allow to marinade for as long as possible. Be sure to remove from the refrigerator half an hour before cooking otherwise the meat will tend to be tough from the shock of the heat.
Place rice in a bowl, wash rice until water runs clear. Fill the bowl with water & allow to soak for 10 minutes.
Thereafter, rinse again & fill the pot with water & place on the stove top on medium heat.
Add 1 teaspoon turmeric powder, salt to taste, 1 teaspoon vegetable oil, 2 bay leaves & 1 cinnamon stick. Boil for 15-20 minutes, until soft but not mushy or overcooked.
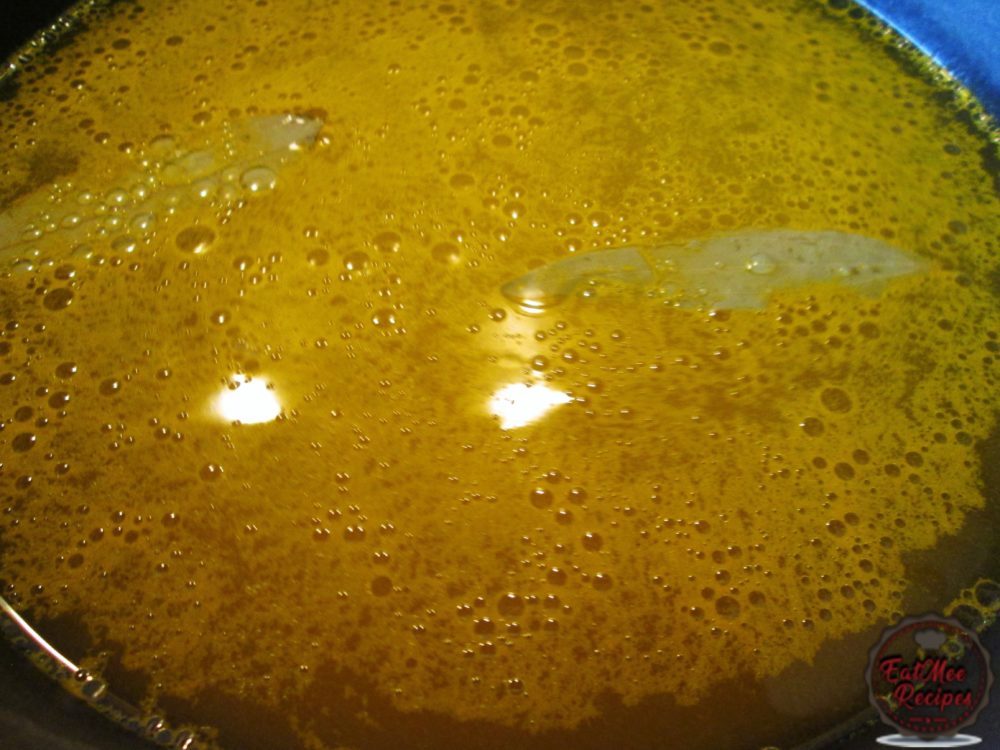
Once the rice has cooked, strain & set aside.
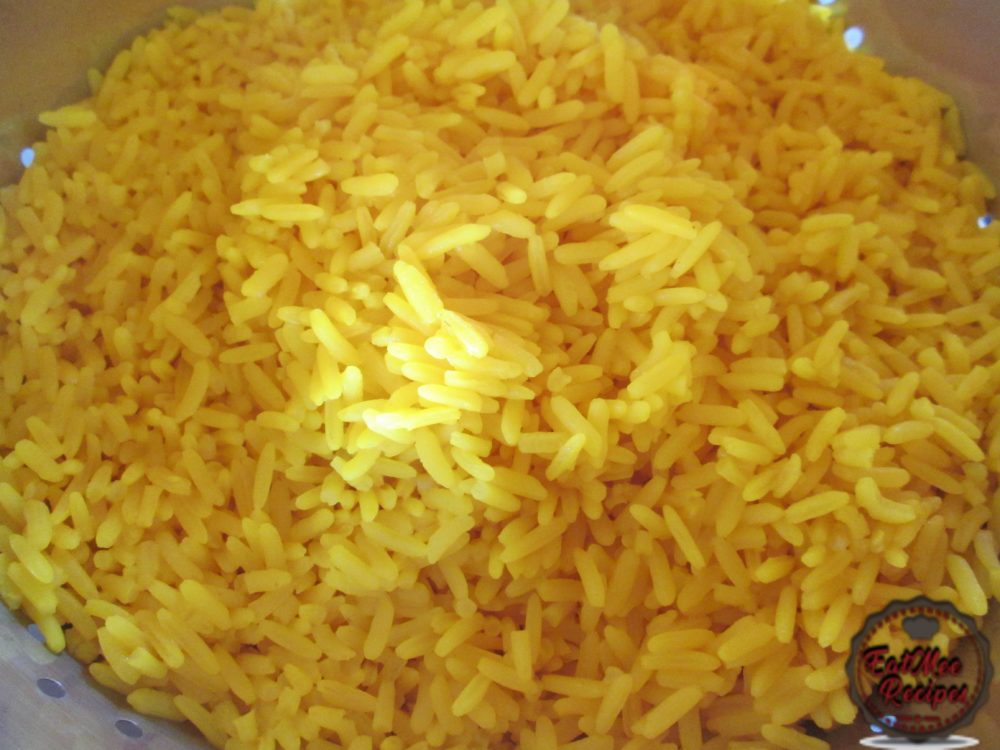
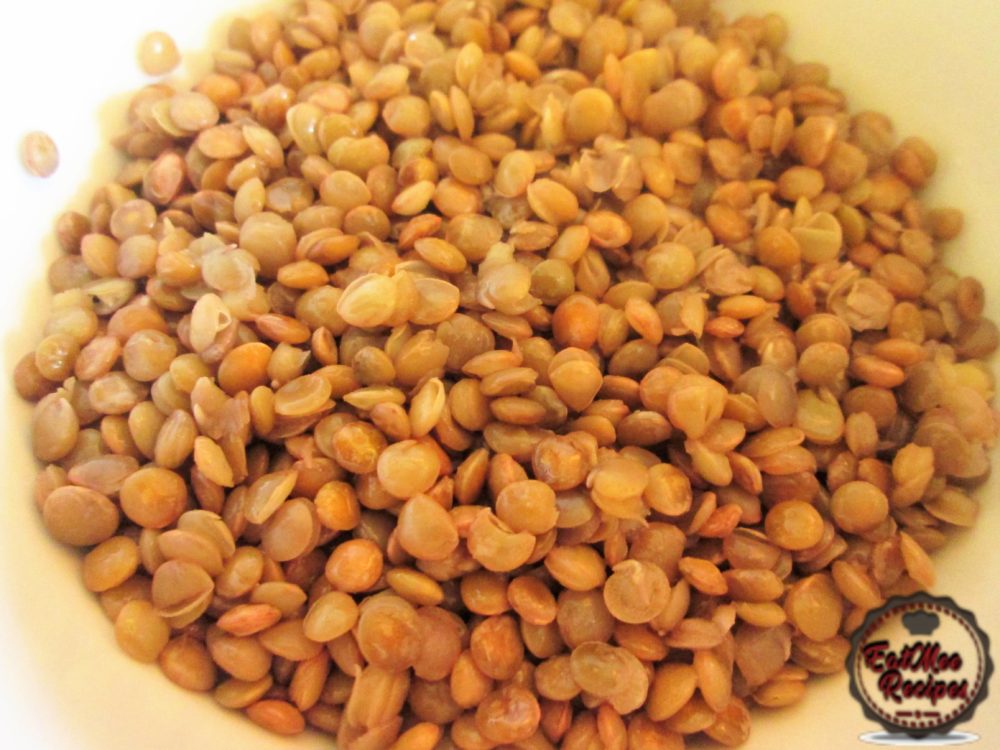
Place the biryani dhall (masoor) in a small pot.
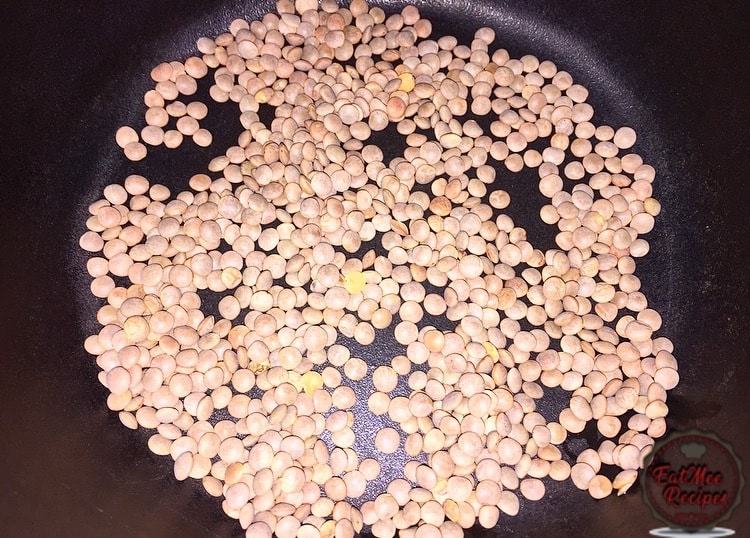
Rinse a few times & then fill the pot with water & 1 teaspoon vegetable oil. Bring the biryani dhall (masoor) to a boil on medium heat until soft.
Once the biryani dhall (masoor) is soft, drain & set aside in a bowl.
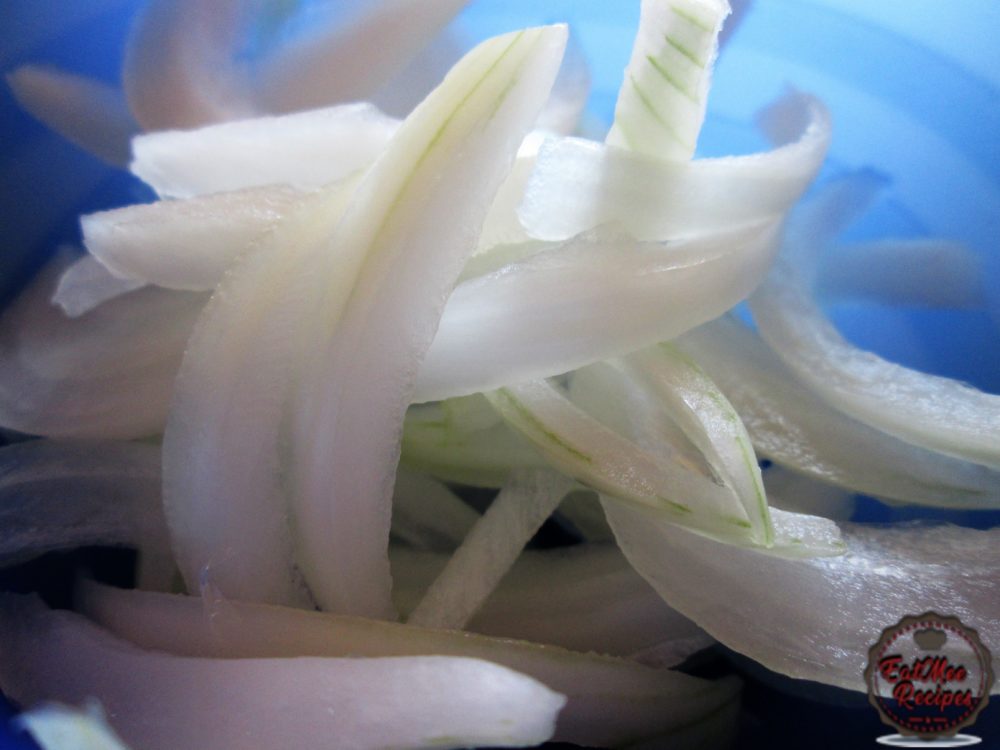
Peel onion & divide into half. Sliver both halves & set aside separately.
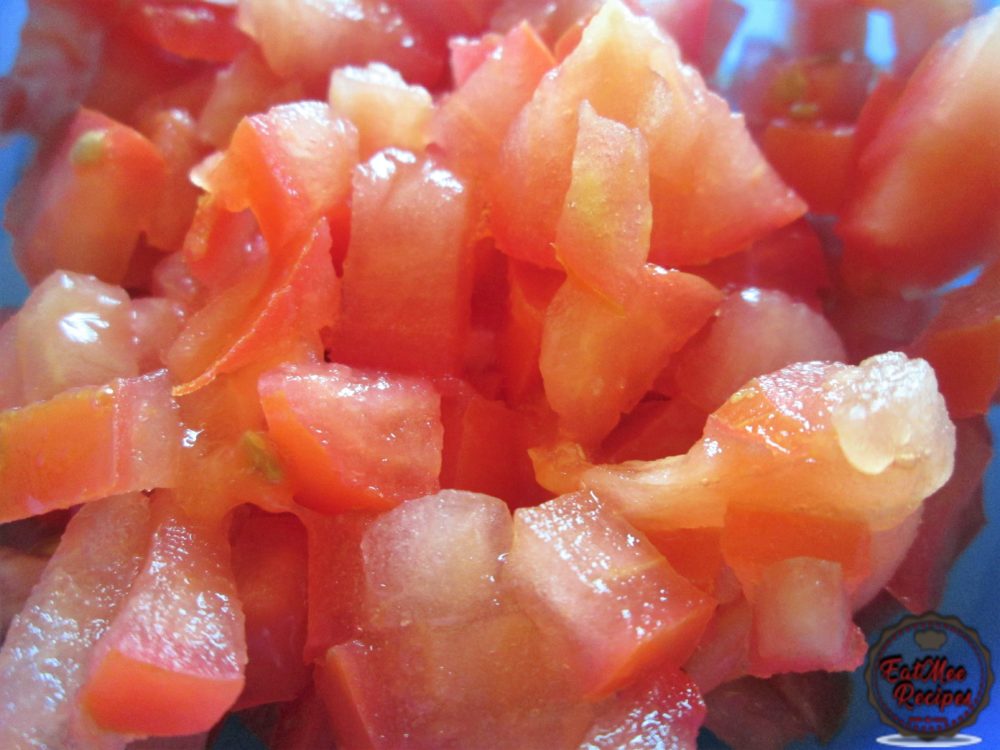
Dice tomatoes & set aside.
Peel, rinse & cut potatoes into quarters.
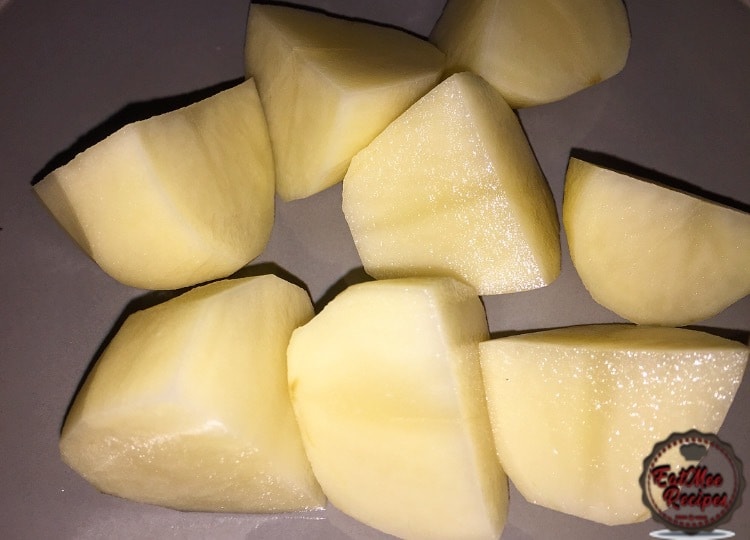
Place the potatoes into a microwavable bowl & microwave on high for 4 minutes.
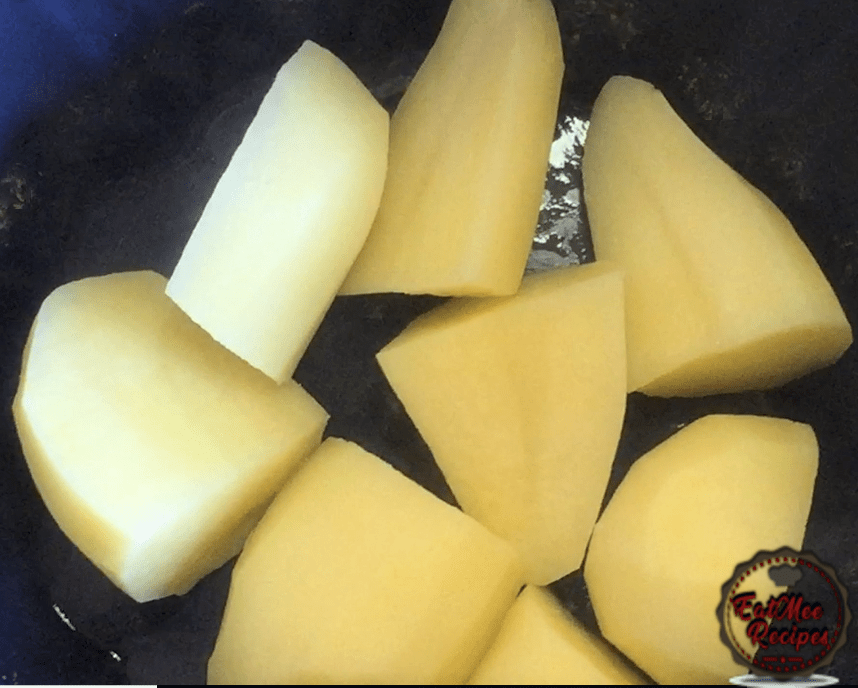
Remove from the microwave & drop a little yellow food colouring & mix well, coating all the potatoes.
Heat oil in a wide pot & place the potatoes in the hot oil.
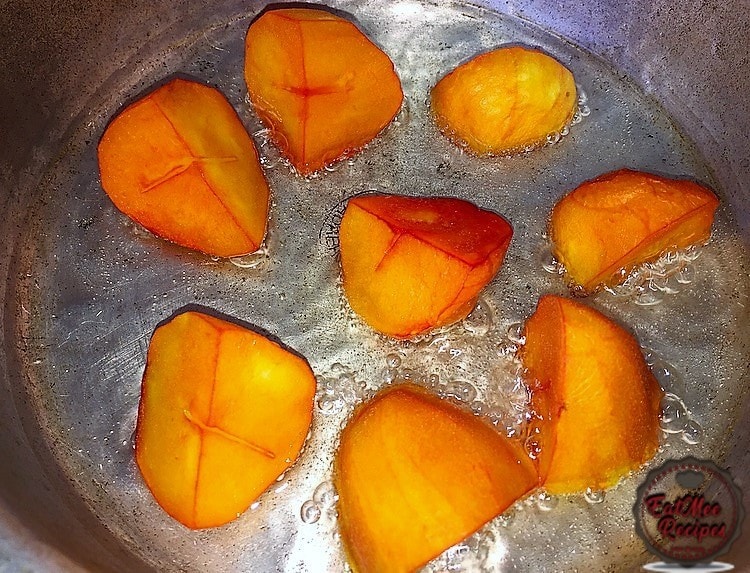
Fry potatoes until crisp & cooked throughout.
When potatoes are cooked, drain off excess oil & set aside.
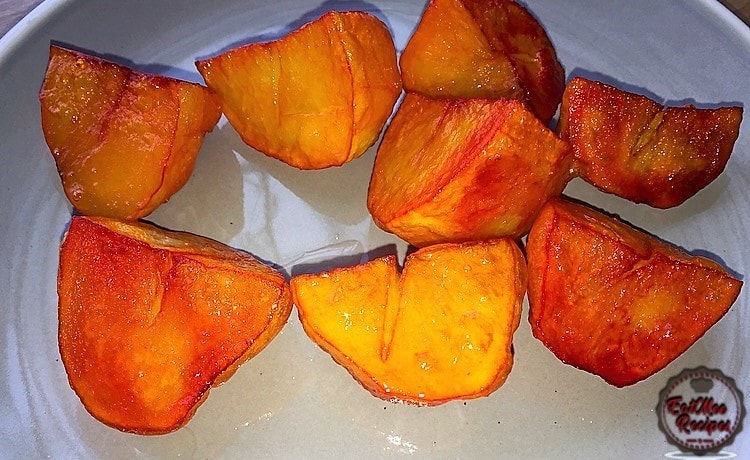
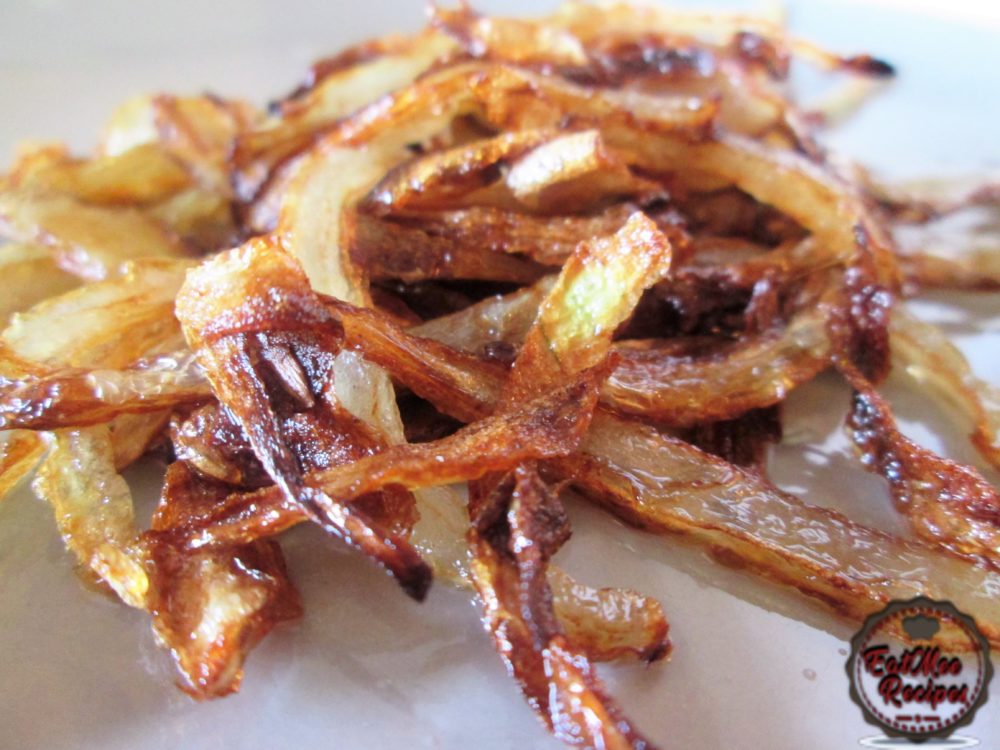
In the same oil that the potatoes were frying in, drop in one half of the slivered onions. Fry until golden.
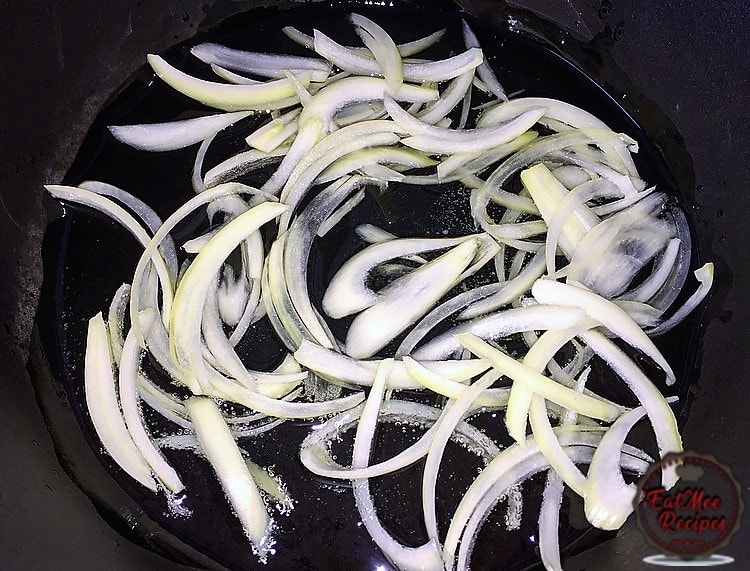
Once the onions have browned, remove & set aside.
In a much bigger pot, add in about 2 tablespoons of cooking oil, when oil is slightly hot, drop in the remaining onions. Thereafter, add in the curry leaves, 2 bay leaves, 1 cinnamon stick, elachie (cardamom) pods, star aniseed, cloves, jeera (cumin) seeds & soomph (fennel) seeds.
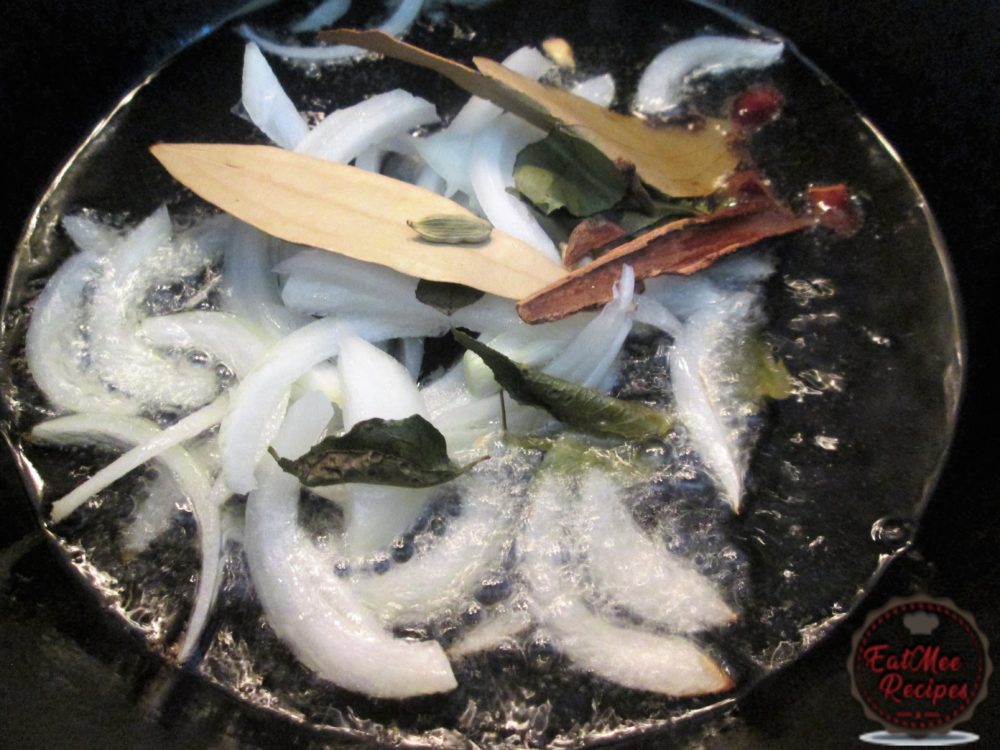
Mix & allow to braise until onions are translucent.
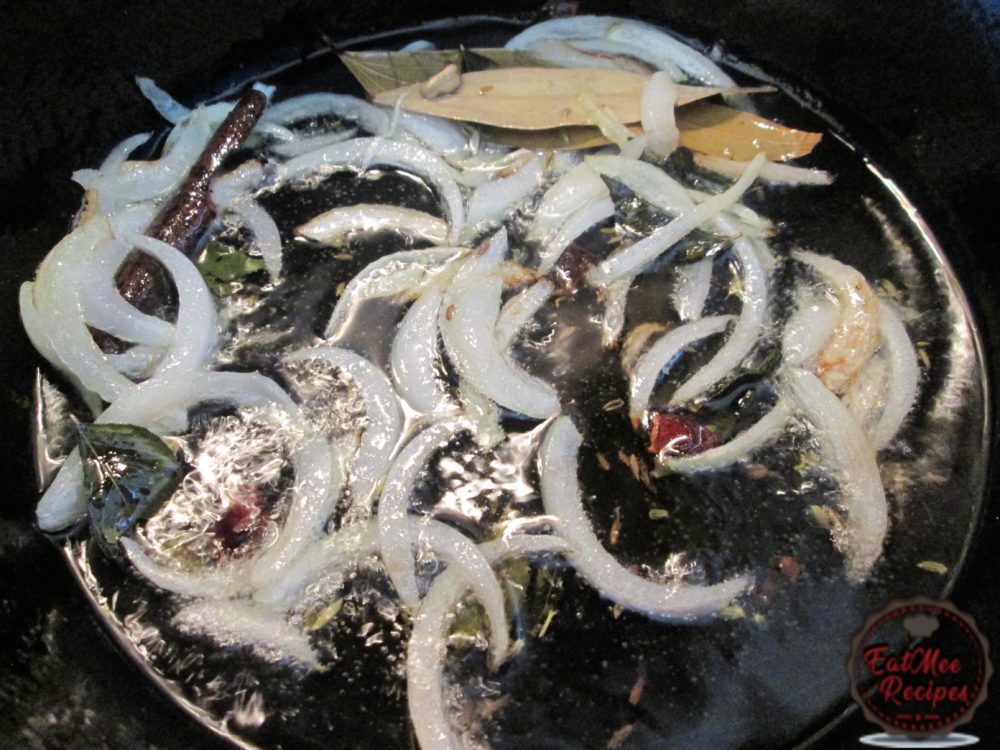
After that I personally remove most of the whole spices, including the elachie (cardamom), cloves, etc as I do not like to taste it when I eat. This step is optional & as per your preference.
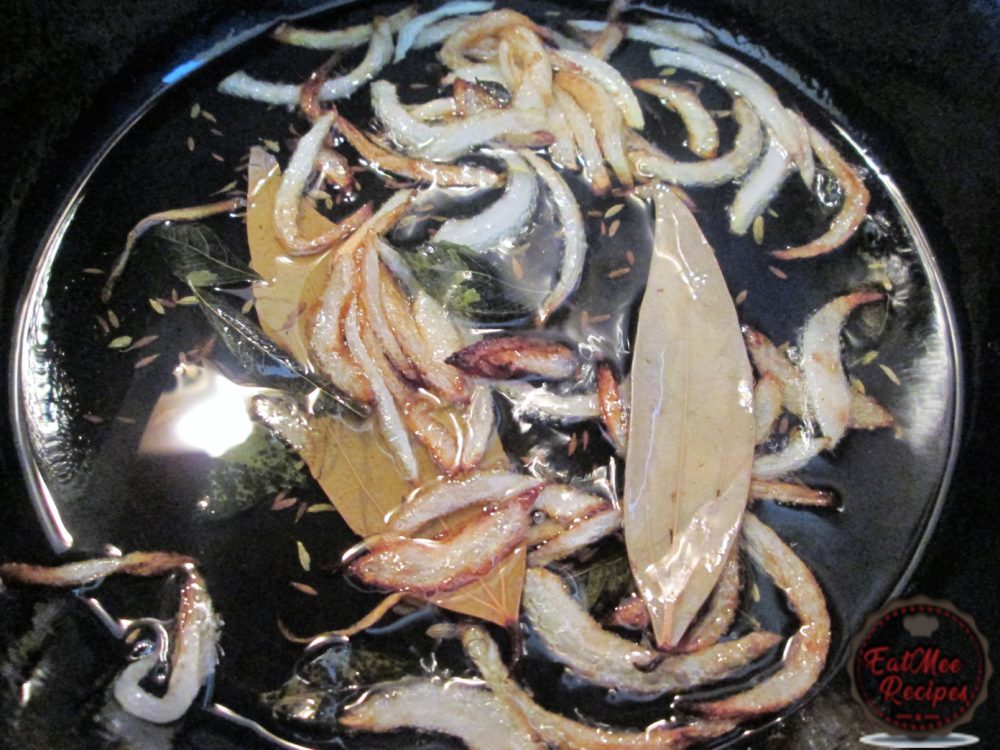
Add the ginger & garlic paste, turmeric powder, jeera powder, dhania powder, garam masala & chilli powder.
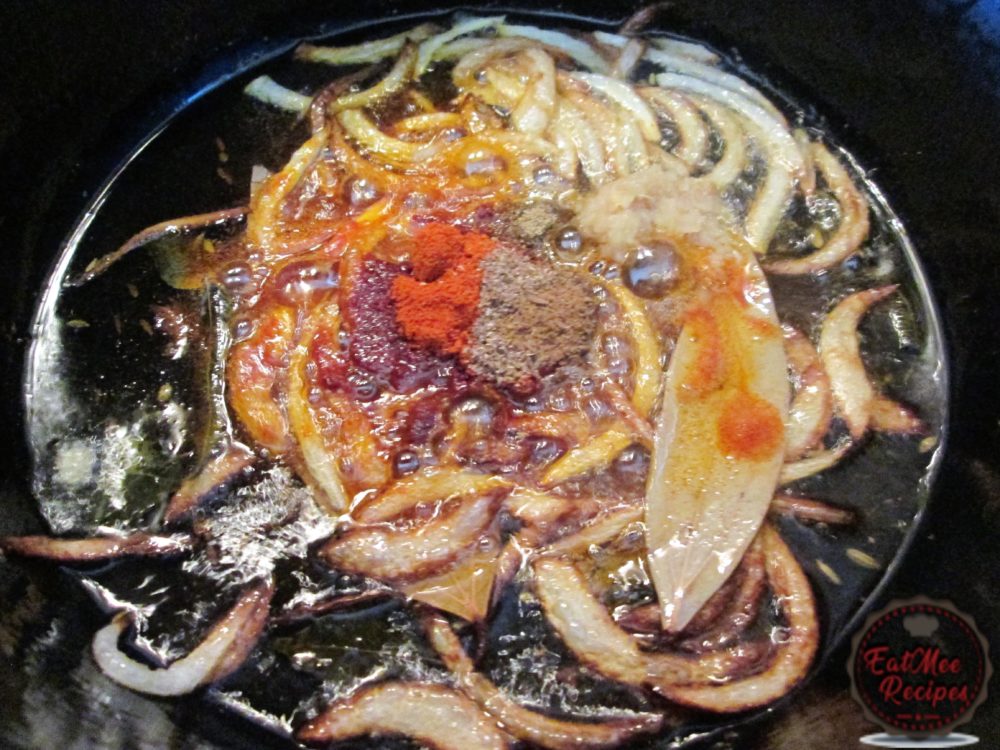
Mix & simmer for 30 seconds. Add a little boiled water if necessary.
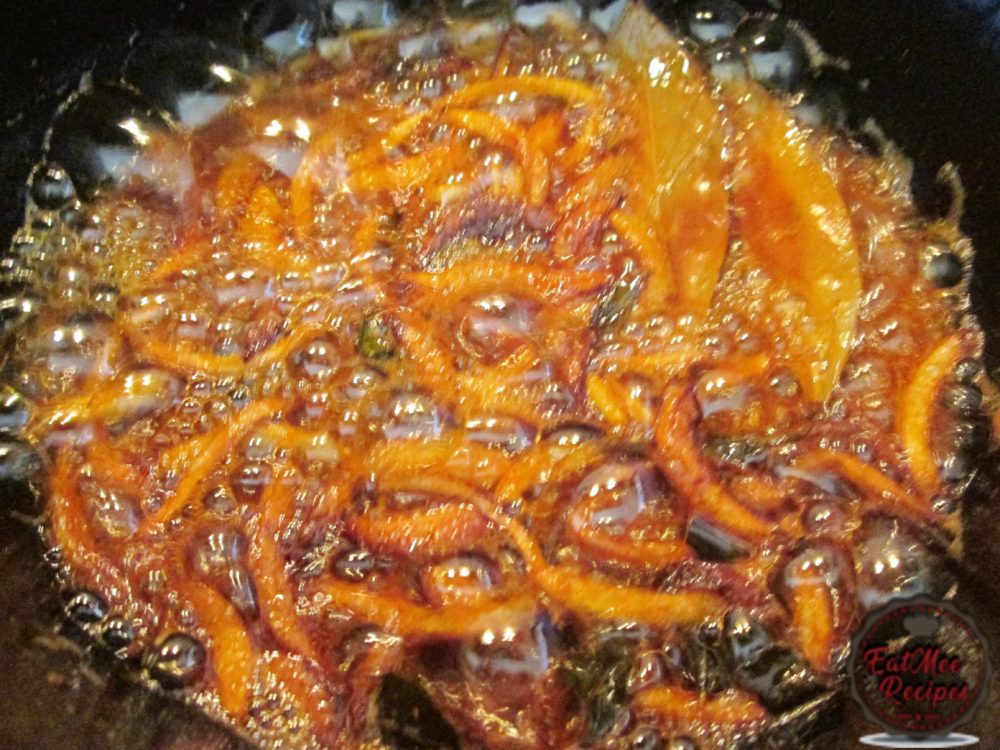
Add in the tomatoes.
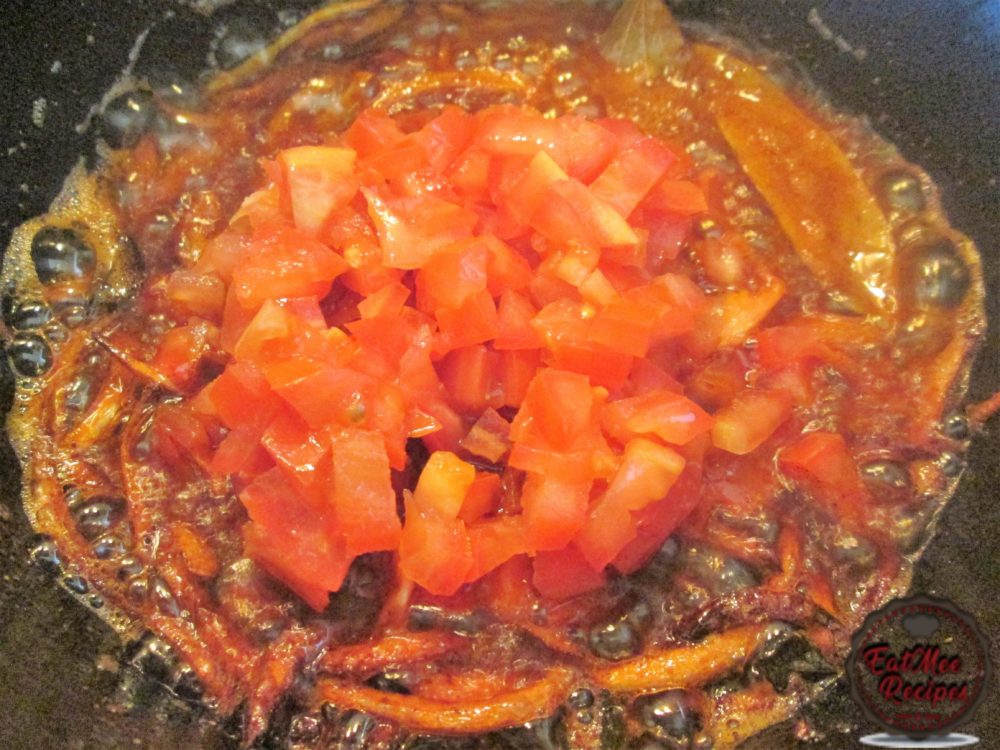
Pour in a little boiled water & mix well.
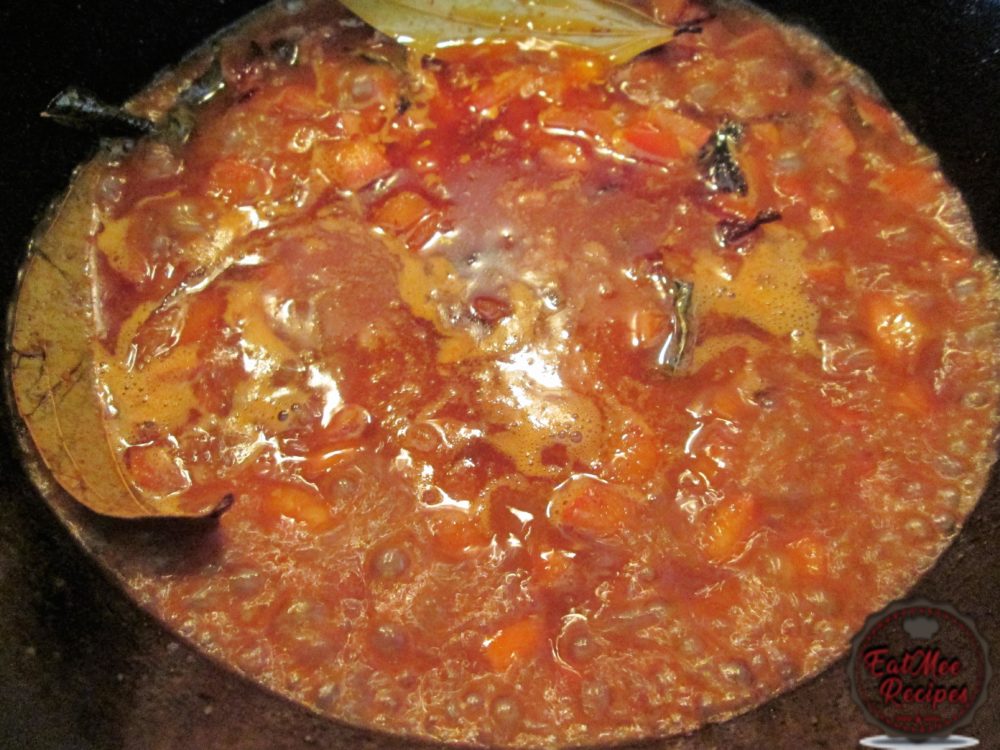
Allow tomatoes to cook for about 10 minutes until melted.
Thereafter, add in salt to taste & the marinated chicken.
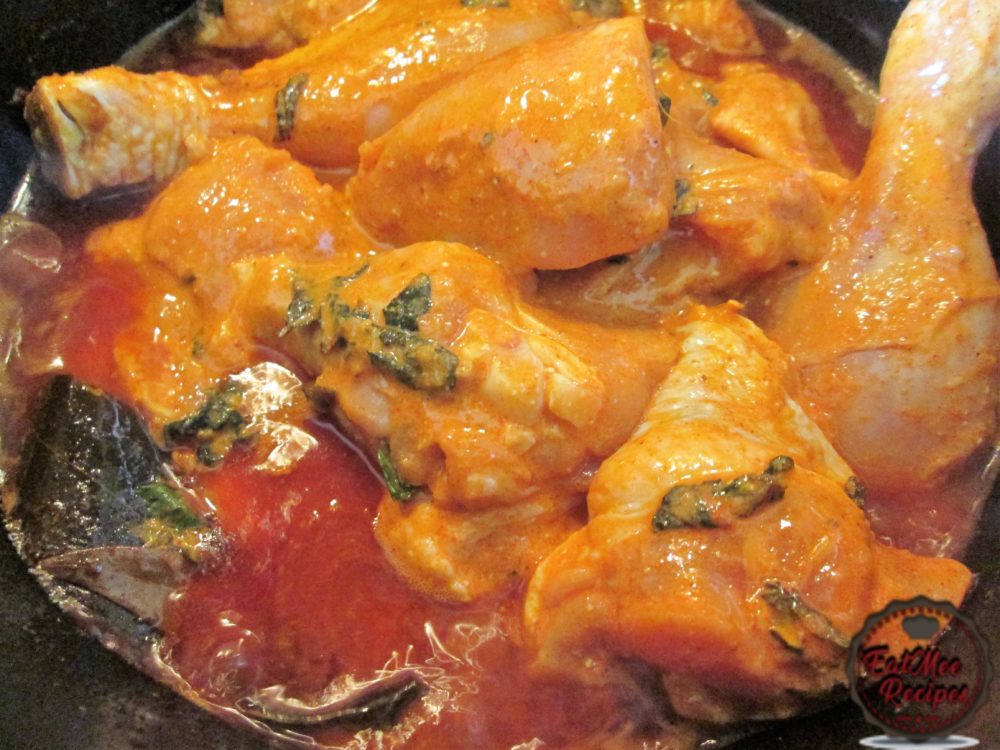
Mix well & allow to cook until chicken is soft.
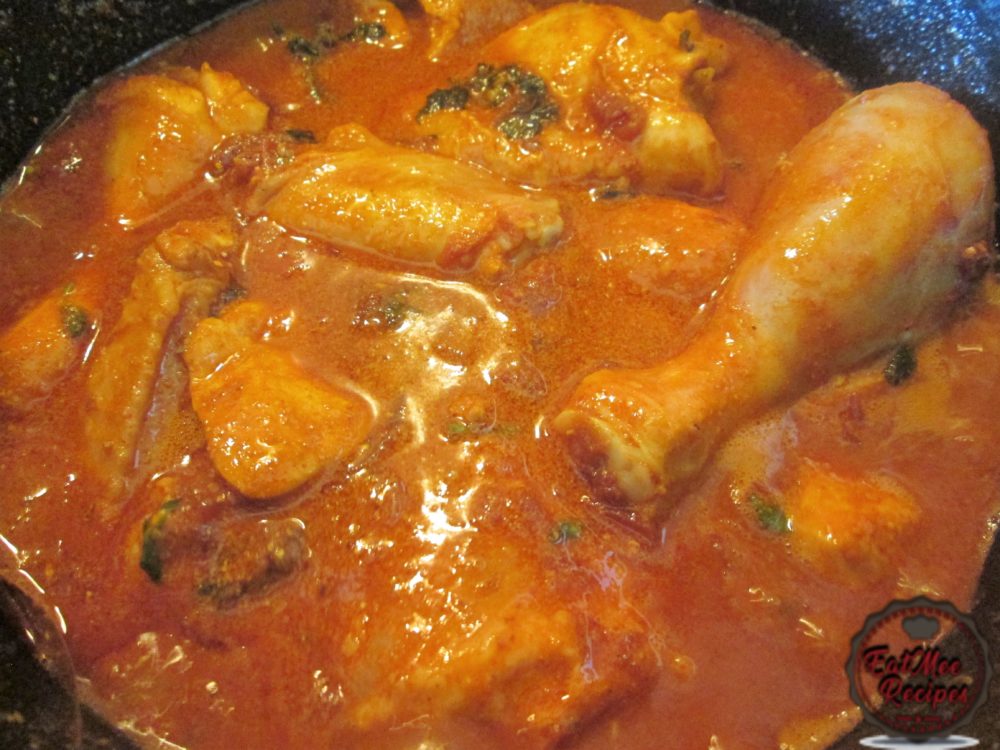
Once the chicken has cooked, turn off the heat & set aside.
Thereafter, add ½ teaspoon yellow food colouring to the cooked rice for some colour but this step is completely optional. Mix well.
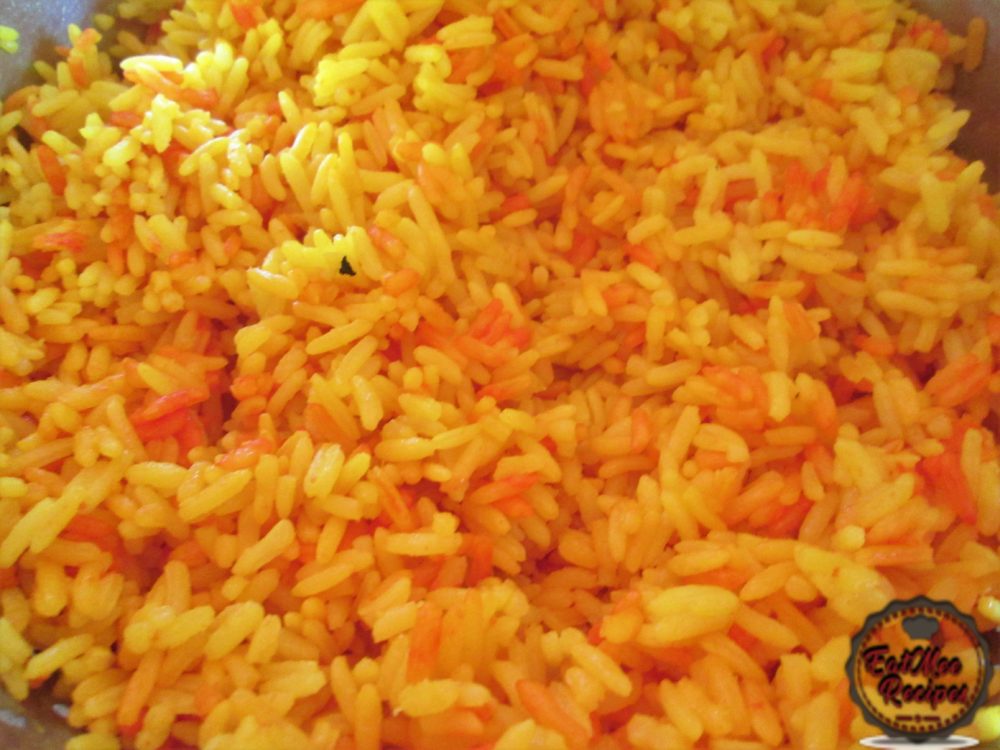
To the rice, add in the cooked biryani dhall (masoor) & mix together.
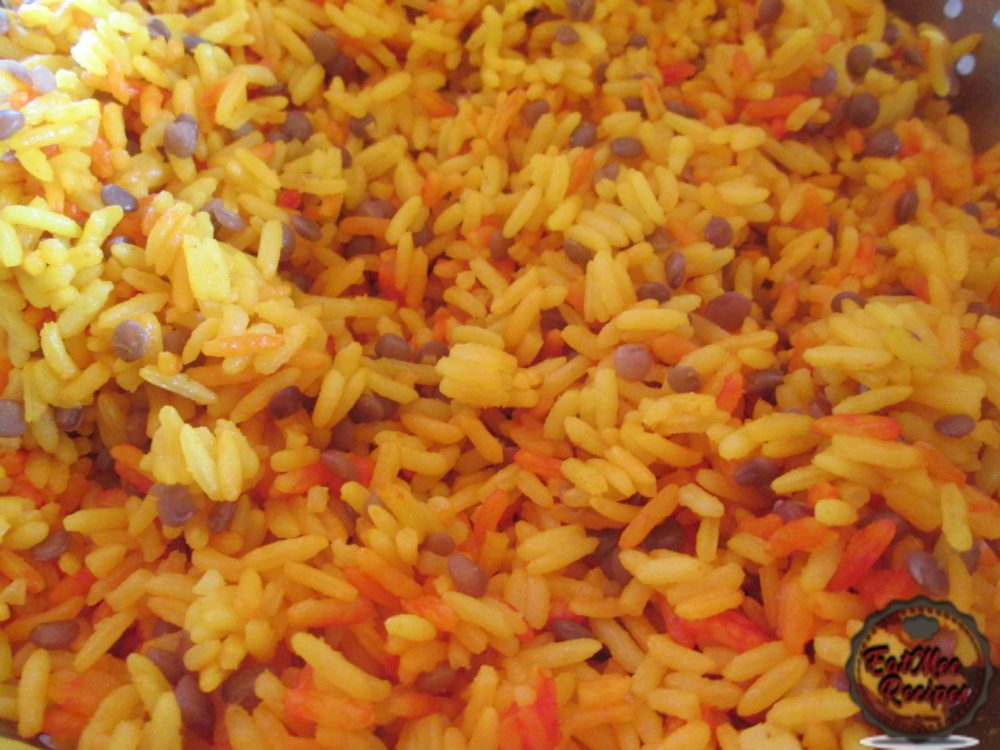
Thereafter, drop in the rice to the pot of cooked chicken & mix well. Leave about ½ cup rice aside (do not add it in the curry mixture).
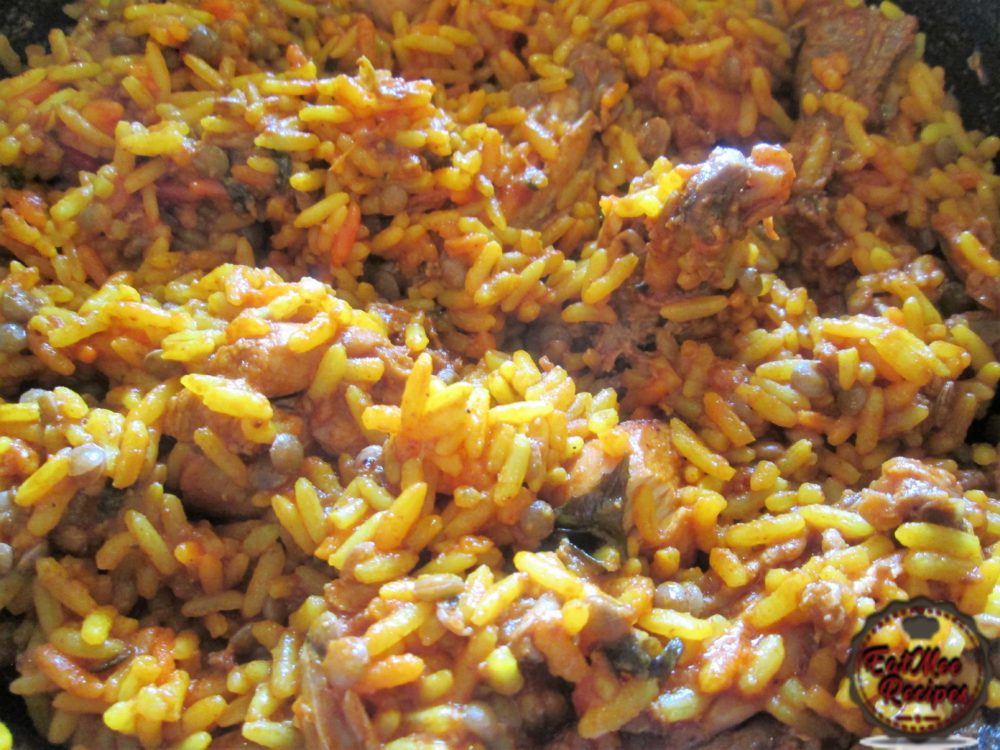
Next, I add the entire pot of rice mixture into a wider pot – this is optional as you may use the same pot. Thereafter place the fried potatoes over.
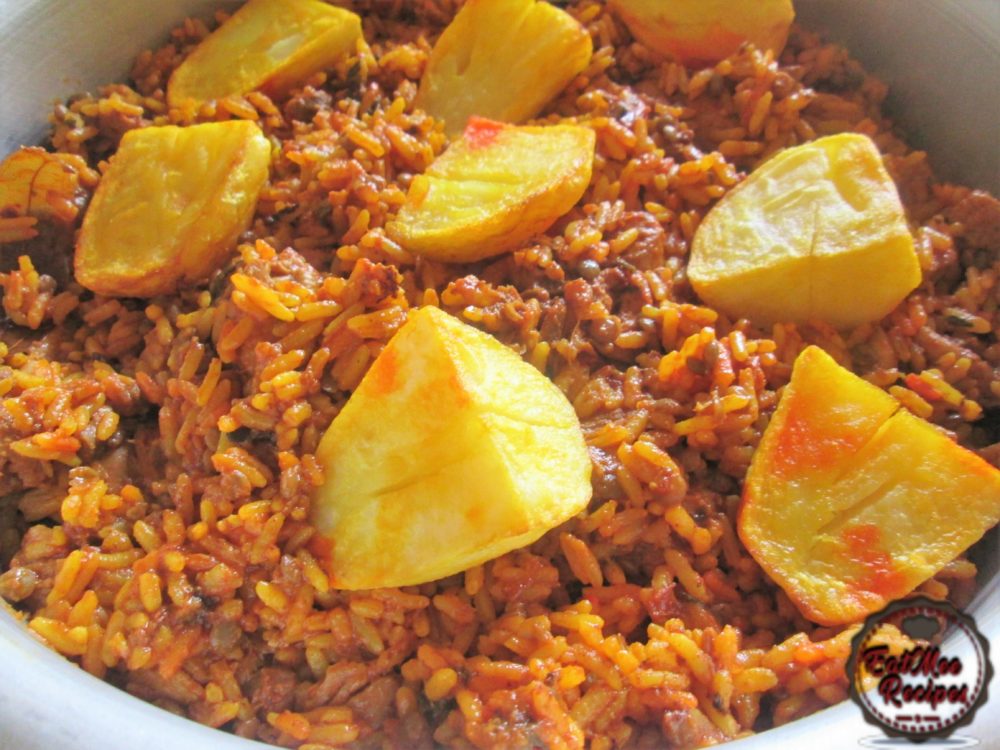
Cover with the leftover rice.
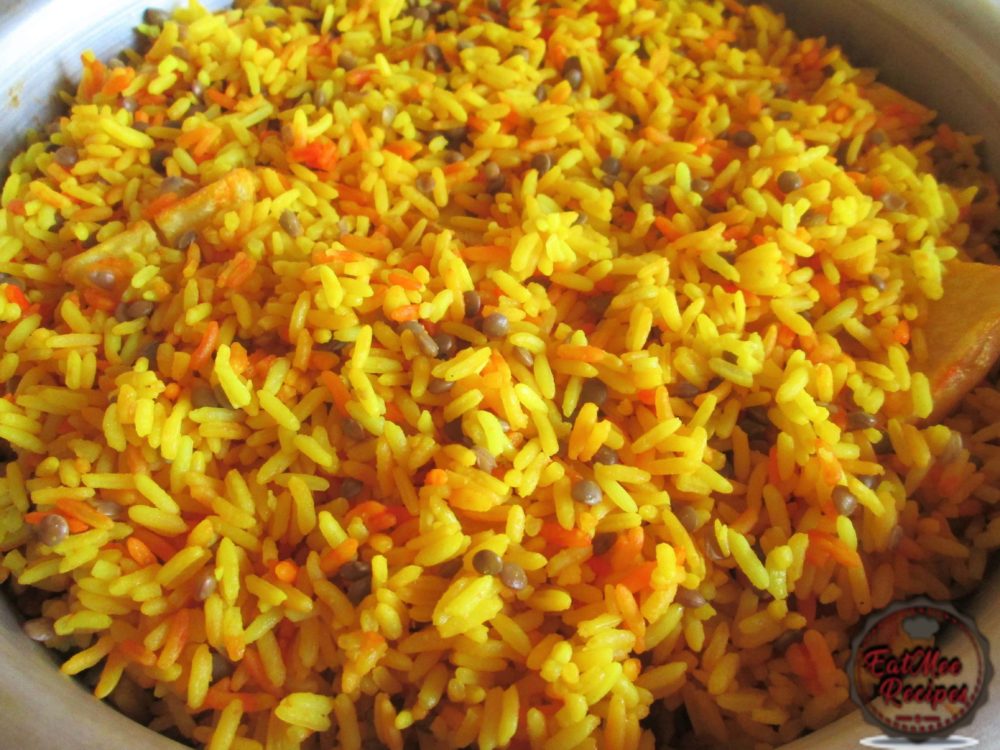
Garnish with the fried onions.
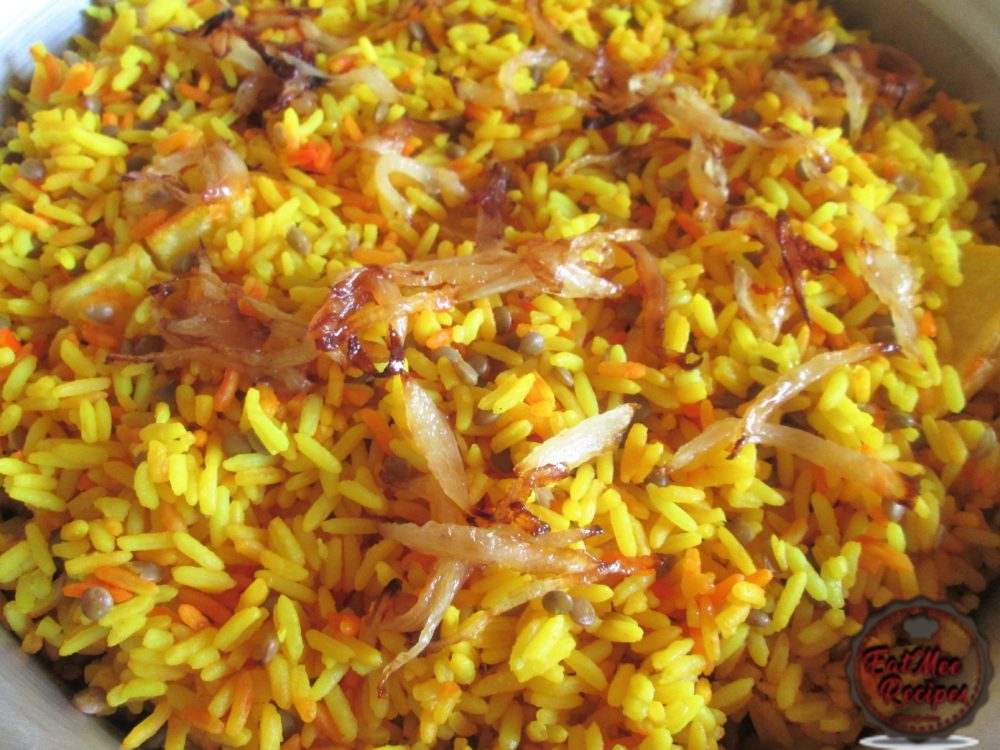
Thereafter, garnish with the dhania (coriander).
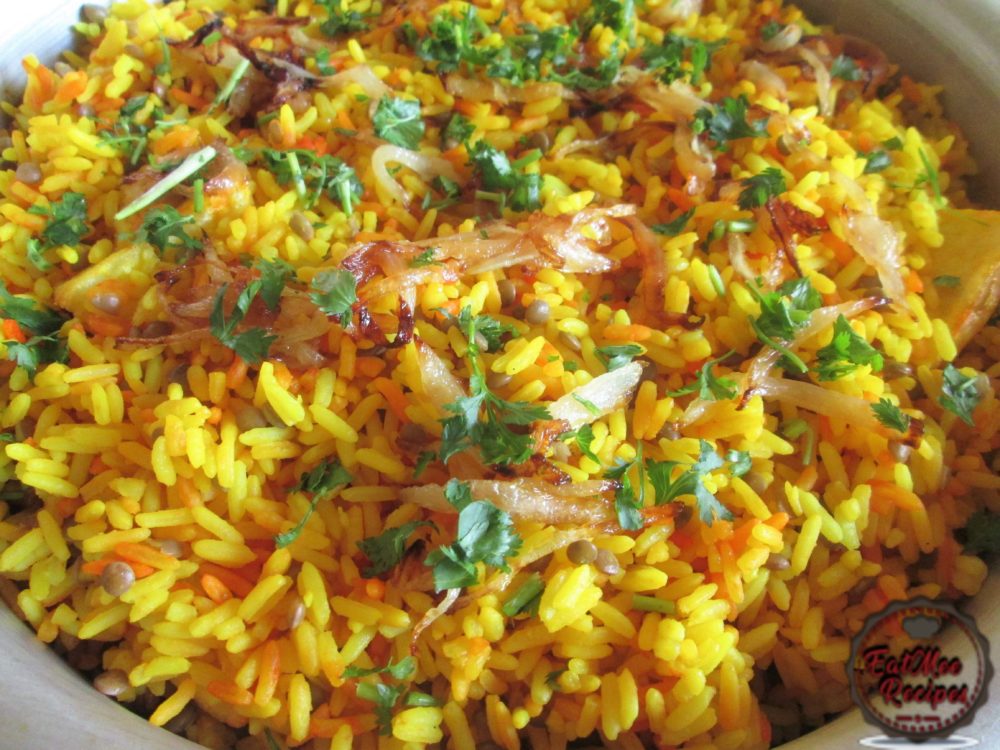
Add dollops of butter over.
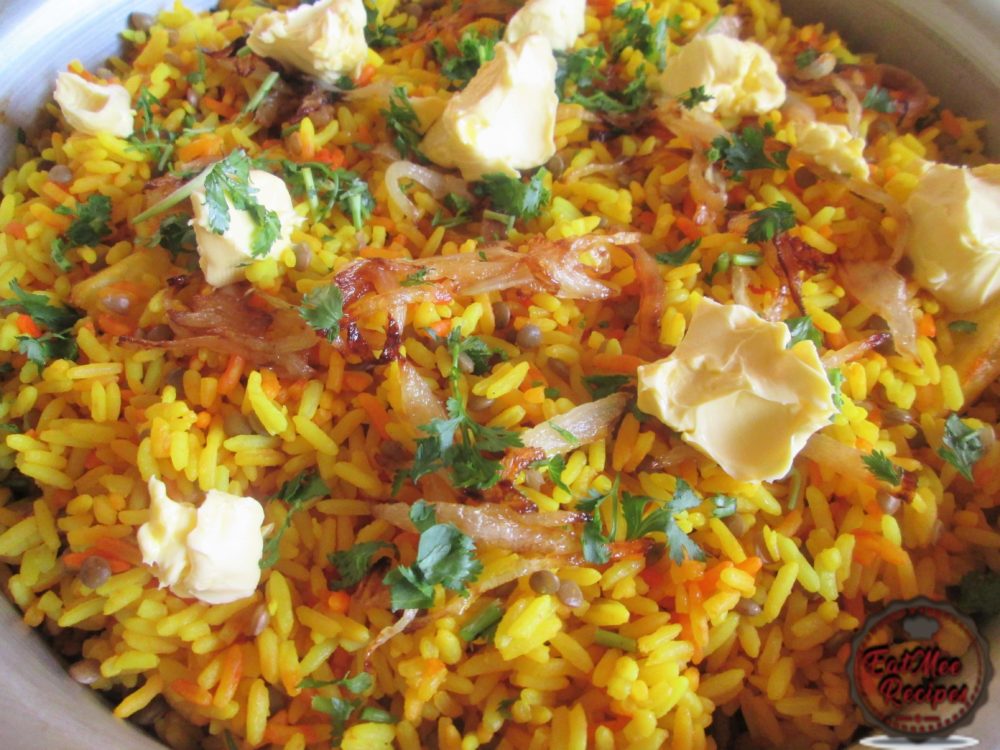
Cover pot with lid & place in the oven at 180 degrees Celsius for 30 minutes.
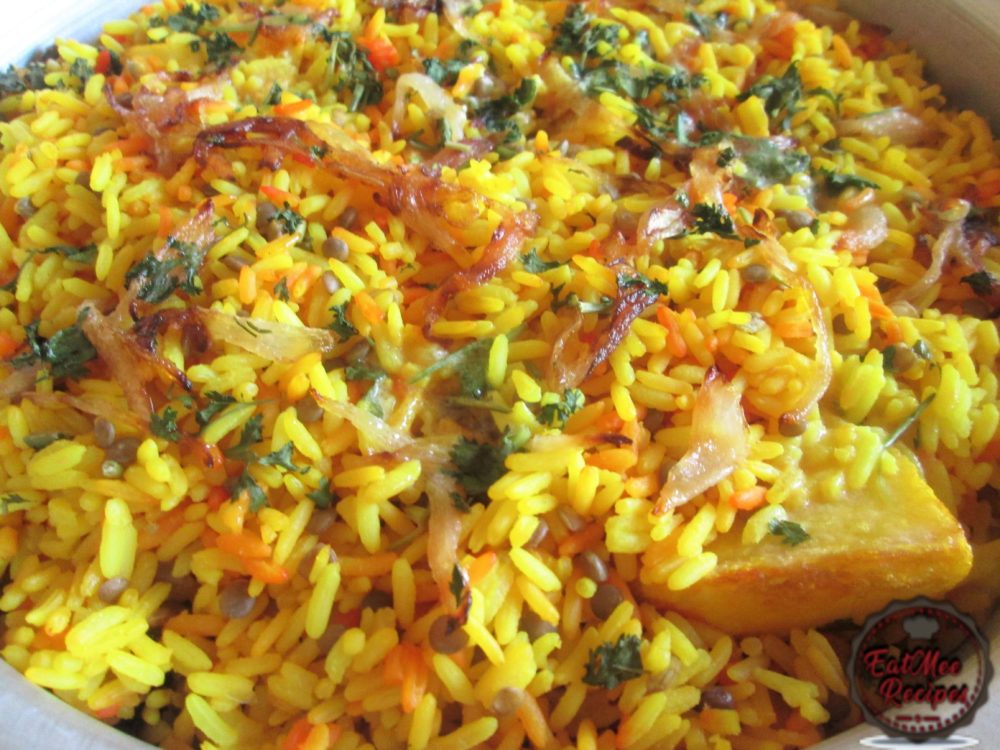
Once the Chicken Biryani is done in the oven, plate & serve.
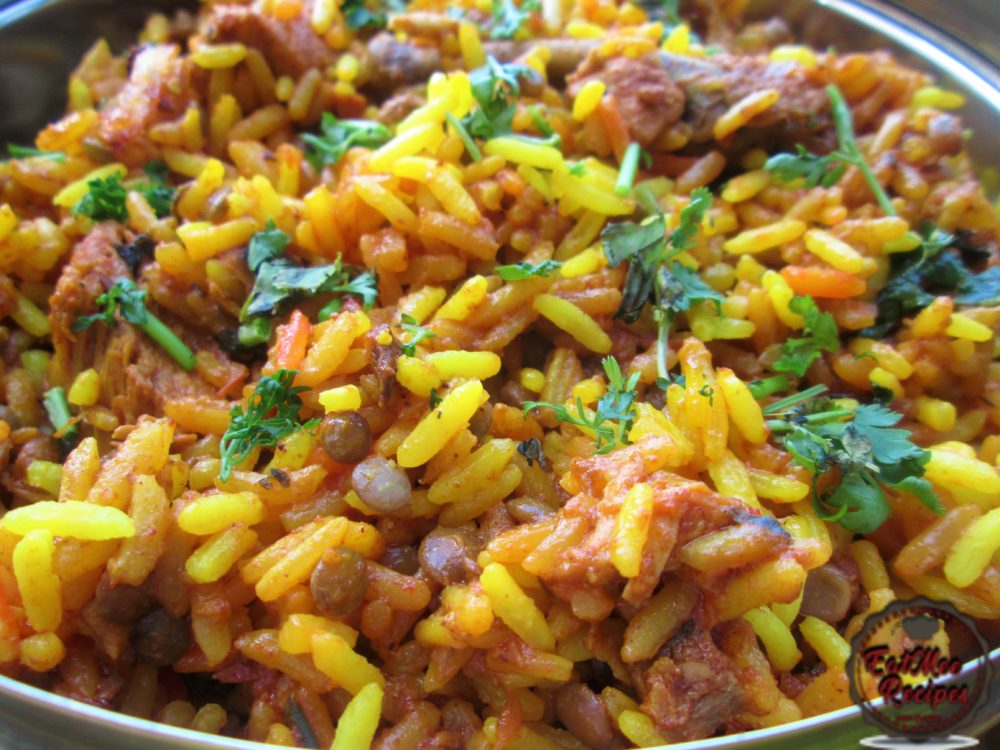
Serve Chicken Biryani with pea dhall, curried dhall, carrot salad, carrot sour milk salad or pickles.
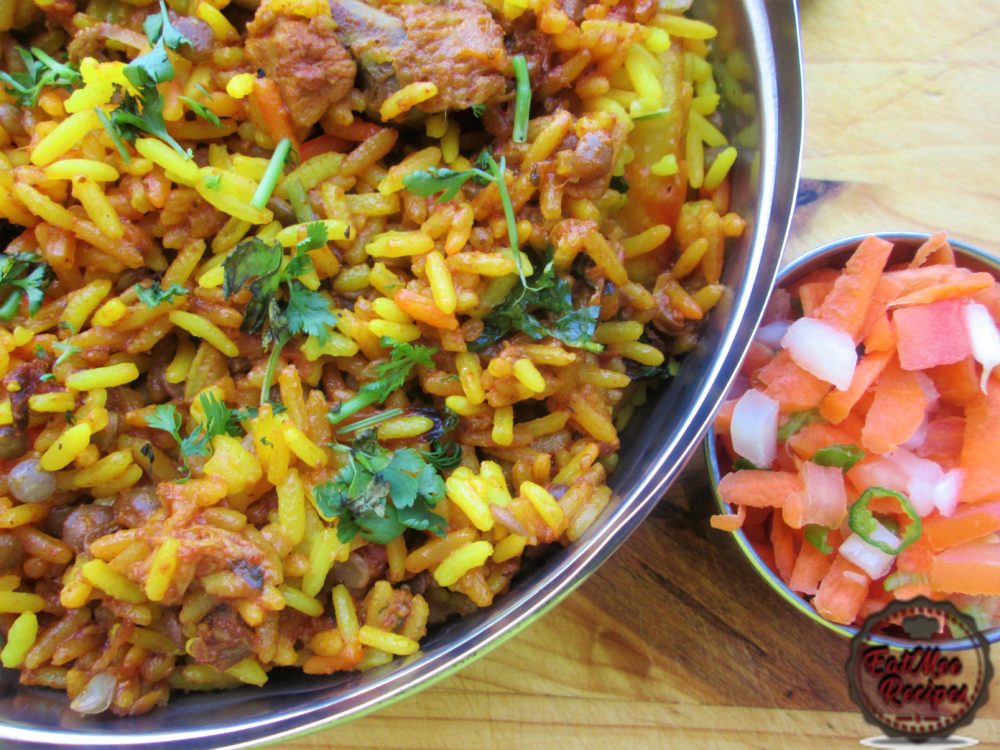
Follow along with Denisiya's step-by-step video guide for Chicken Biryani.
Expert kitchen guidance and troubleshooting for making the best Chicken Biryani
Always par-boil your basmati rice with whole spices until it is only about 70% cooked (firm with a slight bite). The rice finishes steaming to fluffy perfection during the layered dum (steaming) stage.
Yes, marinating the meat overnight in yogurt, ginger, garlic, and spices tenderizes the meat and allows the deep aromatic flavors to permeate fully before cooking.
Traditionally, serve this with fresh sour milk salad (raita), a side of homemade yellow dhal, and a spicy vegetable or mango pickle.
Hi, I'm Denisiya! Food lover, recipe developer, and founder of EatMee Recipes. I specialize in authentic South African Durban Indian cuisine, comforting curries, and modern Instant Pot adaptations. Every recipe on this site is tested in my personal kitchen to ensure you get mouth-watering, foolproof results every time.
Explore more authentic Durban curries, traditional bakes, and comforting family favourites.
 Indian Cuisine
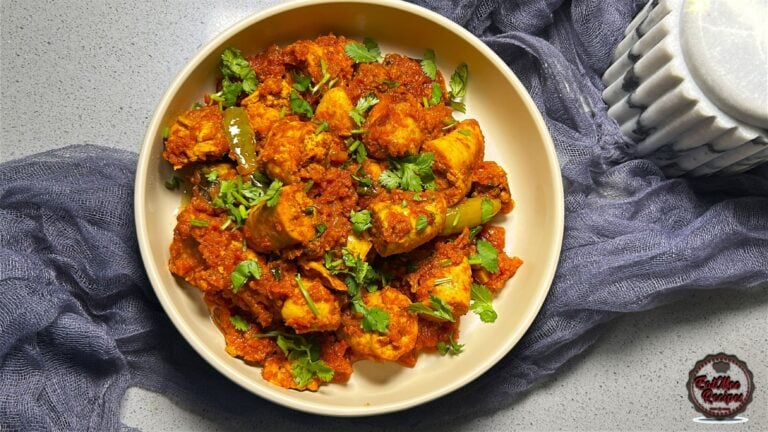
My mum is sharing another one of her much-loved traditional South African Indian recipes. ...
 Indian Cuisine
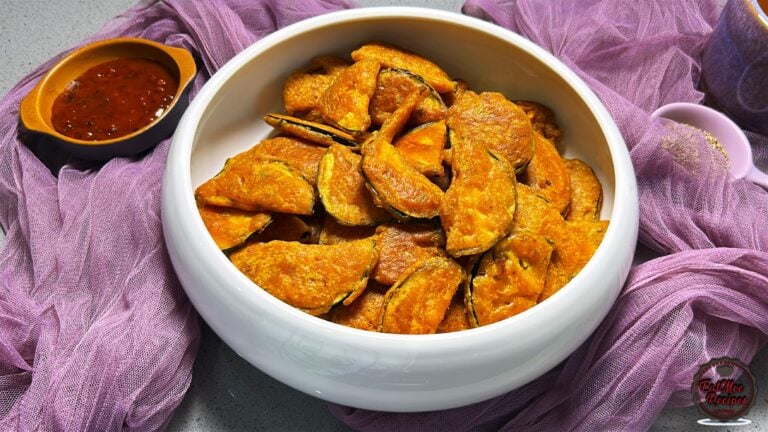
Crispy, golden and delicious, these Brinjal Pakoras are made with thin slices of brinjal c...
 Indian Cuisine
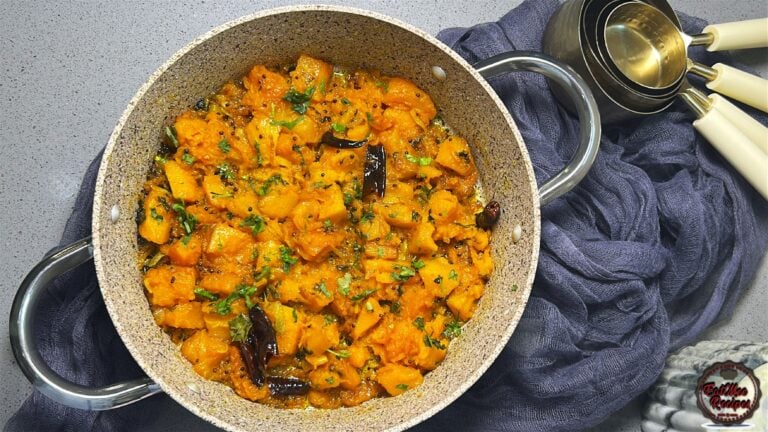
Mum’s Pumpkin Curry is a simple, comforting vegetarian dish that proves you don’t need a l...
Have you tried this recipe or have questions for Denisiya? Join the conversation below.
No comments yet. Be the first to share your thoughts on this recipe!
Leave a Comment
Your email address will not be published. Required fields are marked *