
We Value Your Culinary Privacy
EatMee Recipes uses cookies to provide a personalized browsing experience, analyze recipe popularity, and serve relevant ads. You can review our full disclosure in our Privacy Policy.
Make authentic Chicken And Mushroom Pies with this foolproof recipe. Packed with rich traditional flavor, step-by-step photos, and cooking tips by Denisiya on EatMee Recipes.

Join over 60,000+ home chefs for weekly authentic Durban Indian cook-alongs, Instant Pot masterclasses, and family heritage recipes.
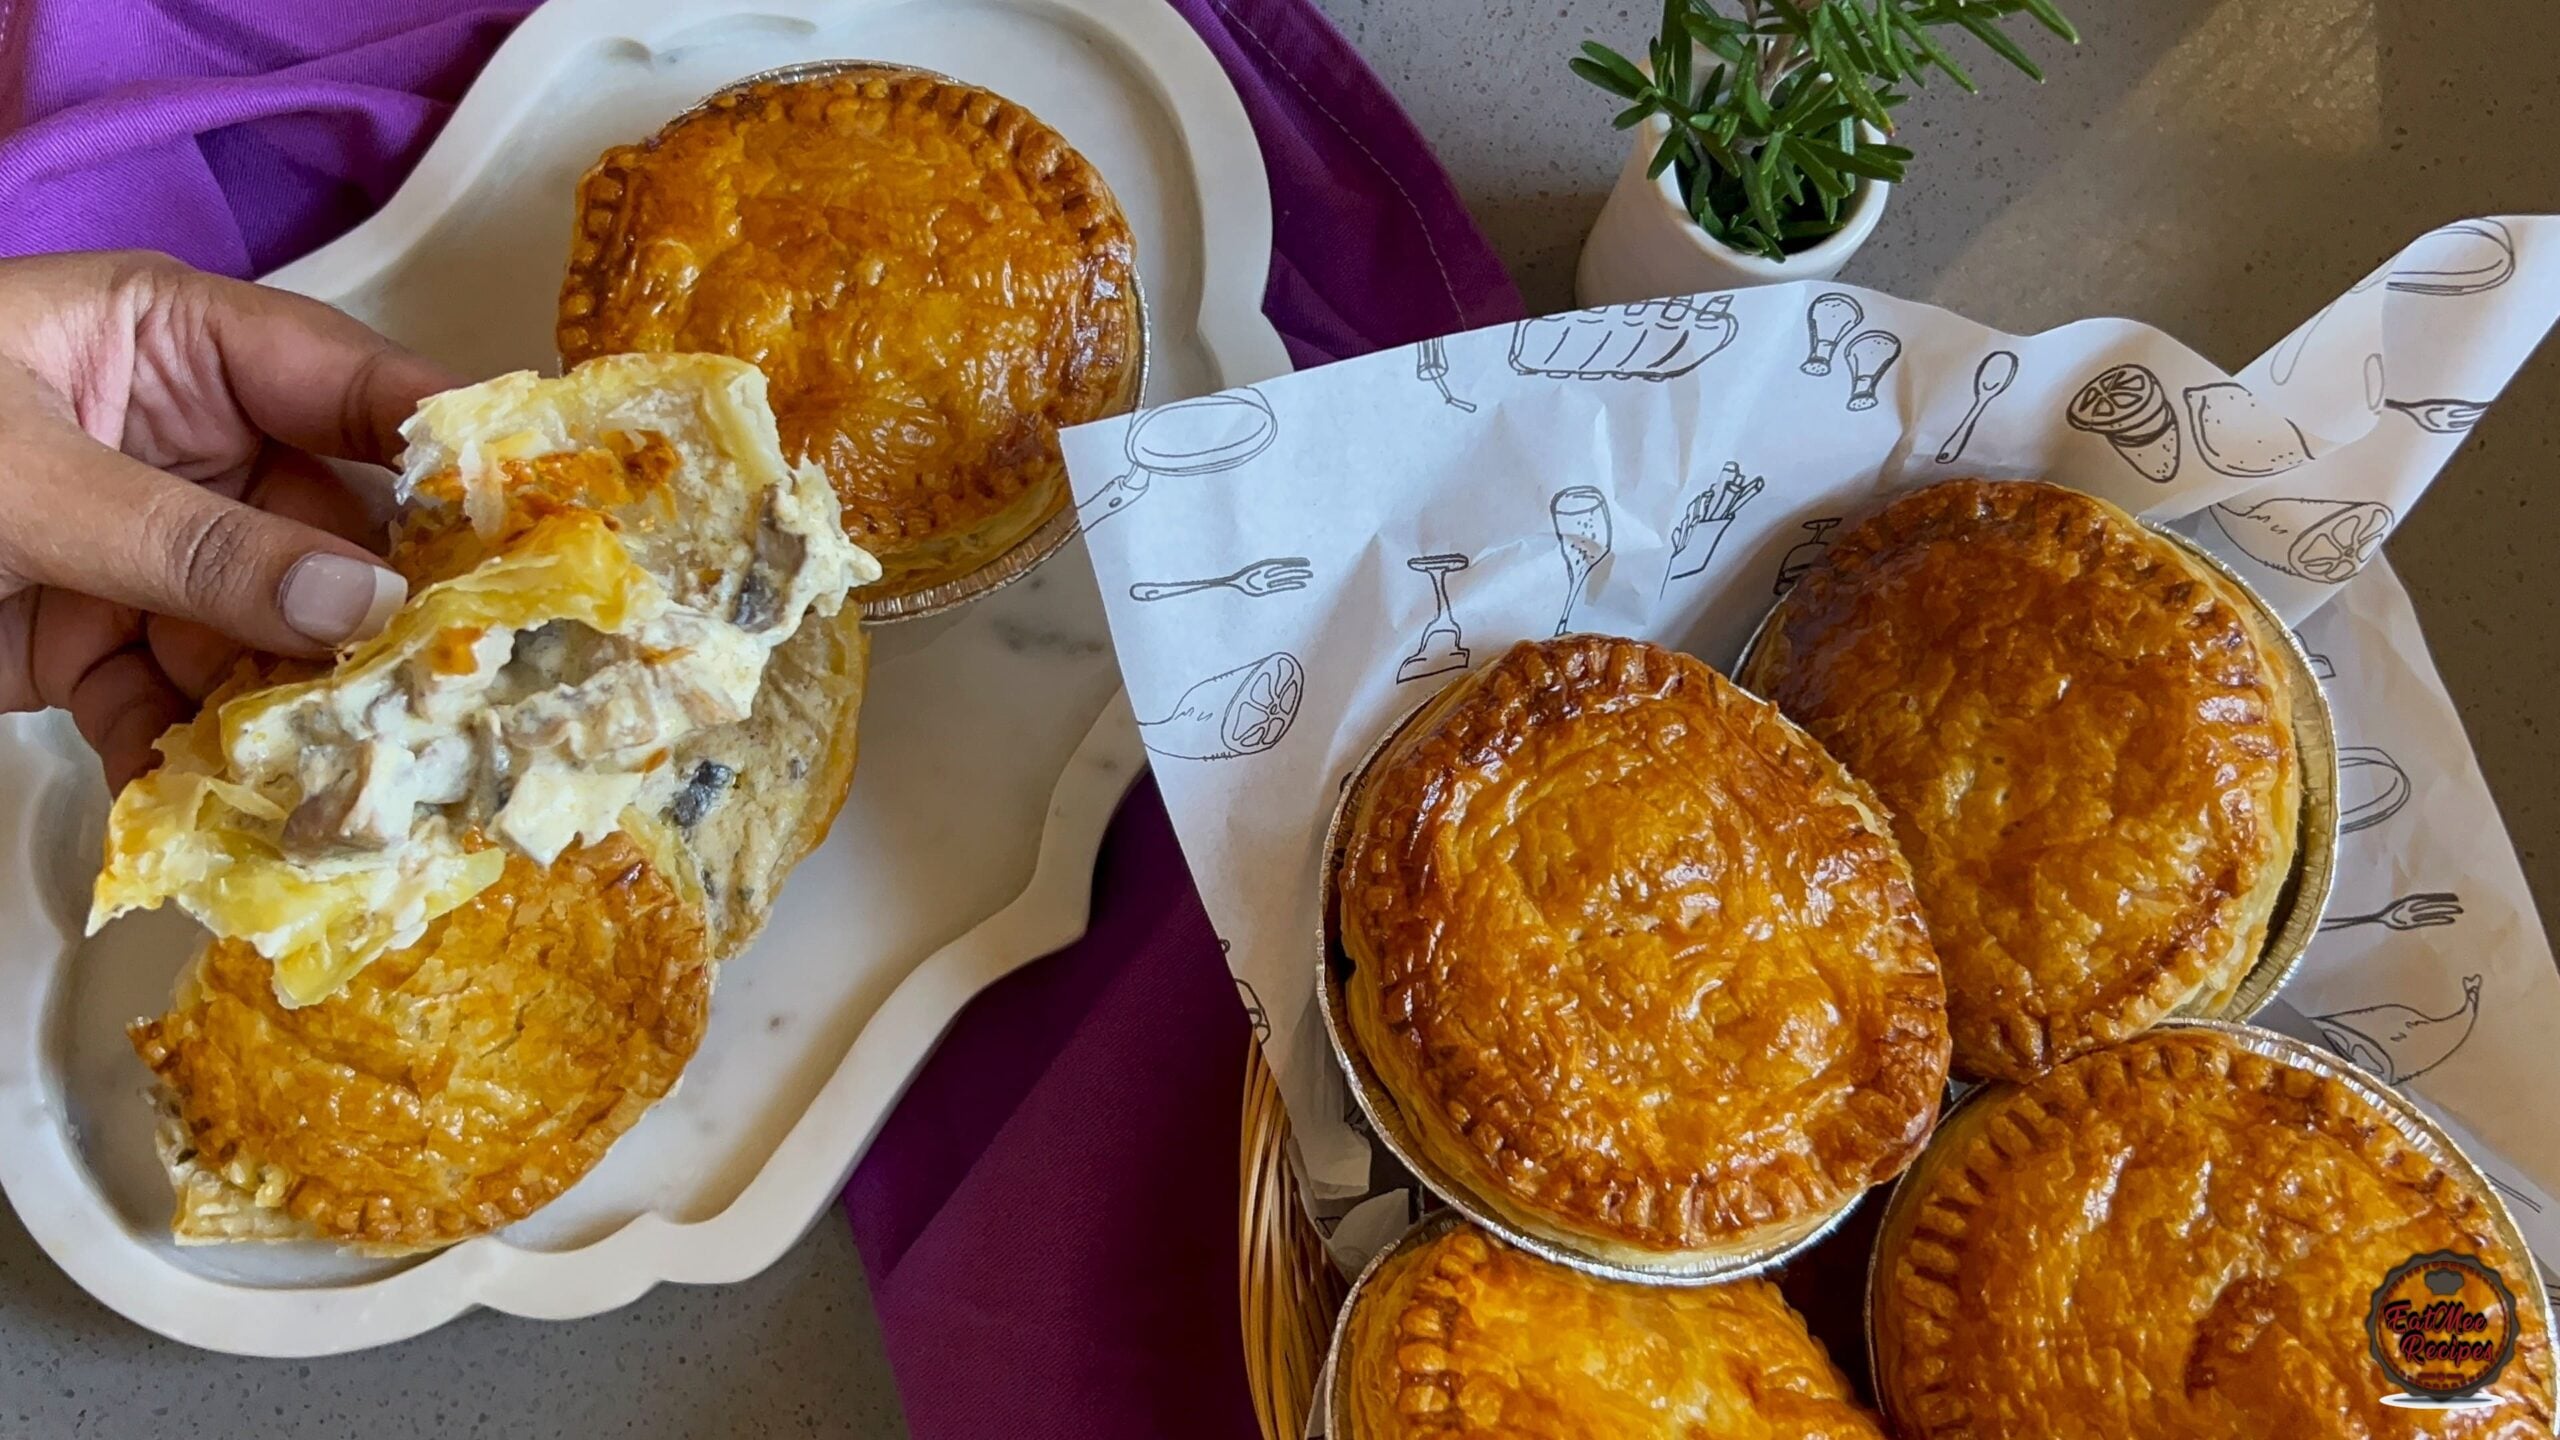
Chicken and mushroom pies are a staple in many kitchens for a reason. Tender chunks of chicken mingle with earthy mushrooms in a creamy, flavorful sauce, all tucked into a flaky, golden pastry crust. It’s rustic, hearty, and endlessly satisfying.
Whether you’re whipping up a big family dinner or preparing individual pies to freeze for easy midweek meals, this dish always delivers.
Don’t rush the filling: Let the sauce simmer gently so the flavors meld together beautifully.
Cool before filling: Always let your filling cool before spooning it into the pastry. Hot filling can make your crust soggy.
Egg wash magic: For that glossy, golden crust, brush the top with a beaten egg before baking.
Why Use Shortcrust Pastry for Chicken and Mushroom Pies?
Shortcrust pastry is the ideal foundation for a hearty filling like chicken and mushroom. Unlike puff pastry, which is light and layered, shortcrust is more robust and crumblier, offering a firm structure that holds up well under the weight of rich, creamy fillings.
Its buttery flavor and flaky texture add depth to every bite, while its sturdiness ensures the pie maintains its shape and doesn’t become soggy as it bakes. For savory pies that need a reliable, delicious base—like a classic chicken and mushroom—shortcrust pastry is the perfect match.
Serve your chicken and mushroom pie piping hot, straight from the oven, with a side of buttery mashed potatoes or steamed green veggies. And don’t forget the gravy—because more sauce is always a good idea.
In a world of quick meals and endless food fads, there’s something beautifully grounding about a homemade pie. Chicken and mushroom pies remind us to slow down, savor each bite, and share the table with those we love.
So, roll up your sleeves, preheat the oven, and bring a little comfort to your kitchen tonight.
Start off by making the Chicken and Mushroom filling. Peel and finely chop the onion.
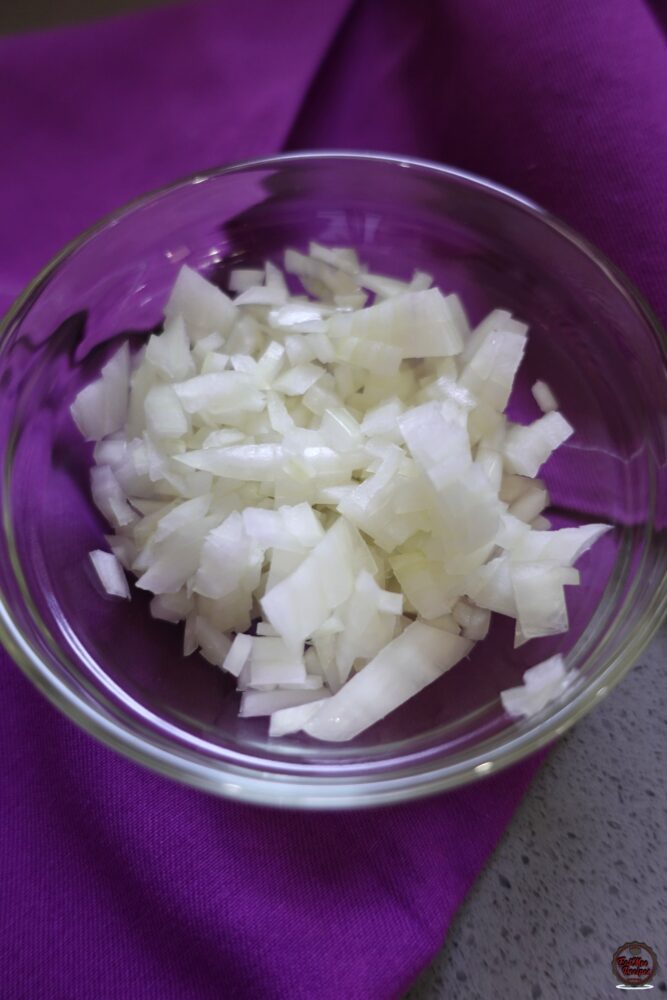
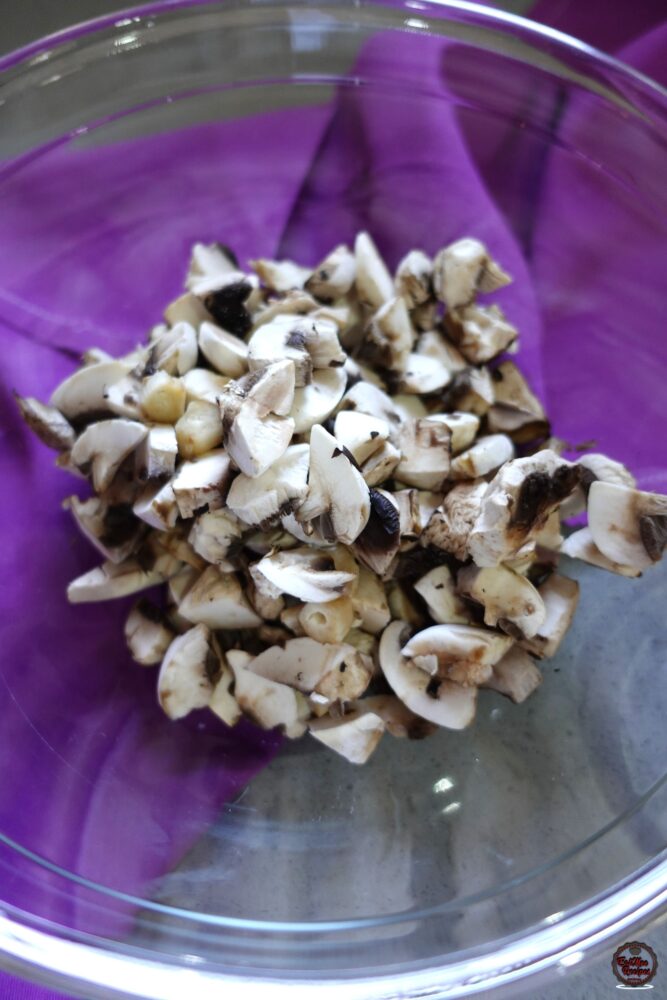
If using a variety of mushrooms, it is advisable to remove the gills from brown and portobello mushrooms, as they can impart a slightly bitter flavor and may affect the color of the filling. The gills of button mushrooms, however, may be retained, as they are milder and less likely to alter the dish. For a cleaner presentation and smoother texture, I also chose to peel the outer layer of the mushroom caps—though this step is optional. Once prepared, the mushrooms were finely chopped for even distribution throughout the filling.
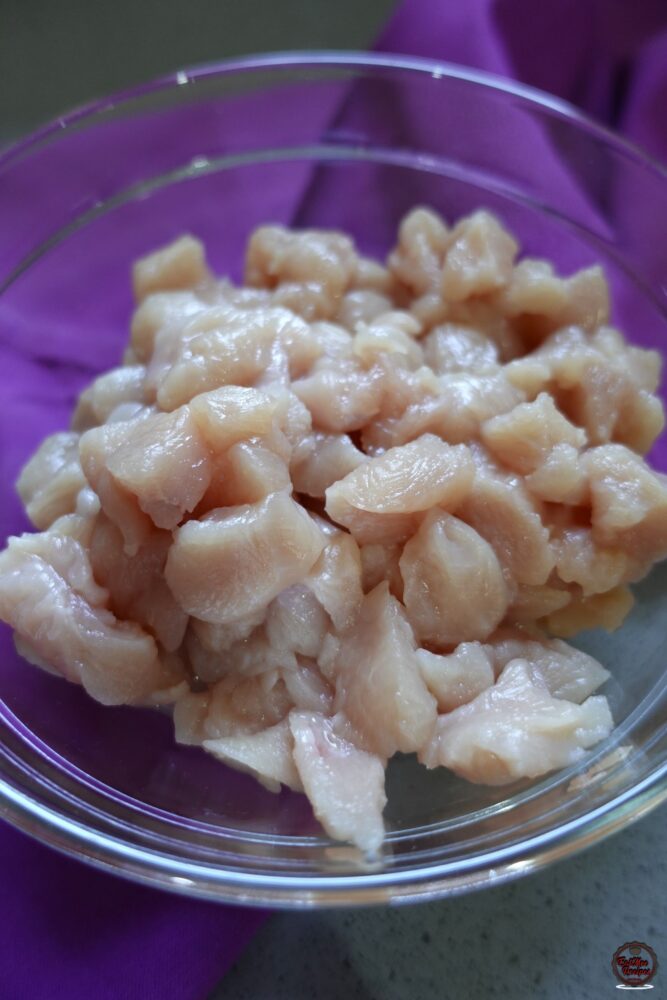
Rinse the chicken breasts, cut them into small cubes and place into a bowl.
Season the chicken with salt, fine black pepper, garlic powder, chicken spice, dried thyme and dried parsley.
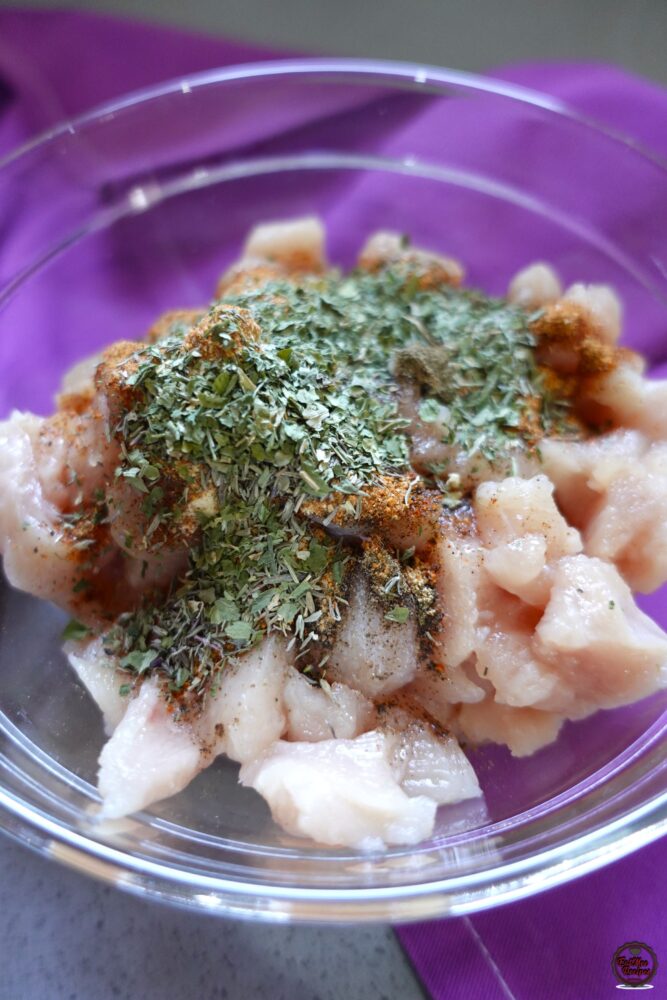
Mix together until the chicken is thoroughly coated in the spices.
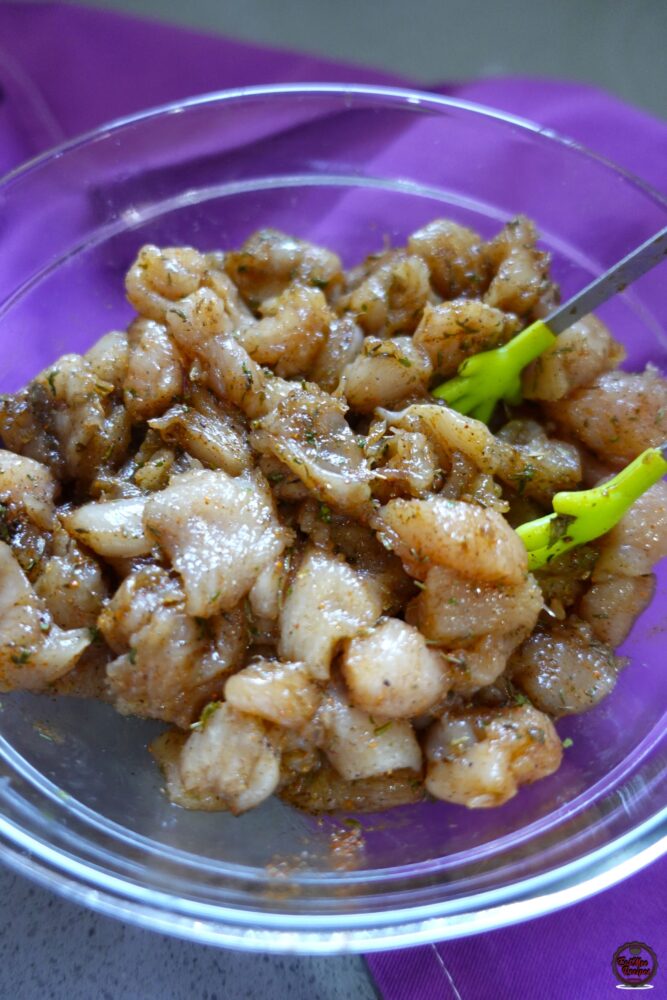
To a pot on medium-high heat, add in the olive oil. Once the oil is hot, add in the seasoned chicken.
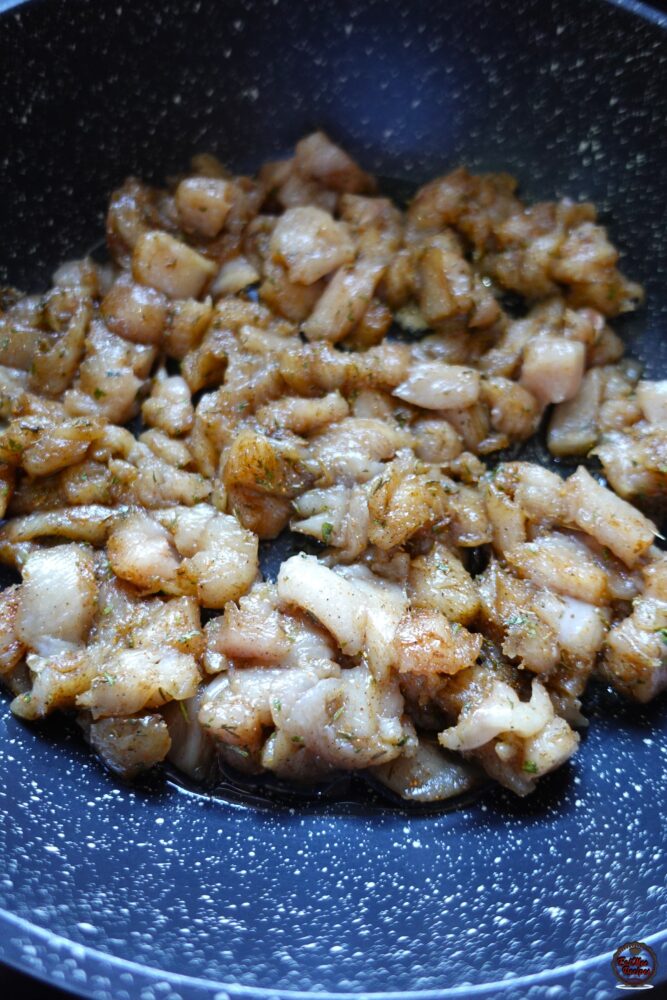
Spread out the chicken and allow it to cook for 5 minutes or until it changes colour.
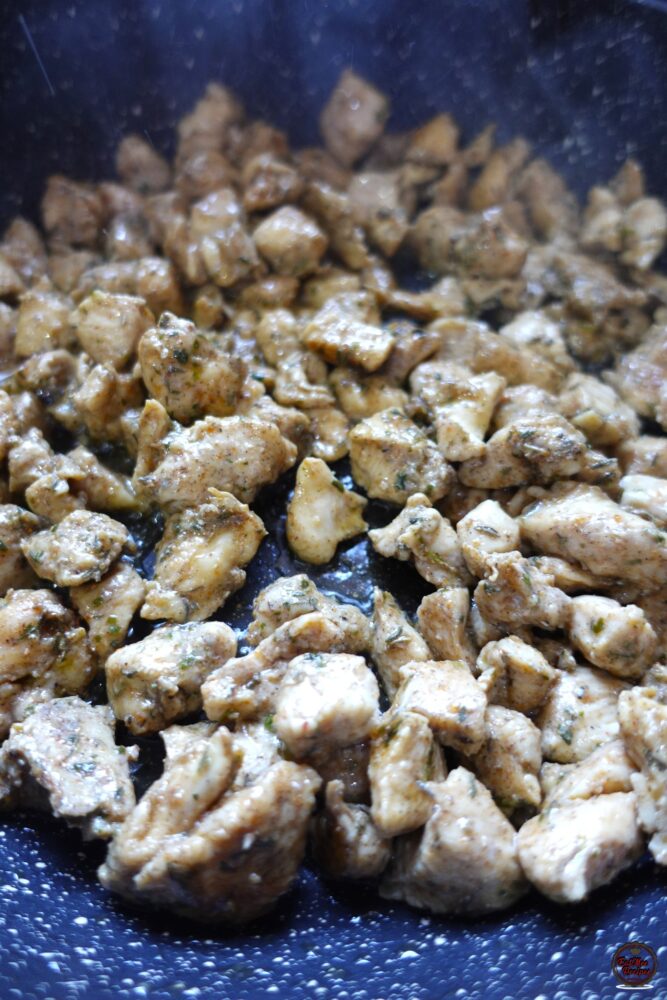
Next, add in the butter, chopped onions and the mushrooms.
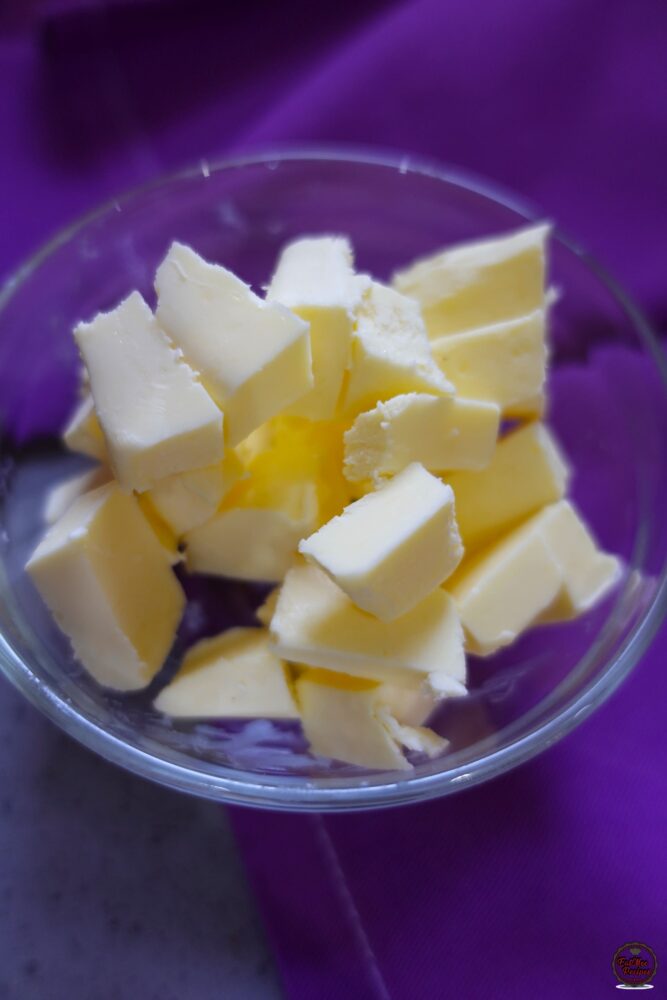
Mix together and sauté for a further 5 minutes.
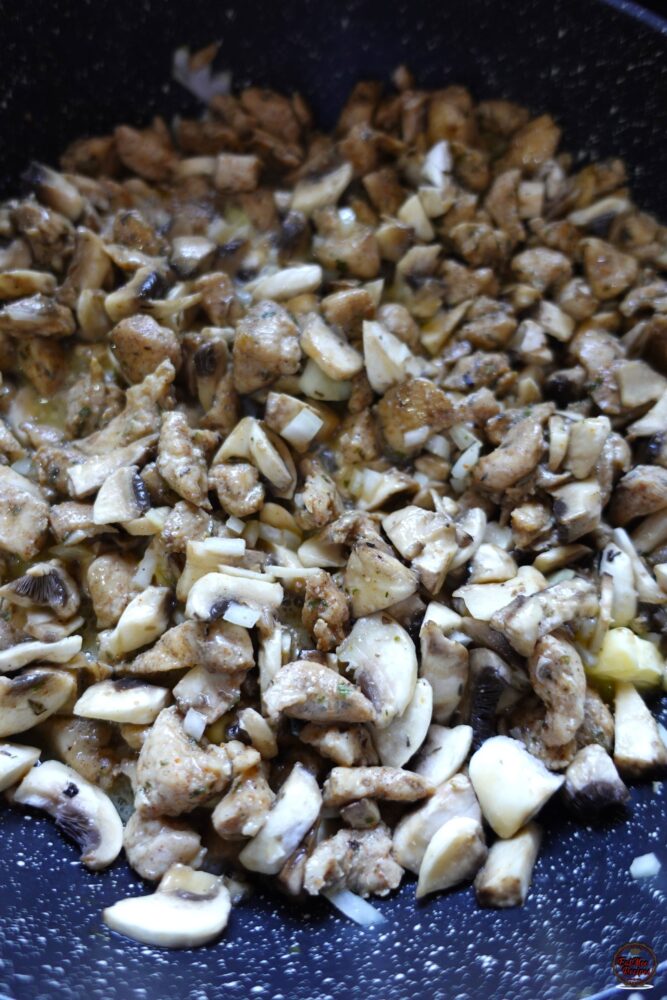
Now its time to add in the crushed garlic. Adding it at this point will prevent it from burning. Mix and allow to simmer for 2 minutes.

Thereafter, I added in some corn flour as this will allow it to thicken slightly.
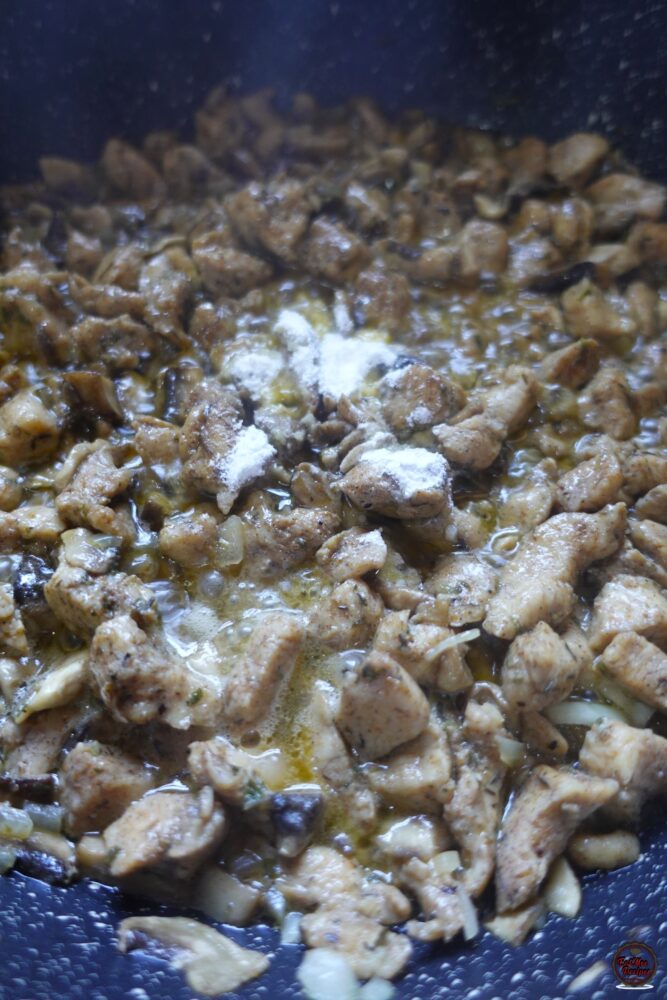
Stir the corn flour in until it is completely dissolved without any lumps.
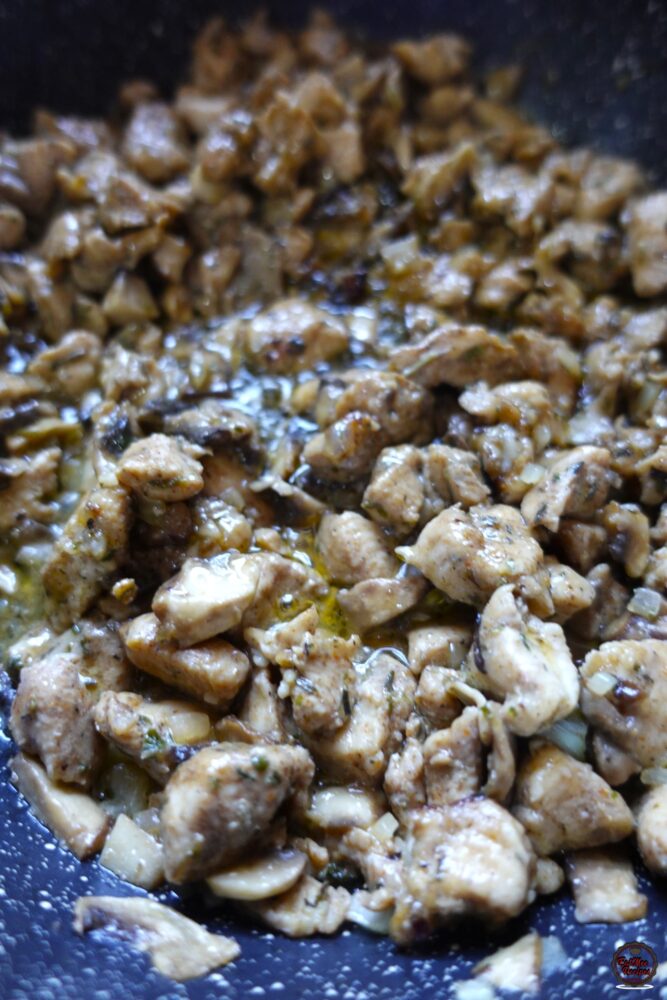
Now for the saucy part – pour in the cream. I have used long life cream but feel free to use fresh cream.
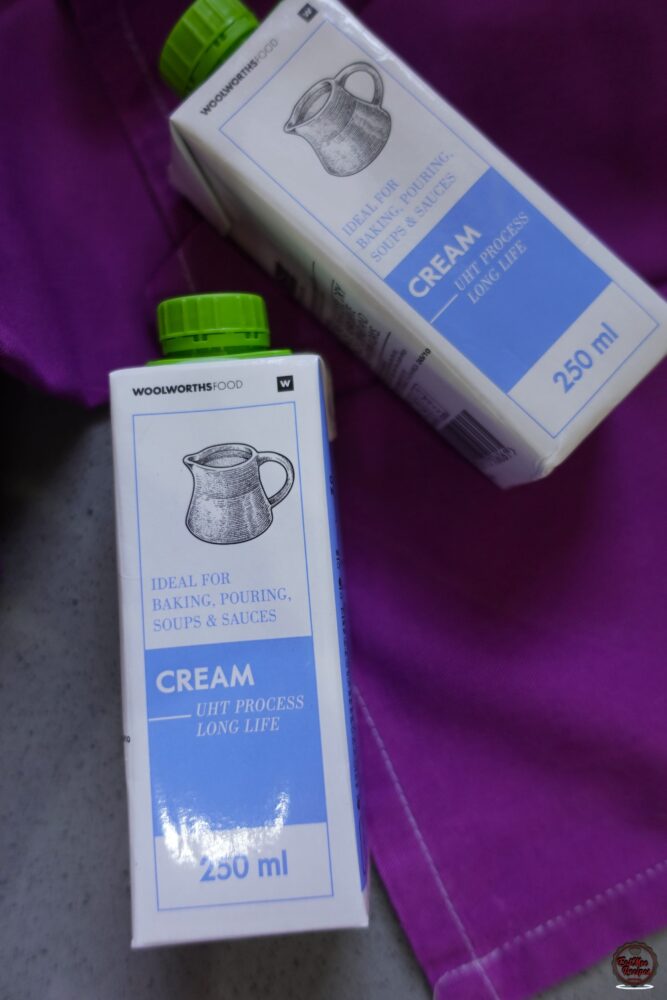
Stir in the cream until it all blends in together.
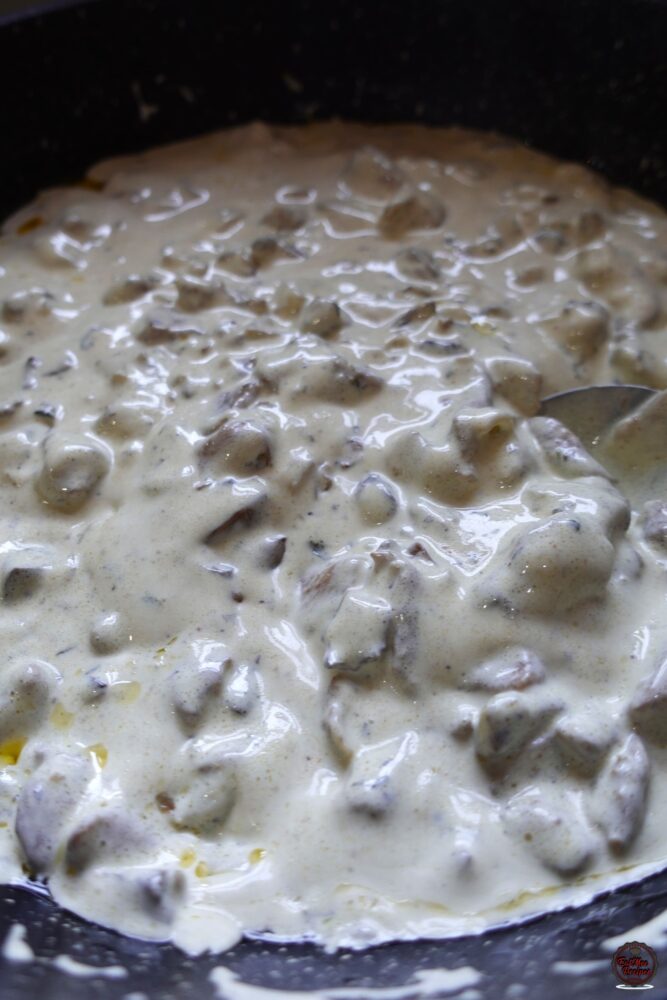
You will notice the mixture becomes a lot thicker as it simmers. Add in ¼ cup of water as this will loosen the mixture.
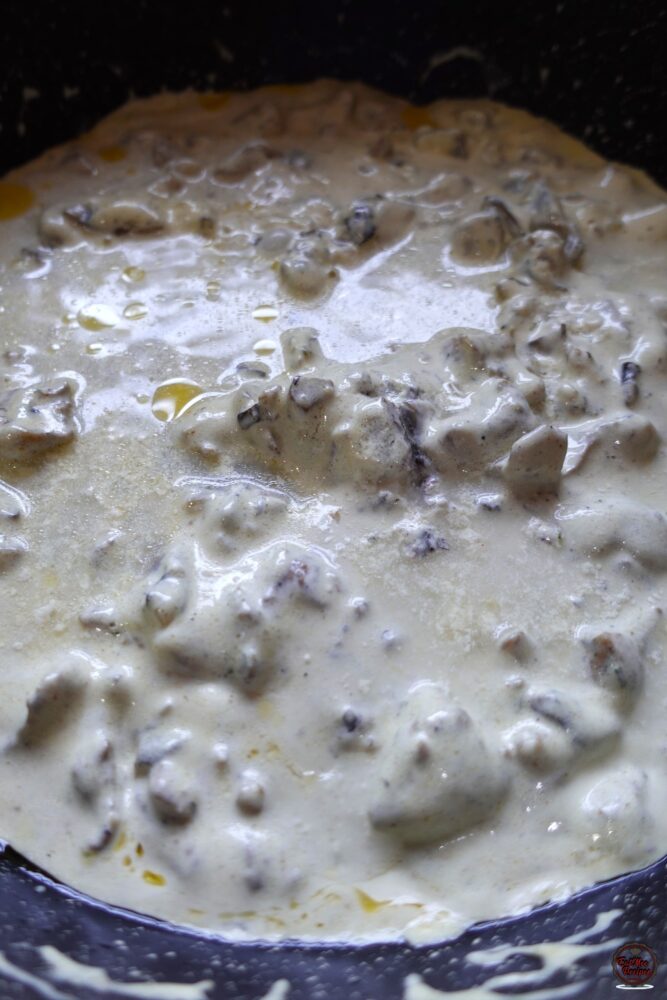
The mixture shouldn’t be too thick or too runny. At this point adjust salt according to taste.
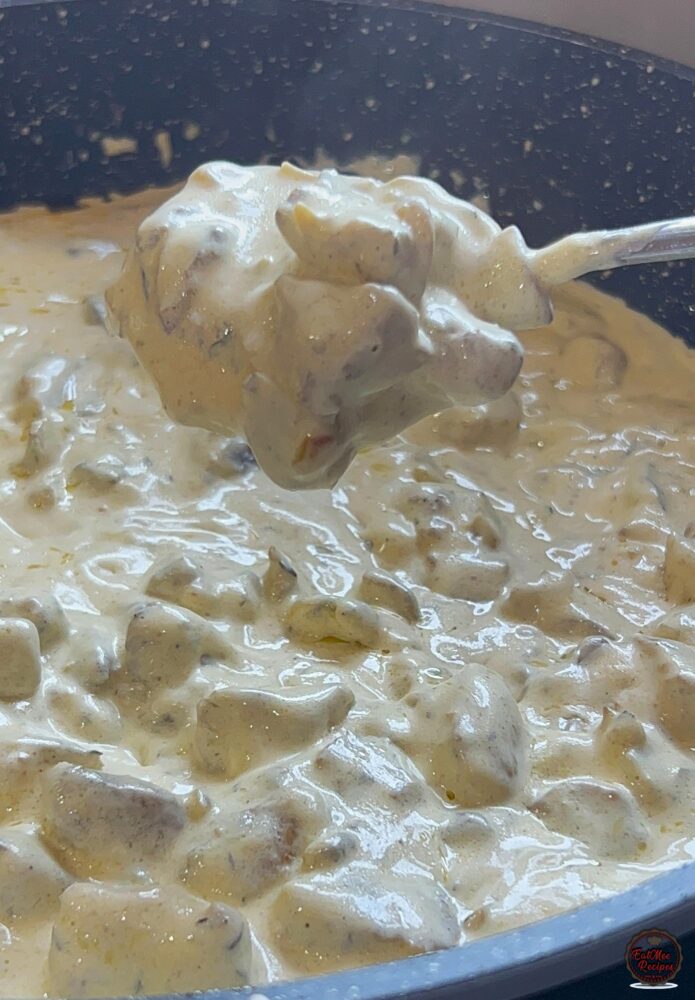
Turn off the heat and allow the Chicken and Mushroom filling to cool completely or else the hot filling will melt the pastry.
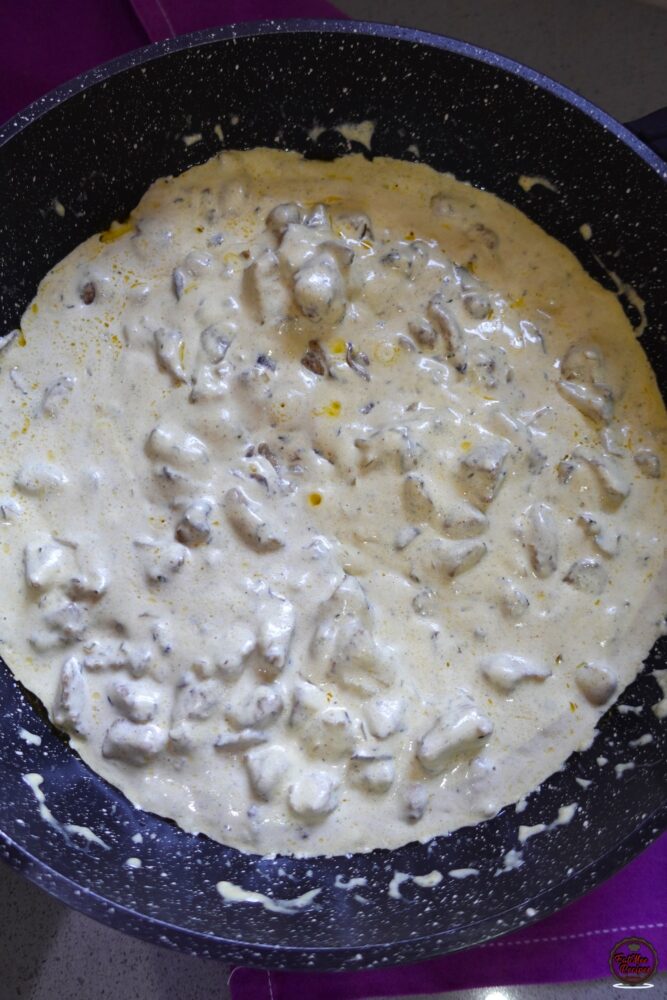
I have used 10cm foil tins which I got from Westpack.

The pastries should be thawed in the refrigerator beforehand. For this recipe I used Woolworths Puff Pastry and Today’s Shortcrust pastry.
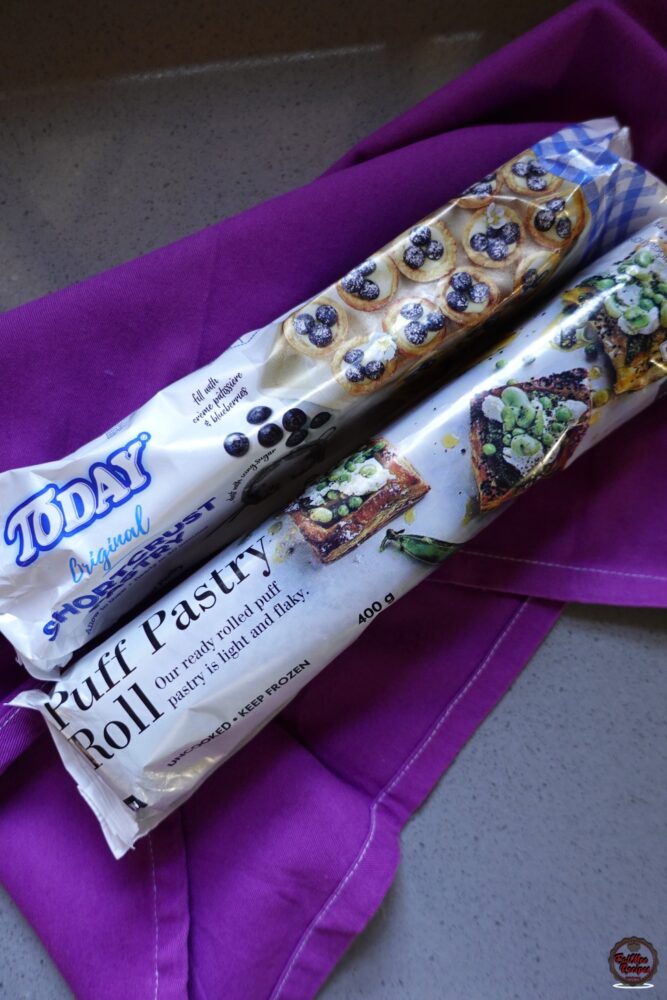
Start by unrolling the Shortcrust Pastry. This is going to be used as the base of the pies.
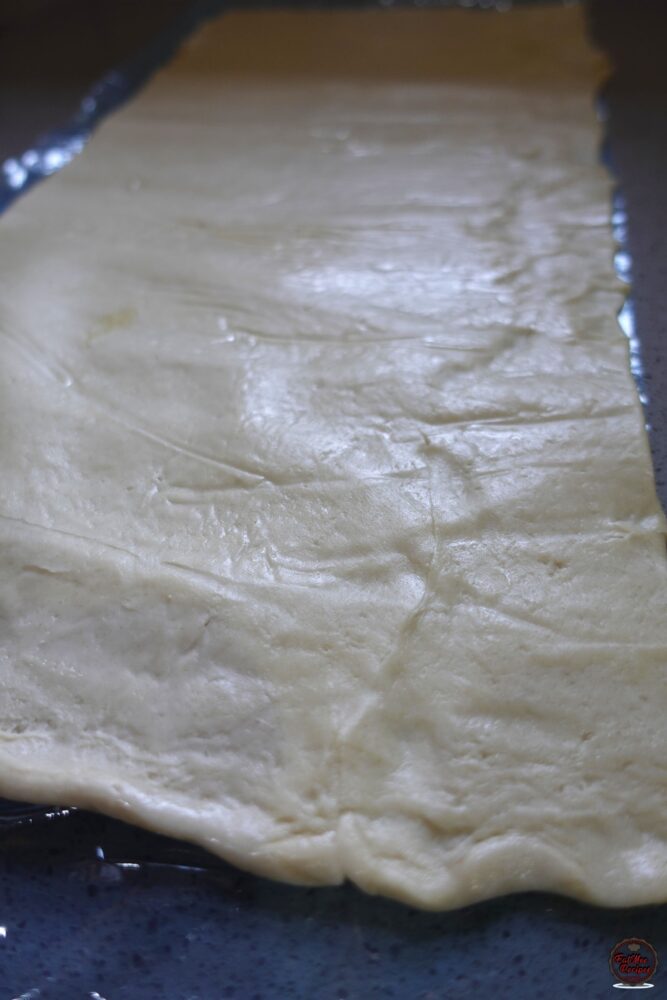
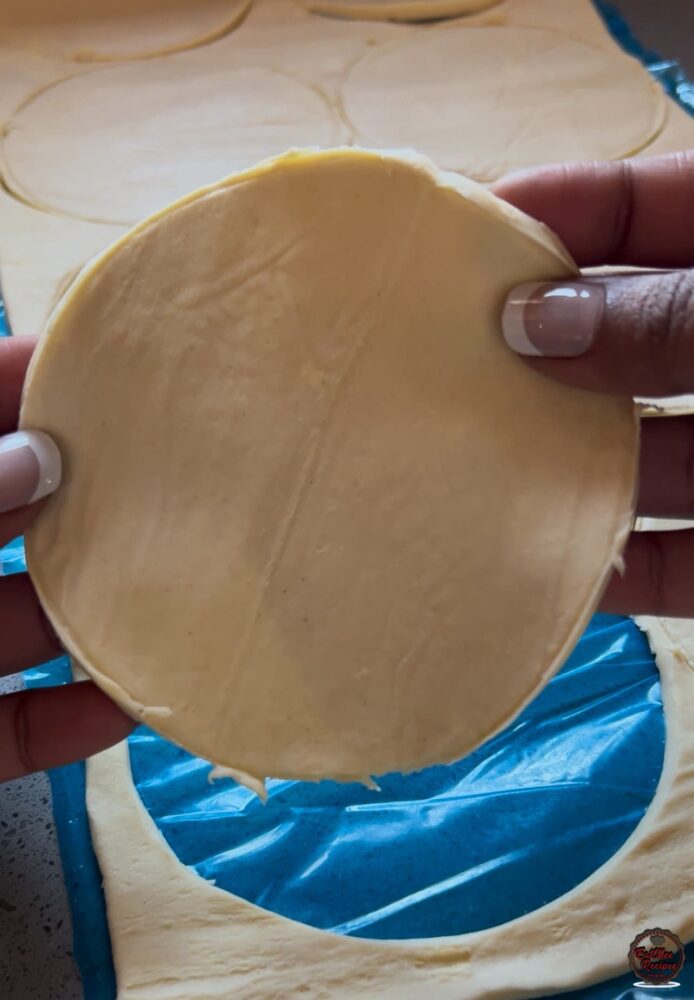
Use a cutter or a lid like I have which is a bit bigger than the circumference of the foil tin.
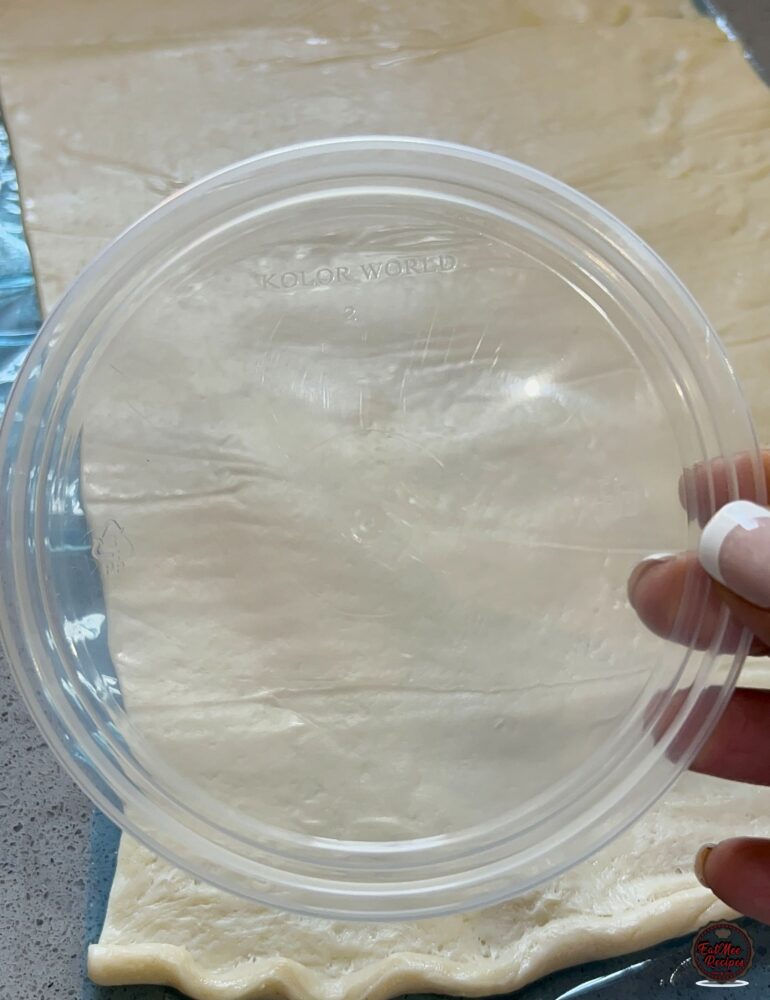
Cut around the lid or cutter to form a circle.
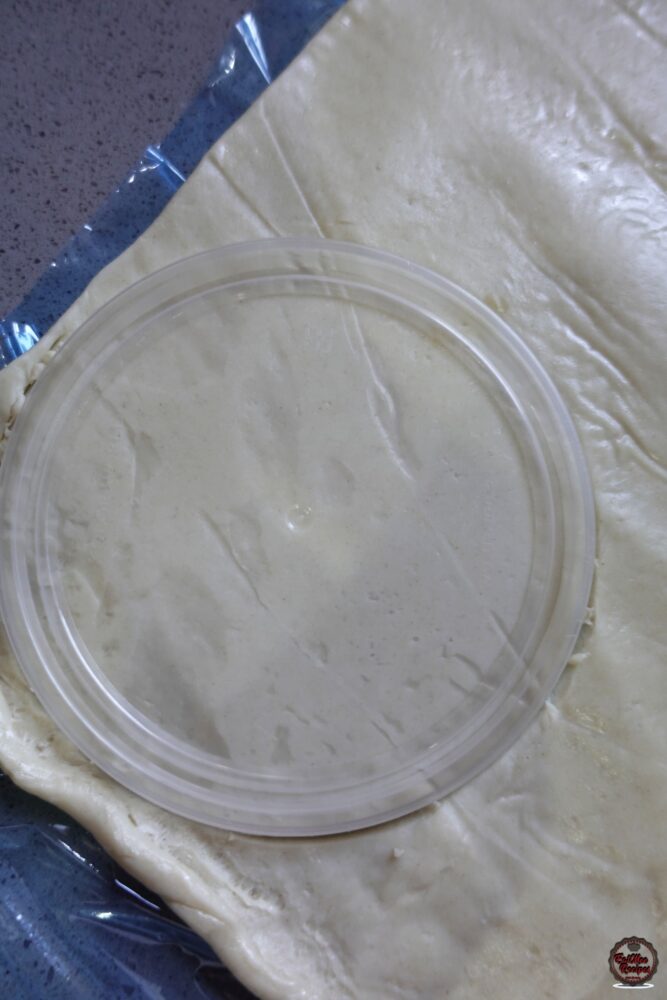
You should get about 3 circles out of this.
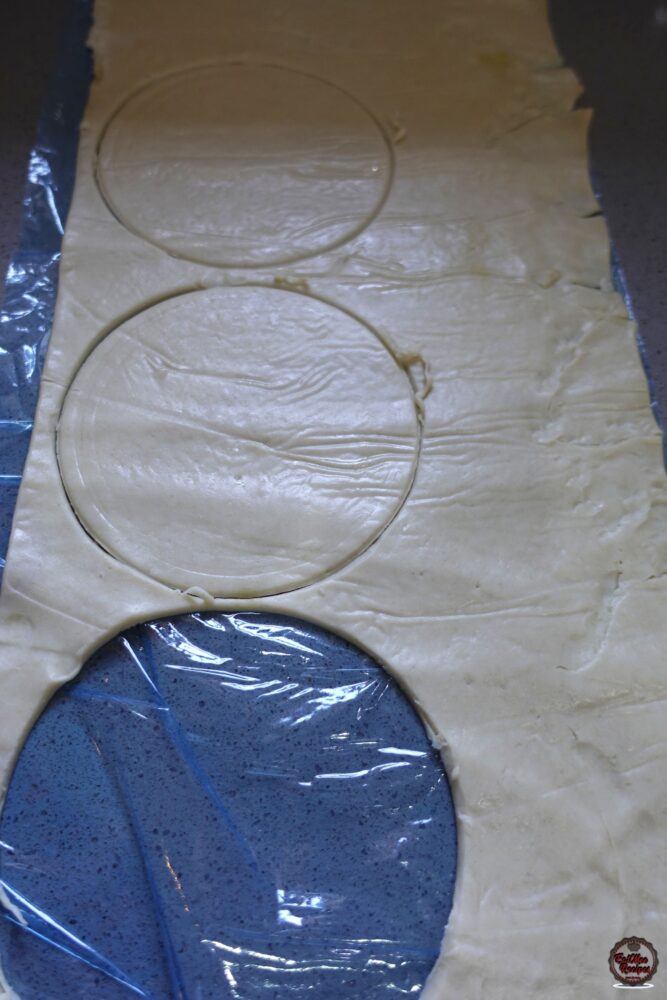
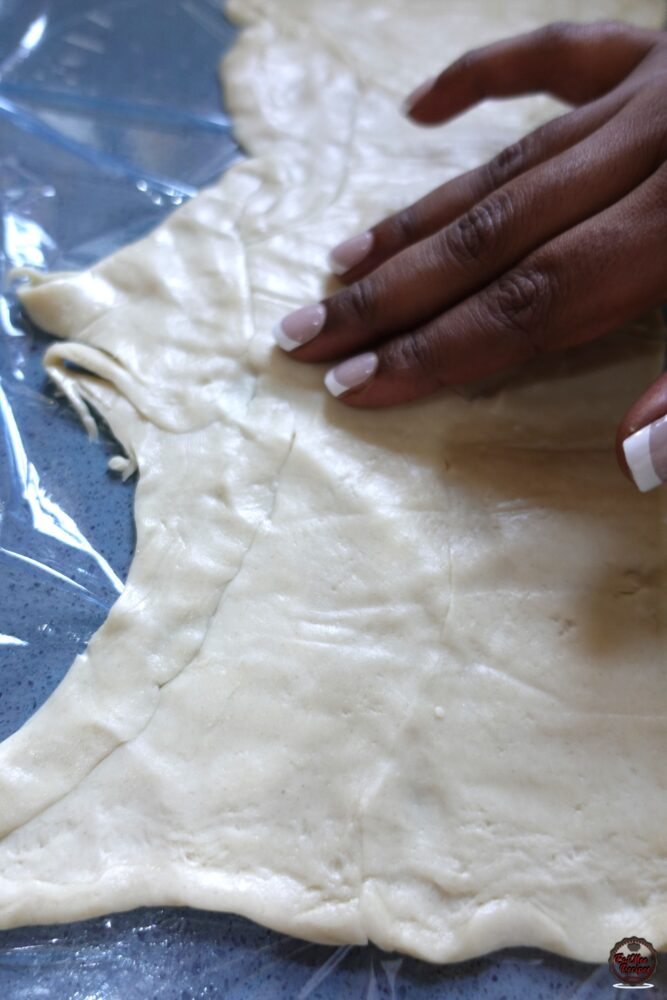
Please do not roll out the pastry to try and make more shapes. Gently fold the pastry with your hands and press down to create more circles. You should get 8 circles in total.
Place the Shortcrust Pastry circles one at a time into the foil tins. Press down firmly so it covers the surface & outer edges
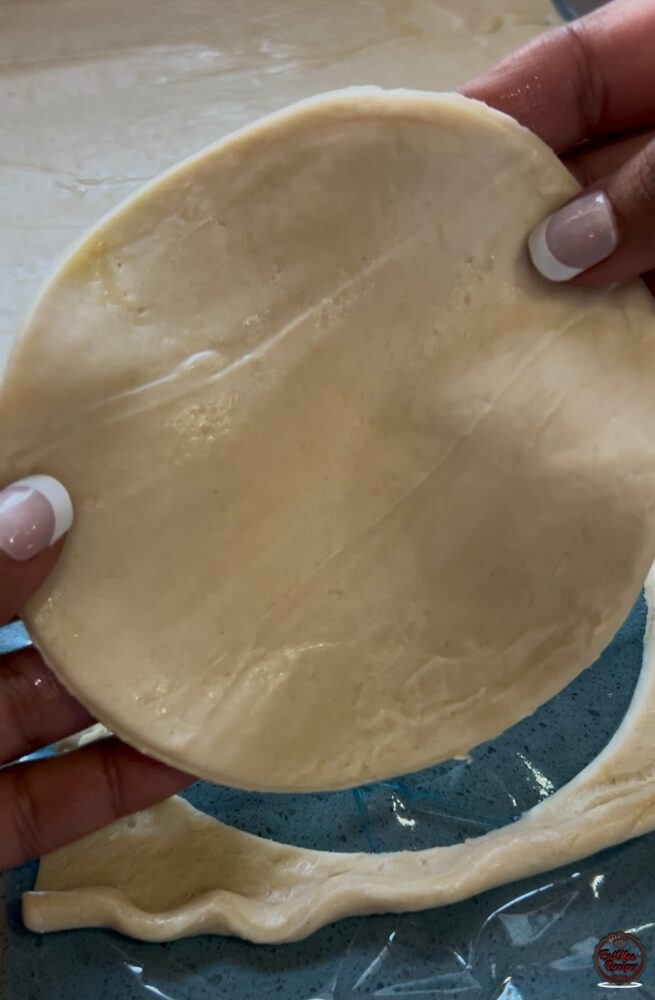
Flip the tin over & cut off excess pastry.
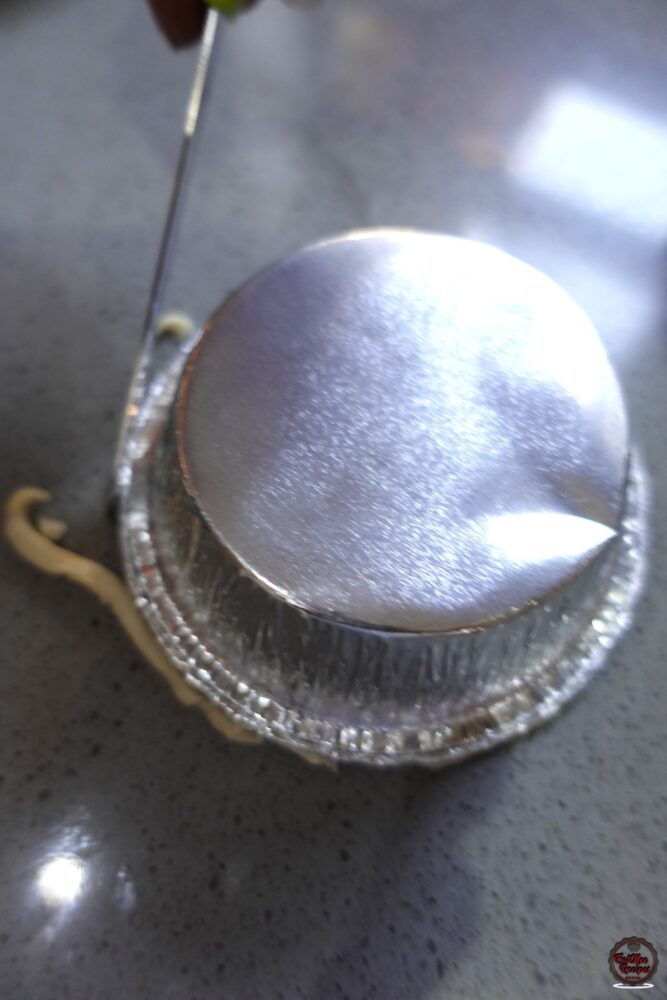
Continue this process until all the tins have the pastry base.
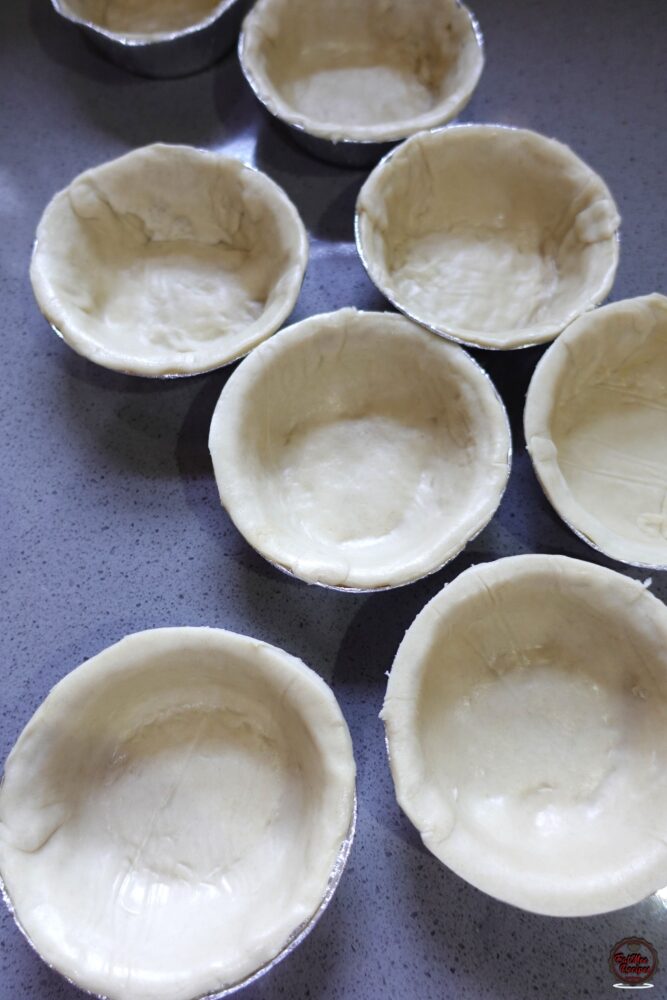
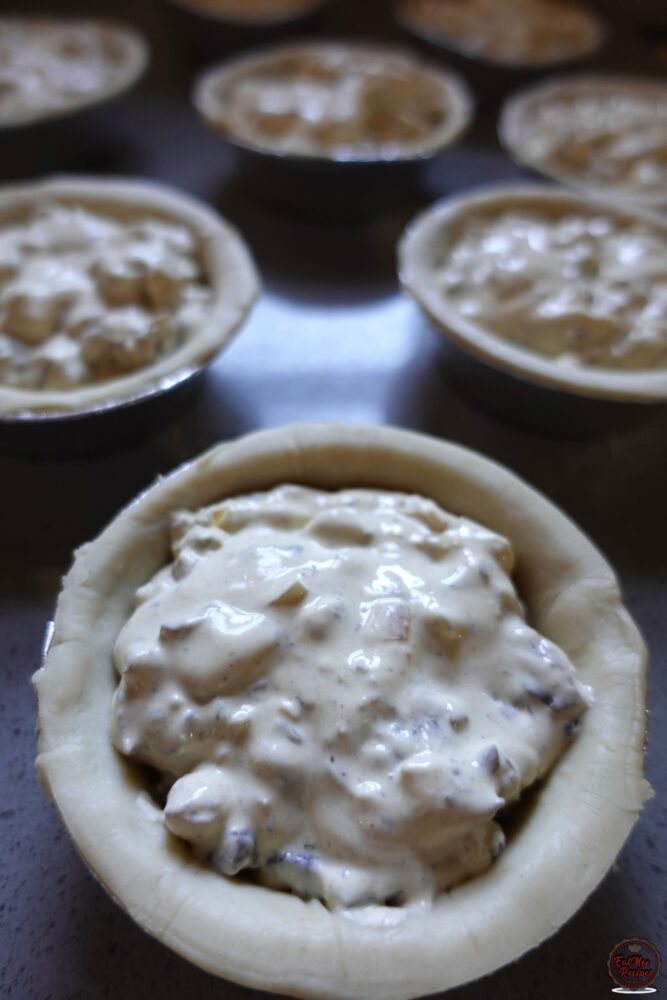
Add the Chicken and Mushroom filling.
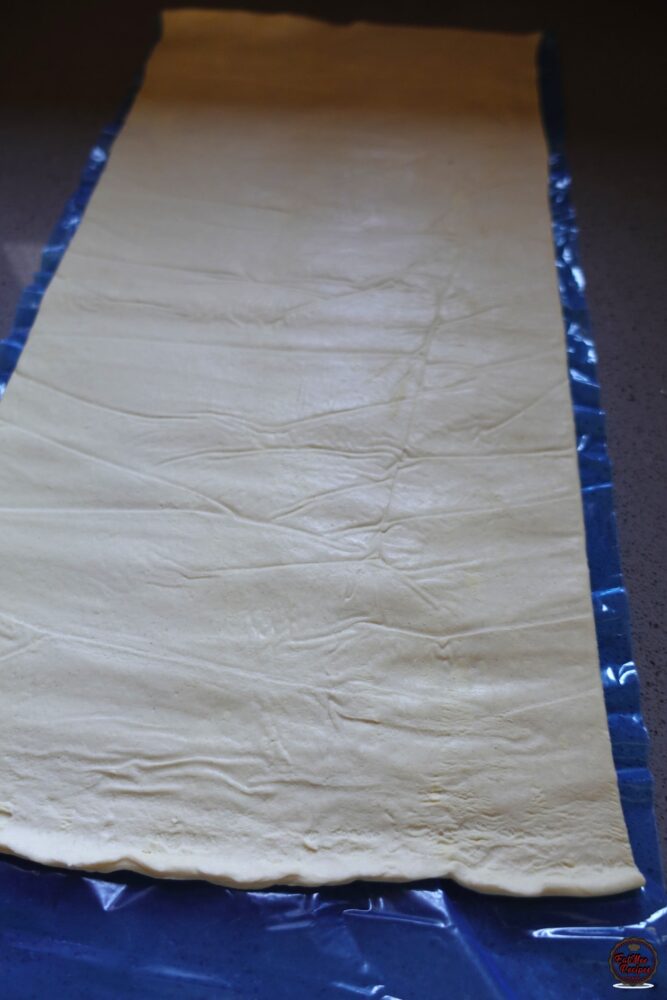
Unroll the Puff Pastry. Do not roll it with a rolling pin – leave it as is.
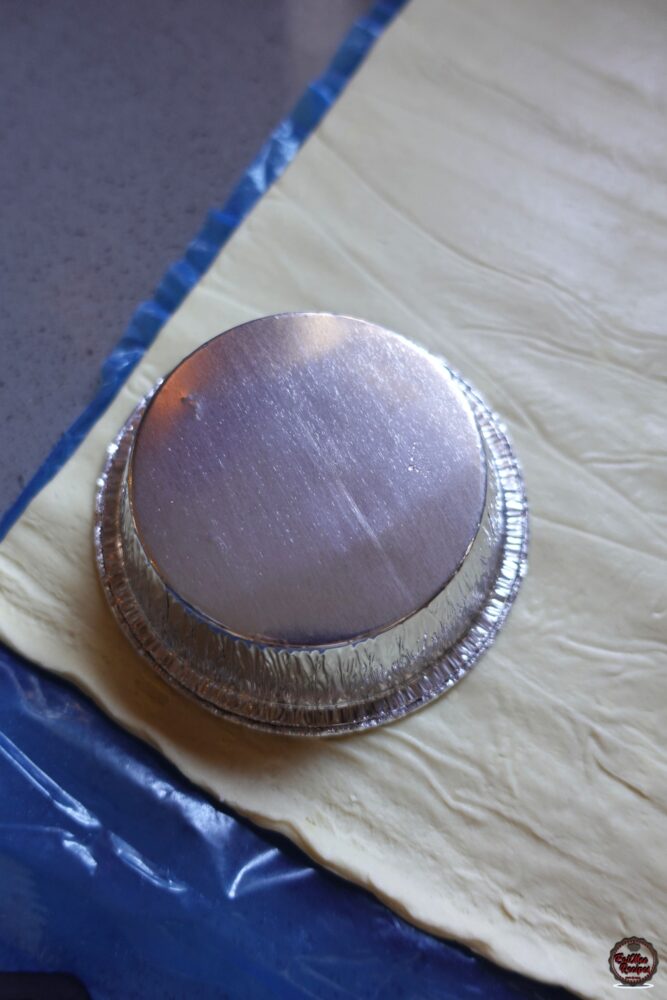
Take one of the foil tins and use this as a guide to cut the circles for the lids of the pie.
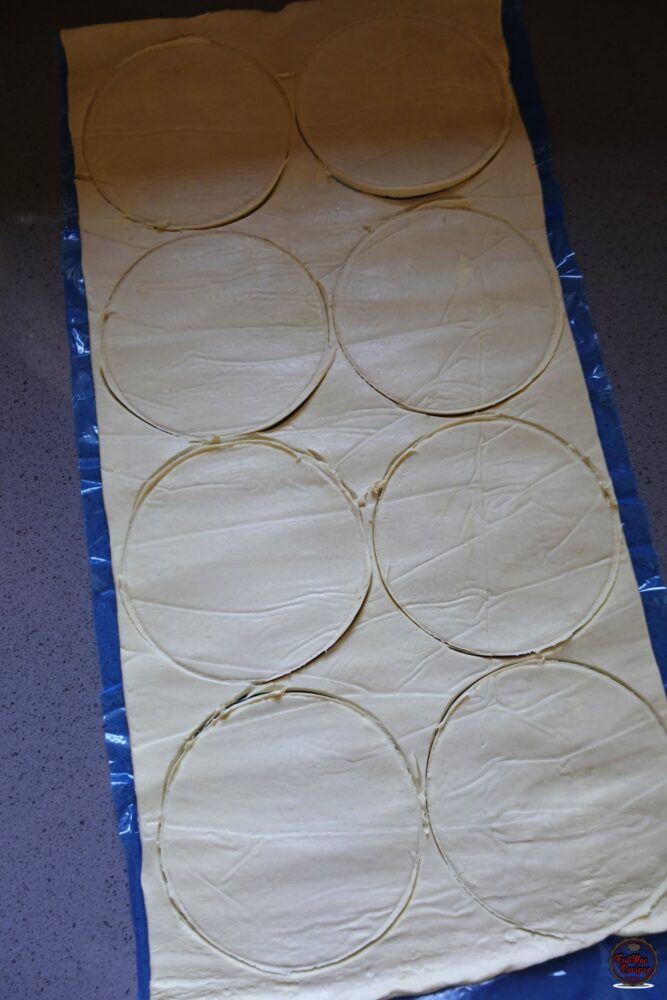
You should get the whole 8 circles cut out from the pastry – the excess can be used to create shapes for the top of the pies if preferred.
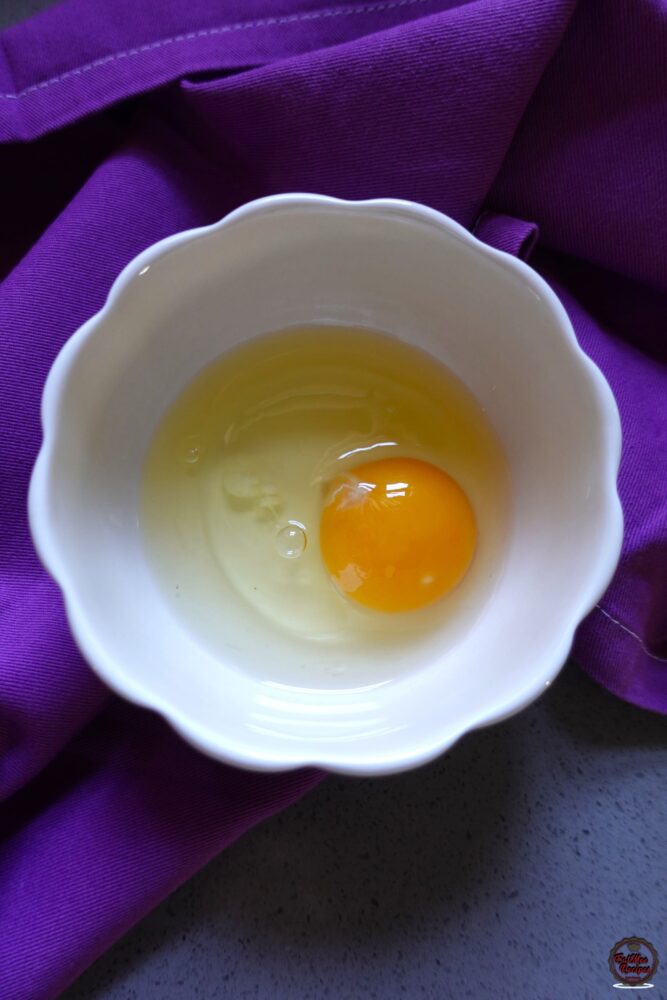
Crack the egg into a bowl and beat using a fork.
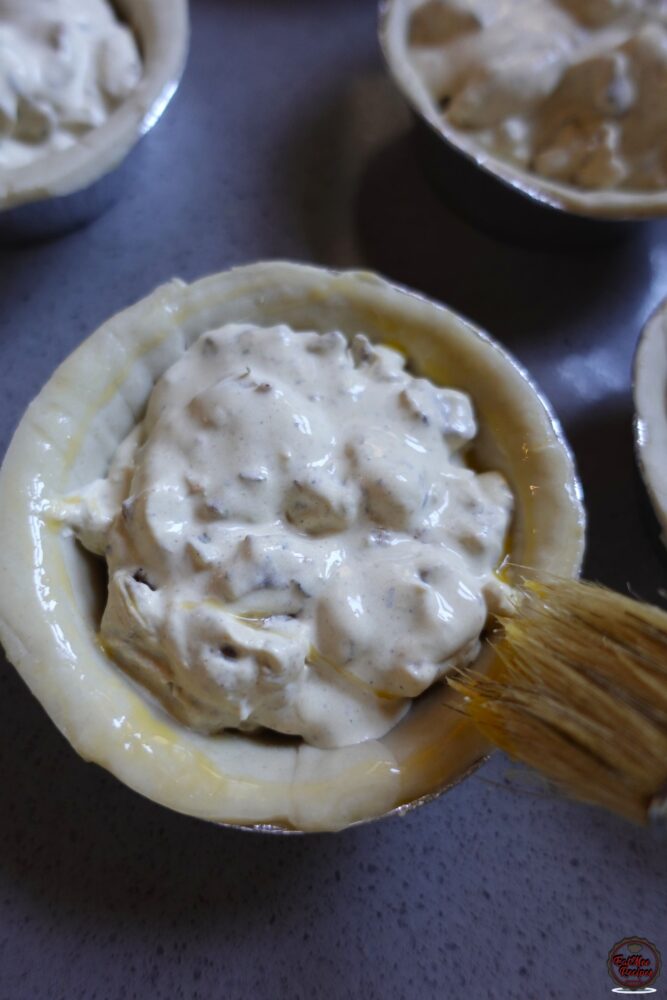
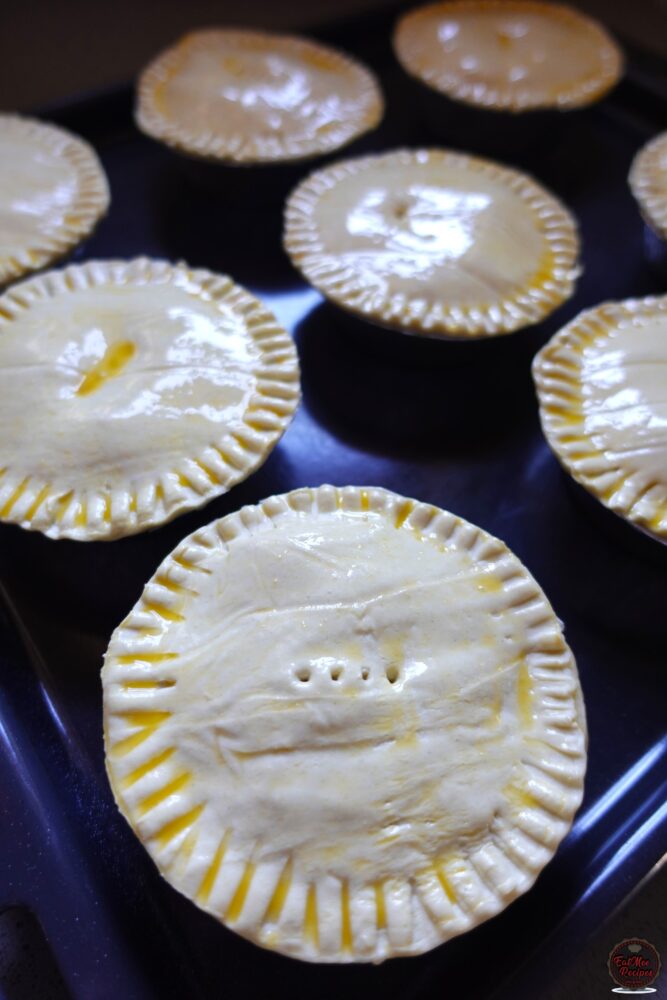
Lightly brush some egg wash around the edge of the pie base.
Place the puff pastry lids over & gently press down the edges so the lids can stay put.
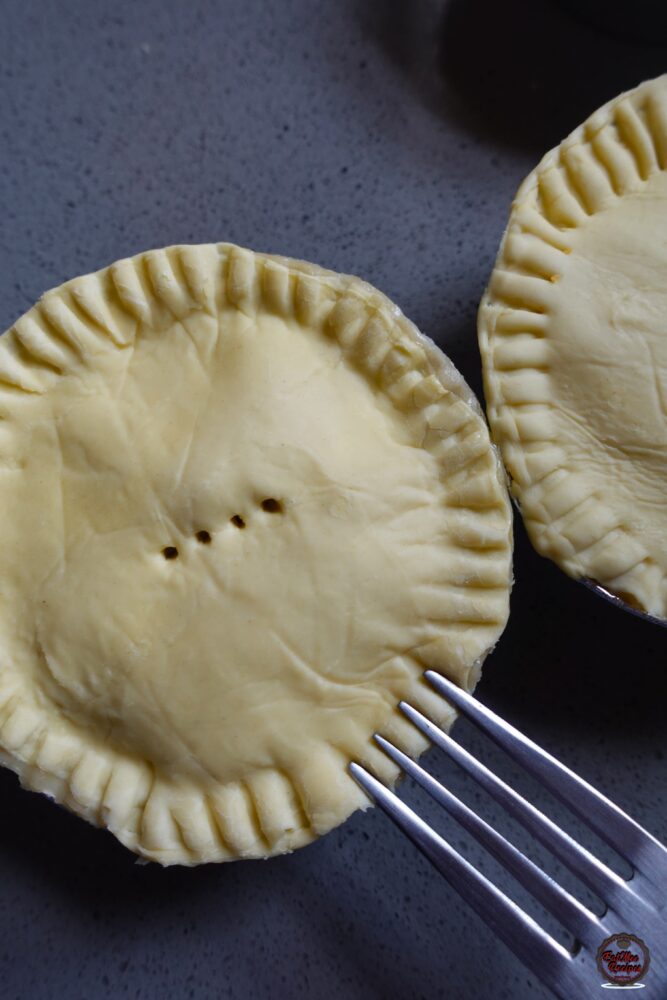
Use the tip of a fork to crimp the edges of the pastry & pierce the fork in the middle of the lid so steam can escape when baking.
These can now be packed & frozen to consume whenever you want them.
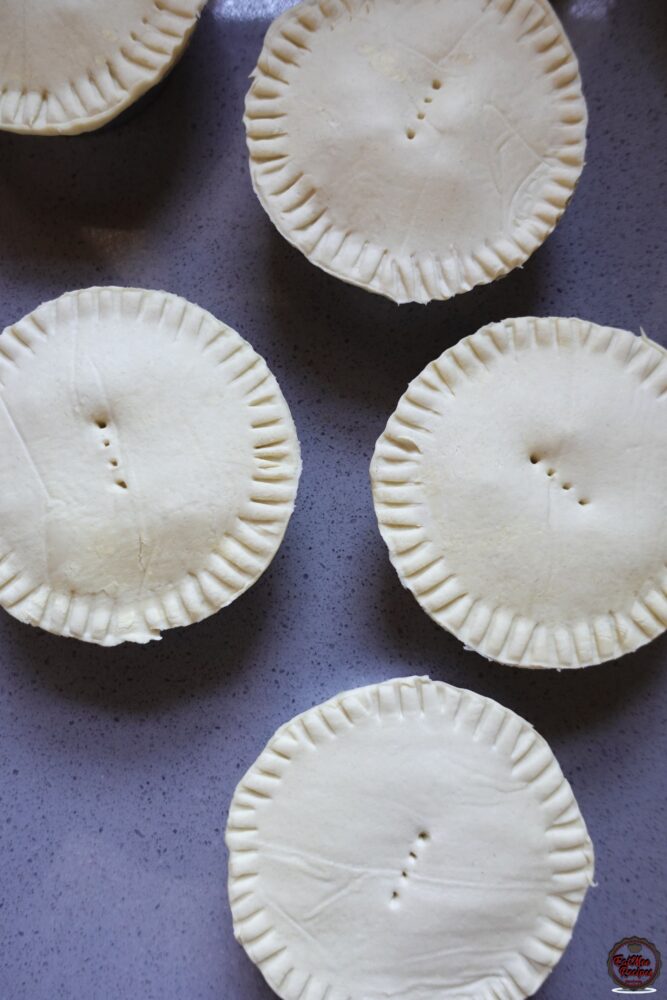
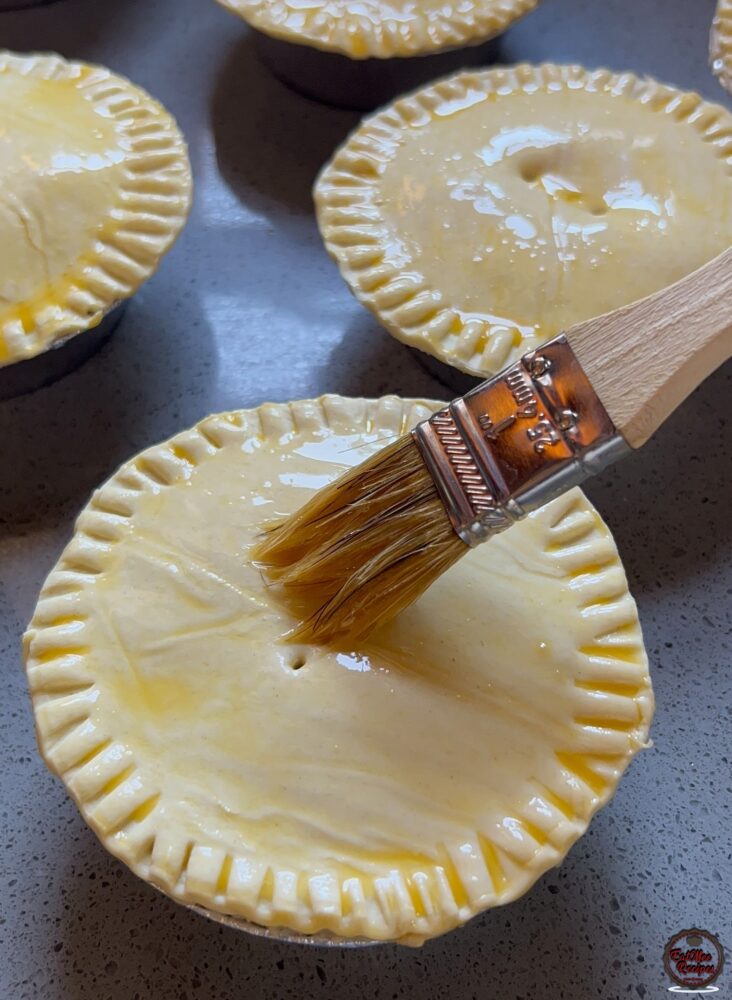
If you want to bake them, preheat your oven to 200° Celsius. Brush the remaining egg wash over the pies.
Bake for 10 minutes at 200° Celsius – this will allow the puff pastry to rise. After 10 minutes lower the heat to 180° Celsius & allow to bake for 30 minutes or until golden.
Alternatively, these can be air fried at 180° Celsius for 20 minutes, then flip them over & air fry for a further 5 minutes just to make sure the bottom cooks as the element in the air fryer is only at the top.
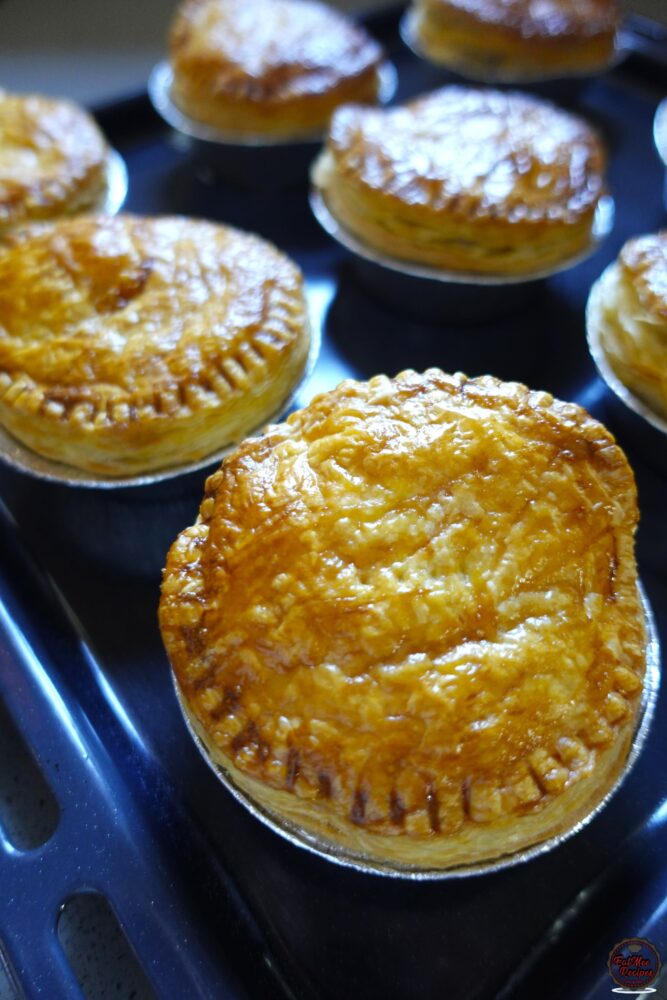
Allow them to cool for a bit on the baking tray before serving.
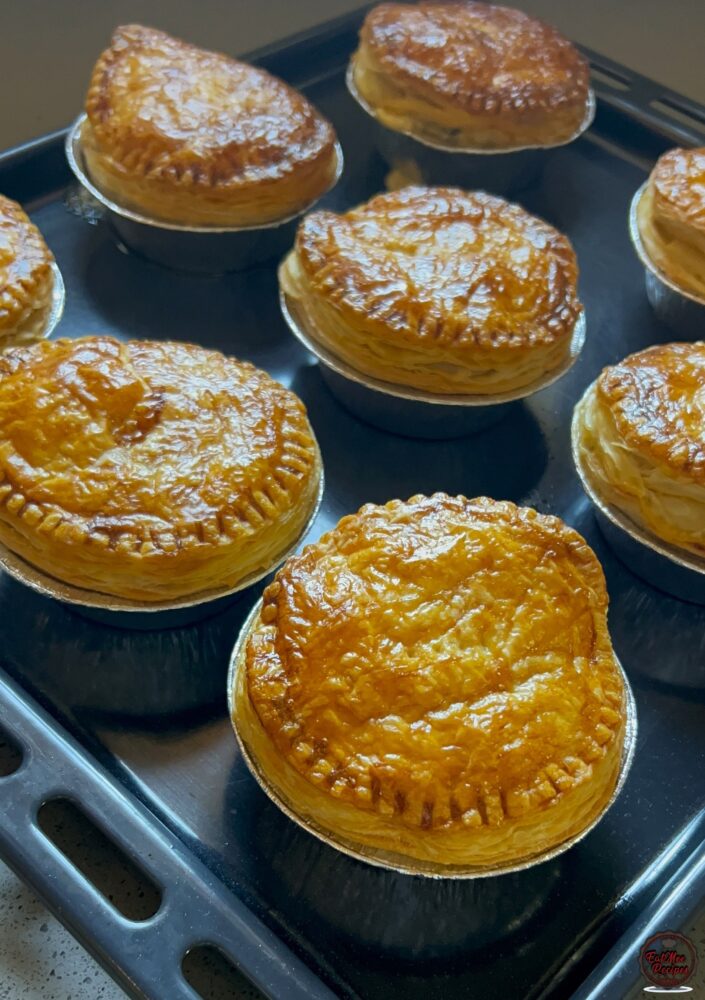
The bottom side of the pies should be thoroughly cooked – some have mentioned that their pastry didn’t cook through so this would depend on your oven. I would suggest flipping them over to make sure it is cooked or pop them into your air fryer (flipped).
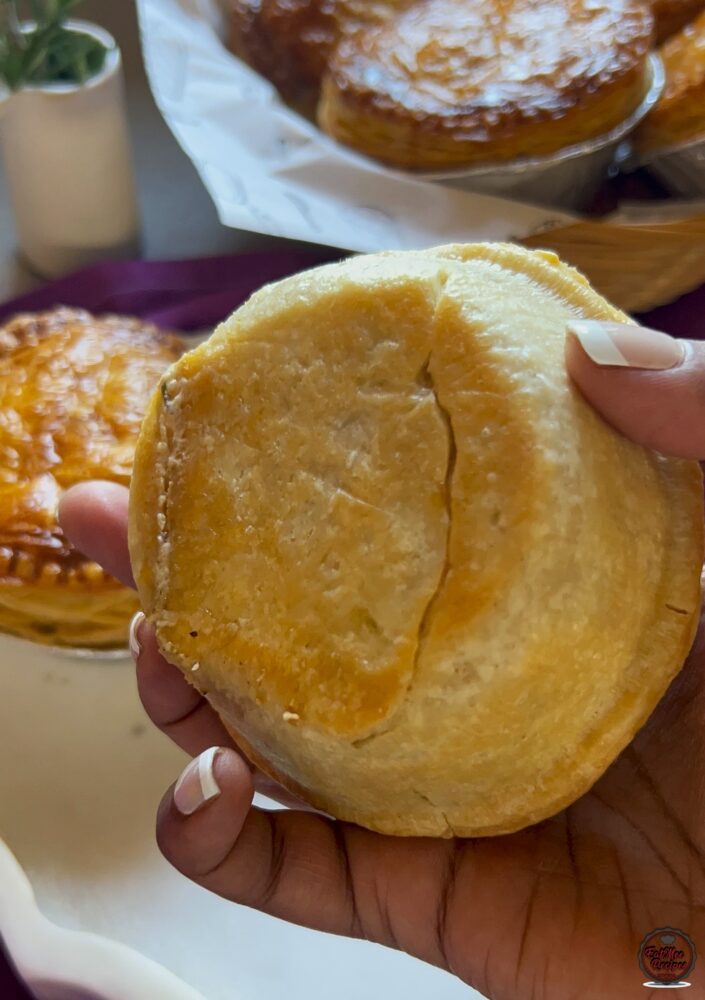
These pies are perfect for lunch boxes, a quick dinner, ramadan preps, etc.
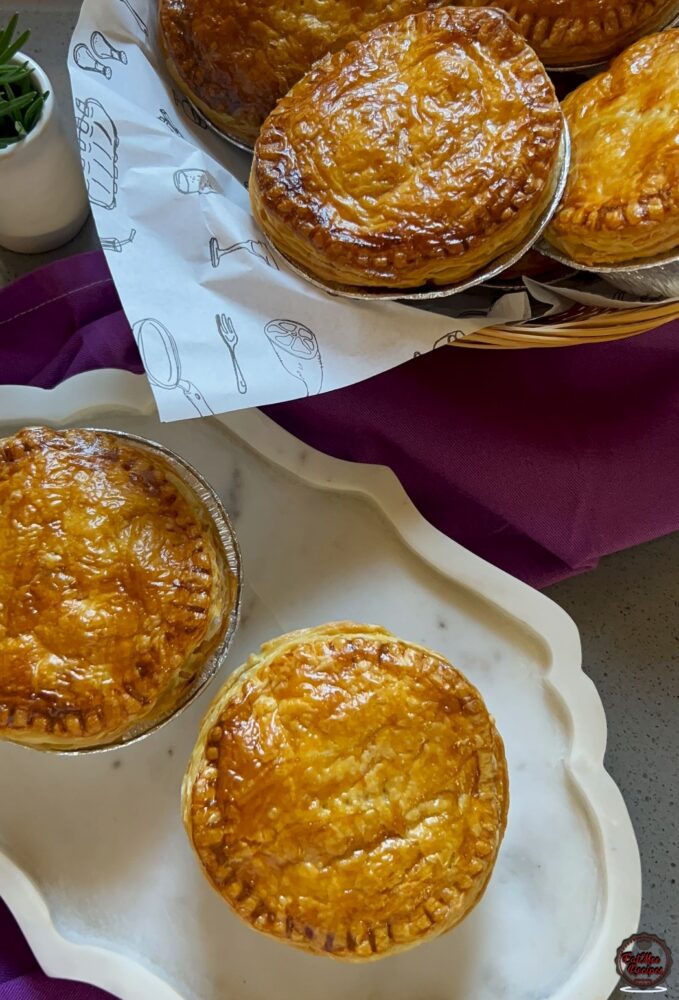
Let the sauce simmer gently so the flavors meld together beautifully.
Always let your filling cool before spooning it into the pastry. Hot filling can make your crust soggy.
For that glossy, golden crust, brush the top with a beaten egg before baking.
Shortcrust pastry is the ideal foundation for a hearty filling like chicken and mushroom. Unlike puff pastry, which is light and layered, shortcrust is more robust and crumblier, offering a firm structure that holds up well under the weight of rich, creamy fillings.
Its buttery flavor and flaky texture add depth to every bite, while its sturdiness ensures the pie maintains its shape and doesn’t become soggy as it bakes. For savory pies that need a reliable, delicious base—like a classic chicken and mushroom—shortcrust pastry is the perfect match.
Follow along with Denisiya's step-by-step video guide for Chicken And Mushroom Pies.
Expert kitchen guidance and troubleshooting for making the best Chicken And Mushroom Pies
Absolutely! You can easily tailor the heat by increasing or reducing the chili powder and fresh chilies to suit your family’s palate without compromising the authentic flavor profile.
Yes, you can freeze Chicken And Mushroom Pies in an airtight, freezer-safe container for up to 2 to 3 months. Thaw overnight in the refrigerator before gently reheating.
Reheat gently on the stovetop over low heat with a splash of water, or in the microwave covered with a damp paper towel to retain moisture.
Hi, I'm Denisiya! Food lover, recipe developer, and founder of EatMee Recipes. I specialize in authentic South African Durban Indian cuisine, comforting curries, and modern Instant Pot adaptations. Every recipe on this site is tested in my personal kitchen to ensure you get mouth-watering, foolproof results every time.
Explore more authentic Durban curries, traditional bakes, and comforting family favourites.
 Afrikaner Cuisine
There’s something undeniably comforting about a warm, flaky sausage roll. They’re nostalgi...
 Pies
PiesThere’s something magical about a warm, savory pie, especially a Steak and Kidney Pie. The...
 Pies
PiesThere’s something undeniably satisfying about biting into a golden, flaky pie crust that g...
Have you tried this recipe or have questions for Denisiya? Join the conversation below.
No comments yet. Be the first to share your thoughts on this recipe!
Leave a Comment
Your email address will not be published. Required fields are marked *