
We Value Your Culinary Privacy
EatMee Recipes uses cookies to provide a personalized browsing experience, analyze recipe popularity, and serve relevant ads. You can review our full disclosure in our Privacy Policy.
Make authentic Burger Pies with this foolproof recipe. Packed with rich traditional flavor, step-by-step photos, and cooking tips by Denisiya on EatMee Recipes.

Join over 60,000+ home chefs for weekly authentic Durban Indian cook-alongs, Instant Pot masterclasses, and family heritage recipes.
Burger Pies: The Ultimate Comfort Food You Need to Try
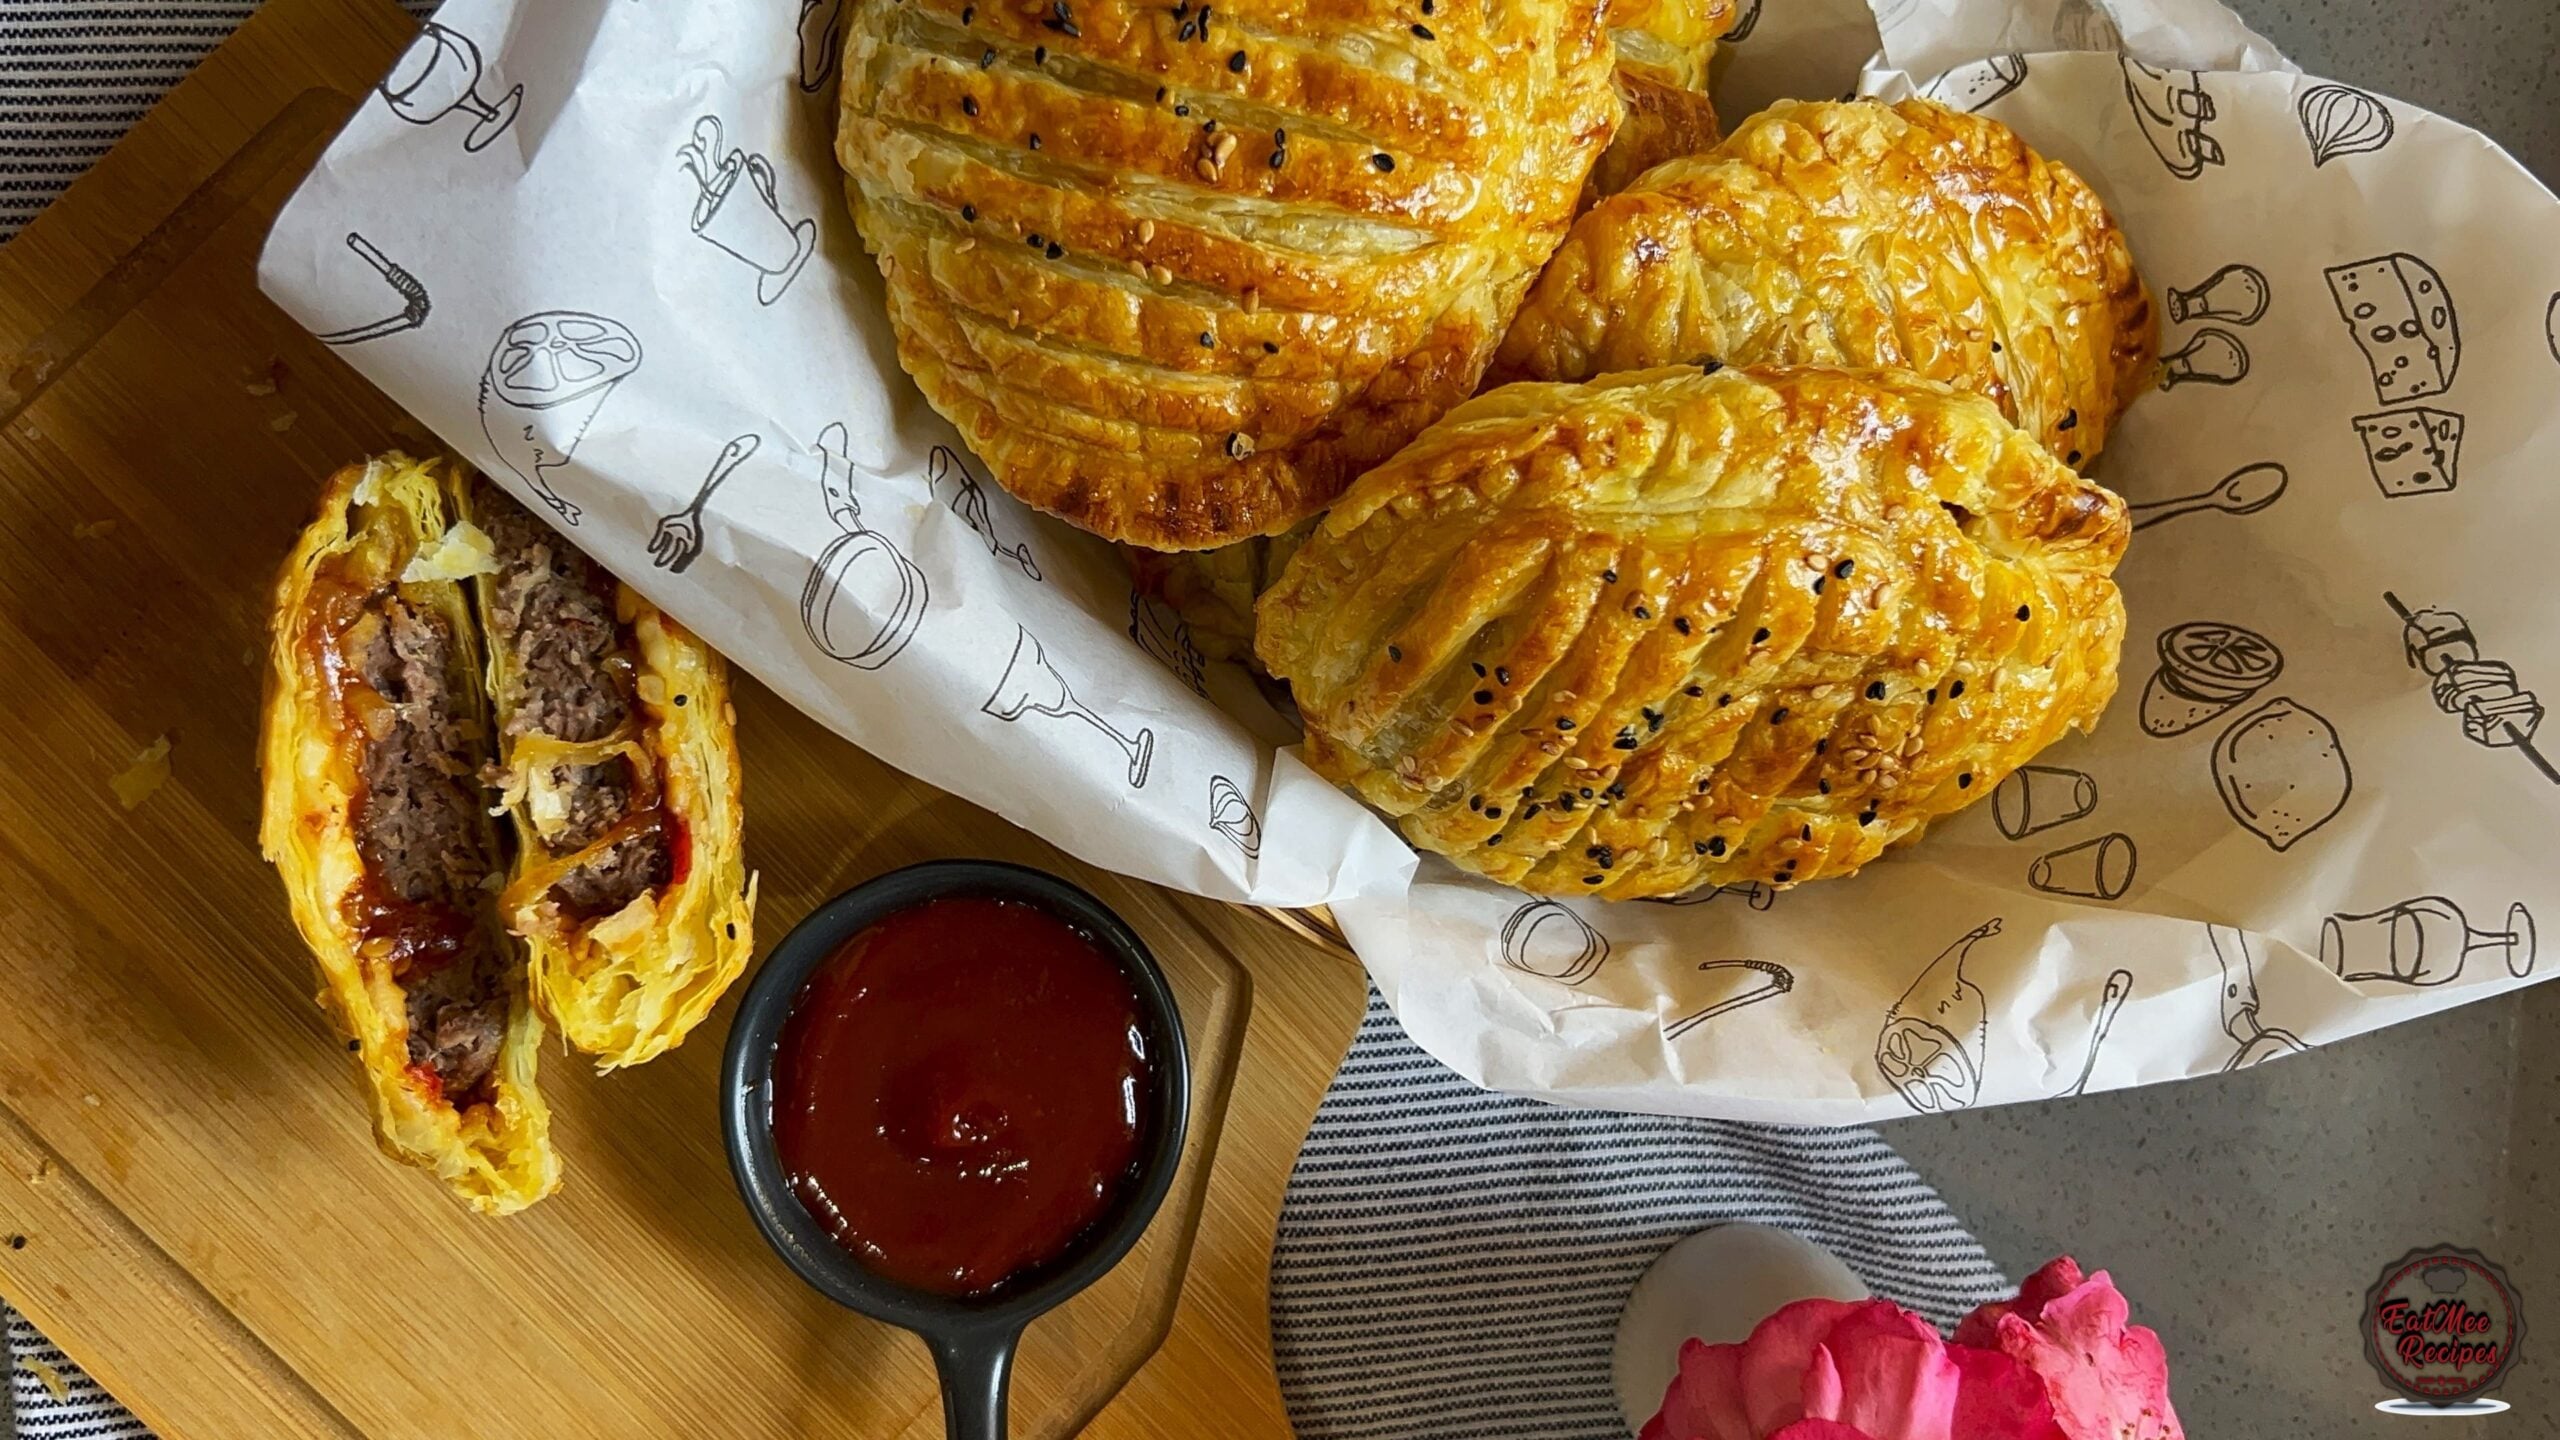
If you love burgers and you love pies, why not combine the two into one irresistible dish? Burger pies are the ultimate comfort food—a delicious blend of juicy, seasoned beef, melted cheese, and flavorful toppings, all encased in a golden, flaky crust. Whether you’re looking for a fun dinner idea, a game-day snack, or an easy make-ahead meal, burger pies are a must-try!
Burger pies take everything you love about a classic cheeseburger and wrap it in a warm, buttery pastry. Unlike traditional burgers, these handheld treats are easy to pack, mess-free, and full of flavor in every bite. The crust adds a satisfying crunch, while the filling bursts with cheesy, meaty goodness.
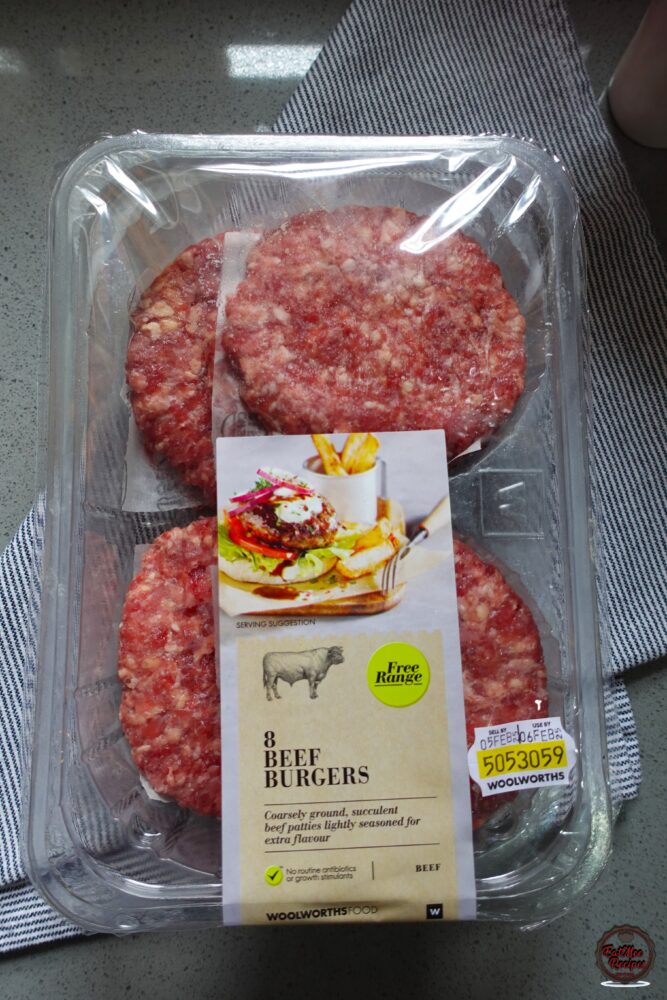
Bring out 8 burger patties of your choice. I used Woolworths beef patties; however, I recommend using Indian style mutton patties for a more flavourful pie – I didn’t have any on hand, so I opted for these.
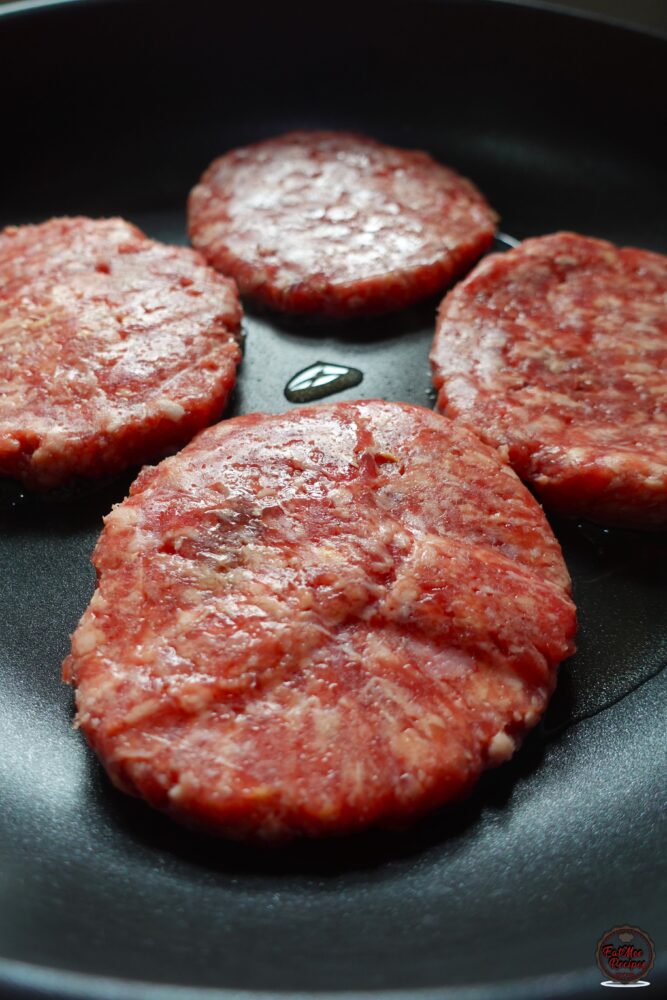
Add the vegetable oil to a pan on medium heat and fry the burger patties until cooked to your liking.
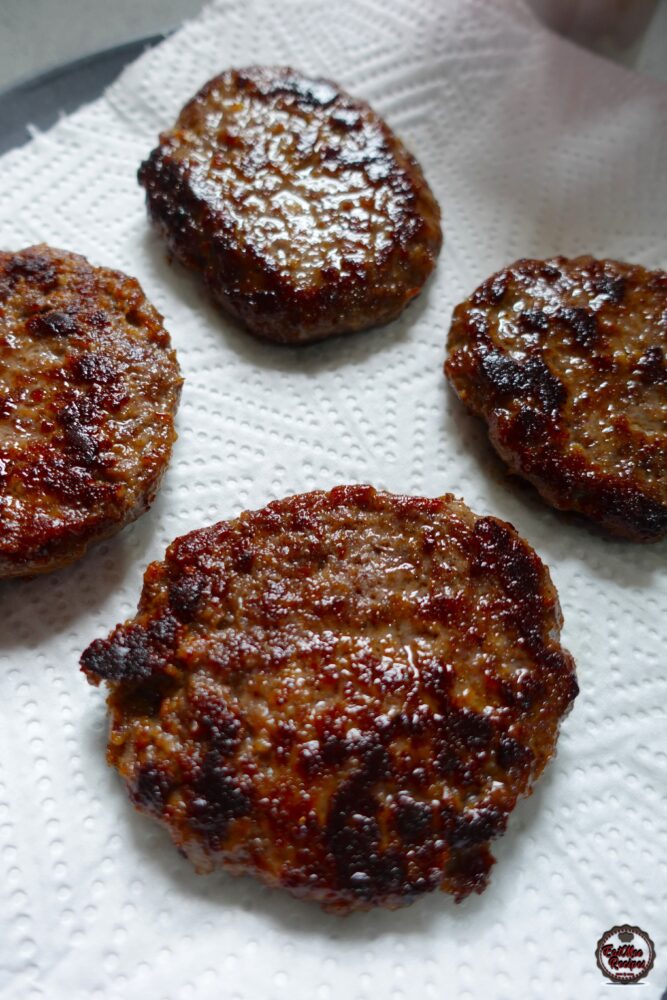
Once the patties are fried, remove from the pan and drain on paper towels.
Peel & slice the onion into circles.
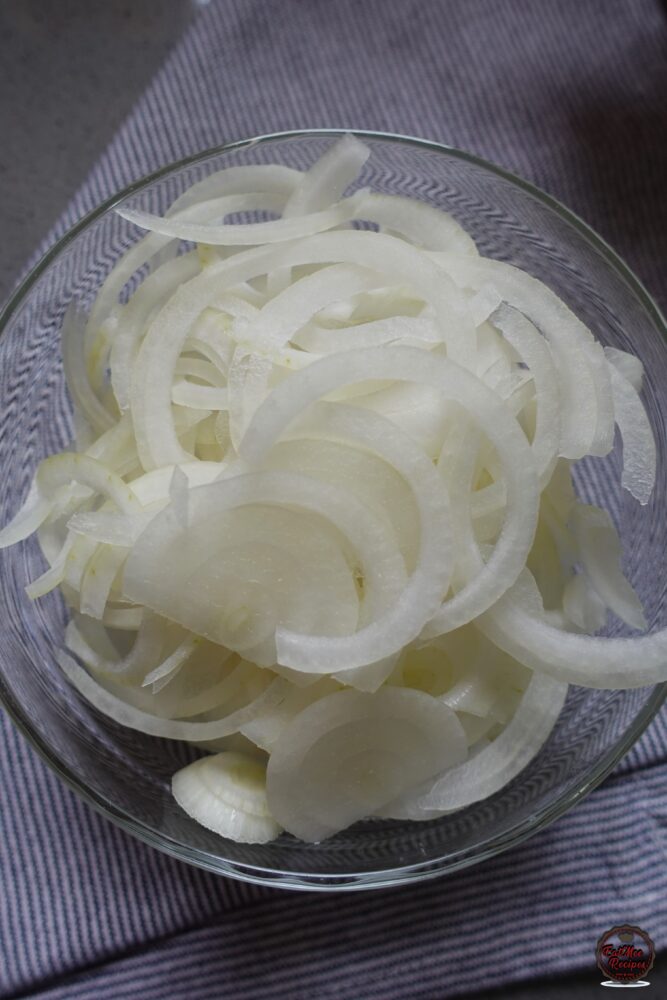
To the same pan that the burger patties were frying in, add in the onions.
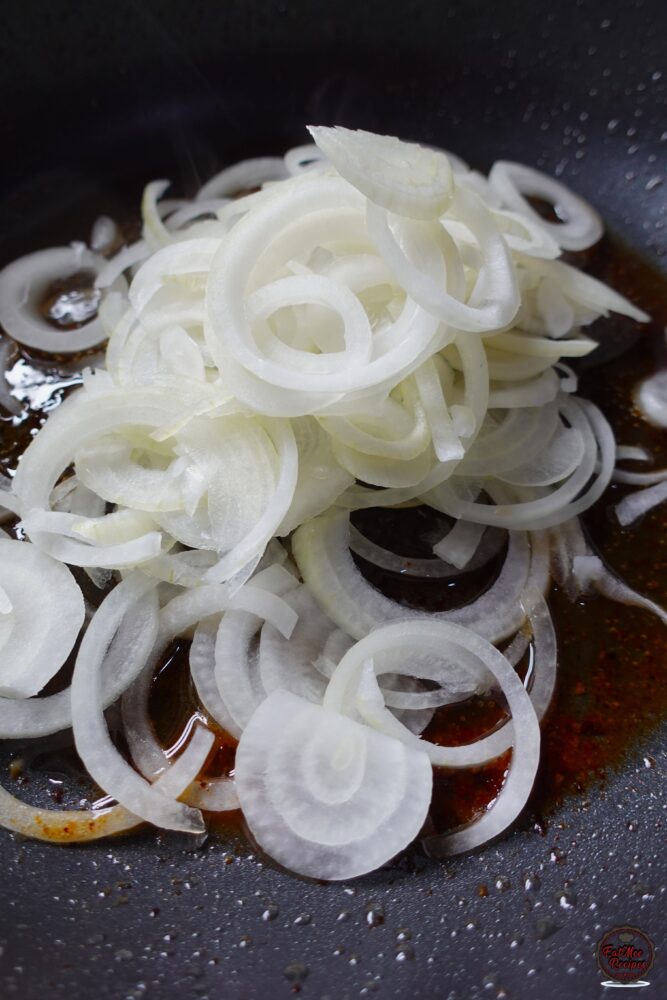
Toss the onions in the oil and fry until they are soft and change colour.

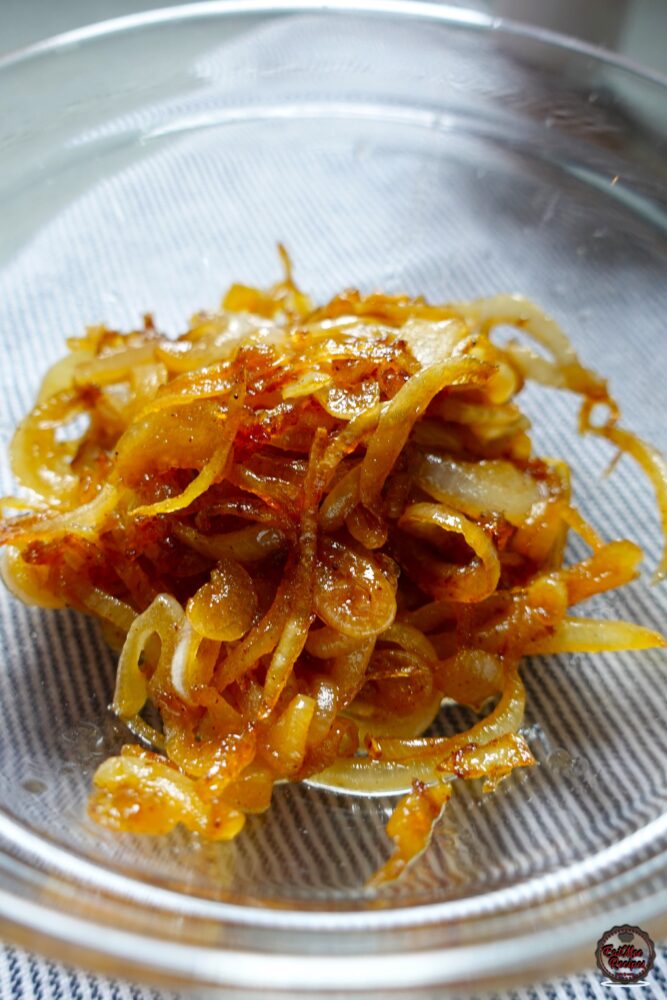
Remove from the pan and set aside in a bowl. Allow the burger patties and the onions to cool completely.
The puff pastries should be thawed in the refrigerator beforehand. I have used the Woolworths Puff Pastry.
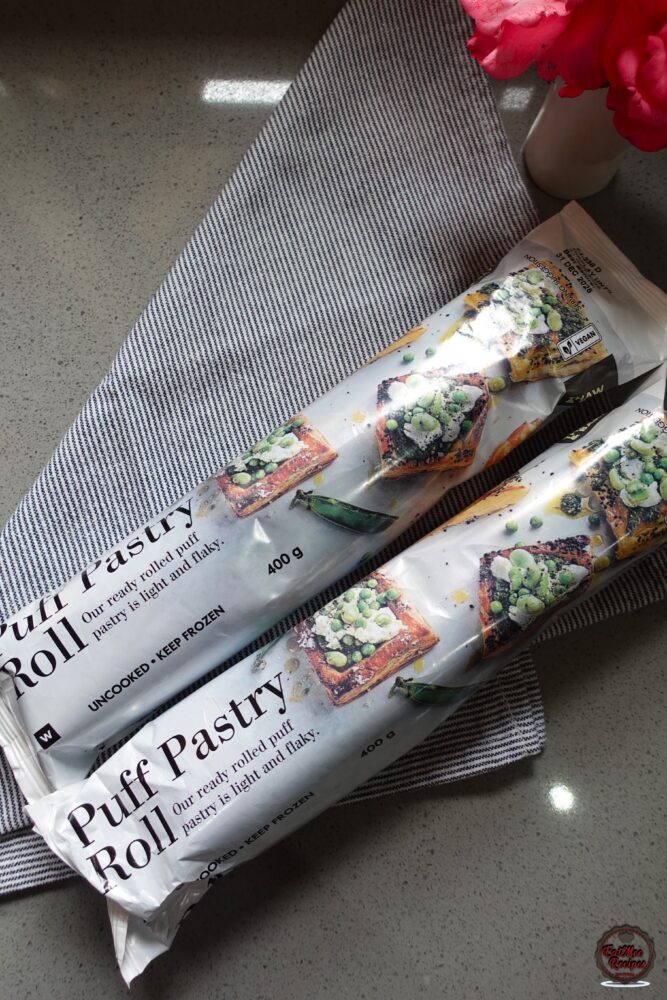
Unroll one (400 grams) puff pastry.
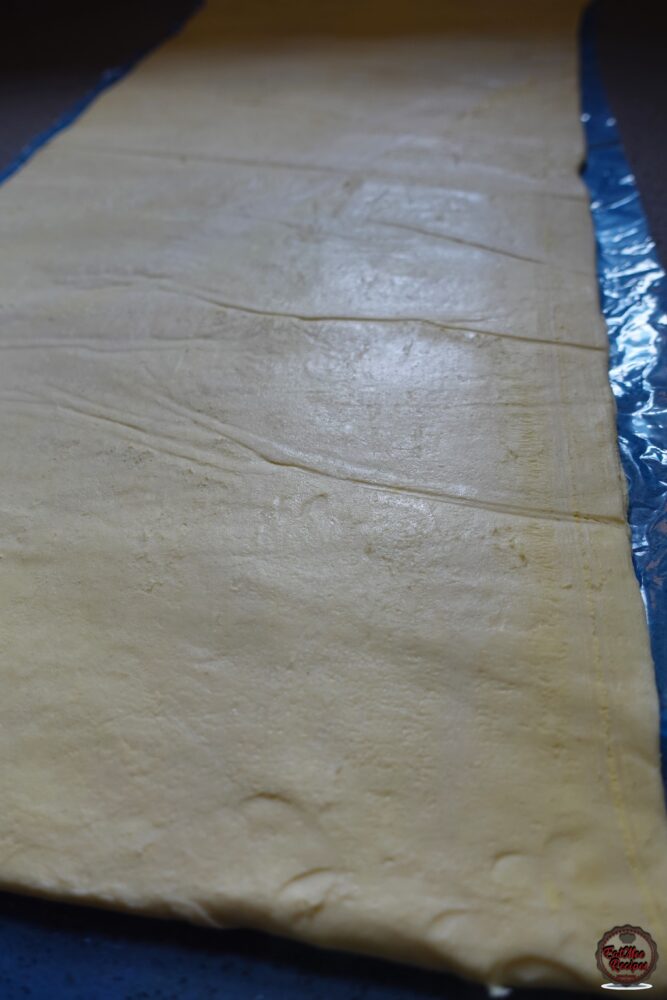
Use a cutter or a lid like I have which is around the same size of the burger patties.
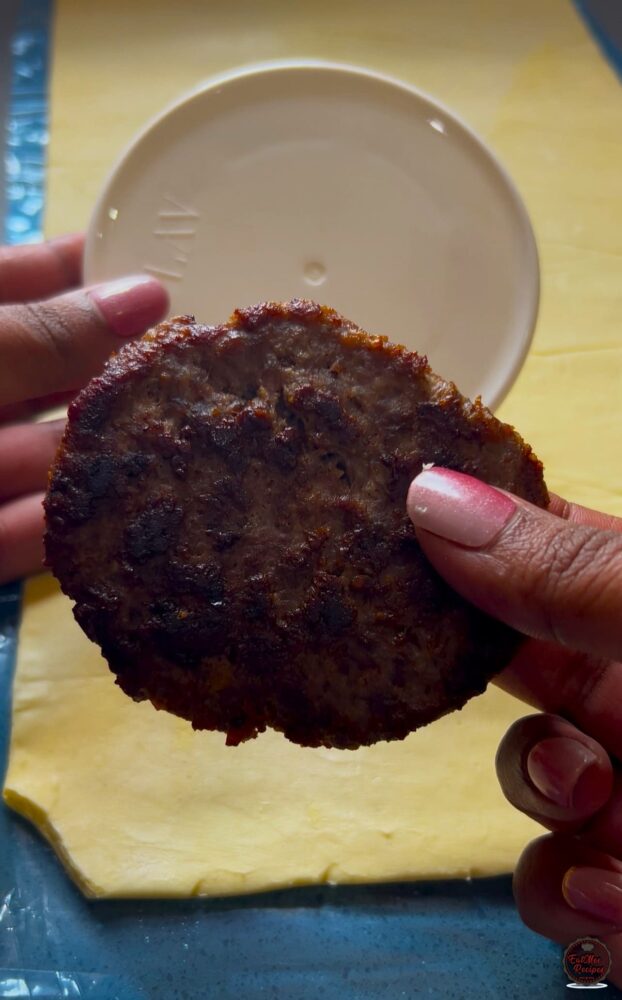
Cut around the lid or cutter to form a circle. This size is going to be used as the base of the pies. You should get about 6 circles out of this.
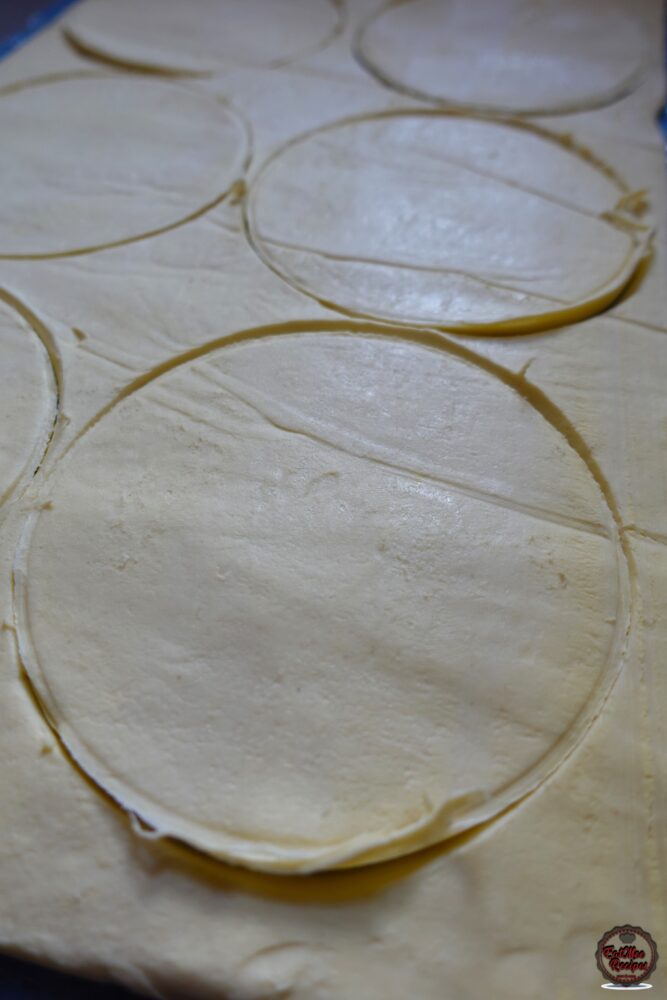
Unroll the other Puff Pastry. Do not roll it with a rolling pin – leave it as is.
Use a cutter or lid that is slightly bigger than the first one we used – this is going to be the top (lid) pastry that holds the filling intact.
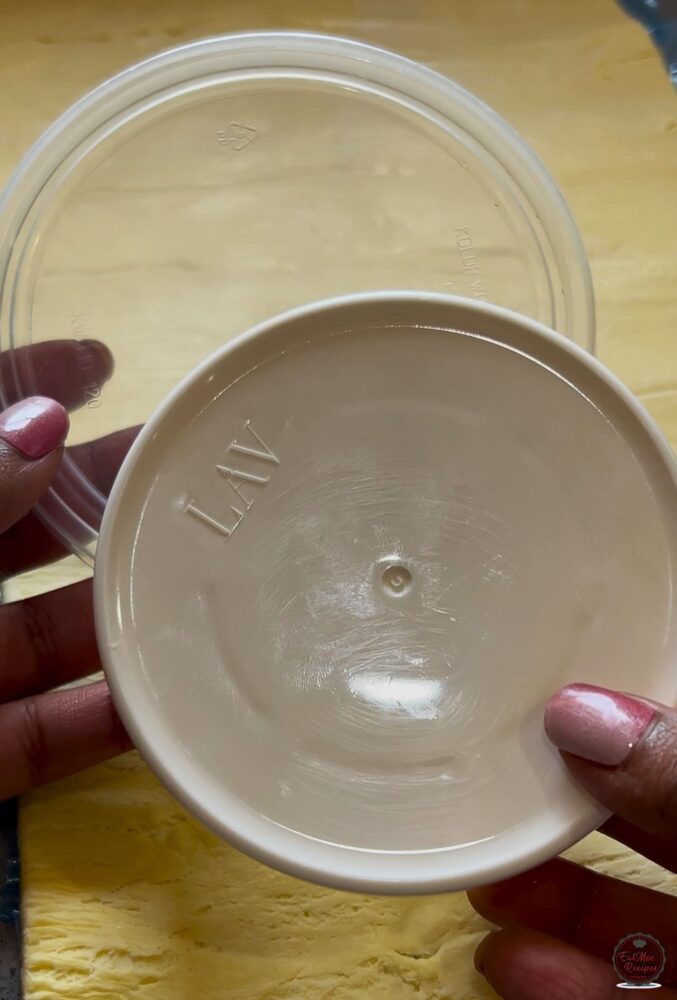
You should get about 3 circles out of this,
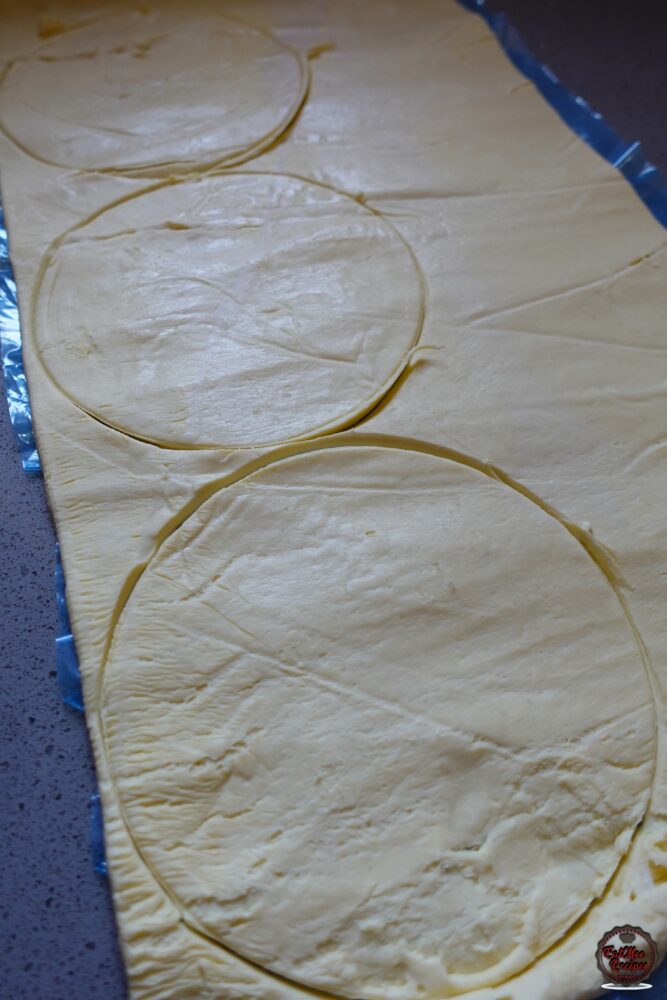
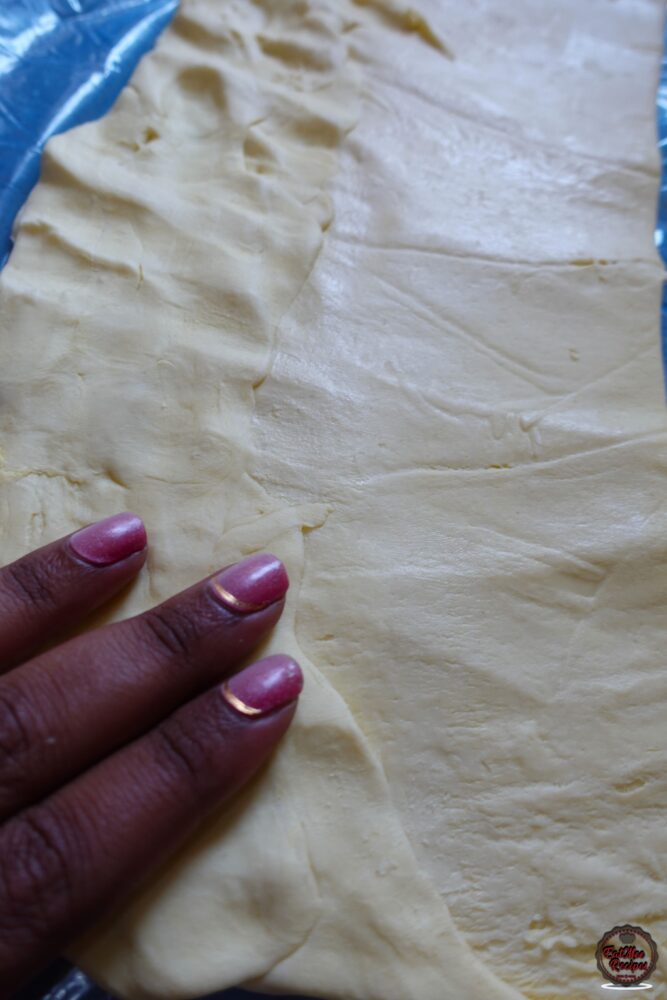
Please do not roll out the pastry to try and make more shapes. Gently fold the pastry with your hands and press down to create more circles. You should get 2 more of the base circles and 5 more circles for the top. In total 8 for the base and 8 for the top.
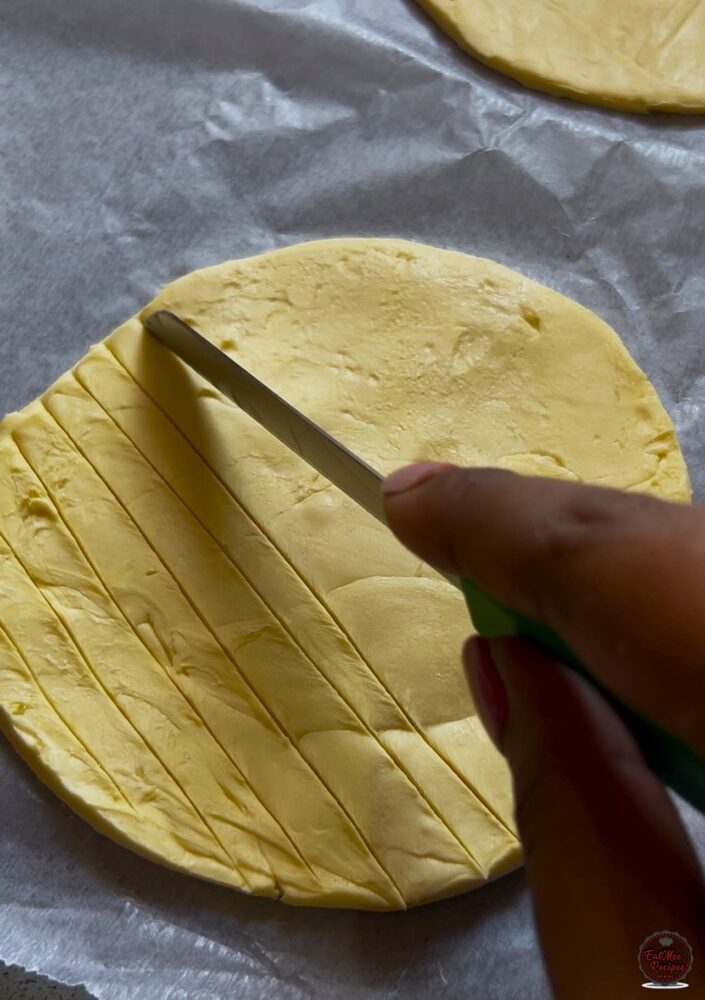
For the lid pastries – score them with a knife (these are the bigger circles).
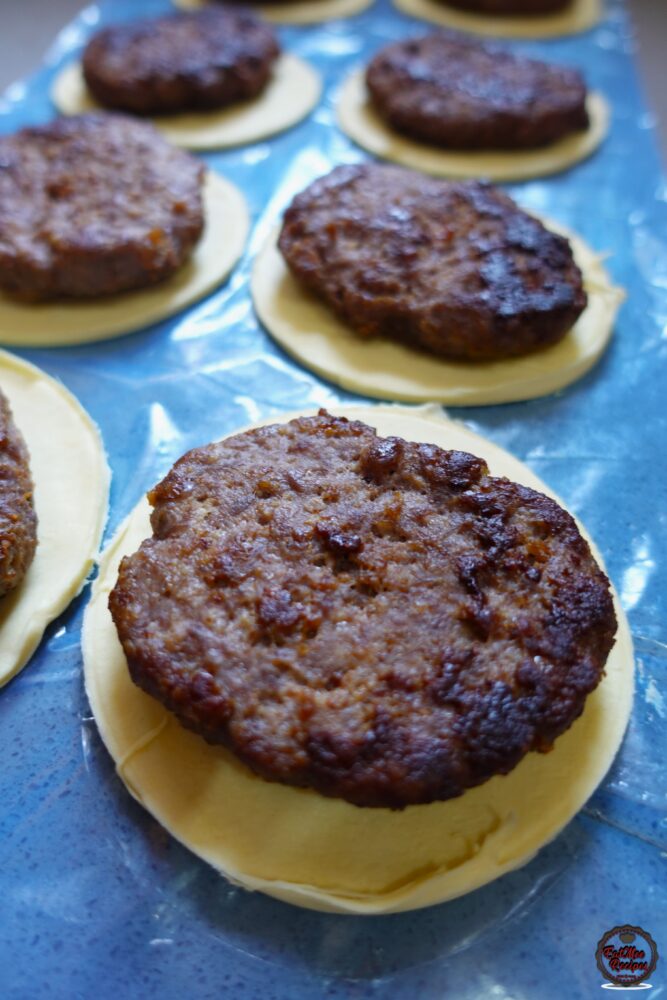
Once the pastries are all cut out – we can work on the filling. Place the cold burger patties over each base pastry.
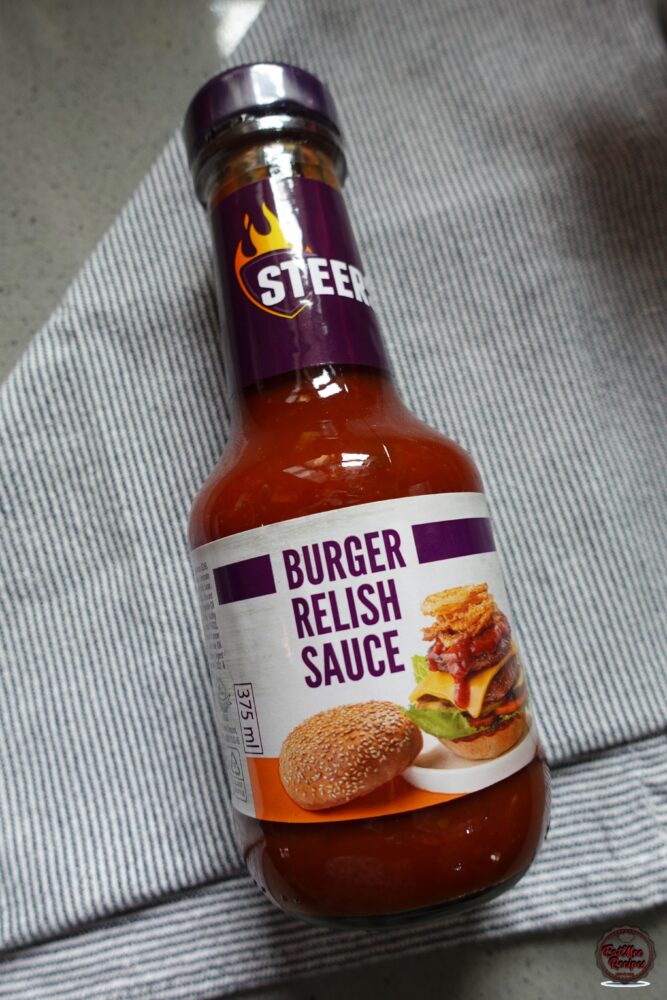
Next, top with a sauce of your choice. I’m using the Steers burger relish sauce.
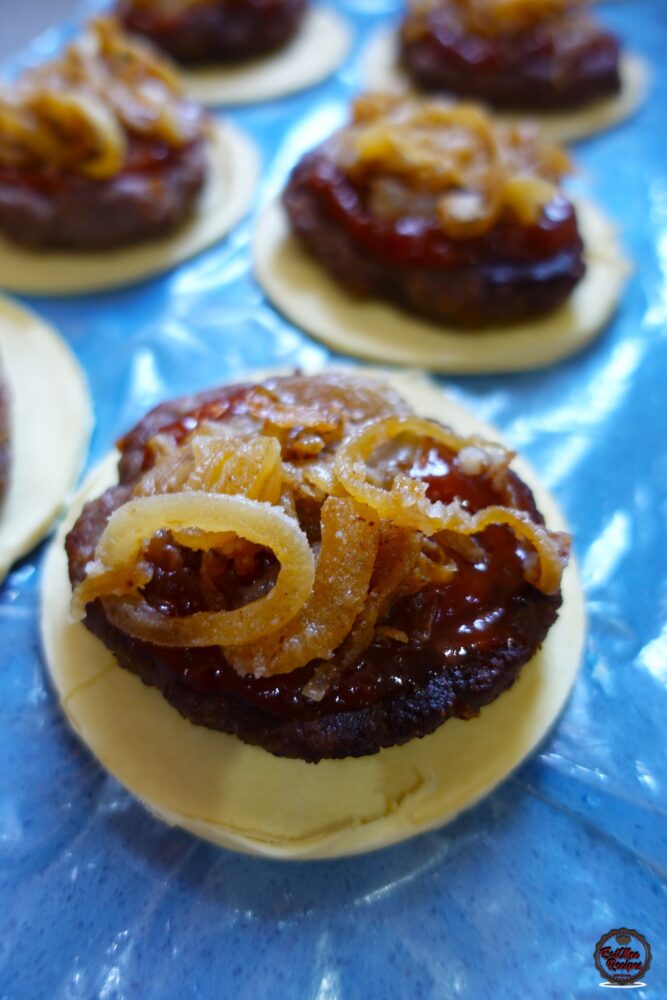
Add the cold fried onions over the sauce.
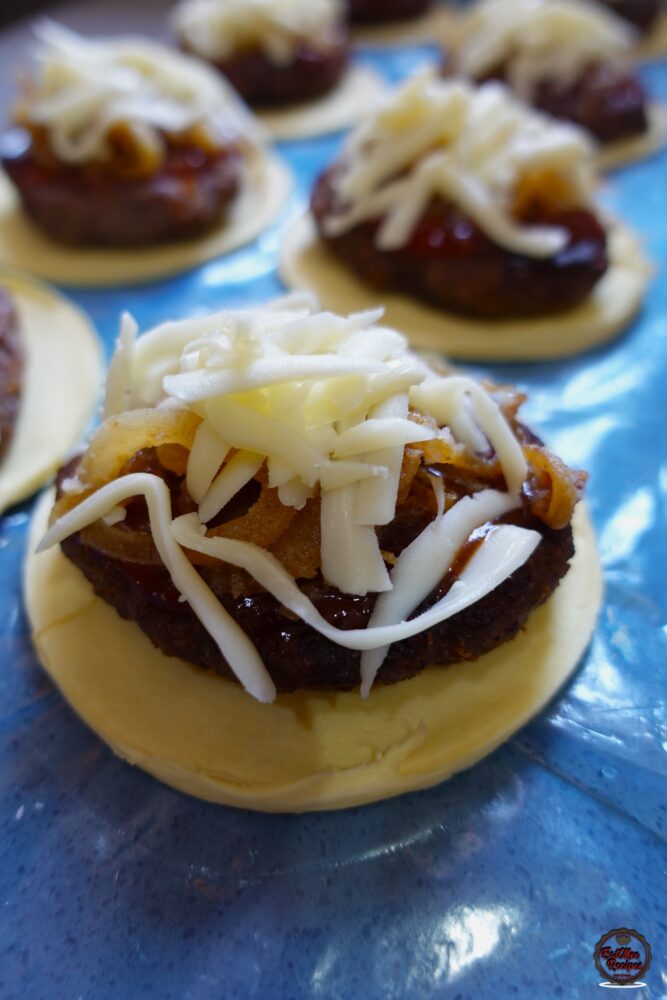
Top with grated mozzarella.
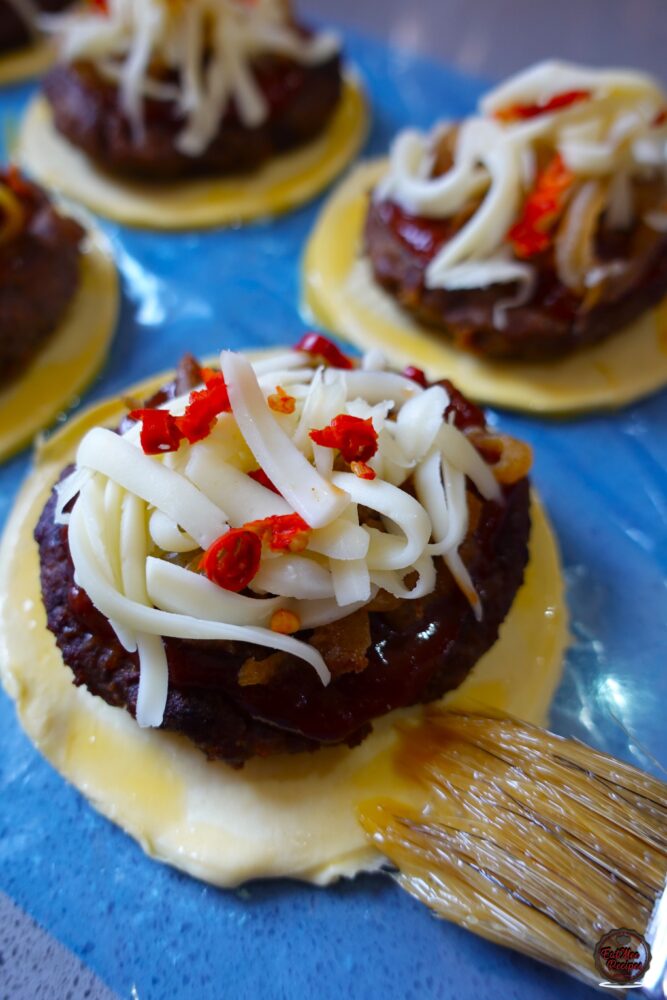
Next, I’m using bird’s eye chillies. Slice them and add over the cheese. This step is optional.

Crack the egg into a bowl and beat using a fork.

Lightly brush some egg wash around the edge of the pie base.
Place the puff pastry lids over & gently press down the edges so the lids can stay put.
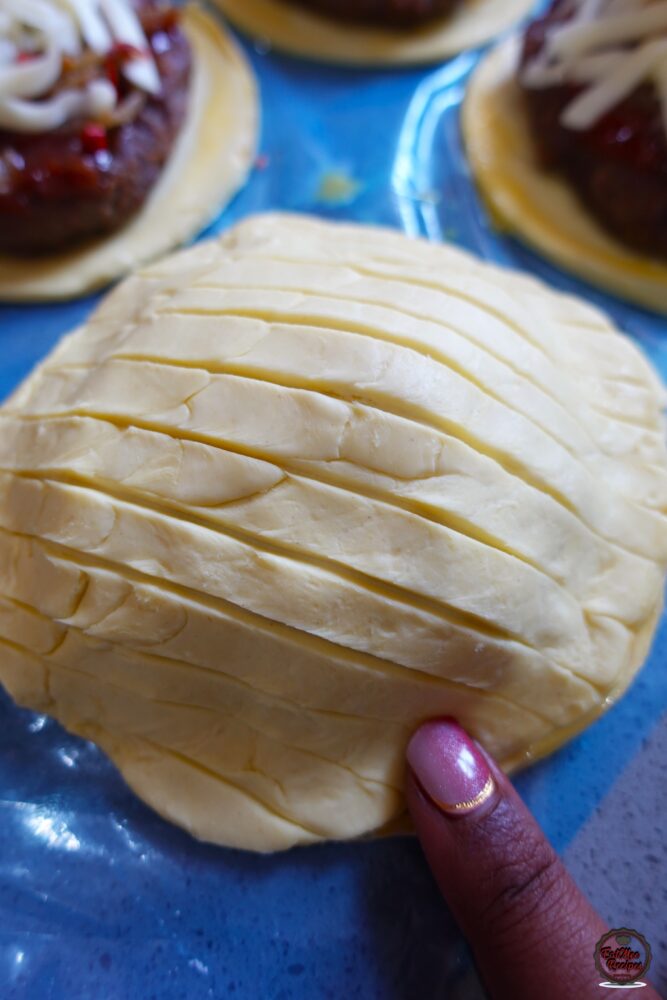
Use the tip of a fork to crimp the edges of the pastry & pierce the fork in the middle of the lid so steam can escape when baking.
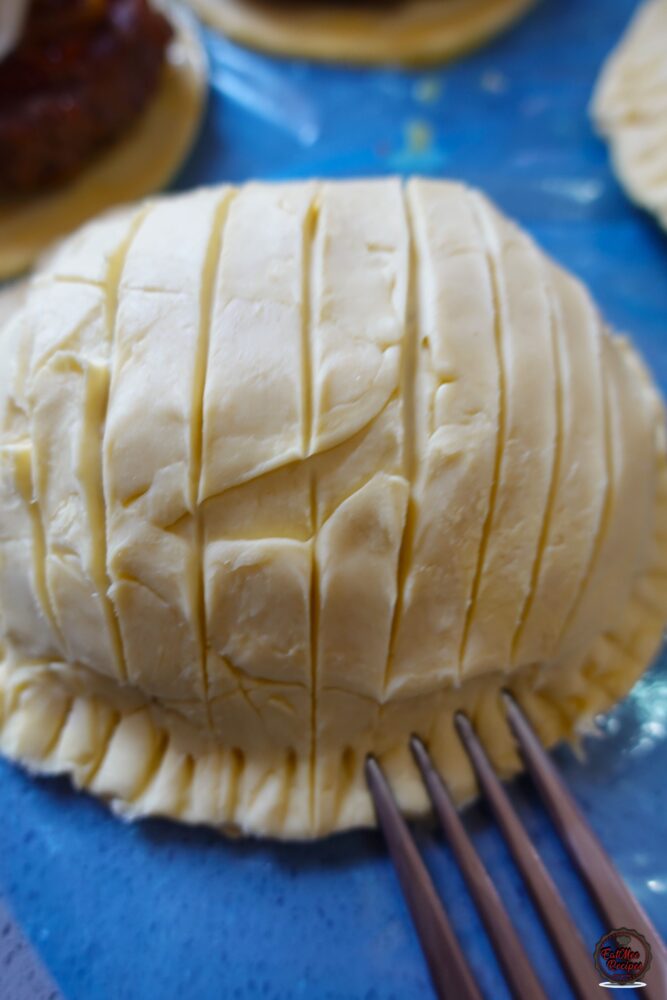
These can now be packed & frozen to consume whenever you want them.
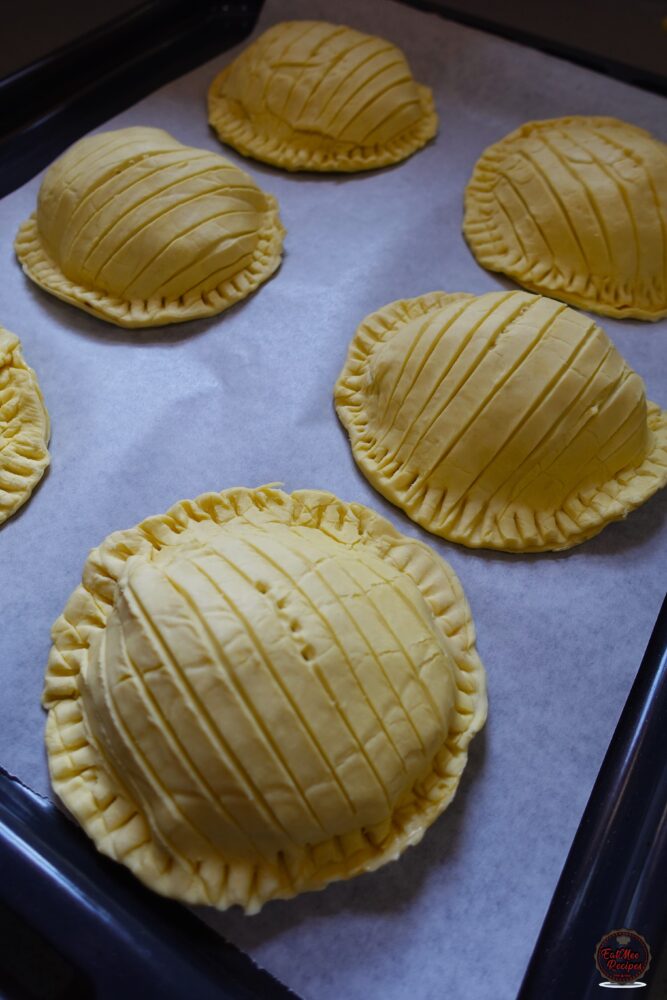
If you want to bake them, preheat your oven to 200° Celsius. Brush the remaining egg wash over the pies.
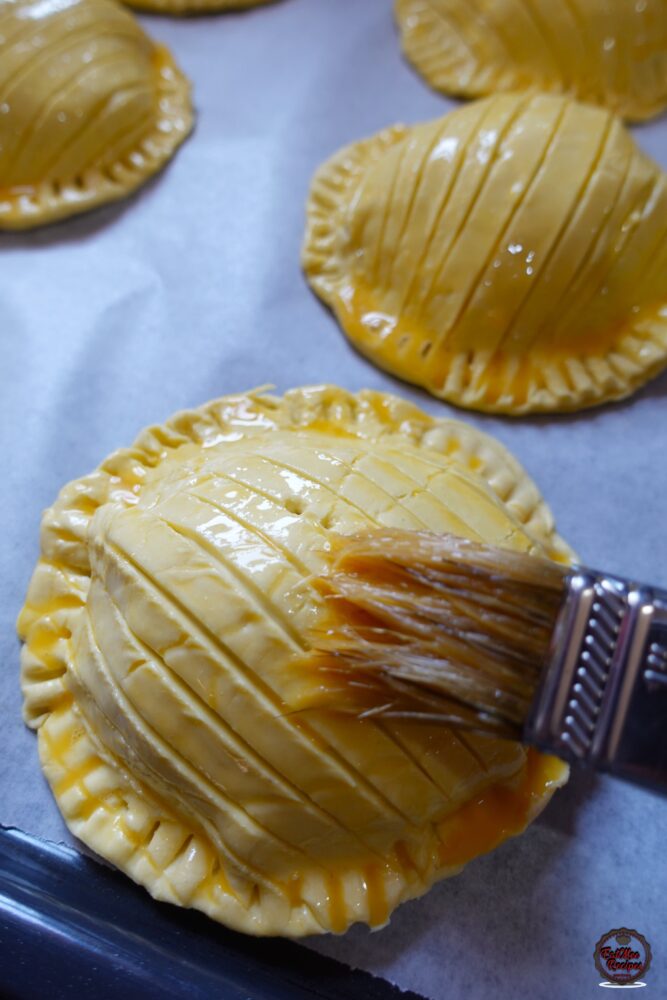
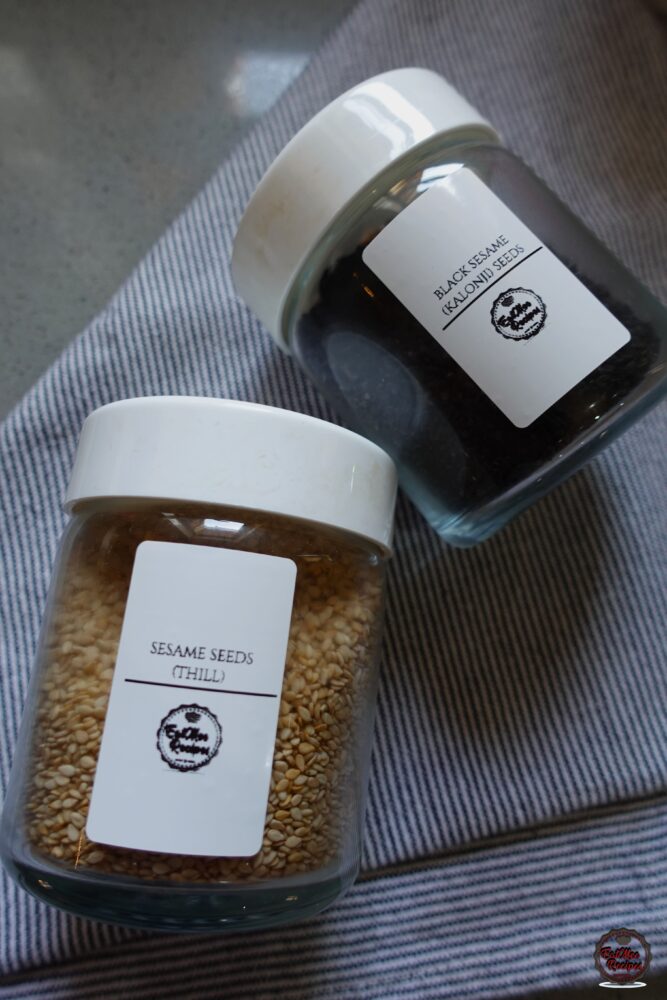
I sprinkled over some black and white sesame seeds – this is optional.
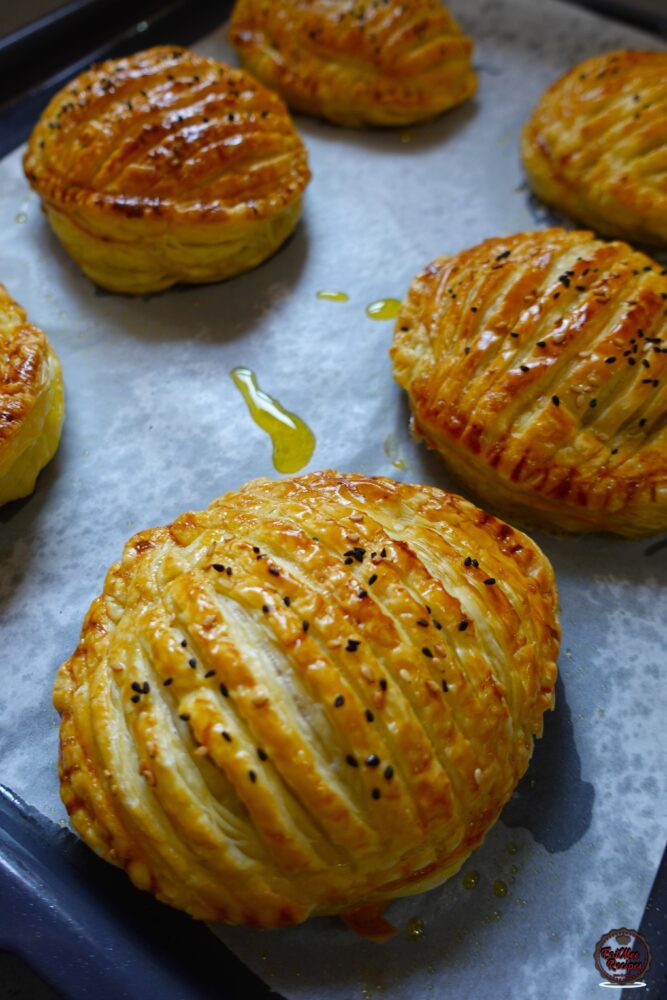
Bake for 10 minutes at 200° Celsius – this will allow the puff pastry to rise. After 10 minutes lower the heat to 180° Celsius & allow to bake for 20 minutes or until golden.
Alternatively, these can be air fried at 180° Celsius for 20 minutes, then flip them over & air fry for a further 5 minutes just to make sure the bottom cooks as the element in the air fryer is only at the top.
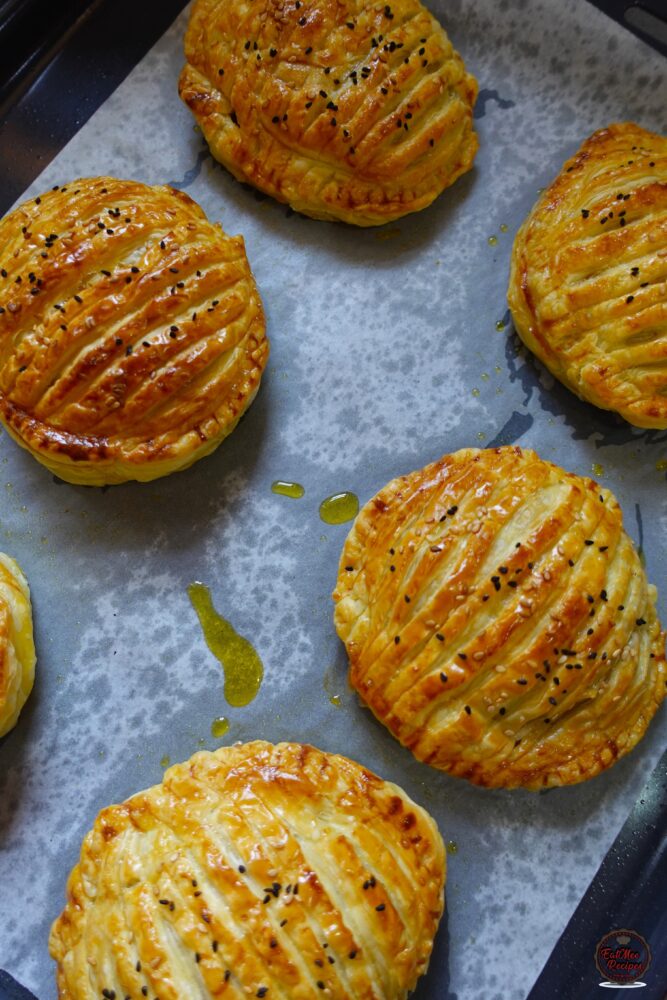
Allow them to cool for a bit on the baking tray before serving.
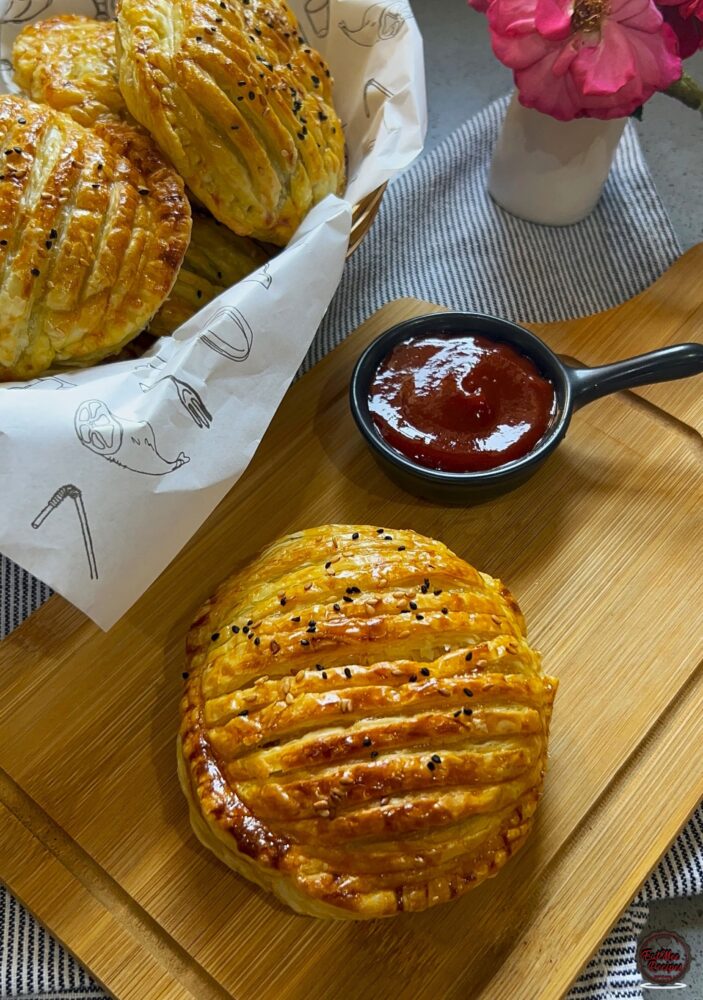
These pies are perfect for lunch boxes, a quick dinner, ramadan preps, etc.

Slice them and enjoy!
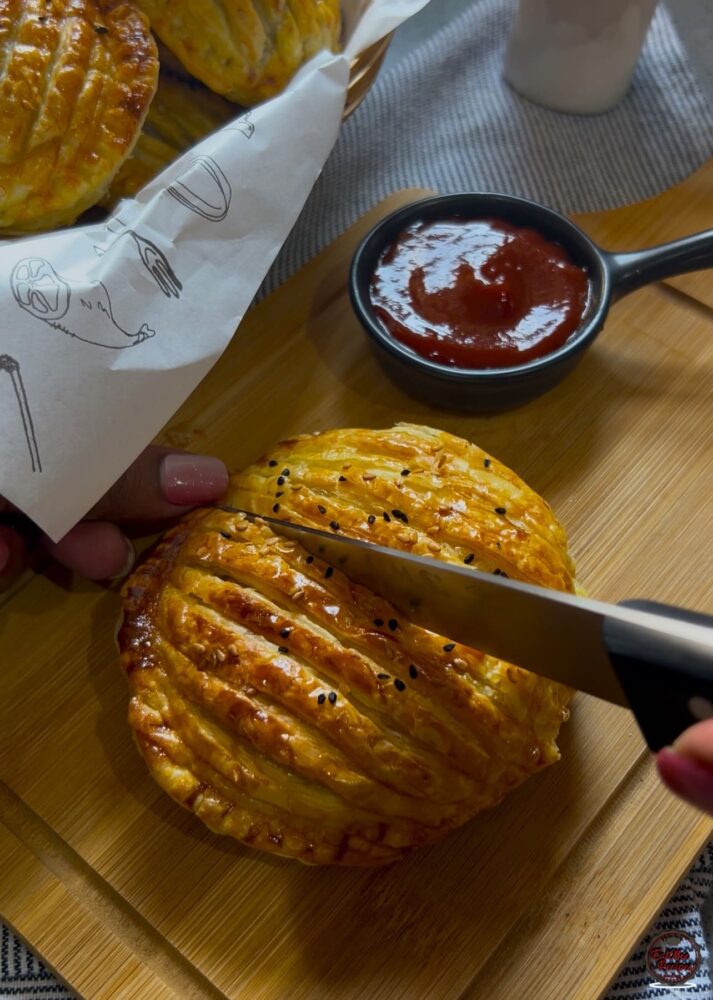
Follow along with Denisiya's step-by-step video guide for Burger Pies.
Expert kitchen guidance and troubleshooting for making the best Burger Pies
Burger pies take everything you love about a classic cheeseburger and wrap it in a warm, buttery pastry. Unlike traditional burgers, these handheld treats are easy to pack, mess-free, and full of flavor in every bite. The crust adds a satisfying crunch, while the filling bursts with cheesy, meaty goodness.
Absolutely! You can easily tailor the heat by increasing or reducing the chili powder and fresh chilies to suit your family’s palate without compromising the authentic flavor profile.
Yes, you can freeze Burger Pies in an airtight, freezer-safe container for up to 2 to 3 months. Thaw overnight in the refrigerator before gently reheating.
Hi, I'm Denisiya! Food lover, recipe developer, and founder of EatMee Recipes. I specialize in authentic South African Durban Indian cuisine, comforting curries, and modern Instant Pot adaptations. Every recipe on this site is tested in my personal kitchen to ensure you get mouth-watering, foolproof results every time.
Explore more authentic Durban curries, traditional bakes, and comforting family favourites.
 Afrikaner Cuisine
There’s something undeniably comforting about a warm, flaky sausage roll. They’re nostalgi...
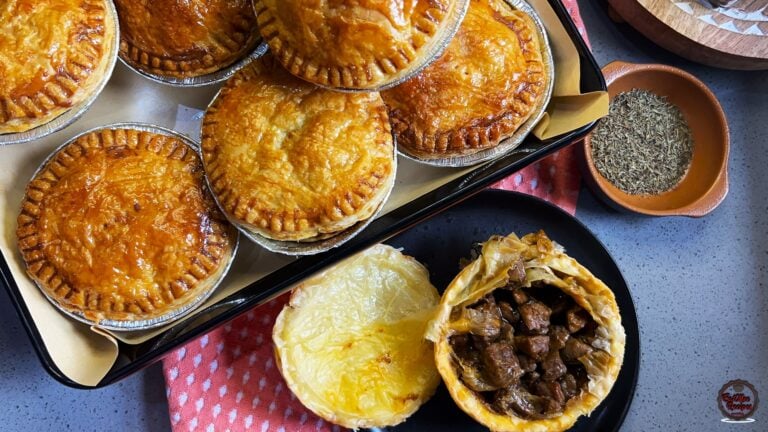 Pies
PiesThere’s something magical about a warm, savory pie, especially a Steak and Kidney Pie. The...
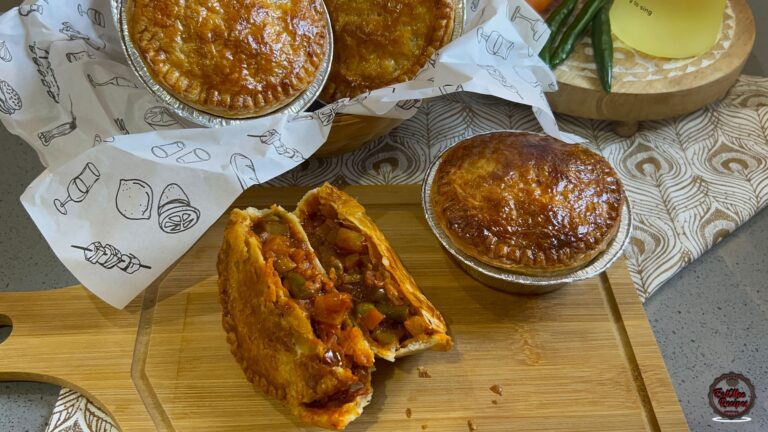 Pies
PiesThere’s something undeniably satisfying about biting into a golden, flaky pie crust that g...
Have you tried this recipe or have questions for Denisiya? Join the conversation below.
No comments yet. Be the first to share your thoughts on this recipe!
Leave a Comment
Your email address will not be published. Required fields are marked *