
We Value Your Culinary Privacy
EatMee Recipes uses cookies to provide a personalized browsing experience, analyze recipe popularity, and serve relevant ads. You can review our full disclosure in our Privacy Policy.
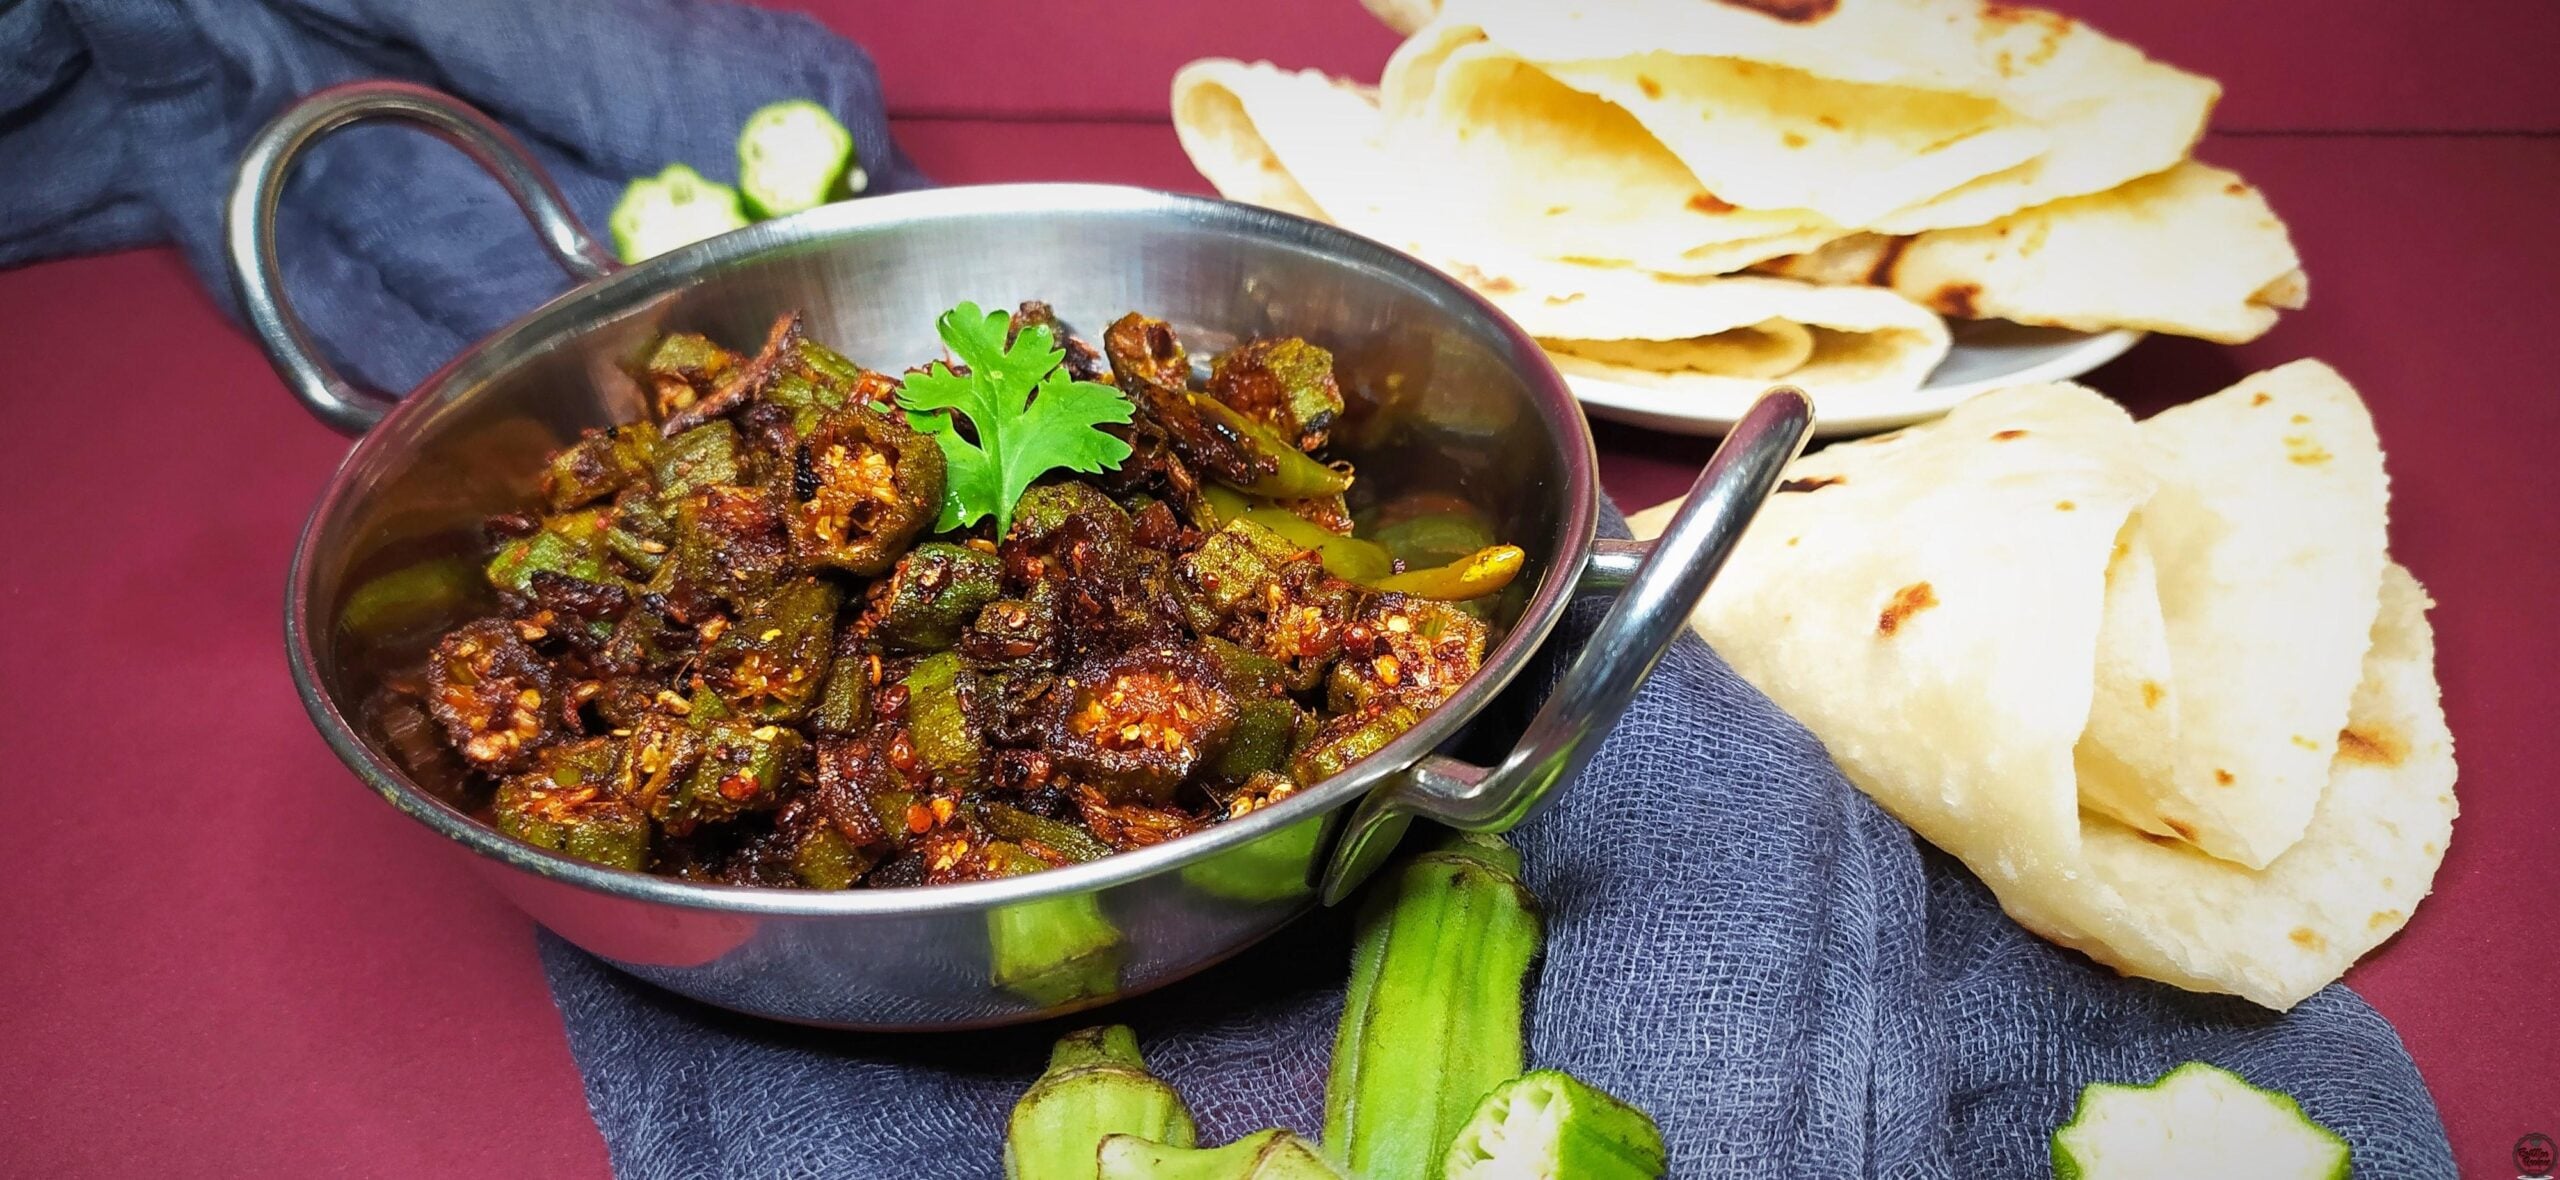
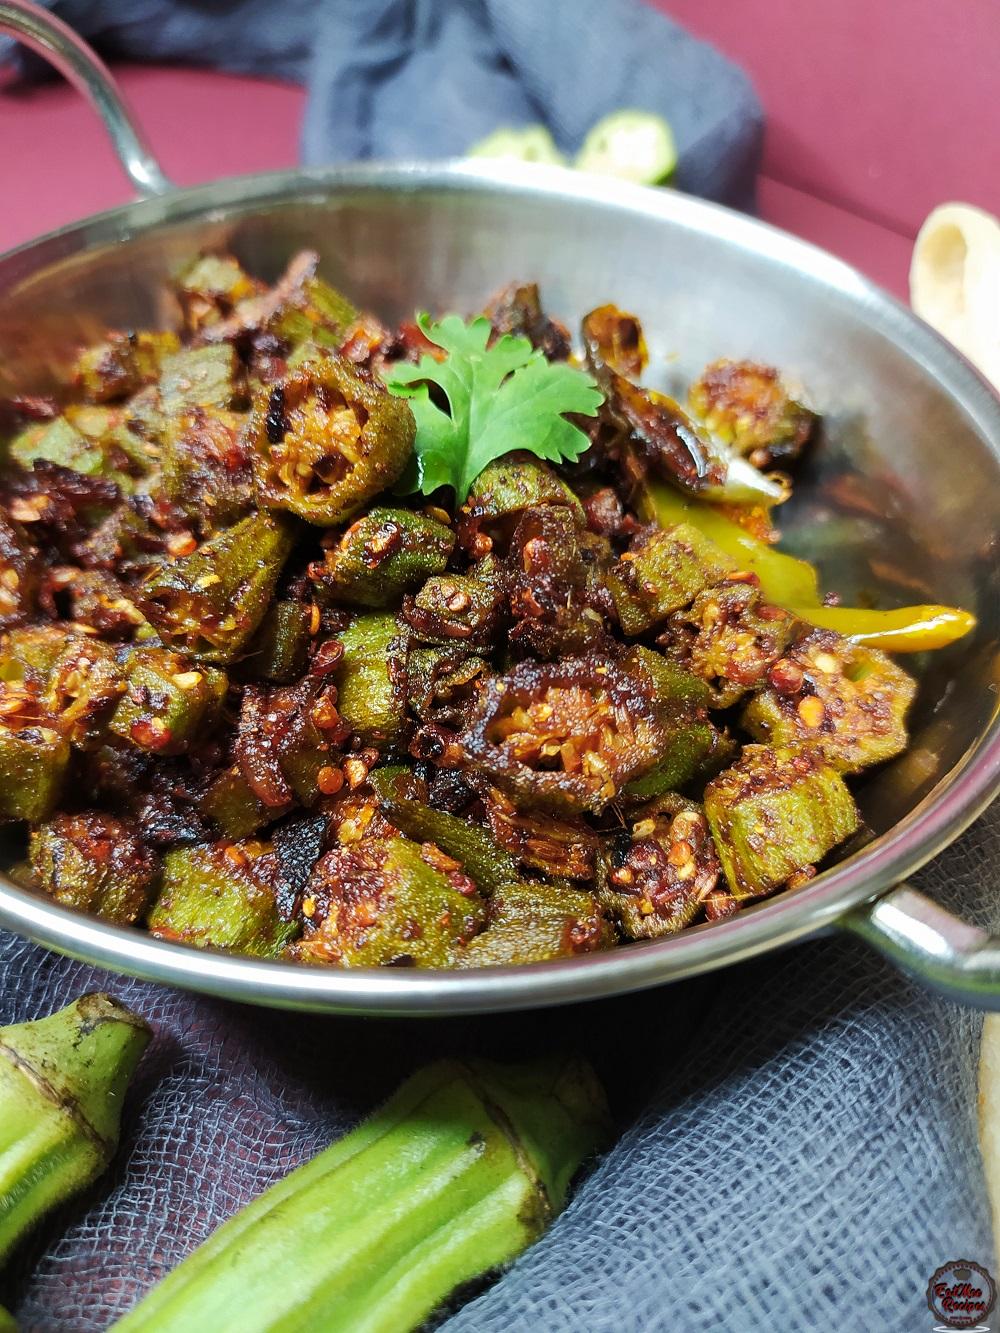
Bhindi Fry is an Indian vegetarian dish. It is a quick & easy meal which is very nutritious. This meal is also vegan friendly.

Join over 60,000+ home chefs for weekly authentic Durban Indian cook-alongs, Instant Pot masterclasses, and family heritage recipes.
Bhindi Fry is an Indian vegetarian dish. It is a quick & easy meal which is very nutritious. This meal is also vegan friendly.
Bhindi is the Indian term for this long, green & slimy vegetable. It is often referred to as Okra, Ladies’ Fingers, Ochro or Bamya (Arabic).
This vegetable can be prepared however you prefer, be it as a curry, deep fried or simply fried in a pan with spices until crunchy.
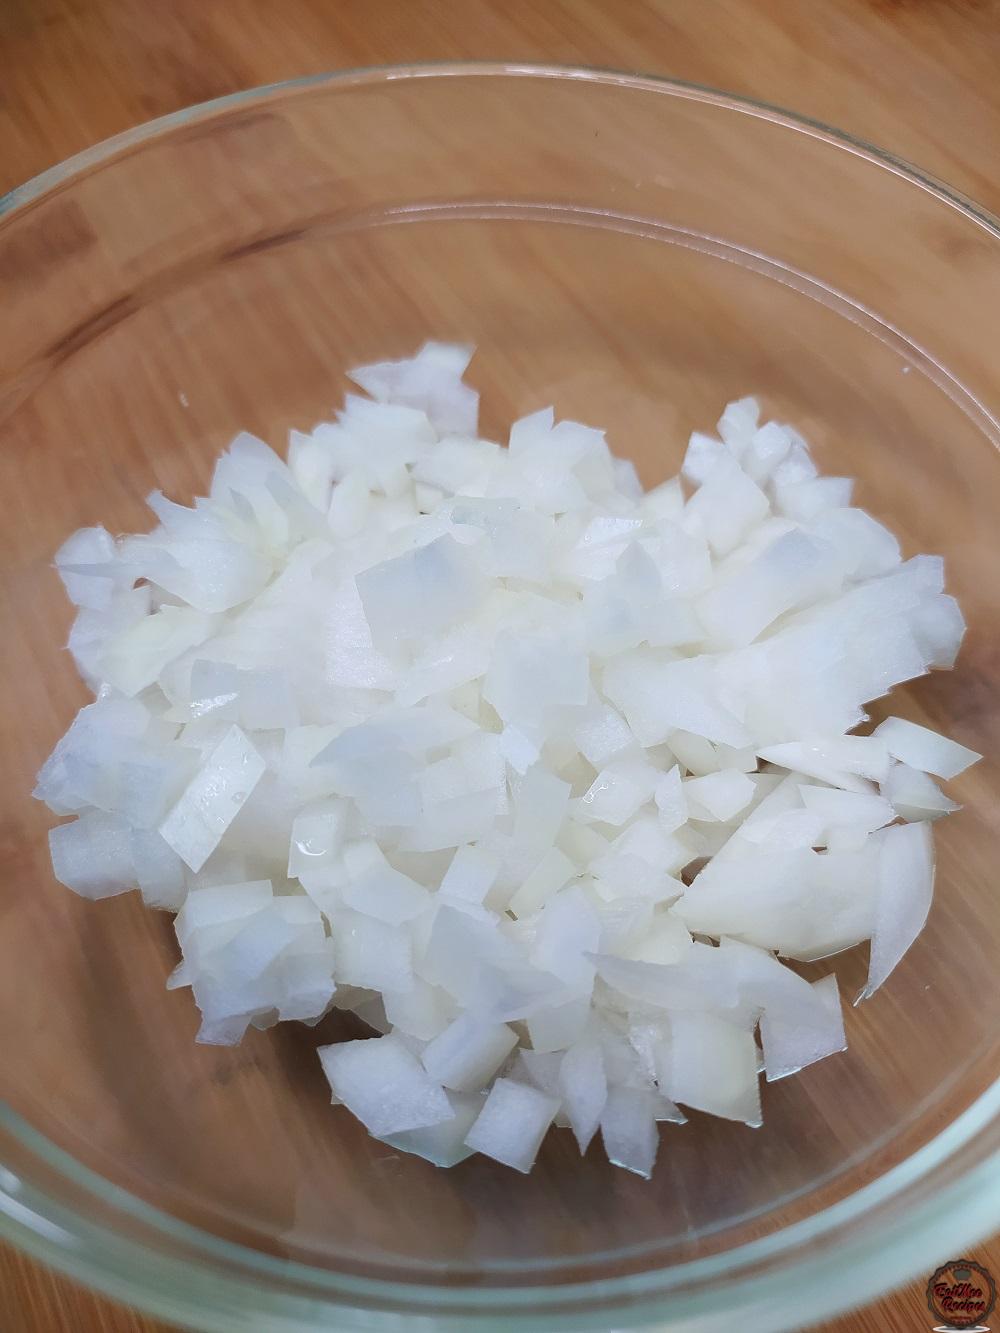
Peel & chop the onion.
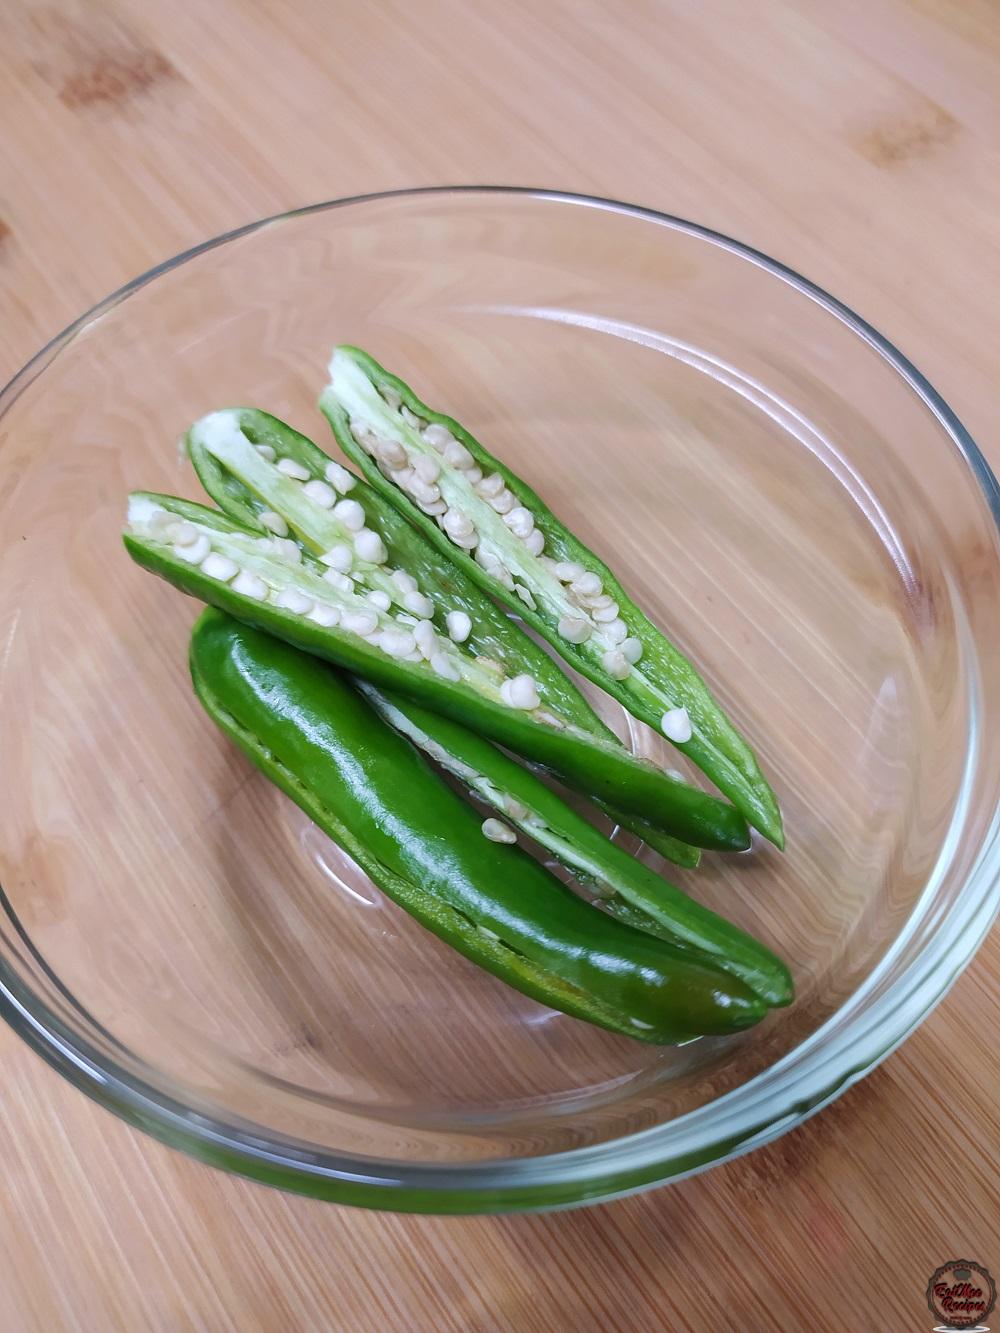
Rinse & slit green chilies in halves.
Bring out the Bhindi (Okra).
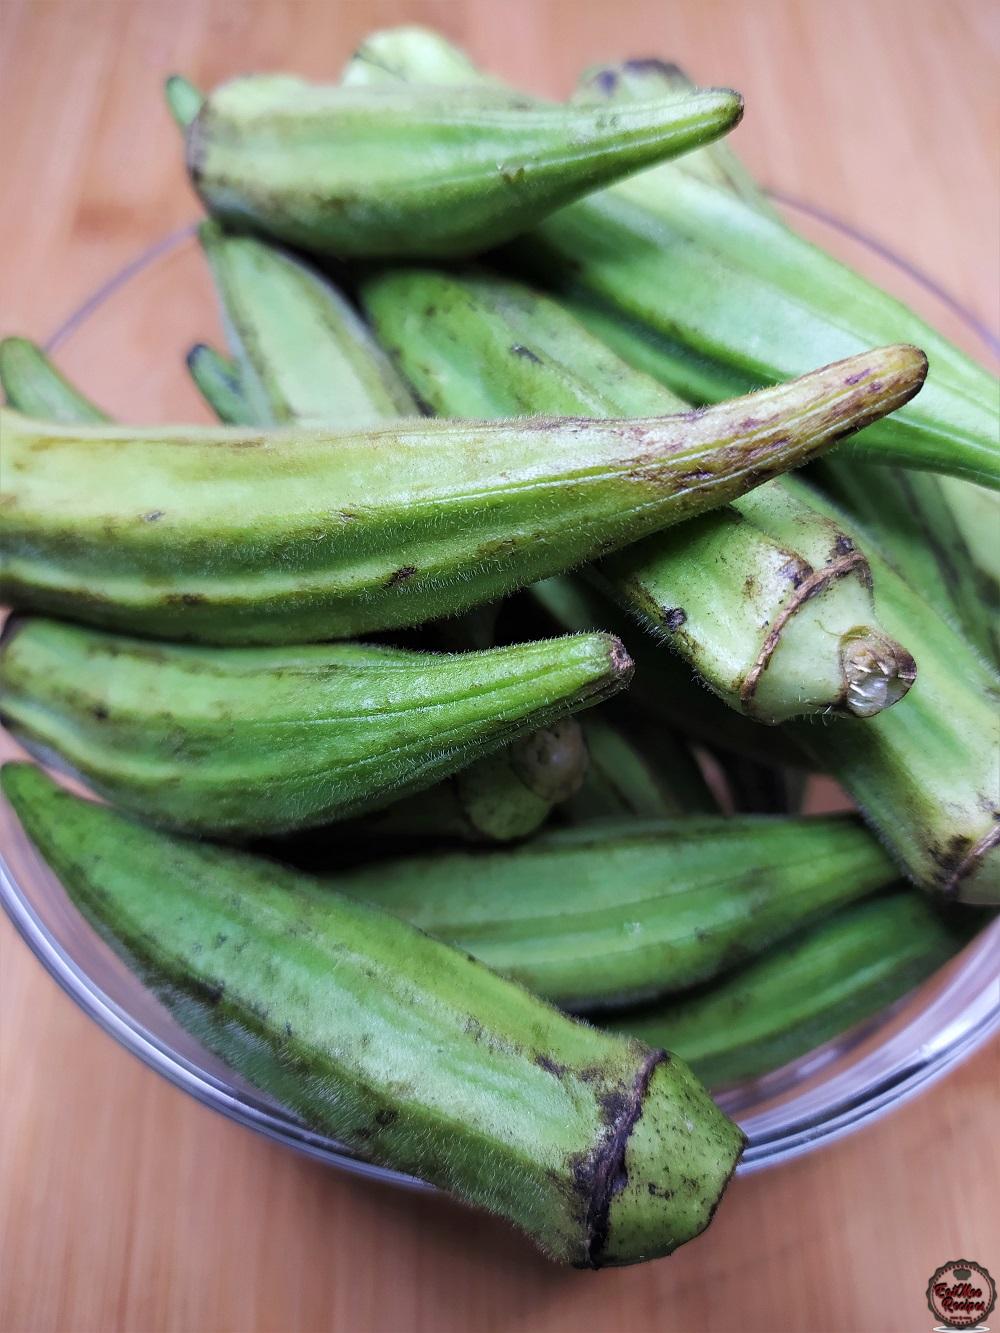
Give it a good rinse.
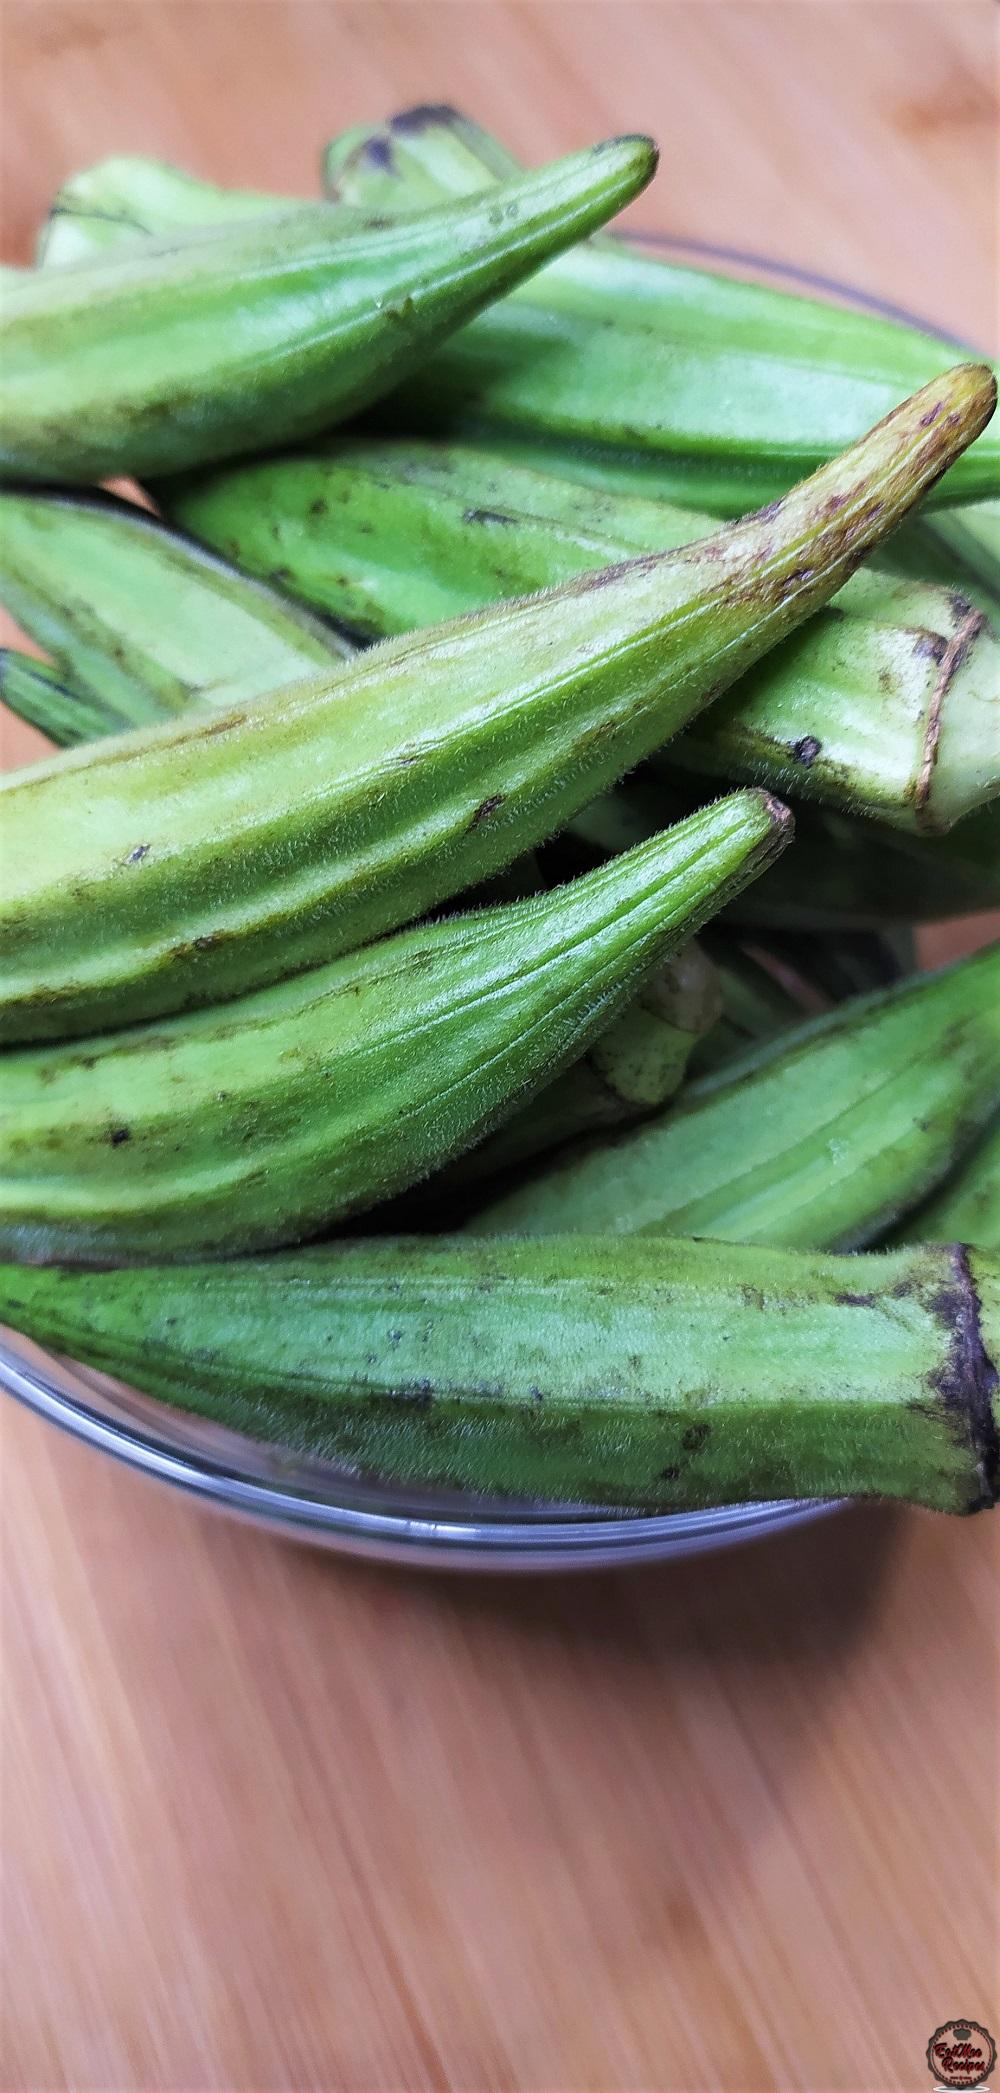
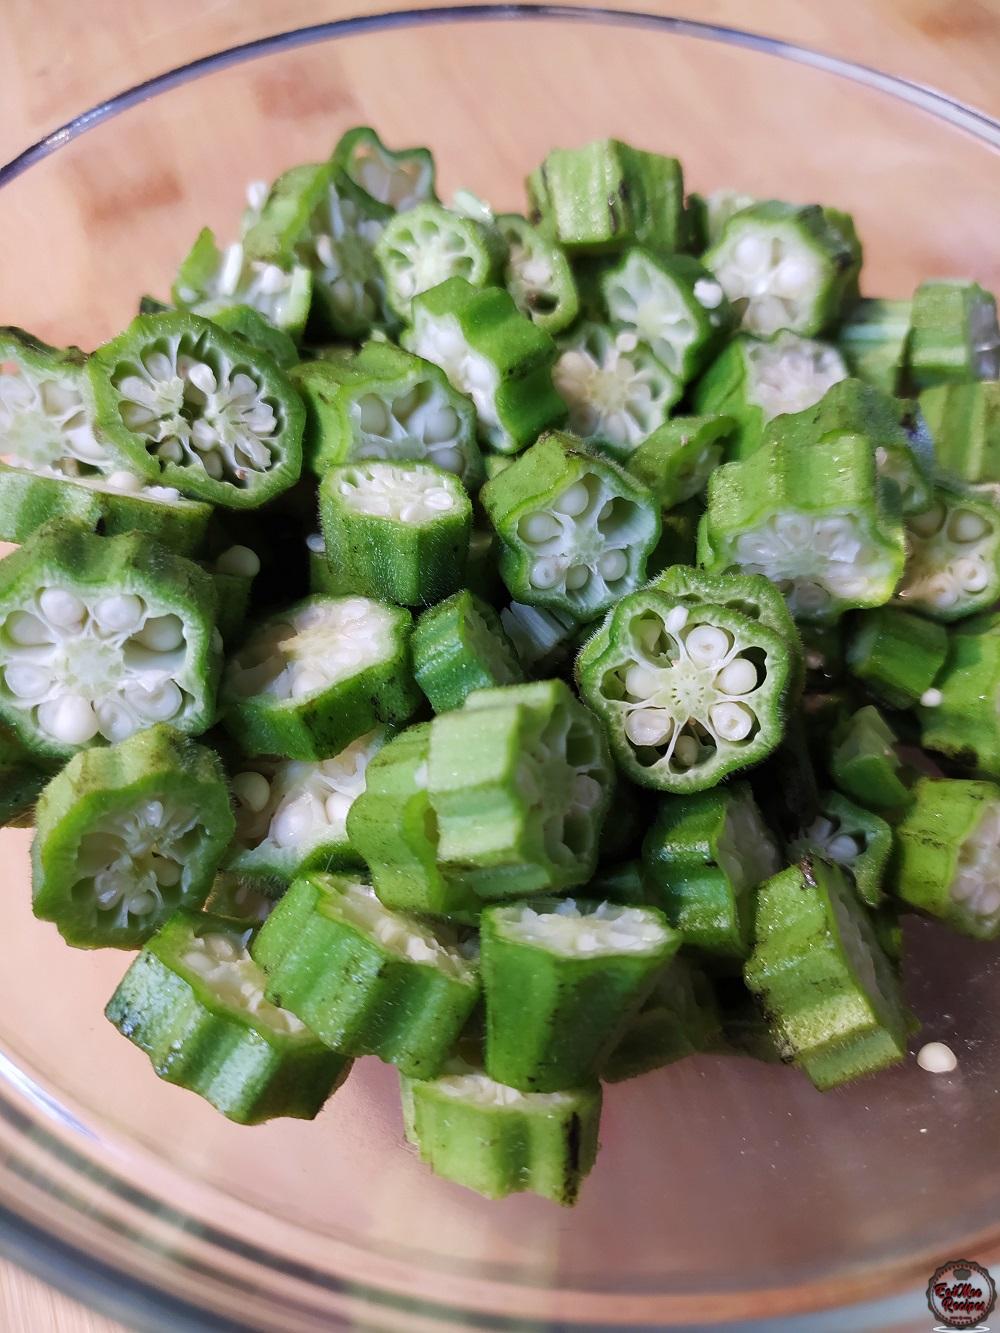
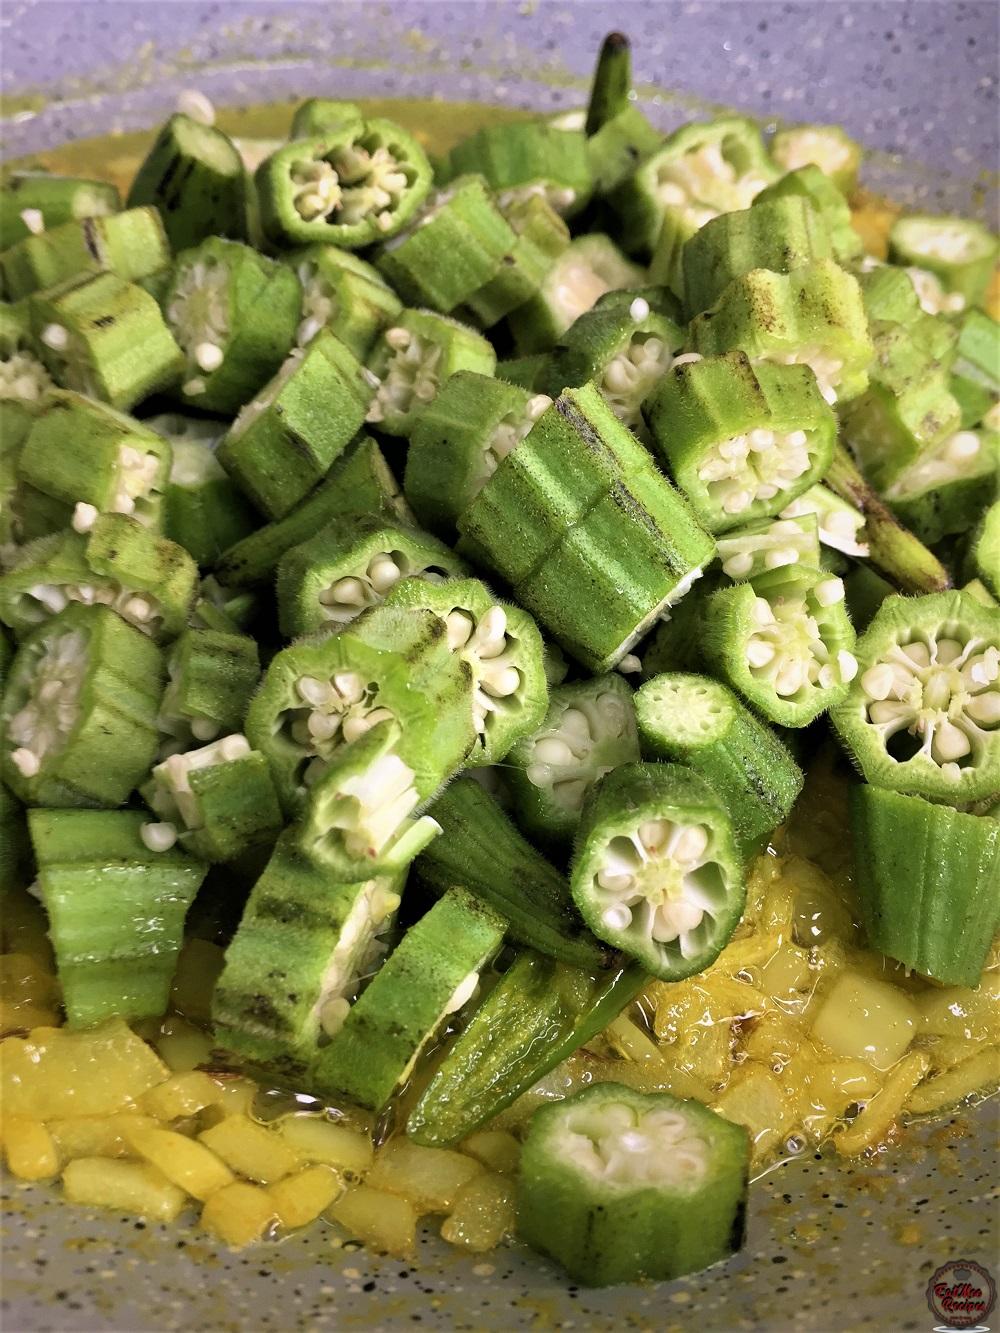
Thereafter, cut the Bhindi (Okra) into bite sized pieces & discard of the stems.
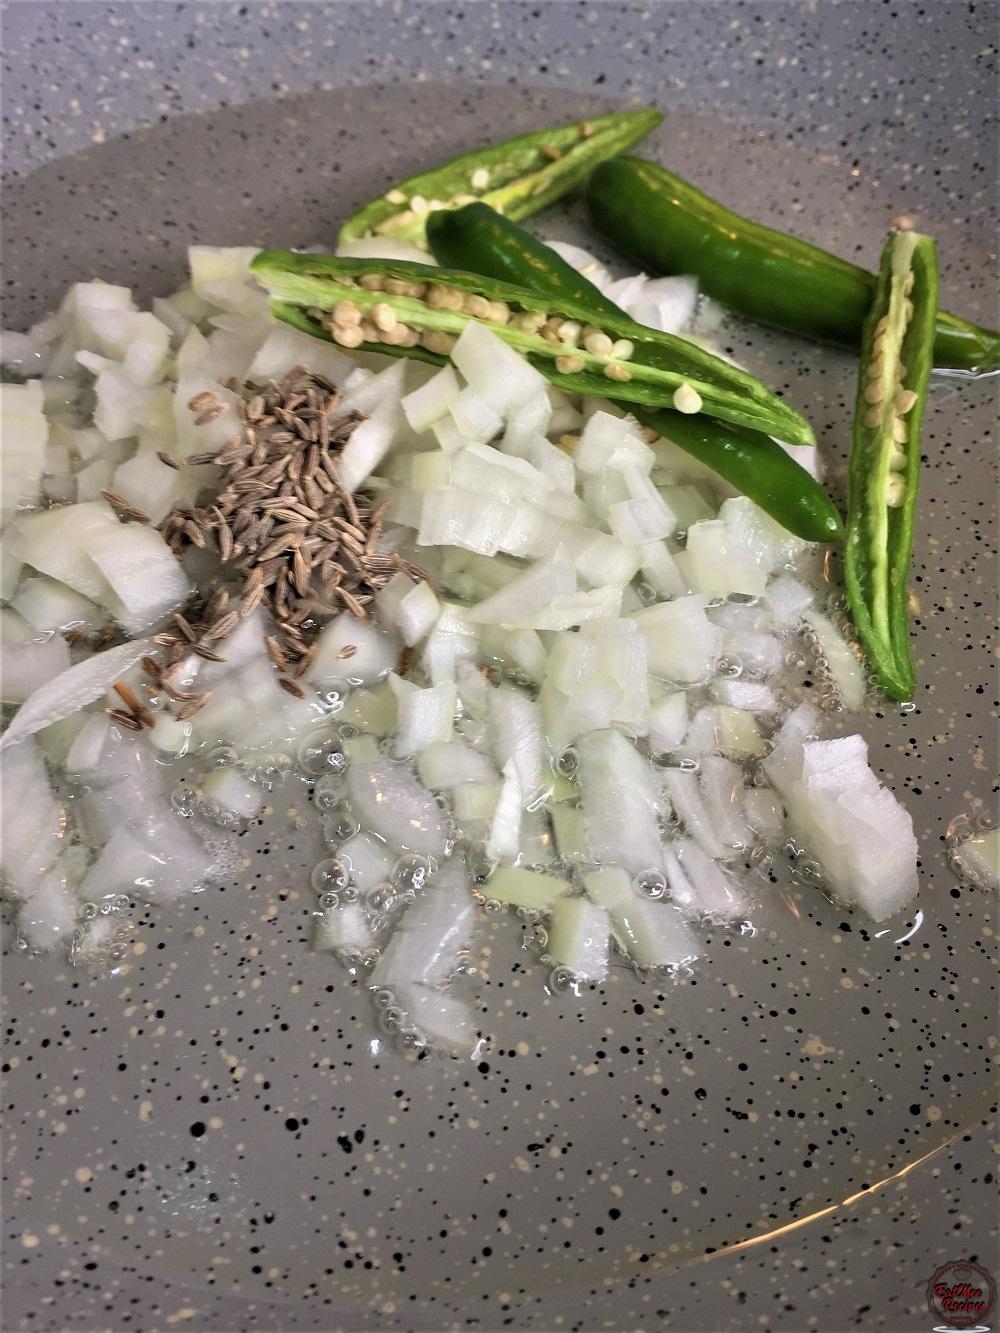
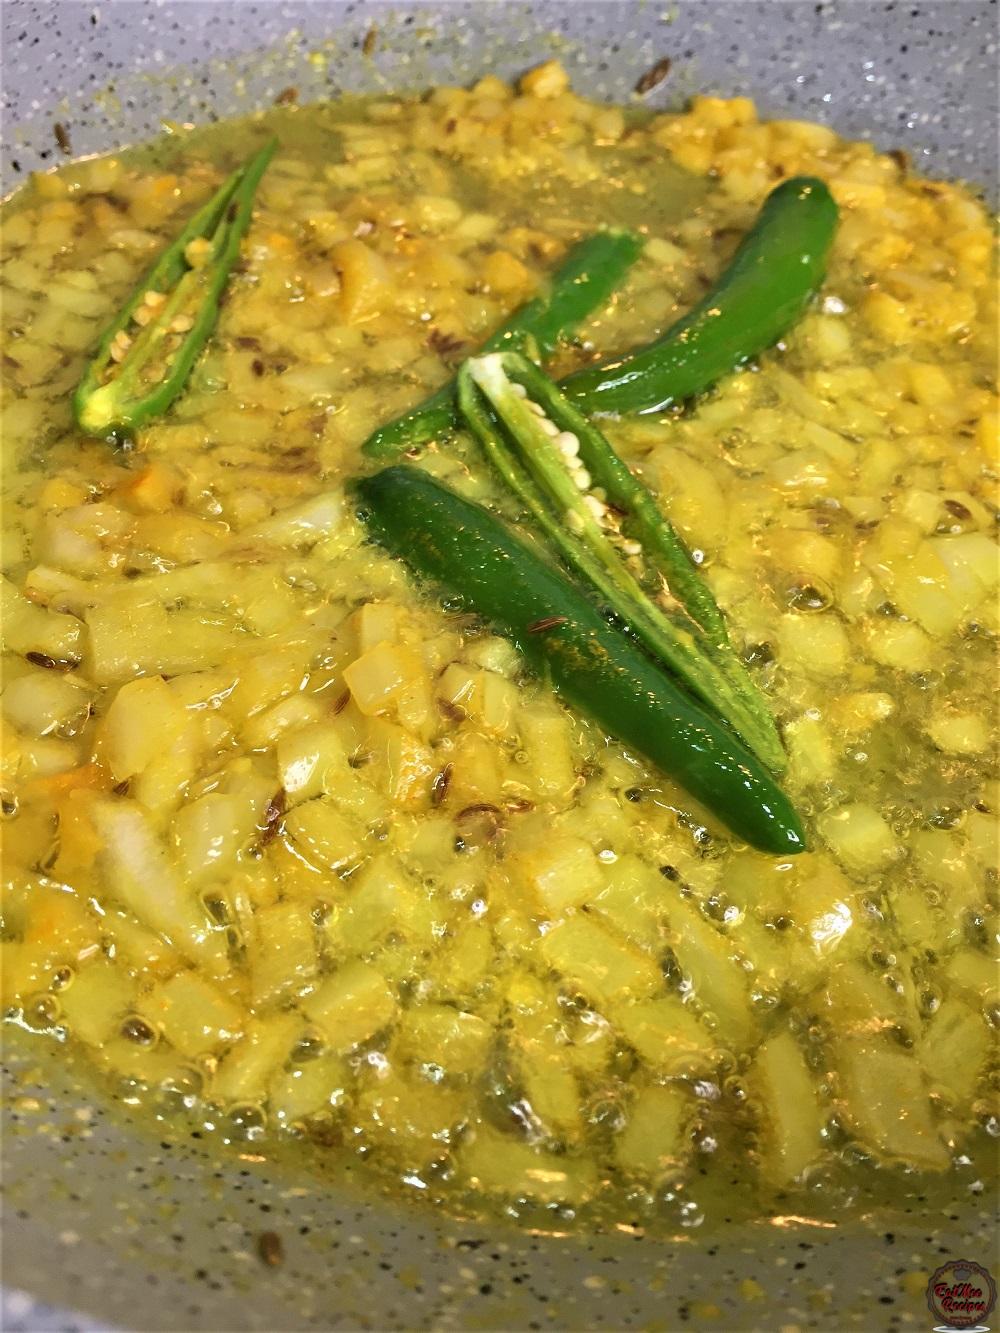
On medium heat, add the vegetable oil to a wide pan, followed by the chopped onions, green chilies & the cumin (jeera) seeds.
Next, add in the ginger & garlic paste & turmeric powder.
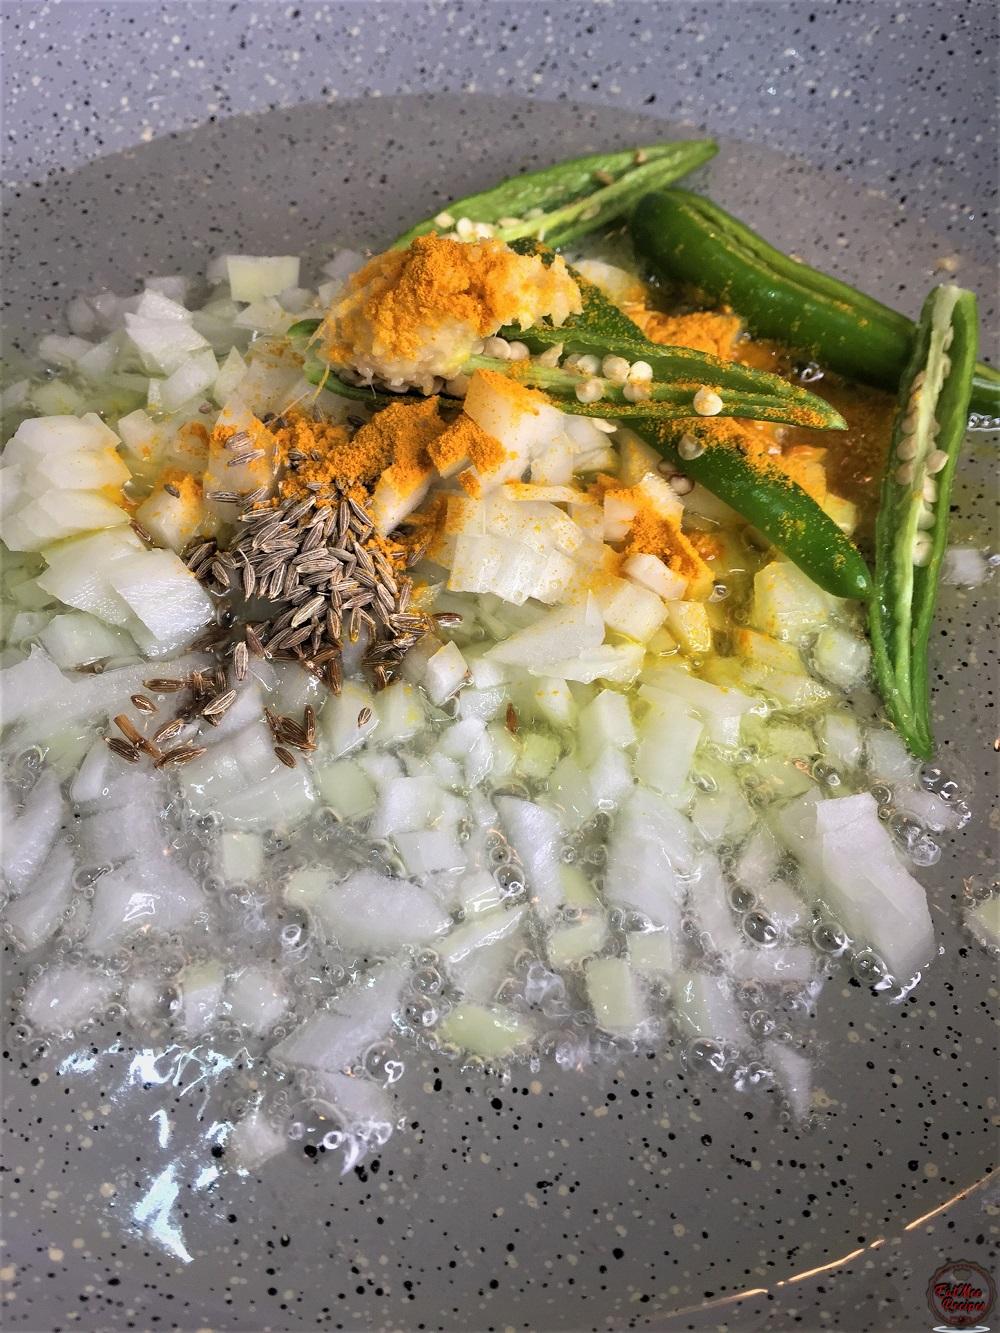
Mix well.
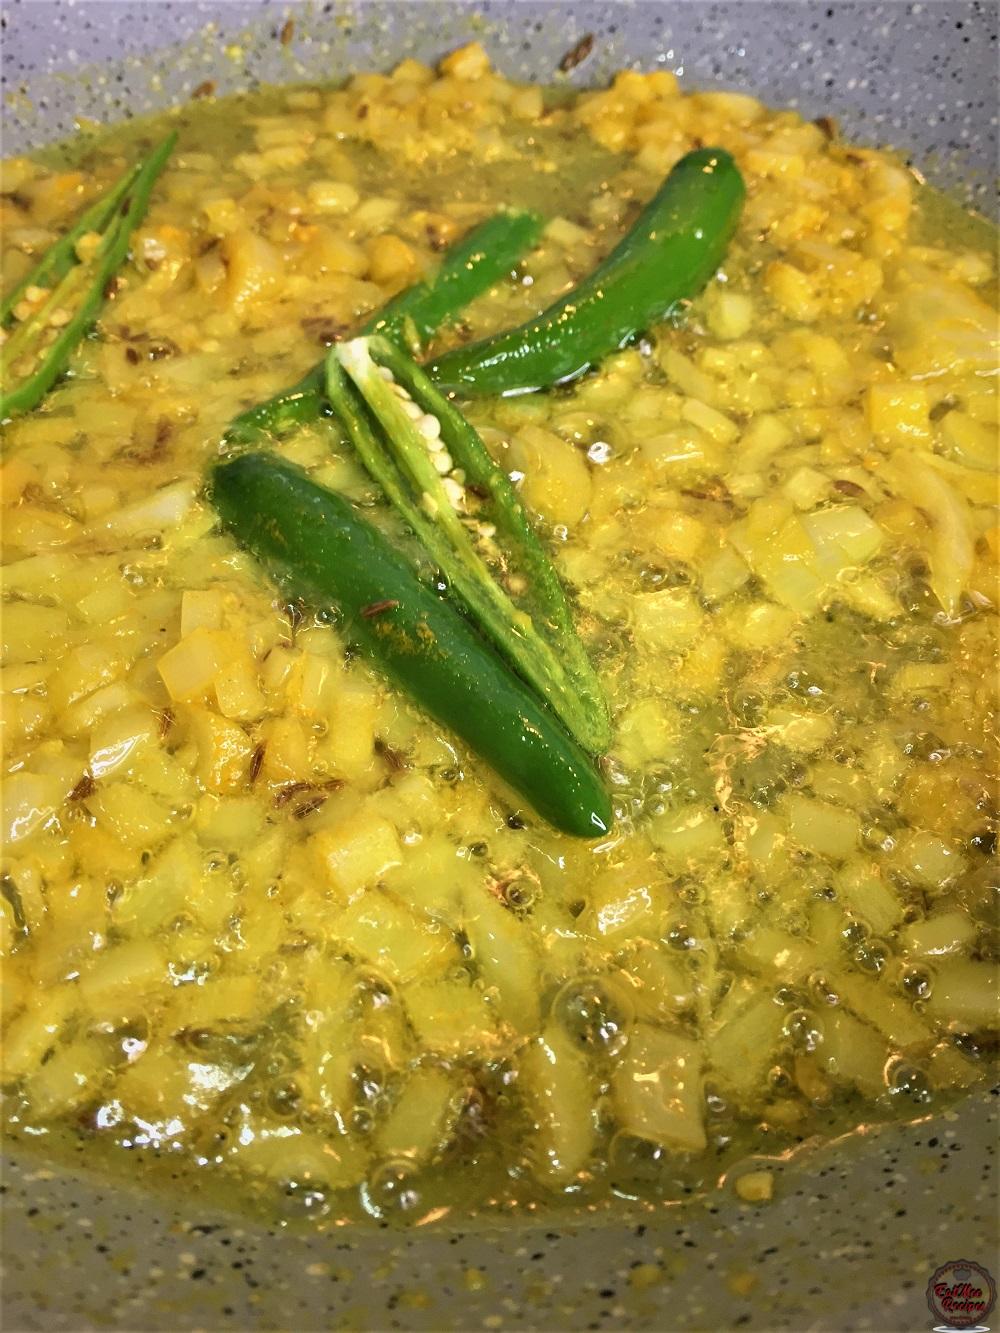
Allow to sauté until onions are translucent.
Add in the sliced Bhindi (Okra).
Add the cardamom (elachi) powder, chili powder, red chili flakes, coriander (dhania) powder & salt to taste.
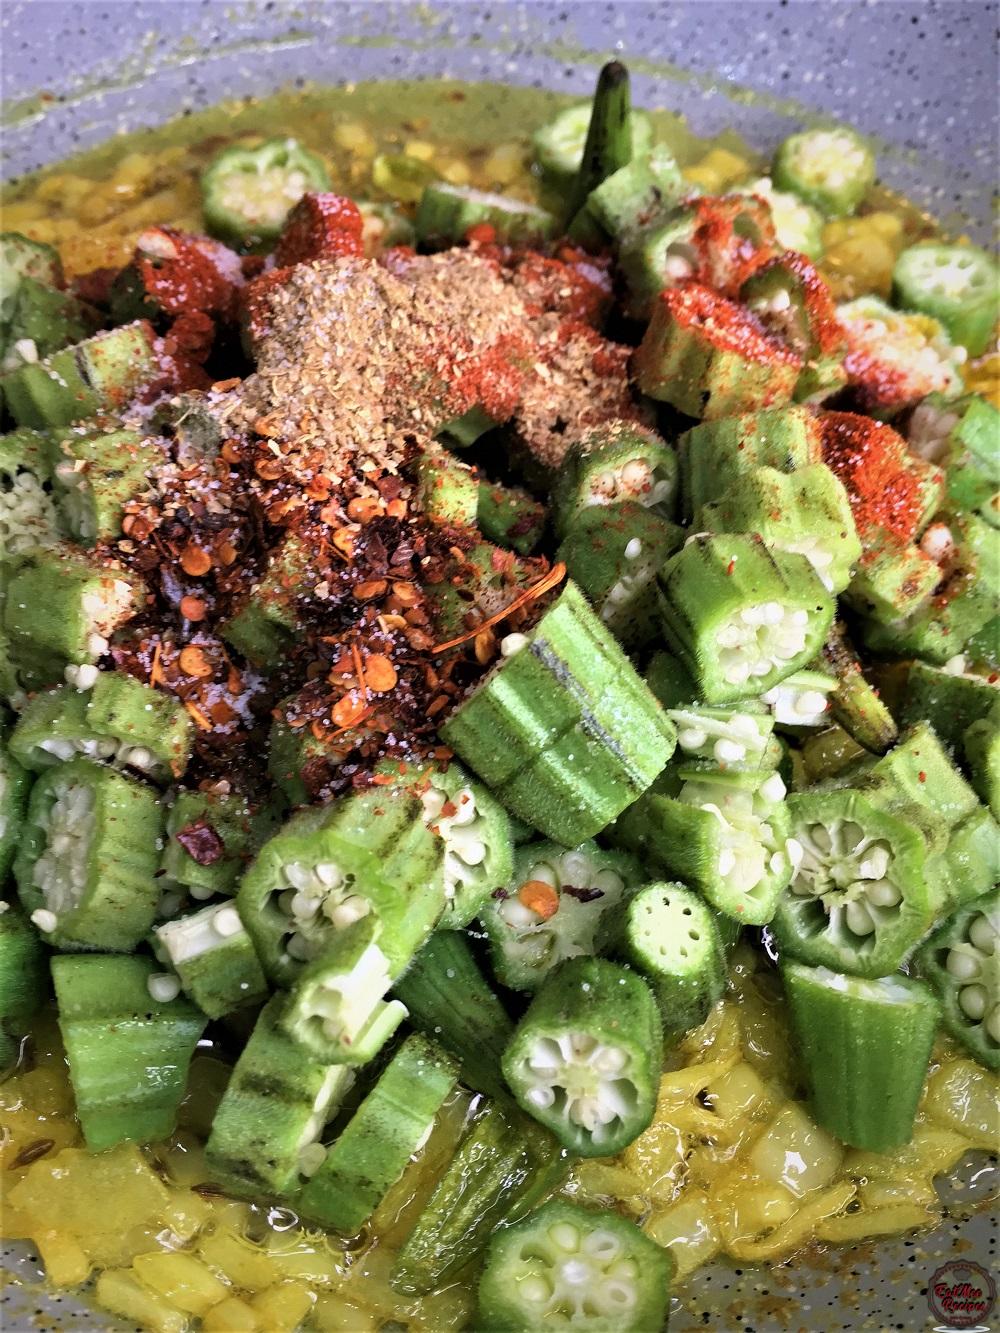
Mix well ensuring that all the Bhindi (Okra) is coated in the spices.
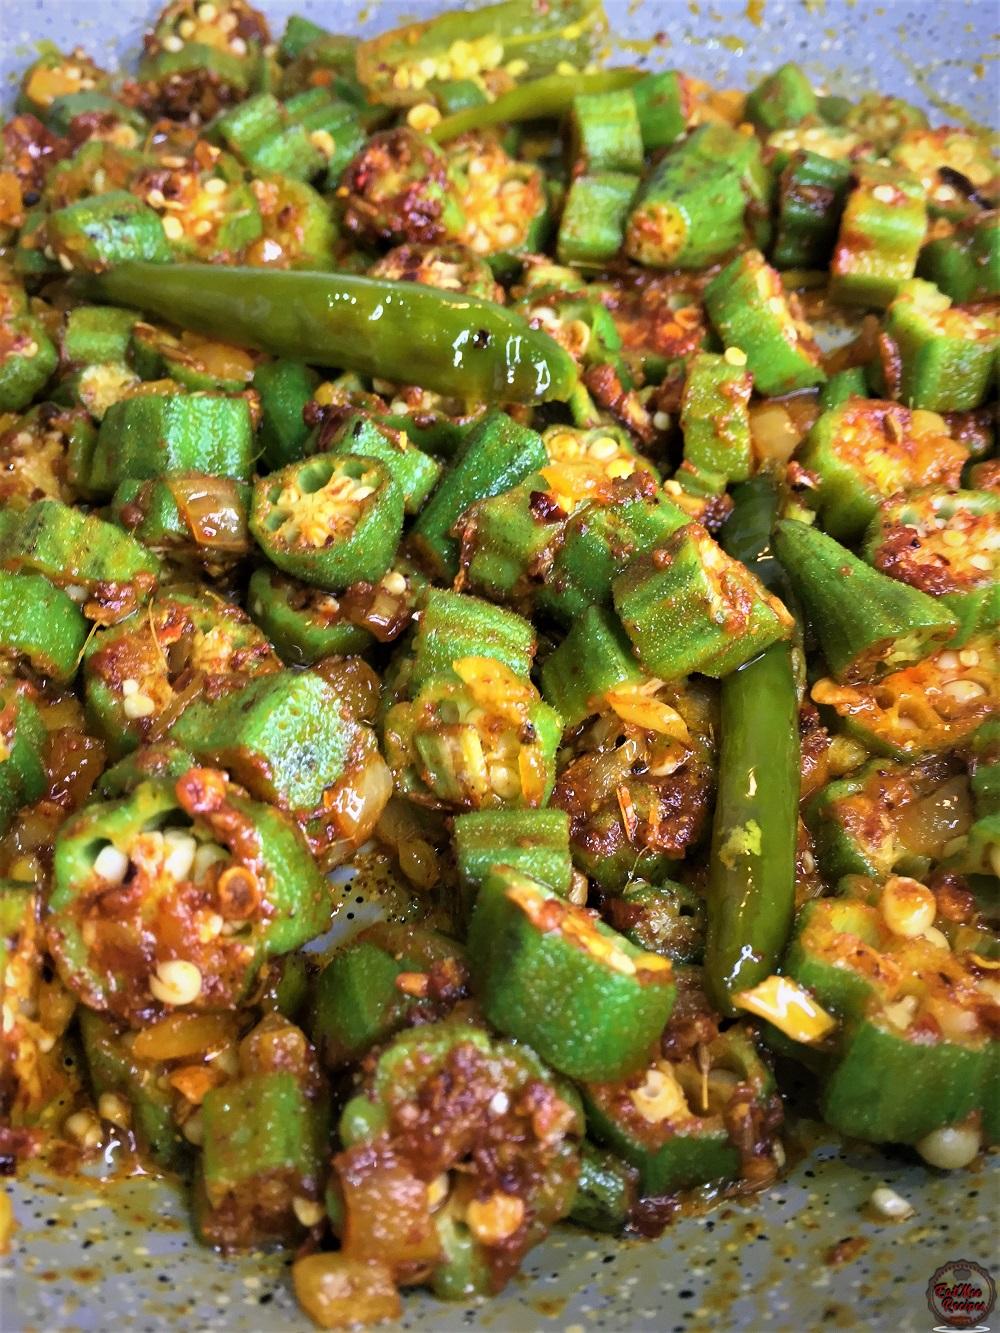
Turn the heat up to high & allow the Bhindi (Okra) to fry.
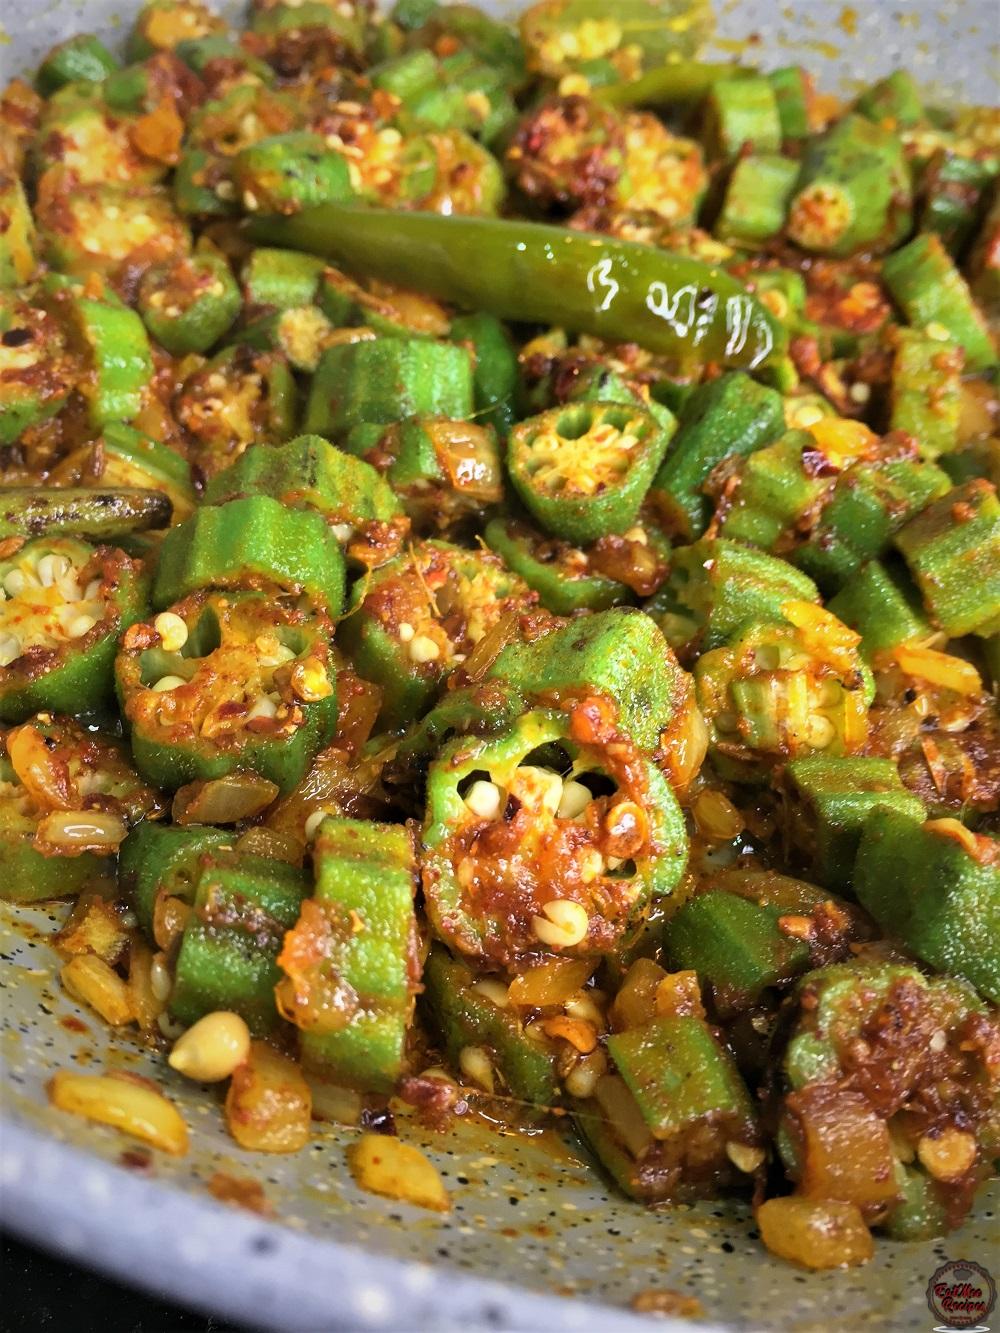
Be sure to give it a stir every now & again so that it doesn’t burn.
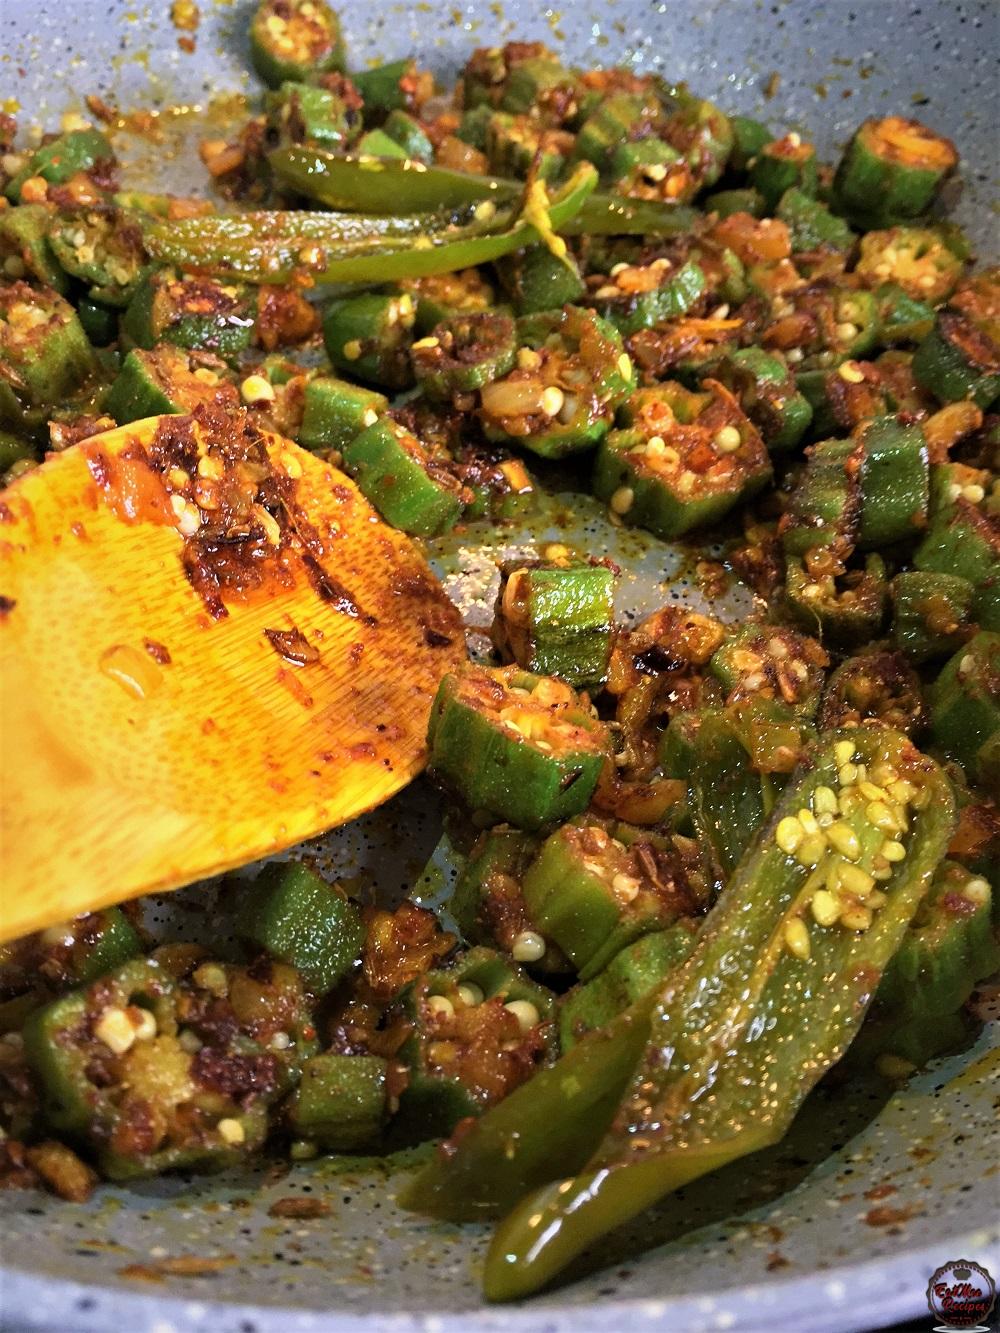
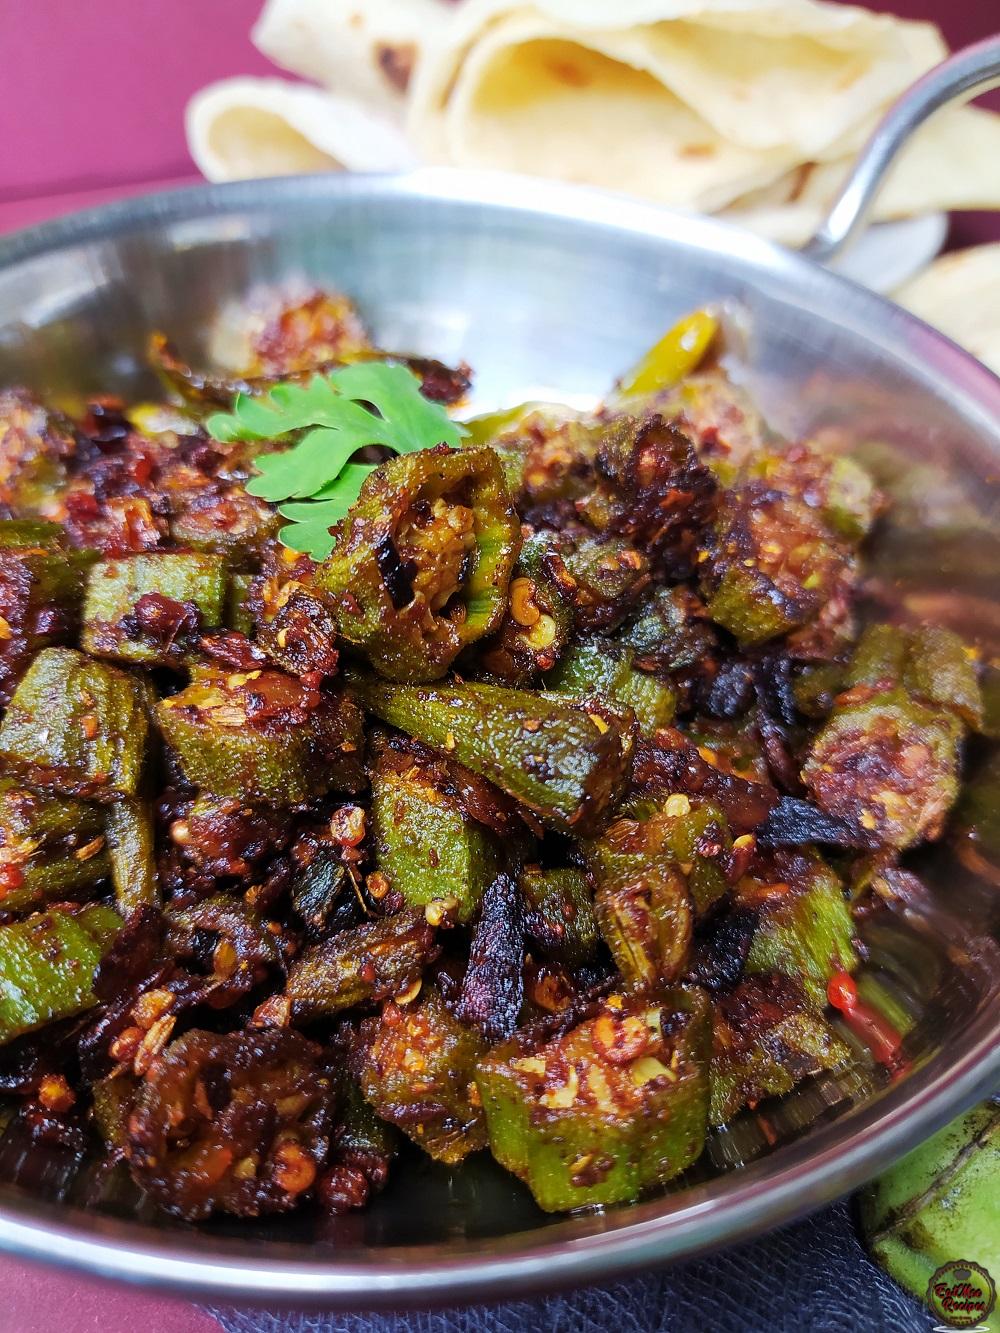
Once the Bhindi (Okra) has reached your desired crispiness, turn off the heat.
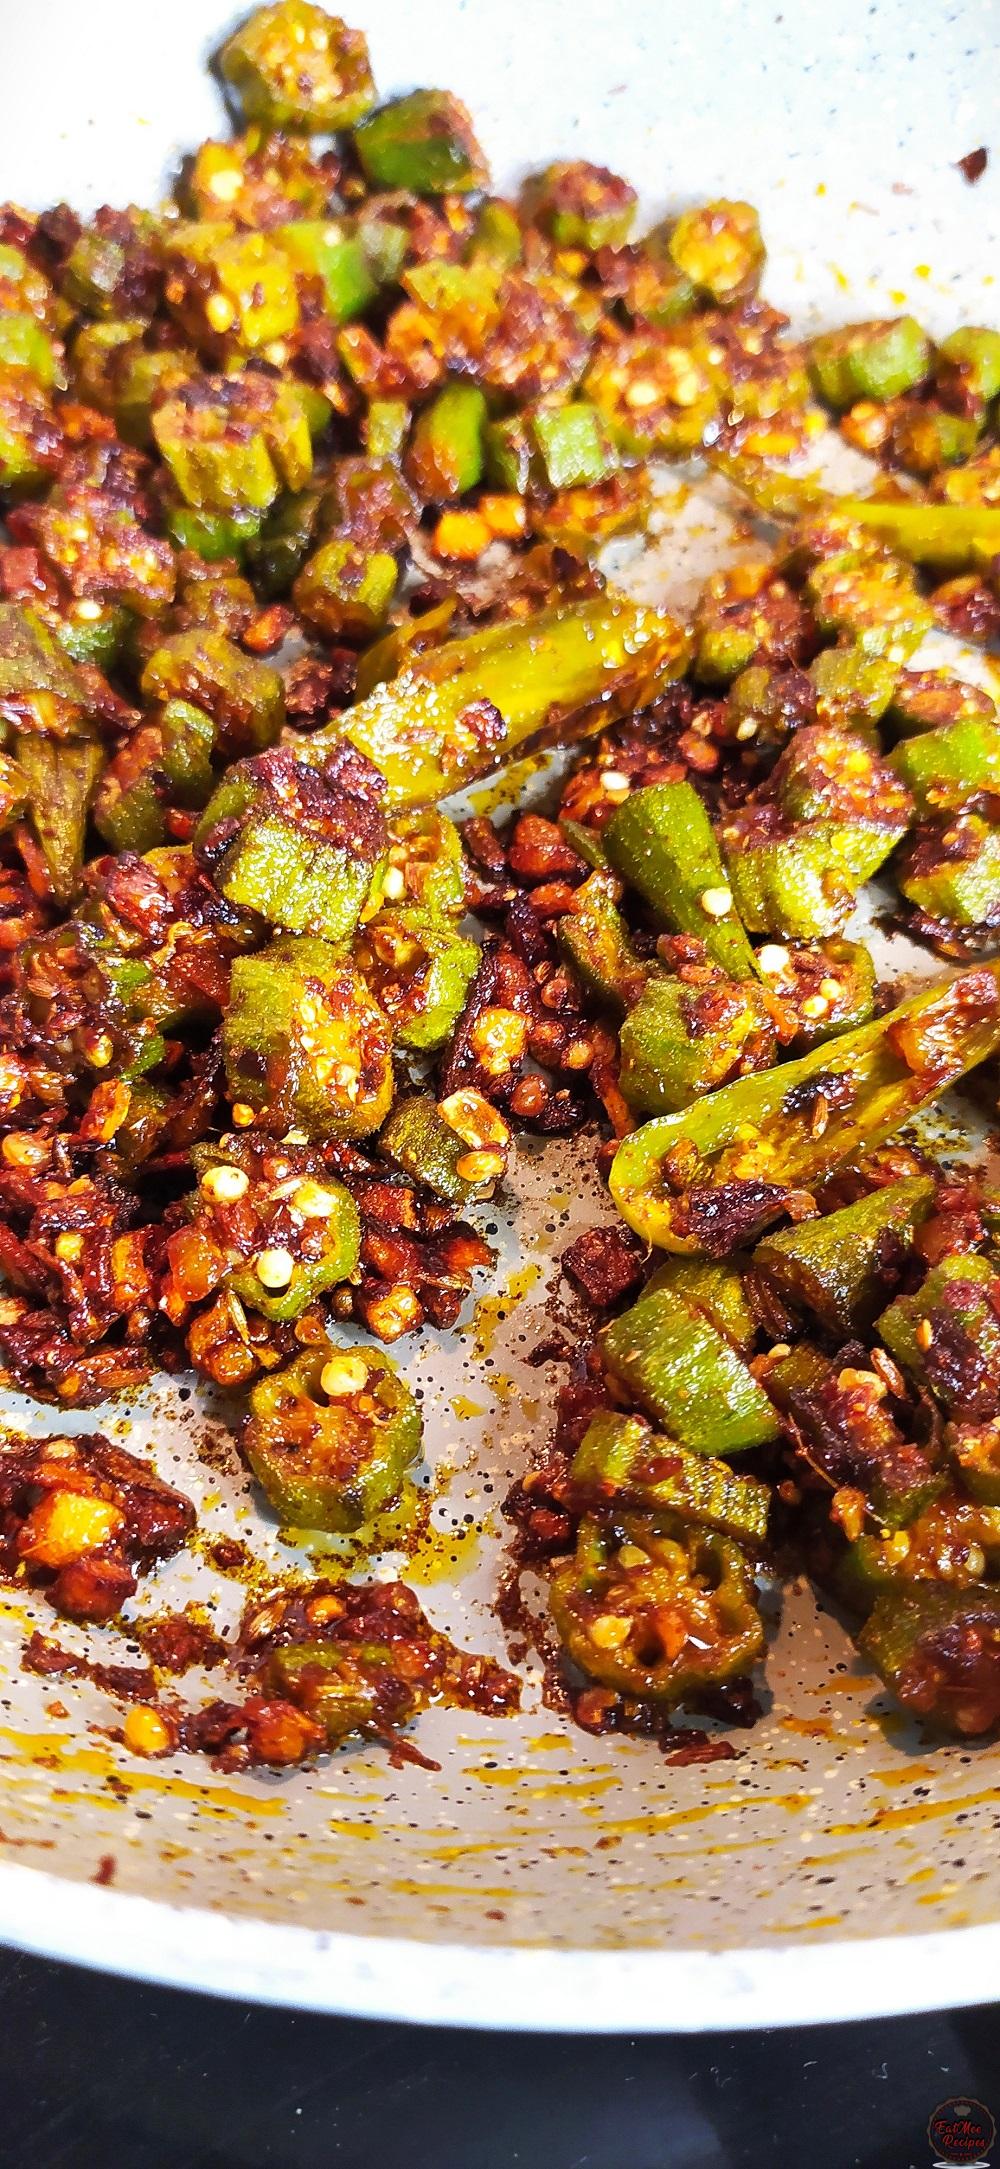
This Bhindi Fry is ready to be served.
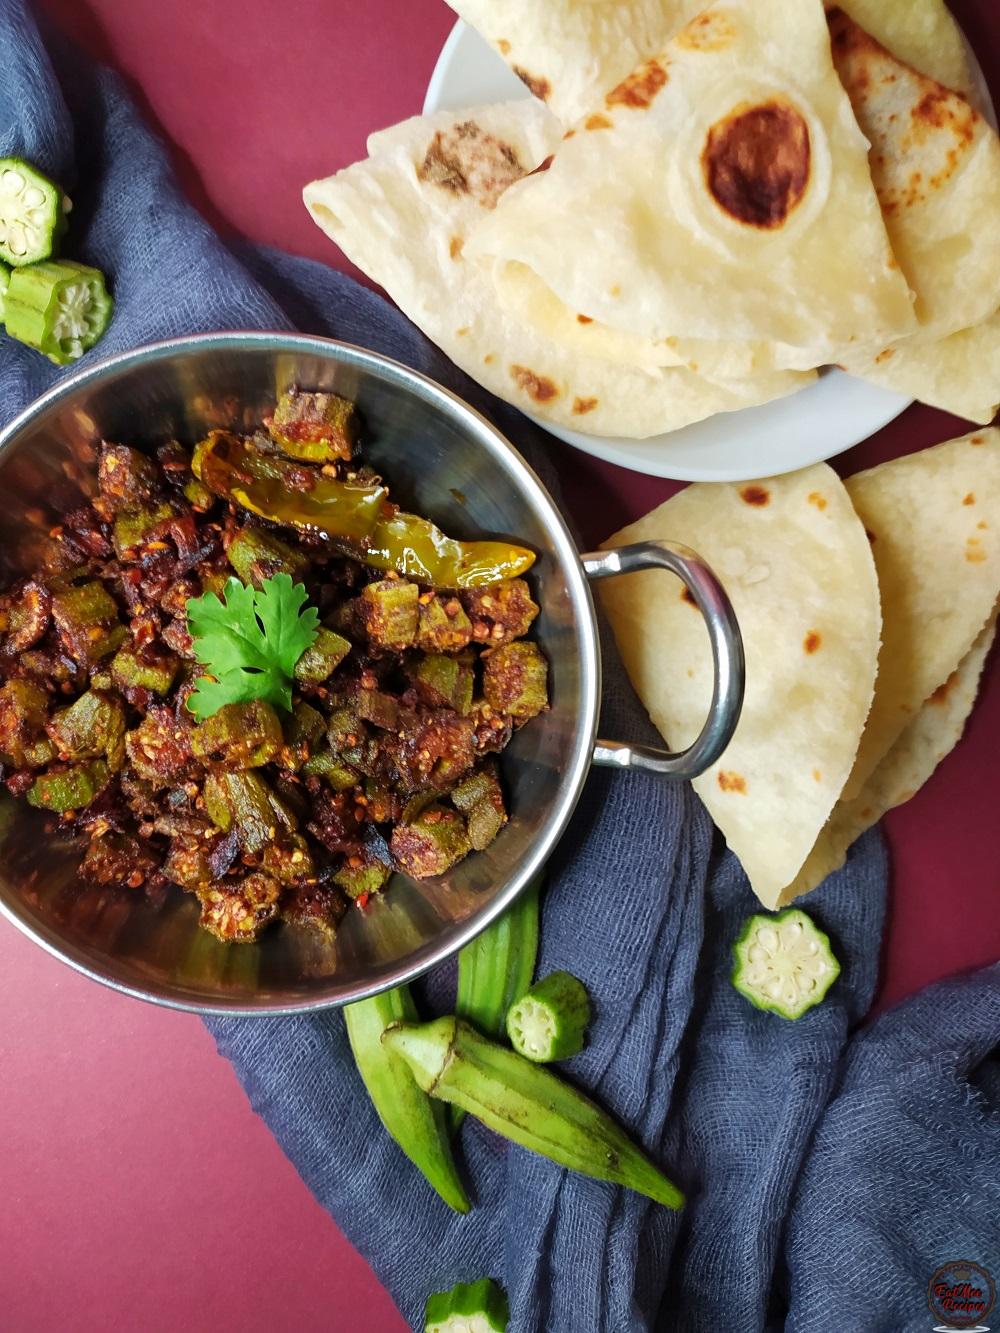
Serve with bread, roti or enjoy as is.
Store in the refrigerator for up to a week.
Follow along with Denisiya's step-by-step video guide for Bhindi Fry.
Expert kitchen guidance and troubleshooting for making the best Bhindi Fry
Absolutely! You can easily tailor the heat by increasing or reducing the chili powder and fresh chilies to suit your family’s palate without compromising the authentic flavor profile.
Yes, you can freeze Bhindi Fry in an airtight, freezer-safe container for up to 2 to 3 months. Thaw overnight in the refrigerator before gently reheating.
Reheat gently on the stovetop over low heat with a splash of water, or in the microwave covered with a damp paper towel to retain moisture.
Hi, I'm Denisiya! Food lover, recipe developer, and founder of EatMee Recipes. I specialize in authentic South African Durban Indian cuisine, comforting curries, and modern Instant Pot adaptations. Every recipe on this site is tested in my personal kitchen to ensure you get mouth-watering, foolproof results every time.
Explore more authentic Durban curries, traditional bakes, and comforting family favourites.
 Indian Cuisine
My mum is sharing another one of her much-loved traditional South African Indian recipes. ...
 Indian Cuisine
Crispy, golden and delicious, these Brinjal Pakoras are made with thin slices of brinjal c...
 Indian Cuisine
Mum’s Pumpkin Curry is a simple, comforting vegetarian dish that proves you don’t need a l...
Have you tried this recipe or have questions for Denisiya? Join the conversation below.
No comments yet. Be the first to share your thoughts on this recipe!
Leave a Comment
Your email address will not be published. Required fields are marked *