
We Value Your Culinary Privacy
EatMee Recipes uses cookies to provide a personalized browsing experience, analyze recipe popularity, and serve relevant ads. You can review our full disclosure in our Privacy Policy.
Make authentic Almond & Cranberry Biscotti with this foolproof recipe. Packed with rich traditional flavor, step-by-step photos, and cooking tips by Denisiya on EatMee Recipes.

Join over 60,000+ home chefs for weekly authentic Durban Indian cook-alongs, Instant Pot masterclasses, and family heritage recipes.
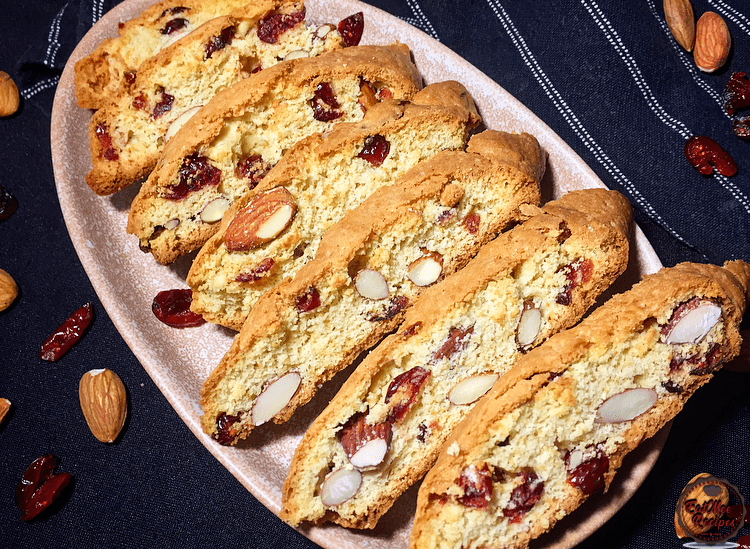
Almond & Cranberry Biscotti is so simple to make & they are packed with flavour. Biscotti’s are also known as Cantucci & are basically Italian cookies (biscuits) which originated in Prato.
These delicious treats are twice-baked for that crunchy texture & are actually not that far off from our South African rusks, although rusks are baked for a much longer period of time, the resemblance of the taste is almost identical.
Biscotti’s are very forgiving treats that can be customized according to your favourite add-in’s. If you do not have almonds or cranberry’s, simply make them plain.
Firstly, preheat the oven to 160° Celsius.
Make sure that the butter is at room temperature.
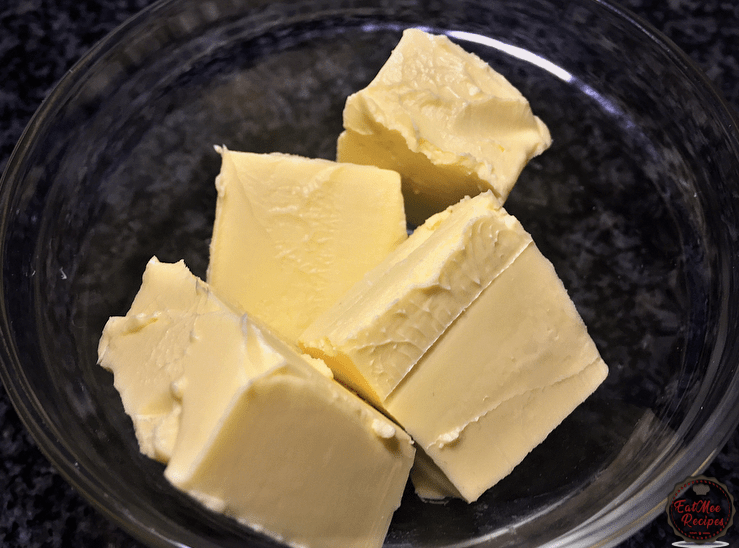
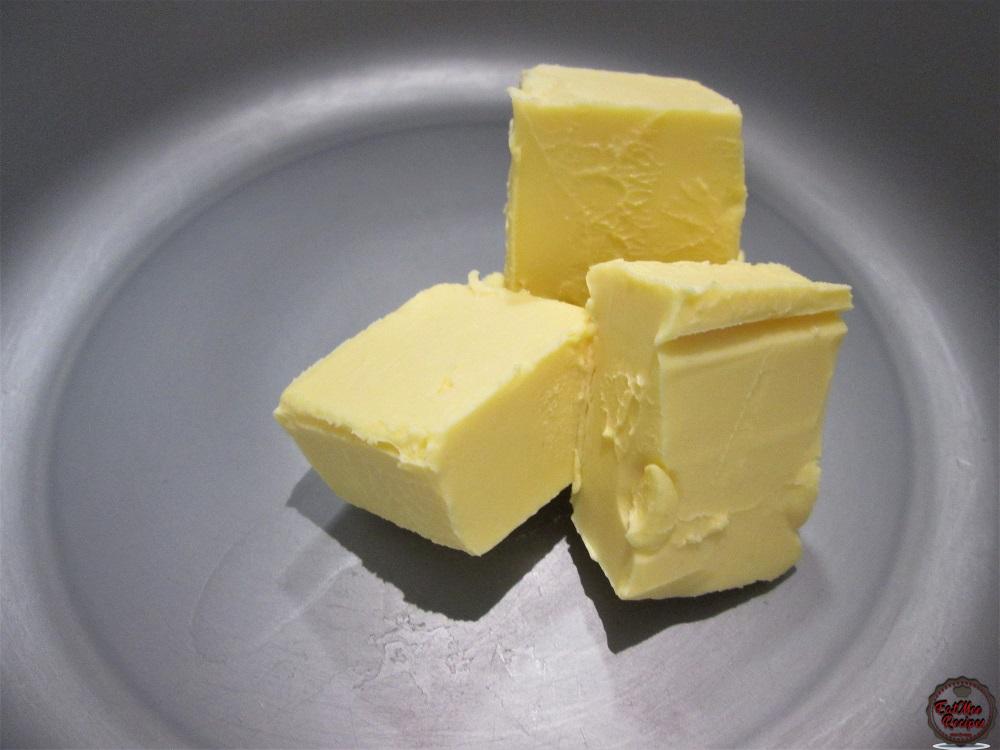
Add the butter / margarine to a mixing bowl.
Add in the white granulated sugar.
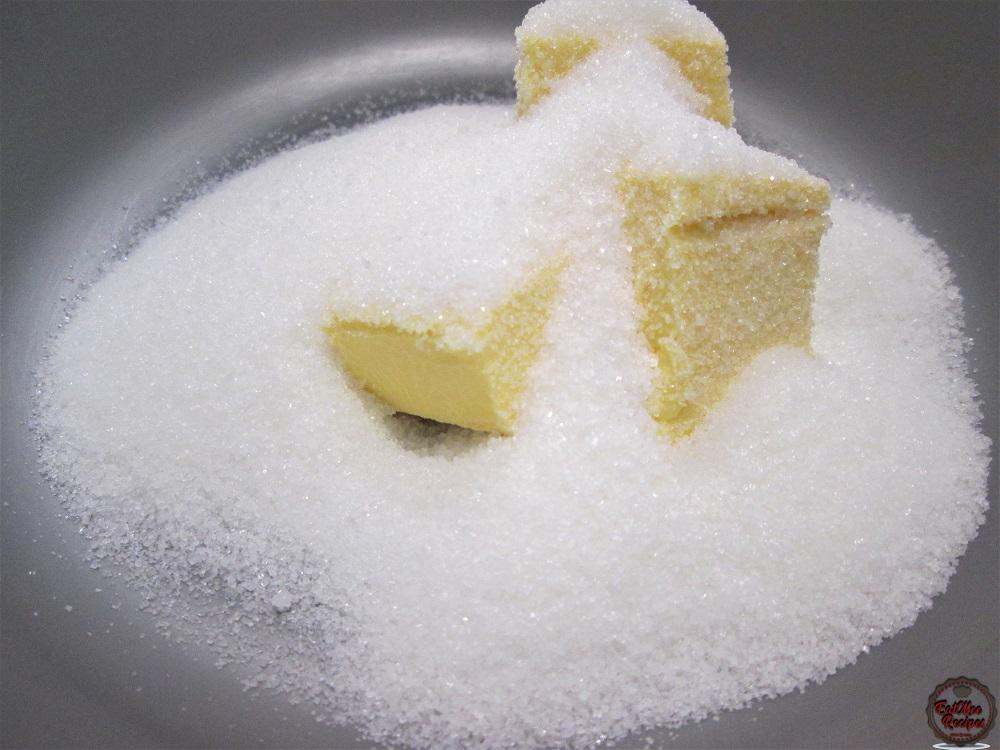
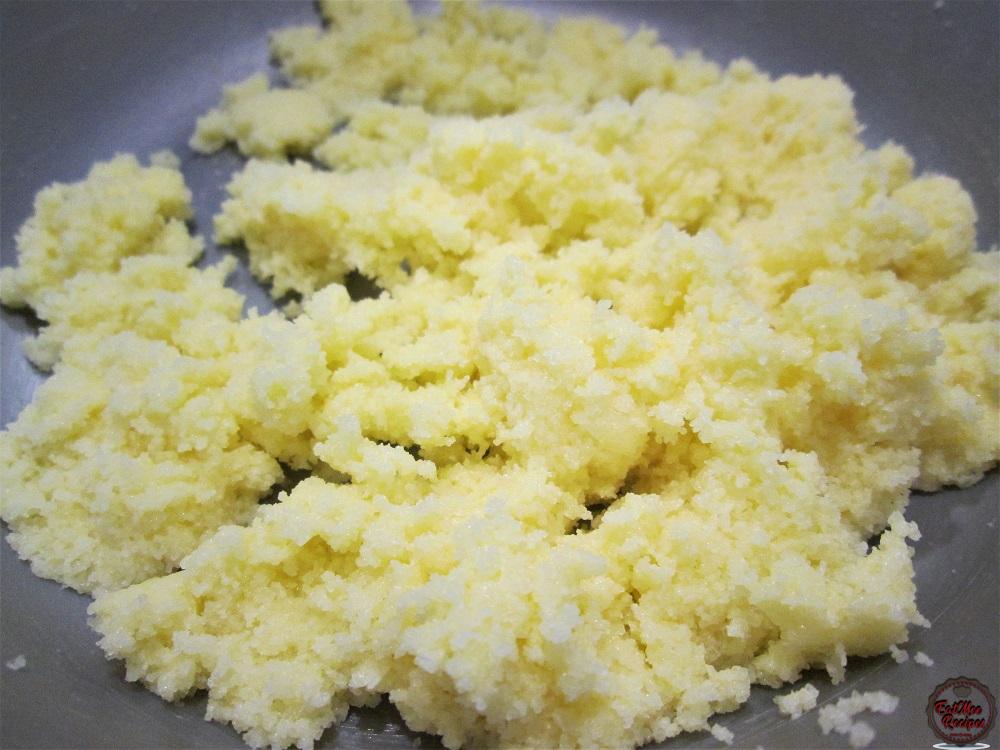
Cream the butter / margarine & the sugar until well combined. This can be done by hand using a wooden spoon or with an electric mixer.
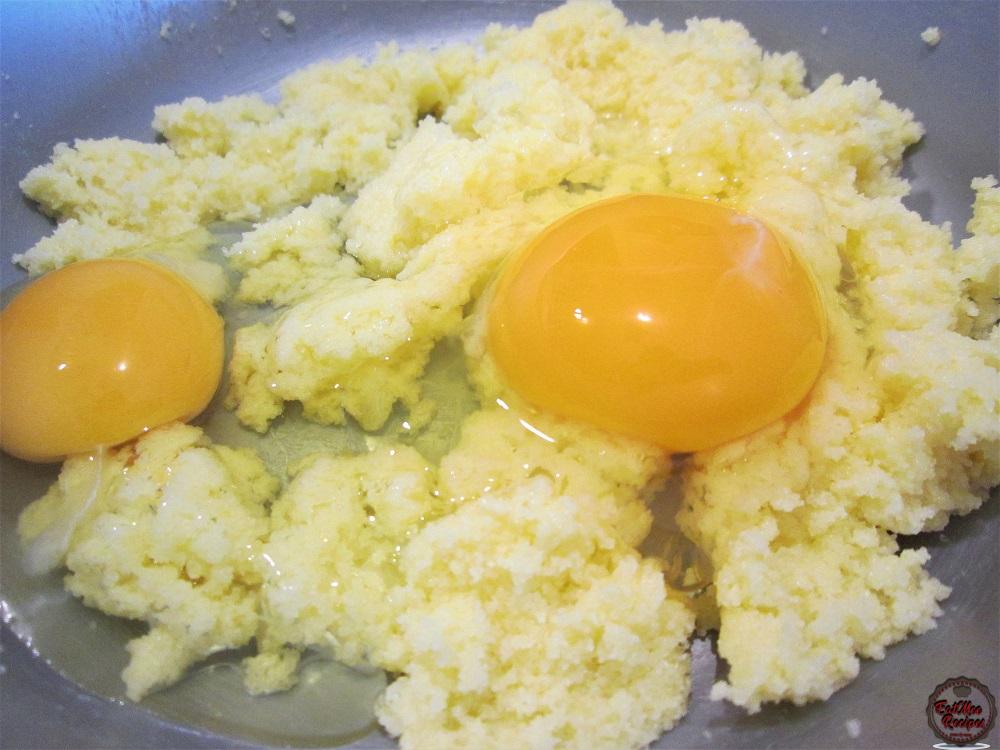
Crack in the eggs.
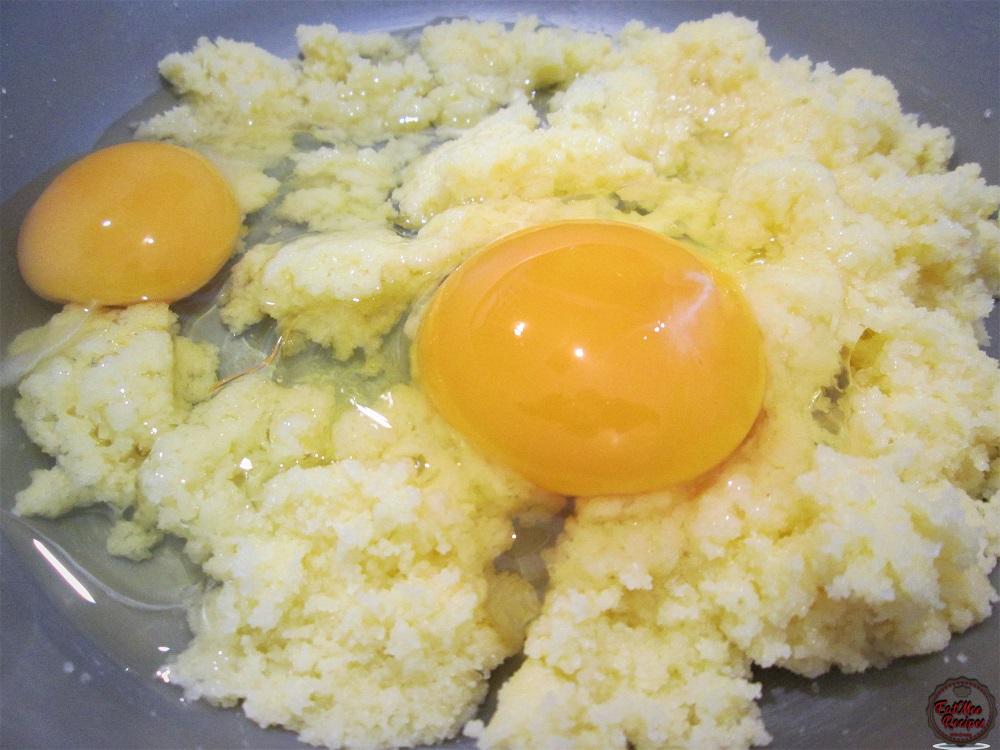
Pour in the vegetable oil.
Pour in the almond & vanilla essence.
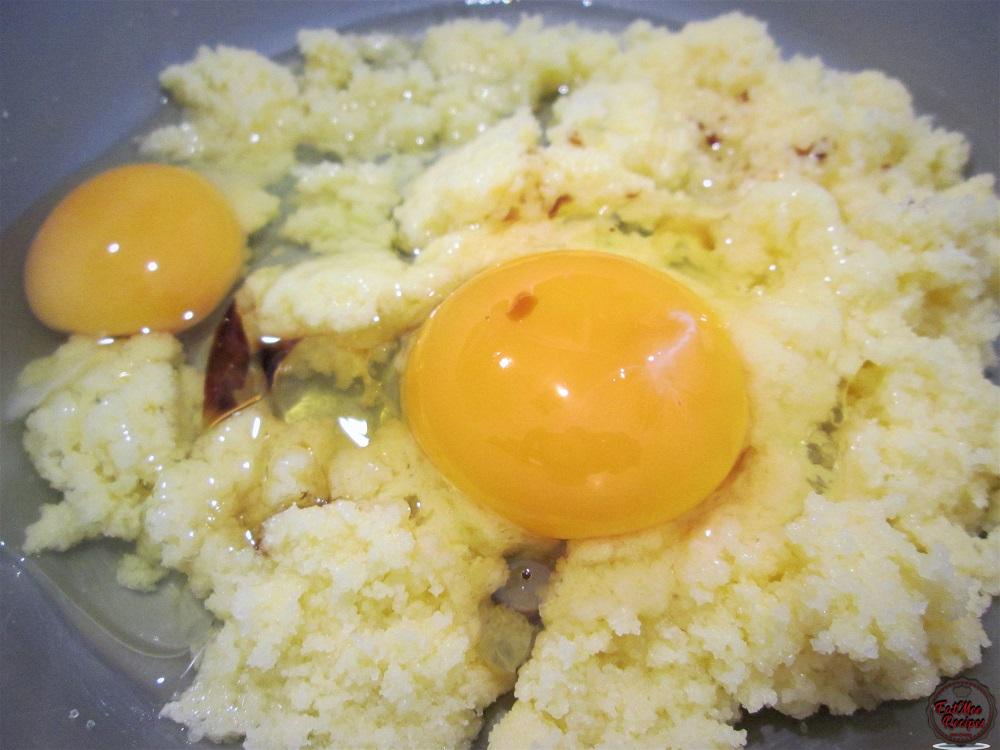
Mix well.
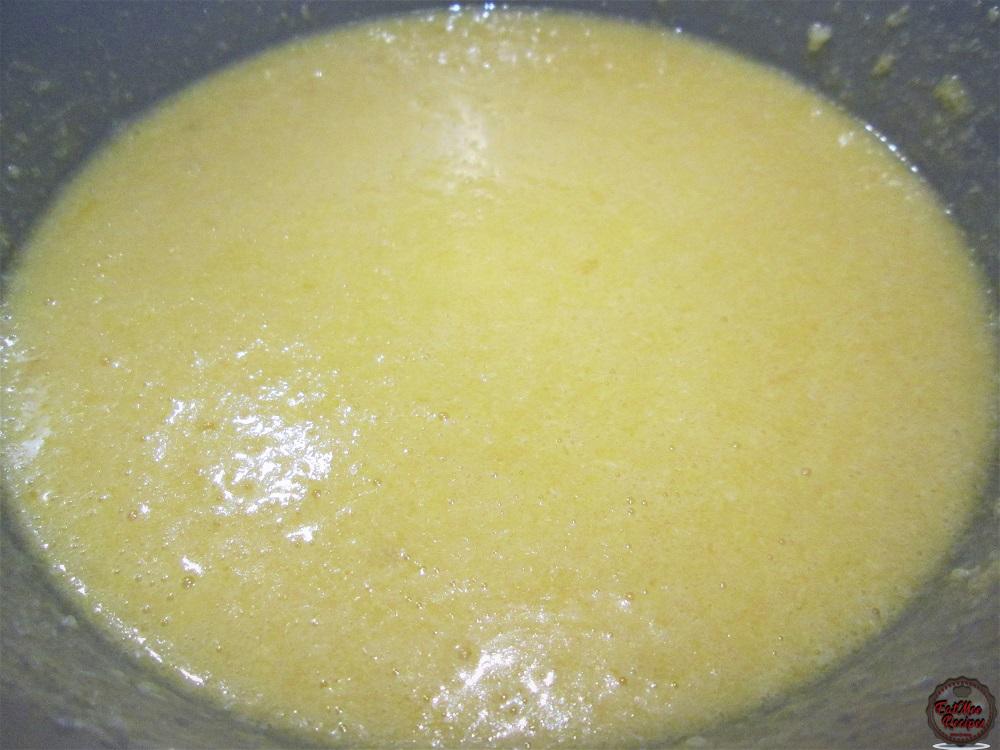
Add in salt, baking powder & the bicarbonate of soda.
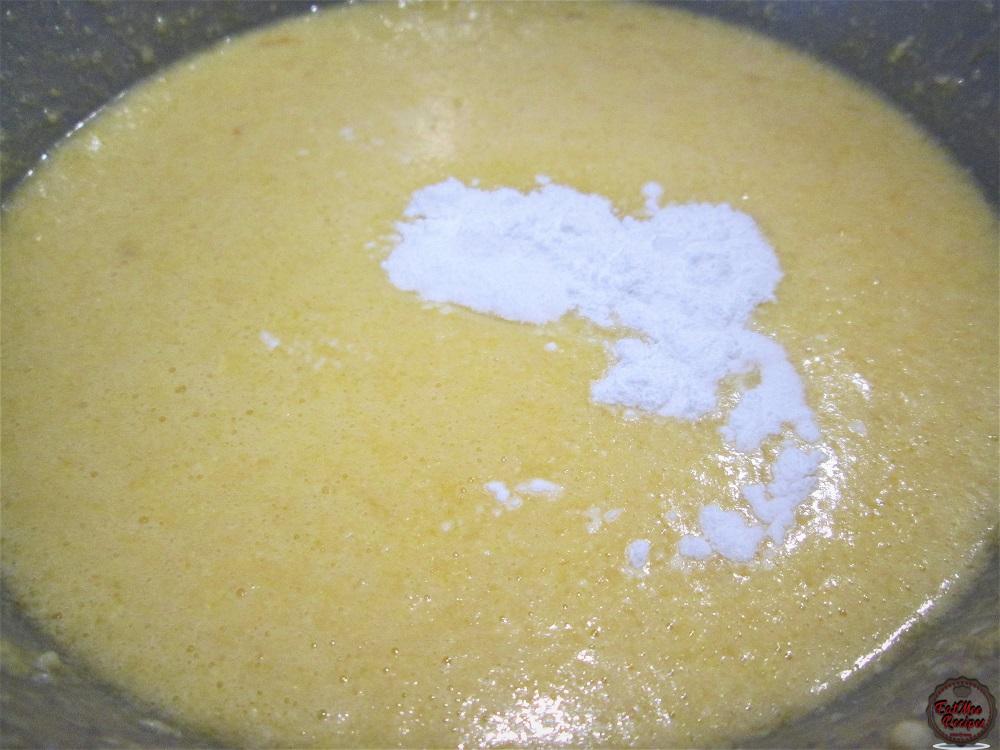
Then add in 1 ½ cups of the all-purpose flour.
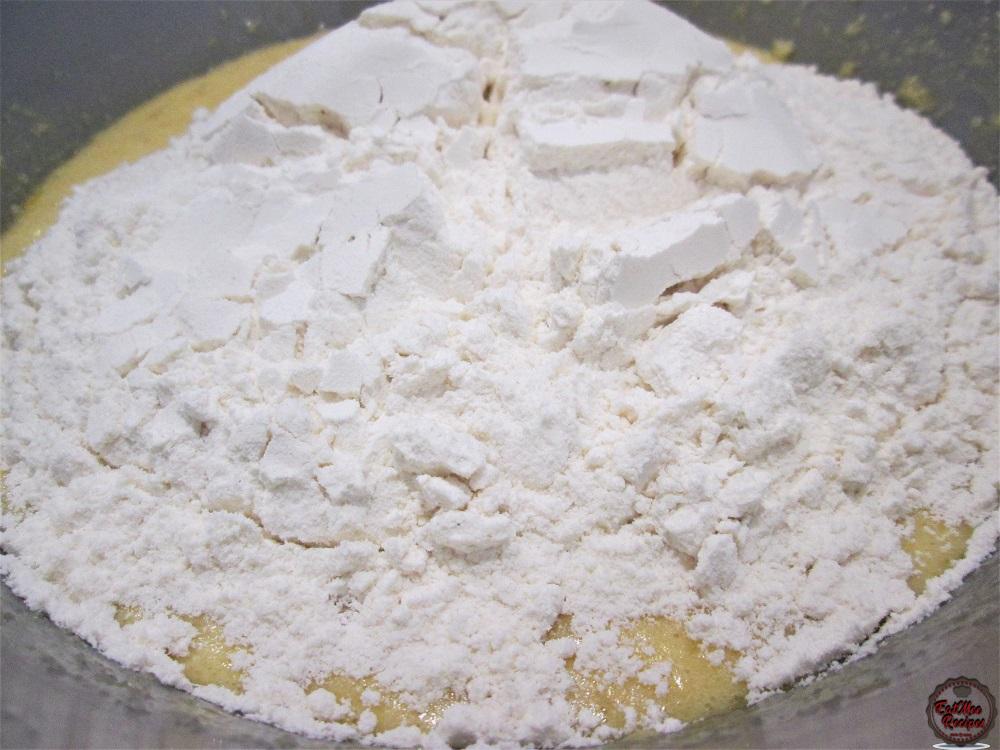
Finally, add in the whole almonds.
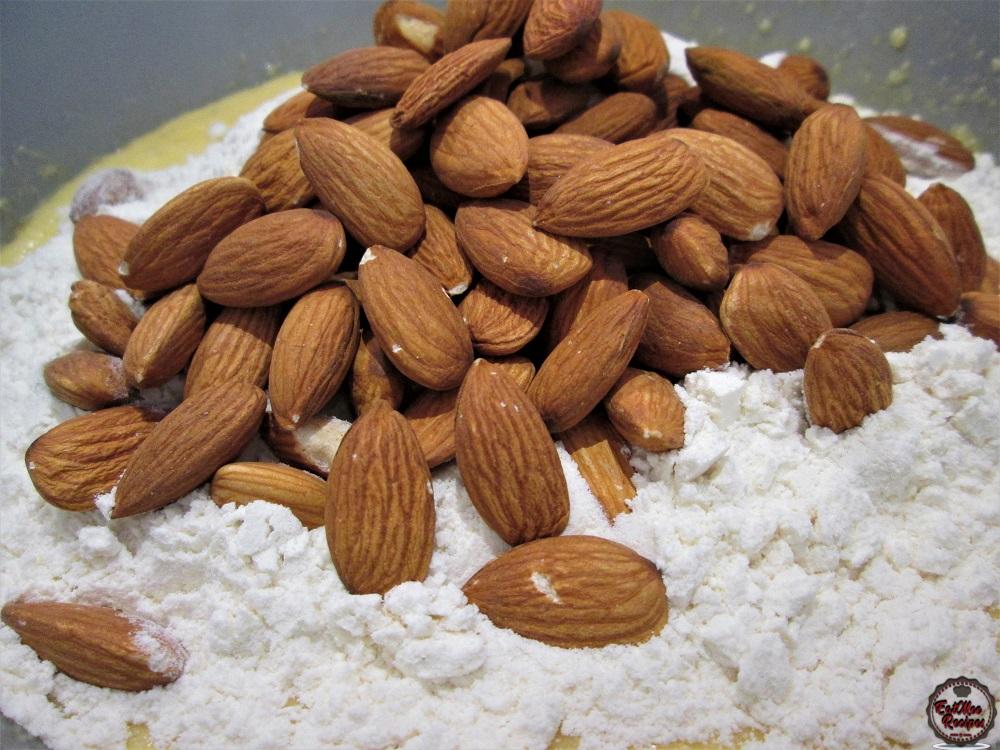
Followed by the dried cranberries.
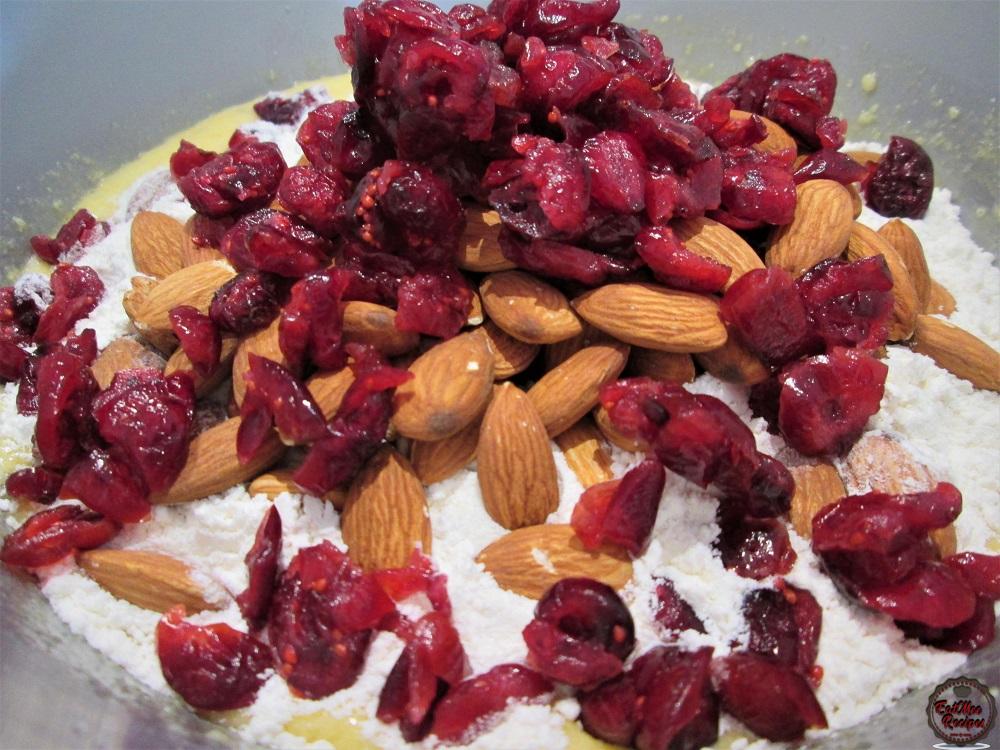
Mix well using a wooden spoon until all the ingredients are well incorporated.
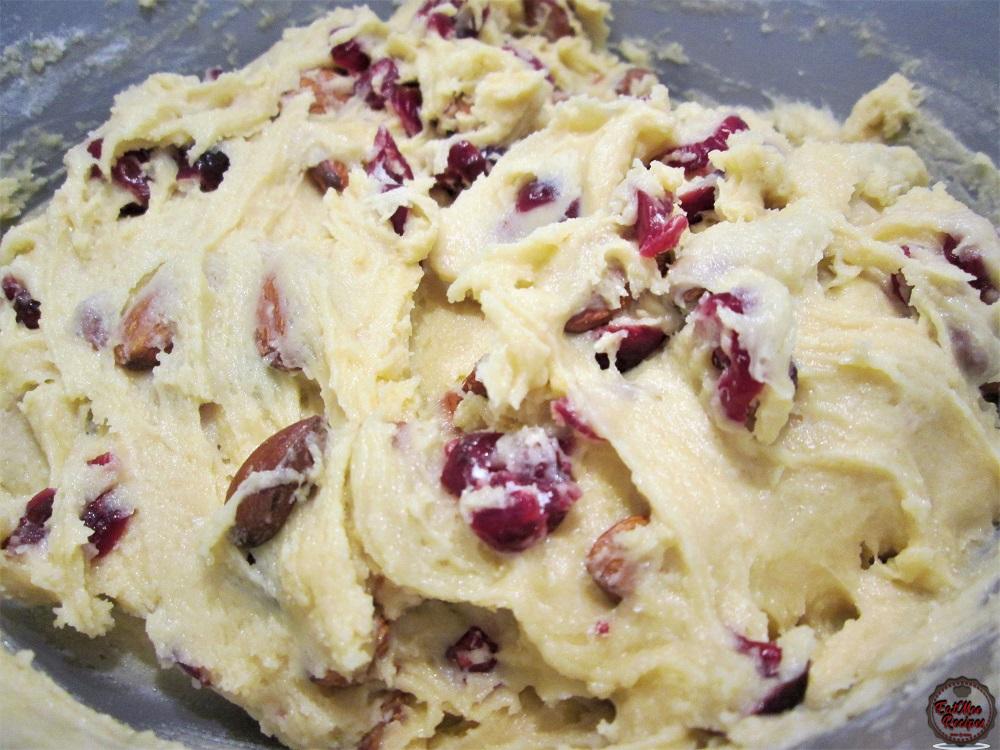
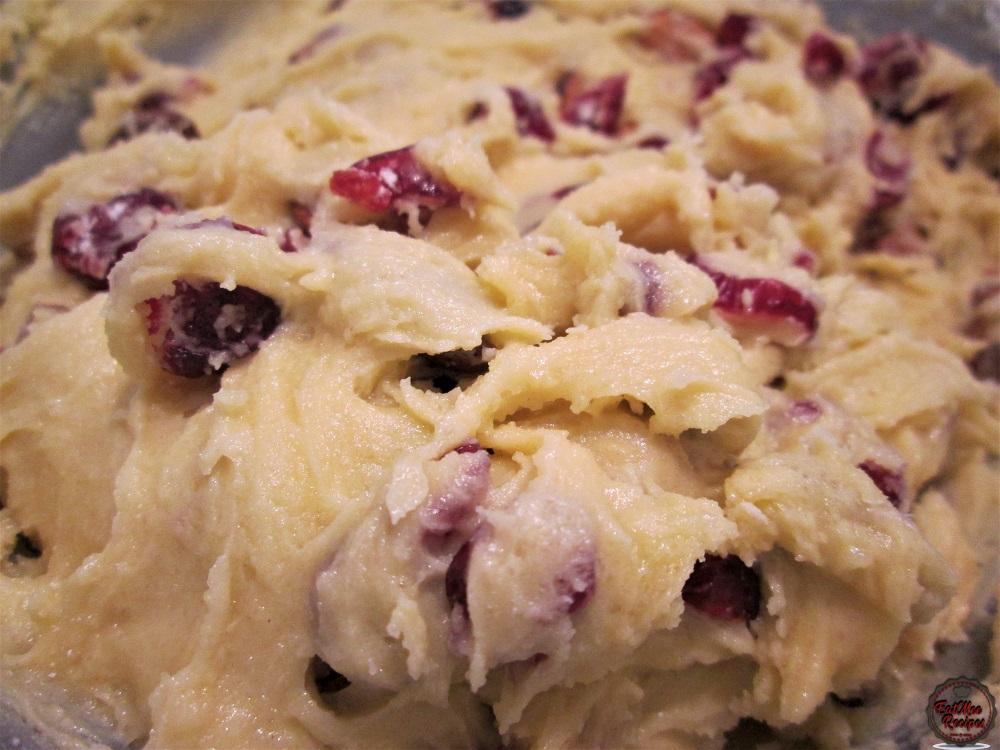
The mixture should be a tad sticky.
Using the remaining ½ cup of flour, dust some of it onto a working surface.
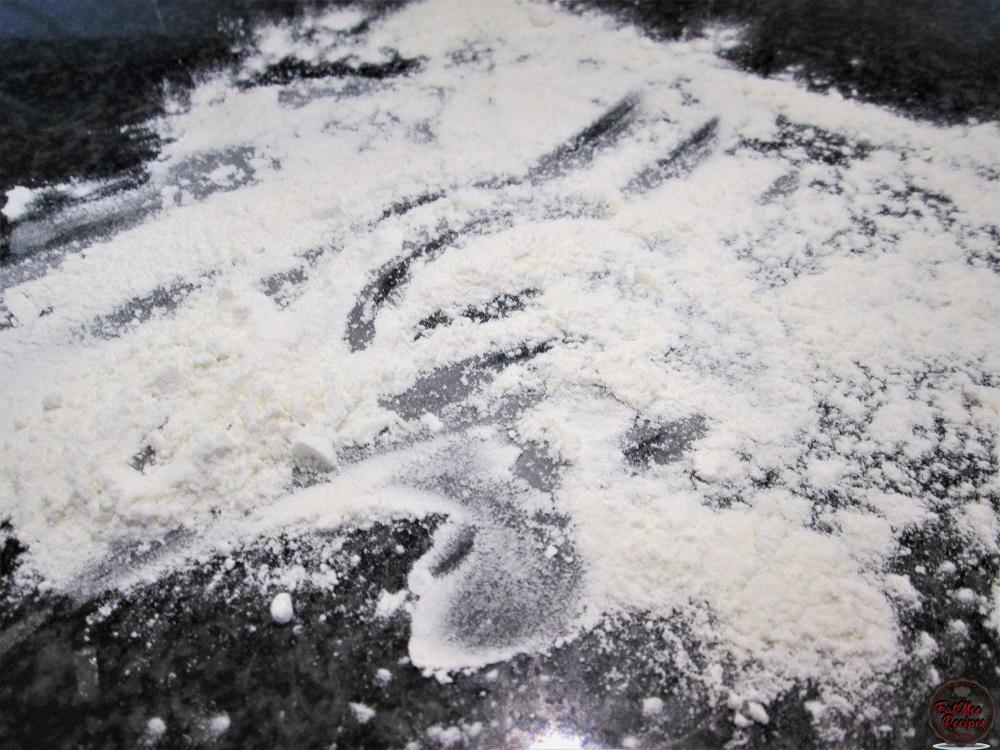
Place the dough onto the floured surface.
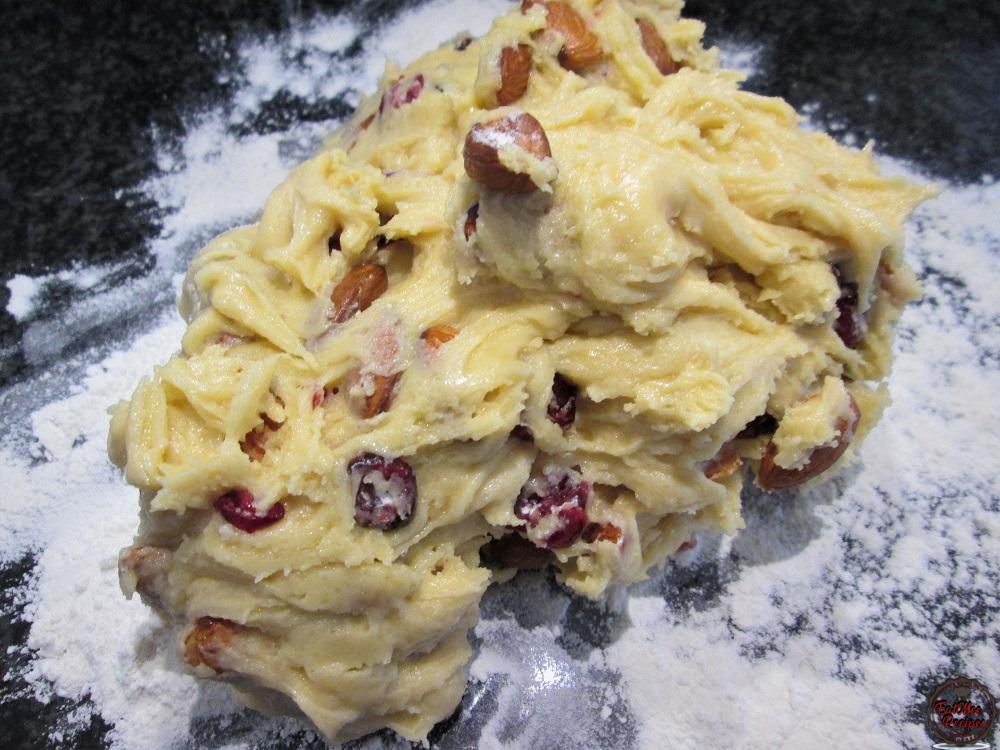
Dust the dough with flour.
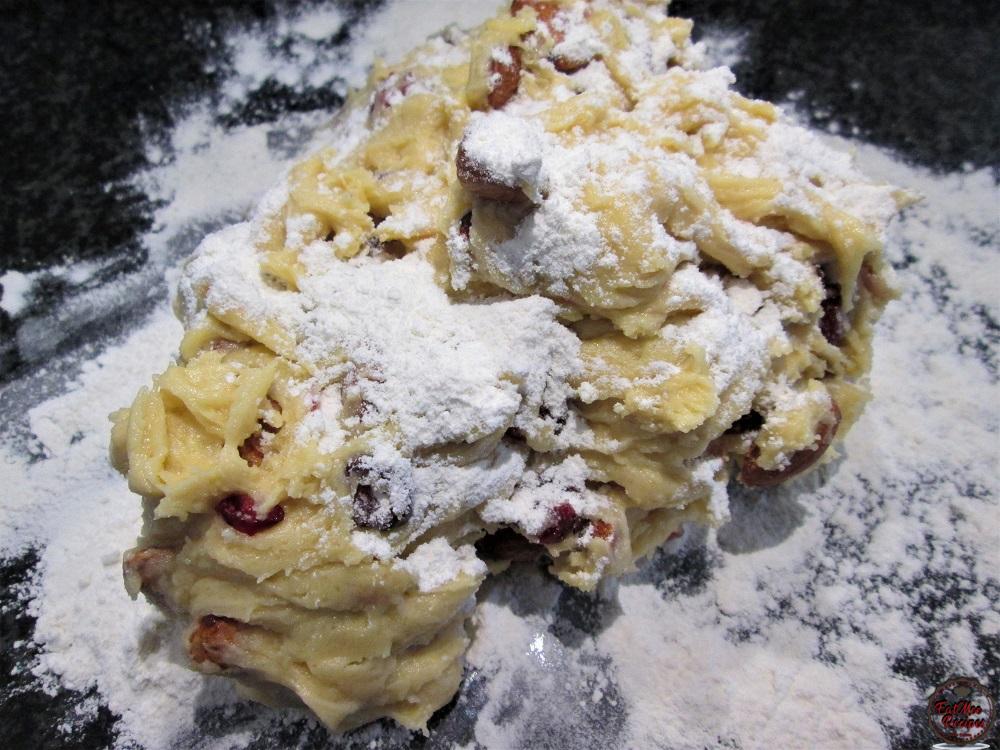
Knead the dough until it is not sticky.
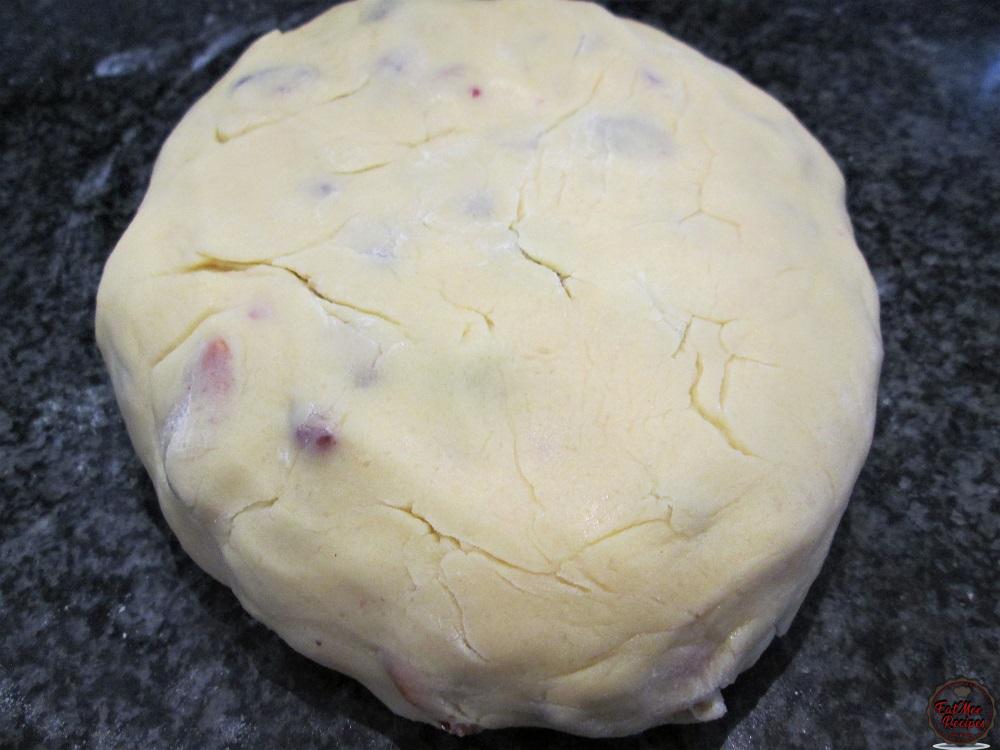
Divide the dough into two equal parts.
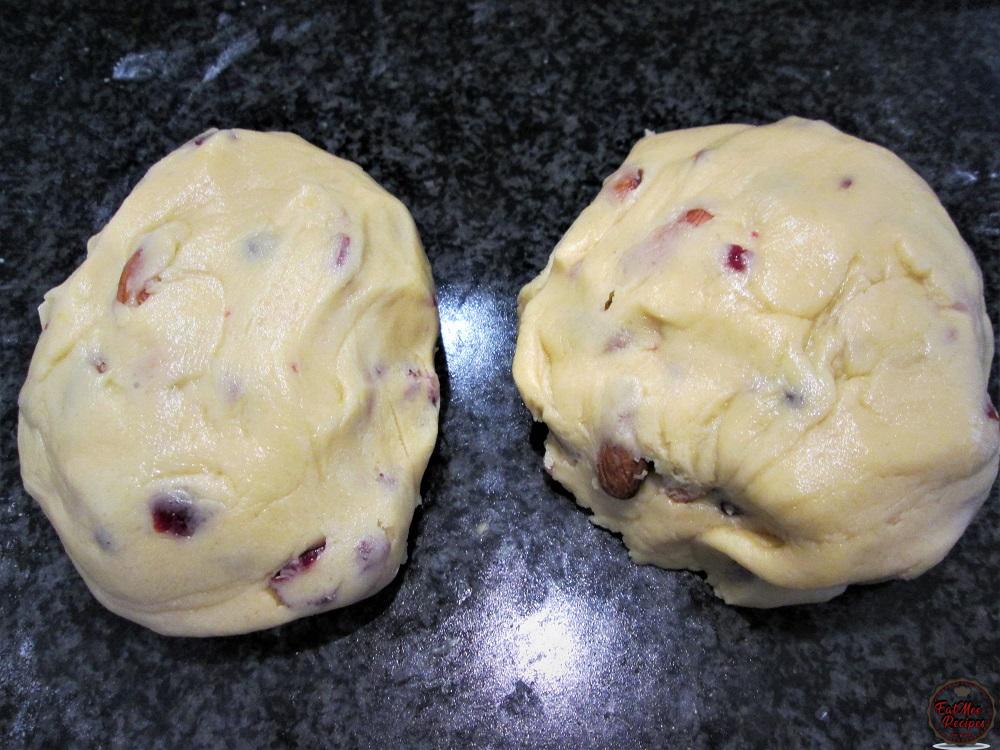
Roll both parts into logs..
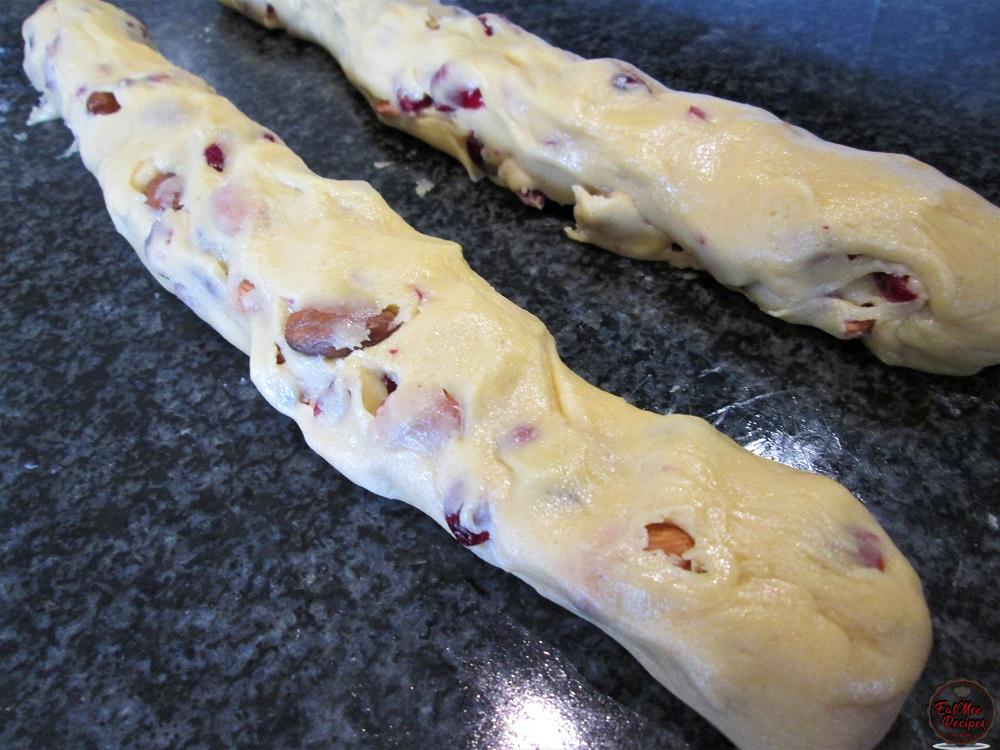
Carefully carry the logs & place onto a wax/parchment paper lined baking tray.
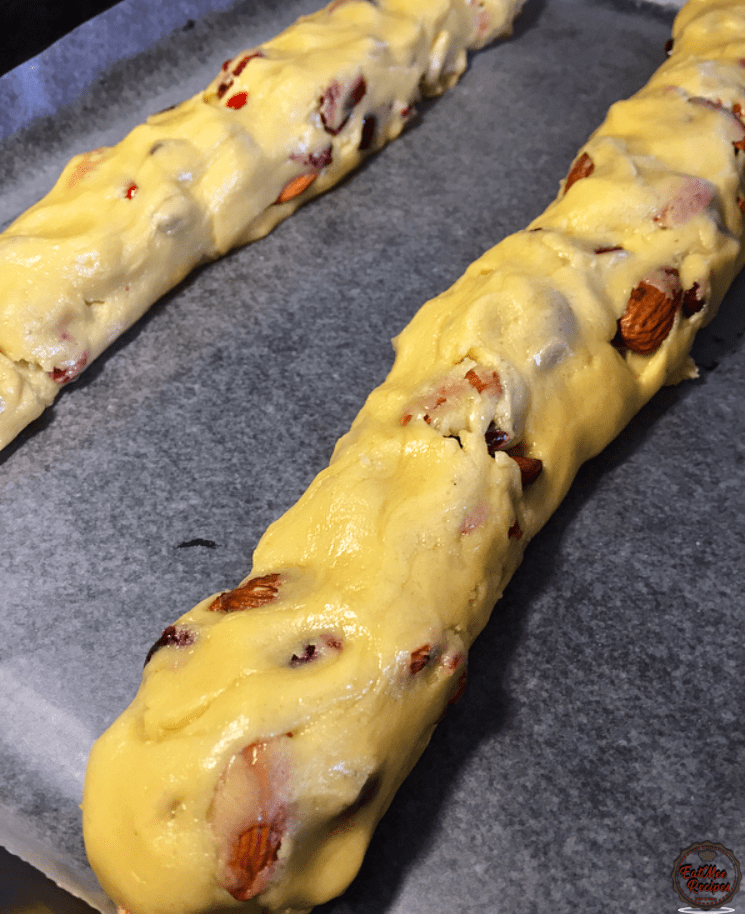
Using your fingers, slightly flatten the logs.

Bake them for 30-35 minutes in the preheated oven at 160° Celsius.
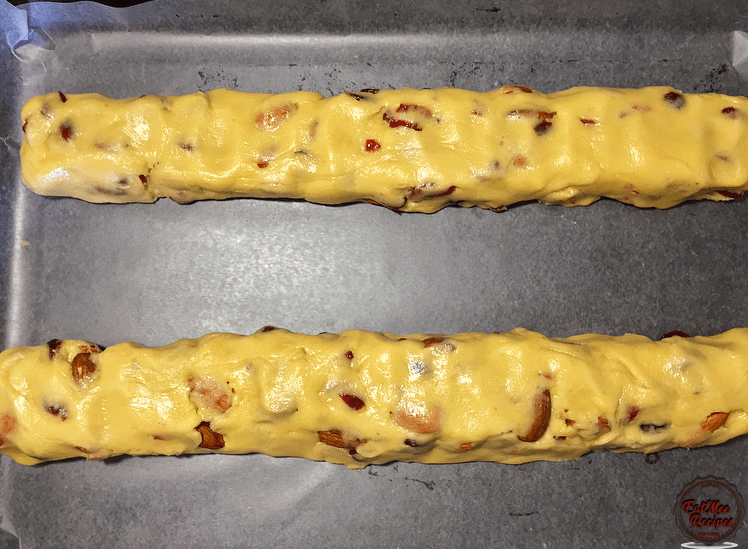
Do not switch the oven off. Carefully carry the baked Biscotti logs onto a cooling rack & allow them to cool for 15 minutes.
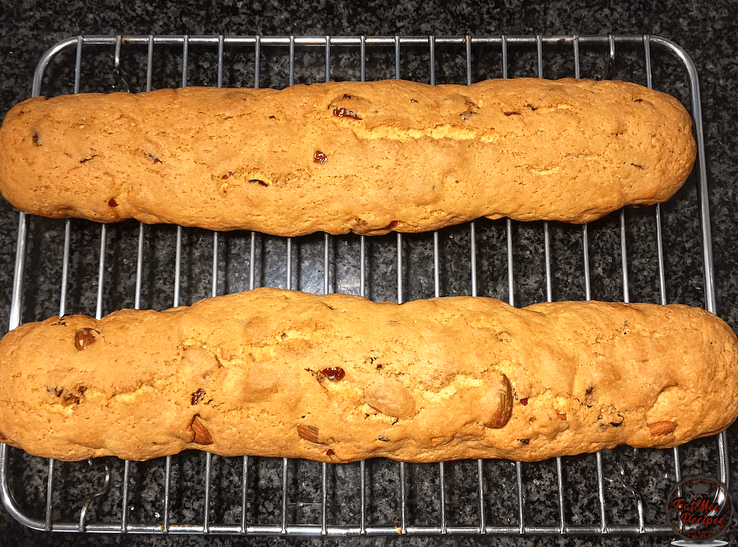
Once they are cooled, it is time to cut them.
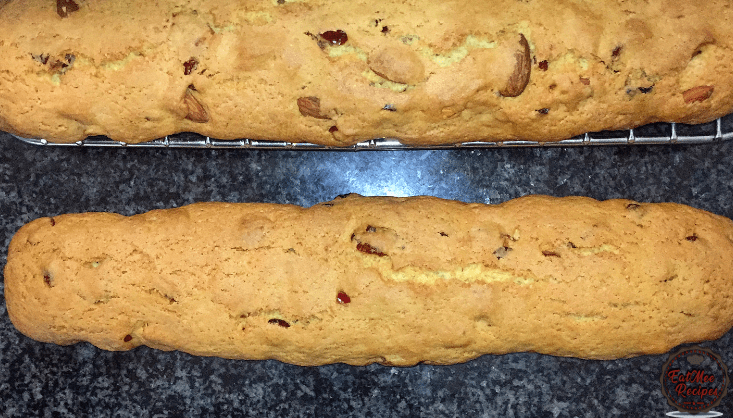
Using a sharp knife, slice the logs diagonally at a 75° angle.
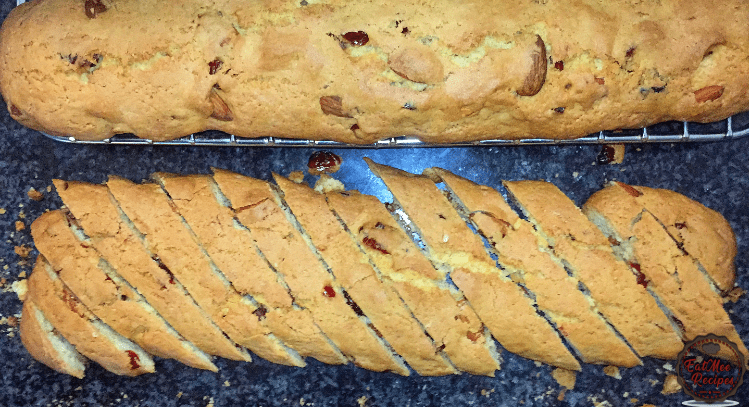
Place the sliced biscotti’s onto a lined baking tray.
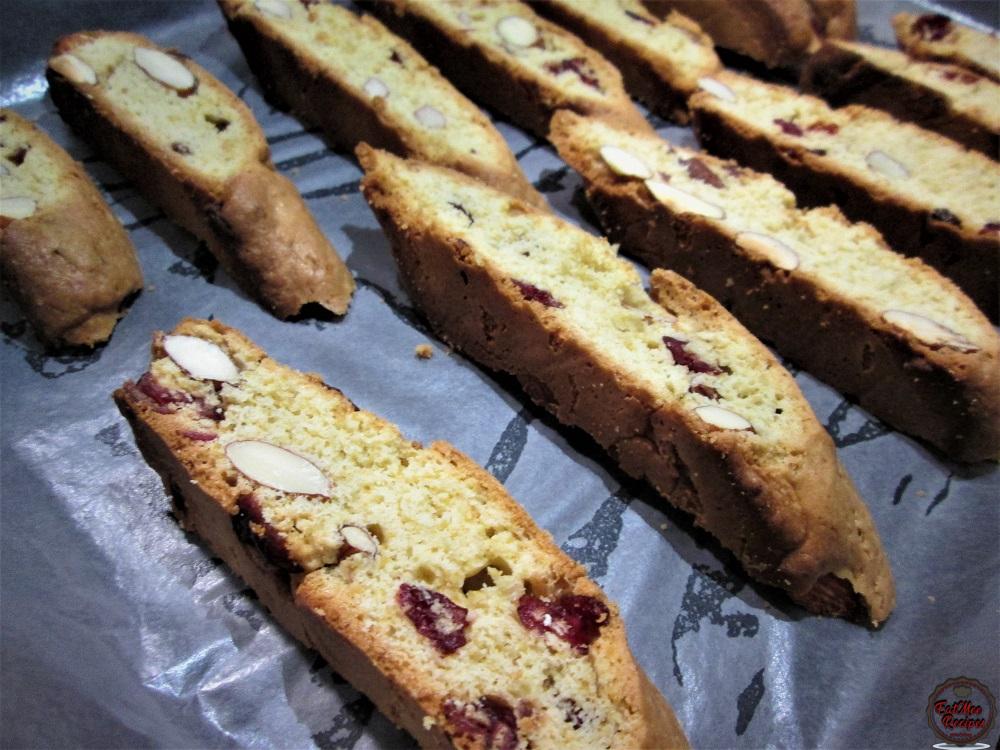
Bake them for 5 minutes.
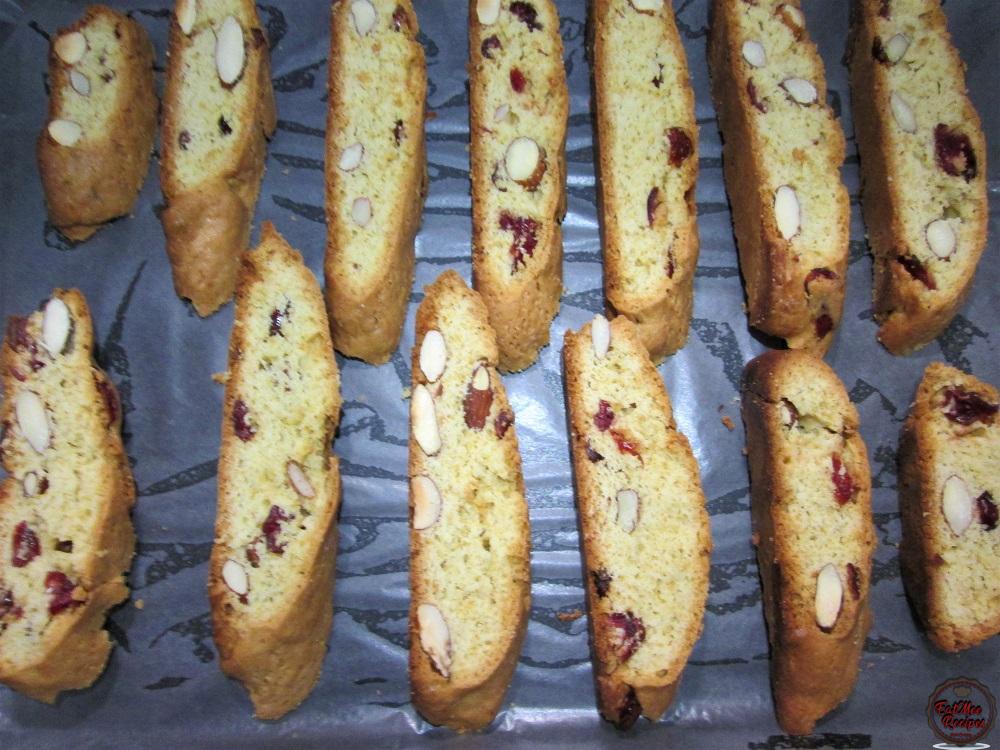
Once baked, remove from the oven & carefully flip each Biscotti.
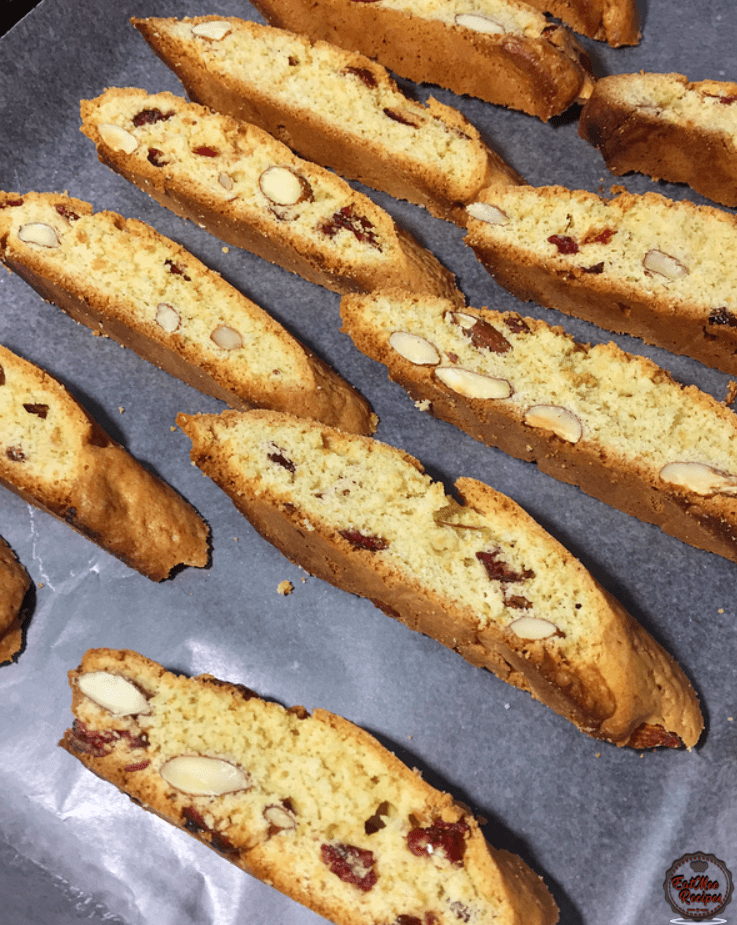
Bake them for another 5 minutes.
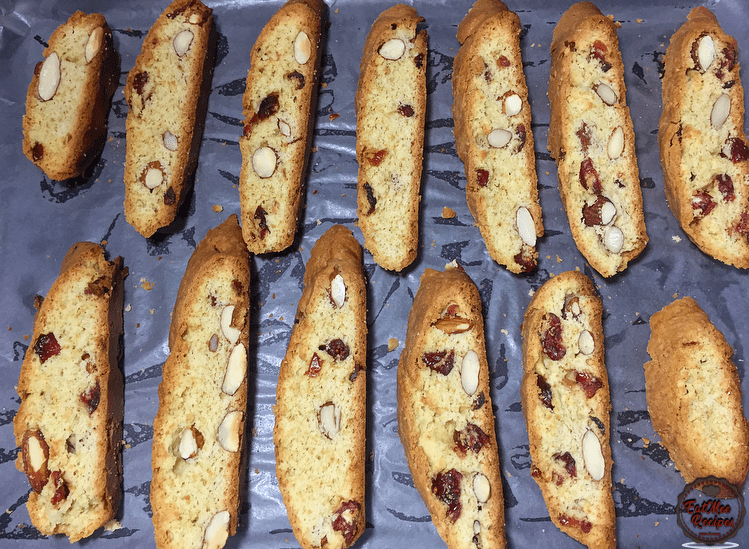
Once baked, remove them from the oven.
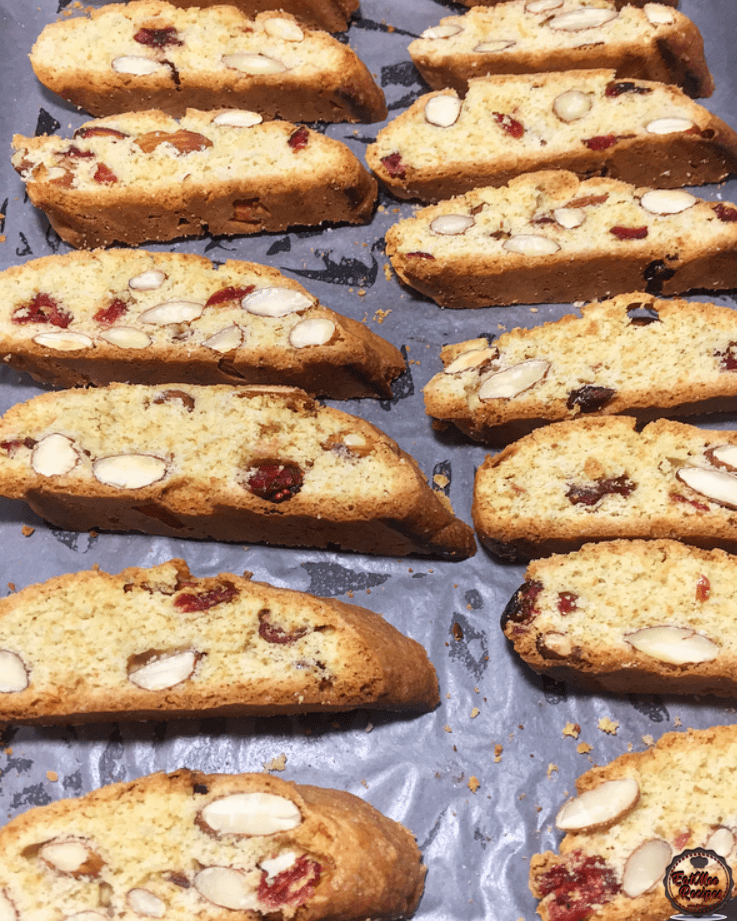
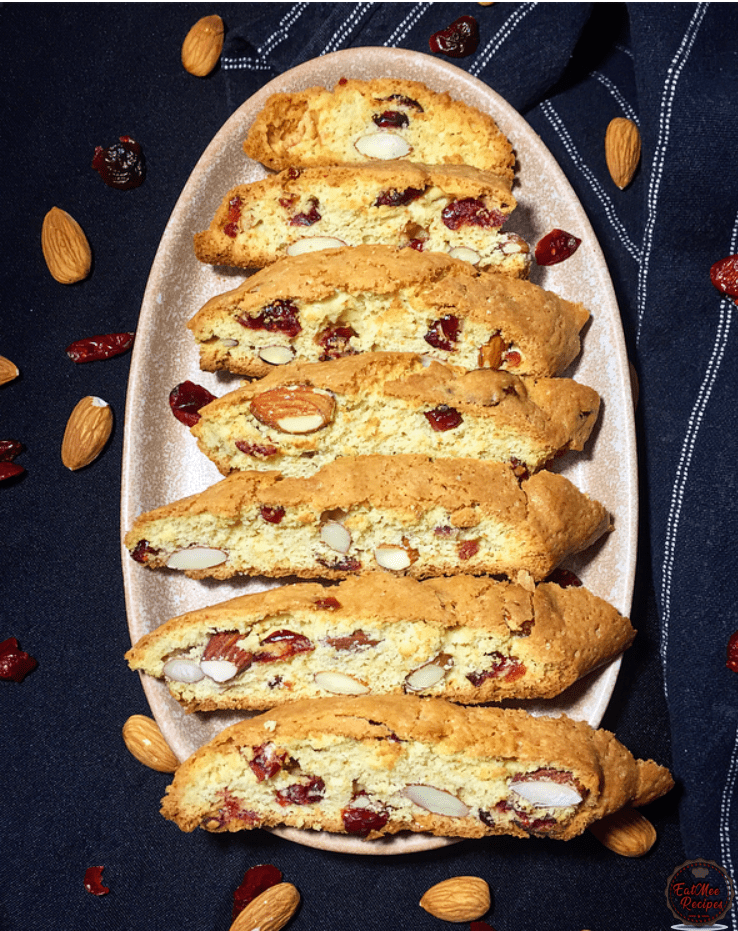
These Almond & Cranberry Biscotti are ready to be devoured. Plate & serve.
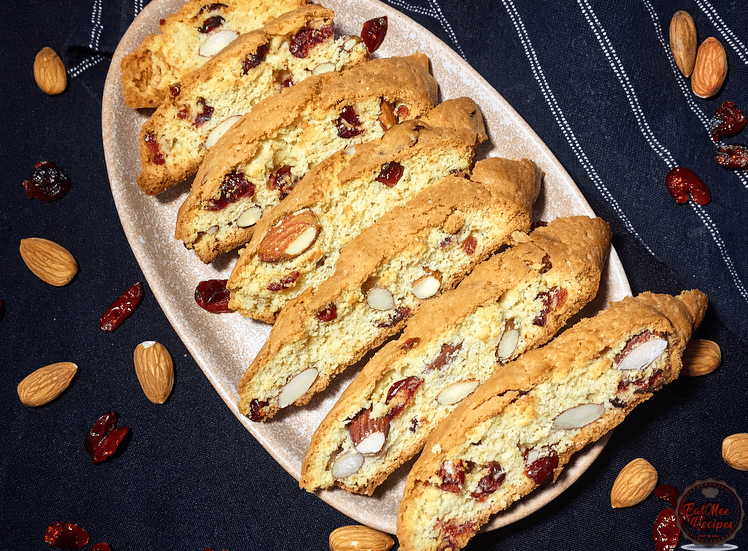
They are super yum & aren’t very sweet which also make them great for those breakfast-on-the-go mornings.
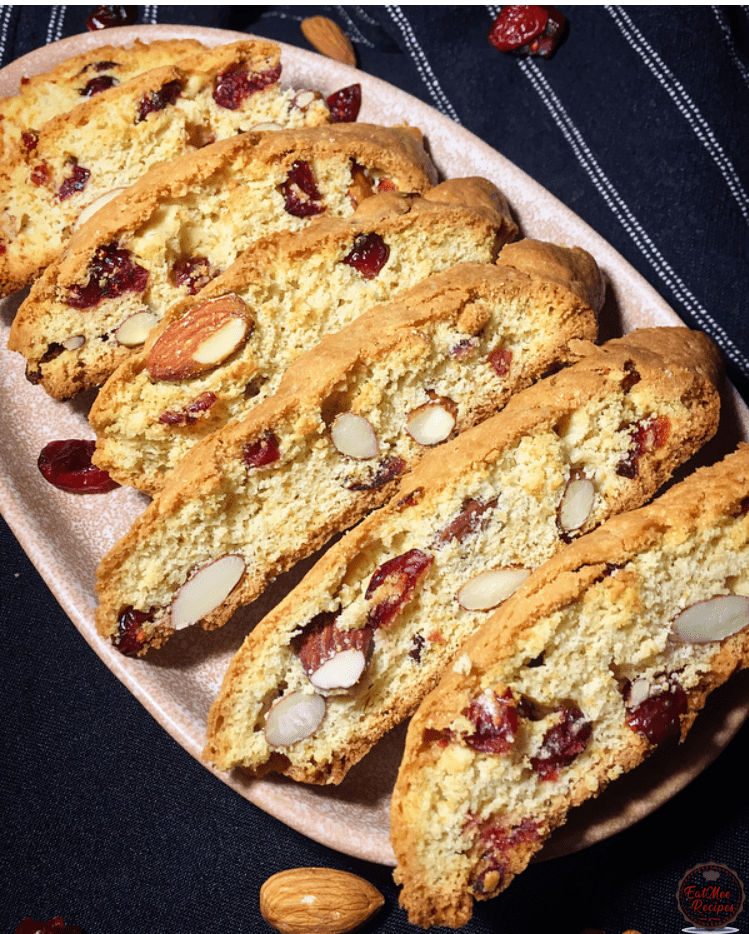
Store these Almond & Cranberry Biscotti in an airtight container for up to two weeks.
If you enjoyed these Soft Ginger Biscuits, you may also enjoy these varieties of biscuits (cookies).
Follow along with Denisiya's step-by-step video guide for Almond & Cranberry Biscotti.
Expert kitchen guidance and troubleshooting for making the best Almond & Cranberry Biscotti
Store in an airtight container at room temperature for up to 1 to 2 weeks. For milk-based sweetmeats like burfee or soji, refrigerate in an airtight container for up to 7 to 10 days.
Pure butter or ghee provides the authentic rich aroma and texture characteristic of traditional Indian sweetmeats and bakes. Margarine can be used in a pinch, but butter delivers superior flavor.
Hi, I'm Denisiya! Food lover, recipe developer, and founder of EatMee Recipes. I specialize in authentic South African Durban Indian cuisine, comforting curries, and modern Instant Pot adaptations. Every recipe on this site is tested in my personal kitchen to ensure you get mouth-watering, foolproof results every time.
Explore more authentic Durban curries, traditional bakes, and comforting family favourites.
 Desserts
If you love traditional South African sweet rice but want an easier, hands-off method, thi...
 Desserts
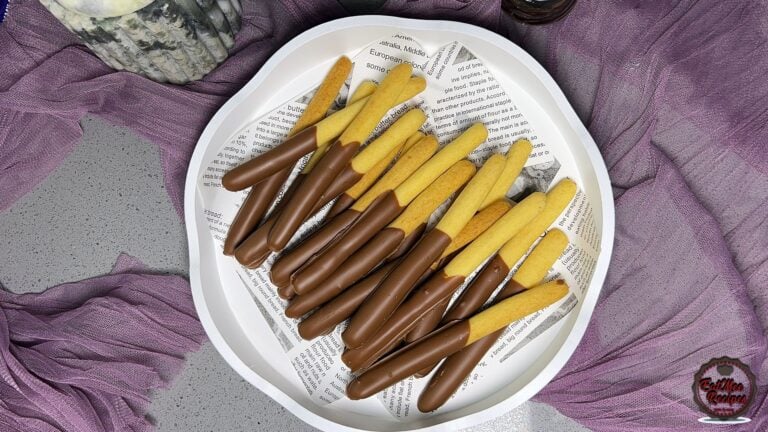
Light, crisp, and delicately sweet biscuit sticks dipped in chocolate
 Desserts
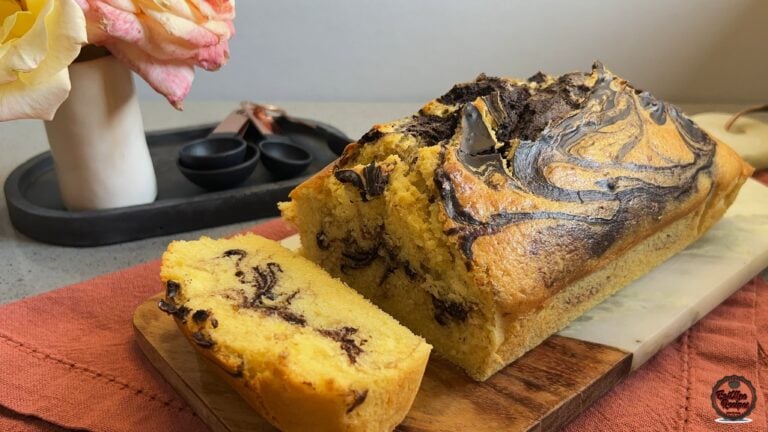
There’s something comforting about a marble loaf cake fresh from the oven, especially when...
Have you tried this recipe or have questions for Denisiya? Join the conversation below.
No comments yet. Be the first to share your thoughts on this recipe!
Leave a Comment
Your email address will not be published. Required fields are marked *