
We Value Your Culinary Privacy
EatMee Recipes uses cookies to provide a personalized browsing experience, analyze recipe popularity, and serve relevant ads. You can review our full disclosure in our Privacy Policy.
Make authentic uJeqe – Steamed Zulu Bread with this foolproof recipe. Packed with rich traditional flavor, step-by-step photos, and cooking tips by Denisiya on EatMee Recipes.

Join over 60,000+ home chefs for weekly authentic Durban Indian cook-alongs, Instant Pot masterclasses, and family heritage recipes.
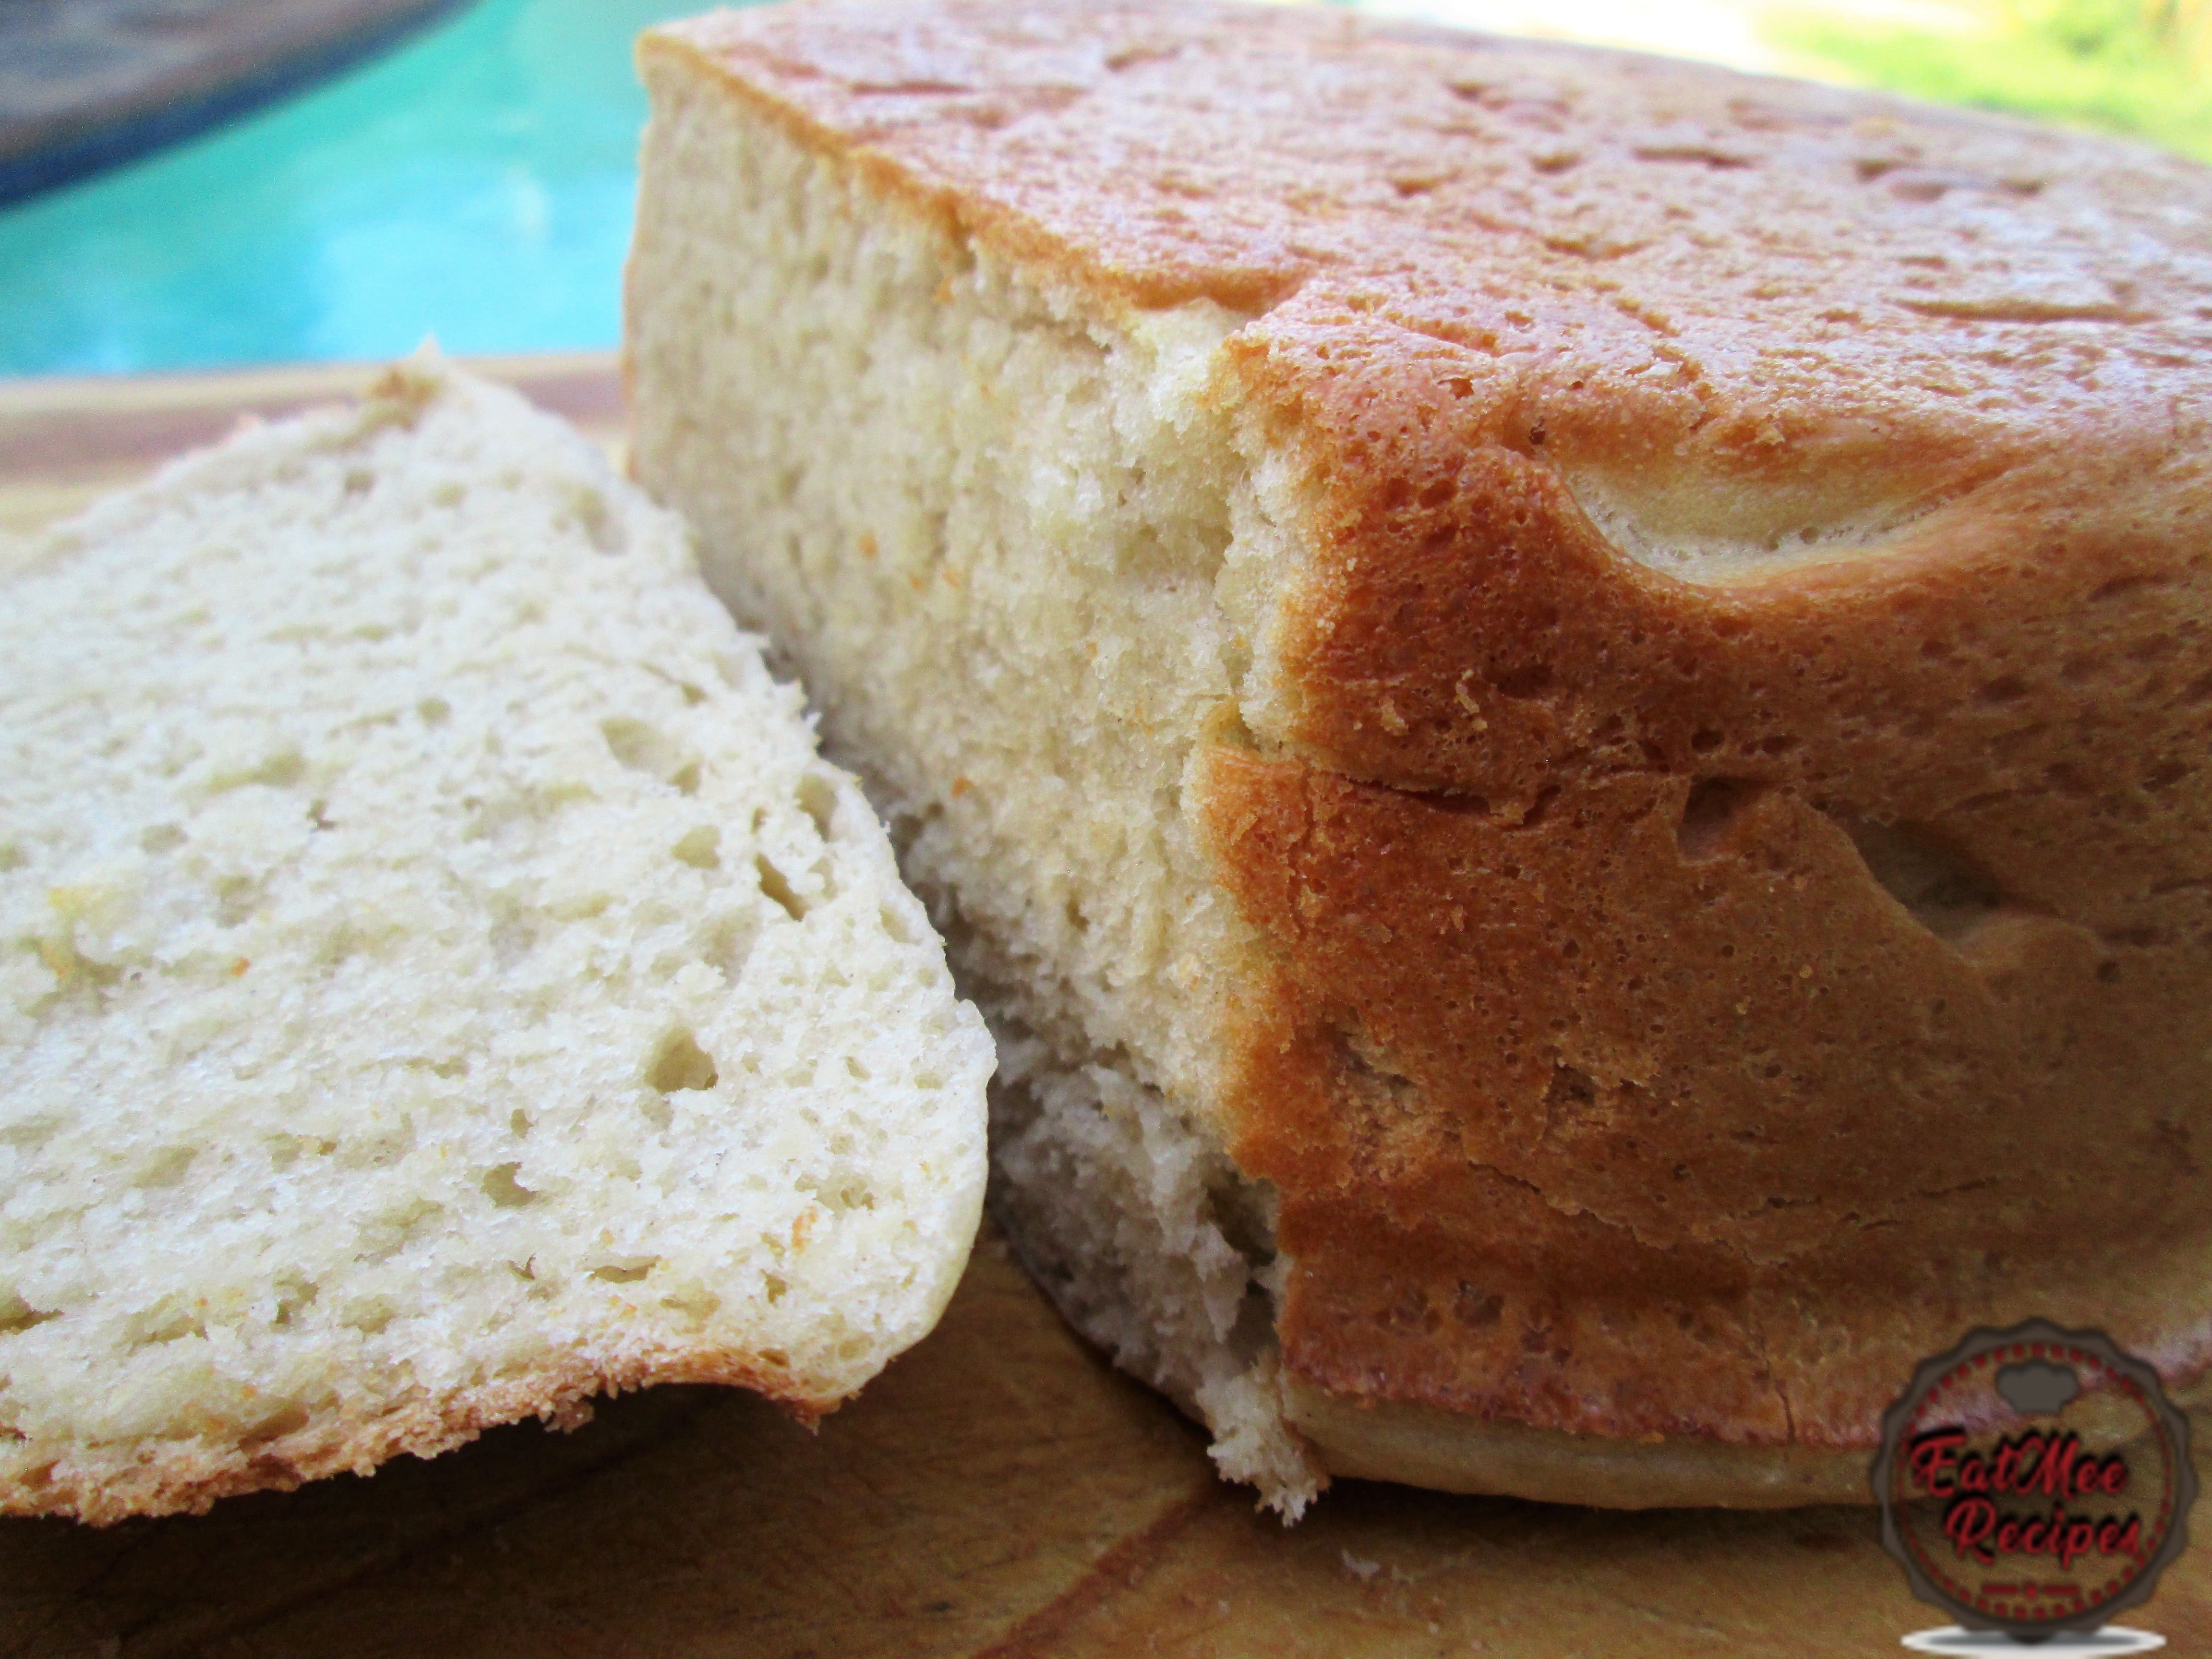
uJeqe – Steamed Zulu Bread is a type of bread that is steamed. This can be done on a stove top or in the microwave. It can also be referred to as Jeqe.
This bread can be eaten as is, with a thick slather of butter or with various dishes.
Traditionally, uJeqe – Steamed Zulu Bread is prepared by using freshly ground mealies (corn) similar to the traditional South African steamed mealie bread, whereby the bread is steamed in the sack of the corn.
This steamed bread recipe that I have is actually of what the township folks use within South Africa, which omits the use of mealies (corn).
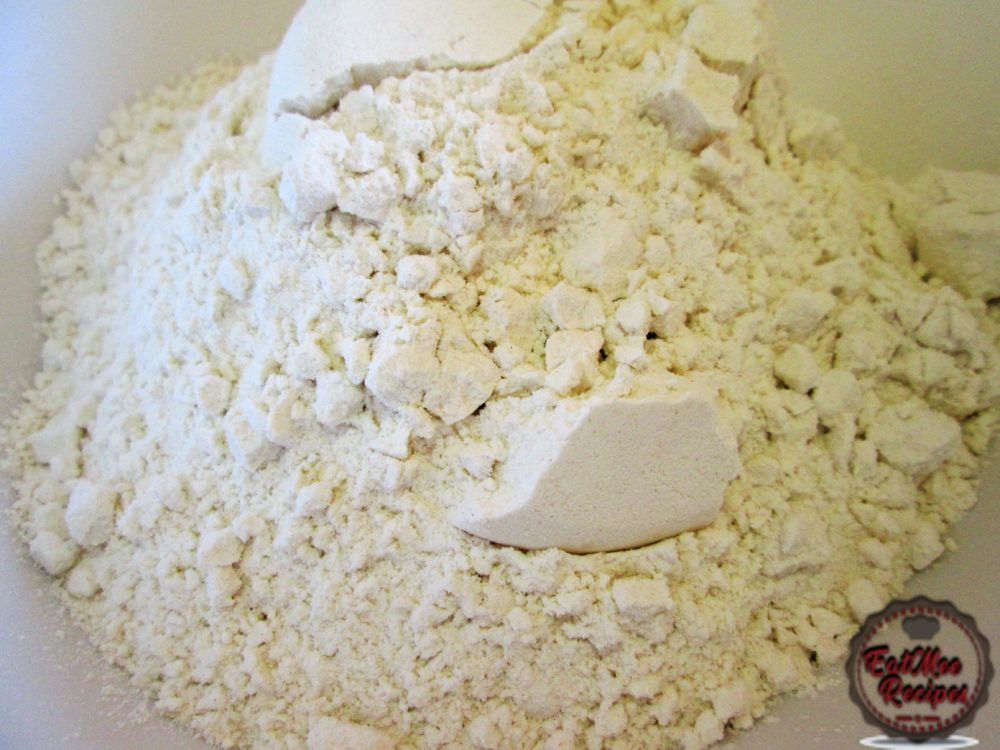
Add the all purpose flour, baking powder & salt to a mixing bowl.
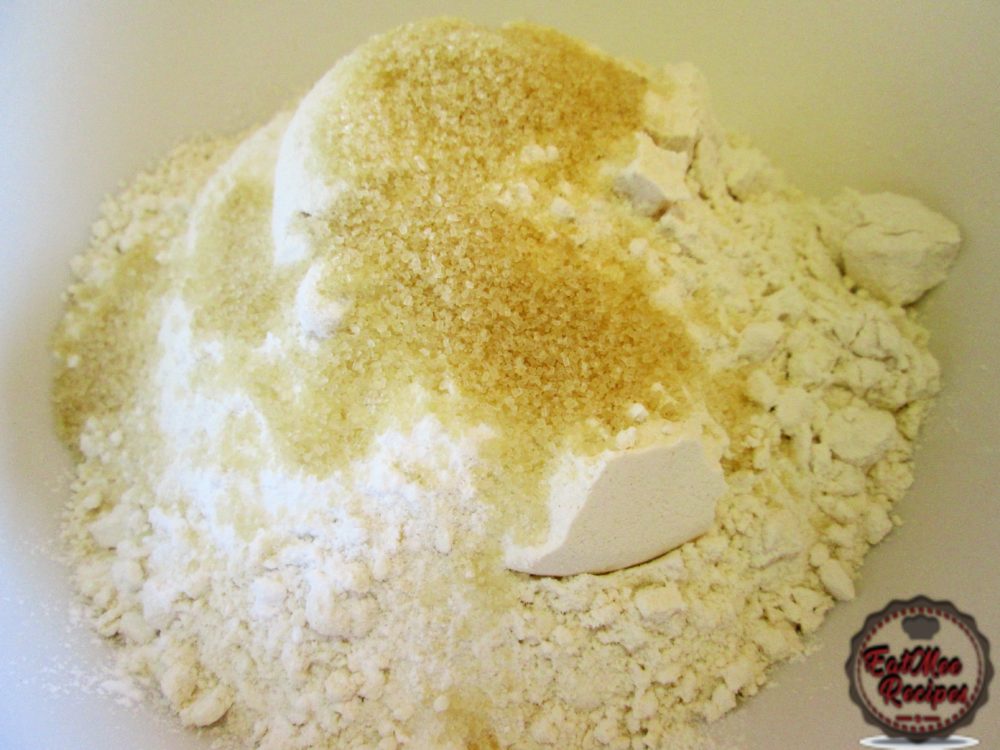
Add in the sugar.
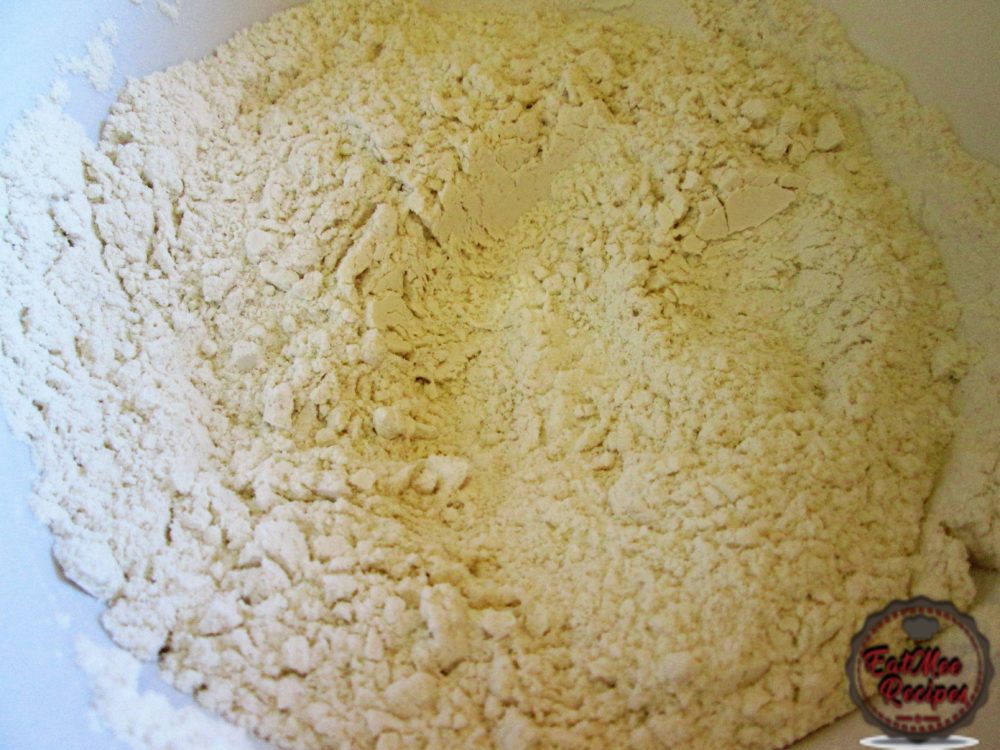
Mix well.
Add in the butter.
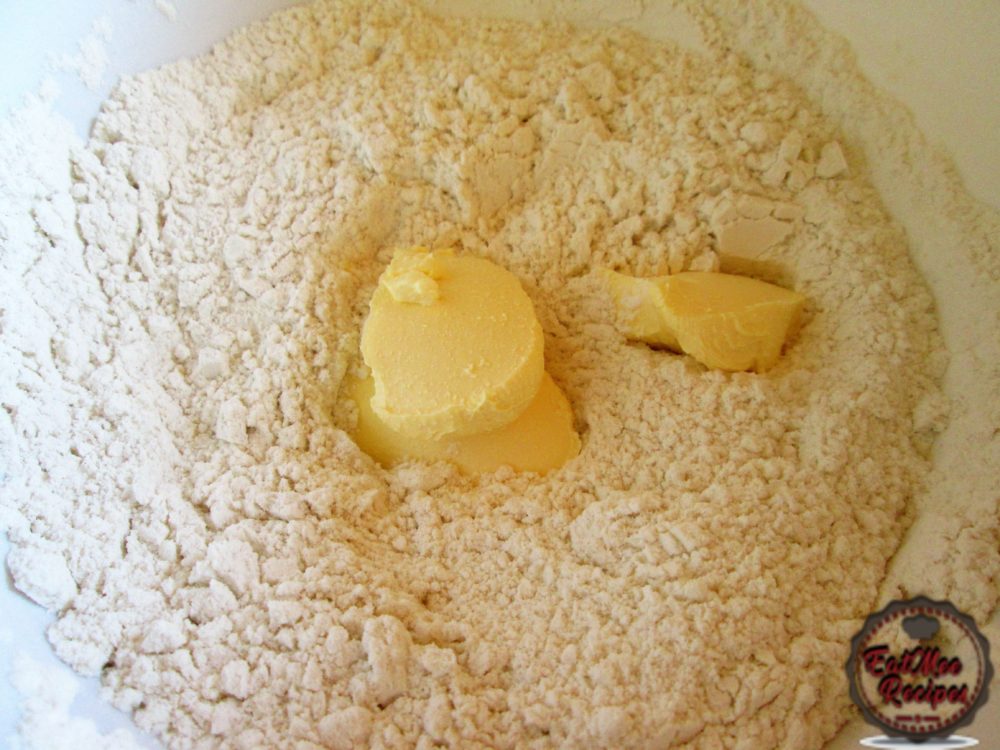
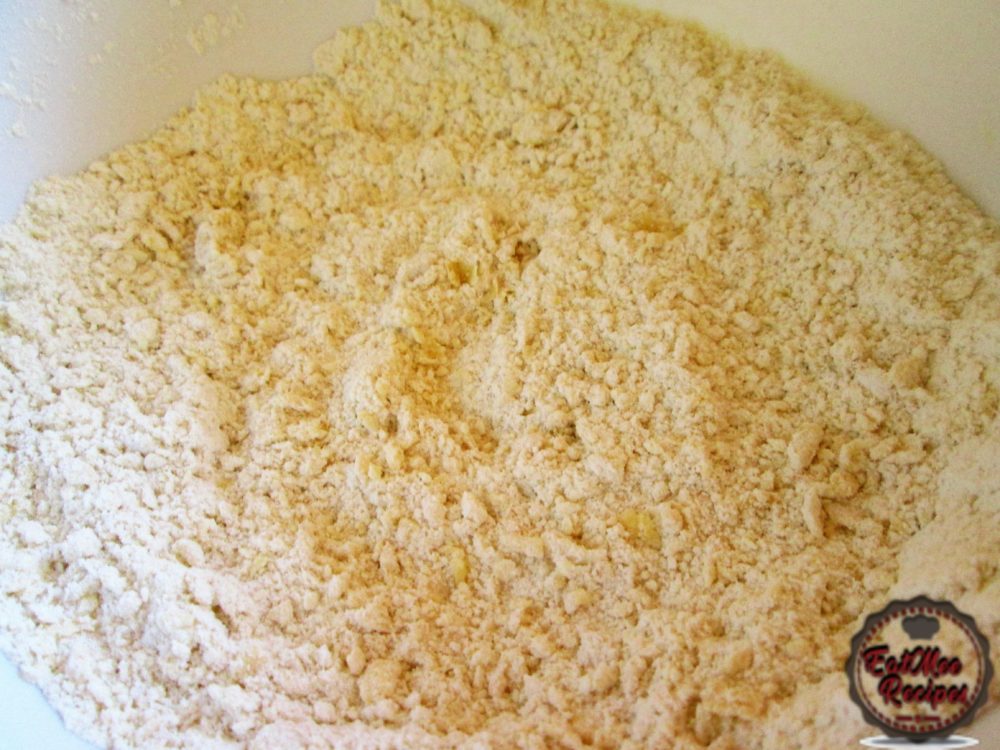
Using your hands, rub the butter into the flour. It should resemble breadcrumbs.
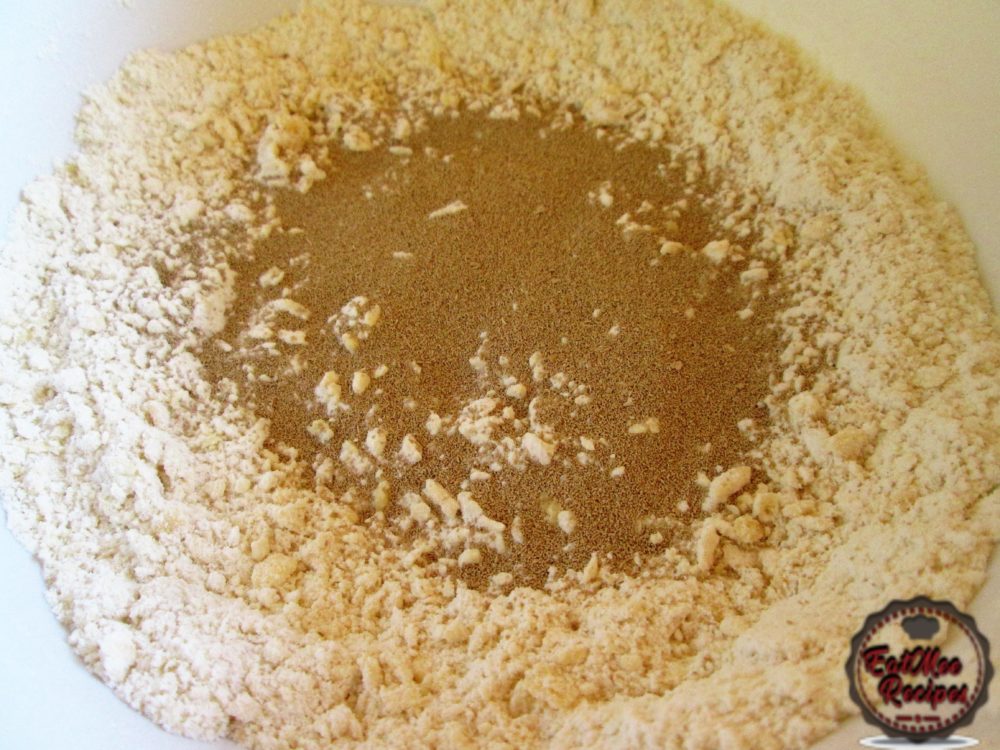
Add in the yeast.
Mix well.
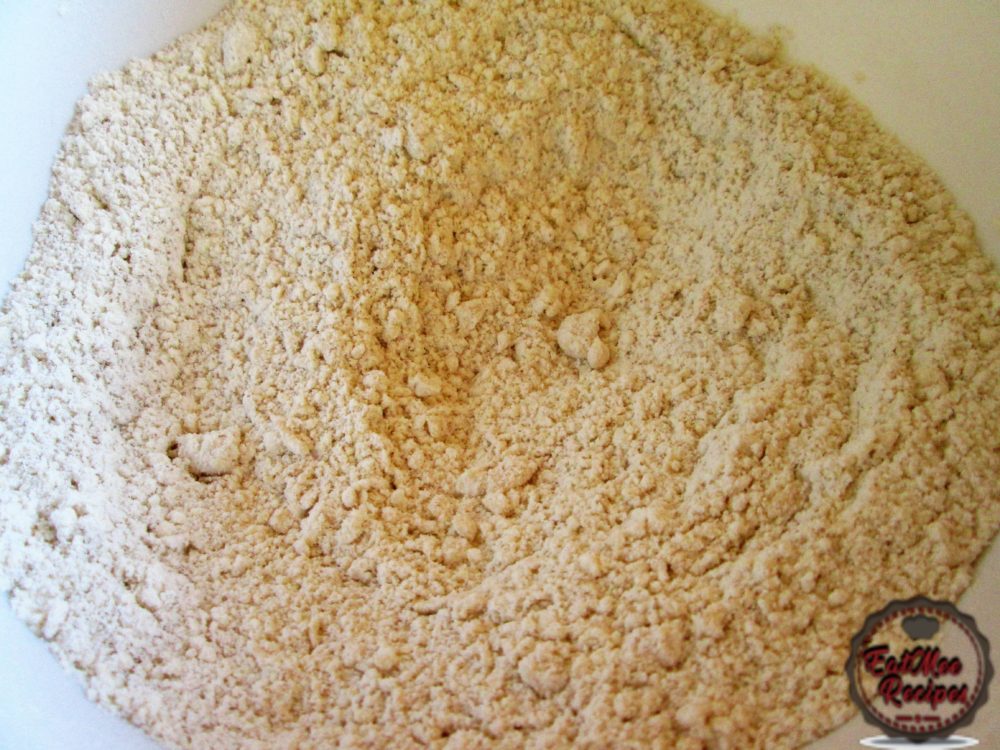
Pour in a little lukewarm water at a time & mix.
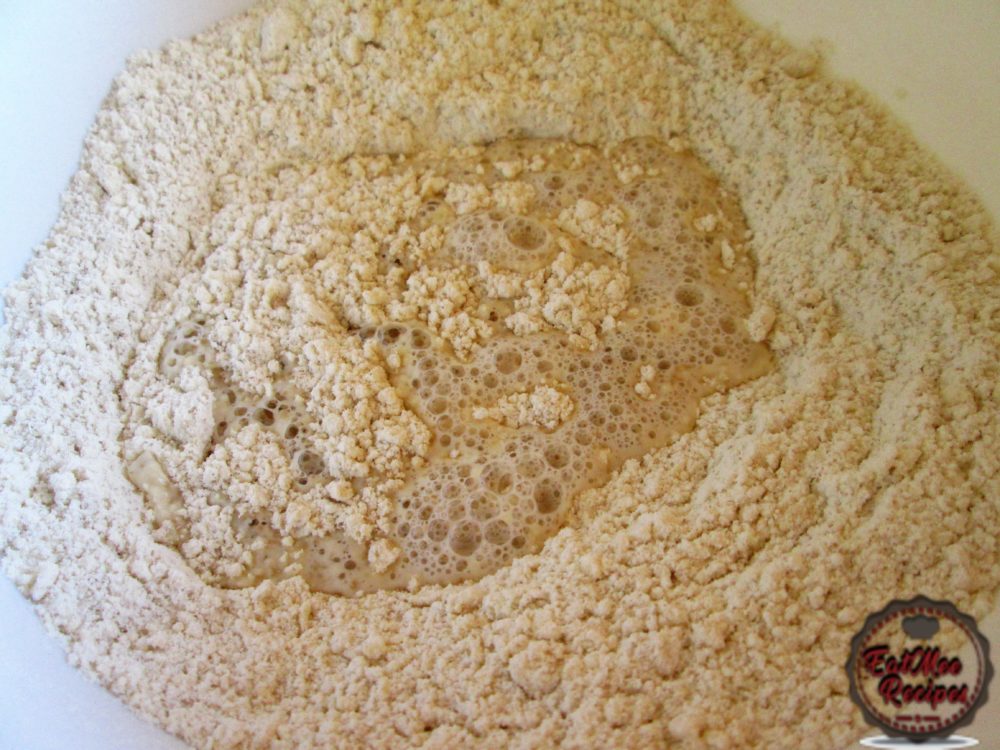
It should form a somewhat sticky dough.
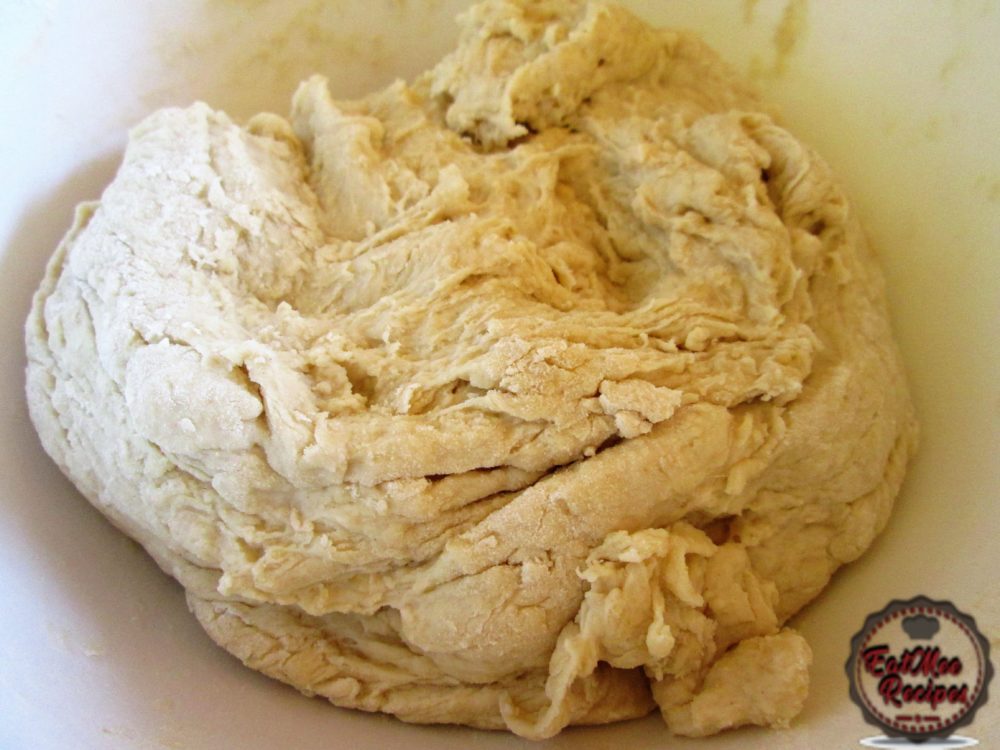
The dough will not be so pliable, so flour a surface & begin kneading the dough for 10 minutes.
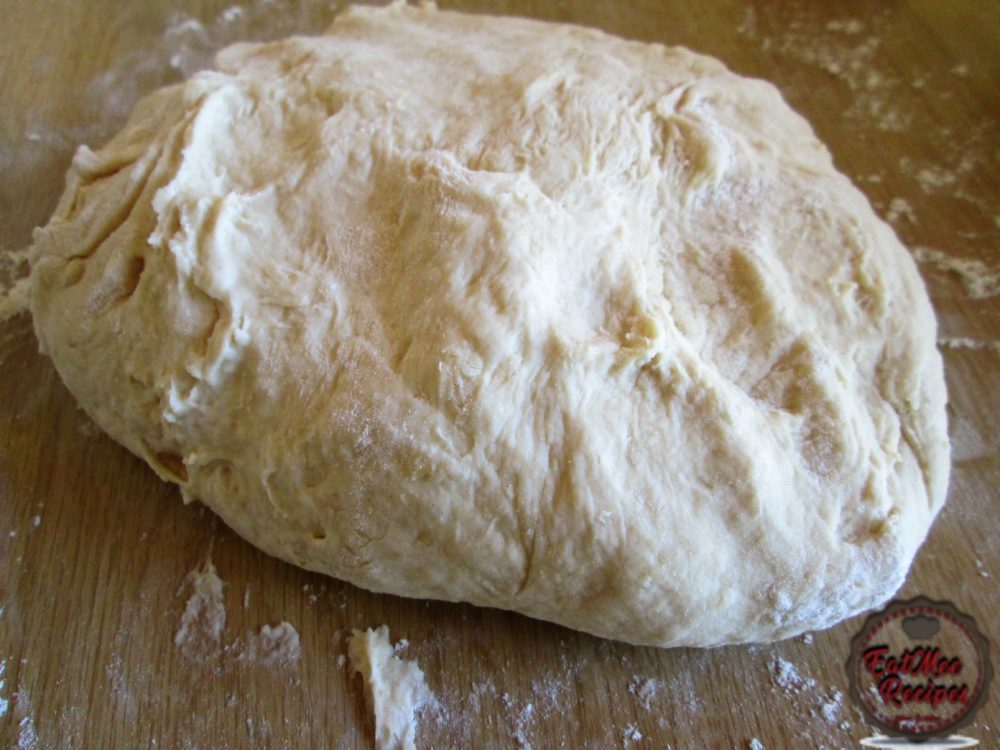
After kneading the dough, it should be a little sticky but pliable.
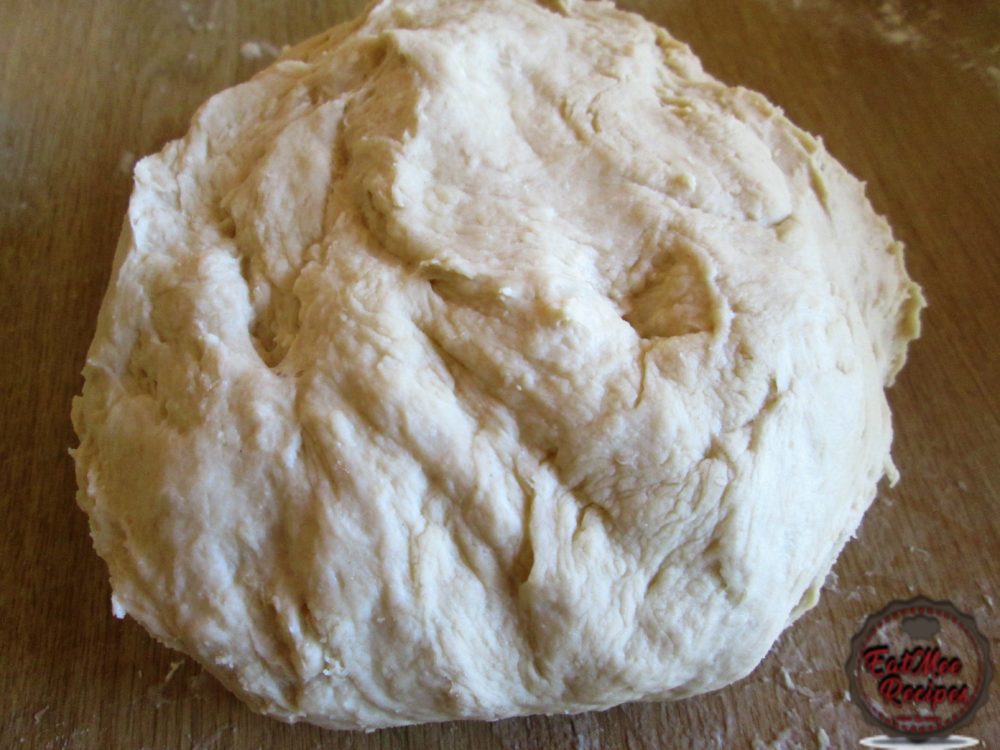
Thereafter, place it in a lightly greased bowl & cover the bowl with cling wrap. All the dough to rest for an hour or more.
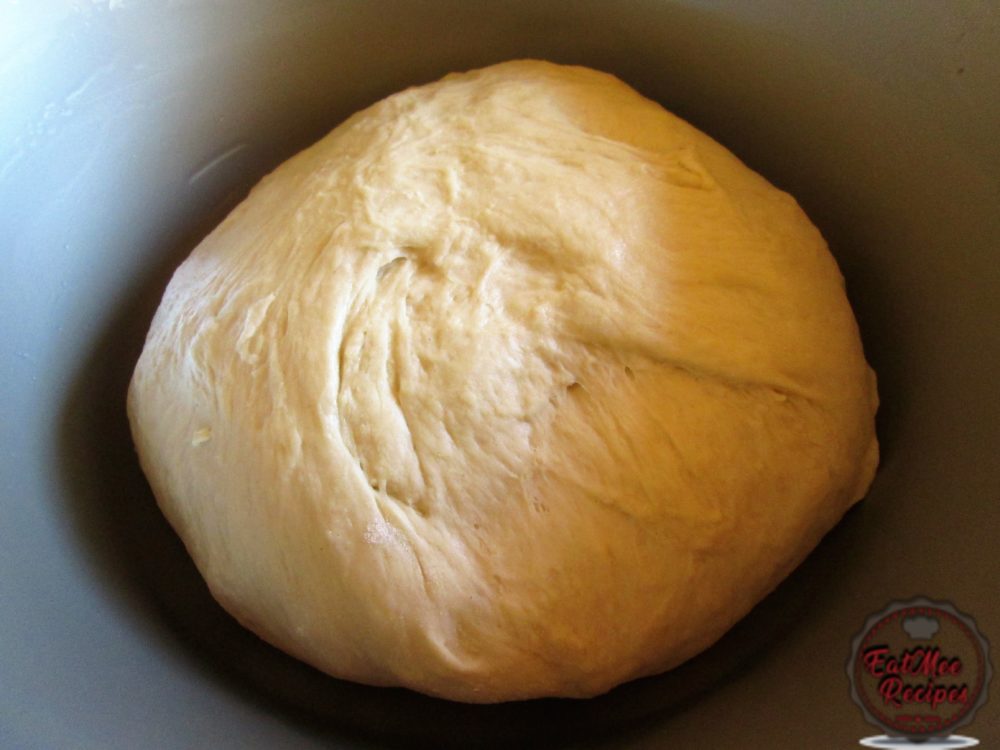
When the dough is done resting, it should be much softer & would have expanded in size.
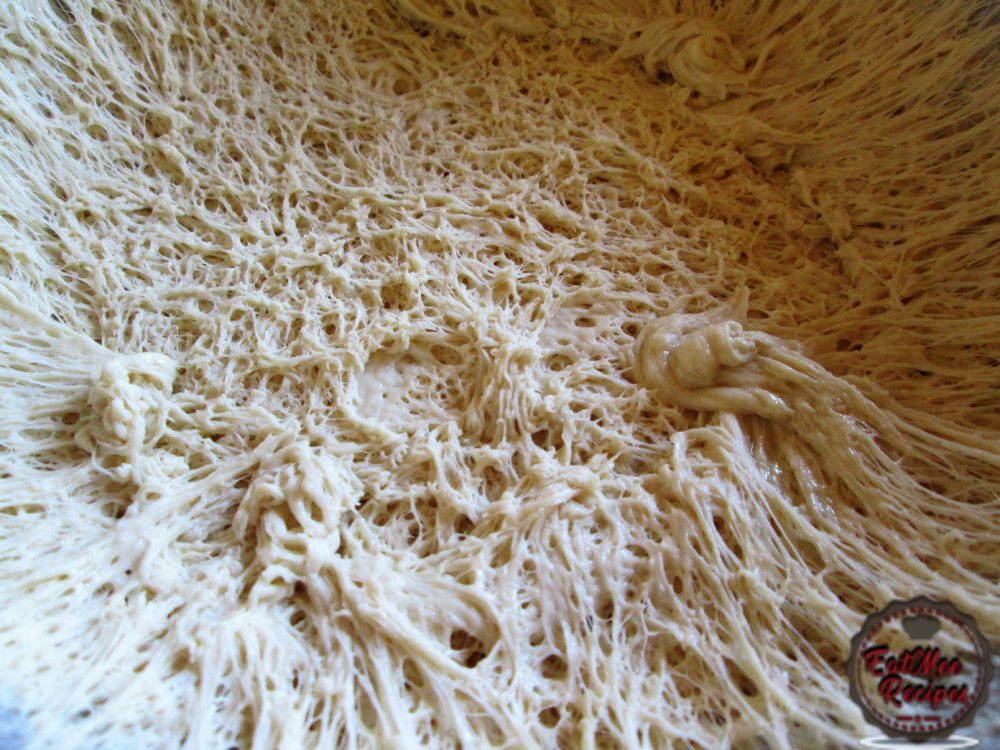
Punch down the dough.
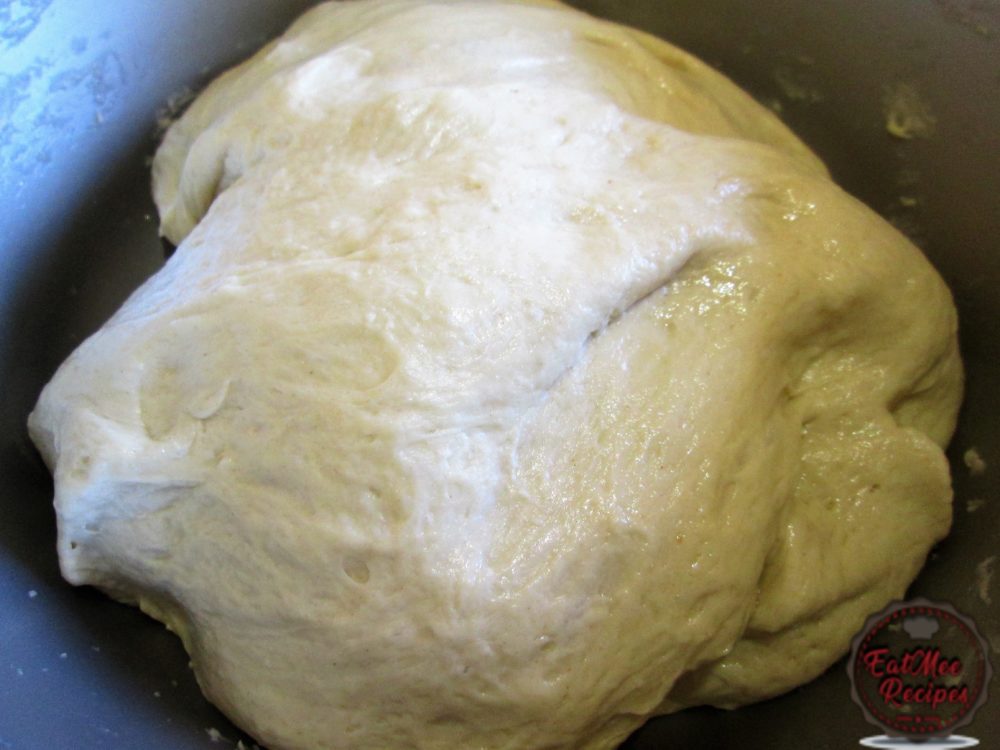
Grease a pot or enamel bowl with vegetable oil & place the dough inside.
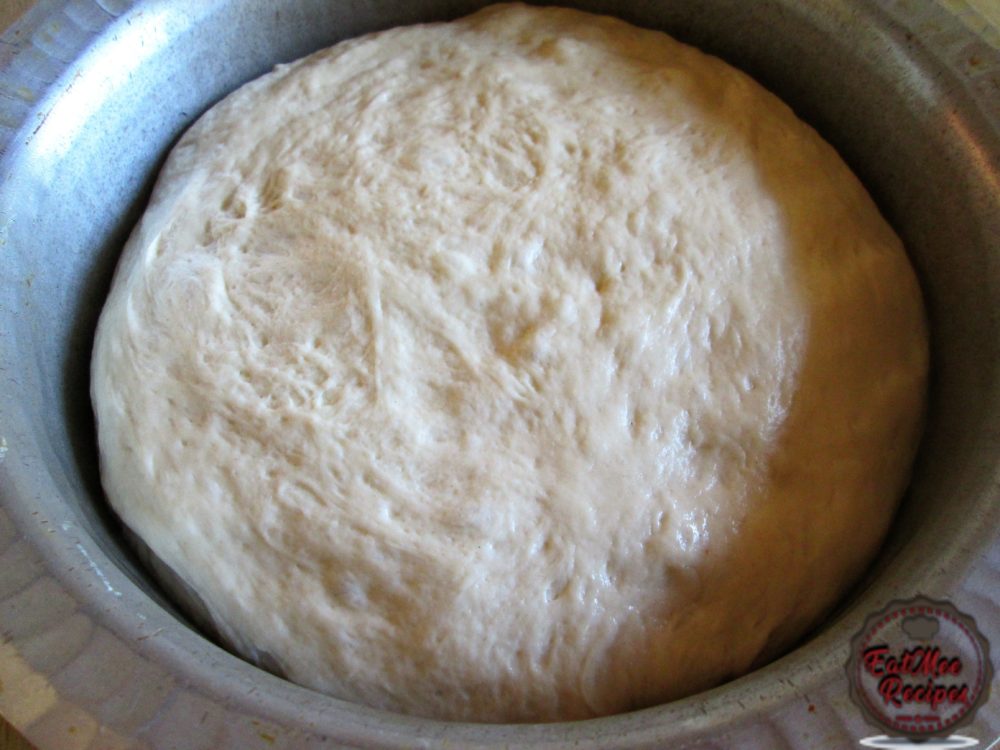
Full a much bigger pot with water – the water only needs to touch the dough-filled pot or bowl about a ¼ way on the outside, if there’s too much water it can boil over & get into the dough which you don’t want to happen. If water gets into the dough then it can result in a soggy bread which wouldn’t rise when steamed either.
Bring the water to a boil & then place the dough-filled pot or bowl in the boiling water.
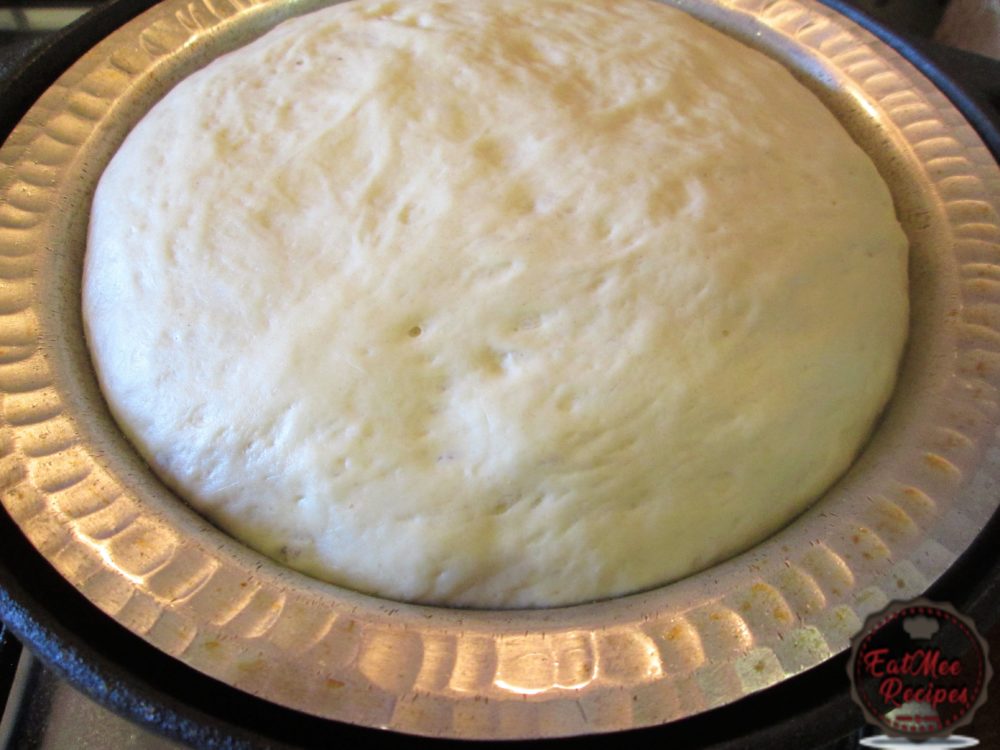
Cover with a lid & allow the bread to steam on medium heat for 30 minutes. Thereafter lower the heat & steam for another 30 minutes. Try not to open the lid – if you must then you may do so only after the first 30 minutes. Note that you may also tie a dish towel on the lid to avoid the water vapor to get onto the dough when steaming.
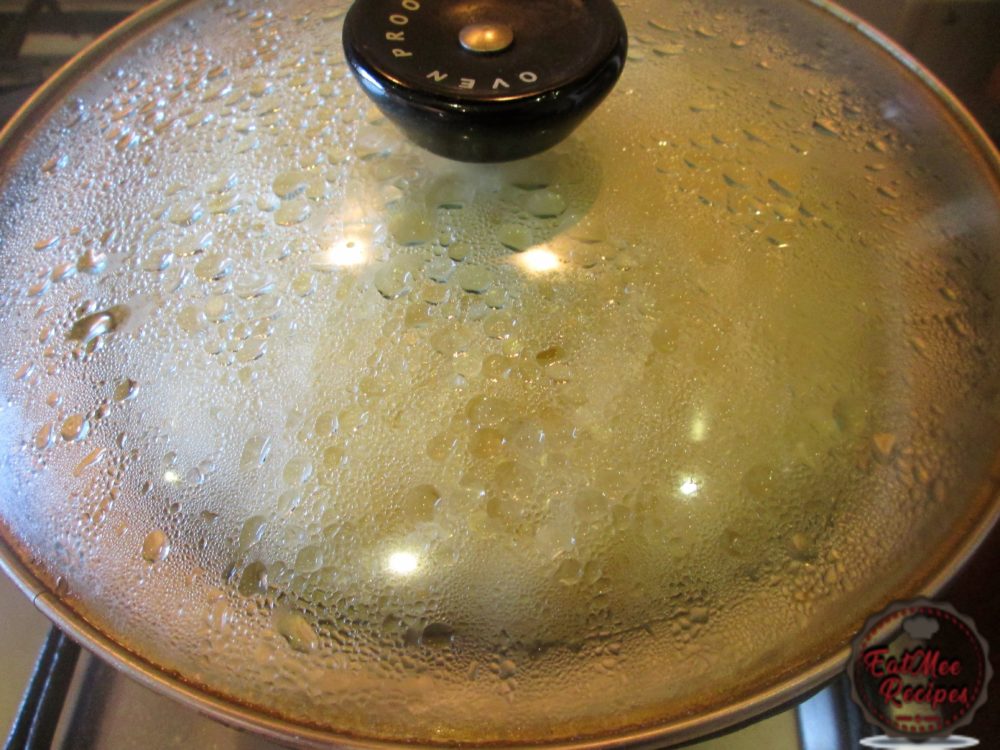
Also note that if you do not have a smaller pot or an enamel bowl to put the dough into, you can oil a plastic bag (any plastic bag will do) & place the dough inside the plastic, thereafter tie with a knot & place the packet into the boiling water. Make sure that the bag doesn’t have any holes & that the knot side is above the water because this way no water will get into the bag.
After an hour of steaming, the bread should be cooked. It may look like it isn’t by the appearance of the dough but if you touch it, it should be a bit of a bread like texture.
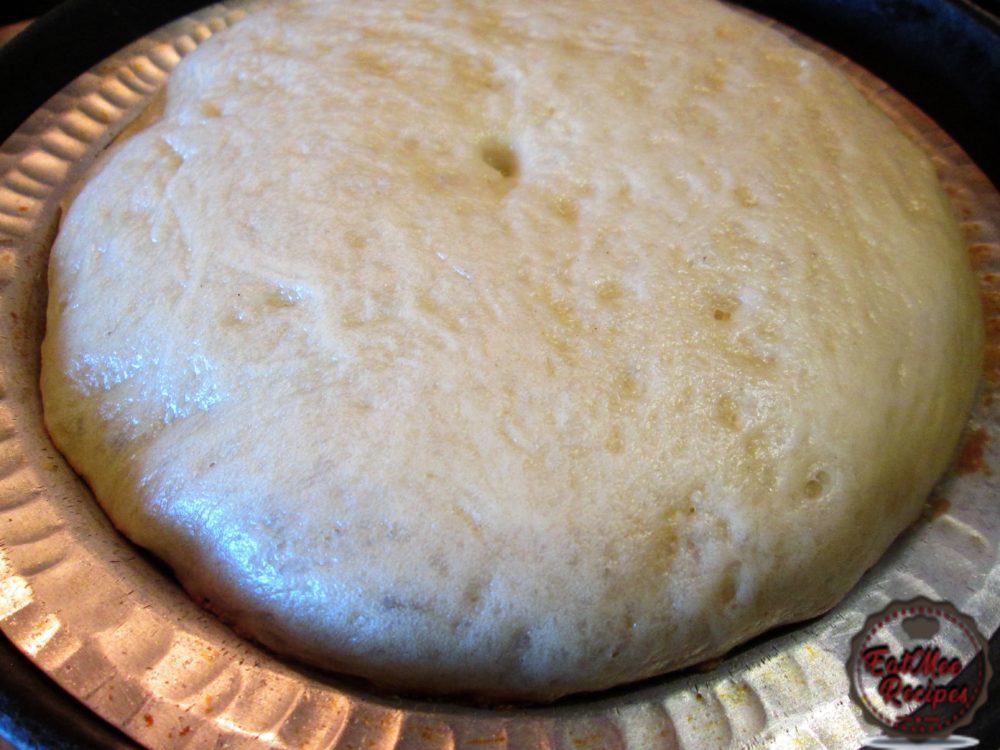
Allow the bread to cool before handling. Thereafter, topple is over onto a bread board.
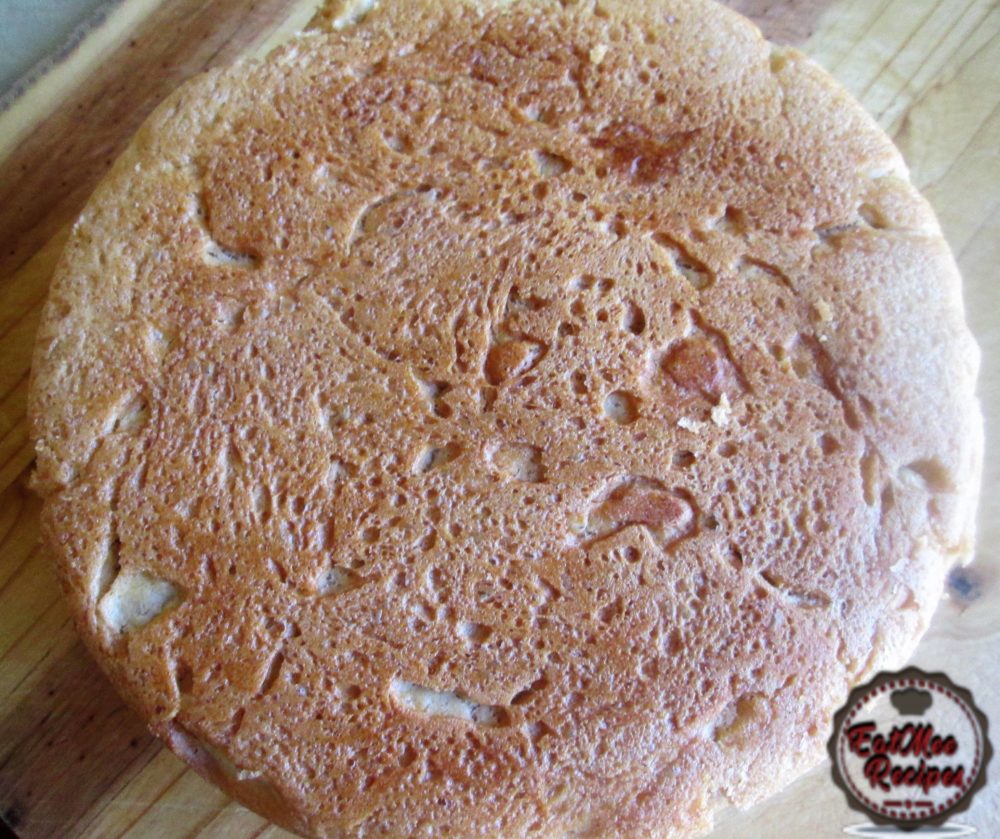
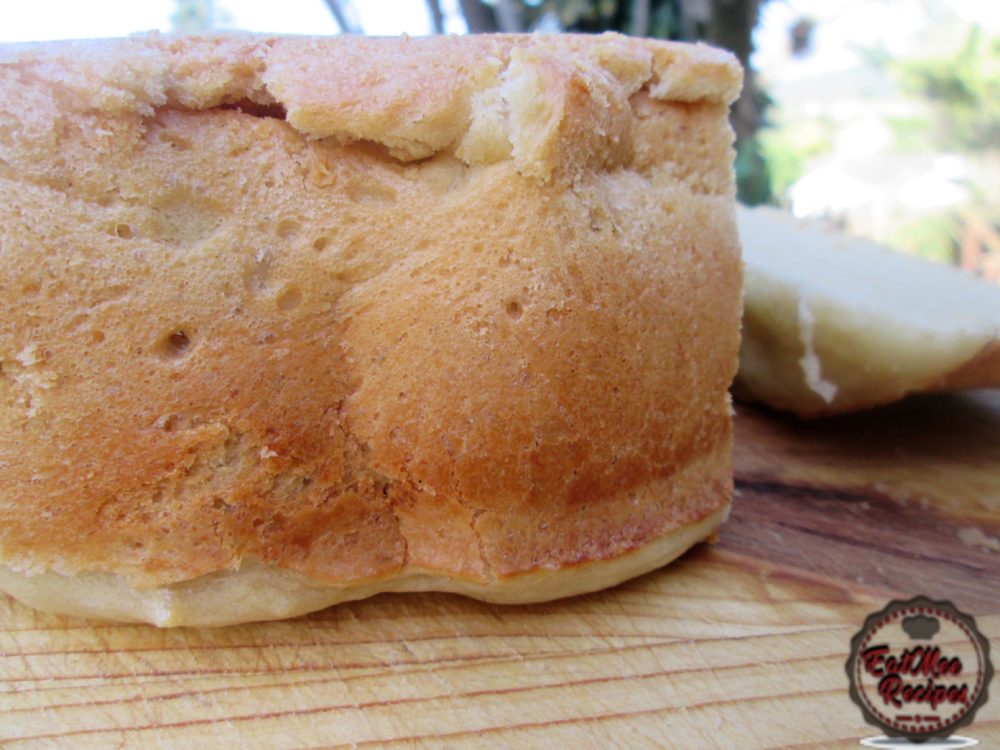
Notice how the crust formed at the bottom of the bread whilst it had been steaming.
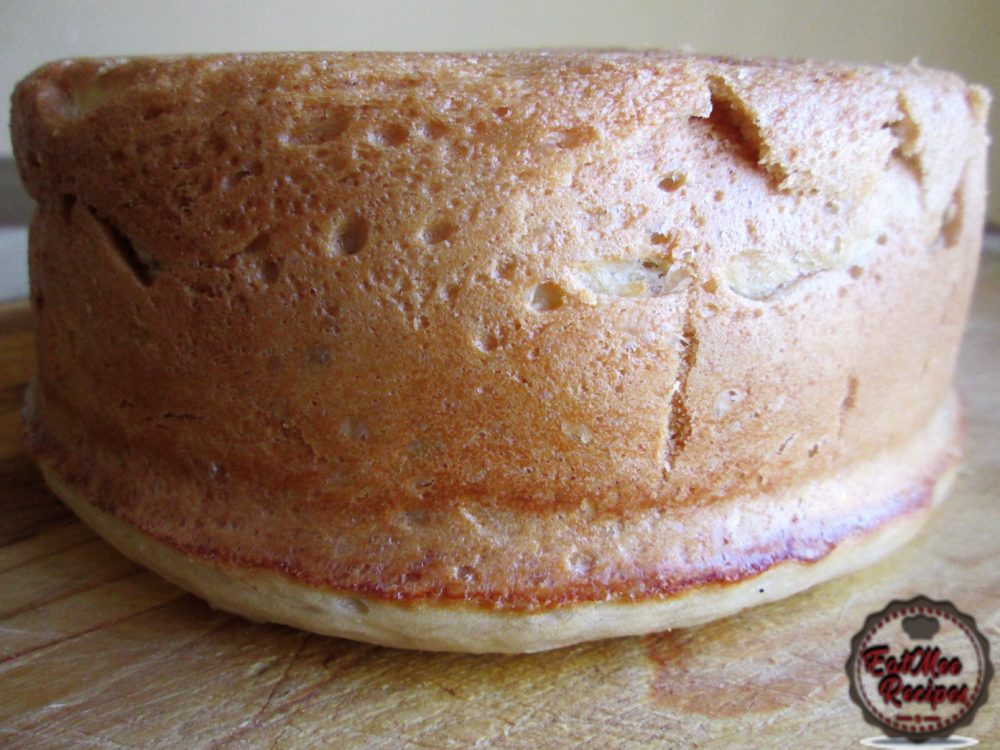
Slice & enjoy.
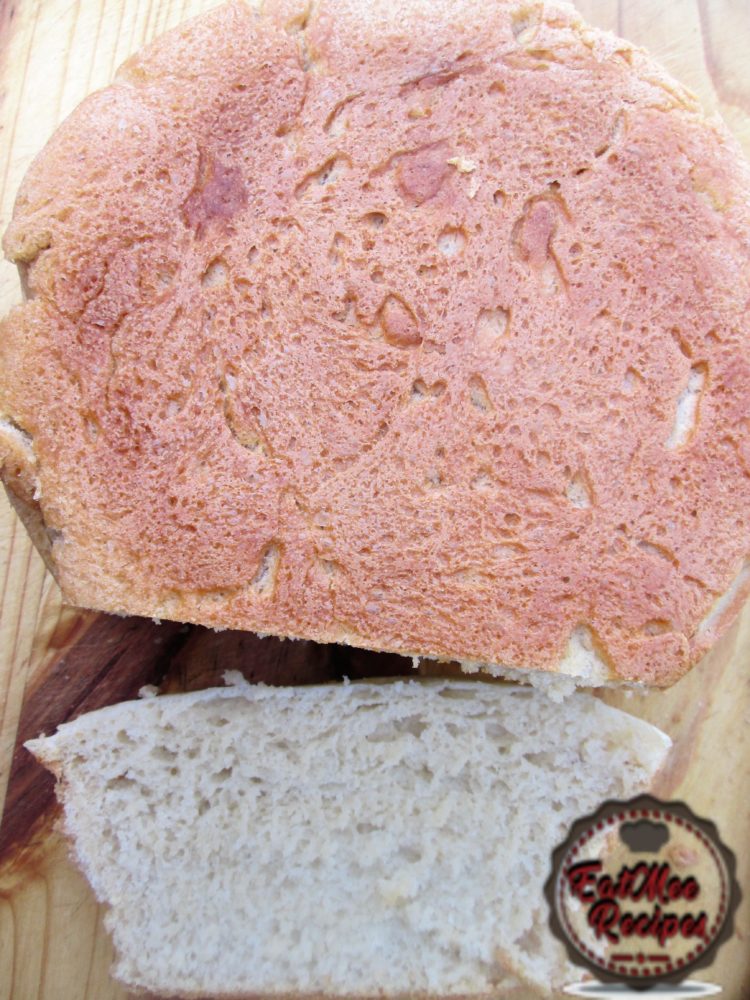
The inside of the bread should be nice & fluffy.
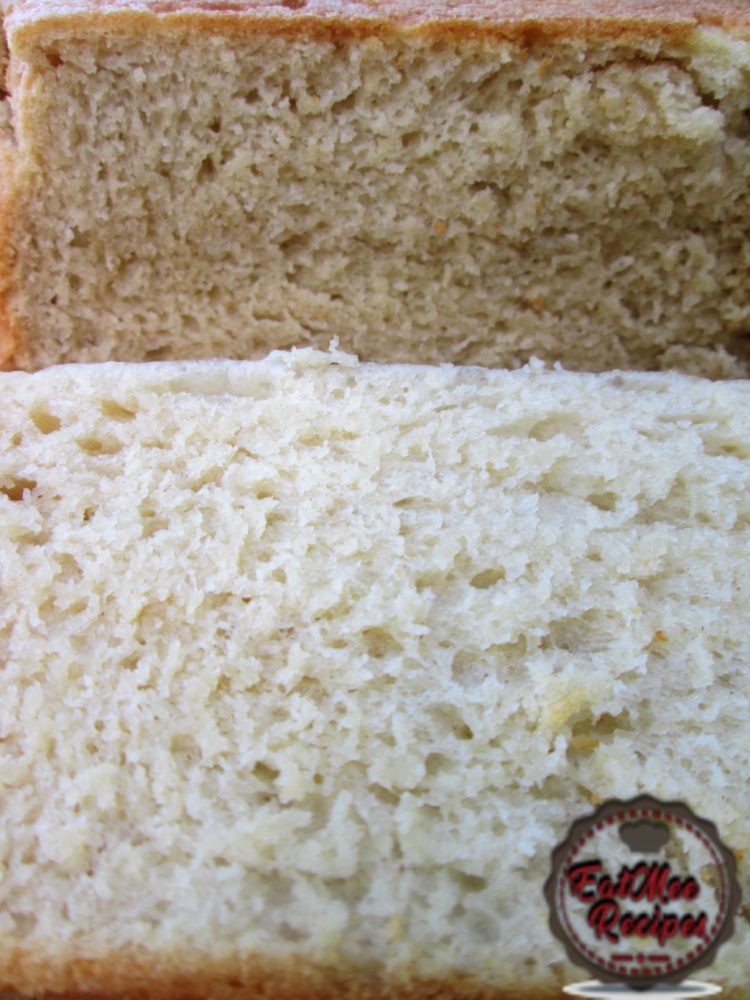
This uJeqe – Steamed Zulu Bread can be enjoyed with soups, stews (Chicken Stew, Lamb Stew) or curries (Trotters & Beans Curry, Butter Beans Curry, Durban Mutton Curry, Cornish Or Culls Chicken Curry)
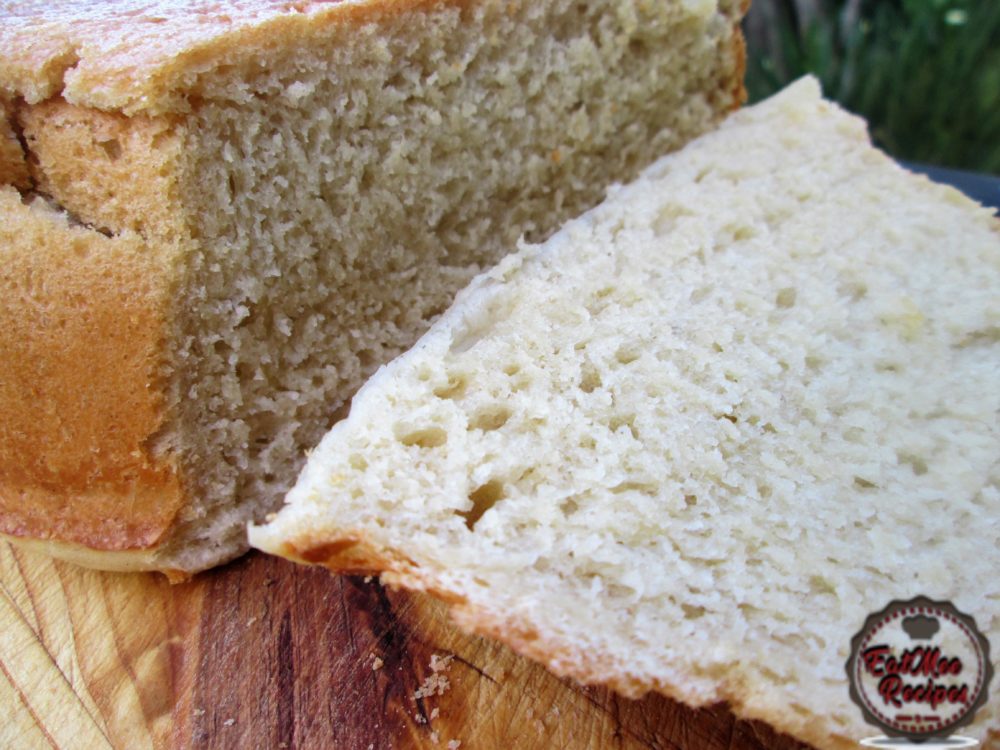
Lasts for up to a week. Store in an airtight container.
Follow along with Denisiya's step-by-step video guide for uJeqe – Steamed Zulu Bread.
Expert kitchen guidance and troubleshooting for making the best uJeqe – Steamed Zulu Bread
The golden secret is kneading the flour with boiling hot water, which pre-gelatinizes the starches. Roll thin, cook on a hot tawa with a light brush of butter or ghee, and stack inside a covered container wrapped in a clean kitchen cloth.
Yes! Cooked rotis freeze exceptionally well. Place sheets of wax paper between each cooked roti, wrap in foil or a zip-top bag, and freeze for up to 2 months. Reheat directly on a hot pan for 30 seconds.
Stiff rotis are caused by rolling the dough with too much dry flour, rolling too thick, or cooking on too low heat for too long, which dries out the moisture. Cook on medium-high heat quickly.
Hi, I'm Denisiya! Food lover, recipe developer, and founder of EatMee Recipes. I specialize in authentic South African Durban Indian cuisine, comforting curries, and modern Instant Pot adaptations. Every recipe on this site is tested in my personal kitchen to ensure you get mouth-watering, foolproof results every time.
Explore more authentic Durban curries, traditional bakes, and comforting family favourites.
 Afrikaner Cuisine
Who else goes to Nandos & orders the livers? I know I do but sometimes we just want to sta...
 Afrikaner Cuisine
If you are a Nandos fan, you will definitely remember these Nandos Peri Peri Giblets being...
 Afrikaner Cuisine
This version of my Nandos Chicken Burger is simply divine. Nandos Burgers are enjoyed by m...
Have you tried this recipe or have questions for Denisiya? Join the conversation below.
No comments yet. Be the first to share your thoughts on this recipe!
Leave a Comment
Your email address will not be published. Required fields are marked *