
We Value Your Culinary Privacy
EatMee Recipes uses cookies to provide a personalized browsing experience, analyze recipe popularity, and serve relevant ads. You can review our full disclosure in our Privacy Policy.
Make authentic Parboiled Rice in the Instant Rice Cooker with this foolproof recipe. Packed with rich traditional flavor, step-by-step photos, and cooking tips by Denisiya on EatMee Recipes.
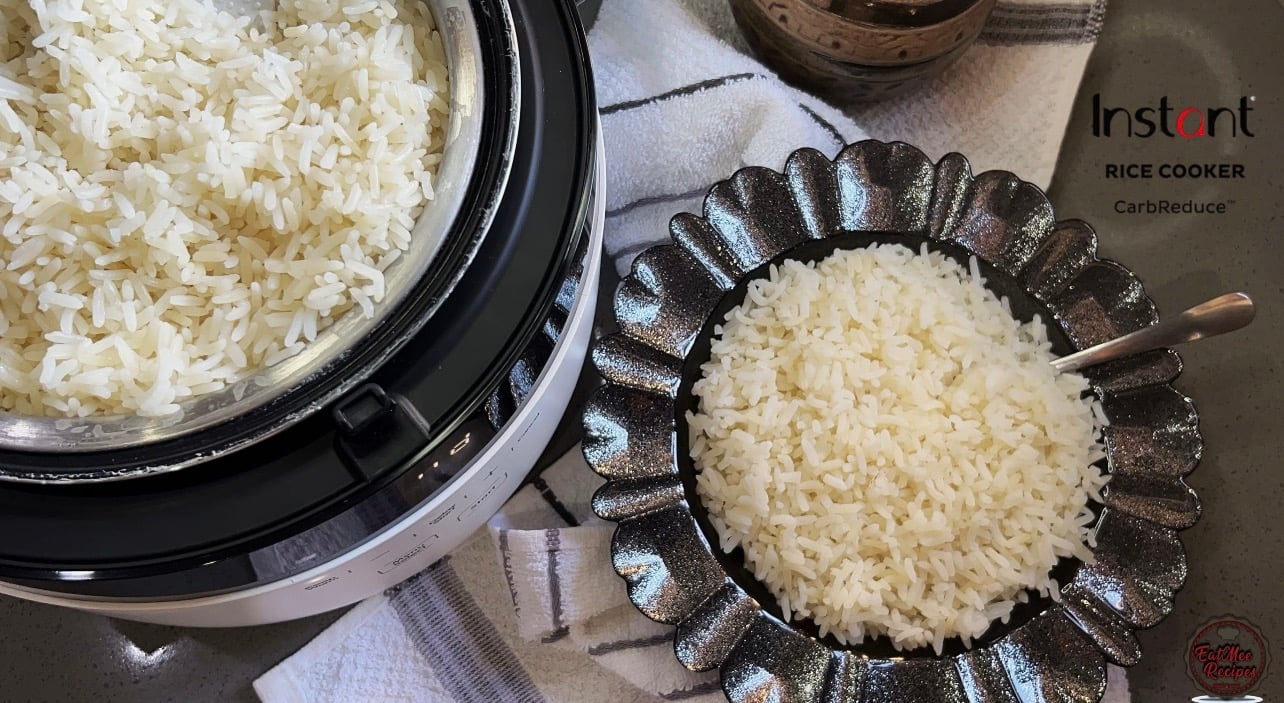

Join over 60,000+ home chefs for weekly authentic Durban Indian cook-alongs, Instant Pot masterclasses, and family heritage recipes.
Cooking parboiled rice in the Instant Rice Cooker is one of the easiest ways to achieve fluffy, perfectly separate grains without standing over the stove.
If you’ve ever struggled with sticky rice, undercooked centers, or uneven texture, this method simplifies everything. The rice cooker adjusts automatically, meaning no guesswork and no constant checking.
Parboiled rice is partially steamed in its husk before being milled. This process strengthens the grain and changes its texture.
The benefits include:
Firmer, more separate grains
Less stickiness
Better texture for serving with saucy dishes or curries
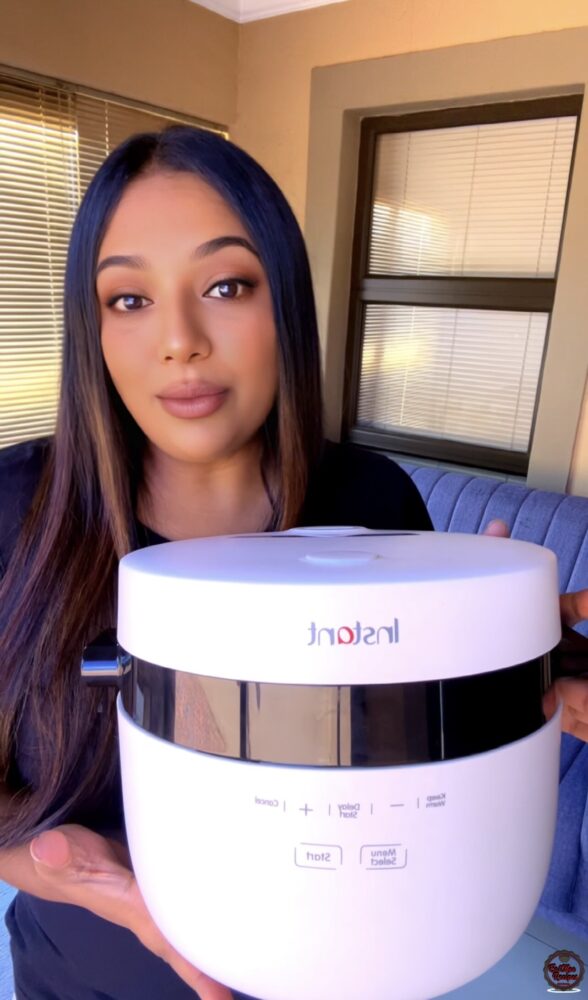
For this recipe, I used the Instant Pot Rice Cooker & Steamer, a 12-cup / 2.8 L capacity rice cooker and steamer designed to make perfect rice every time. This multifunctional appliance takes the guesswork out of rice cooking by automatically adjusting the time and temperature based on your ingredients.
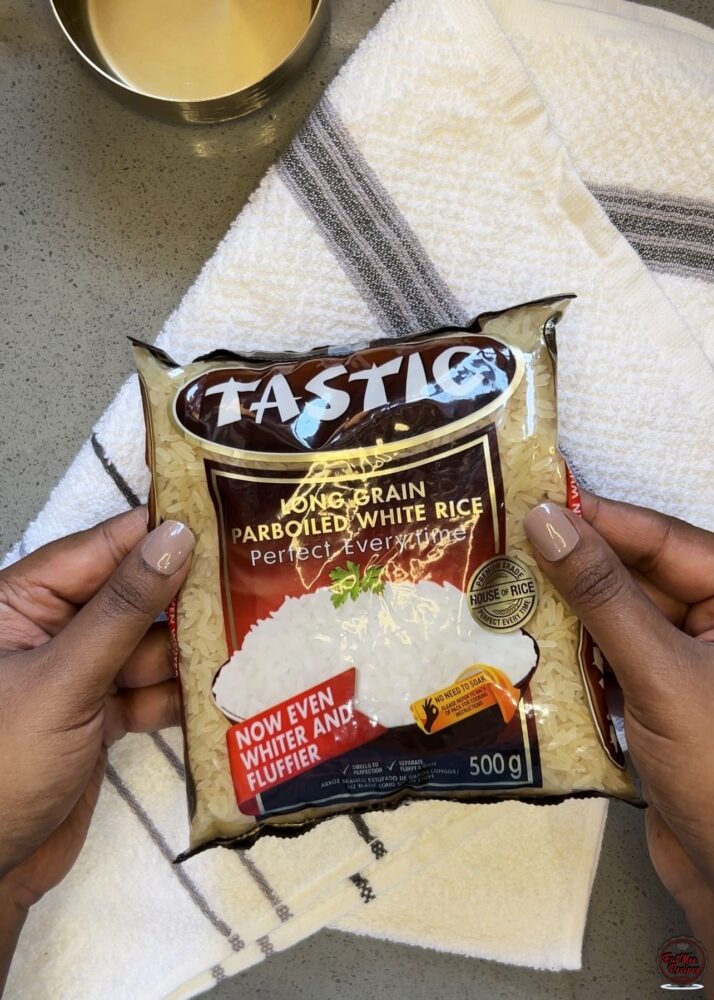
I’m using Tastic long grain parboiled white rice, but any brand works.
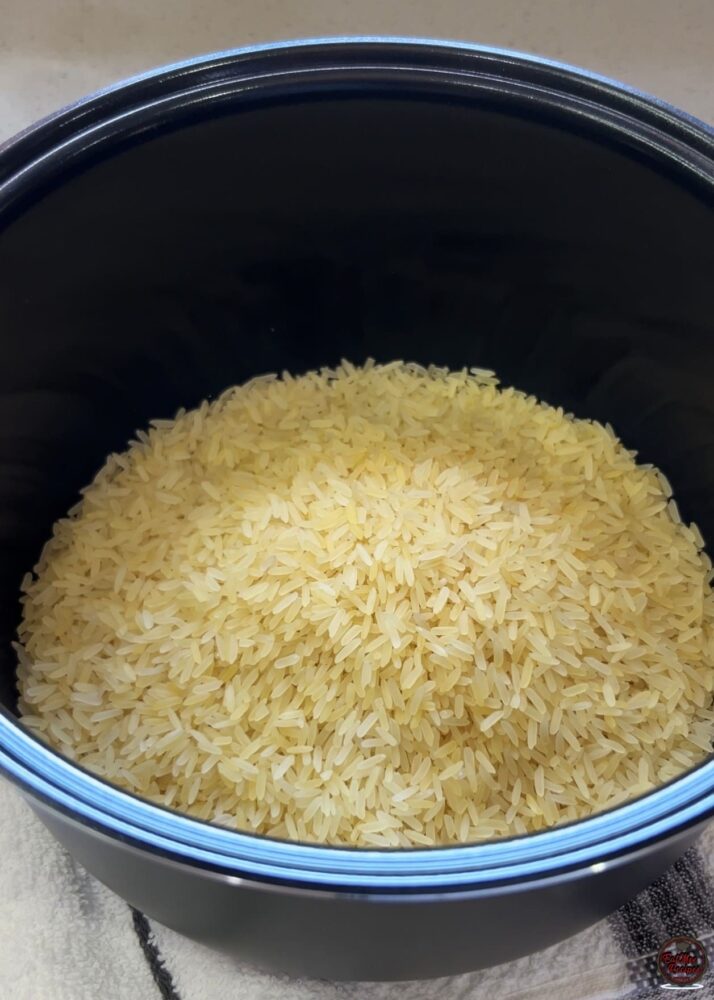
For the purpose of showing you how big the inner pot is, I’m adding my 2 cups of rice into it, but I won’t be cooking the rice in here.
Wash it thoroughly until the water runs clear.
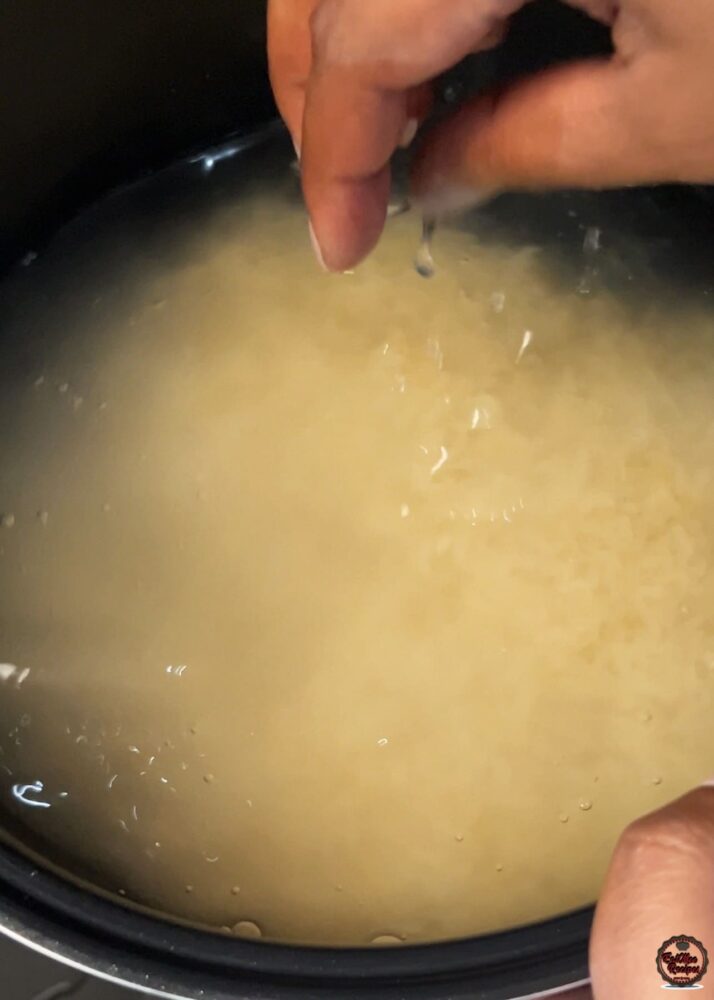
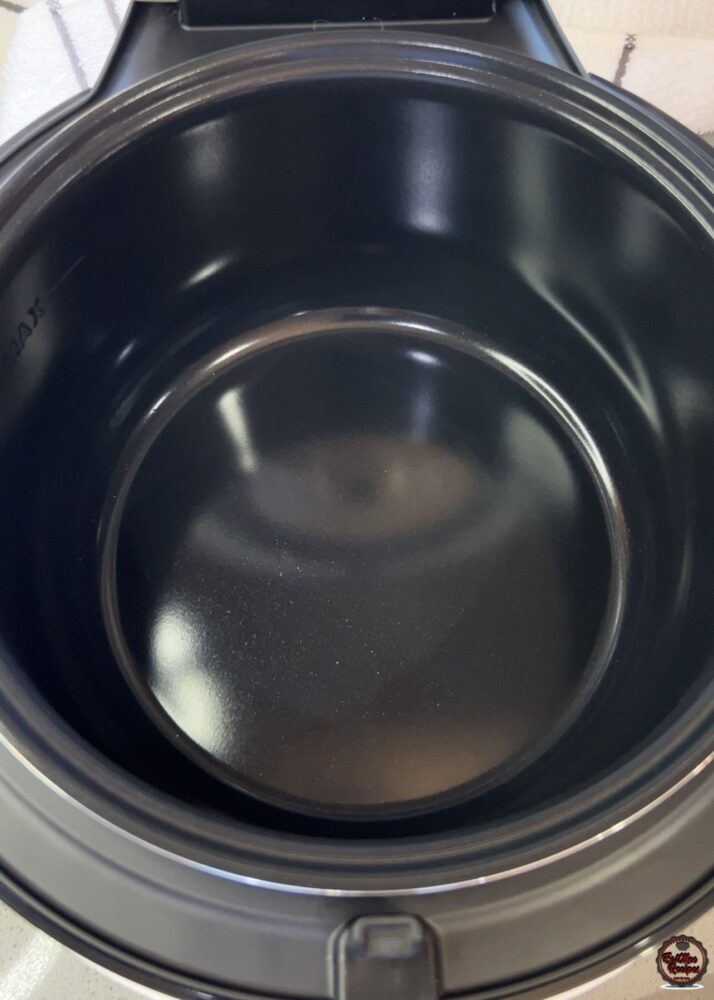
Transfer the washed rice to another bowl for now because we’re placing the dry inner pot back into the rice cooker.
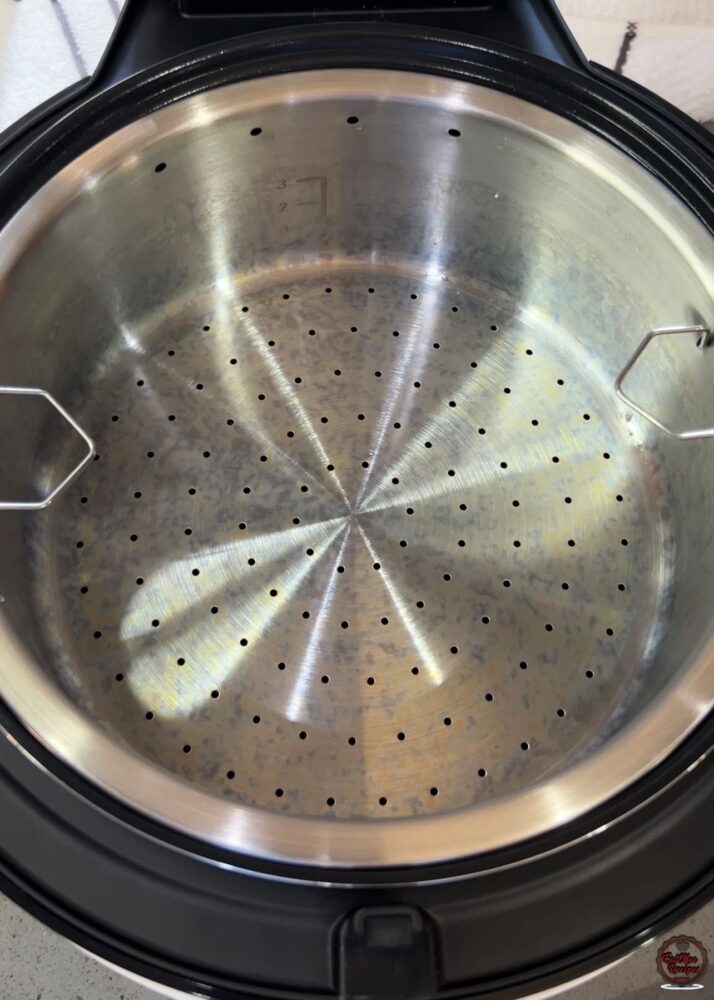
Set the strainer into the inner pot, then add your washed rice. I use the strainer method to keep the rice from turning sticky. But by using the strainer method, I’m limited to just two cups at a time.
Next, add salt to taste, use your heart to measure it. I’m using rough salt.
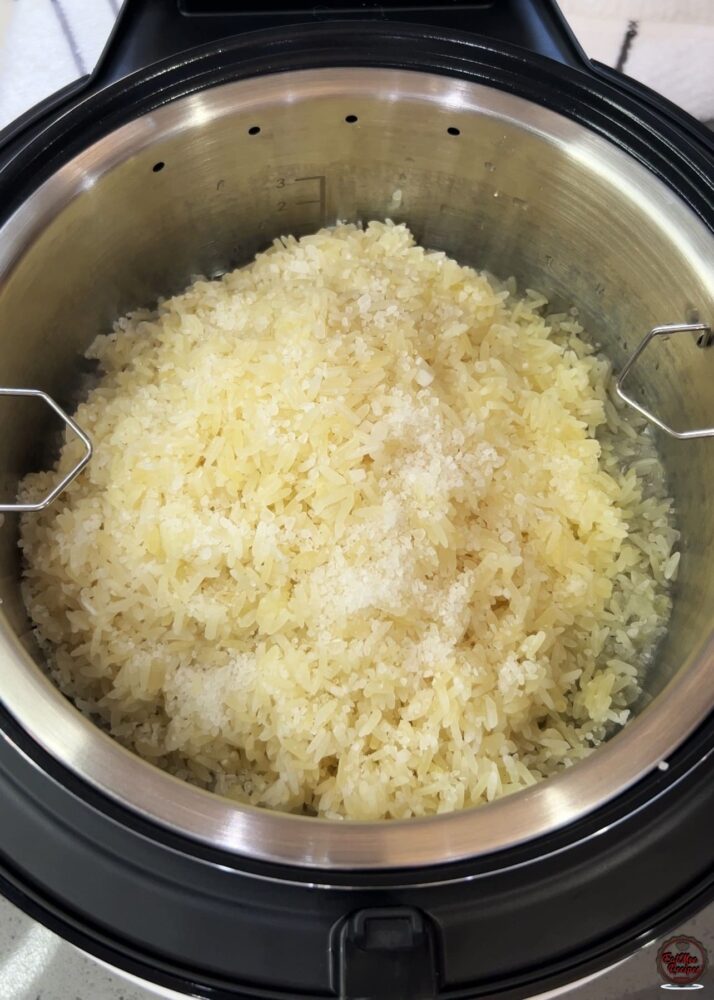
Add a tablespoon of oil. This helps keep the rice grains separate and prevents them from sticking together.
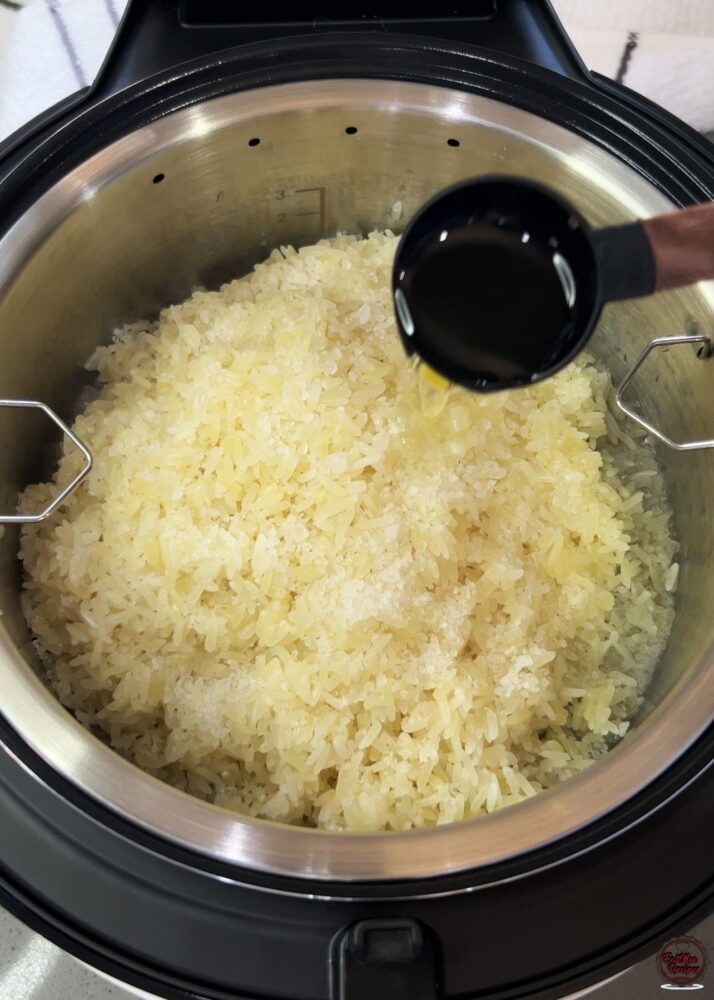
Add six cups of cold water, roughly 1.4 liters or 1400 milliliters. Parboiled rice needs extra liquid to cook through properly. The grains are more structured, so they absorb water differently than regular white rice. Using 6 cups of water ensures even cooking, fluffy hydrated grains and a soft but separate texture.
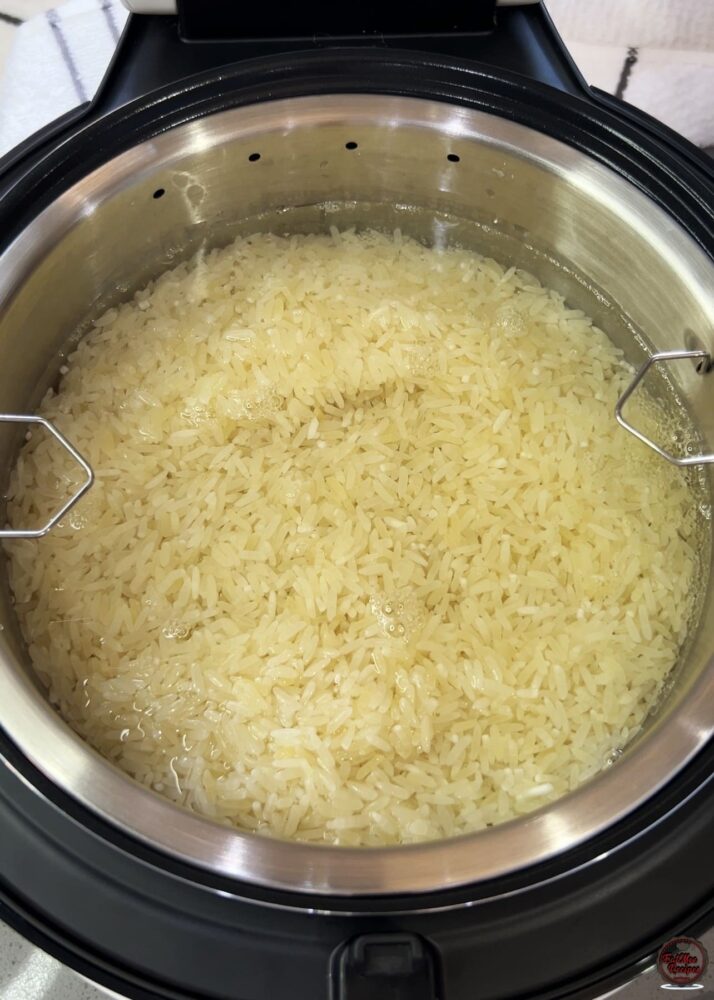
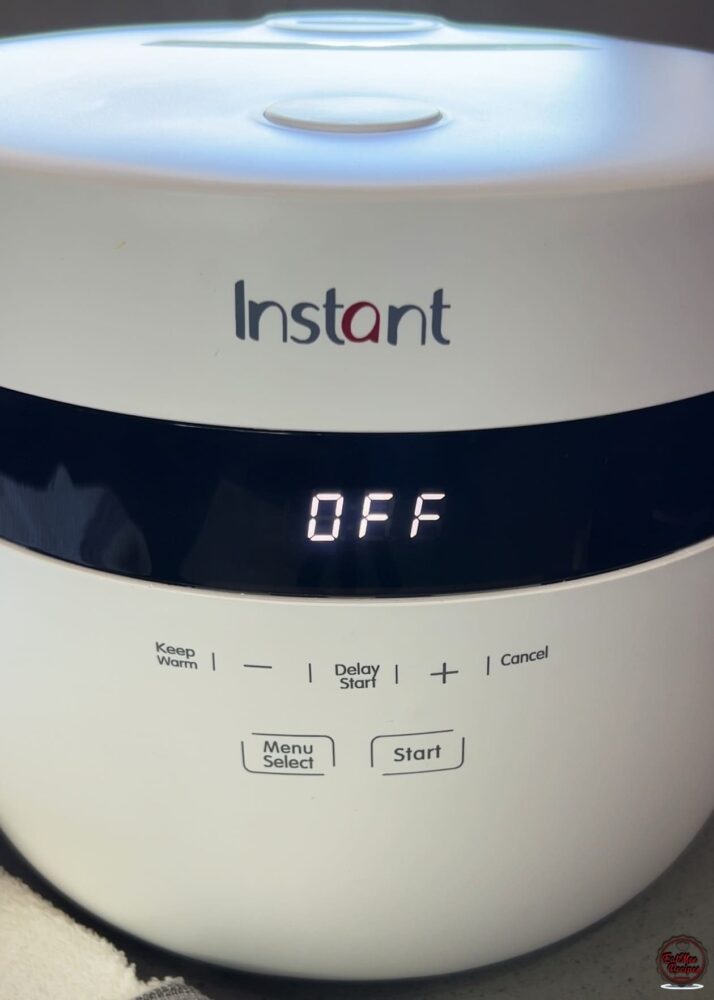
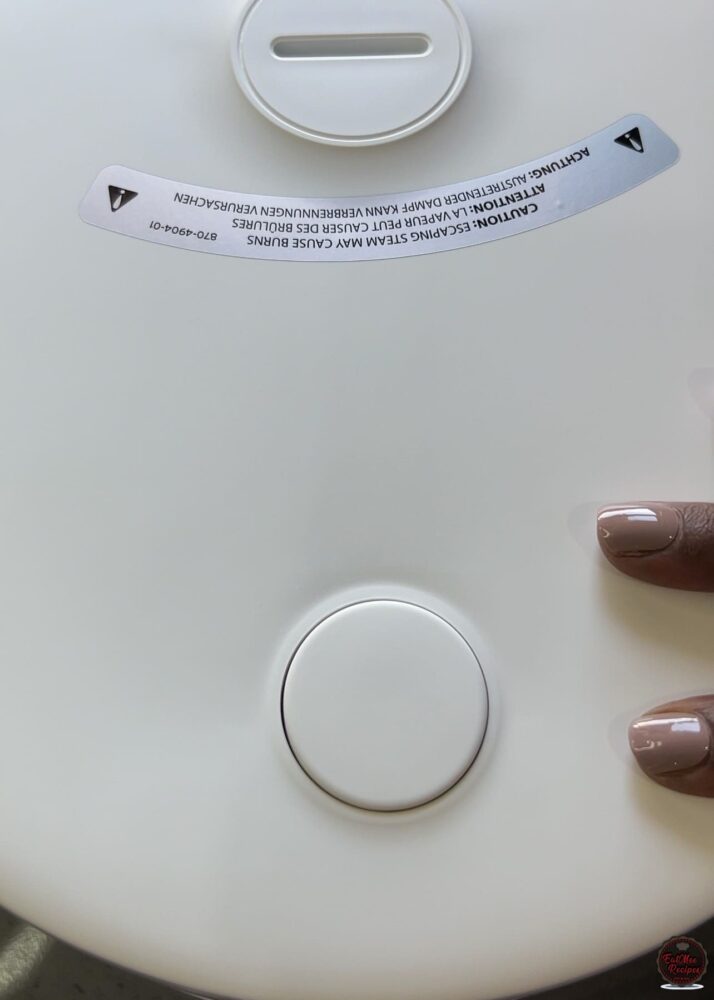
Close the lid and press the menu select button.
The first option is white rice, and when it blinks, you know it’s selected.
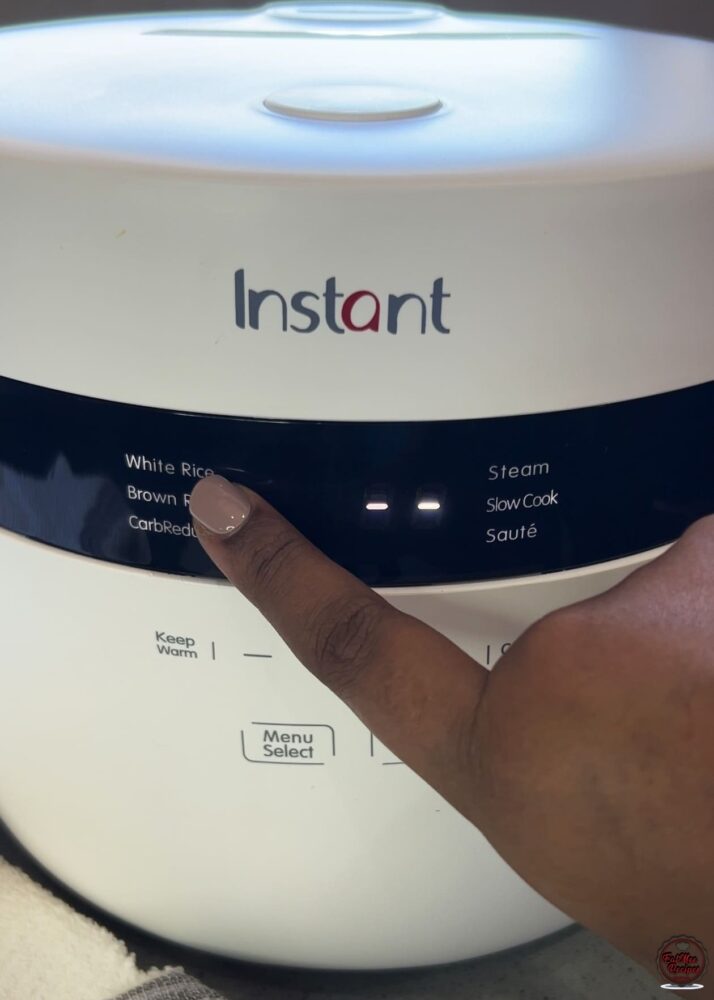
Now just press start.
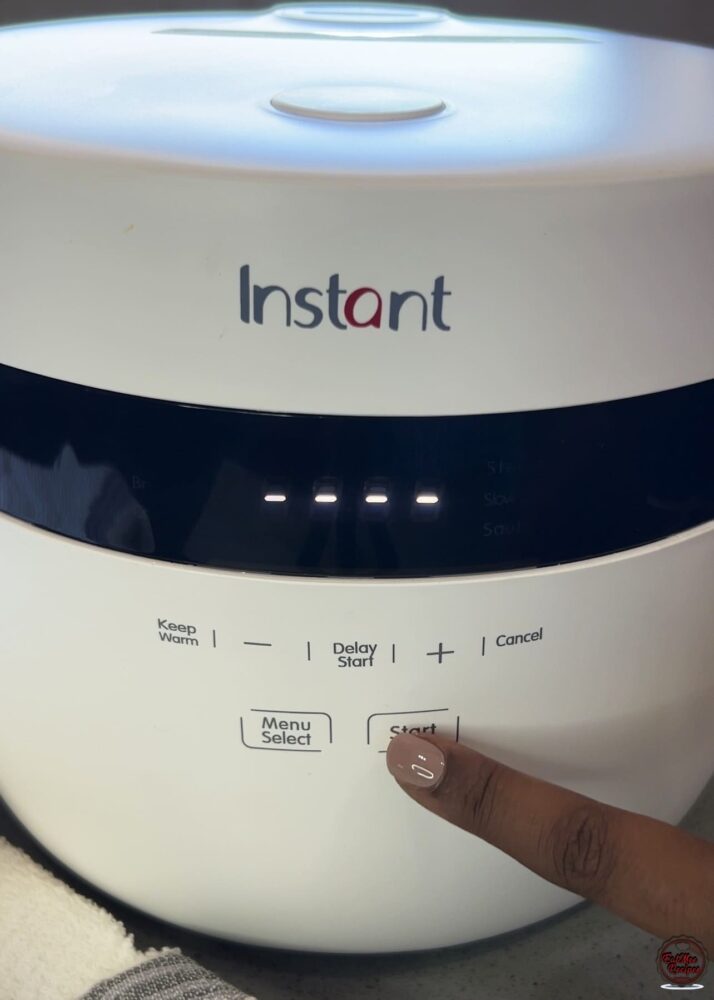
Unlike some cookers, this one doesn’t have a set timer because it adjusts and cooks the rice perfectly on its own.
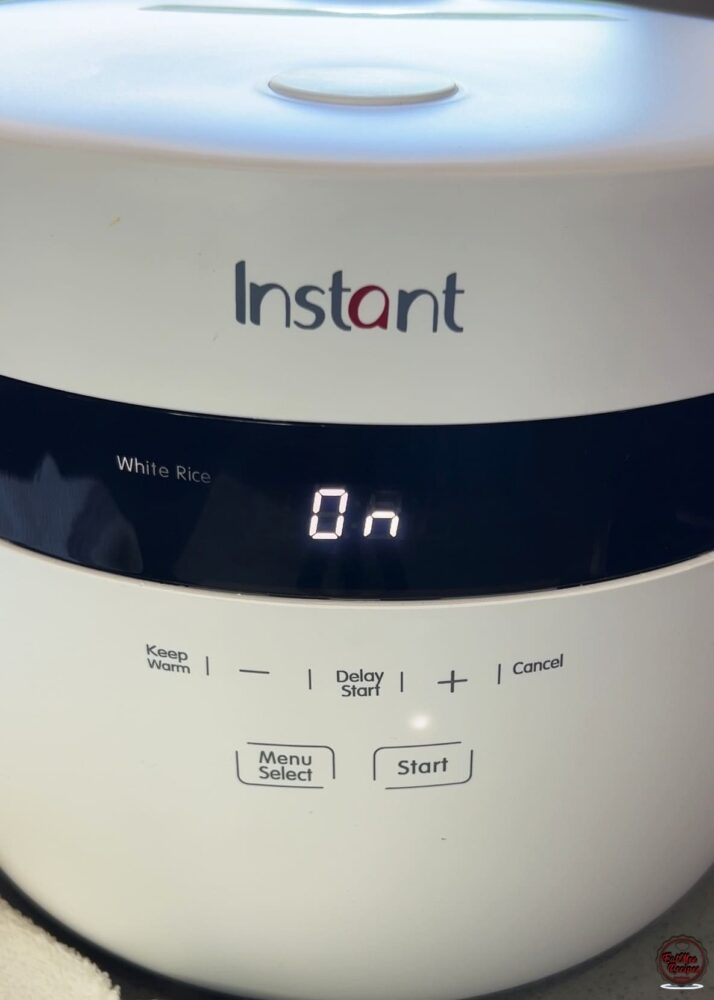
For me, it took about 52 minutes to cook, then the timer counted down the final five minutes.
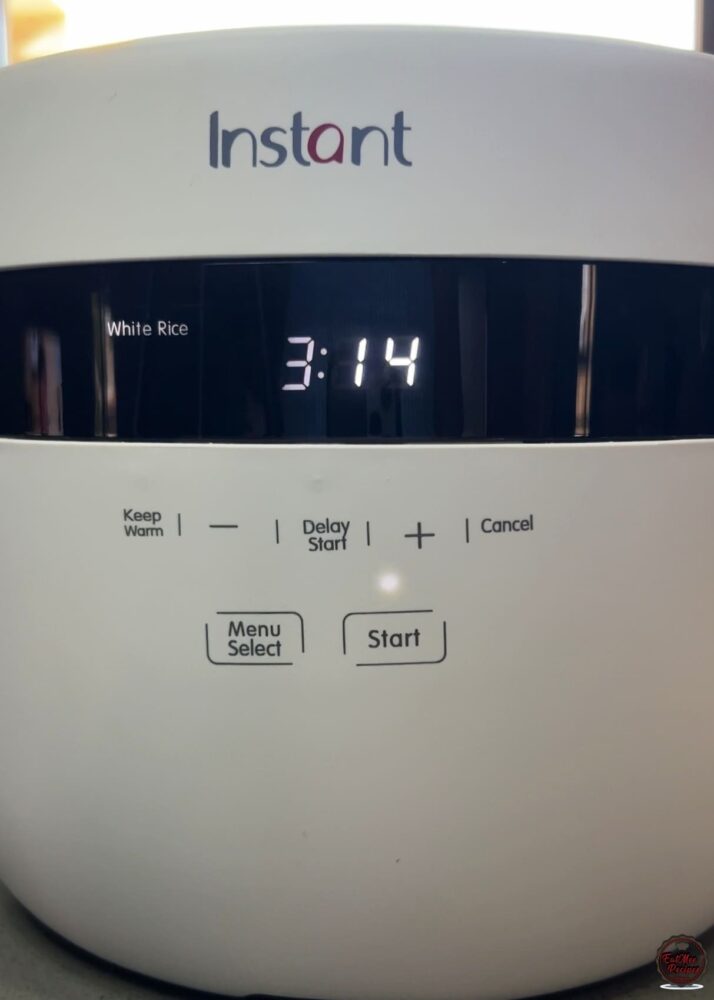
Your total cook time for this amount of long grain parboiled rice will be around 57 minutes, just under an hour.
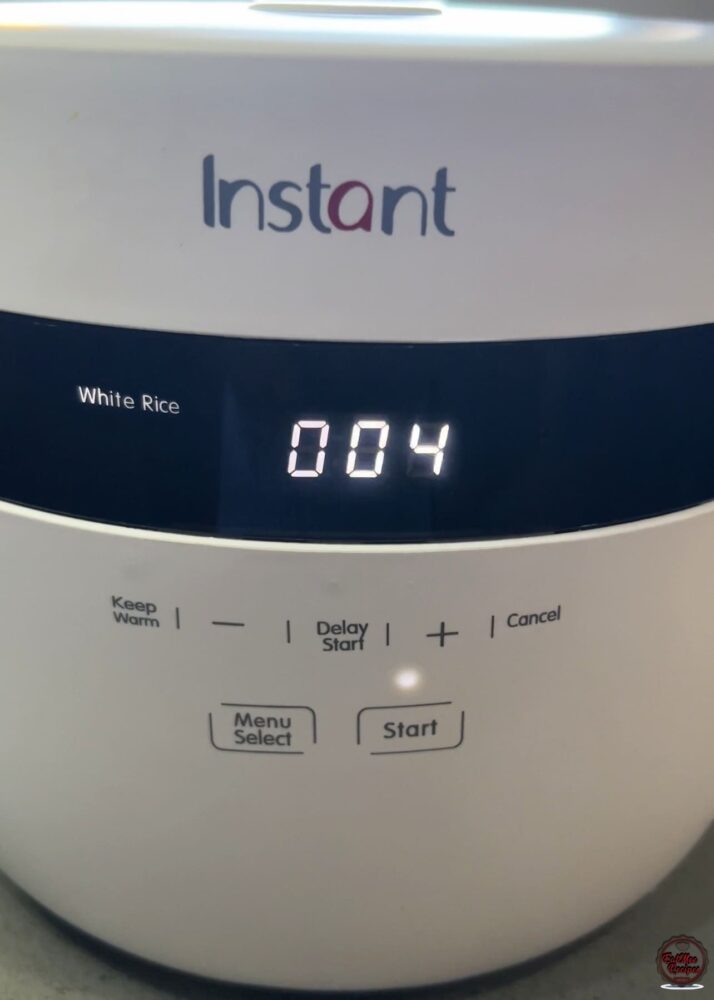
You don’t need to watch it at all. As soon as it’s done, it beeps and automatically keeps the rice warm.
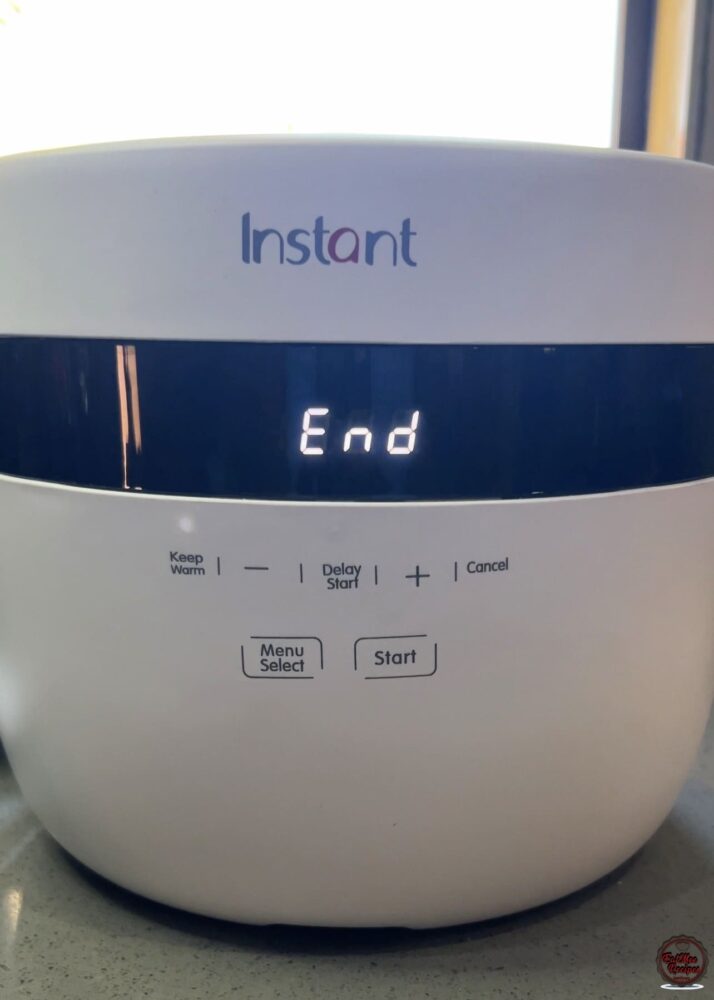
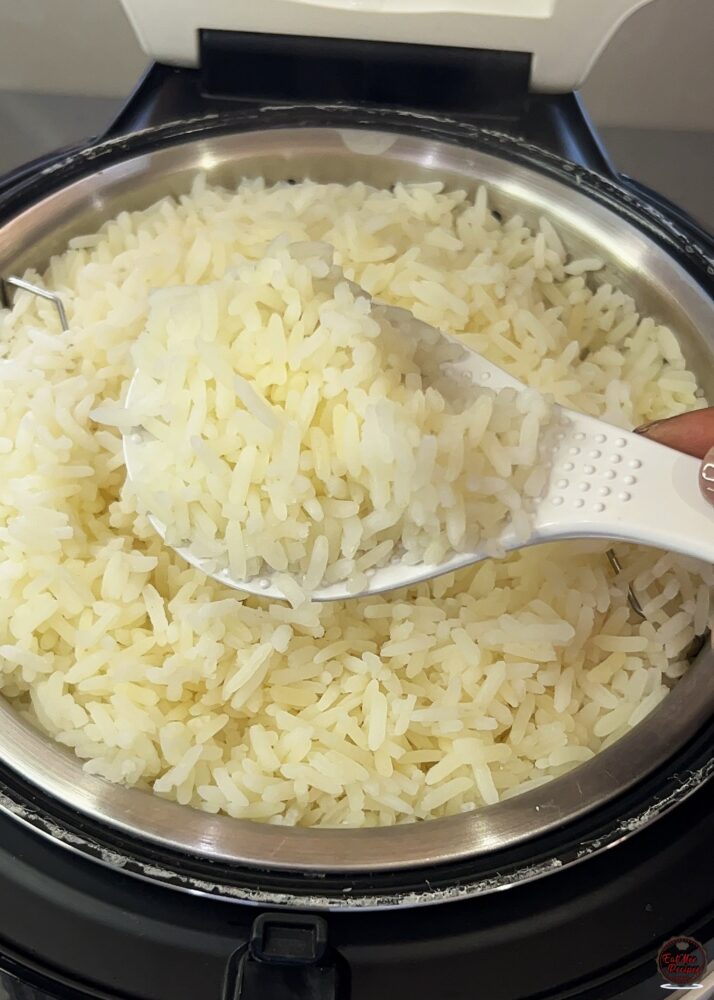
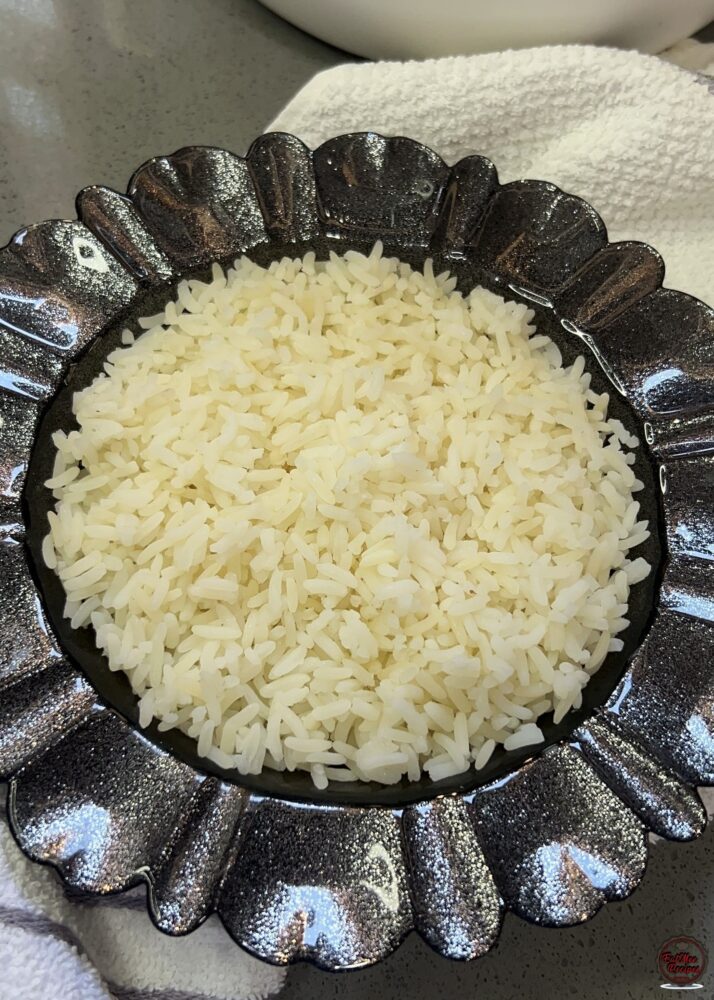
Once the rice is done, press the button to open, and look at that – perfectly cooked, fluffy rice with beautiful separate grains
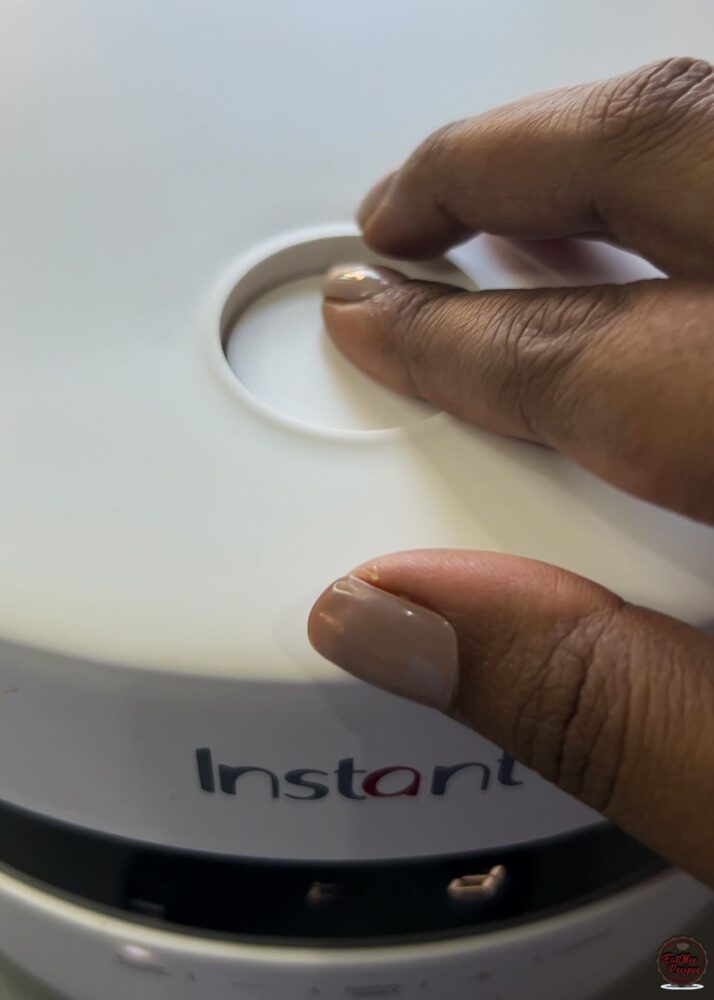
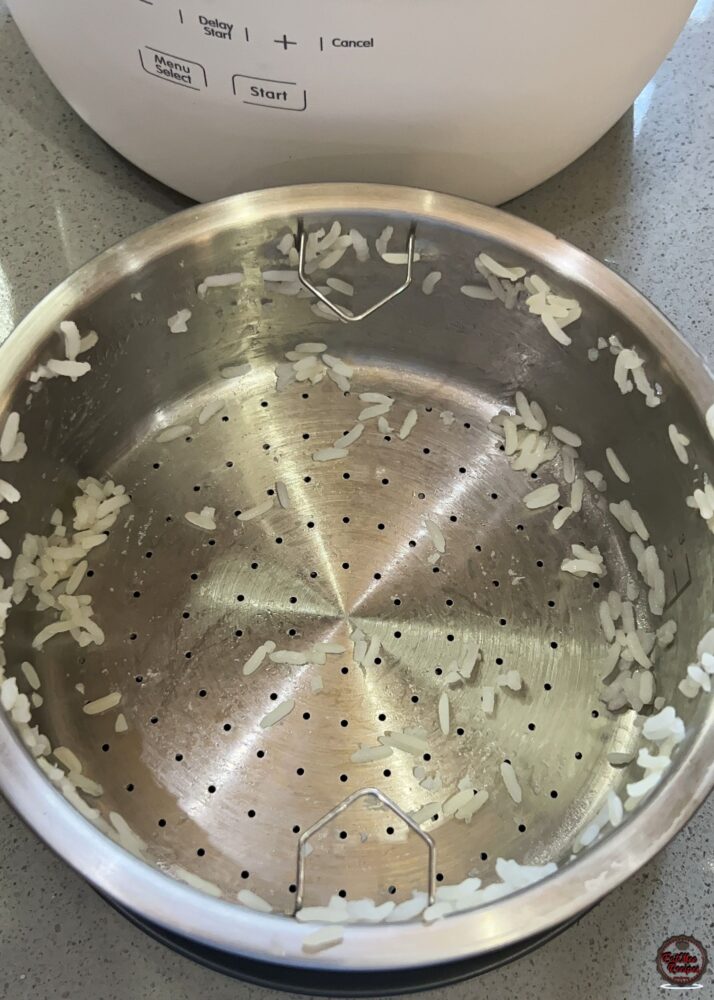
No straining required since we cooked it with the strainer method.
On keep warm, the rice is ready to serve straight from the cooker.
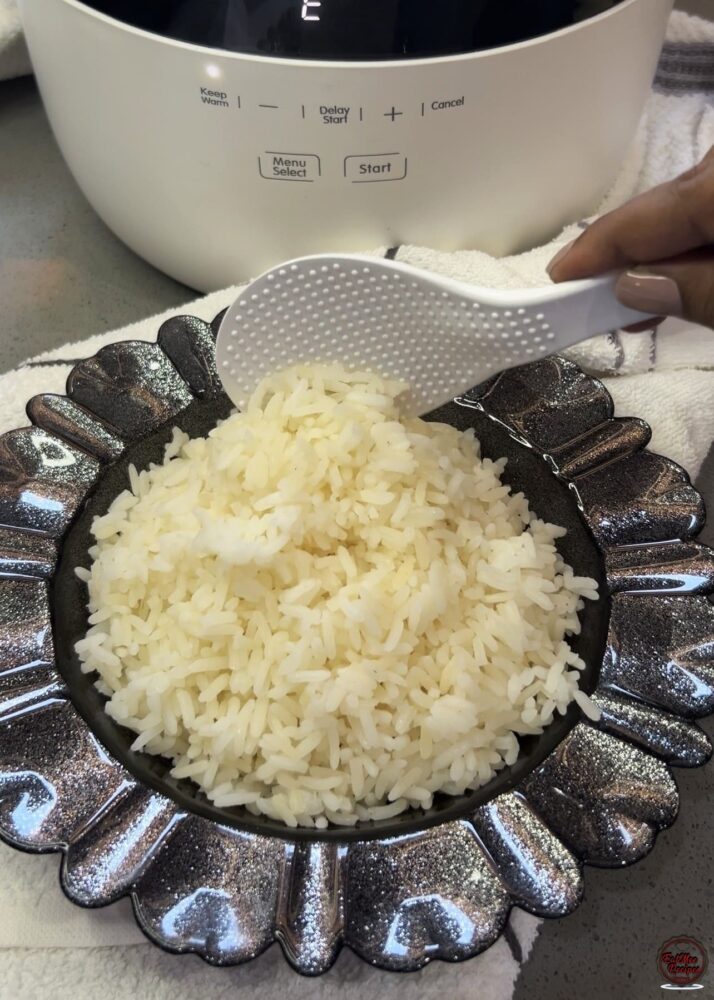
The rice is so fluffy and each grain stays separate. No clumps, no sticky mess, just perfectly cooked, tender long grain rice.
As you can see, absolutely nothing is burnt or stuck to the strainer. That’s the beauty of cooking it this way.
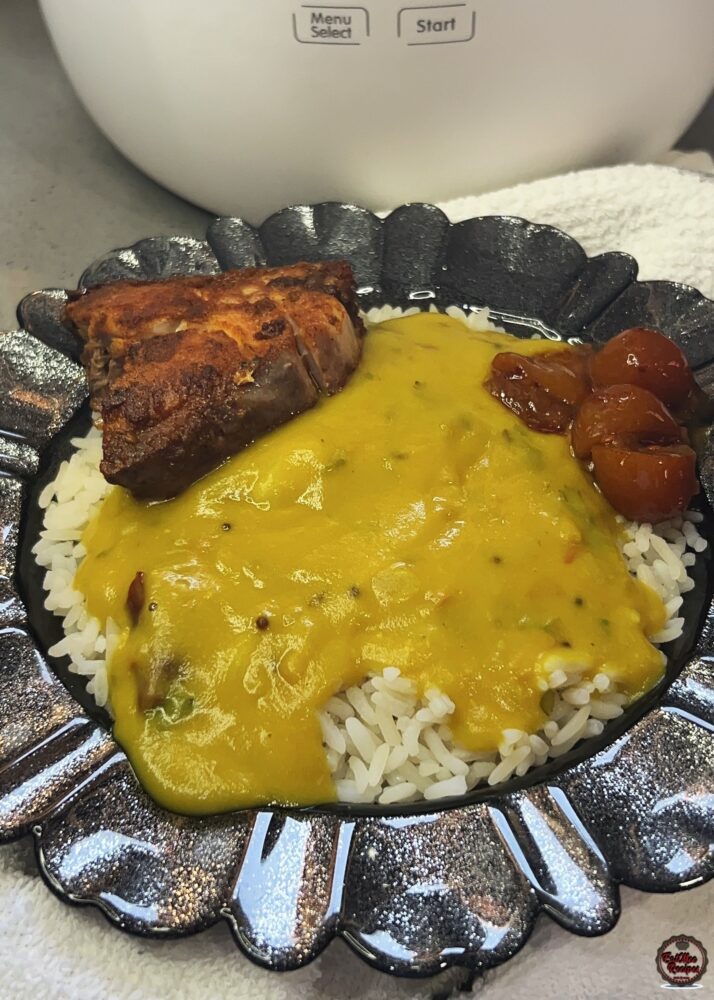
I served the fluffy long grain parboiled rice with some yellow dhall, crispy fried fish, and my favourite pickles.
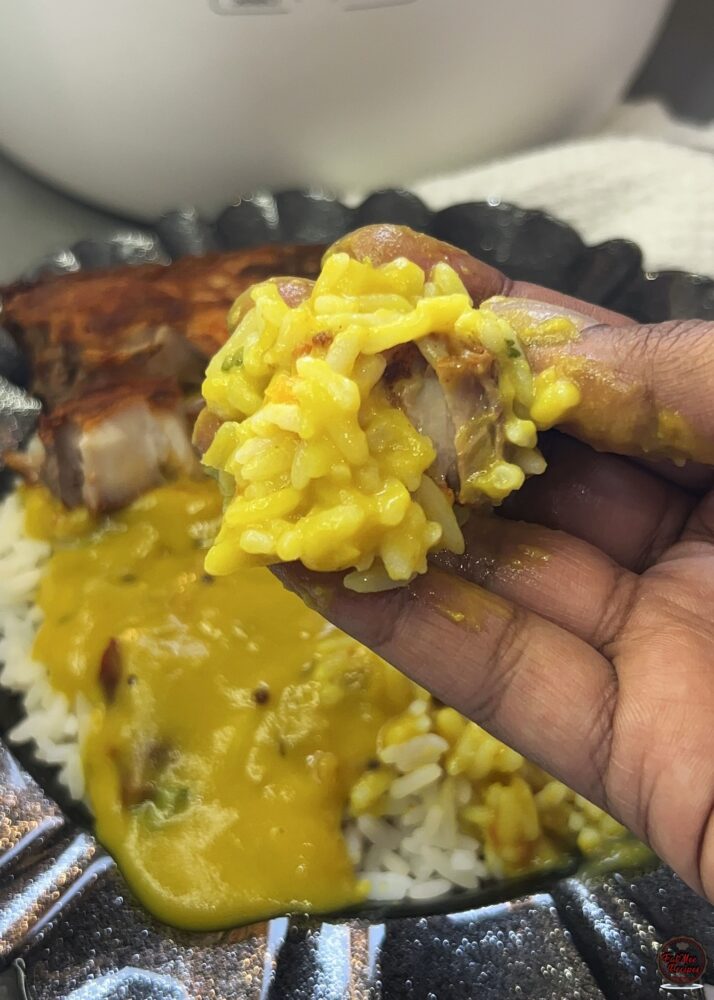
The softness of the rice with the bold flavors of the sides makes every spoonful a little moment of happiness.
That’s it! Fluffy, tender rice with zero stress, ready to serve. Grab your cooker, try this method, and fall in love with your rice all over again! Stay tuned for more variations and flavourful pairings on EatMeeRecipes.co.za
If you have leftovers, proper storage is important for both freshness and food safety. Once the rice is done, allow it to cool slightly at room temperature. Do not leave it sitting out for more than 1-2 hours, as cooked rice can develop bacteria if left too long. Transfer the cooled rice into an airtight container and store it in the refrigerator for up to 3-4 days. Parboiled rice actually holds up very well in the fridge because the grains stay firm and separate, making it perfect for reheating or even using in fried rice the next day.
Follow along with Denisiya's step-by-step video guide for Parboiled Rice in the Instant Rice Cooker.
Expert kitchen guidance and troubleshooting for making the best Parboiled Rice in the Instant Rice Cooker
Parboiled rice is partially steamed in its husk before being milled. This process strengthens the grain and changes its texture. The benefits include:
You should not open the rice cooker mid-cooking, and here’s why: The Instant Rice Cooker works by building controlled heat and steam inside the sealed pot. That trapped steam is what cooks the rice evenly. When you open the lid during cooking:
Technically, you can open it – it’s not pressure-sealed like a pressure cooker, but it is not recommended unless absolutely necessary. For best results, let the rice cooker complete its cycle uninterrupted. Once it beeps and switches to keep warm, then you can safely open it and fluff your rice.
Hi, I'm Denisiya! Food lover, recipe developer, and founder of EatMee Recipes. I specialize in authentic South African Durban Indian cuisine, comforting curries, and modern Instant Pot adaptations. Every recipe on this site is tested in my personal kitchen to ensure you get mouth-watering, foolproof results every time.
Explore more authentic Durban curries, traditional bakes, and comforting family favourites.
 Desserts
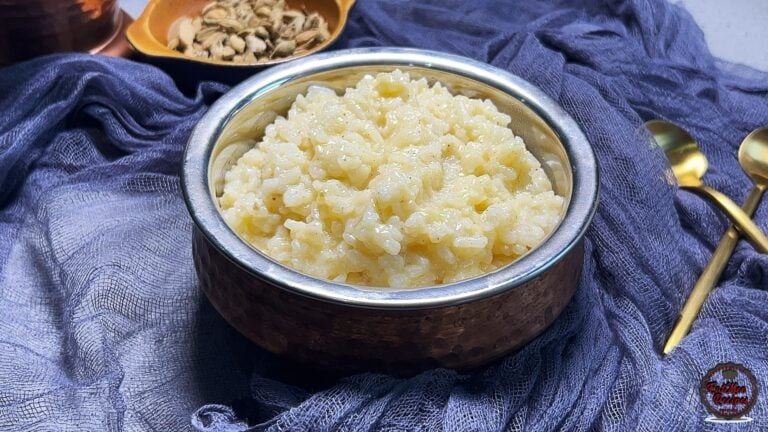
If you love traditional South African sweet rice but want an easier, hands-off method, thi...
 Instant Rice Cooker Recipes
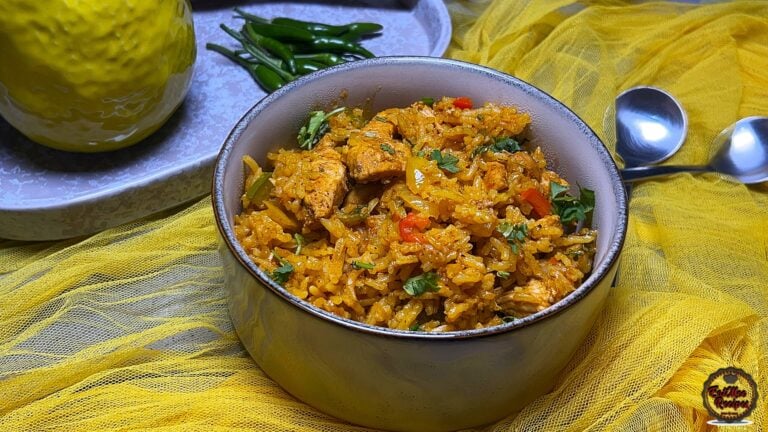
If bold flavour and convenience had to meet in one dish, this would be it. Inspired by the...
 Everyday Meals
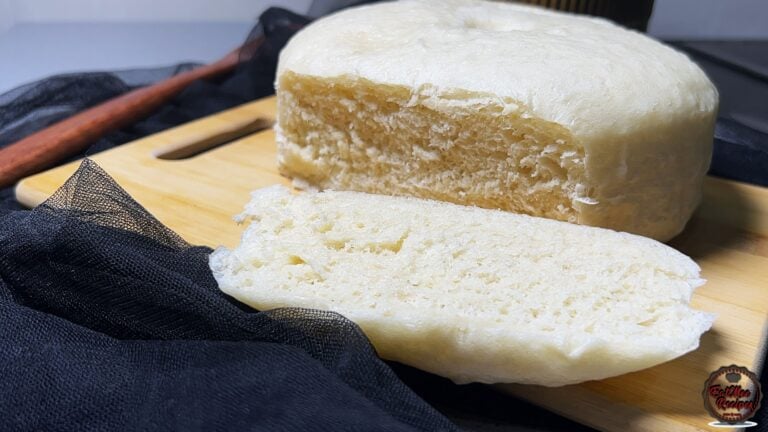
Soft, fluffy steamed bread, also known as ujeqe, is a beloved staple that pairs beautifull...
Have you tried this recipe or have questions for Denisiya? Join the conversation below.
No comments yet. Be the first to share your thoughts on this recipe!
Leave a Comment
Your email address will not be published. Required fields are marked *