
We Value Your Culinary Privacy
EatMee Recipes uses cookies to provide a personalized browsing experience, analyze recipe popularity, and serve relevant ads. You can review our full disclosure in our Privacy Policy.
Make authentic No Knead Focaccia with this foolproof recipe. Packed with rich traditional flavor, step-by-step photos, and cooking tips by Denisiya on EatMee Recipes.

Join over 60,000+ home chefs for weekly authentic Durban Indian cook-alongs, Instant Pot masterclasses, and family heritage recipes.
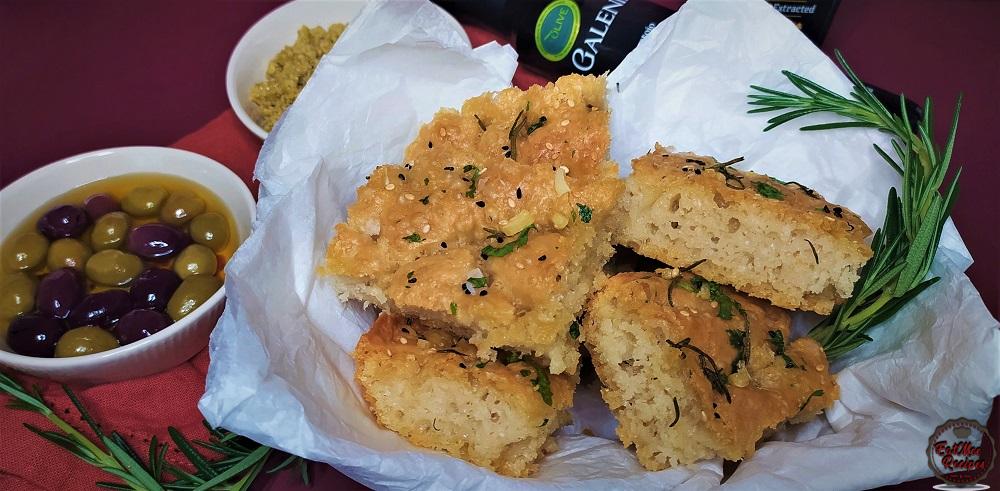
This No Knead Focaccia is so delicious & the aromas that fill your home are absolutely heavenly! I mean, who doesn’t love the smell of freshly baked bread, right?
Focaccia, pronounced “Fok-uch-chia” is an Italian flat bread, similar to a pizza base but softer, crispier, takes more time to rest & is drenched in olive oil. Yes, this recipe uses a lot of olive oil so be sure to use good quality Extra Virgin Olive Oil (EVOO) – quick tip:
Always look out for the SA Olive CTC seal on a bottle of Extra Virgin Olive Oil (EVOO). This is a seal of confidence and it’s the guarantee that the producer is ‘committed to compliance’ in quality olive oil production. It confirms that the EVOO is 100% locally (South African) produced and is authentic Extra Virgin Olive Oil.
This focaccia is also perfect for sandwiches if you have leftovers that is.
Add the flour to a mixing bowl.
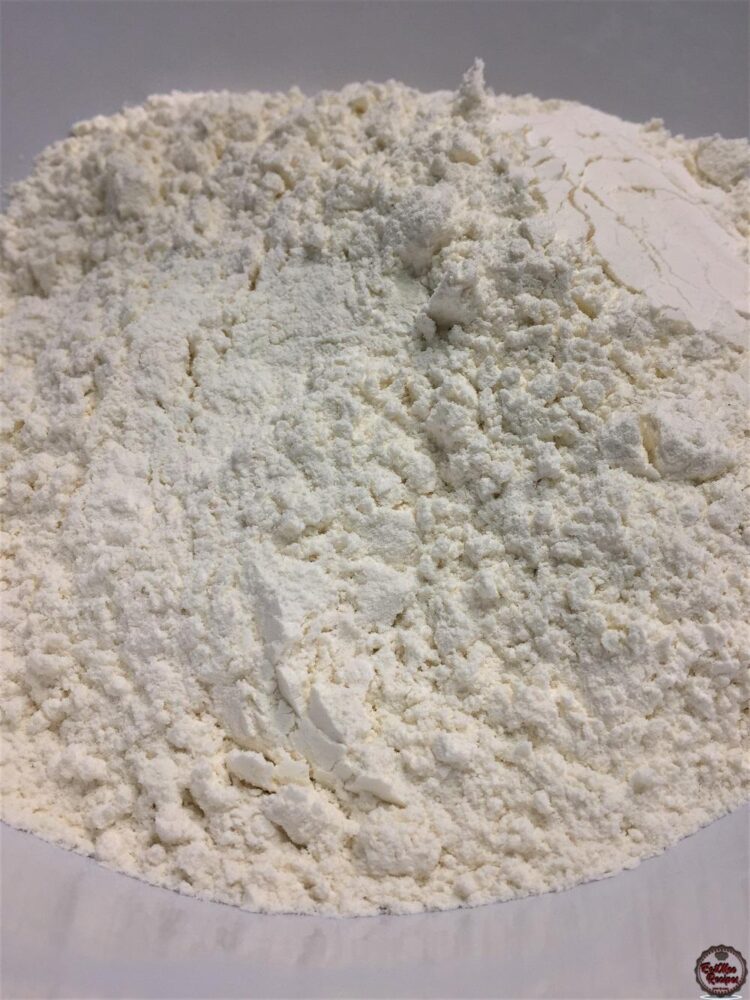
Add in the salt & granulated sugar.
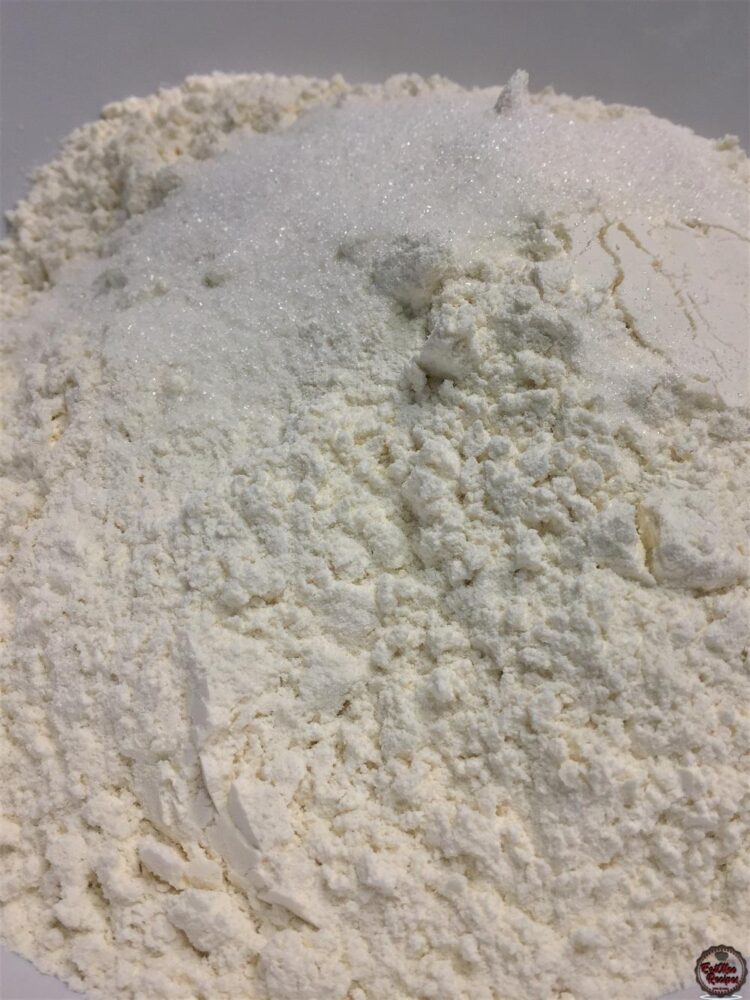
Add instant yeast (this yeast can be added directly to the dry ingredients without having to foam in water).
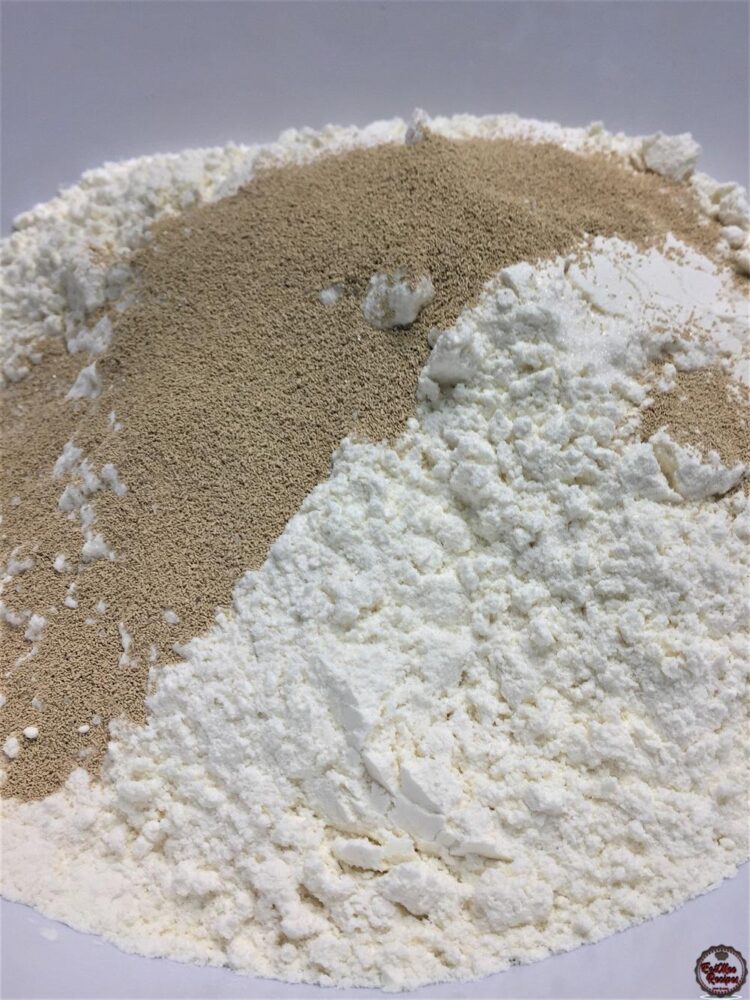
Mix until all the dry ingredients are well combined.
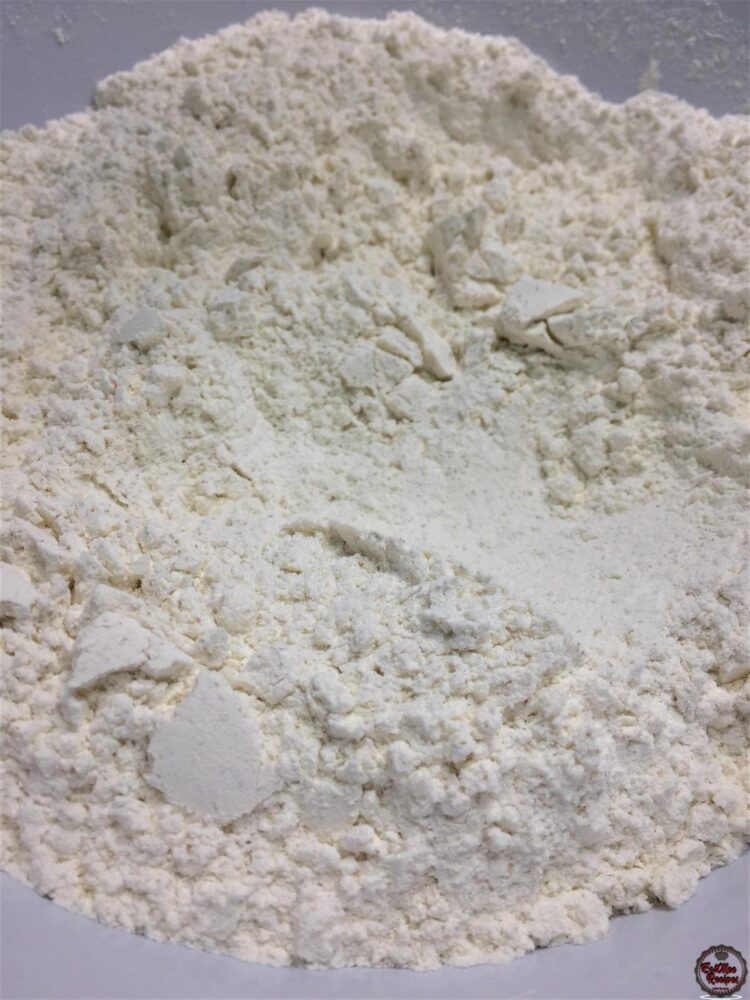
Next, pour in the 2 tablespoons of extra virgin olive oil.
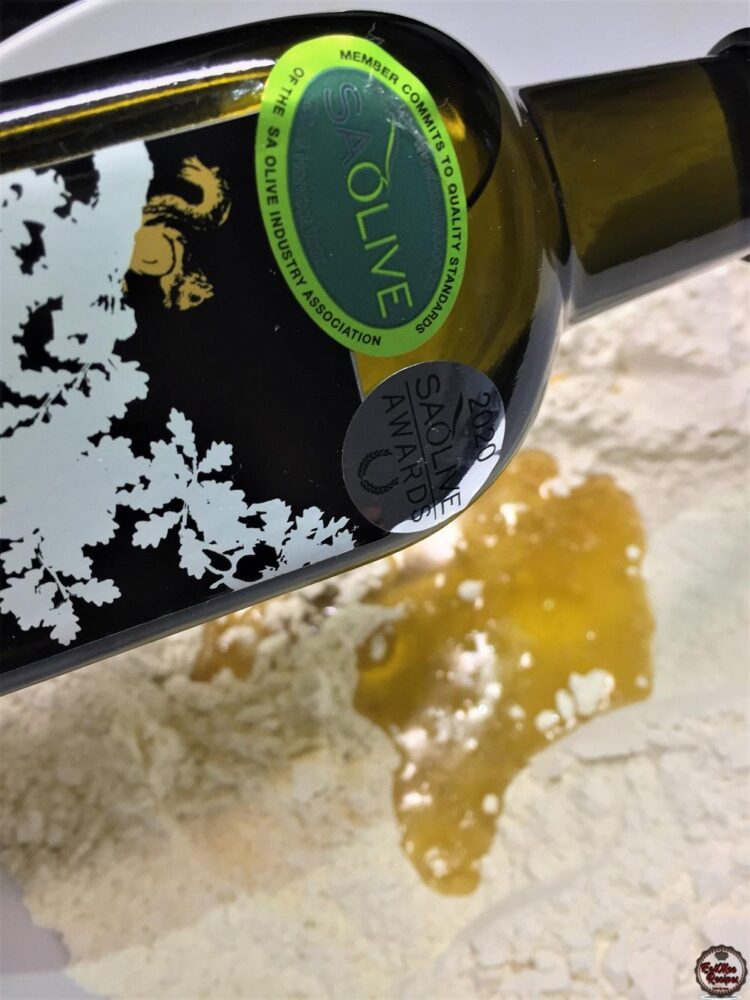
Pour in the warm water. Make sure that the water is warm, if it is too hot it can kill the yeast & if it is too cold then it will not activate the yeast.
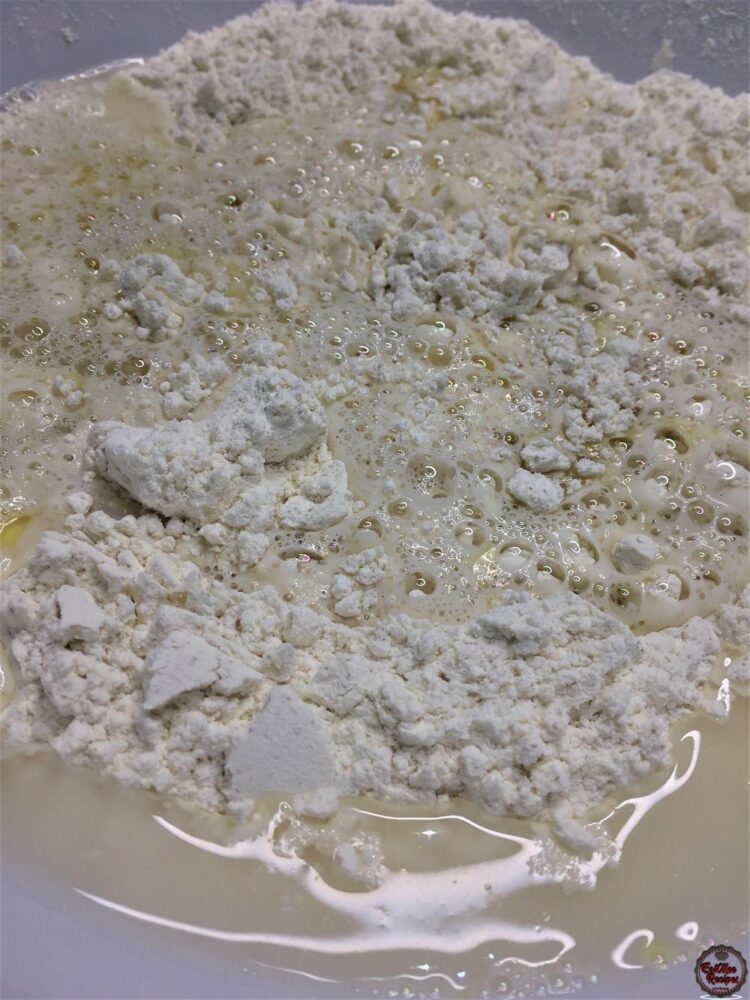
Mix with a spoon or a spatula until the mixture forms a sticky dough.
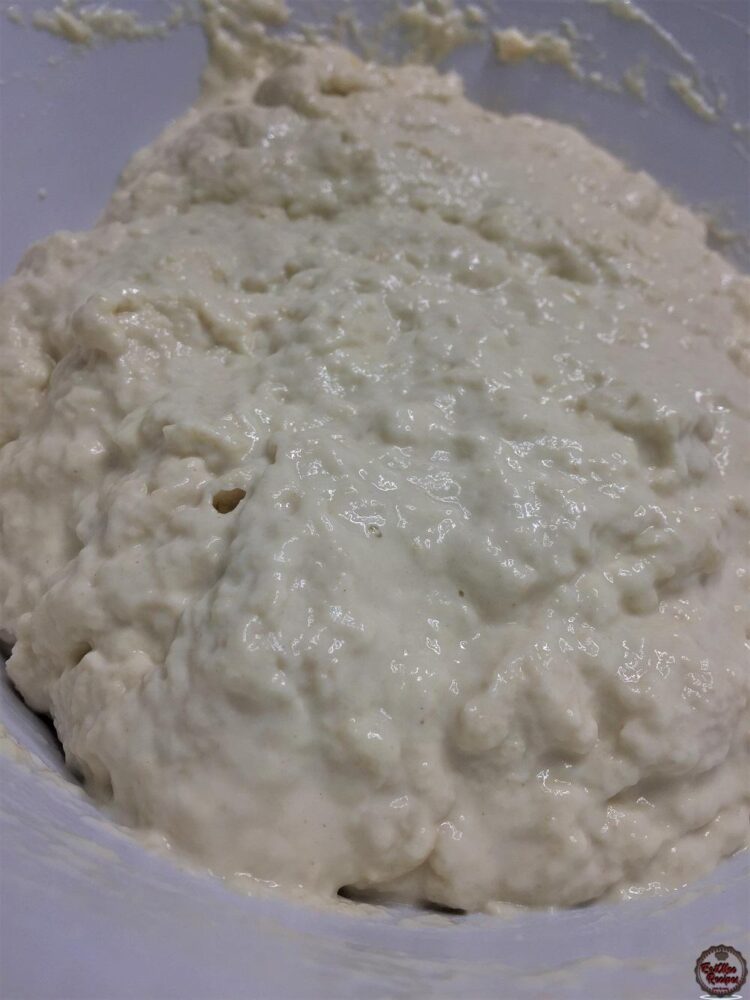
Scrape down the excess dough on the sides of the bowl.
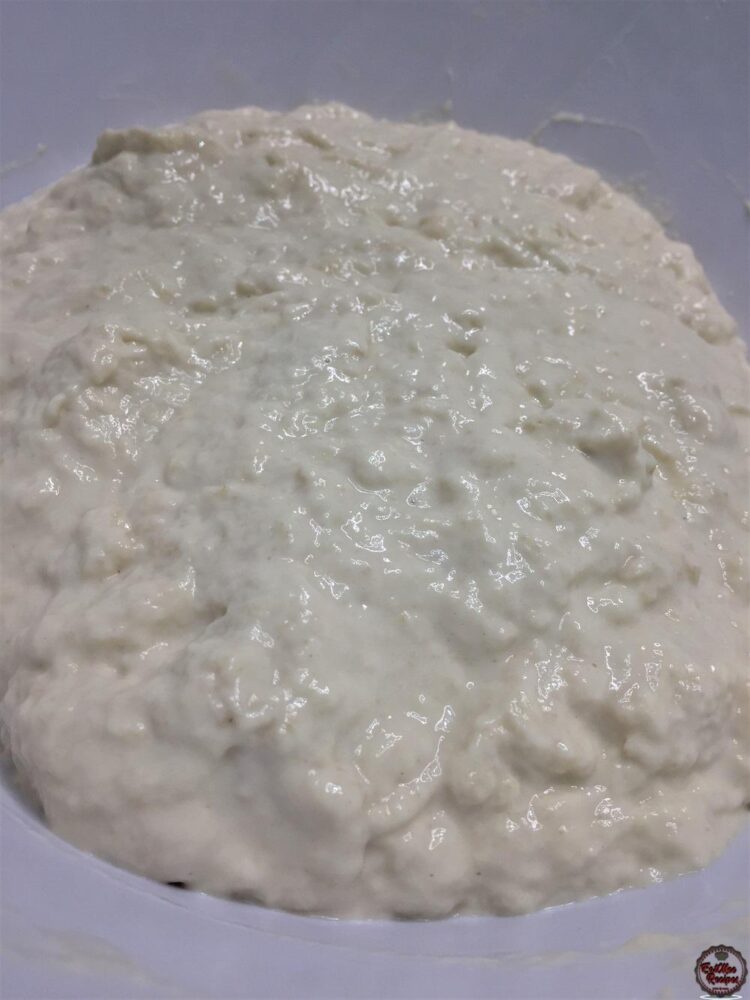
Drizzle over some extra virgin olive oil.
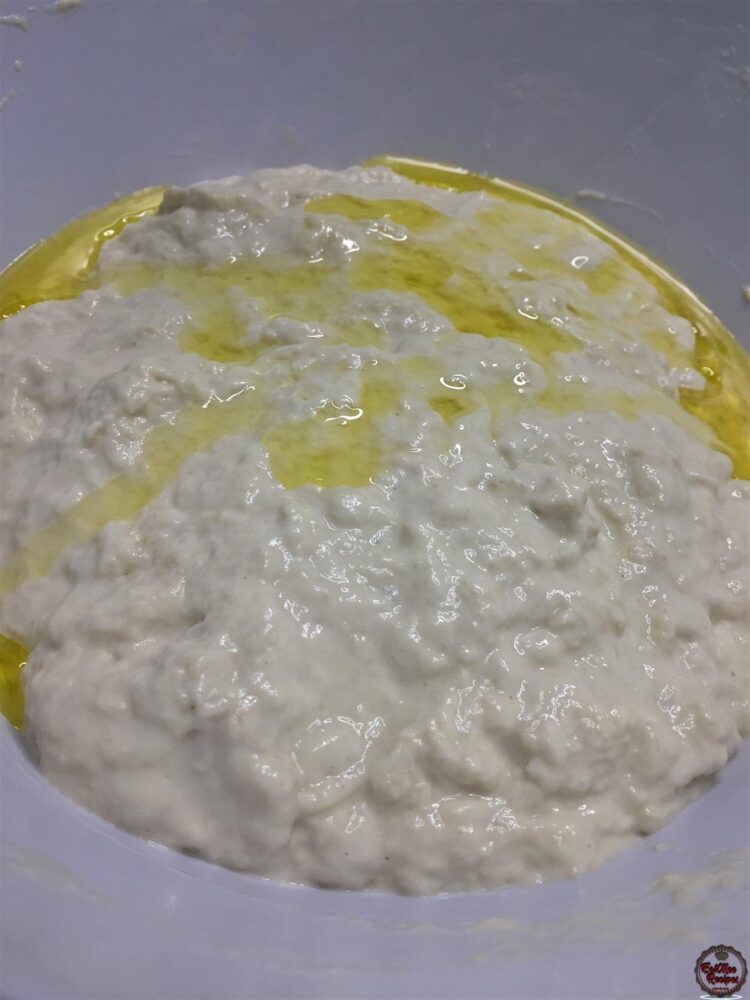
Use a spoon or a spatula to fold the dough into the olive oil.
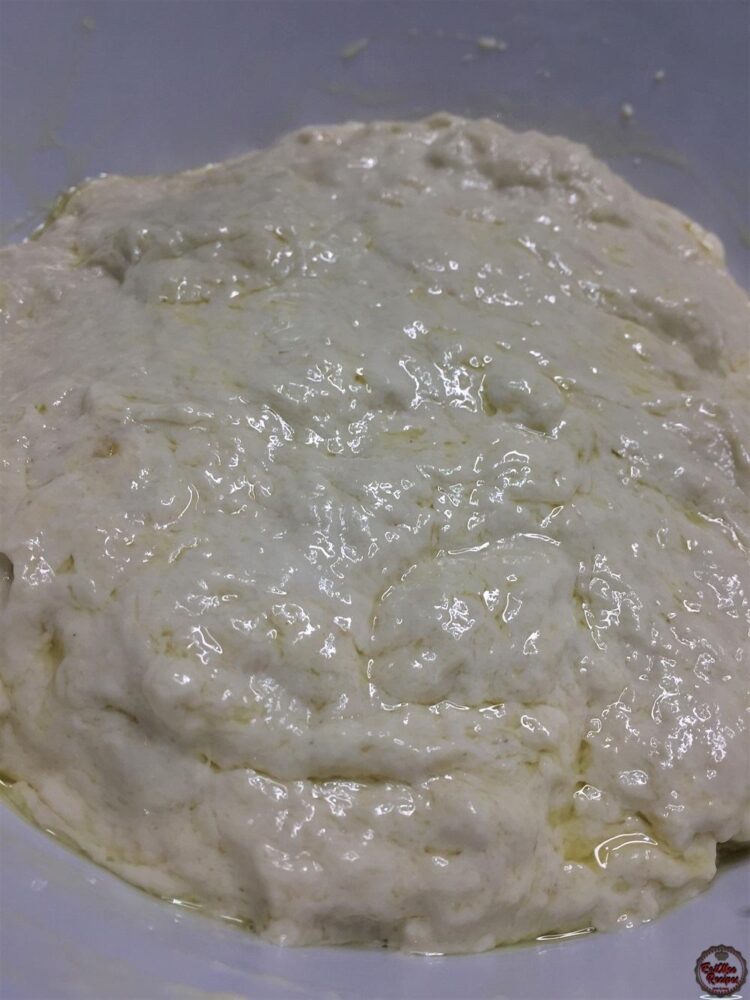
Cover with cling/plastic wrap & leave in a dark place to rest for 5 hours. I usually pop it in a turned off oven or microwave or oven.
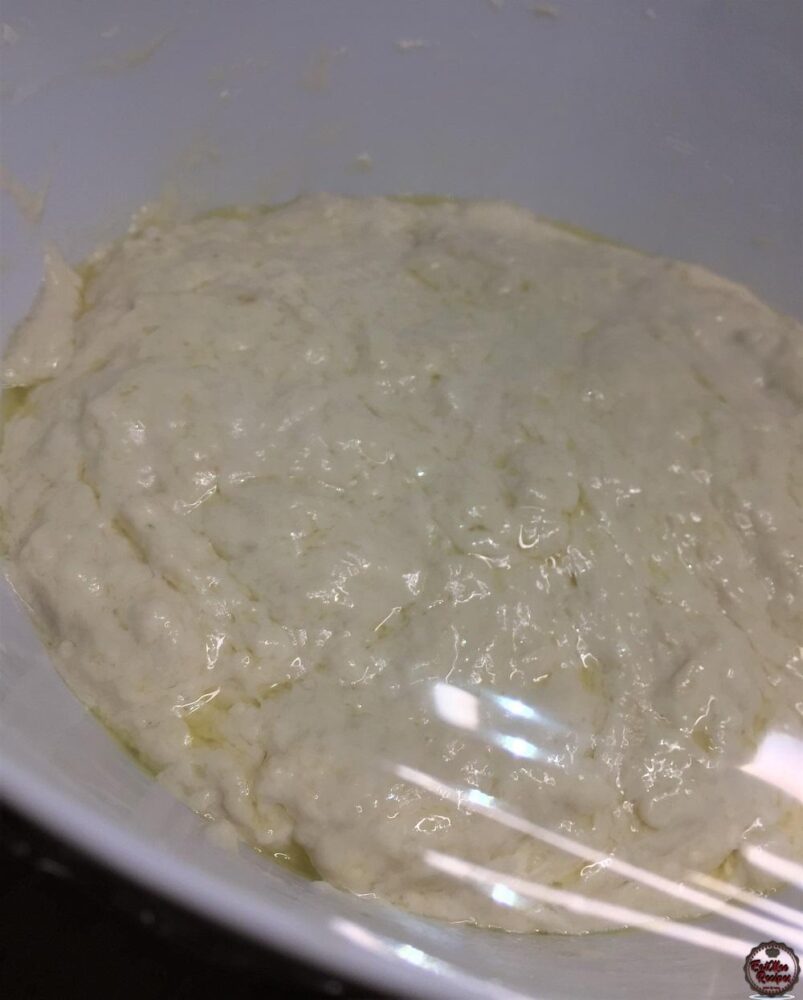
After 5 hours, the dough should double in size.
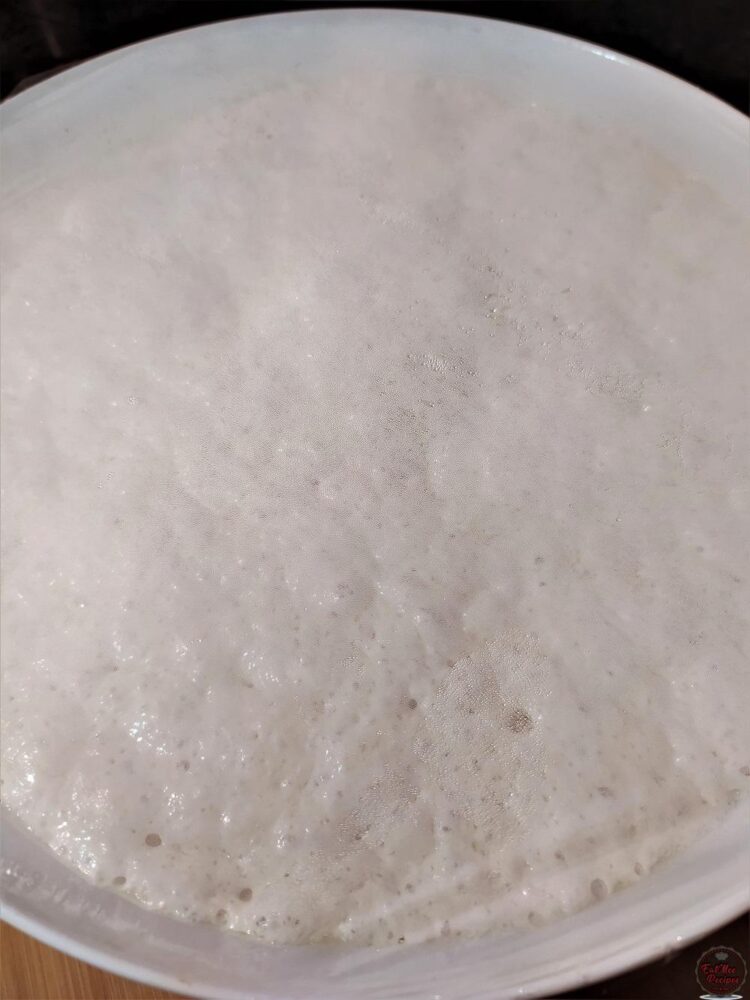
Remove the cling/plastic wrap.
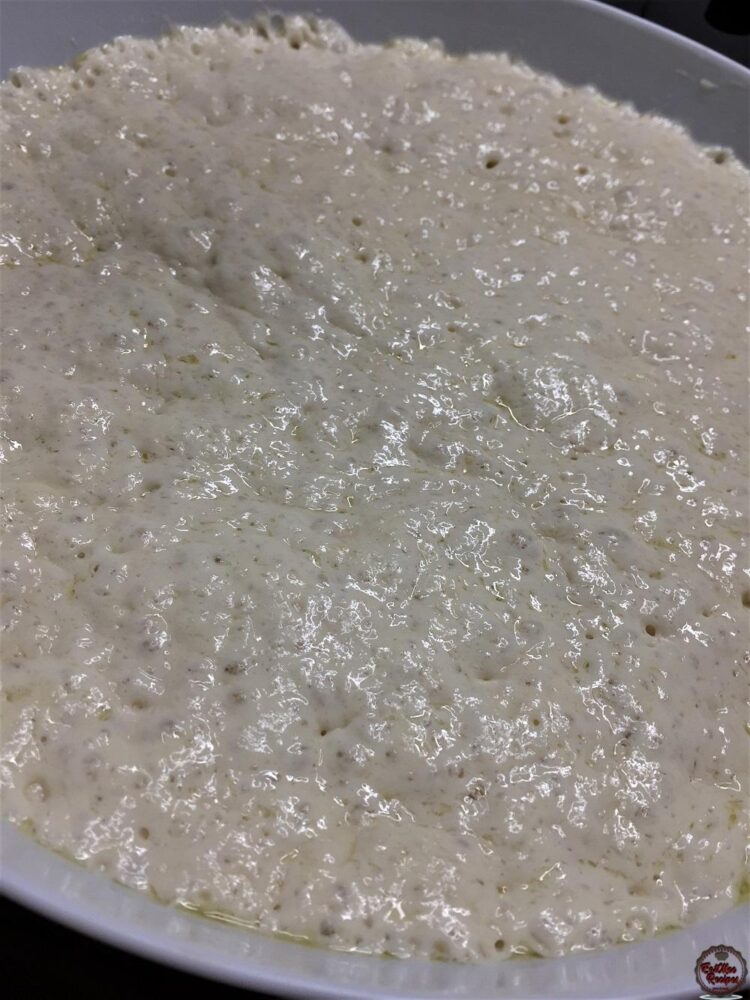
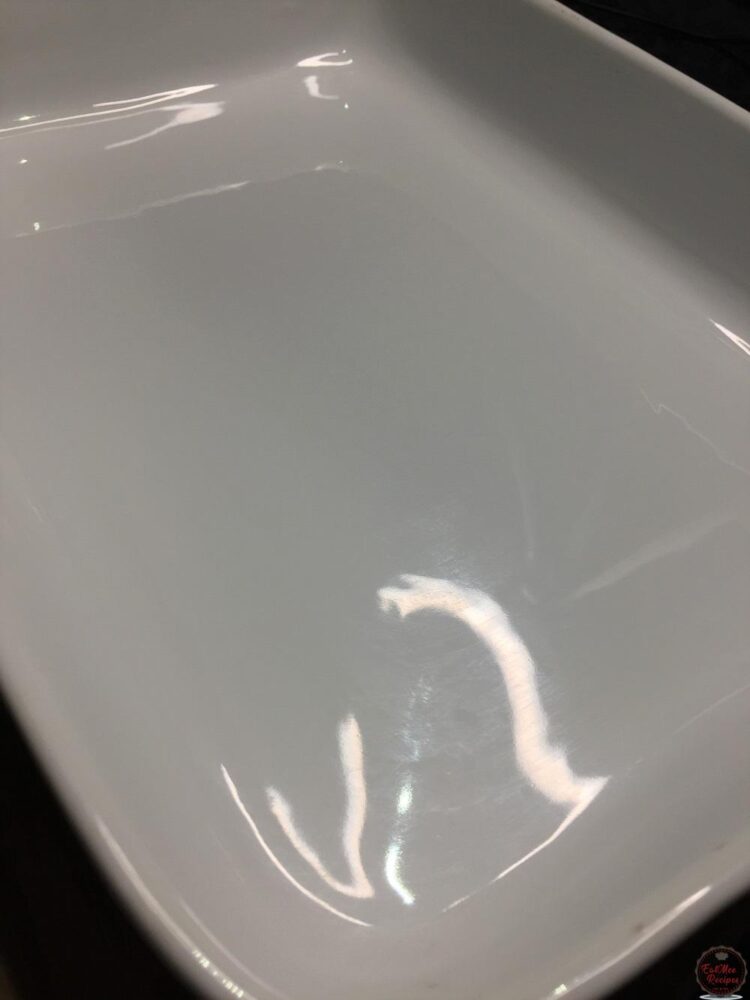
Grease a casserole or baking pan with olive oil. I drizzled some olive oil over & used a pastry brush to coat the casserole.
Empty the rested dough into the greased casserole or baking tray.
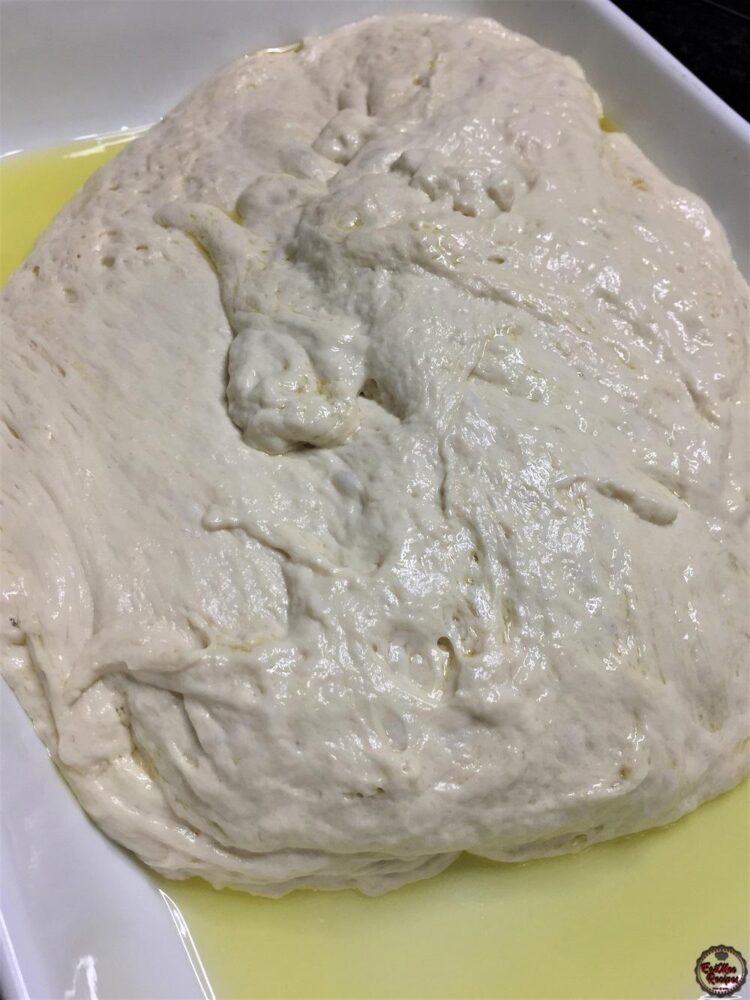
Lightly spread the dough out using your hands.
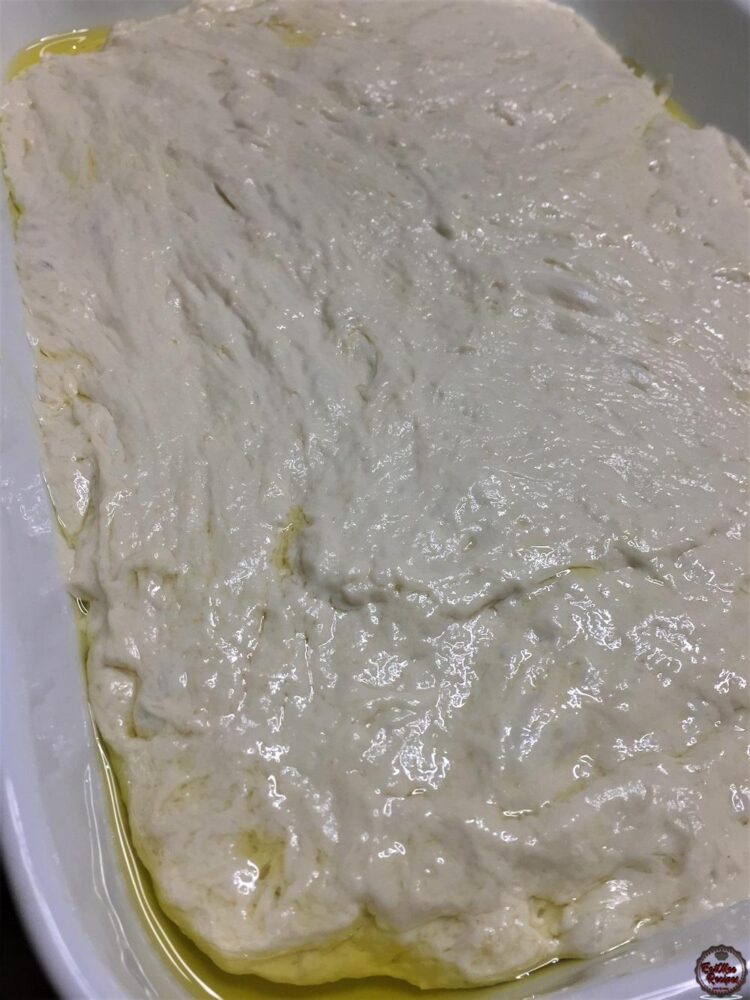
Cover with cling/plastic wrap once again & allow the dough to rest for another 5 hours.
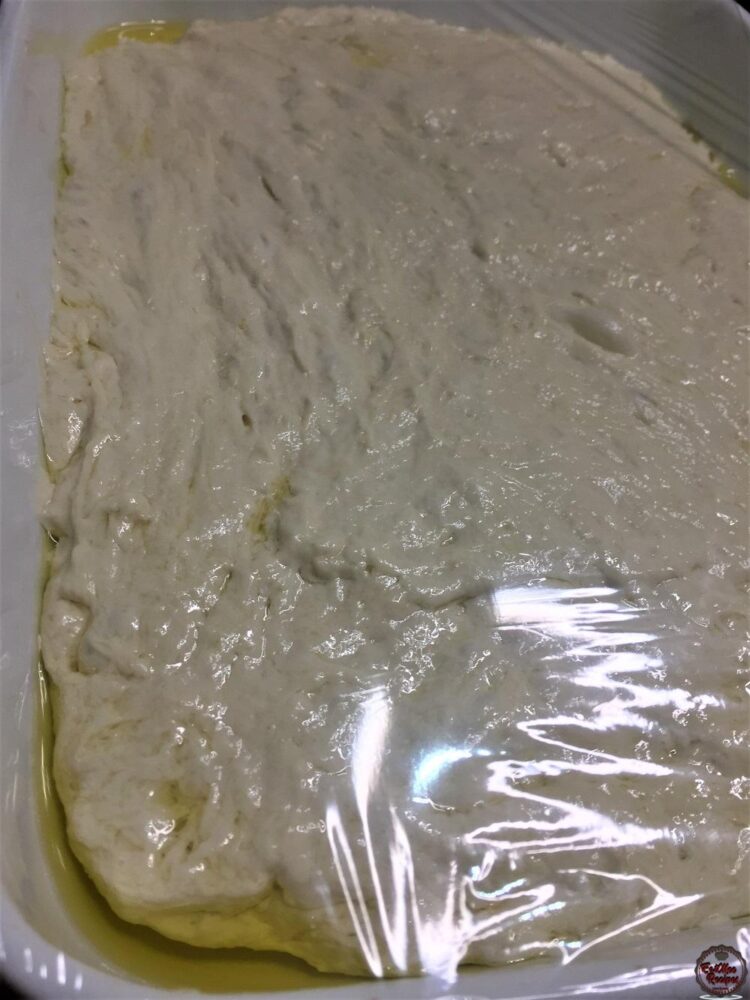
Once the dough has rested, preheat the oven to 190° Celsius or 374° Fahrenheit.
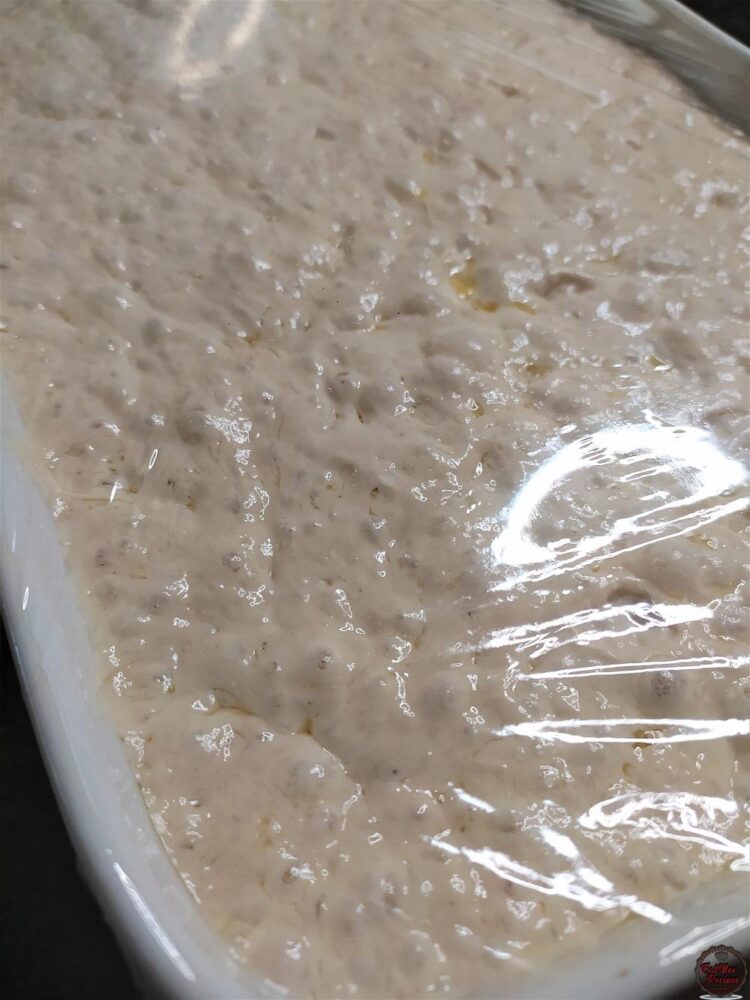
Remove the cling/plastic wrap.
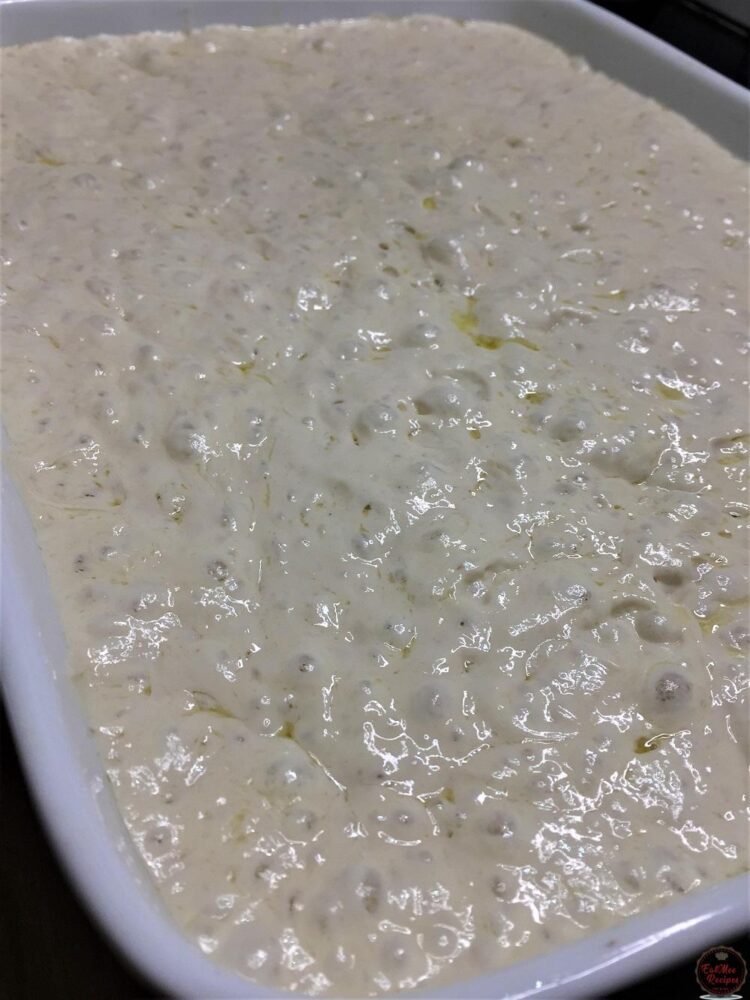
Drizzle over extra virgin olive oil.
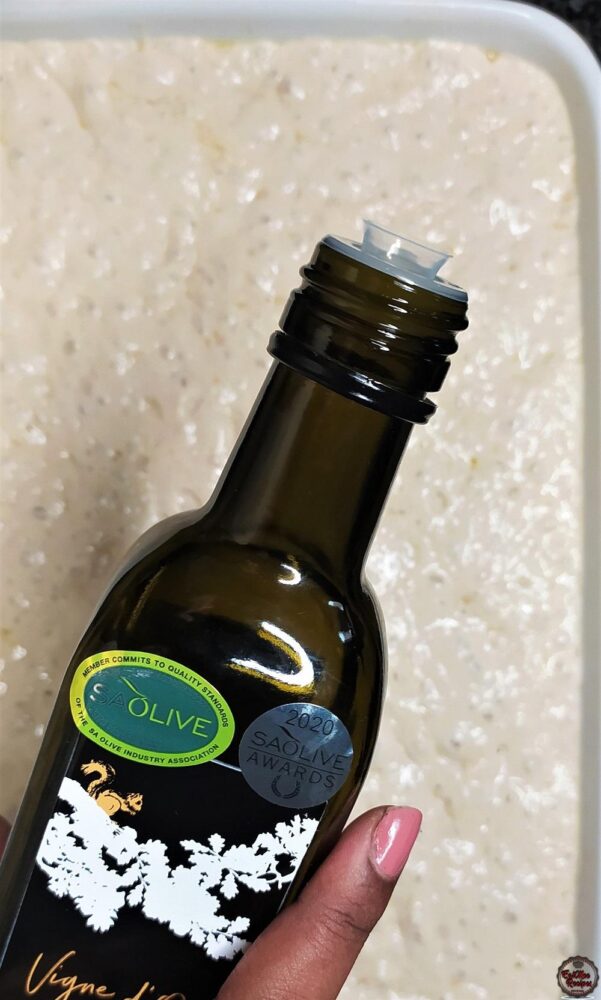
Lather your fingertips in the oil & use your fingers to dimple the dough, creating deep impressions by poking the dough all over.
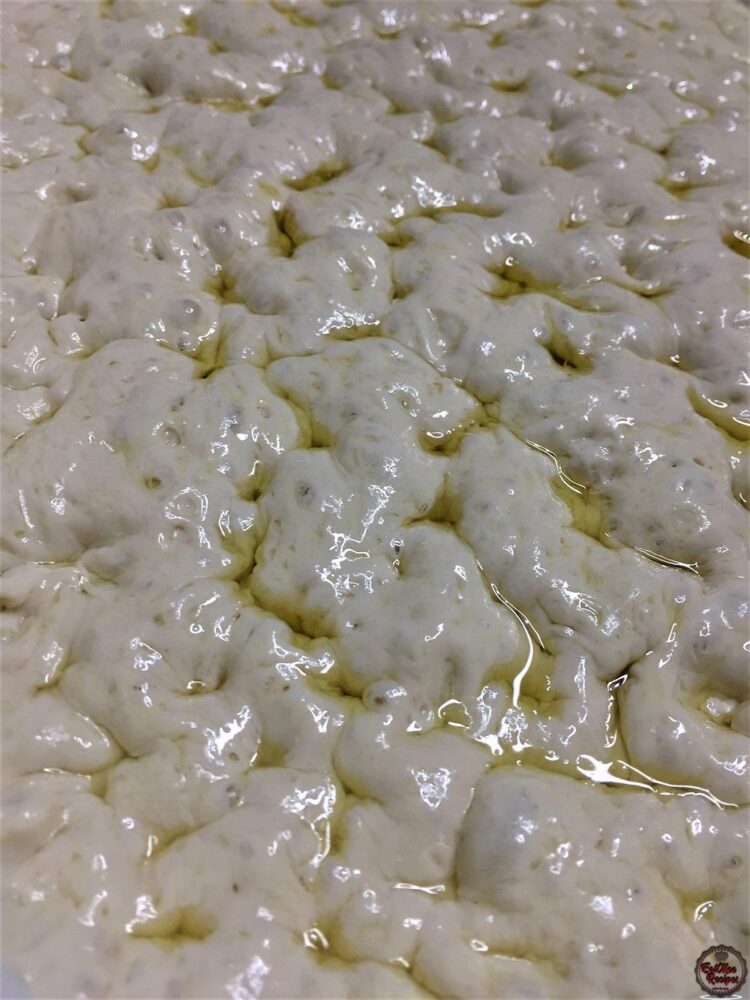
At this point you may add whatever toppings you prefer.
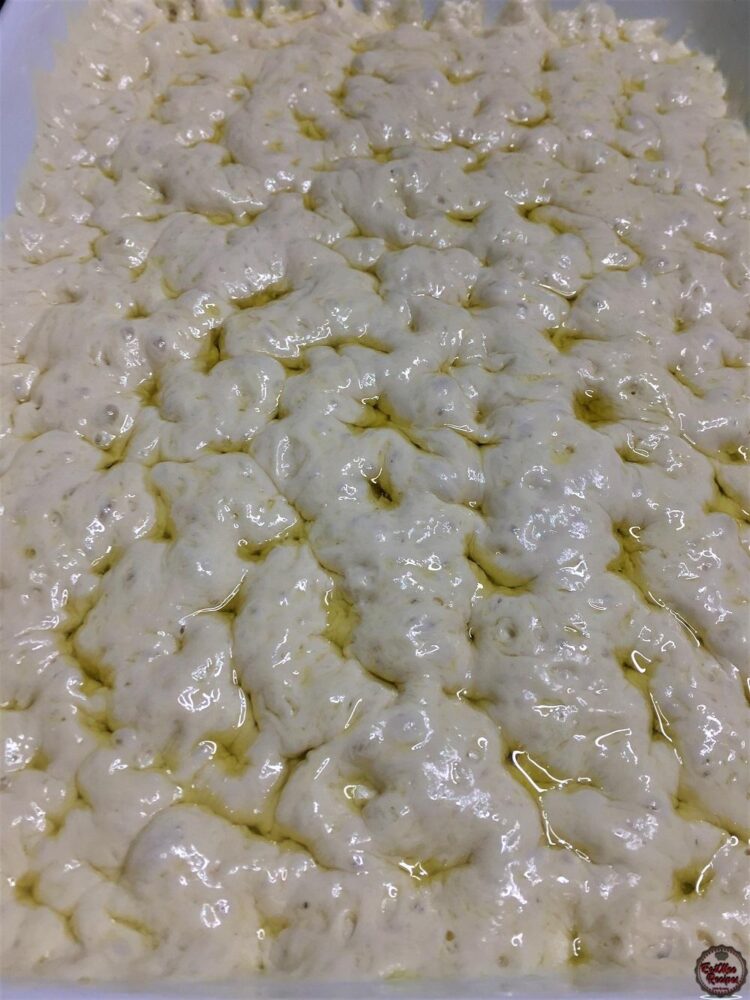
I’ve topped this Focaccia with white sesame seeds.
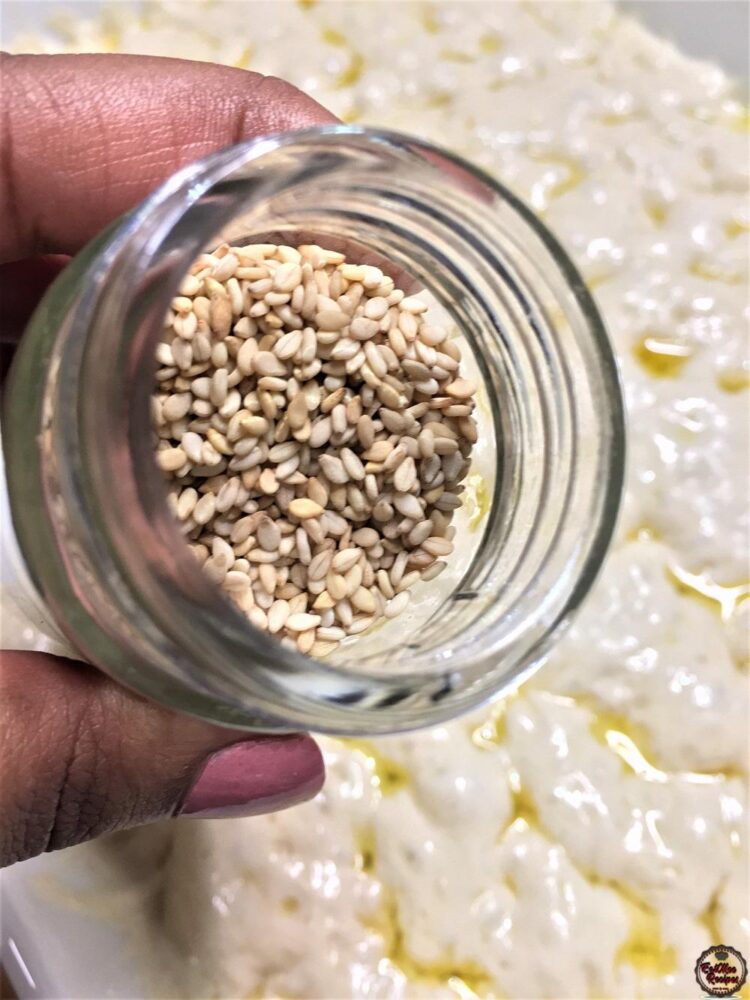
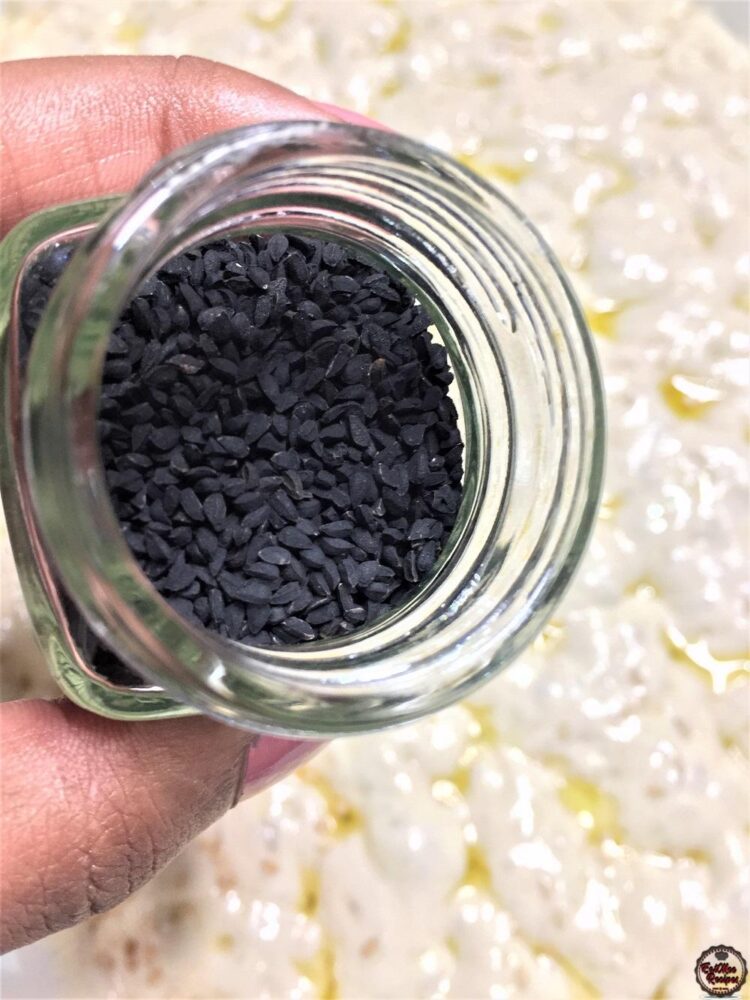
Some black sesame seeds.
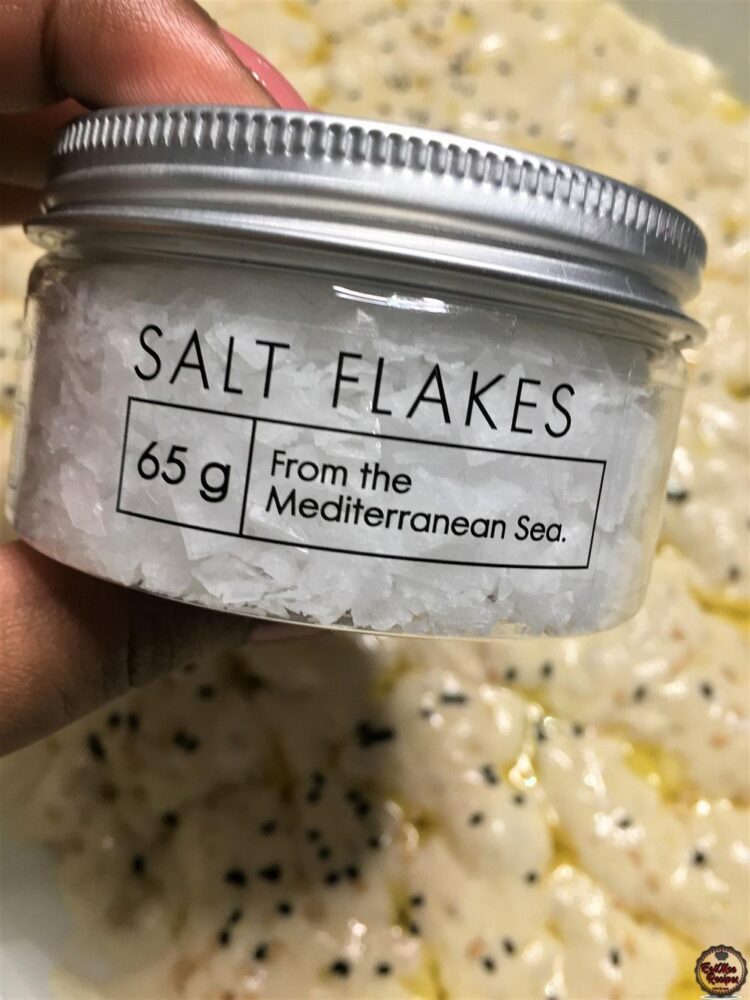
I also added some flaky salt.
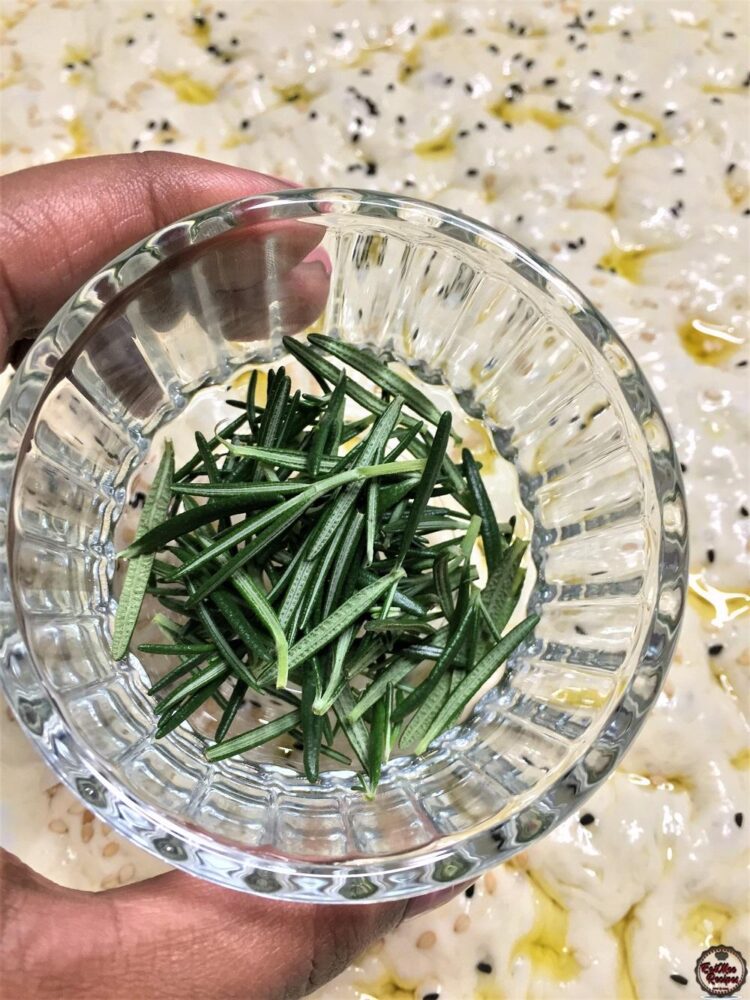
Finally, I topped it off with some fresh rosemary.
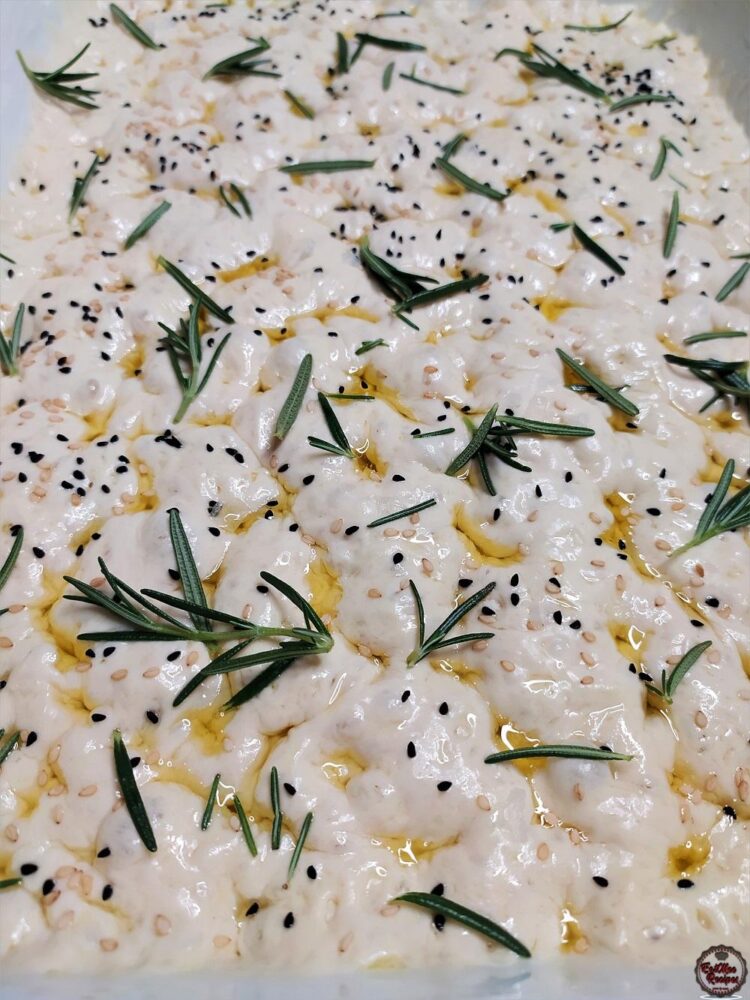
Bake in the preheated oven for 45 minutes until golden.
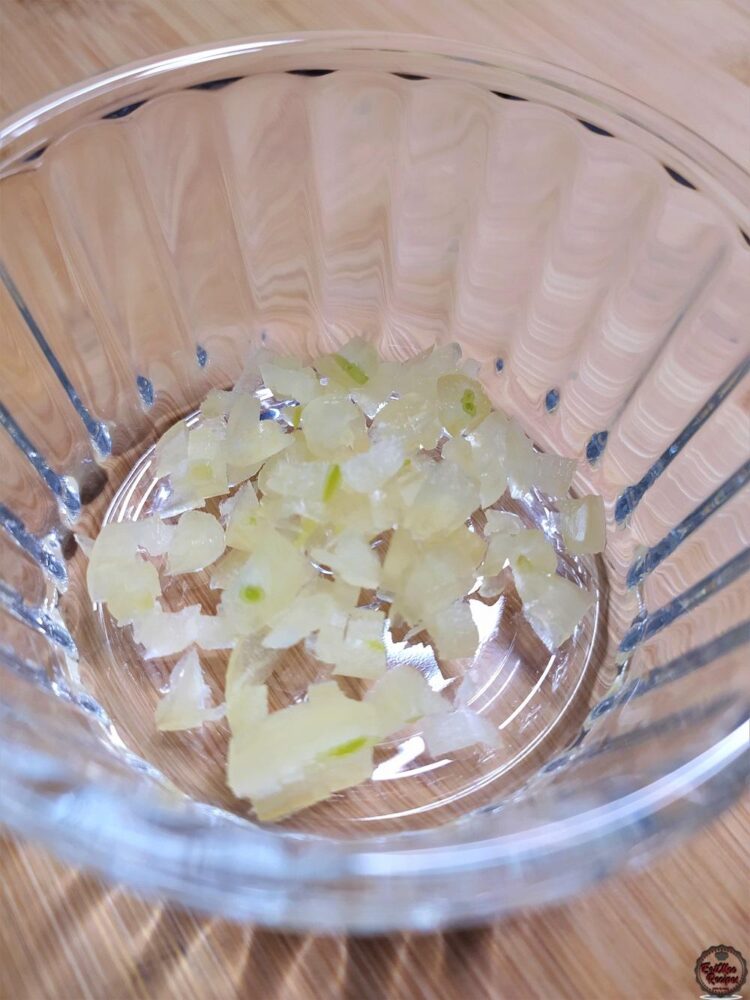
Finely chop the garlic.
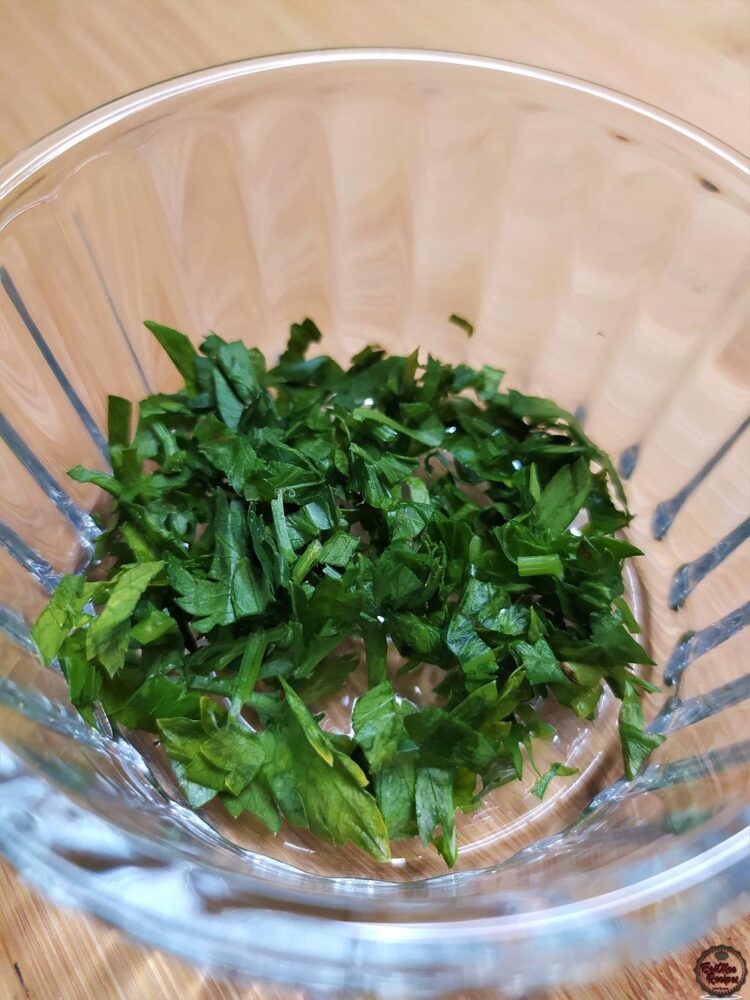
Finely chop the parsley.
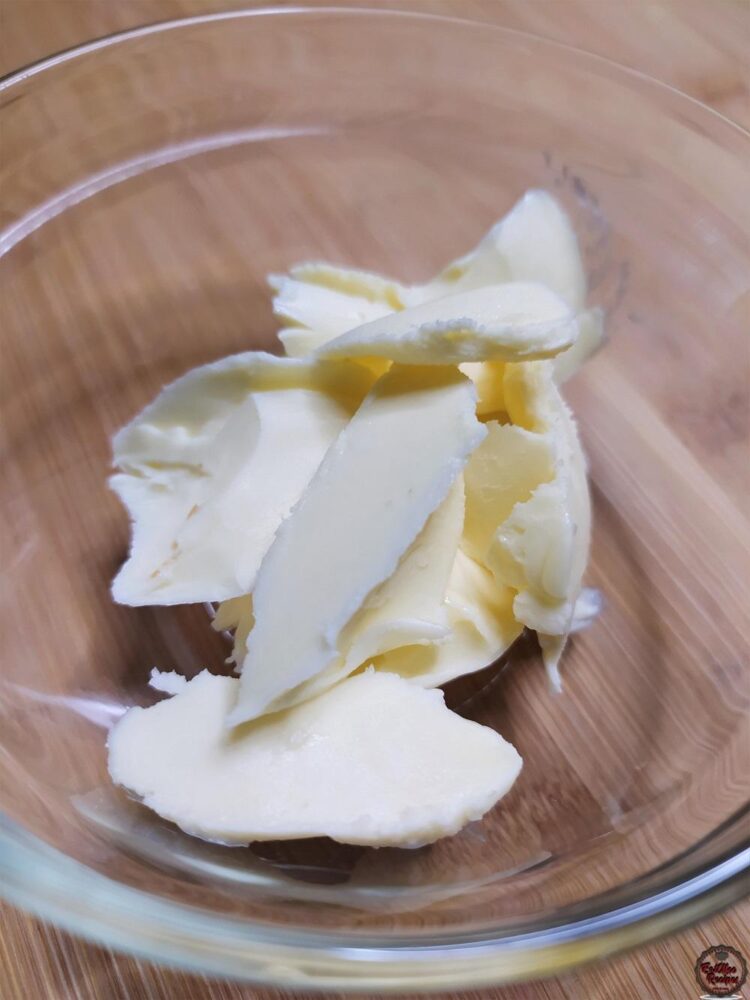
Add the butter to a microwave safe bowl.
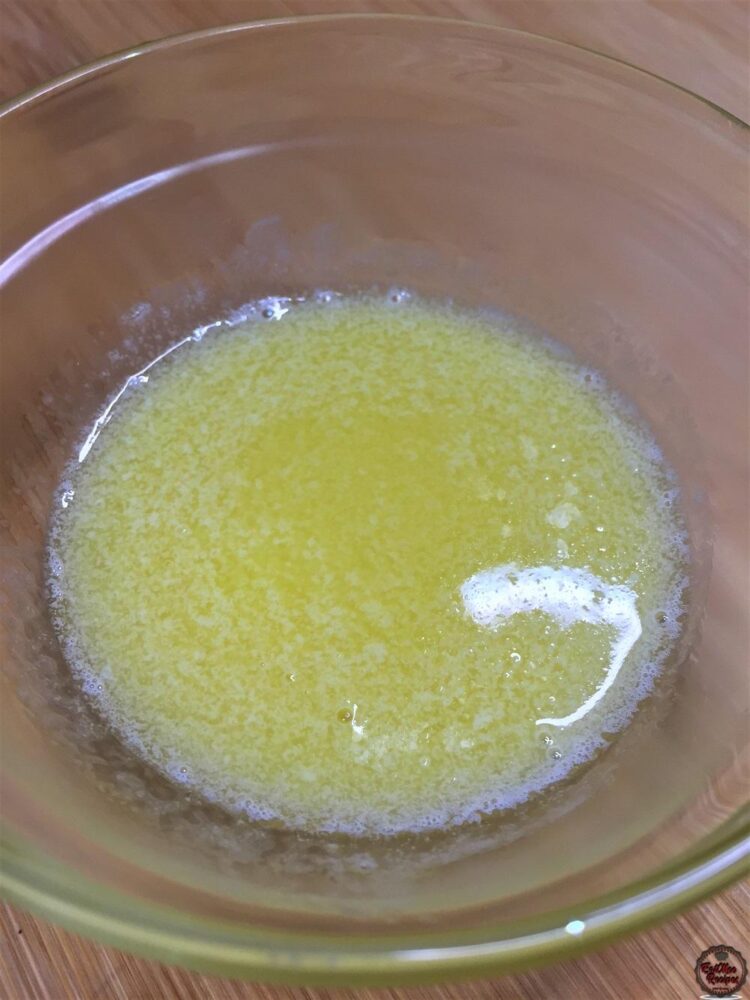
Heat in the microwave for 20 seconds or until melted.
Once the butter has melted, add in the chopped garlic.
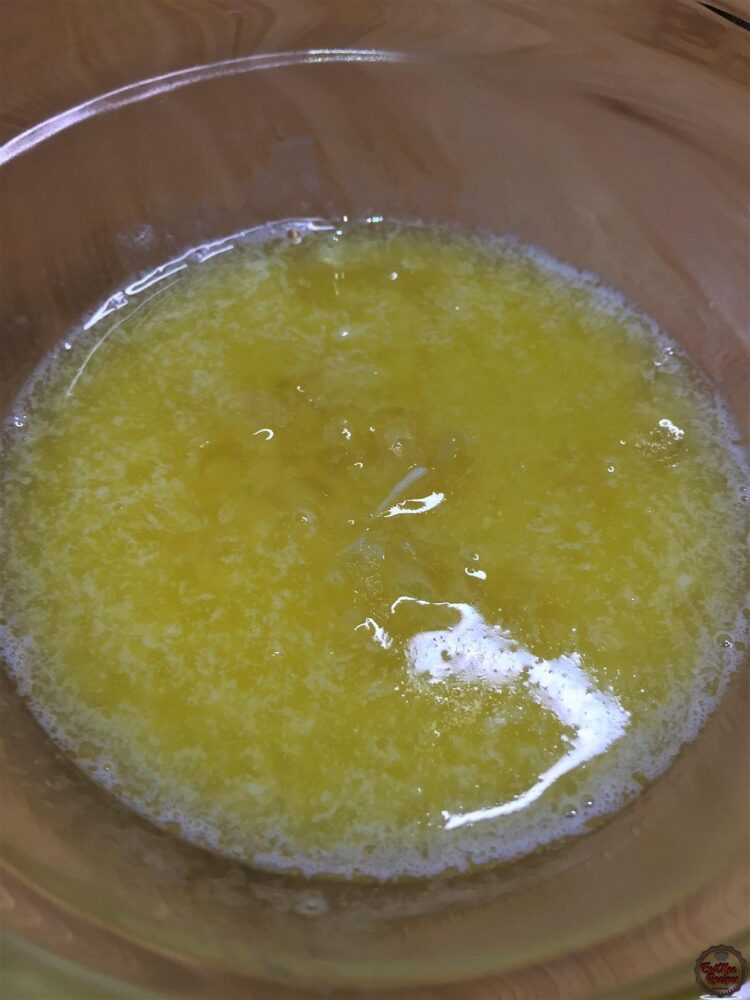
Add in the chopped parsley.
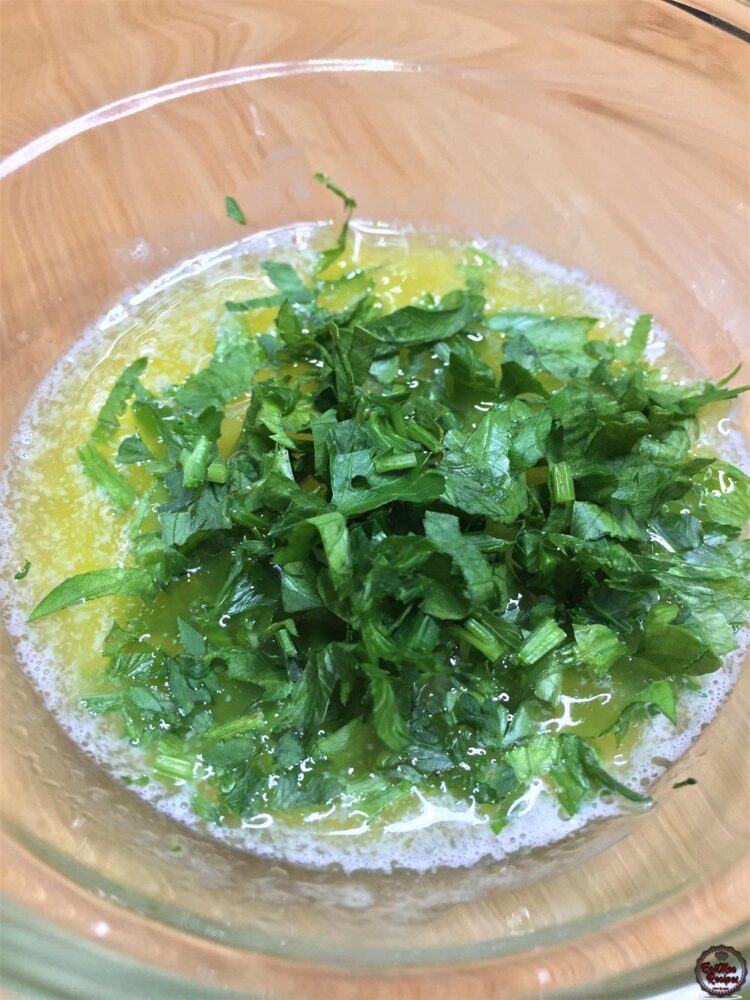
Mix well.
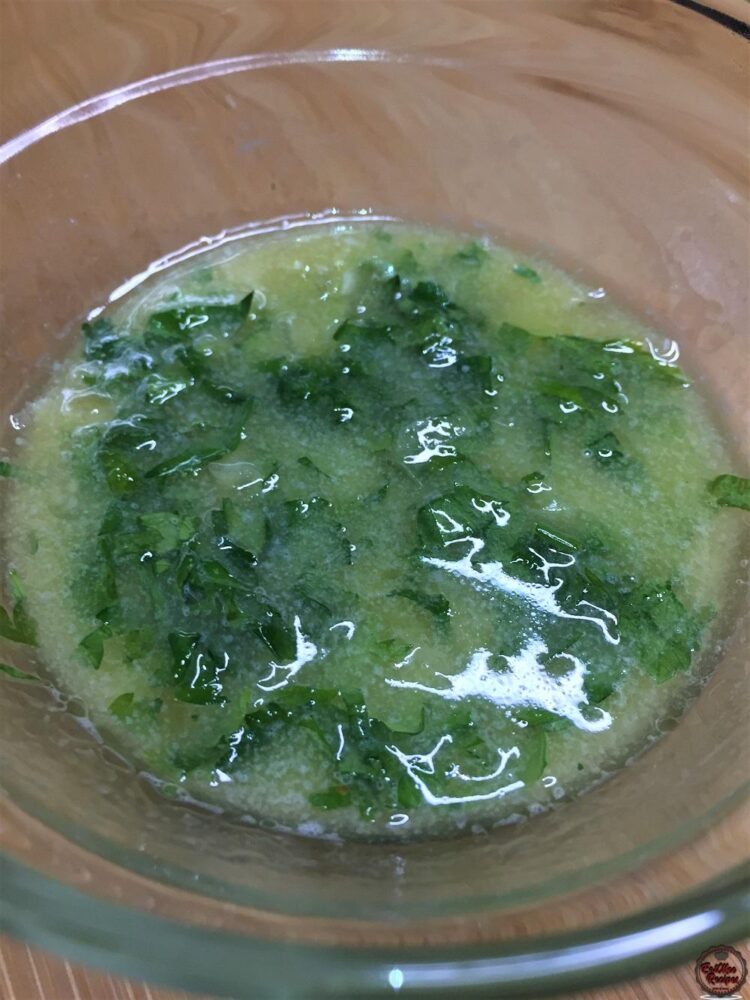
Brush the garlic butter over the Focaccia whilst it is still hot.
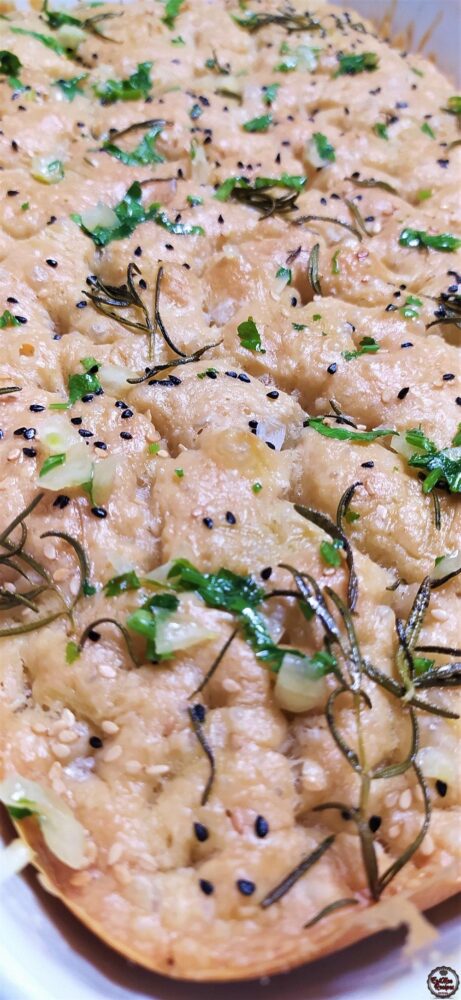
Slice the Focaccia however you prefer.
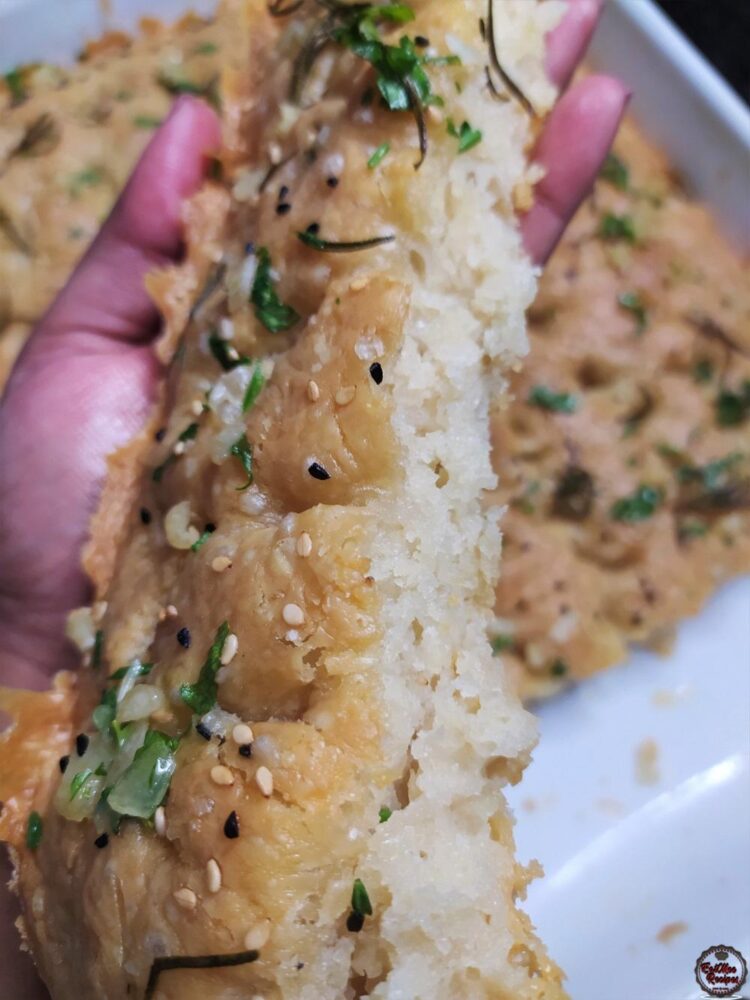
Serve as is or as side to any meal.
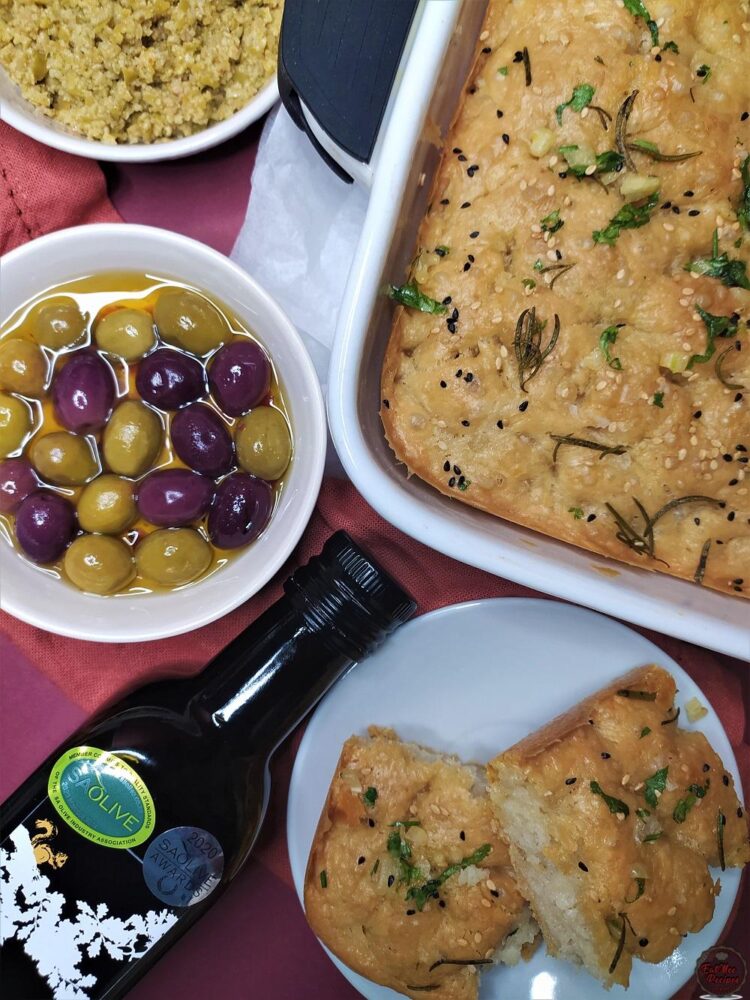
These No Knead Focaccia are best eaten fresh but can be stored in an airtight container for up to a week, depending on the humidity. Alternatively, freeze for up to a month & reheat in the oven until crisp.
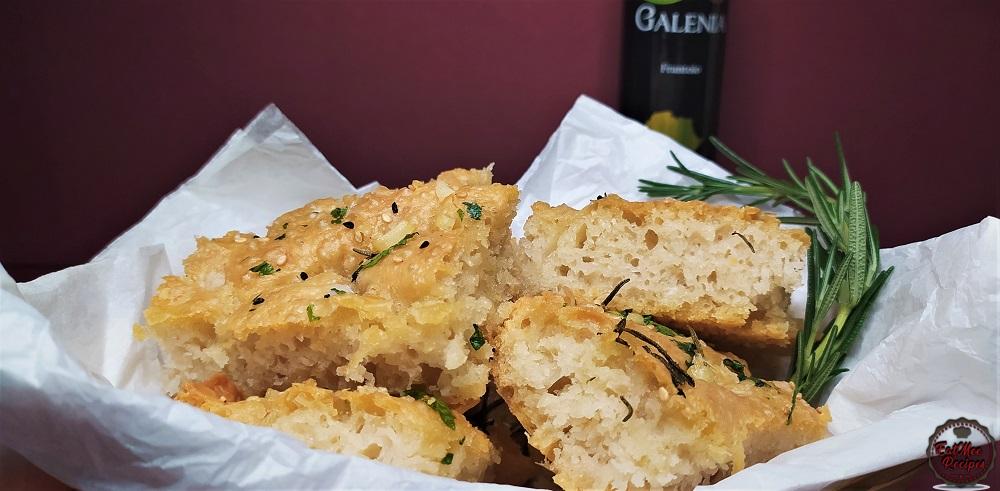
Follow along with Denisiya's step-by-step video guide for No Knead Focaccia.
Expert kitchen guidance and troubleshooting for making the best No Knead Focaccia
Absolutely! You can easily tailor the heat by increasing or reducing the chili powder and fresh chilies to suit your family’s palate without compromising the authentic flavor profile.
Yes, you can freeze No Knead Focaccia in an airtight, freezer-safe container for up to 2 to 3 months. Thaw overnight in the refrigerator before gently reheating.
Reheat gently on the stovetop over low heat with a splash of water, or in the microwave covered with a damp paper towel to retain moisture.
Hi, I'm Denisiya! Food lover, recipe developer, and founder of EatMee Recipes. I specialize in authentic South African Durban Indian cuisine, comforting curries, and modern Instant Pot adaptations. Every recipe on this site is tested in my personal kitchen to ensure you get mouth-watering, foolproof results every time.
Explore more authentic Durban curries, traditional bakes, and comforting family favourites.
 Italian Food
Creamy, cheesy and finished with a bold, spicy crunch! This Doritos Mac and Cheese is comf...
 Indian Cuisine
Spicy Mince Spaghetti: A Bold Twist on a Comfort Classic 🍝
 Indian Food
Spicy Mince Lasagna: A Flavorful Twist on a Classic Dish
Have you tried this recipe or have questions for Denisiya? Join the conversation below.
No comments yet. Be the first to share your thoughts on this recipe!
Leave a Comment
Your email address will not be published. Required fields are marked *