
We Value Your Culinary Privacy
EatMee Recipes uses cookies to provide a personalized browsing experience, analyze recipe popularity, and serve relevant ads. You can review our full disclosure in our Privacy Policy.
Make authentic Easy Pizza Dough with this foolproof recipe. Packed with rich traditional flavor, step-by-step photos, and cooking tips by Denisiya on EatMee Recipes.

Join over 60,000+ home chefs for weekly authentic Durban Indian cook-alongs, Instant Pot masterclasses, and family heritage recipes.
This easy pizza dough recipe will have you making homemade pizzas in no time. Homemade pizza gives you the option of choosing your toppings & who doesn’t love making their own choices when it comes to food.
The base of the pizza is called the crust. Crusts, indicated by style, may vary by shapes & sizes. Thin based crusts are known as hand-tossed Neapolitan pizza, or thick as in a profound dish Chicago-style. It is customarily plain, yet may likewise be prepared with garlic, seeds or herbs. The external edge of the pizza is in some cases alluded to as the cornicione.
Legend has it that pizza created in Naples when cooks expected to go through their overabundance mixture for the day, or when they required something in the stove to keep it warm. By tossing this additional batter into the broiler, & offering it to poorer individuals, they built up a sustenance that years after the fact is, humorously, amazingly mainstream with a wide assortment of clients. Clearly, the general population in Naples were eating a portion of the most punctual pizzas, & they frequently decorated them with tomatoes, cheese, oil, anchovies and garlic, much the same as numerous do today.
In a large bowl, place the flour, yeast, salt & sugar.
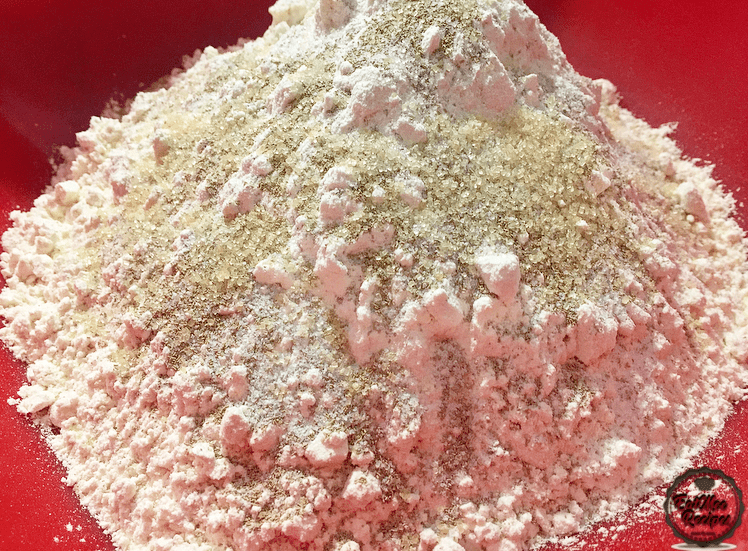
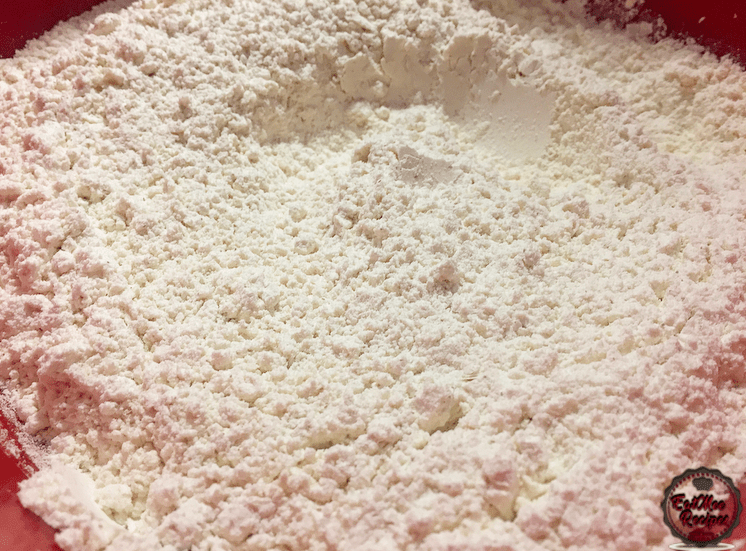
Mix well.
Pour in the oil, milk & water.
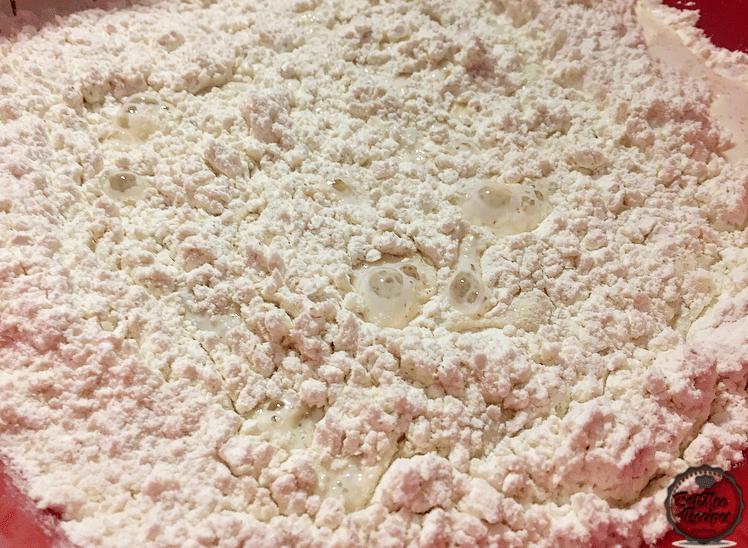
Mix until well combined.
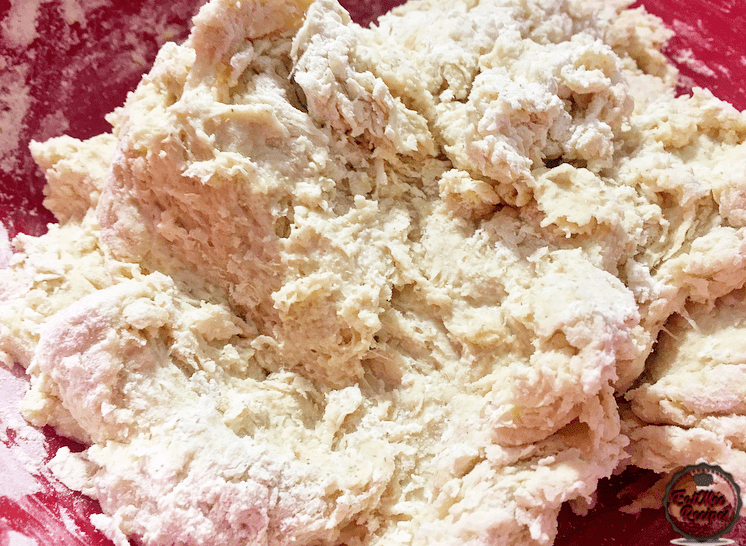
A dough will be formed which will still be sticky. Sprinkle some flour on a counter & knead the dough for 10 minutes.
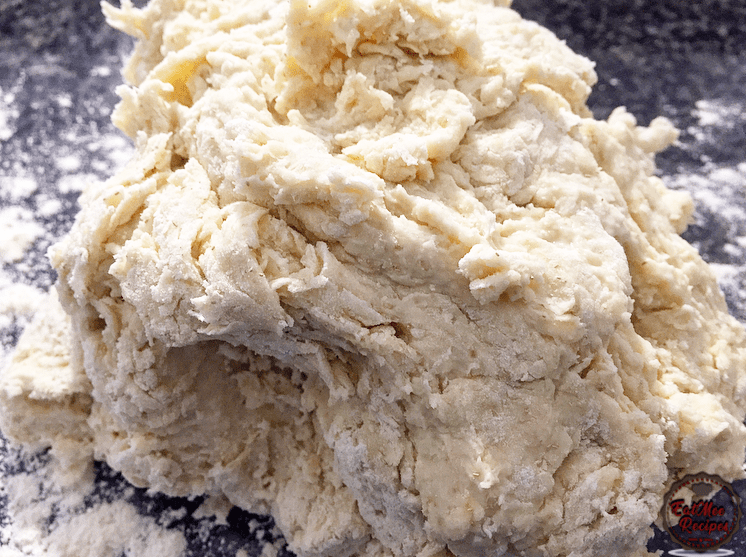
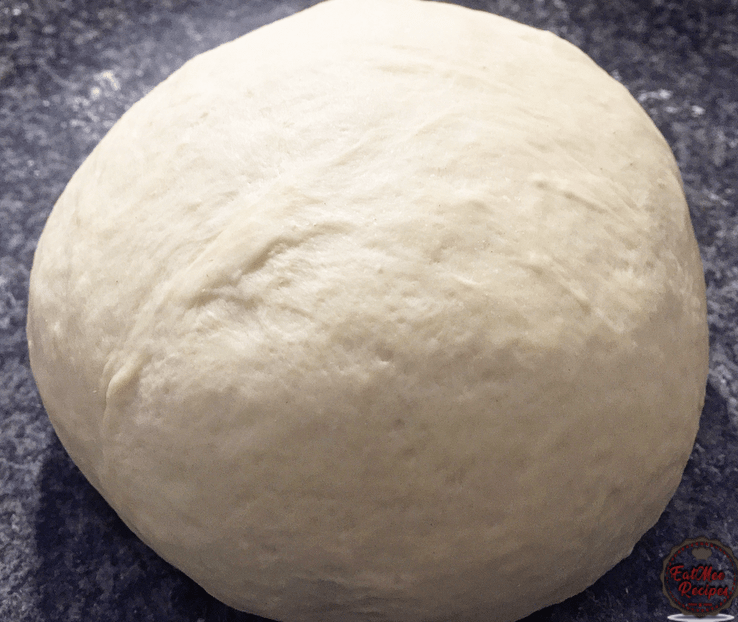
A smooth, pliable dough should form.
Grease another large bowl with some oil & pat the dough with excess oil on your hands. Cover the bowl with cling wrap.
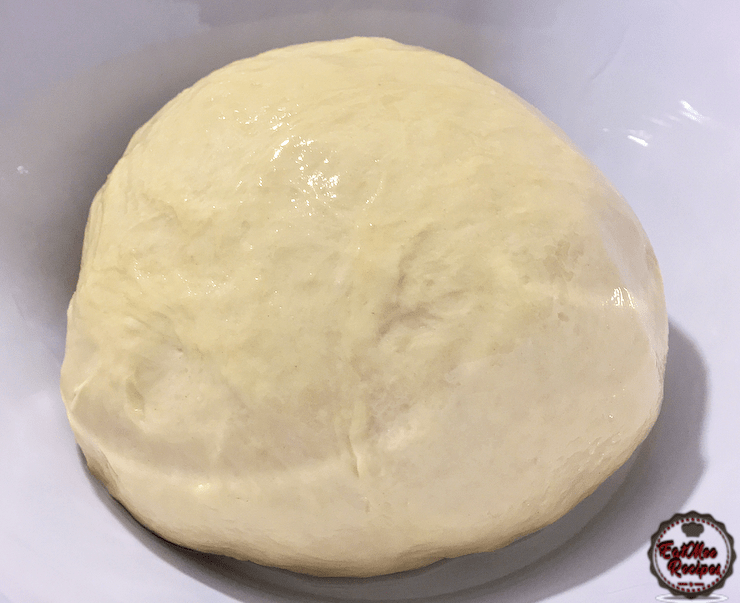
Allow the dough to rest in a dark space for 1 hour or more – I usually opt for the microwave which is turned off.
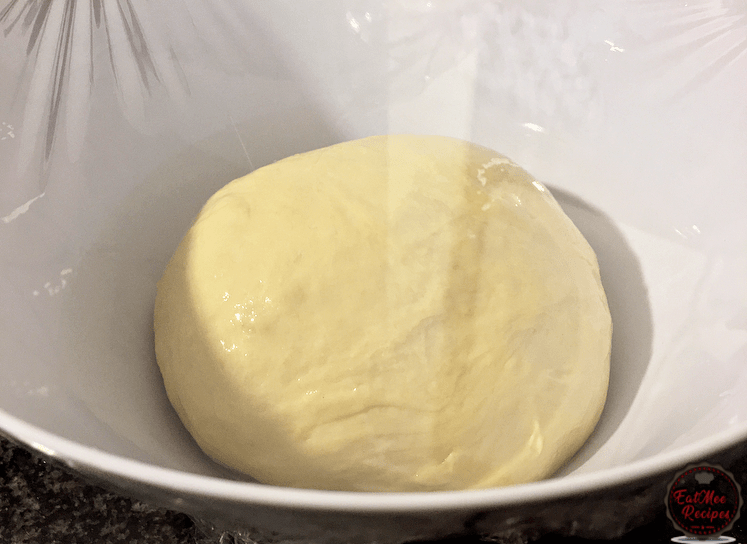
After an hour, the dough should triple in size.
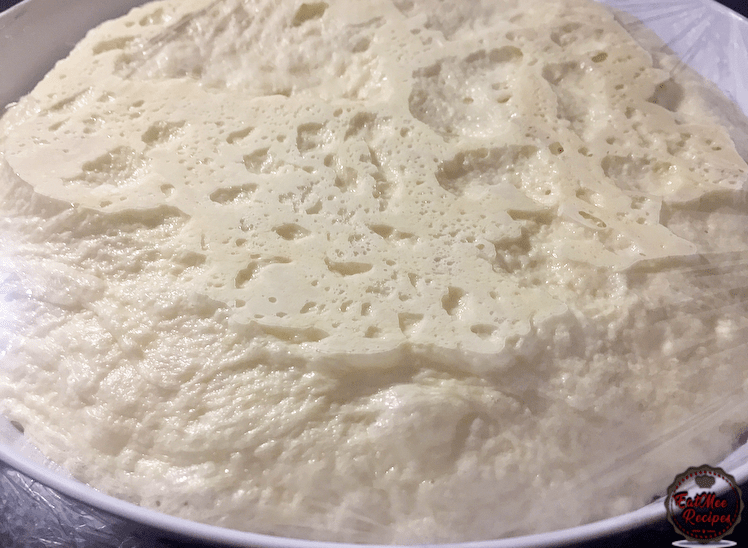
Preheat the oven to 180° Celsius.
Punch the dough down & place on a floured surface.
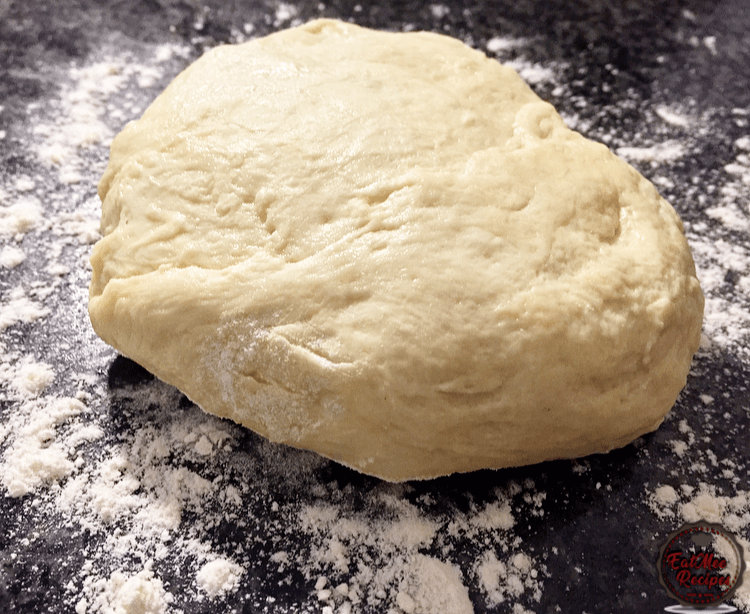
Knead for 2 minutes.
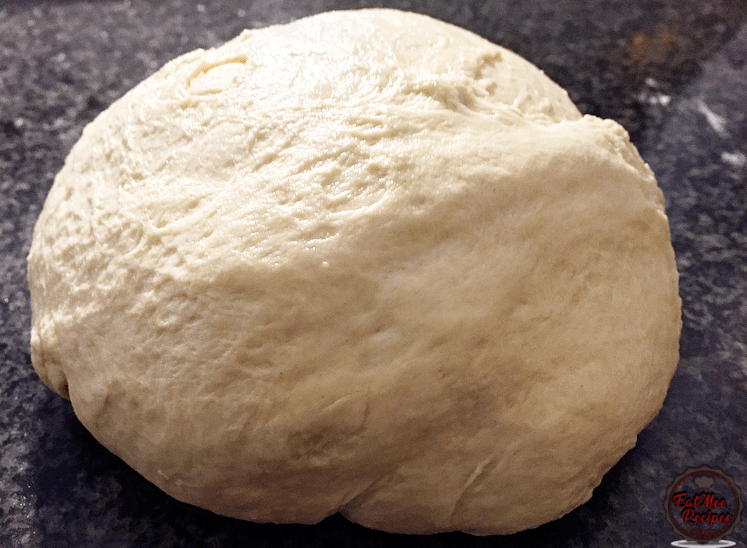
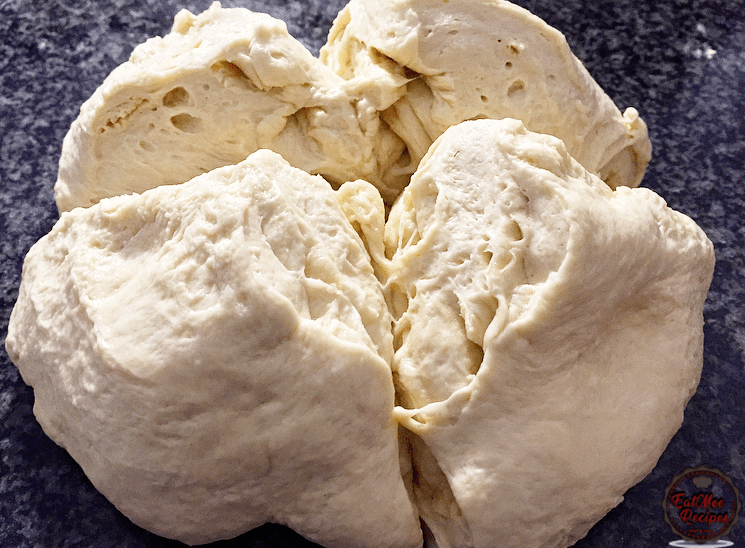
Divide the dough into 4 equal parts.
Working with one part at a time, roll out the dough onto the surface using a rolling pin. This dough can easily be stretched out forming a base, if you do not have a rolling pin. Place onto a pizza tray or a pot lid.
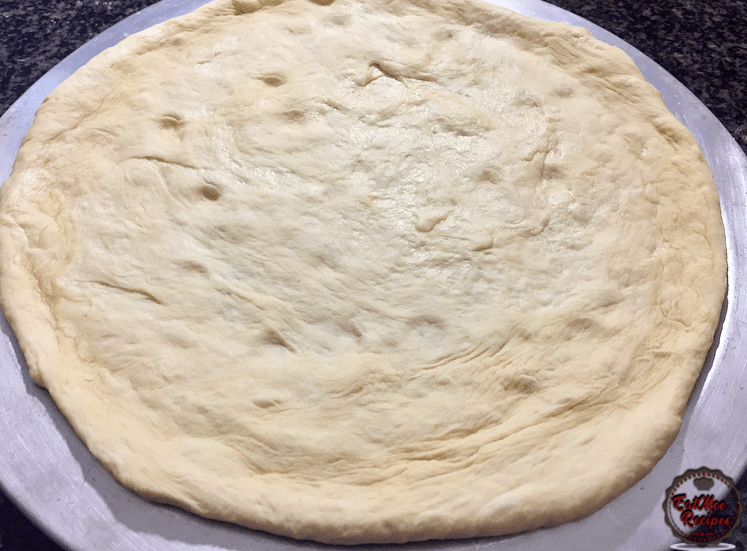
Add on whichever toppings you prefer.
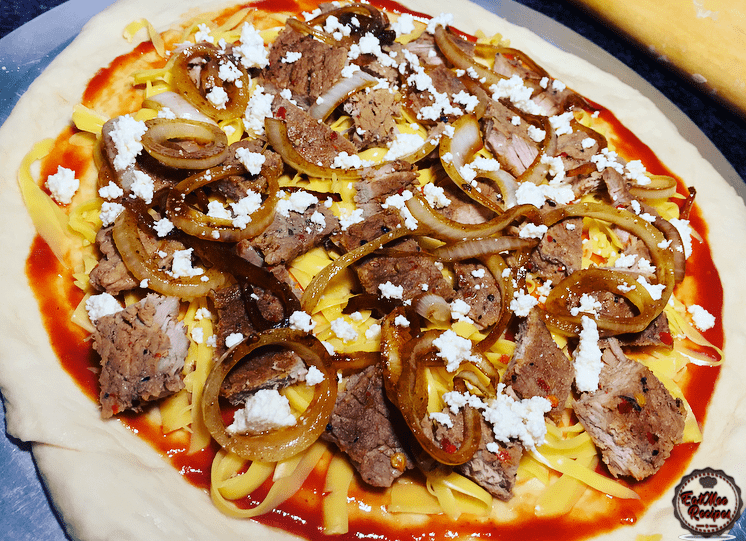
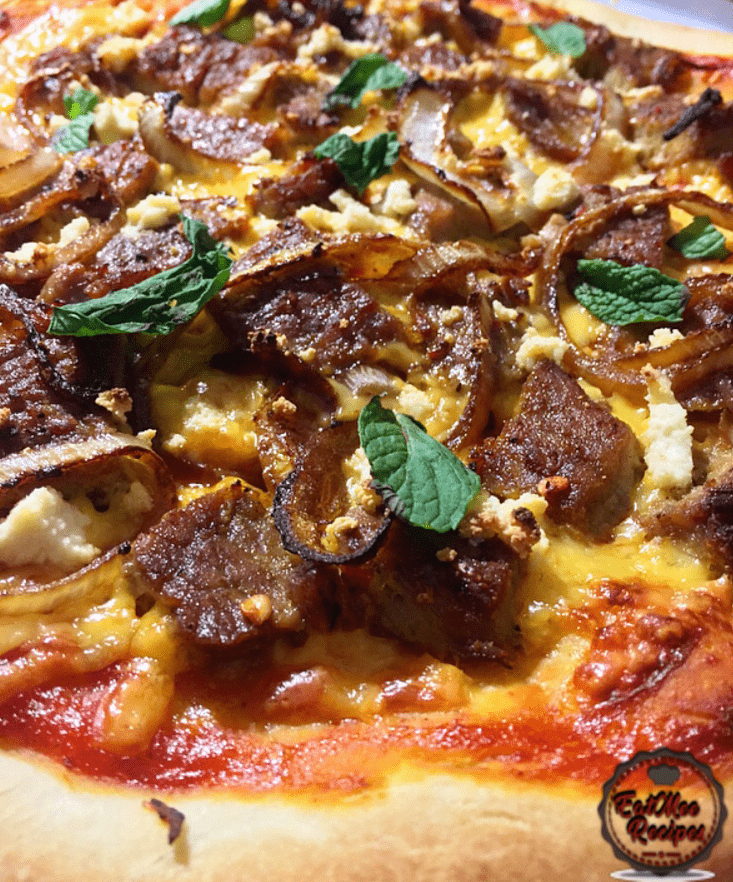
Bake at 180° Celsius for about 10-12 minutes. The longer it bakes, the crispier it will get.
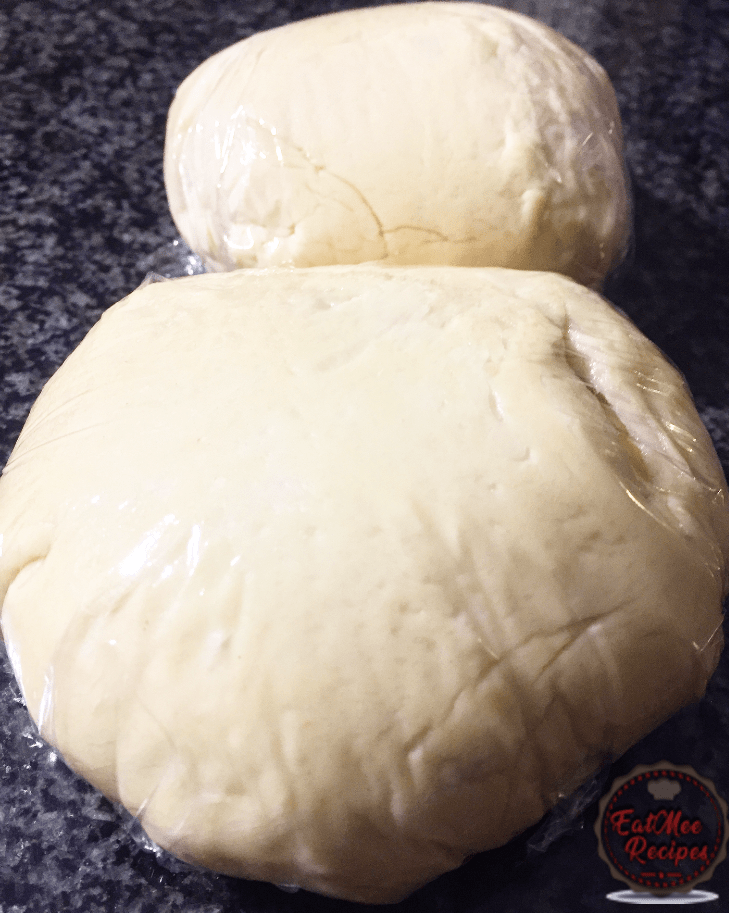
If you do not wish to use all of the dough, simply wrap them up in cling wrap & freeze. Defrost them & knead them for a few minutes before rolling them out.
Follow along with Denisiya's step-by-step video guide for Easy Pizza Dough.
Expert kitchen guidance and troubleshooting for making the best Easy Pizza Dough
The golden secret is kneading the flour with boiling hot water, which pre-gelatinizes the starches. Roll thin, cook on a hot tawa with a light brush of butter or ghee, and stack inside a covered container wrapped in a clean kitchen cloth.
Yes! Cooked rotis freeze exceptionally well. Place sheets of wax paper between each cooked roti, wrap in foil or a zip-top bag, and freeze for up to 2 months. Reheat directly on a hot pan for 30 seconds.
Stiff rotis are caused by rolling the dough with too much dry flour, rolling too thick, or cooking on too low heat for too long, which dries out the moisture. Cook on medium-high heat quickly.
Hi, I'm Denisiya! Food lover, recipe developer, and founder of EatMee Recipes. I specialize in authentic South African Durban Indian cuisine, comforting curries, and modern Instant Pot adaptations. Every recipe on this site is tested in my personal kitchen to ensure you get mouth-watering, foolproof results every time.
Explore more authentic Durban curries, traditional bakes, and comforting family favourites.
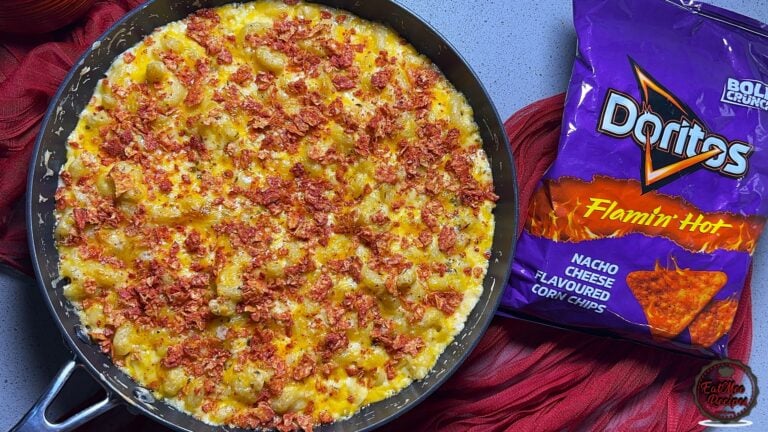 Italian Food
Creamy, cheesy and finished with a bold, spicy crunch! This Doritos Mac and Cheese is comf...
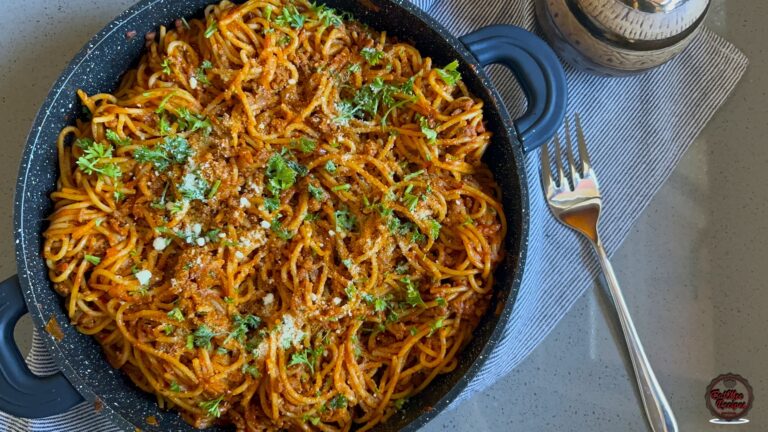 Indian Cuisine
Spicy Mince Spaghetti: A Bold Twist on a Comfort Classic 🍝
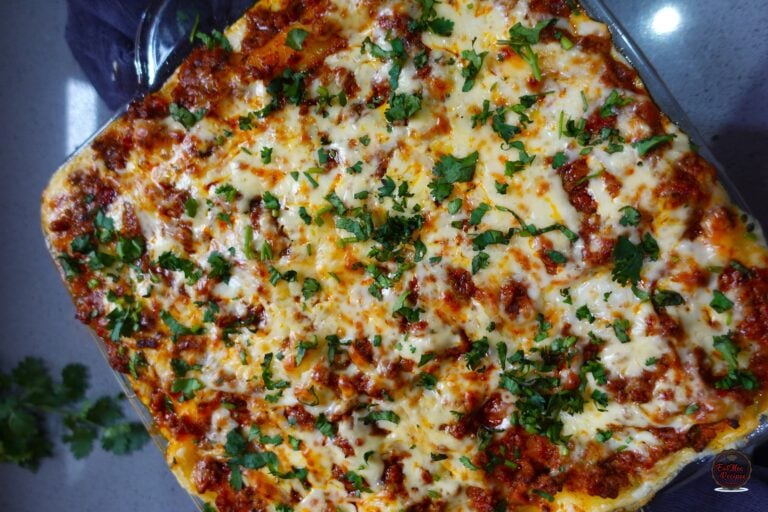 Indian Food
Spicy Mince Lasagna: A Flavorful Twist on a Classic Dish
Have you tried this recipe or have questions for Denisiya? Join the conversation below.
I am so glad i came across your videos on youtube😃 you are trully talented and doing the Lord’s work. I am a star in the kitchen and i look forward to cooking breakfast because of your recipes. Thank you so much.
Thank you so much Fikile, it makes me so happy to hear that you are enjoying my recipes 😃
Leave a Comment
Your email address will not be published. Required fields are marked *