
We Value Your Culinary Privacy
EatMee Recipes uses cookies to provide a personalized browsing experience, analyze recipe popularity, and serve relevant ads. You can review our full disclosure in our Privacy Policy.
Make authentic Bibimbap in the Instant Rice Cooker with this foolproof recipe. Packed with rich traditional flavor, step-by-step photos, and cooking tips by Denisiya on EatMee Recipes.

Join over 60,000+ home chefs for weekly authentic Durban Indian cook-alongs, Instant Pot masterclasses, and family heritage recipes.
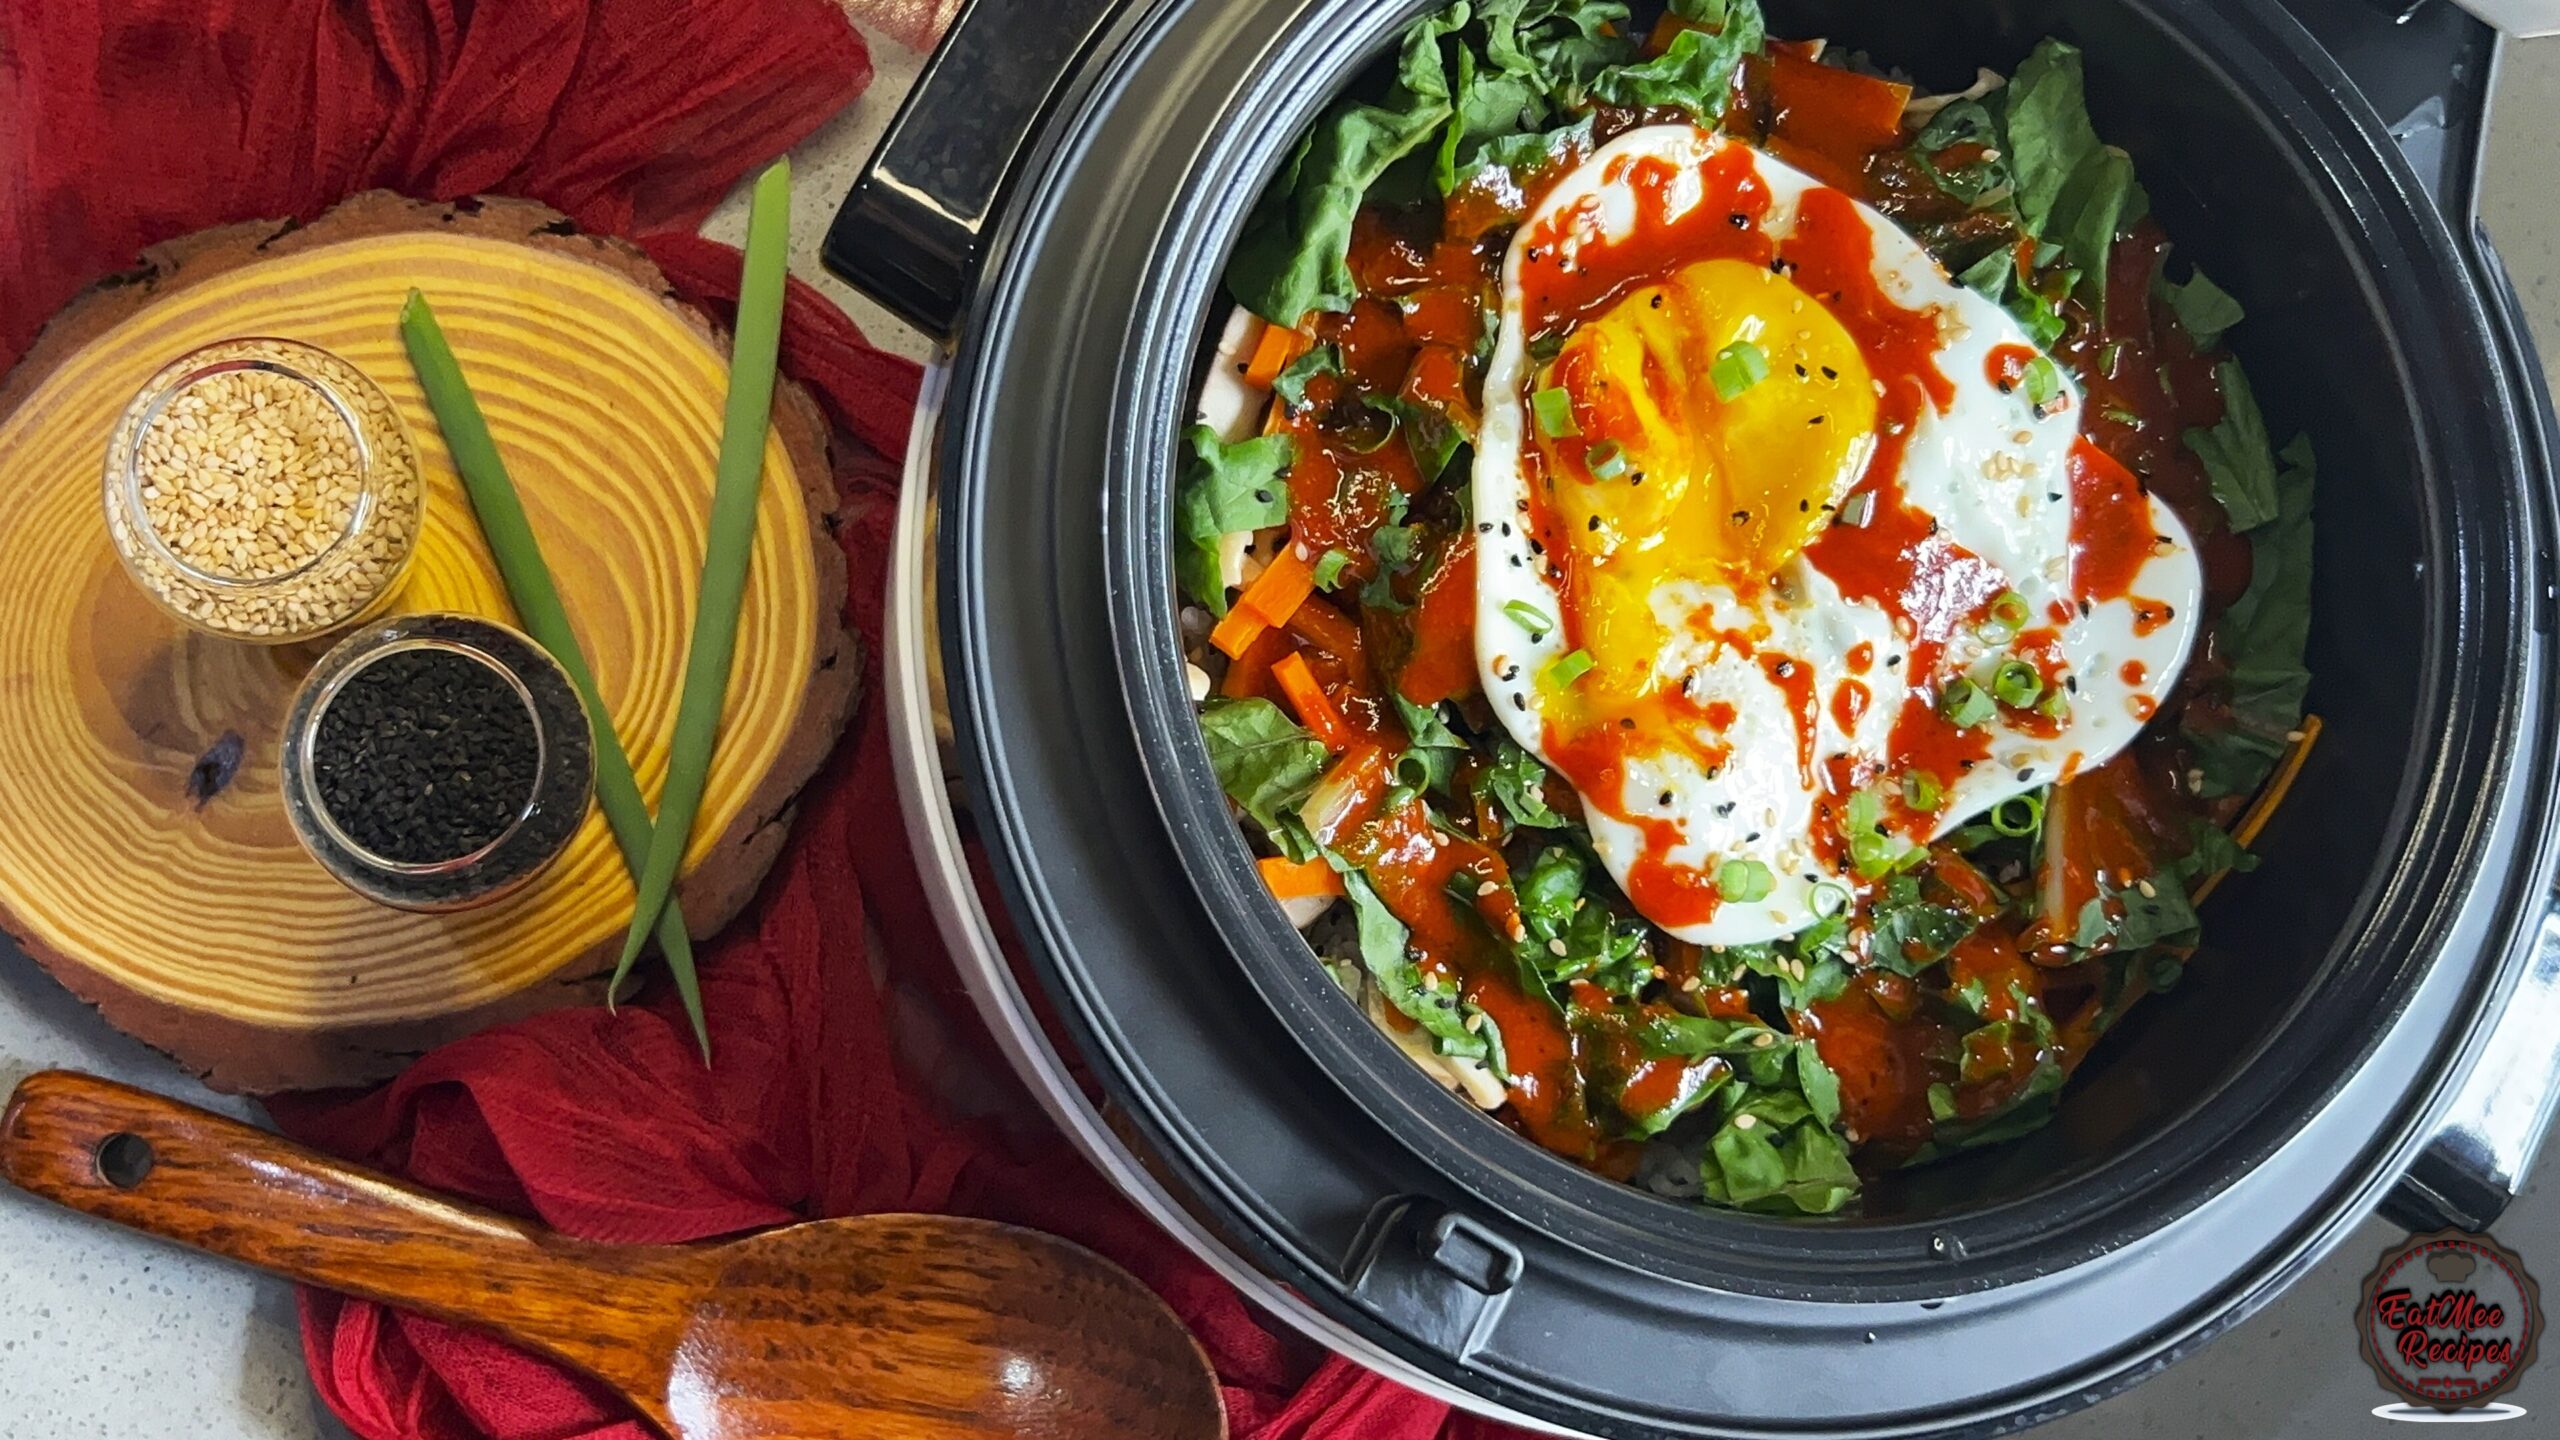
If you love Korean food but want something simple, fuss-free, and packed with flavour, this one-pot bibimbap in your Instant Pot rice cooker is a game-changer. No stovetop juggling, no multiple pans = just a layered bowl of rice, beef, veggies, and that signature bibimbap sauce.
This recipe is home-style, comforting, and packed with flavour, perfect for weeknight dinners or a cozy weekend treat.
Bibimbap is a classic Korean rice bowl loaded with vegetables, protein, and a spicy-sesame sauce, all mixed together just before eating. Each bite is full of contrasting textures and rich flavours and now, you can make it in one pot with your rice cooker.
Cooking rice in the Instant Rice Cooker is effortless. The cooker automatically adjusts time and temperature based on moisture and heat, ensuring perfectly tender rice every time.
Just select the program, let it run, and focus on preparing the rest of your Bibimbap toppings while it works its magic.
You shouldn’t open the Instant Rice Cooker while your Bibimbap rice is cooking. Opening it mid-cycle releases heat and steam, which can affect the texture and prevent the rice, meat and vegetables from cooking evenly.
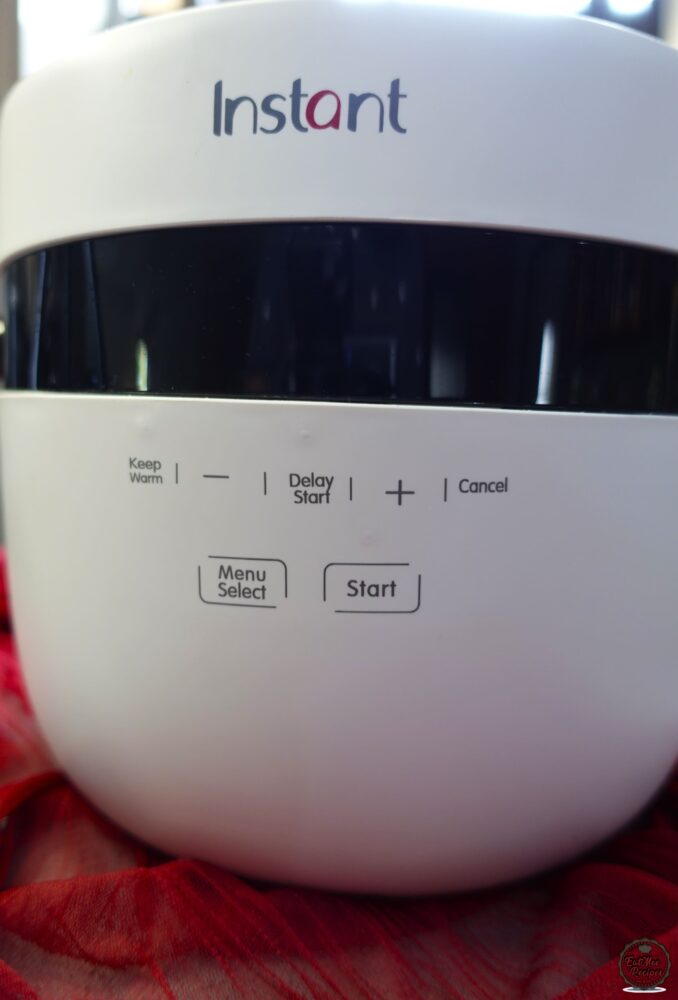
I used the Instant Pot Rice Cooker & Steamer (12-cup/2.8 L) for this recipe, and it makes this Bibimbap completely foolproof.
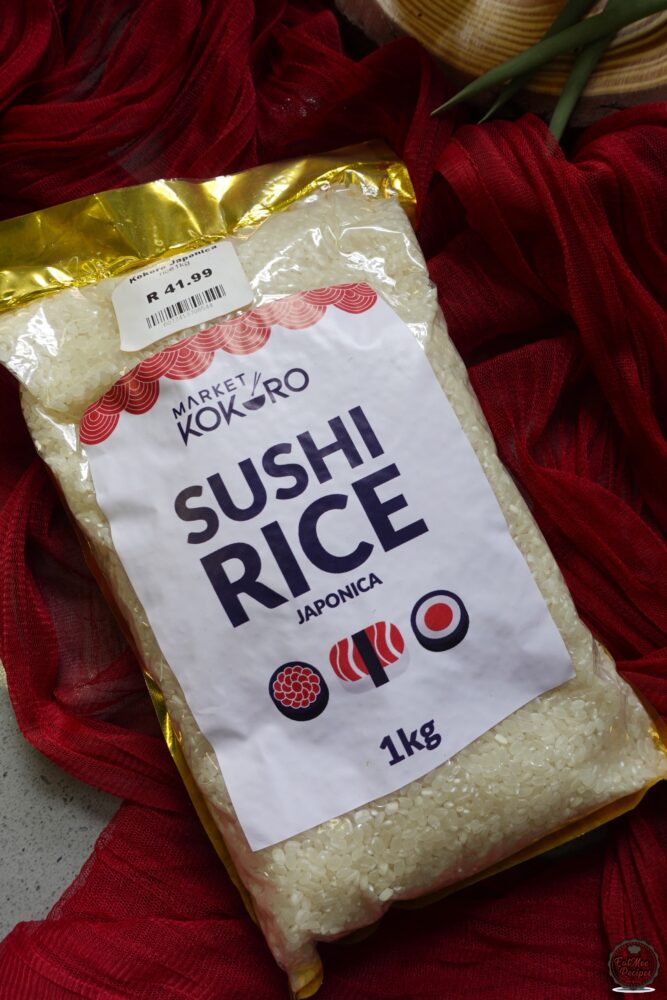
For Bibimbap, sushi rice is the star. Its slightly sticky texture allows the rice to hold together without becoming mushy, making it perfect for mixing with all the vegetables, meat, and sauces. Using the right rice ensures every bite has that satisfying balance of texture and flavor. I got this from Market Kokoro.
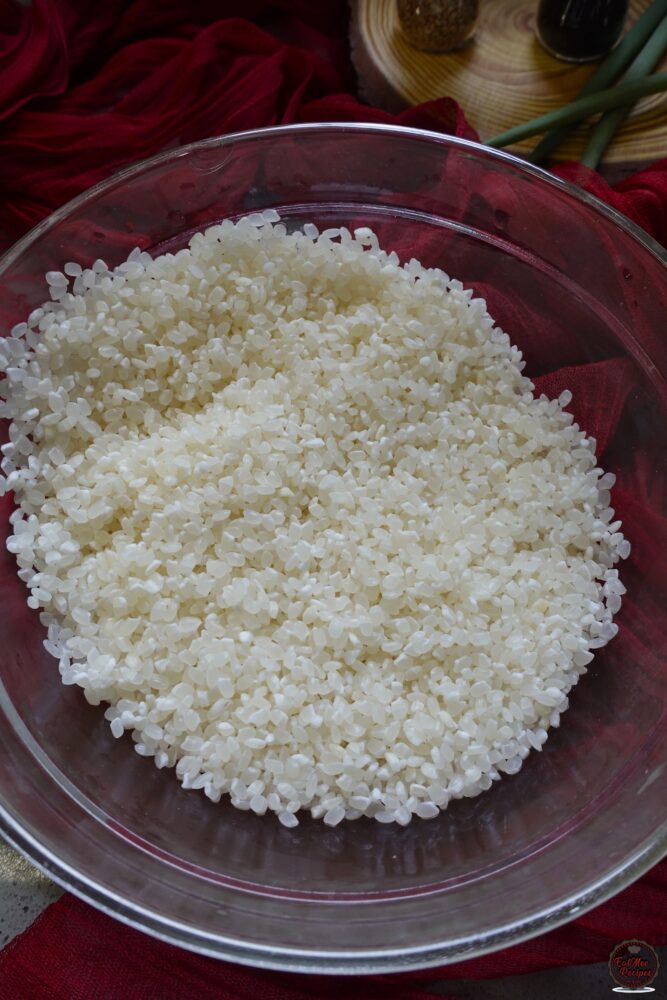
Add the sushi rice to a bowl.
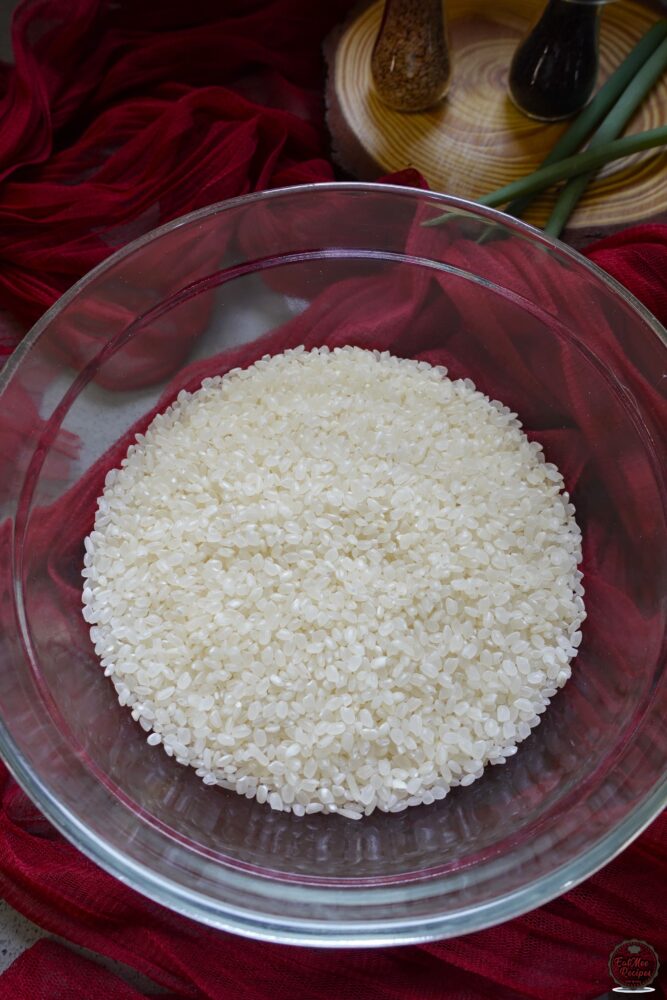
Rinse the sushi rice a few times in cold water until it runs mostly clear, this removes excess starch and ensures perfectly tender, slightly sticky rice for Bibimbap.
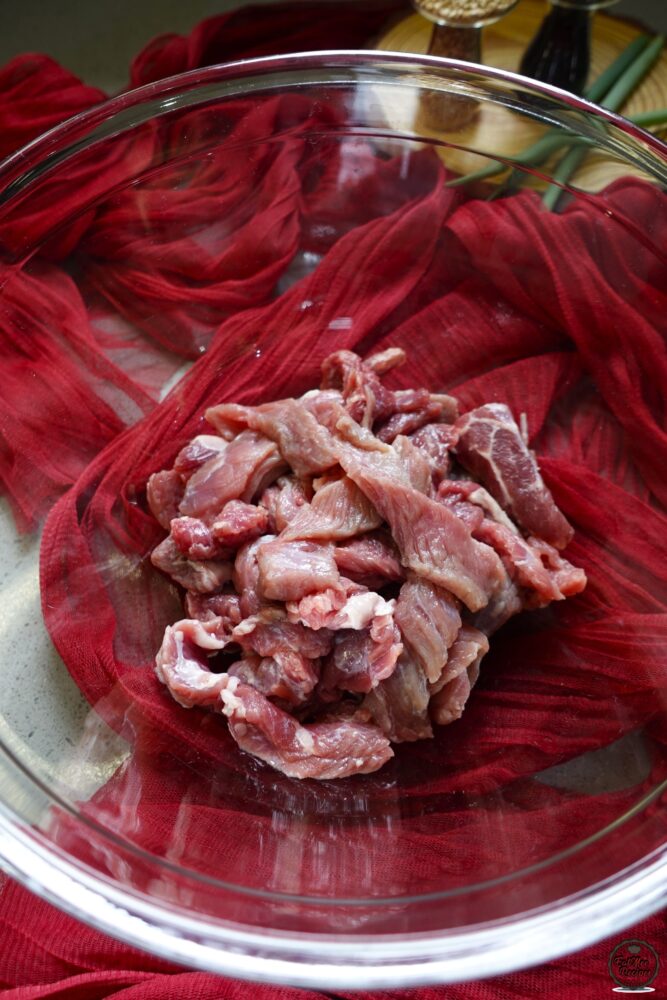
I used beef shin for this recipe because it was what I had on hand. It works fine when sliced thinly, but it can be a bit chewy. Better cuts for a tender result include sirloin, ribeye, or tenderloin, which cook quickly and stay soft in the rice cooker.
To the beef, add light soy sauce, sesame oil, rice vinegar or lemon juice, sugar or honey and the grated clove of garlic.
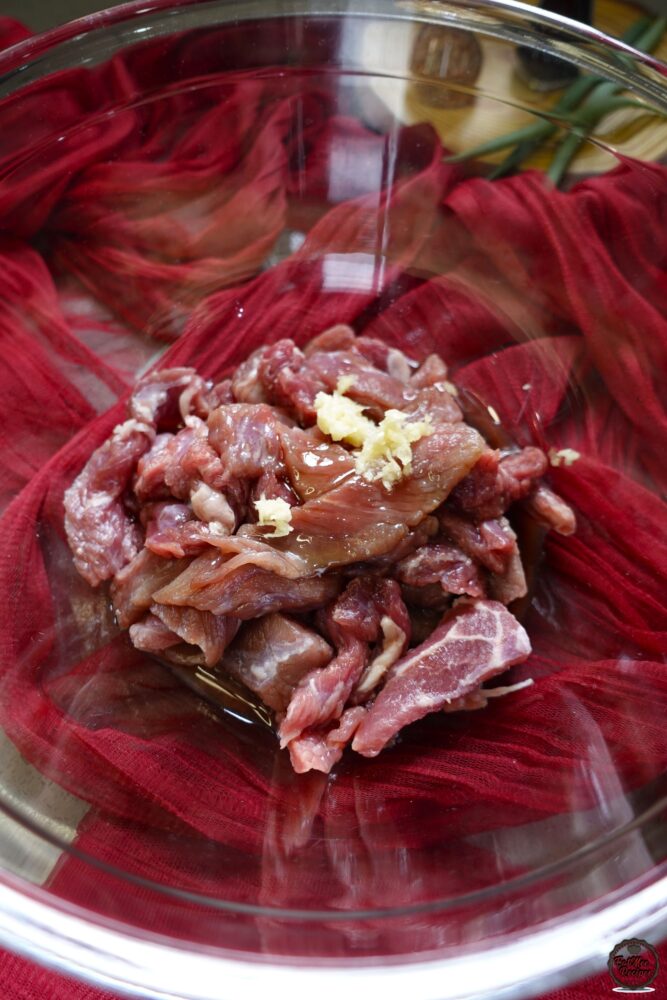
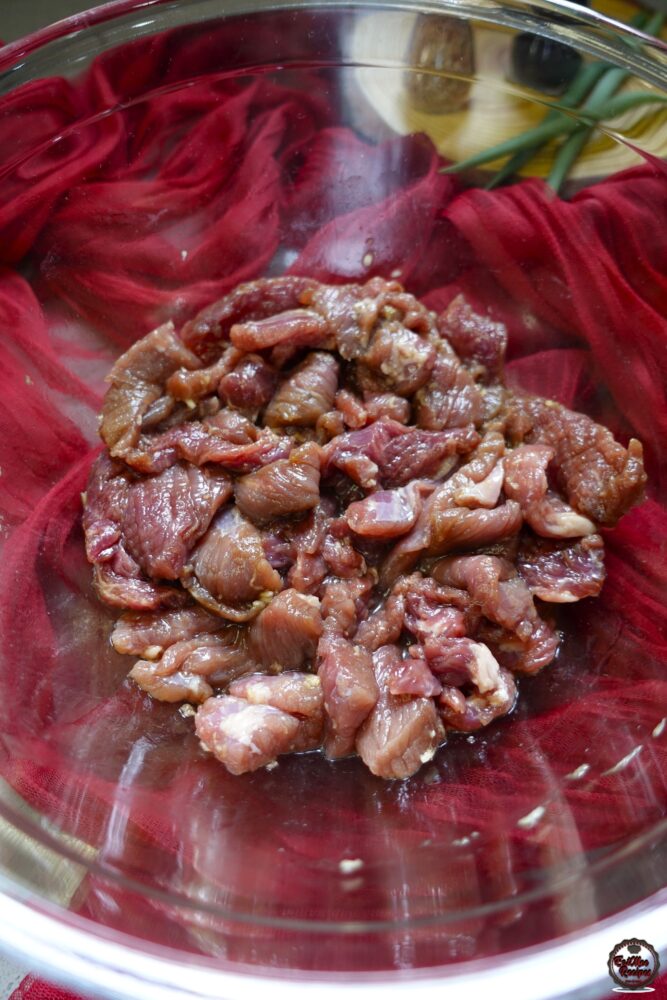
Mix well and marinate for 20-30 minutes.
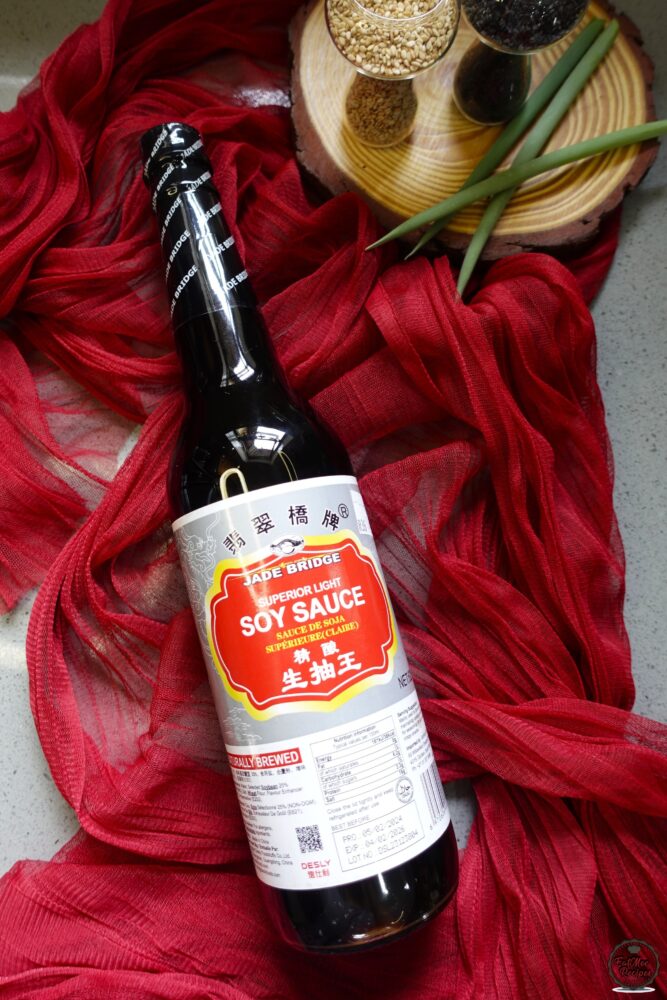
For reference, this is the light soy sauce I use. I get it from Gorimas (not sure which other stores stock them) but this is my go to.
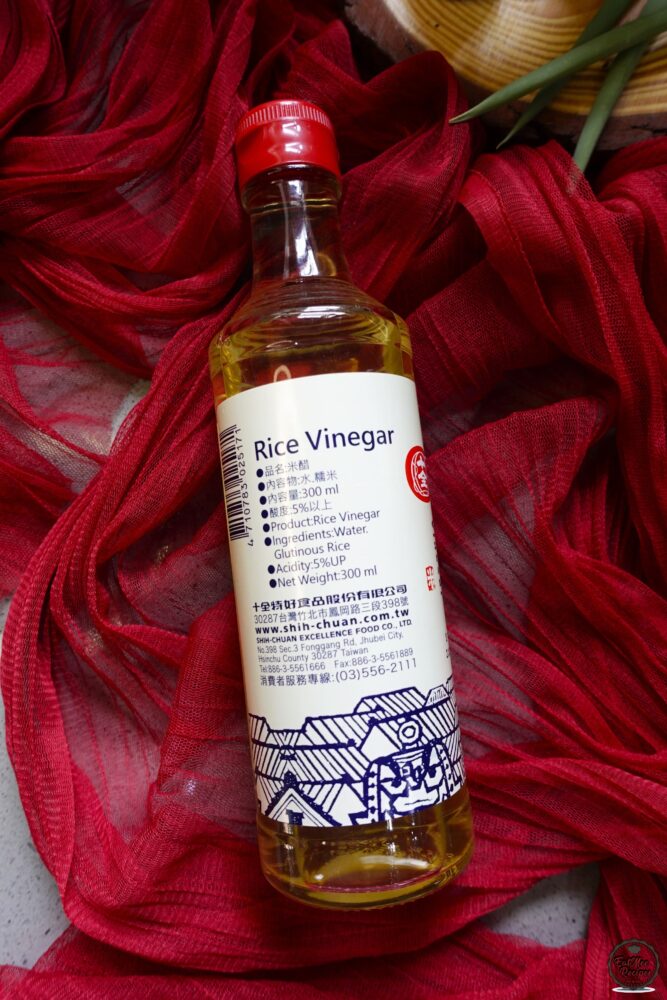
This is the rice vinegar that I use which can be found at Asian stores (not sure which specific store I got it from).
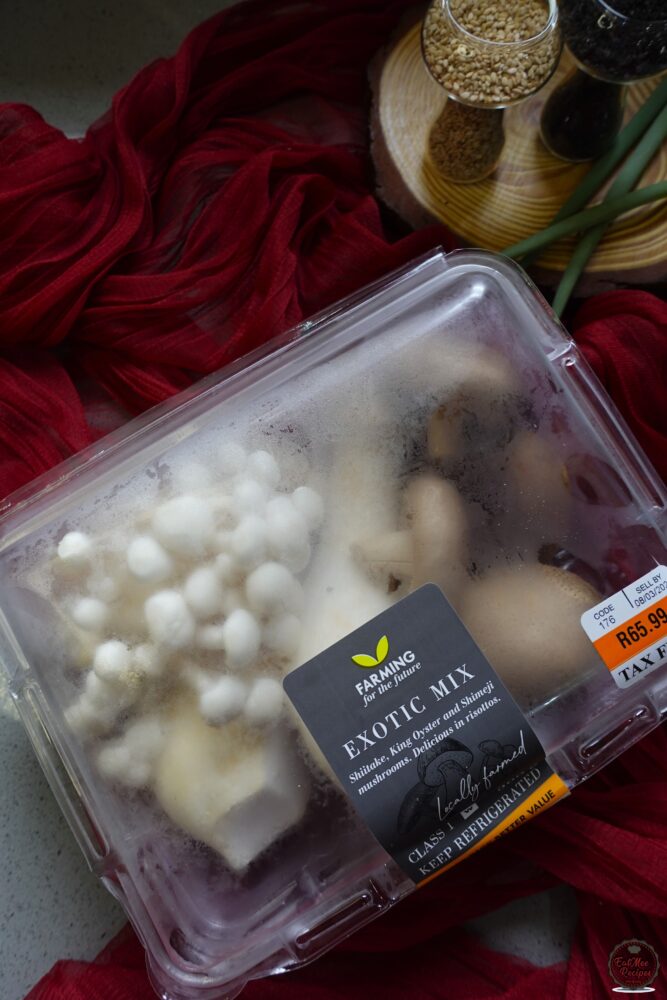
Next, I’m using exotic mushrooms from Woolworths, which includes shiitake, king oyster, and shimeji mushrooms. If you can’t find this mix, feel free to use any mushrooms you have available.
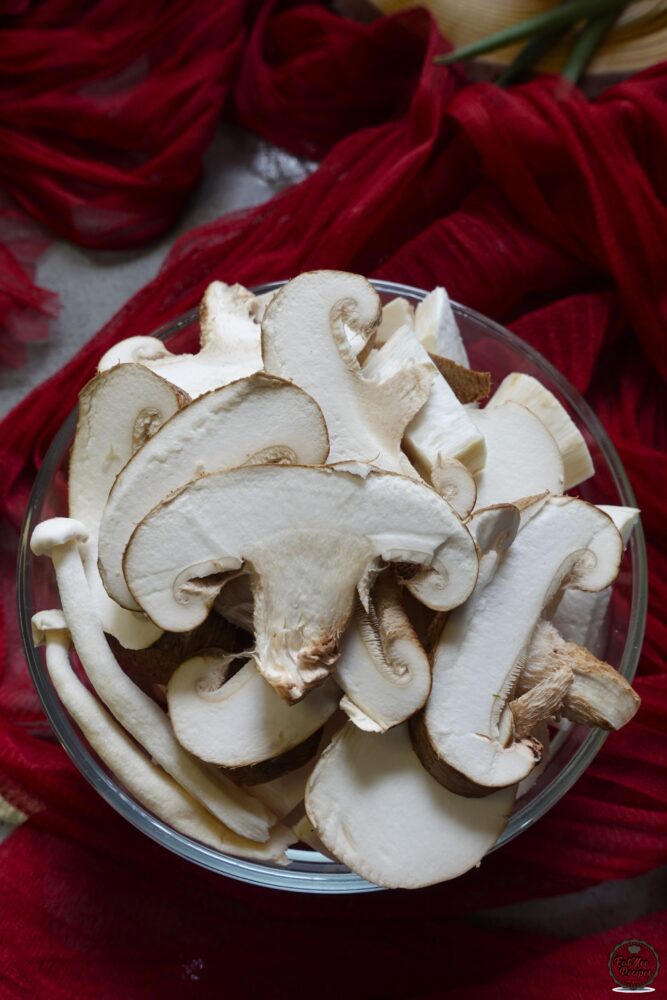
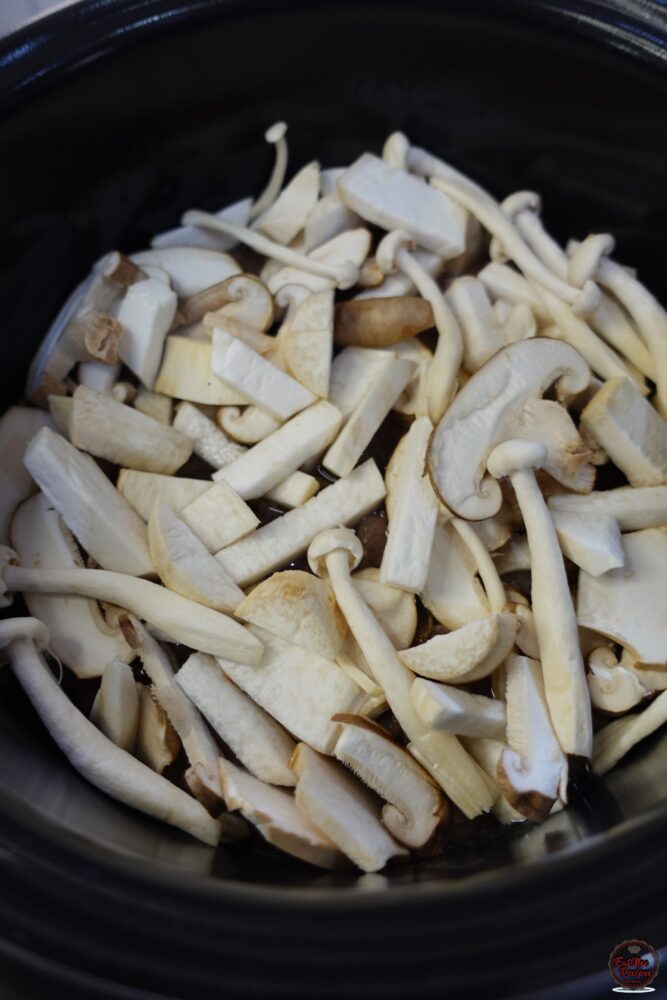
I only used ½ of the shimeji, 1 king oyster, and 2 shiitake mushrooms, roughly chopped. Try not to cut them too small as mushrooms shrink while cooking. I left the shimeji whole since they’re already quite small.
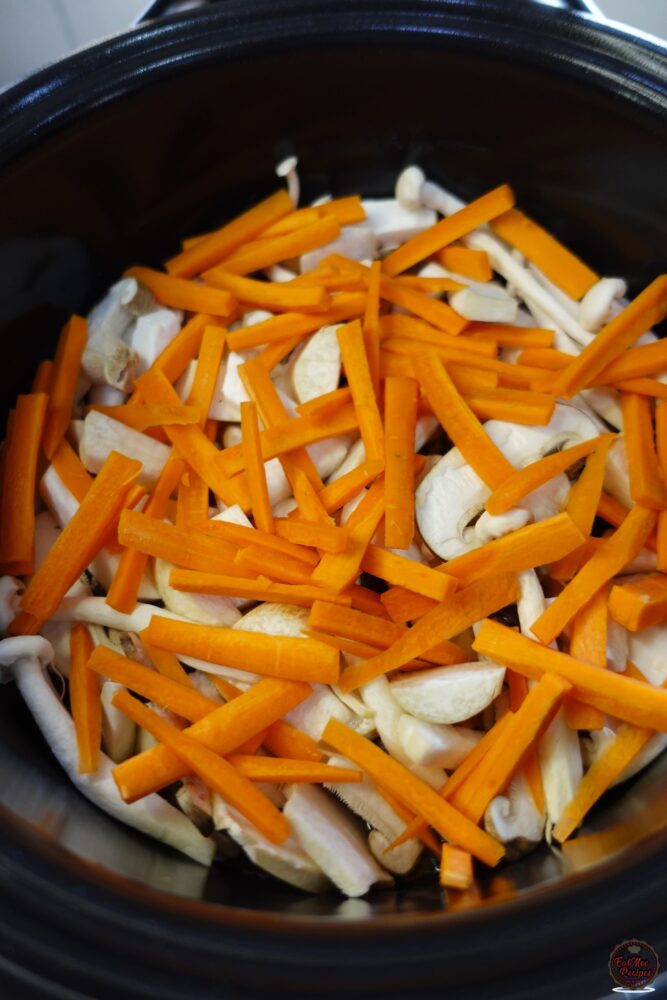
For the carrots, simply peel and rinse them. I’ve julienned mine but feel free to grate them if it’s easier.

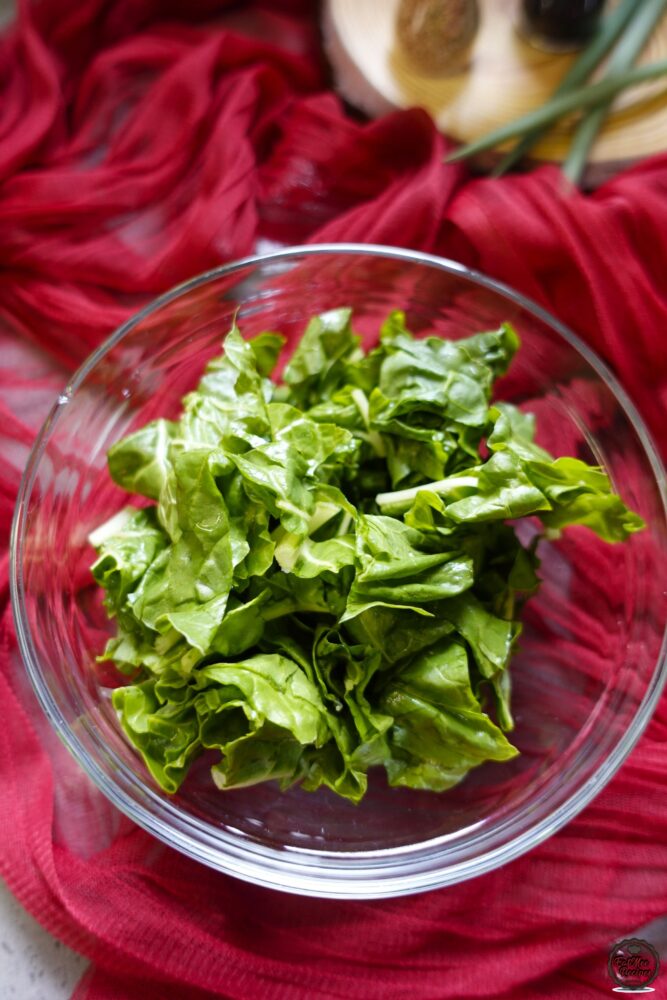
Rinse and roughly chop the spinach so all of your veg is prepped and ready.
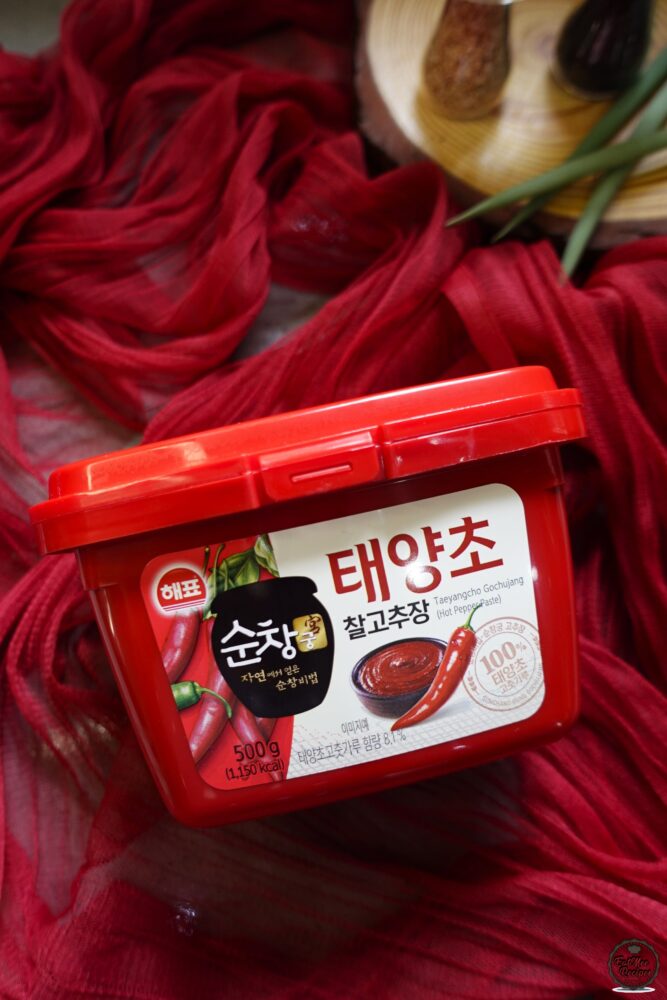
No Bibimbap is complete without Gochujang. This Korean fermented chili paste is what gives Bibimbap its signature bold flavour. It brings together heat, a touch of sweetness, deep umami, and a slight tang, creating a sauce that ties all the ingredients in the bowl together. Without it, Bibimbap would simply be a bowl of rice and toppings; gochujang is what gives the dish its authentic Korean character.
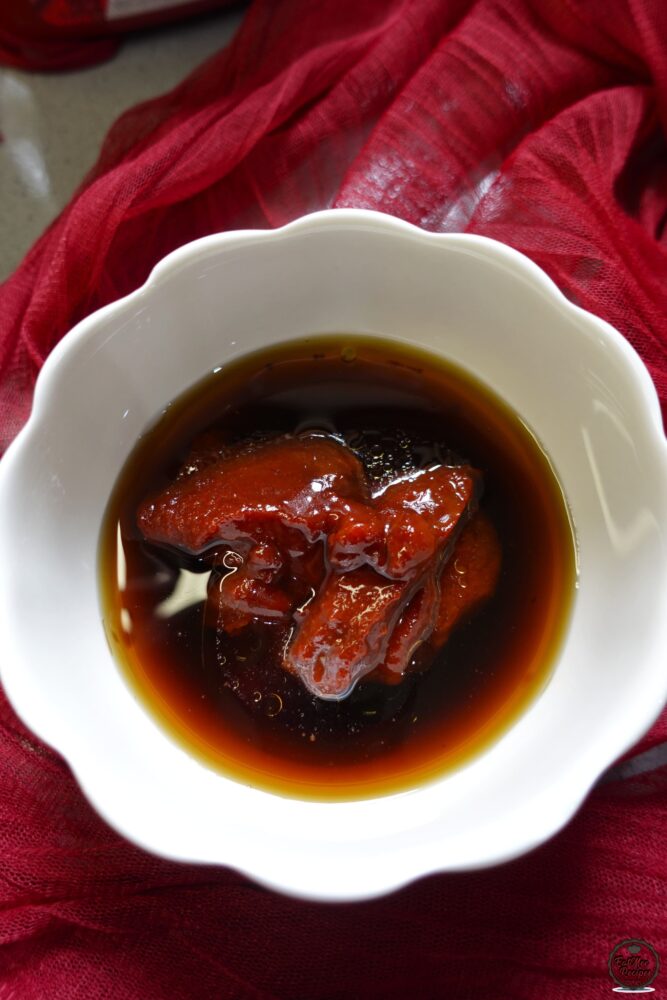
I then made the Bibimbap sauce. You may do this at the end or during the cooking time. To a bowl, add all the sauce ingredients (gochujang, sesame oil, light soy sauce, rice vinegar sugar or honey and water.
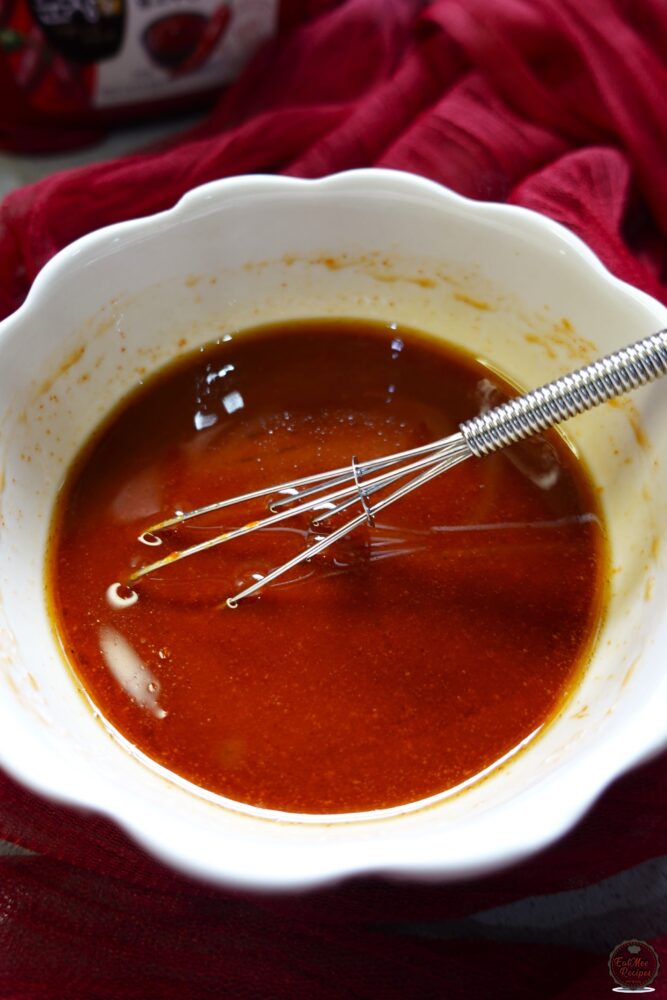
Mix together until well combined.
Now onto the cooking – add the rinsed sushi rice to the inner pot of the Instant Rice Cooker, followed by 1½ cups of water.
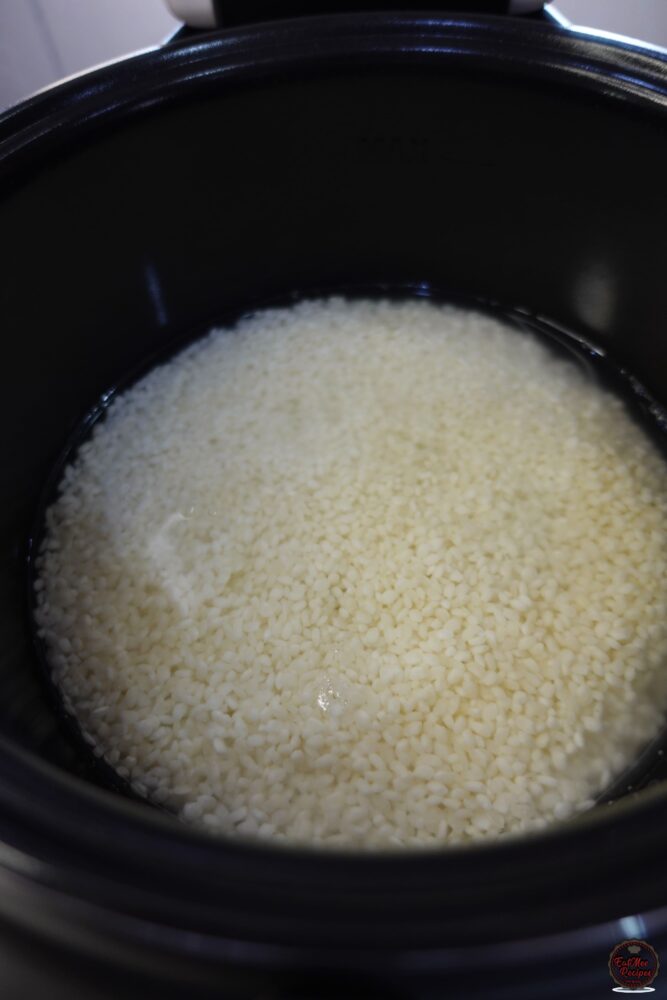
Spread the marinated beef over the rice. It may not look the most appealing at this stage, but trust the process – it all comes together beautifully once cooked.
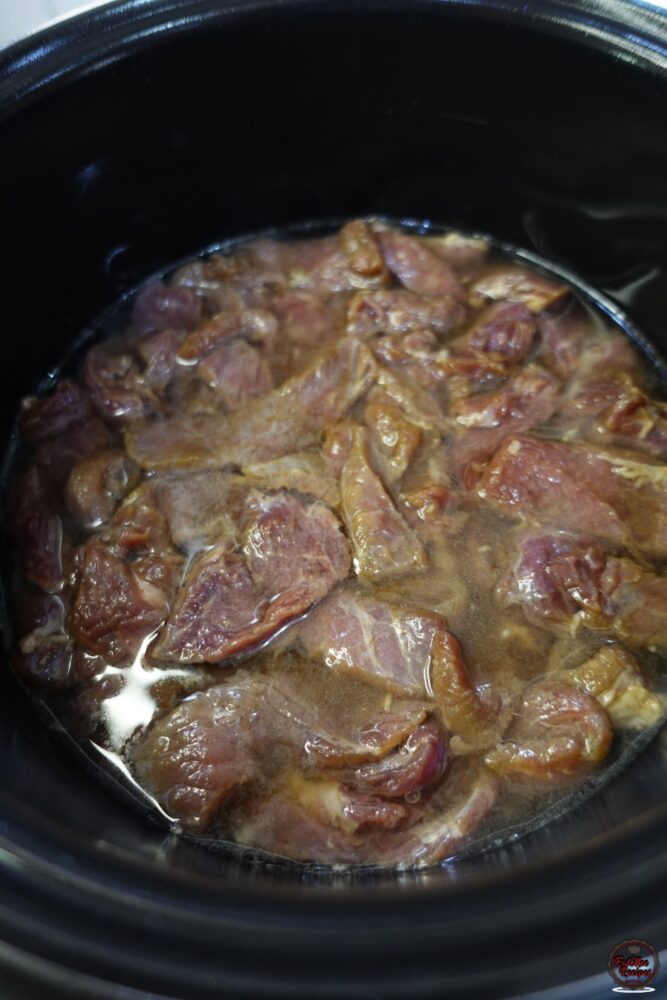
Next, add the mushrooms over the beef, spreading them out in an even layer.
Finish with the carrots, spreading them evenly as the final layer on top.
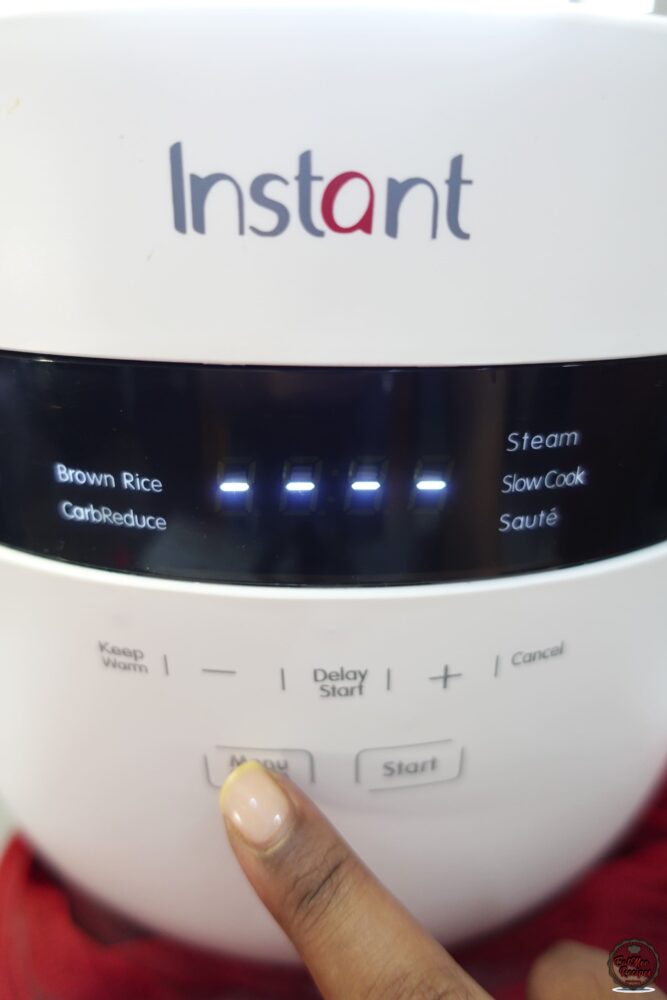
Close the lid and press the menu select button.
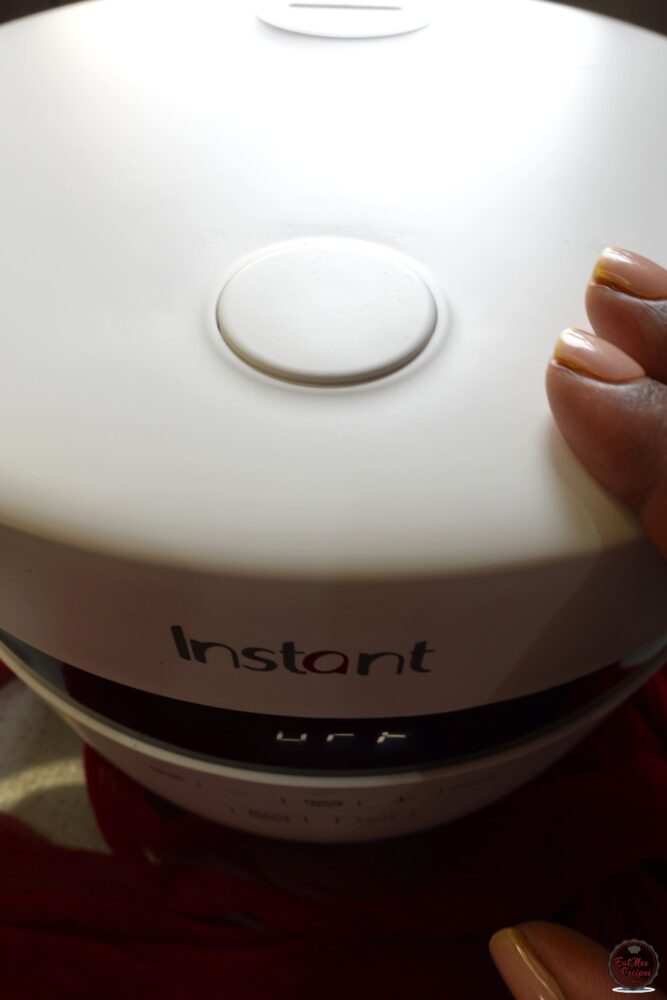
It should select the White Rice program then press ‘Start’.
Unlike some cookers, this one doesn’t have a set timer because it adjusts and cooks the rice perfectly on its own. For this recipe, it took about 35 minutes to cook, then the timer counted down the final 5 minutes.
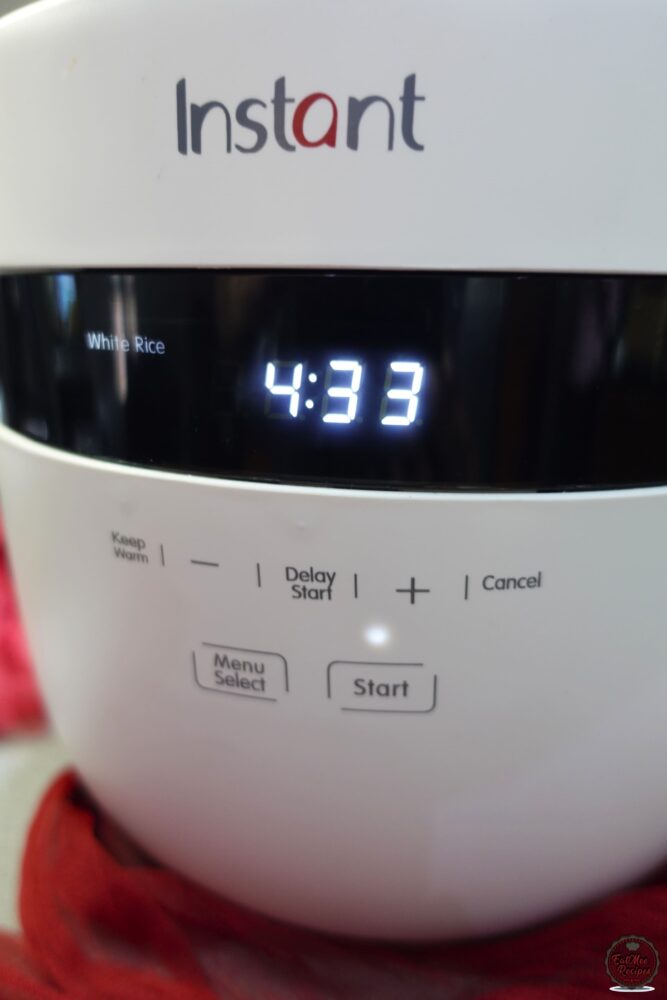
Your total cook time for Bibimbap will be 40 minutes. As soon as it’s done, it beeps and automatically switches to ‘Keep Warm’.

When you open the lid, you’ll be greeted with the most incredible aroma – the savoury beef, earthy mushrooms, and rice all perfectly cooked together.
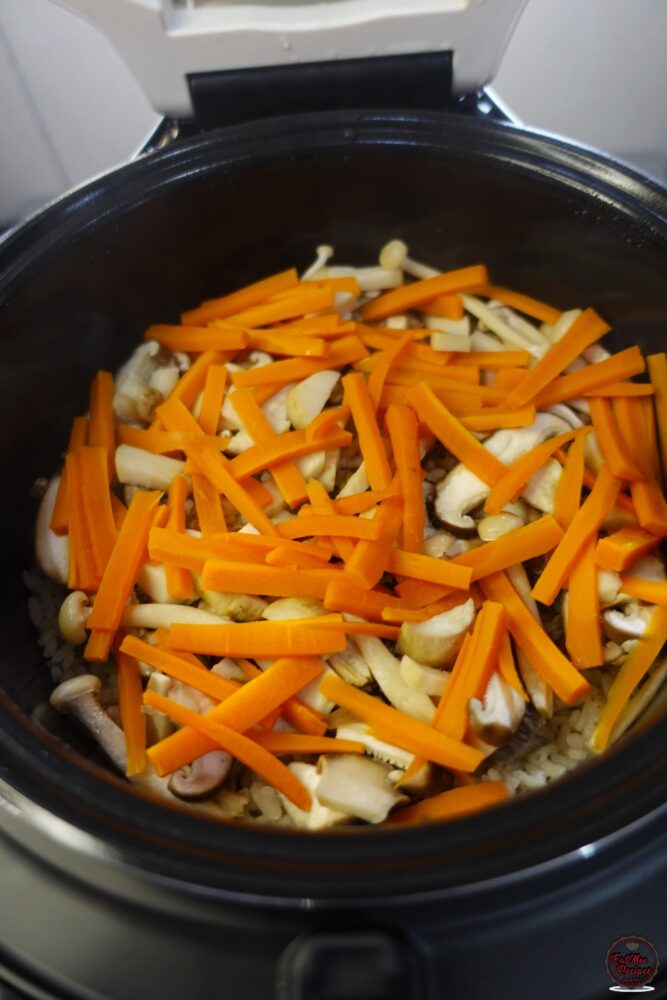
Now add the spinach on top.
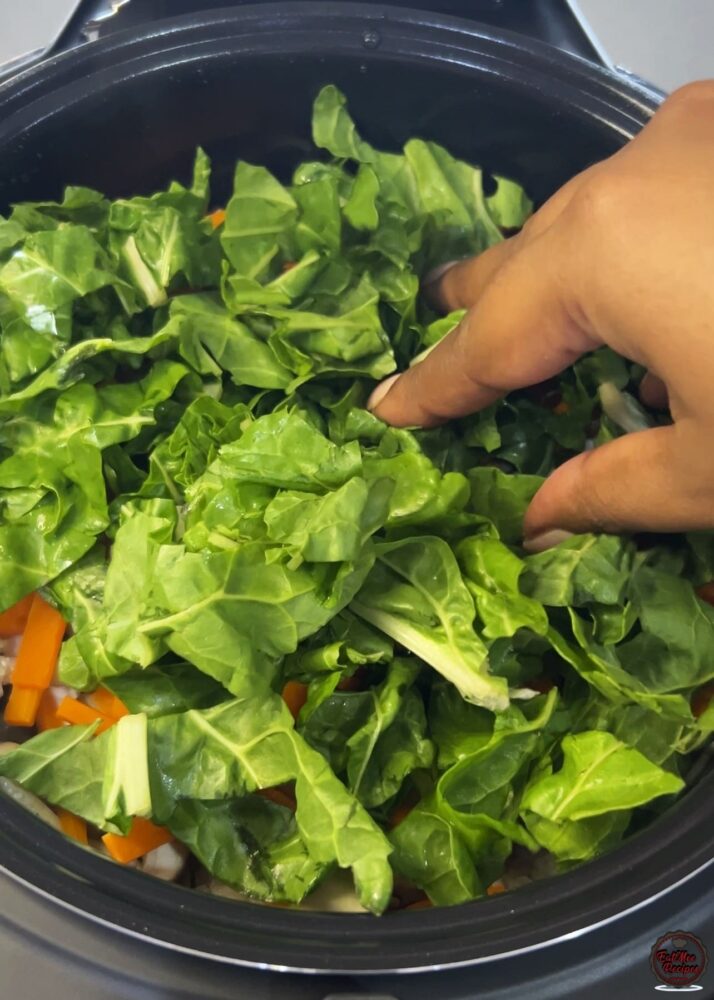
Close the lid again, and leave it for about 5 minutes without pressing any buttons. The residual heat and steam inside the cooker will gently wilt and cook the spinach.
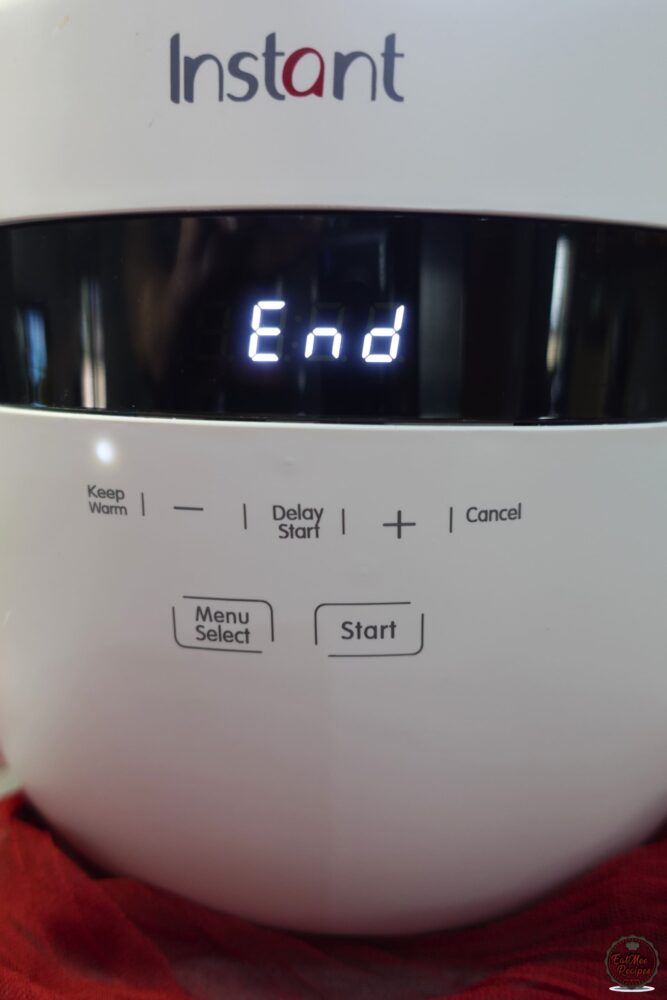
While the spinach is gently cooking in the residual heat, go ahead and fry an egg – sunny side up works best for Bibimbap, as the runny yolk adds extra richness when mixed through the rice.

After about 5 minutes, open the lid.
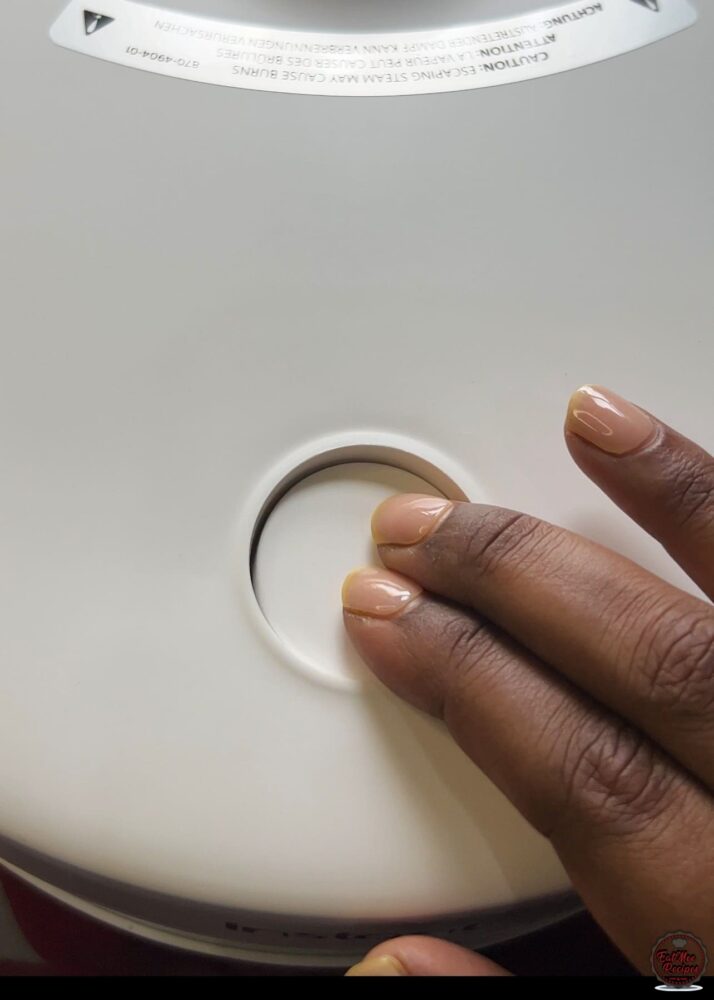
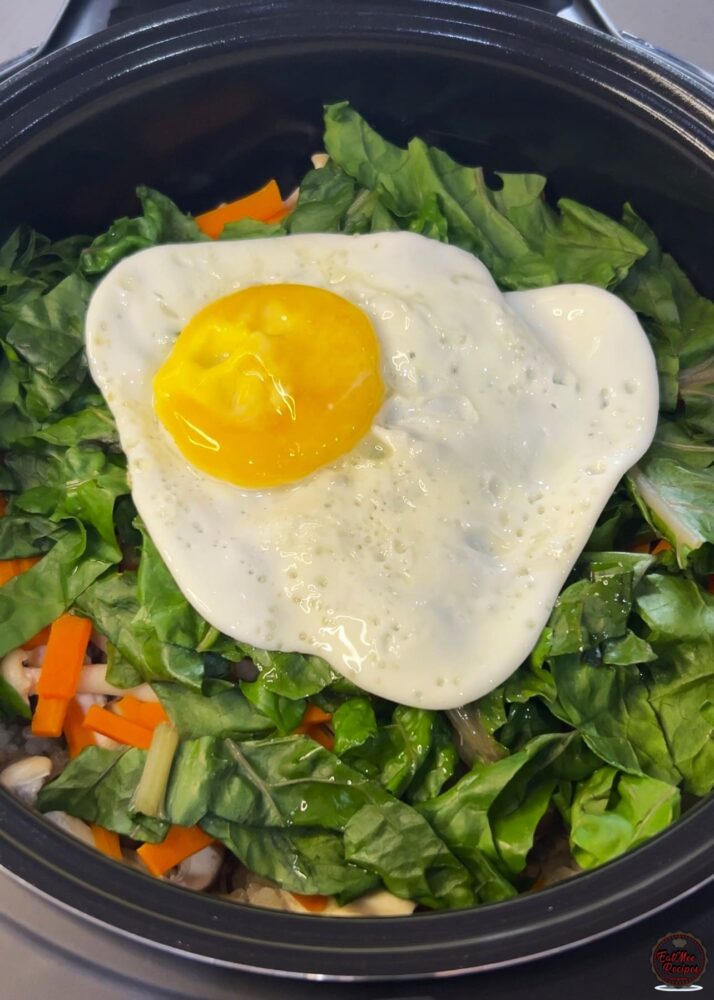
You’ll see that the spinach has perfectly wilted from the steam in the cooker. It should be tender, vibrant, and ready to be mixed in.
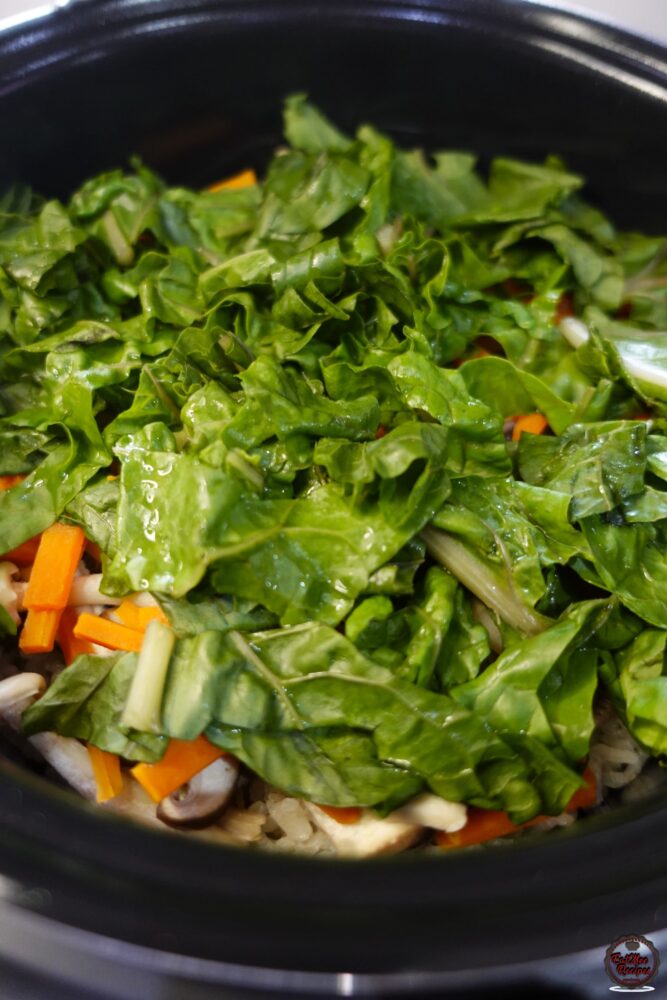
Top everything with the fried egg.
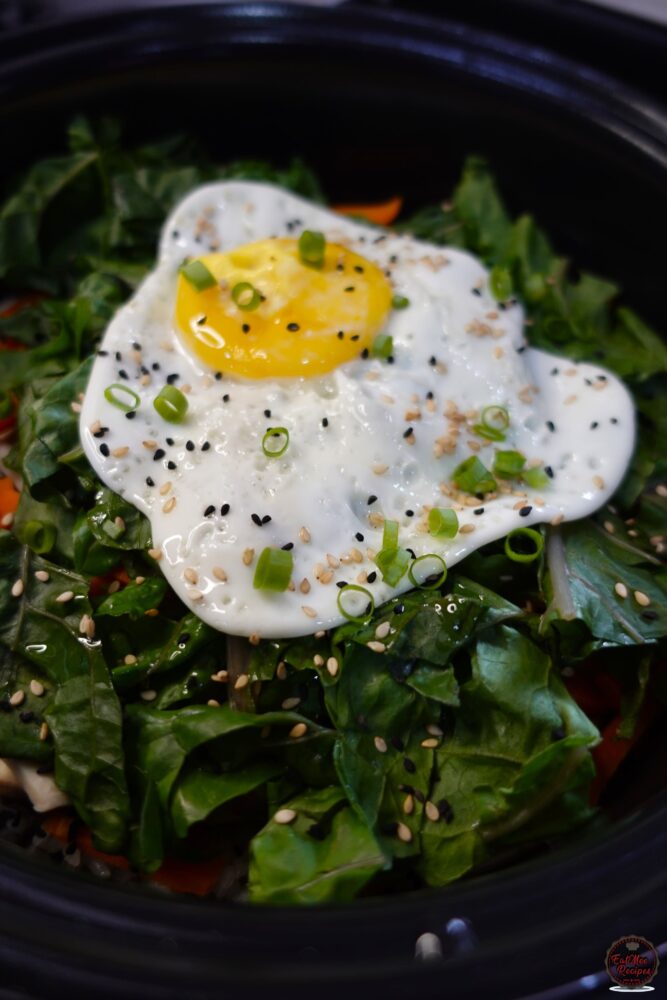
Sprinkle over sesame seeds (I used a mix of white and black) and some chopped spring onions for freshness.
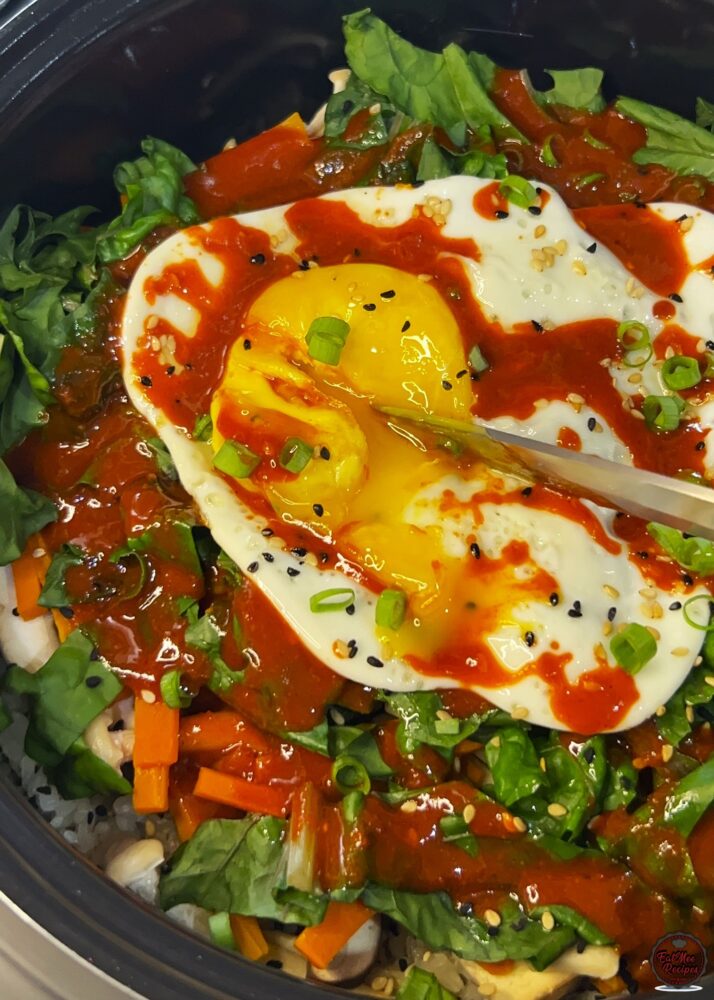
Finally, spoon over that Bibimbap sauce.

Before mixing everything together, take a moment to cut into the egg yolk. As the knife breaks through, the rich golden yolk slowly spills over.
Now give it a good mix, making sure the sauce, yolk, rice, and toppings are all combined. Every spoonful becomes packed with flavour, texture, and just the right amount of heat.
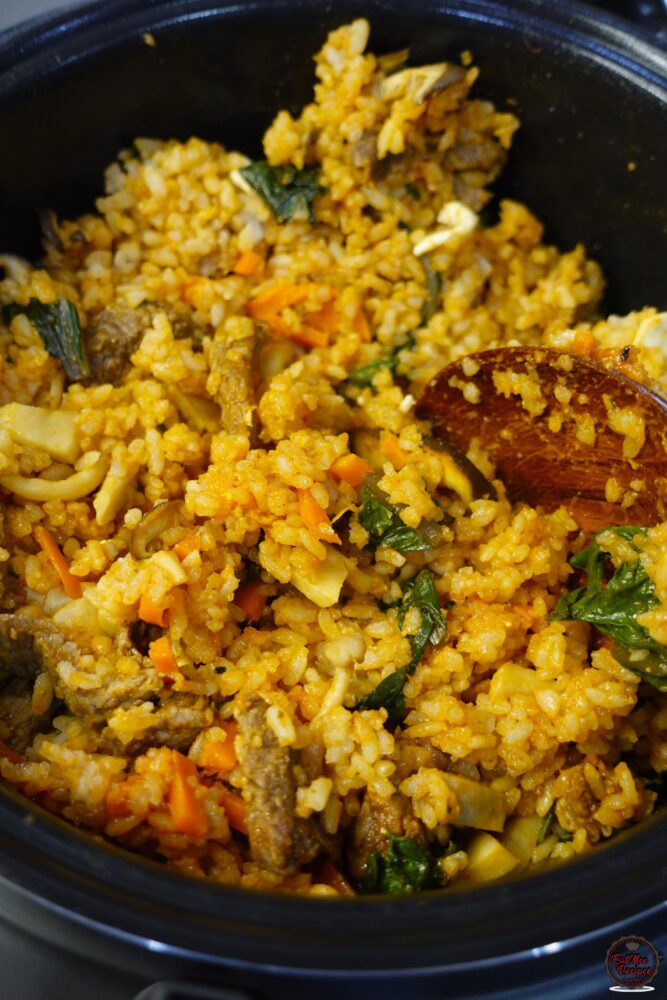
Once plated, you can always add an extra spoonful of Bibimbap sauce when serving if you like a little more kick.
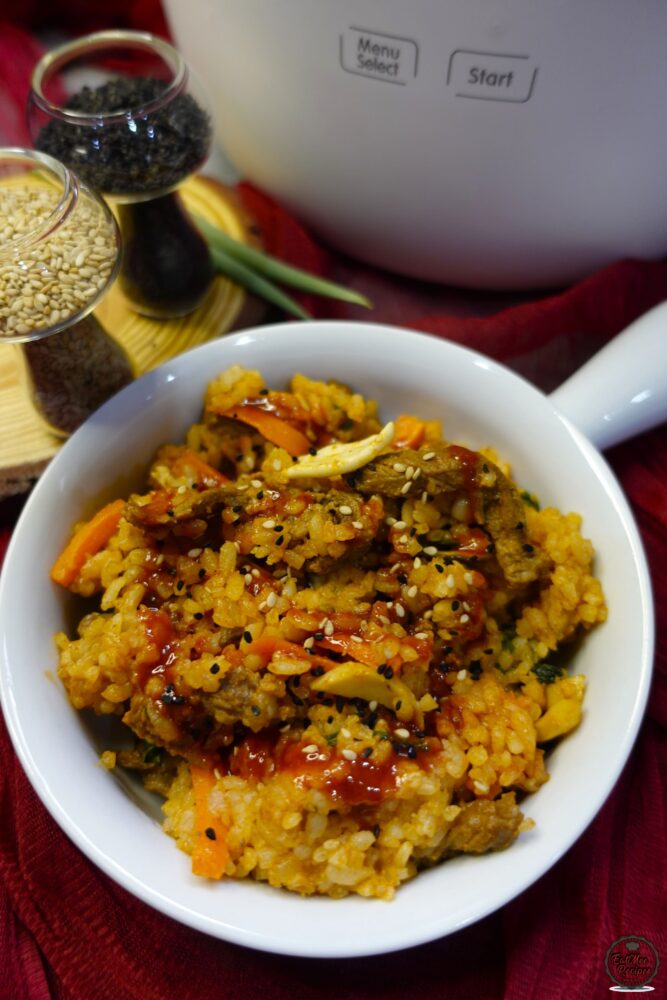
If you have any leftovers, allow the Bibimbap to cool completely before transferring it to an airtight container. Store it in the refrigerator for up to 2-3 days. When reheating, warm it gently in the microwave or a pan, and consider adding a fresh fried egg on top to bring it back to life.
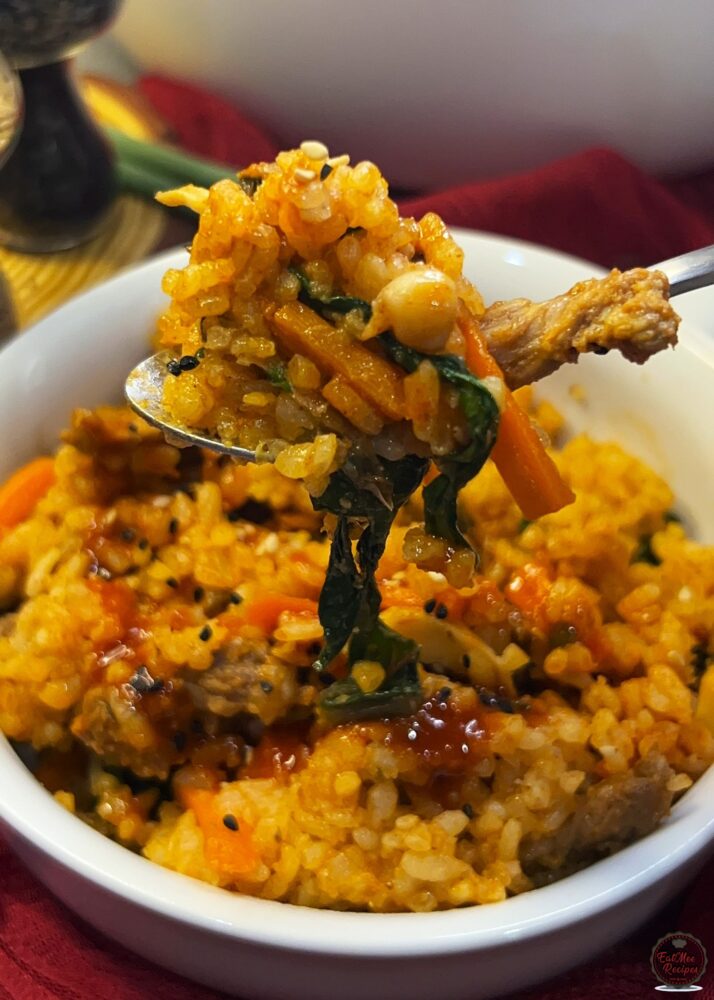
This Instant Rice Cooker Bibimbap is a simple, fuss-free way to enjoy a comforting Korean-inspired bowl at home. With the cooker doing most of the work, all that’s left is to pile on the toppings, mix everything together, and savour those bold, satisfying flavours. Enjoy!
Follow along with Denisiya's step-by-step video guide for Bibimbap in the Instant Rice Cooker.
Expert kitchen guidance and troubleshooting for making the best Bibimbap in the Instant Rice Cooker
Bibimbap is a classic Korean rice bowl loaded with vegetables, protein, and a spicy-sesame sauce, all mixed together just before eating. Each bite is full of contrasting textures and rich flavours and now, you can make it in one pot with your rice cooker.
You shouldn’t open the Instant Rice Cooker while your Bibimbap rice is cooking. Opening it mid-cycle releases heat and steam, which can affect the texture and prevent the rice, meat and vegetables from cooking evenly.
Hi, I'm Denisiya! Food lover, recipe developer, and founder of EatMee Recipes. I specialize in authentic South African Durban Indian cuisine, comforting curries, and modern Instant Pot adaptations. Every recipe on this site is tested in my personal kitchen to ensure you get mouth-watering, foolproof results every time.
Explore more authentic Durban curries, traditional bakes, and comforting family favourites.
 Desserts
If you love traditional South African sweet rice but want an easier, hands-off method, thi...
 Instant Rice Cooker Recipes
If bold flavour and convenience had to meet in one dish, this would be it. Inspired by the...
 Everyday Meals
Soft, fluffy steamed bread, also known as ujeqe, is a beloved staple that pairs beautifull...
Have you tried this recipe or have questions for Denisiya? Join the conversation below.
No comments yet. Be the first to share your thoughts on this recipe!
Leave a Comment
Your email address will not be published. Required fields are marked *