
We Value Your Culinary Privacy
EatMee Recipes uses cookies to provide a personalized browsing experience, analyze recipe popularity, and serve relevant ads. You can review our full disclosure in our Privacy Policy.
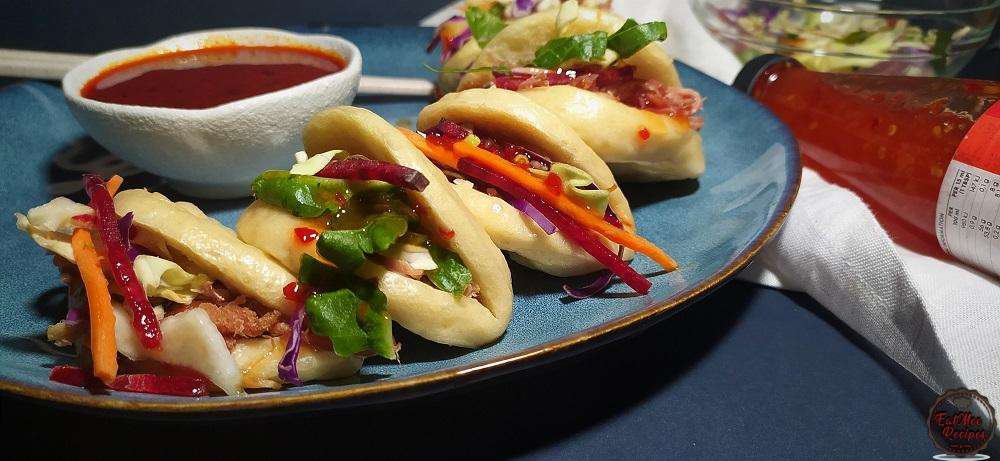
The best homemade Bao Buns recipe! Pillowy soft, tender steamed Chinese buns made easily from scratch. Perfect for filling with crispy chicken, pork, or braised mushrooms.
Join over 60,000+ home chefs for weekly authentic Durban Indian cook-alongs, Instant Pot masterclasses, and family heritage recipes.
In South Africa, we don’t really get Bao Buns – however, there are many Asian stores which I have not been to & I am almost certain that they stock them.
These Bao Buns are easy to make at home & is basically like a bread recipe, only they are folded & steamed.
I have done some research with regards to the name of this dish & Bao actually means Buns so here we are all calling them ‘bun buns‘, their popularity in the West has spread with the redundant name as Bao Buns so I guess it’s a norm.
These buns are usually served with pork belly but I must admit that I am not a lover of pork, however I have used some pulled pork in this recipe from the new Eskort range. I also made some pulled beef but unfortunately I didn’t snap pics – let me know if you guys ever want that recipe.
To a mixing bowl, add in the all-purpose or cake flour, salt & baking powder.

Add in the white granulated sugar & instant yeast.

Mix well.

Pour in the warm milk & ⅓ cup warm water.

Add in the vegetable oil.

Mix together until most of the liquid has been absorbed into the flour.

Thereafter, add in the remaining ⅓ cup of warm water & bring the dough together.

Place the dough onto a floured surface.

Sprinkle some flour over the dough as it will be a bit sticky.

Next, knead the dough for 10 minutes (this can also be done in a mixer if you have one). Add more flour whilst kneading if the dough tends to get sticky & knead until smooth & pliable.

Grease a bowl with vegetable oil.

Place the dough into the bowl, coating it with excess oil in the bowl to prevent it from drying out.

Cover with plastic wrap & set aside to rest for 1-2 hours.

After 1-2 hours, the dough would have doubled in size.

Punch down the dough.

Place the dough onto a floured surface.

Bring the dough together.

Roll out the dough using a rolling pin.

It should be about 3-4mm thick.

Use a round cutter – any size is fine according to how big you want the Bao Buns to be.

Cut out the shapes on the dough with the cutter.

Remove the outer dough & roll out to create more shapes.

Next, dip a pastry/silicone brush into very little oil – the oil will be a very thin layer, brush the oil onto the shapes.

Fold the circles in half to create a half moon shape.

Only roll as much as you can steam at a time or you may place them on individual sheets of wax/parchment paper to go directly into the steamer or pot because once left aside they will be difficult to pick up as they will be soft & stretch out of shape. Give each one a gentle roll with a rolling pin.

I have placed them on some parchment paper which is on a trivet (this will go directly into my pot).

I’ve filled up a pot with a little water (enough for steaming, make sure the water doesn’t touch the buns).

Place the pot on medium-low heat & carefully place the trivet with the buns into the pot.

Wrap the lid of the pot with a dish towel as this will prevent the water from the steam to fall onto the buns. Place the lid on the pot & allow it to steam for 10-12 minutes. Do not open the lid as this will prevent them from puffing up & becoming airy. Only open the lid after they are done steaming.

Once done, turn off the heat & open up the lid.

These Bao Buns should be fluffy.

Alternatively, a bamboo steamer may be used or any other steamer that you may have on hand.

This basket is from the Instant Pot Duo Crisp which actually gave me two layers so the more you can do in one go, the better.

I did indeed try to steam them in my Instant Pot using the steam function but I selected 10 minutes which was way too long – unfortunately I did not have the time to experiment but I will do it again & post the times.

As you can see, these Bao Buns for 10 minutes in the Instant Pot deflated & became over cooked which had to be tossed.

To be on the safe side & avoid wastage, I recommend using the trivet & pot or a bamboo steamer just until I get the correct settings for the Instant Pot. Once the buns have steamed, set aside on a plate & begin preparing the filling.

For the filling, I used the Eskort’s Smoked Pulled Pork which I heated in my Air Fryer – watch the process here.

Next, I got some shredded veggies, it’s actually a coleslaw mix from Woolworths but I did not add any mayonnaise to it.

Thereafter, open up the Bao Buns, this was the reason the oil was brushed over, so they could easily open up.

Add the pulled pork or filling of your choice & top with the shredded veggies.

Drizzle over some sauce of your choice – I used Woolworths Asian Sweet Chili Sauce. They can also be topped with sesame seeds.

Serve these Bao Buns whilst hot & enjoy.

P.S the red sauce on the side is actually from my Pulled Beef marinade which was cooked & acts as a chili oil that can be used as a dipping sauce.

Follow along with Denisiya's step-by-step video guide for Bao Buns.
Expert kitchen guidance and troubleshooting for making the best Bao Buns
Absolutely! You can easily tailor the heat by increasing or reducing the chili powder and fresh chilies to suit your family’s palate without compromising the authentic flavor profile.
Yes, you can freeze Bao Buns in an airtight, freezer-safe container for up to 2 to 3 months. Thaw overnight in the refrigerator before gently reheating.
Reheat gently on the stovetop over low heat with a splash of water, or in the microwave covered with a damp paper towel to retain moisture.
Hi, I'm Denisiya! Food lover, recipe developer, and founder of EatMee Recipes. I specialize in authentic South African Durban Indian cuisine, comforting curries, and modern Instant Pot adaptations. Every recipe on this site is tested in my personal kitchen to ensure you get mouth-watering, foolproof results every time.
Explore more authentic Durban curries, traditional bakes, and comforting family favourites.
 Chinese Food
This Beef Chow Mein is so simple to make & is ready in no time. It has a combination of be...
 Chinese Food
Some recipes carry memories – this one carries a whole era.
 American Food
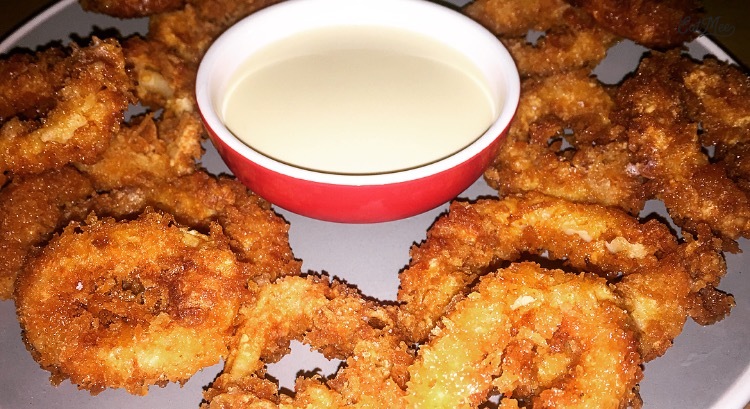
This Tempura Crumbed Calamari is crispy & delicious. It’s a great meal as a starter or as ...
Have you tried this recipe or have questions for Denisiya? Join the conversation below.
No comments yet. Be the first to share your thoughts on this recipe!
Leave a Comment
Your email address will not be published. Required fields are marked *