
We Value Your Culinary Privacy
EatMee Recipes uses cookies to provide a personalized browsing experience, analyze recipe popularity, and serve relevant ads. You can review our full disclosure in our Privacy Policy.
Make authentic 10 Tips On How To Take Food Photos Like A Pro with this foolproof recipe. Packed with rich traditional flavor, step-by-step photos, and cooking tips by Denisiya on EatMee Recipes.

Join over 60,000+ home chefs for weekly authentic Durban Indian cook-alongs, Instant Pot masterclasses, and family heritage recipes.
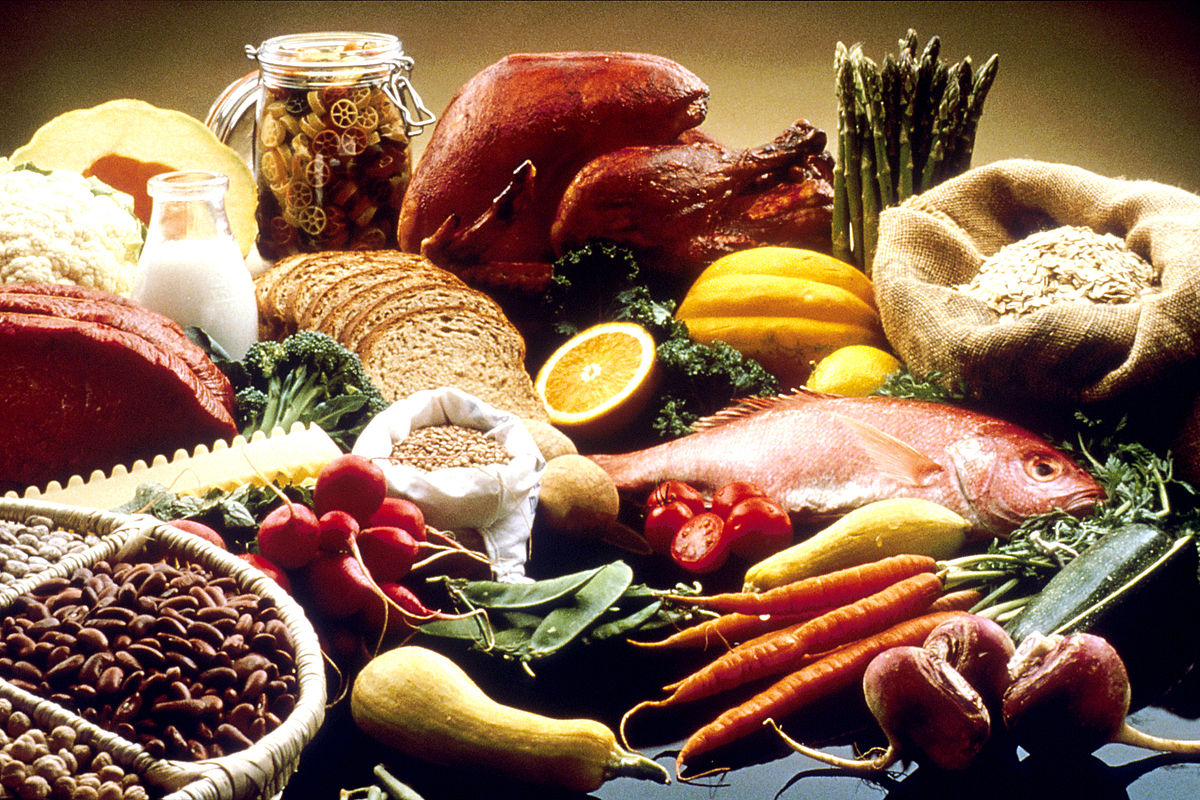
Food photos are alluring and learning how to take them like a pro can really help you get noticed on sites such as Instagram and also offline too. Here are some good tips to take food photos like a pro.
Work with a setting that enhances the food without being a distraction. You can achieve this by using a plant background such as a single color tablecloth. Place the food in places that either harmonizes or contrasts in color with that of the contents in them. Ensure there is no distracting clutter in the background of the shoot, ensure you do away with the silverware and people before taking the shoot and ensure you use a wider aperture that blurs the background.
The best pictures are those take using natural light so have the shoot take place next to a large window and diffuse the light using white curtains. Avoid using the flash on the camera if you are unable to access or sue natural light. Food has subtle sensibilities, and flash photography will do a great injustice because it creates unattractive shiny spots while flattening everything.
Next to natural light, color balance is an important element in taking exceptional photos. Finding this balance is vital more so when the shoot is taken in setting with little natural light; it will help ensure all colors are well enhanced. The white balance setting can help with this when taking the photos; alternatively, the photo can also have the color digitally adjusted later on.
Photos taken in low-light settings and with long exposures will be blurry is there is movement when taking the shot. A tripod can help stabilize the camera. A glass of water, a tall deck, or the back of a chair can also come in handy as stable surfaces for the camera.
Move around and take a lot of pictures of the food to capture the geometry of the presentation. Take pictures from different angles with both low, middle and, aerial shots so that you can narrow your selection to the photos with the best angles.
Get as close as you can with some of the shot you take. Zoom in using the macro setting on the camera to have the food fill the frame of the shoot to make the food as realistically appealing as possible.
Tale several photos of the food’s preparation process. The chopping, dicing, and mixing, can add an interesting story to the photos
Work quickly and smartly to ensure you capture shots of the food while it still looks fresh. Wilted salads and hard frozen meat do not look appetizing. Set up the shot using an empty place while the food is being prepared and then slip in the actual plate of food at the last minute for the photo shot.
You can then add these to your Instagram account for food – it can be a great way to get things out there among the public. Simply set up an account, purchase some followers for the Instagram account and post images – it should grow from there.
The devil is always in the details! Ensure there is no stay food on the edges of the plate, wipe the smudges before taking the pictures. You can some color to the foods using some garnish and sauces. For instance, place a lemon wedge on that glass of iced tea or put some neem or mint on top of that bowl of stew.
Great photography is not just about taking shoots, it also calls for knowing what to and not to shoot. When it comes to food, some things will not make for a delicious addition no matter how presentable they may look.
Setting
Expert kitchen guidance and troubleshooting for making the best 10 Tips On How To Take Food Photos Like A Pro
Absolutely! You can easily tailor the heat by increasing or reducing the chili powder and fresh chilies to suit your family’s palate without compromising the authentic flavor profile.
Yes, you can freeze 10 Tips On How To Take Food Photos Like A Pro in an airtight, freezer-safe container for up to 2 to 3 months. Thaw overnight in the refrigerator before gently reheating.
Reheat gently on the stovetop over low heat with a splash of water, or in the microwave covered with a damp paper towel to retain moisture.
Hi, I'm Denisiya! Food lover, recipe developer, and founder of EatMee Recipes. I specialize in authentic South African Durban Indian cuisine, comforting curries, and modern Instant Pot adaptations. Every recipe on this site is tested in my personal kitchen to ensure you get mouth-watering, foolproof results every time.
Explore more authentic Durban curries, traditional bakes, and comforting family favourites.
 Air Fryer Recipes - Instant Vortex
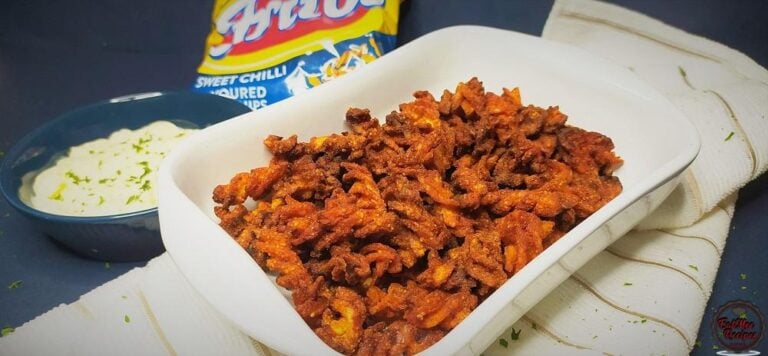
If you are on TikTok then I am sure you have heard of the trending pasta chips! The ones t...
 Fit Food
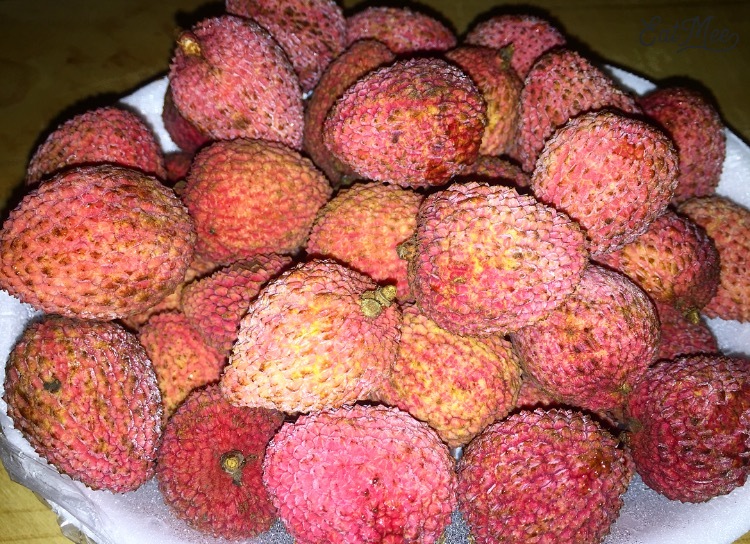
25 Amazing Benefits Of Litchi – Litchi, also known as lychee, liechee, liche, lizhi, or li...
 English Cuisine
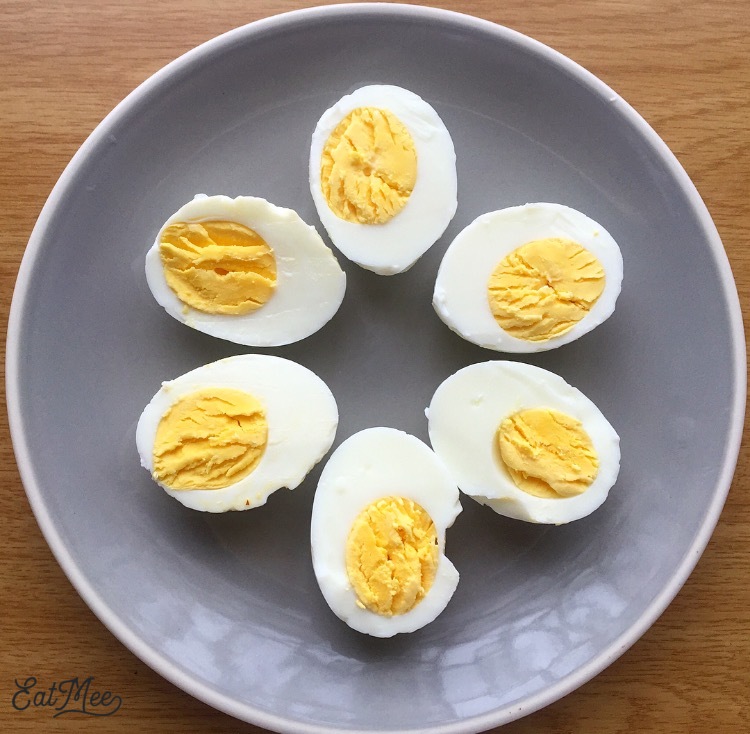
This tip & recipe as to how to properly hard boil eggs is actually brilliant. There’s no h...
Have you tried this recipe or have questions for Denisiya? Join the conversation below.
No comments yet. Be the first to share your thoughts on this recipe!
Leave a Comment
Your email address will not be published. Required fields are marked *